Dark Waters is one of the Critical story missions in Star Wars Zero Company, set on the Core World of Courtsilius and built around tracking down the Coil’s leader. It runs longer than the earlier campaign levels and splits into two separate combat encounters, so pacing and squad sustain matter more than raw aggression. The fight is against ordinary infantry and Coil troops rather than droids, which changes how you should equip your team.
Quick answer: Bring Hawks with a long-range rifle, Trick, a Heavy, and a Medic (also on a long-range rifle), load Impact or Firebomb grenades, hold the high ground with Overwatch, and delay hitting the drain console until the turn before reinforcements arrive.
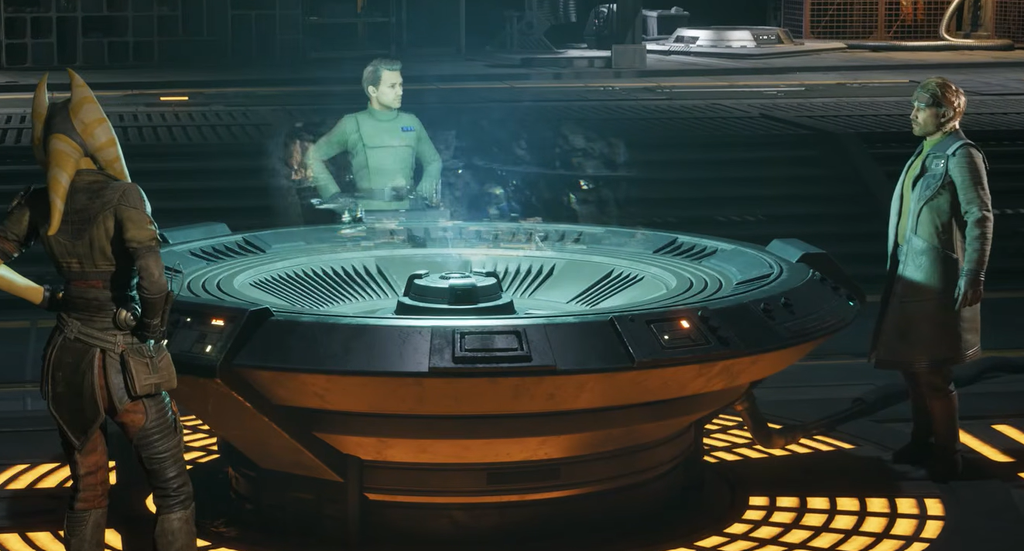
Squad loadout for Dark Waters
Hawks is required on this mission, as with every story mission. The rest of the roster should lean toward range and staying power. Because you are not fighting droids here, the Astromech offers little value, and the arena is fairly linear with wave after wave of infantry pushing toward you.
| Operator | Role in the fight |
|---|---|
| Hawks (long-range rifle) | Picks off advancing enemies from the back line |
| Trick | Strips cover and uses Rocket Strike on clustered groups |
| Heavy | Taunts, soaks damage, and draws enemy fire |
| Medic (long-range rifle) | Heals, applies Morale Boost Adv and Combat Stim, and kills at range |
Give the Medic a long-range rifle so it can contribute damage while sitting in the back line for most of the mission. Pack Impact or Firebomb grenades on your throwers. Both are useful for shutting down enemy Overwatch and for cracking tougher targets that survive normal fire.
First encounter: draining the canal
Follow the waypoint through the alleyway until combat begins. Your objective is to reach the control console on the left side of the dock and drain the canal, but the console is surrounded by melee Slugrats, so approaching too early is a trap.
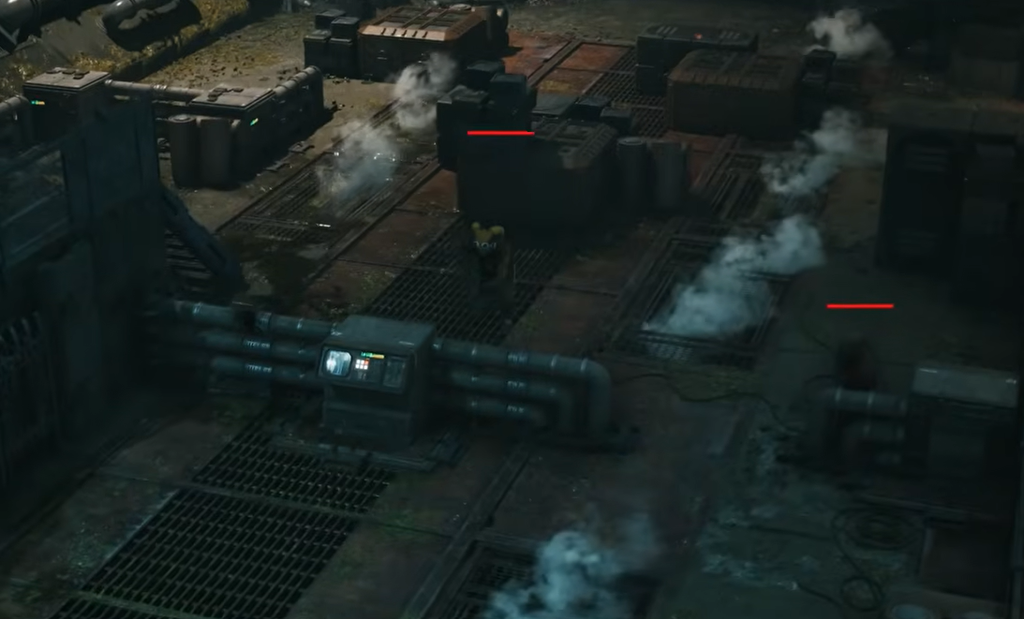
On the enemy’s third turn, reinforcements arrive at the back of the arena. They spawn far away, so clearing the first wave first buys you the room you need.
Time the console, do not rush it
Hitting the console immediately drains the canal and spawns more enemies on the newly exposed lower floor. Wait instead until the turn right before reinforcements enter, then advance to the console and build a defensive perimeter. This lets you damage or kill the three reinforcements coming from the north without also fighting enemies climbing out of the canal.
A second wave also arrives from the north. Grenades and Trick’s Rocket Strike clear them quickly. Always prioritize the northern arrivals, because the enemies down in the canal take several turns to close the distance and often hesitate at the stairs.
Once the upper Slugrats are dead, turn to the five enemies below. Keep two operators holding Overwatch on the staircases while the others fire down on the enemies scrambling for cover. Any Slugrat that tries to climb takes damage and cannot reach safety. Clearing them all moves you into the underground section and a cutscene where you meet a new ally and learn more about the Coil.
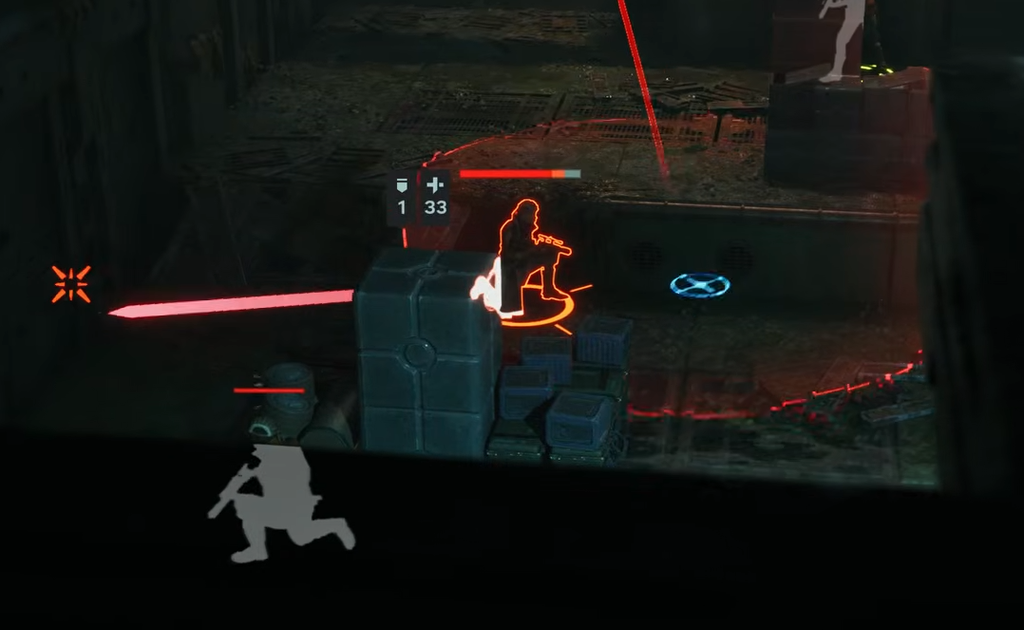
Second encounter: fighting Coil Resonance
The mission is not over after the cutscene. A second fight begins, and your only objective is to kill every Coil member. The complication is the Resonance ability, which every Coil enemy carries.
| Resonance rule | What happens |
|---|---|
| Stacking | Builds up to three stacks on a single Coil unit |
| Surge at three stacks | The unit heals, grows stronger, and gains unique combat abilities |
| On death | A living Coil enemy gains a stack of Resonance |
Because kills transfer Resonance, killing enemies steadily can feed the survivors. Keep the number of powered-up Coil units low, and immediately focus anything that reaches three stacks. A surged enemy becomes the most dangerous target on the field if you leave it alone. Watch for surge abilities such as Retaliation, turning invisible, and melee that can reach you at a distance and through cover.
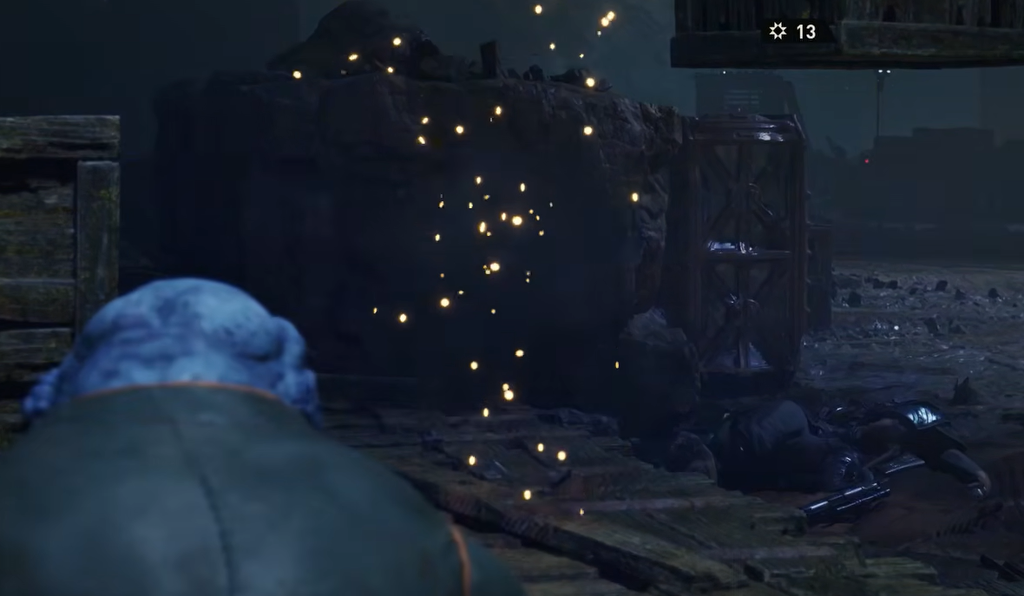
When the last Coil enemy falls, a final cutscene plays and the mission ends. That closing cutscene is your confirmation the encounter is complete. If the fight drags on, the usual cause is a Coil unit that surged unchecked, so tighten your focus fire on any target at three stacks.
Because Star Wars Zero Company uses permadeath and enemies that escape return stronger in later encounters, finishing Dark Waters cleanly matters beyond this mission. Holding your ground, controlling the choke points, and keeping the Medic active is what carries all four operators through to the end.