

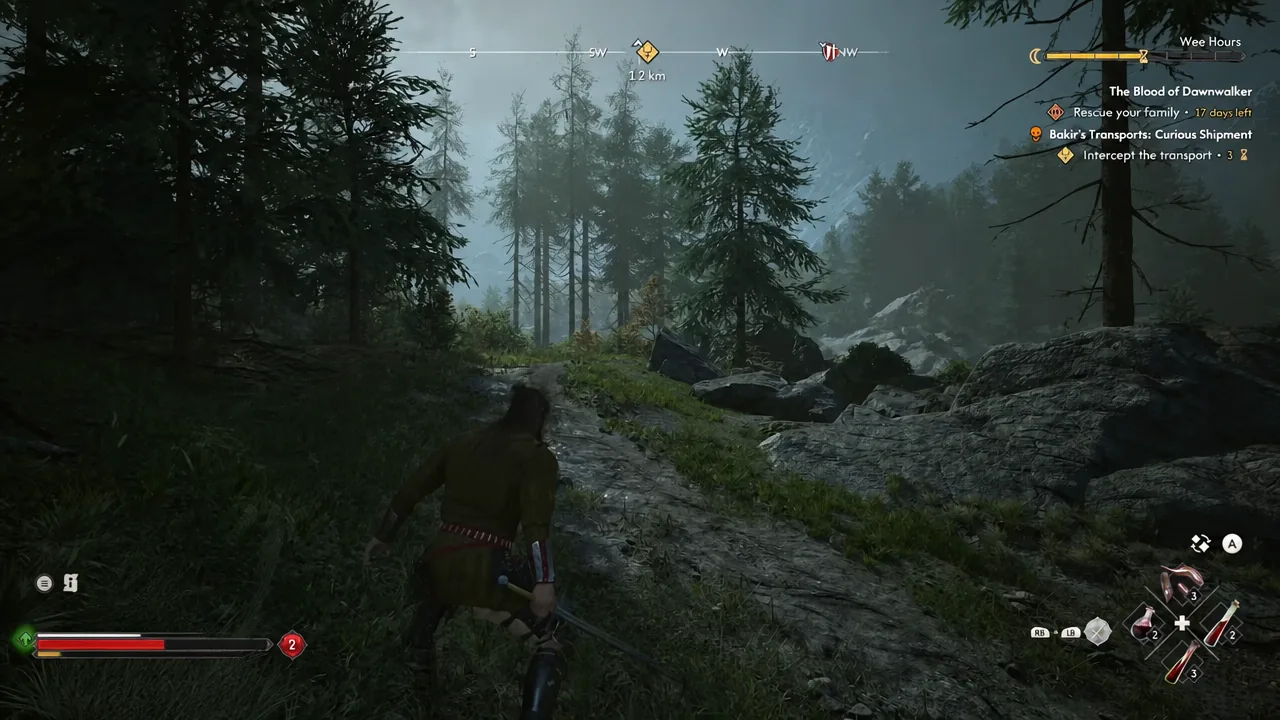
The Arbiter’s Medallion is one of the few Legendary items in The Blood of Dawnwalker that sits in a fixed spot with no boss, no quest chain, and no level gate in front of it. It is an amulet built entirely around stamina economy, and because it never moves, you can walk over and take it within your first hour or two of play.
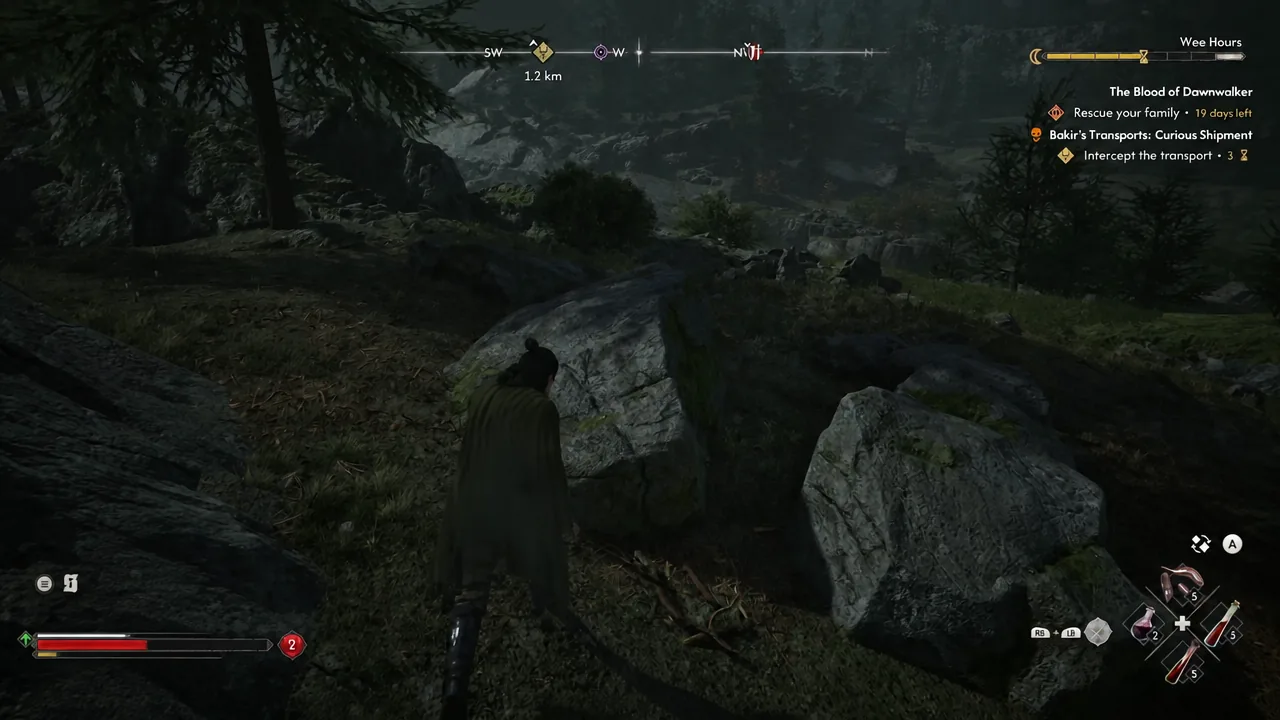
Quick answer: Travel south from Tastwood past Brier Slough to the bridge below Boar’s Back, climb down the rocks beside the waterfall, walk through the right-hand side of the falling water into the hidden cave, and loot the skeleton in the middle.
Arbiter’s Medallion stats and what they do
The medallion is a Level 18 Legendary Amulet. Every line on it pushes in the same direction — you swing more, block more, and get punished less for holding your guard.
| Stat | Value |
|---|---|
| Maximum Stamina | +21% |
| Attack Stamina Cost | -21% |
| Block Stamina Cost | -21% |
| Physical Damage Reduction | +4.2% |
A bigger stamina pool paired with cheaper attacks and blocks means longer combat strings before you are forced to disengage. That matters most in the early game, when your stamina bar is short and a couple of blocked hits can leave you defenceless.
Do not worry about the level tag lagging behind later on. Gear in the game can be taken to blacksmiths and armorers for upgrades, so an early pickup does not become dead weight.
Where the waterfall cave is on the map
The cave sits in the northern half of Vale Sangora, in the Boar’s Back area. From the starting town of Tastwood, the route runs south past Brier Slough and towards the bridge sitting below Boar’s Back. If you have already reached the village of Parlita, the bridge is to its southeast, and the waterfall is visible from the crossing itself.
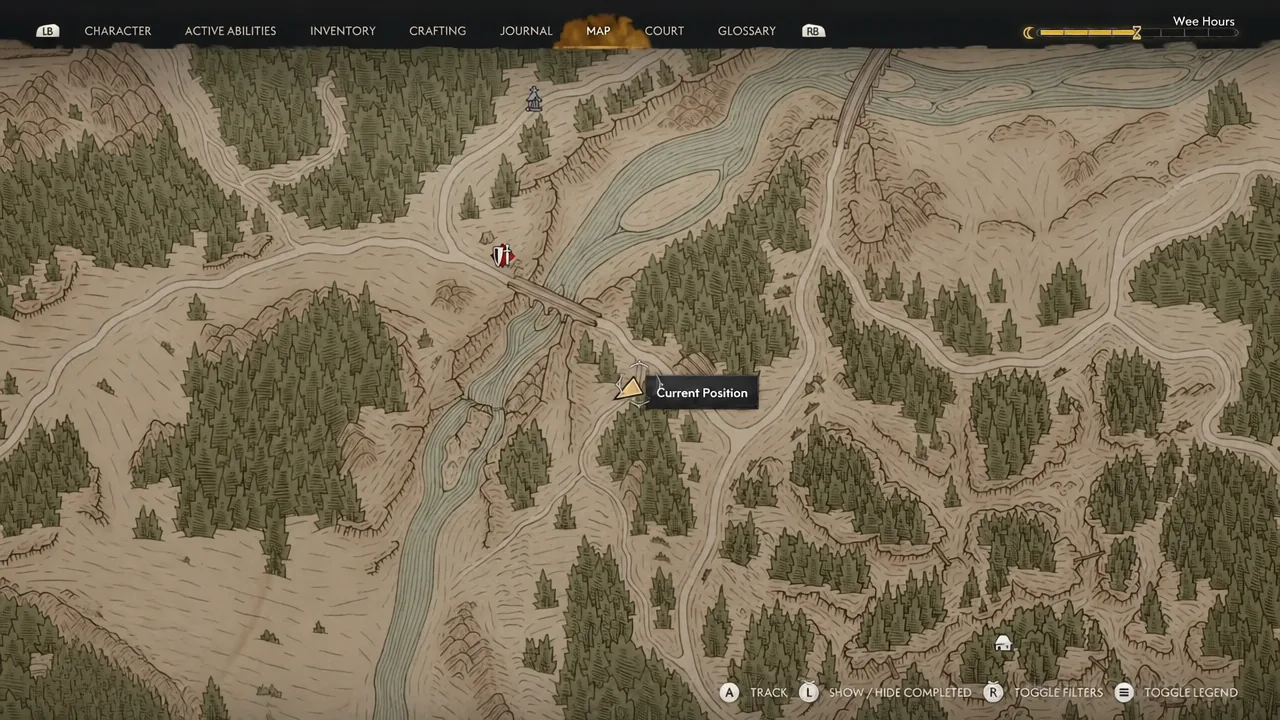
Nearby landmarks that confirm you are on the right stretch of road include Sennit Bridge and a Destroyed Shrine. There is no marker on the cave itself, so navigate to the bridge first and work down from there rather than looking for a point of interest icon.
How to reach the cave and loot the amulet
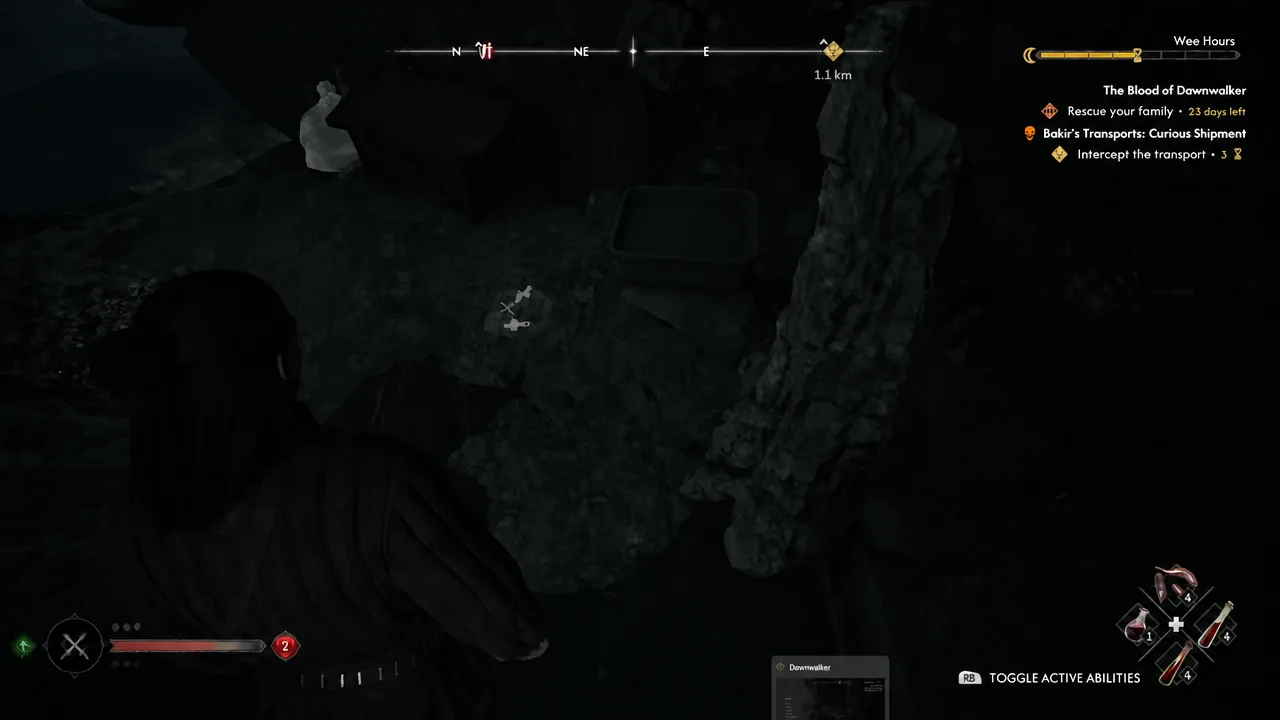
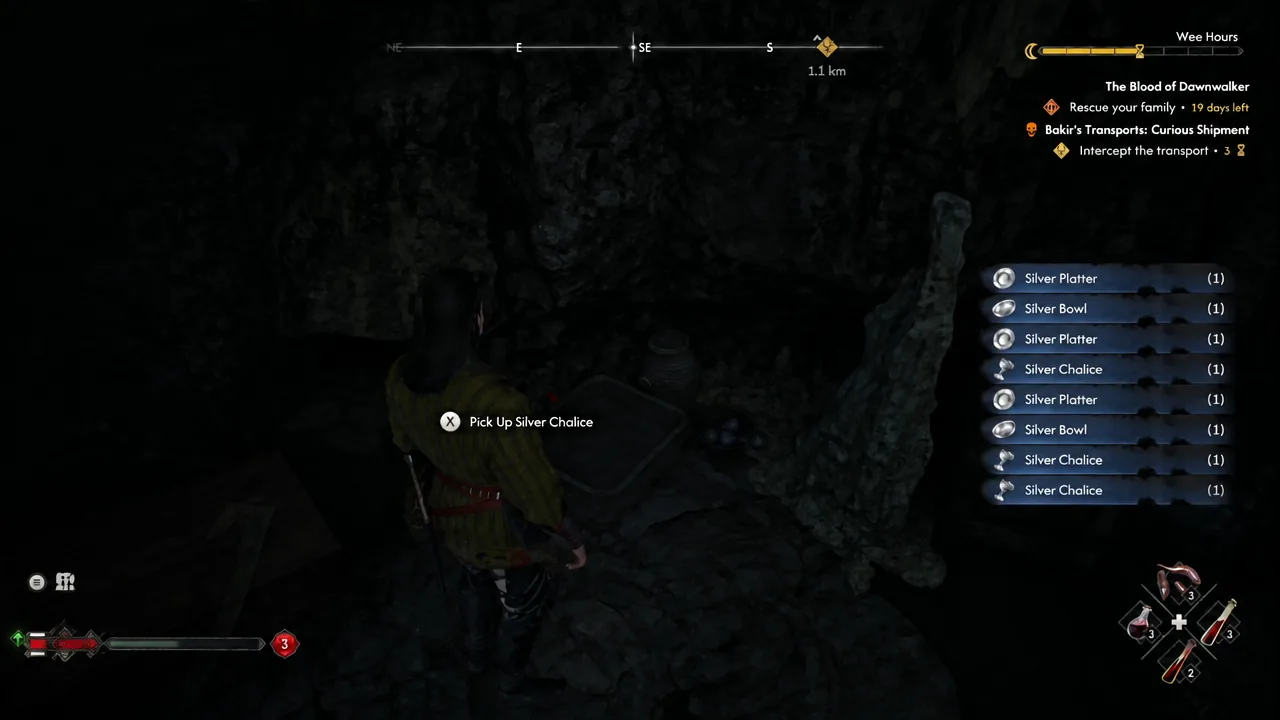
How to confirm you picked it up
Open your inventory and check the amulet slot. The item card reads “Arbiter’s Medallion” with the Legendary Amulet type and Level 18 beneath it, followed by the four stat lines. Equip it and your stamina bar visibly lengthens.
If you came out of the cave without it, the usual reason is stopping at the silver. The valuables sit around the edges of the chamber and are easy to grab on the way in, while the skeleton holding the medallion is a separate interaction in the middle of the room. Go back in and search the body directly.
Why the silver run matters as much as the amulet
The pile of silver in this cave is unusually large for such an early location, and it has a direct use. Svartrau City holds five vendors that can stock Legendary gear — two armor merchants, two weapon merchants, and a Silver Trader. The Silver Trader becomes available once you are carrying silver at all, with no separate quest to unlock the shop.
Vendor stock rotates and can include Legendary items you do not already own, which makes this the most dependable route to pieces that have no fixed spawn point. Clearing the waterfall cave early gives you the funds to actually buy something when a good roll appears, rather than staring at a piece you cannot afford.
Taken together, the trip is short, it carries no combat risk, and it hands you a Legendary amulet plus a working bankroll before the main story has really opened up. If you are heading south from Tastwood for any reason, the detour to the bridge below Boar’s Back is worth the few extra minutes.





