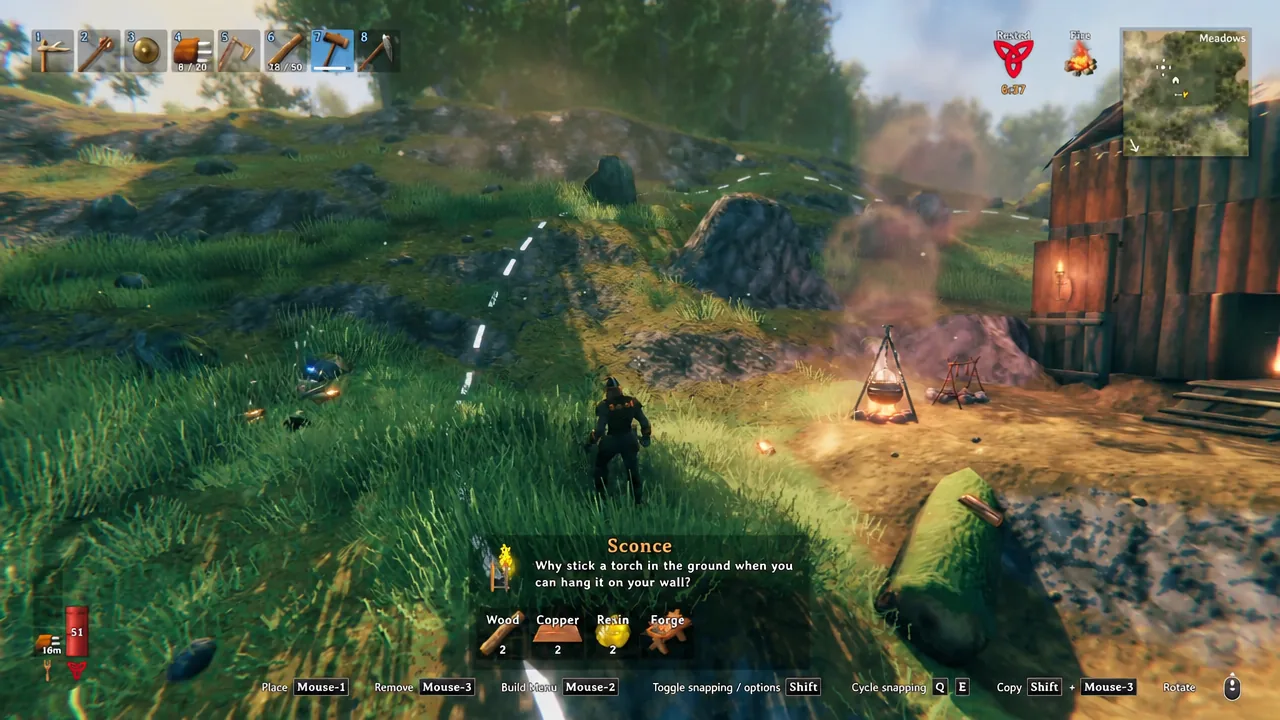
The Forge is where every metal weapon, armor piece, and tool in Valheim gets made, and it starts at level 1 the moment you place it. Higher levels unlock better recipes and let you push existing gear further in the upgrade tab, so getting past level 2 is one of the first real progression walls after the Black Forest.
Quick answer: Craft Anvils (5 Wood, 2 Bronze) and a Forge Cooler (25 Finewood, 10 Copper) with your hammer and place both inside the Forge’s build radius. Each add-on bumps the station up one level, so the second one takes it to level 3.
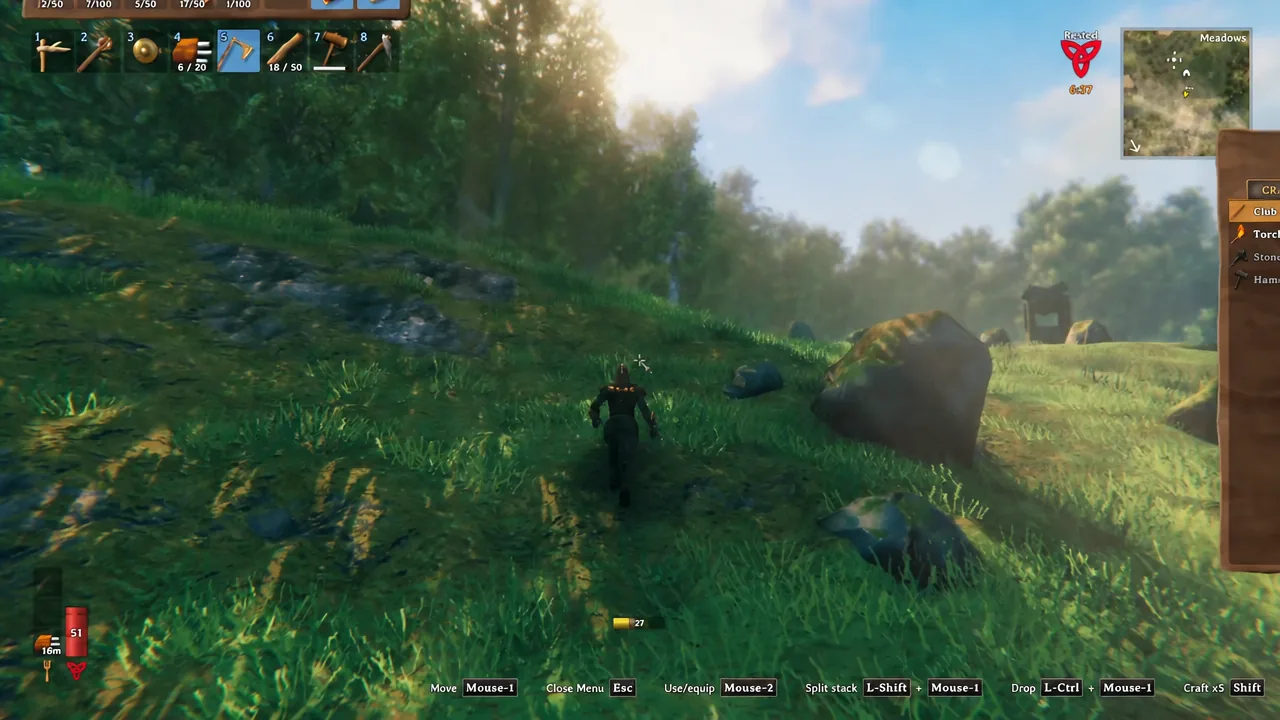
How Forge levels work in Valheim
The Forge does not have an upgrade button of its own. You raise its level by building separate structures next to it, and every one of those structures adds exactly one level. There are six of them in total, which caps the station at level 7.
The order does not matter. The game simply counts how many valid add-ons sit within range, so any two of the six will produce a level 3 Forge. Anvils and the Forge Cooler are just the two you can realistically afford at that point in a run, since the rest need Iron, Chains, or a Stonecutter.
Each level also widens the Forge’s build radius by three meters, up to a maximum of 38 meters. That matters more than it sounds, because every add-on has to sit inside that radius to be counted.
Forge level 3 requirements: Anvils and Forge Cooler
Both pieces are built from the hammer’s Crafting tab, not from the Forge menu itself. Here is exactly what each one costs.
| Add-on | Materials | Result |
|---|---|---|
| Anvils | 5 Wood, 2 Bronze | Forge level 2 |
| Forge Cooler | 25 Finewood, 10 Copper | Forge level 3 |
For reference, the Forge itself costs 4 Stone, 4 Coal, 10 Wood, and 6 Copper, and it can only be placed near a Workbench. The Workbench needs to stay in range for the Forge Cooler as well, so keep both stations in the same room.
Getting the Bronze, Copper, and Finewood
The materials are the slow part. Everything you need comes out of the Black Forest and the Meadows, and none of it requires Iron.
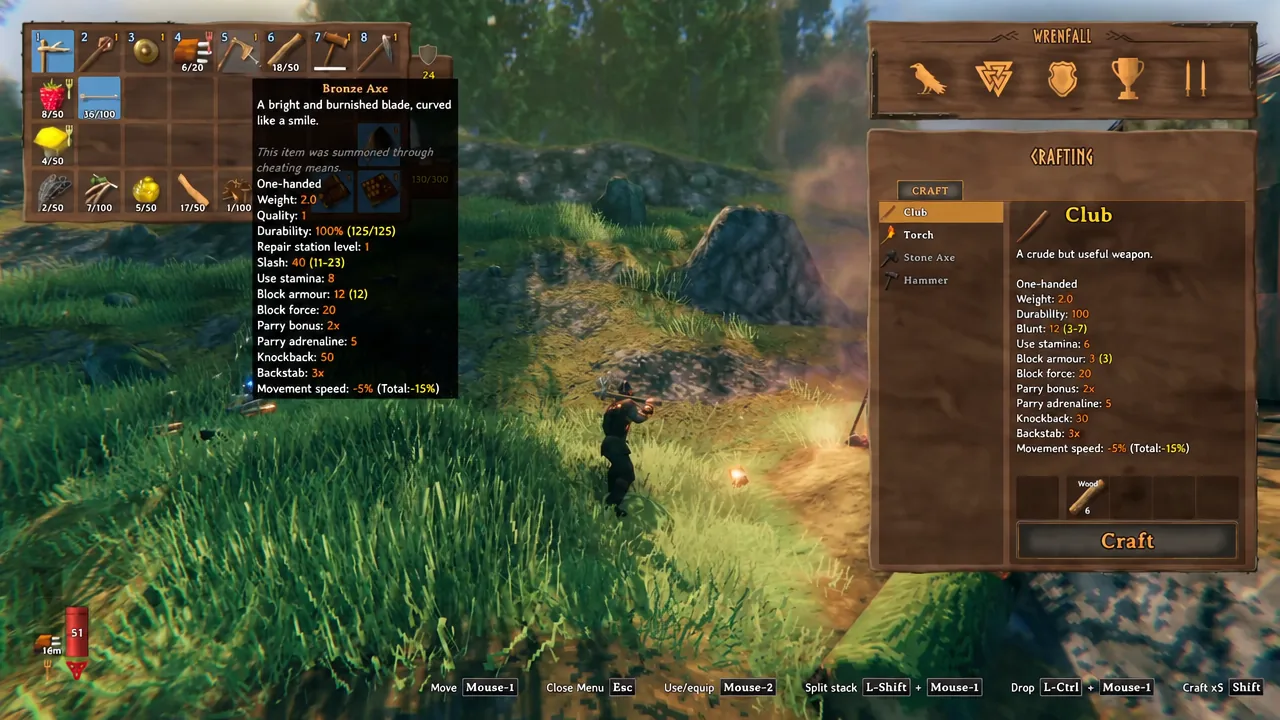
Holding Shift crafts five items at once, but crafting Bronze one bar at a time raises your Crafting skill for every individual craft, which is roughly five times faster for skill gain.
Placement rules: roof, cover, and build radius
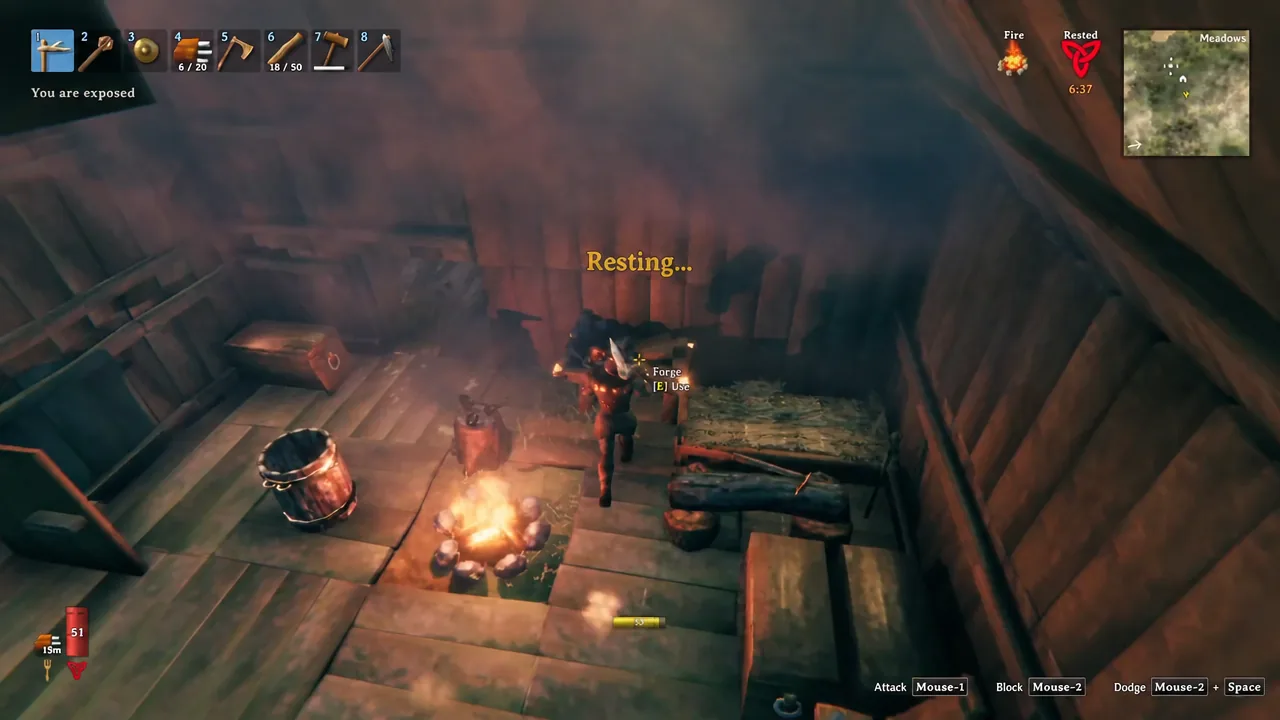
A Forge only works when it has a roof over it and roughly 70 percent shelter from the elements. Rain will not damage the structure, but an exposed Forge simply refuses to open its crafting menu, and the same shelter that keeps it running keeps your fire and bed usable too.
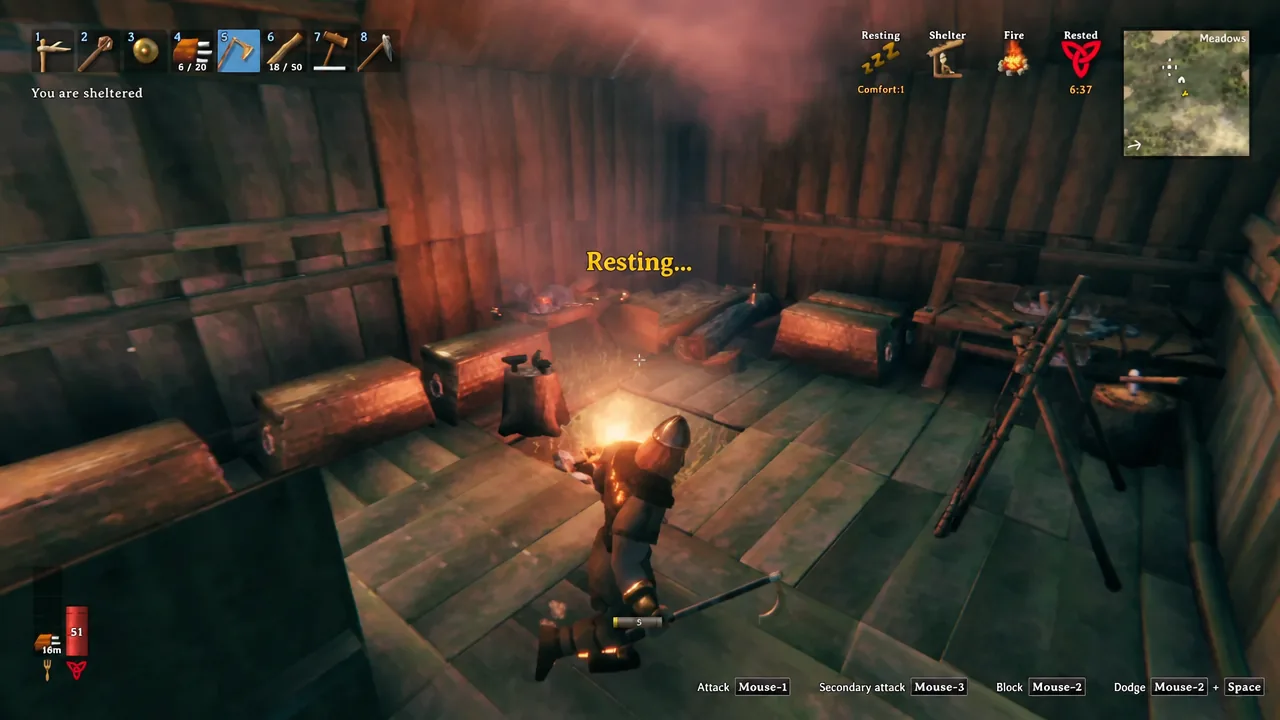
The Forge Cooler is a large object. Give it clear floor space beside the Forge rather than tucking it into a corner, and leave headroom above it. Anvils are much smaller and will slot in almost anywhere on a flat floor tile.
Both add-ons can be deconstructed later and rebuilt somewhere else without losing materials, so a cramped first attempt is not permanent.
Confirming the Forge is level 3
The moment the second add-on snaps into place, a message appears on screen reading “New station level: Forge level 3.” That prompt is the confirmation, and you do not need to interact with the Forge for it to register.
To double-check, walk up to the Forge and open it. The station level is shown in the crafting window, and recipes that were greyed out for needing a higher level should now be available, along with a higher upgrade ceiling on gear you already own.
Why the Forge is stuck at level 2
There are only a handful of reasons the level does not tick up after you place an add-on.
- The add-on landed outside the Forge’s build radius, so it belongs to nothing.
- The game refused the placement entirely with a “Needs more space” warning, which means nothing was built.
- No Workbench is in range, which blocks the Forge Cooler from being built at all.
- The recipe never appeared in the hammer menu because you have not picked up the required material yet. Recipes unlock the first time you hold the resource, and unaffordable ones show greyed out.
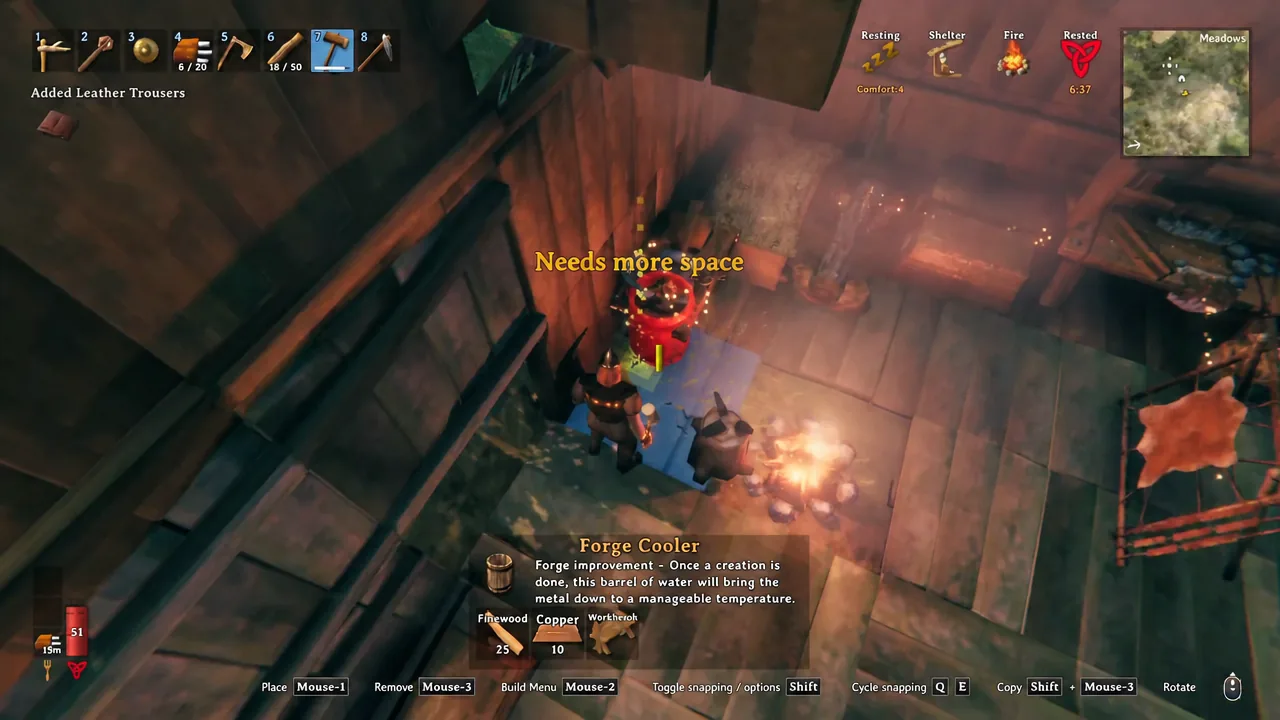
If a recipe is missing, hold the hammer, open the Crafting tab, and hover over the entries. The tooltip states which station each add-on applies to and what it still needs.
The remaining Forge upgrades for levels 4 to 7
The other four add-ons all sit behind Iron or later materials, so they arrive once you start clearing Sunken Crypts in the Swamp.
| Add-on | Materials |
|---|---|
| Smith’s Anvil | 5 Wood, 20 Iron |
| Forge Toolrack | 10 Wood, 15 Iron (wall-mounted) |
| Forge Bellows | 5 Wood, 5 Deer hide, 4 Chain |
| Grinding Wheel | 25 Wood, 1 Sharpening stone (needs a Stonecutter) |
Chains are the usual bottleneck for the Bellows. They drop from Wraiths at night in the Swamp and can be found in Sunken Crypts. The Forge Bellows also takes up a lot of room, so it is worth planning a wide crafting hall before you get that far.
Once the Forge hits level 3, keep it in mind for repairs as well as crafting. Hitting the hammer icon in the Forge menu restores durability on any metal gear at no resource cost, which makes a well-sheltered, upgraded Forge the natural anchor for the rest of your base.