How to Fish looks like a casual co-op fishing game, but the rod is only the first step in a much larger money loop. You catch a creature, kill it in the most valuable way possible, sell it, buy better gear, clear quests, beat bosses, and sail to the next island. Several of the systems that matter most are barely explained in-game, and a few early mistakes can stall your progress or drain your cash. Here is what to lock in before you spend serious money.
Quick answer: Launch each catch into the air and land stylish kills to raise its Killscore and sale value, never sell boss trophy parts (shells, skeletons, fins, heads), buy the $10 radar at the Lighthouse right away, and unlock the grill on Island 3 before selling any valuable fish.
Treat the rod as a launcher, not a fishing simulator
The biggest mindset shift is to stop fishing like it is a relaxing simulator. Fishing is just the delivery mechanism. The real progression is catch, kill, raise value, sell, upgrade, then move to the next island. A creature is not worth more simply because you found it later in the game. How you finish it off is what pays.
That is where the Killscore system comes in. The way you kill something raises a multiplier that increases its sell value. Headshots, airborne kills, long-range shots, no-scopes, and 360 spins all stack, and a clean kill can reach the 5x multiplier tied to the Impressive achievement. If you kill something instantly for a boring 1x score, you are leaving money on the table.
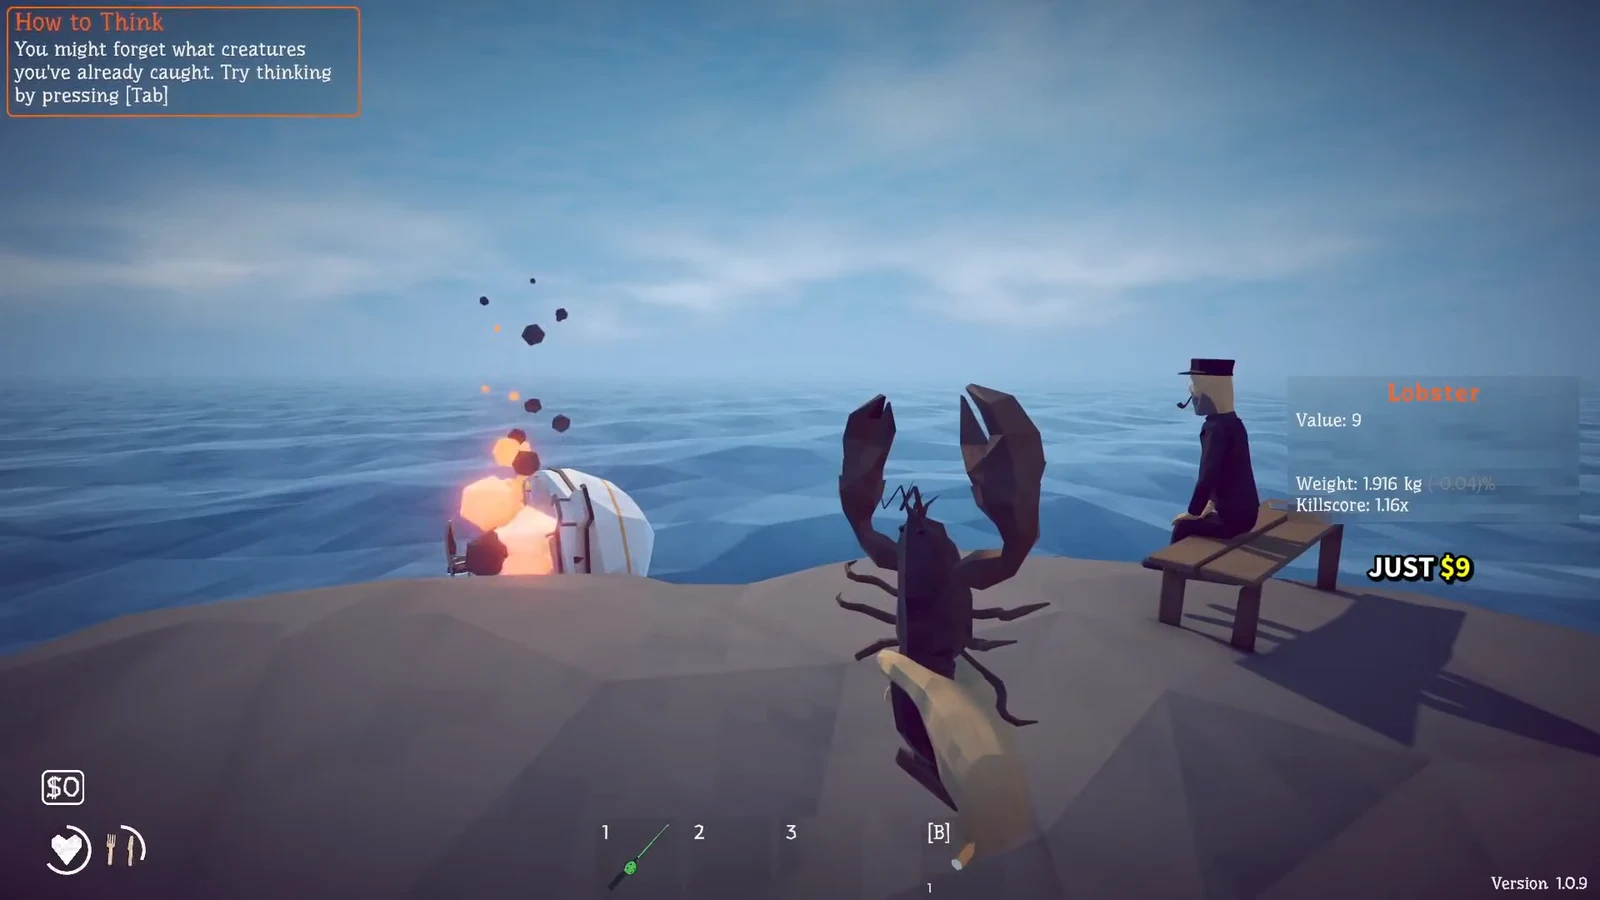
Practice on weak creatures, not on a boss you just paid for with rare bait. A simple method is to damage something until it is nearly dead, back away to create distance, then attempt the fancy finishing shot. There is even a Noob achievement for the opposite, a kill with no multiplier at all, which gets harder to pull off once you are trained to make every kill flashy.
Never sell anything that looks like a boss trophy
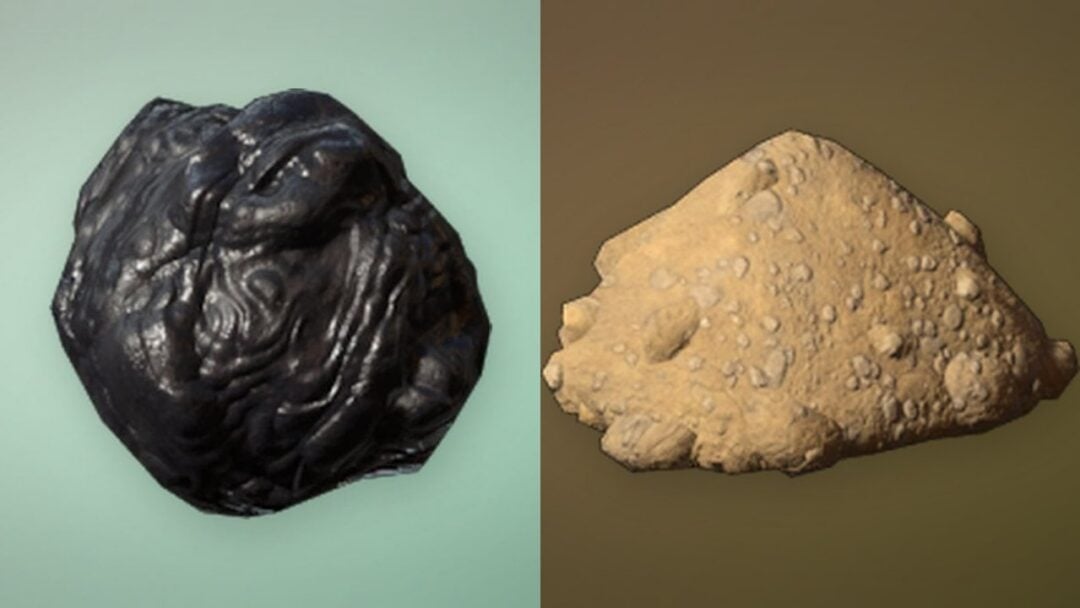
This is the single most important progression rule. Bosses drop distinctive named parts such as shells, skeletons, fins, and heads. These are quest items, not vendor trash. A new island usually unlocks only when you defeat the boss and then hand its trophy to the NPC who sent you after it. Killing the creature alone is often not enough.
If you have beaten a boss and no new destination has appeared, check your inventory before assuming the game is broken. You are probably already carrying exactly what an NPC is waiting for. The safe habit is simple: sell ordinary fish freely, but hold onto anything with a unique name until every local quest has moved forward.
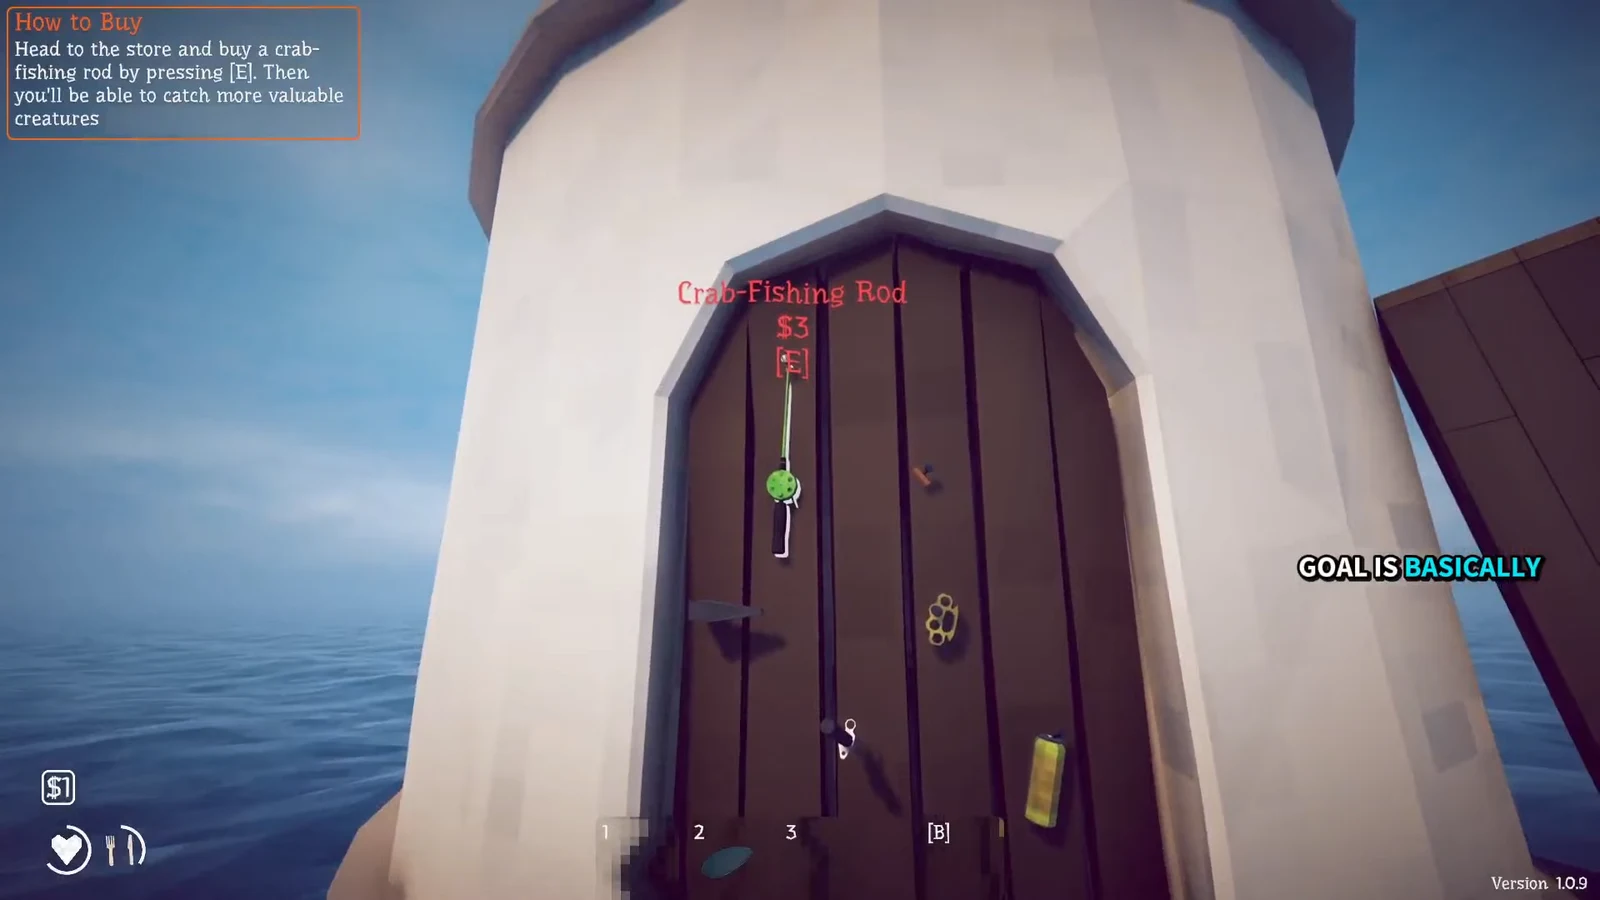
First purchases at the Lighthouse: rod, radar, and a weapon
You start on the Lighthouse island with a health bar, a hunger bar, and no money. Pick up clams with E, eat some to keep hunger up, and throw the rest into the Lighthouse Keeper’s mouth with Q to earn $1 each. That first bit of cash covers your opening gear.
Tip: When you reel a creature in, pull it well inland before you start hitting it. Catches try to flee back into the sea, and dragging them to the center of the island buys you the time you need to finish the kill.
How to leave the Lighthouse: the Spider Crab and boat keys
There is no boat key to buy in any shop. The key is tied to the Lighthouse Keeper’s quest about the creature that stole his beer. To trigger it, buy Beer for $12 and feed it to the Keeper, who hands back an Empty Beer Can. Use that can as bait to summon the Spider Crab, the first and easiest boss.
Fight it as a pattern, not a shootout. Let the crab charge, step sideways so it misses, and punish it during the stun with a short combo of three or four hits before repositioning. Do not chase it too far or it starts jumping and wastes your time. Watch the white bar under its health, because if that timer runs out the boss escapes and you have to summon it again.
Once the Spider Crab is dead, feed its meat to the Lighthouse Keeper to finish the quest and receive the boat keys. Board the boat, start it with the keys, and use the radar to sail northwest to the Forest island.
Forest island: leeches are on the ground, and buy the Shotgun
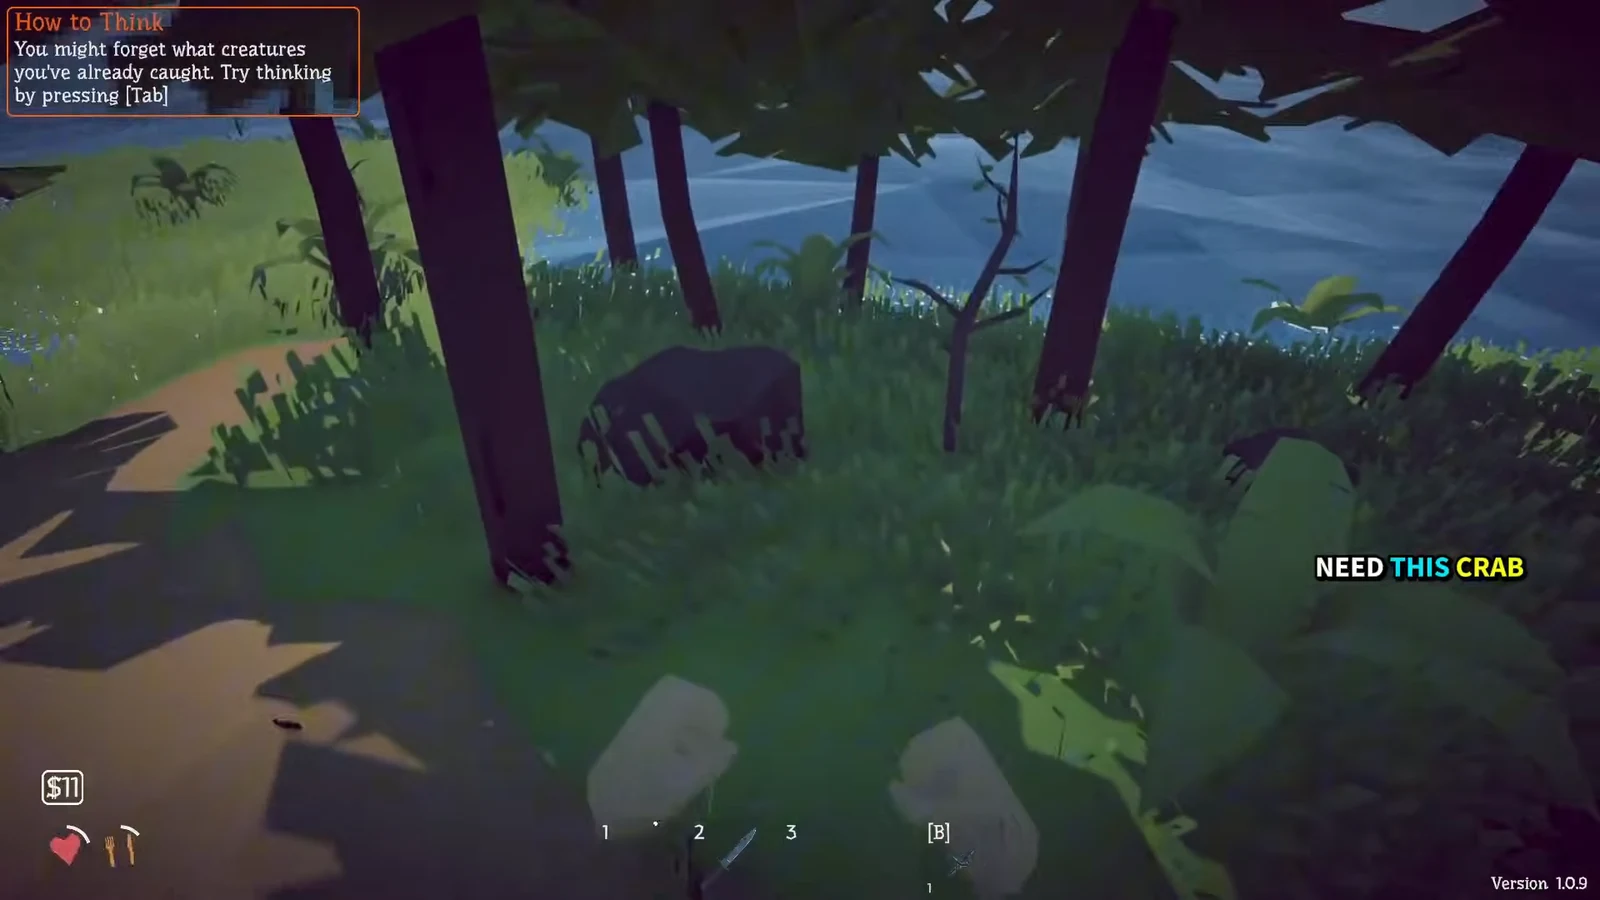
On the Forest island, a lady by the lake asks for leeches. You do not fish for these. They are small ground pickups scattered around the paths, vegetation, and the quest giver’s area, so lower your view and search the land. You need three of them. Hand them over and she turns them into the Modified Leech bait used to summon the Giant Piranha.
This is also where firepower matters. The Shotgun costs around $150 and carries you through a large chunk of the game, so prioritize saving for it over scattering money across the shop. Concentrate upgrades on one reliable weapon rather than spreading attachments across several guns. When you beat the Giant Piranha, kill its minions first, then take its skeleton back to the lady to unlock the coordinates for Island 3.
Note: Dynamite becomes available here for around $25 and blasts several creatures to the surface at once. It is great for a quick pile of fish, food, or early cash, but it bypasses the stylish kills that raise individual value, so treat it as a harvesting tool rather than your long-term money farm.
Unlock the grill on Island 3 and cook before selling
The grill is one of the biggest economic upgrades in the game. On Island 3, hunt the Blue Shark (summoned with the Standard Lure), then speak to the Grillmaster beside the grill to receive a lighter. That unlocks cooking, which adds up to a 1.5x multiplier to a sellable item’s value.
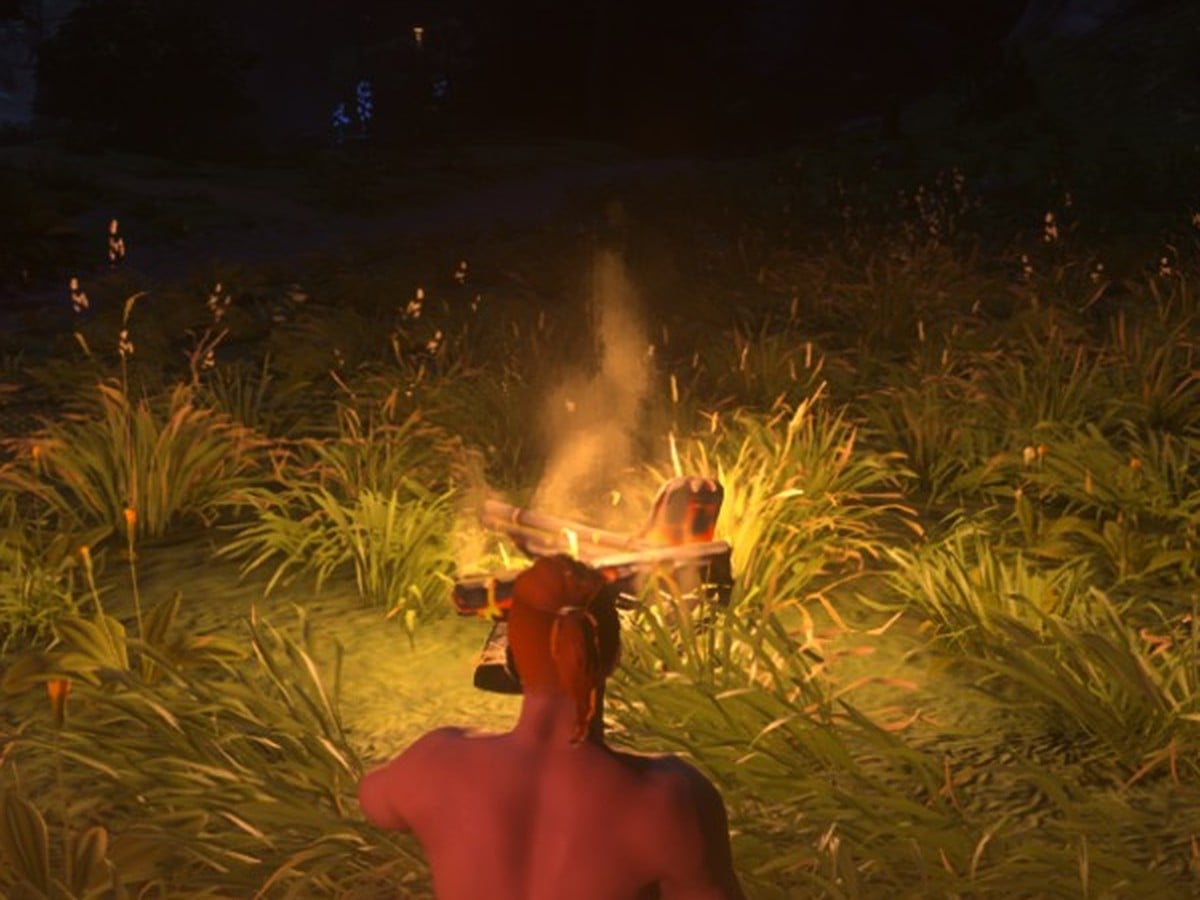
Timing is everything. Hold the item over the grill and press F to open its info tab so you can watch the cooking multiplier climb. Pull it off the moment it hits 1.5x. Leave it too long and the item turns black, its value collapses, and you have converted a good fish into charcoal. Once you have the grill, selling valuable raw fish is throwing money away.
Two extra uses are easy to miss. Cooking is not limited to seafood, so an obsolete weapon can be barbecued before you sell it for the same boost. Cooked creatures also restore more health, meaning a stash of cooked fish doubles as a medical kit. Stock up before summoning tougher bosses instead of trying to catch dinner mid-fight.
Match rod and lure to the island
Creatures are tied to specific locations, rods, and bait rather than a shared loot table. If nothing useful is biting, check your gear before casting the same lure again. Each island moves you up a lure tier, and certain bosses need their own unique bait.
| Island | Gear to use |
|---|---|
| Lighthouse | Crab-Fishing Rod with basic or junk bait; Empty Beer Can for the Spider Crab |
| Forest | Fishing Rod with early lure tiers; Modified Leech for the Giant Piranha |
| Desert | Improved lure tiers; Standard Lure for the Blue Shark |
| Rocks | Professional Lure and Professional Boss Lure |
| Volcano | Scientific Lure for native fish |
The pistol you unlock is easier to handle than the SMG, whose recoil is hard to control against fast-moving bosses without attachments. Use island terrain to your advantage too. Trees, houses, and boulders can briefly trap a charging boss, opening a clean window to shoot. And always keep an eye on your health bar, since early on you cannot tank many hits from a boss.
Get the story moving first and leave the completionist grind for later. Rare Drip variants and the full Fishipedia have low spawn rates, so chasing shiny fish before you have unlocked new islands is a poor use of time. Once you own a reliable weapon, the grill, and the radar, everything from the Forest island onward becomes a steady loop of better catches, stylish kills, and bigger paydays.