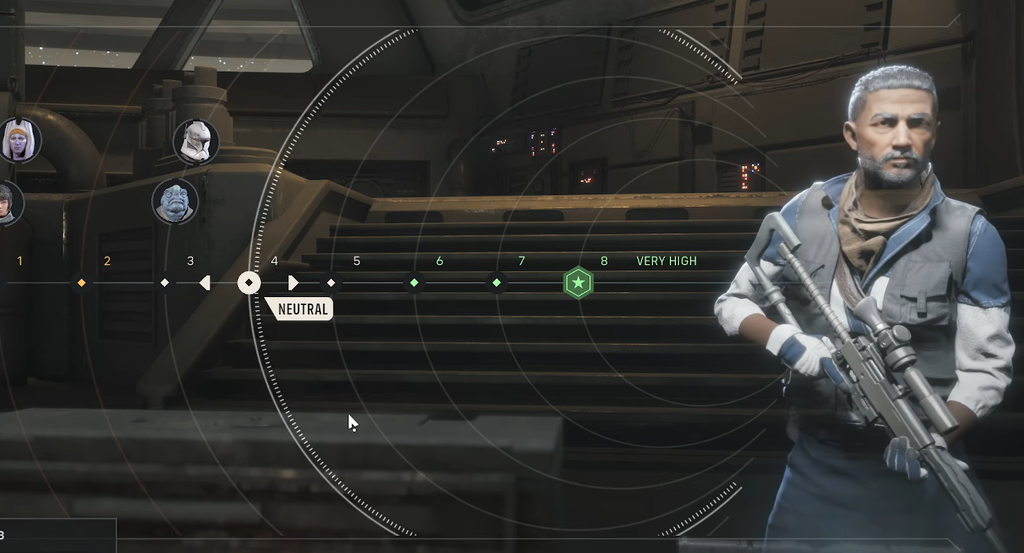
Bonds track how well two members of Zero Company work together, and building them is how you turn a loose group of mercenaries into a squad that actually covers each other. Every operator holds a separate relationship with every other operator, sitting on a scale that runs from a low of 1 up to a high of 8. Push that number up and you unlock stronger combat perks and extra Focus Points for both characters involved.
Quick answer: Deploy the same operators together on Operations and Tactical Missions to earn bond experience, then confirm the gain in the Personal menu under the “Bonds” sub-tab. Each level you clear unlocks a Cross Training reward you pick from in the Cross Trainings menu.
Every way to raise operator bonds
Each bond level needs a set amount of experience before it ticks over. There are several ways to feed that meter, and most of them come from simply putting the same characters in the field together.
| Method | How it builds bonds |
|---|---|
| Operations | Assign multiple operators to the same non-combat assignment; all of them bond with each other. |
| Tactical Missions | Any operators who clear a level together gain bond experience. |
| Combat actions | Calling for Backup and using a Medic to heal a squadmate raise the bond between those two. |
| Teamwork node (The Den) | Passively adds bond XP for everyone not currently deployed. |
| Dialogue | Picking the right response in a conversation nudges a bond up. |
| Cross Training | Some training options push a pair toward their next bond level. |
| Main story and Dilemmas | Story beats and major decisions can move bonds in either direction. |
Use Operations to bond several operators at once
Operations are the fastest way to grow bonds across a wide roster because they let you commit several operators to a single task. These are strategy-layer choices rather than combat, presenting a scenario with roughly three ways to handle it, from raiding a room on a derelict ship to deciding how to spend intel you have gathered.
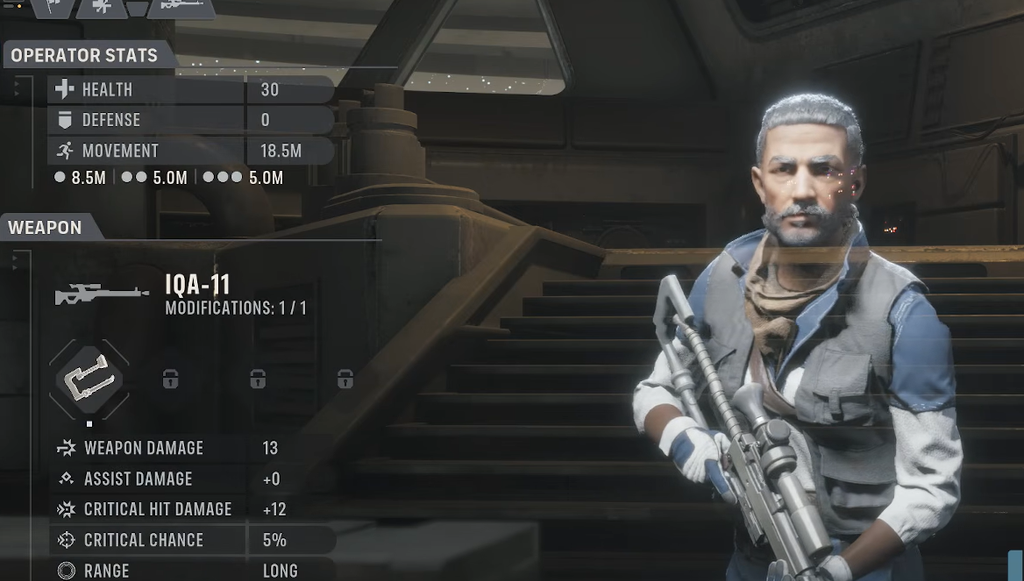
Because the bond gain is shared among the whole assigned group, running Operations whenever they are available is the most efficient way to lift multiple relationships in one move.
Build bonds during Tactical Missions
Missions are the second strongest method. Any operators who finish a level together come out with higher bonds, and specific in-combat actions add even more on top of the base gain.
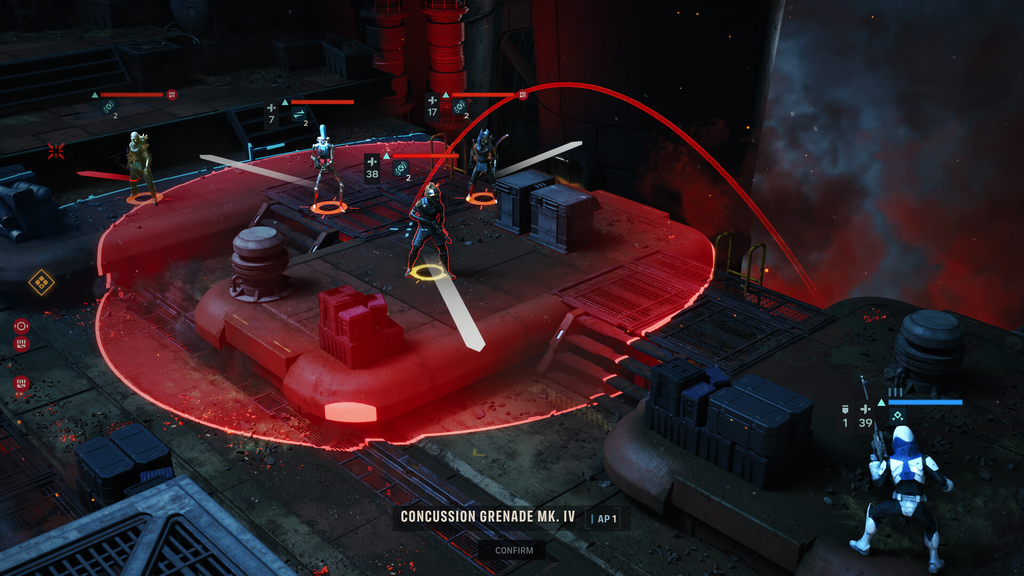
The most direct booster is Call for Backup, a Free Action that costs no Action Points. Each turn, one operator is chosen at random to make the call, and they pick which ally to bring in. That ally then Assists the caller’s next attack, which raises the bond between the two, as long as they also have line of sight to the target. Healing works the same way. When a Medic heals a squadmate, the relationship between those two operators grows.
The catch is that a mission squad tops out at four operators, so this route only strengthens a small, fixed team at a time. If you have a core four you already run together, missions are an ideal way to keep their bonds climbing.
Passive bond gains from the Teamwork node
Upgrading the Teamwork node in The Den quietly raises the bond level of everyone who is sitting out a mission. The gain is only 5 XP per operator, but it stacks up over time and works entirely in the background. Grabbing this upgrade early pays off most if you keep a large roster and rotate only a handful of operators into the field.
What higher bonds unlock
The main payoff is Cross Training. Every time a bond climbs a level, the pair can train together, and you choose one benefit that then applies to both operators, whether or not they deploy together. That choice is locked in once taken, unlike Focus Points, which you can refund and respend. The training options are drawn at random for each playthrough, so no two campaigns present them in the same order.
| Cross Training (High bond) | Effect on both operators |
|---|---|
| Timing Exercises | +5% Critical Chance |
| Reflex Fire Training | +1 Overwatch Damage |
| Freeform Training | +2 Focus Points |
Early-tier trainings hand out small permanent gains such as Ranged Combat Drills (+1 Ranged Damage), Fitness Work (+4 Max Health), and options for grenade, melee, and critical improvements. Conflict Resolution appears as an alternative that takes no passive and instead pushes the pair toward their next bond level. Reaching the maximum bond unlocks a special Cross Training that grants a Passive Ability, the strongest tier of reward.
On top of Cross Training, raising bonds is the primary source of Focus Points, which you spend in the Focus Tree to upgrade each operator’s Talents, Abilities, and Passives. Conversations between well-bonded characters also evolve as the relationship grows.
What lowers bonds
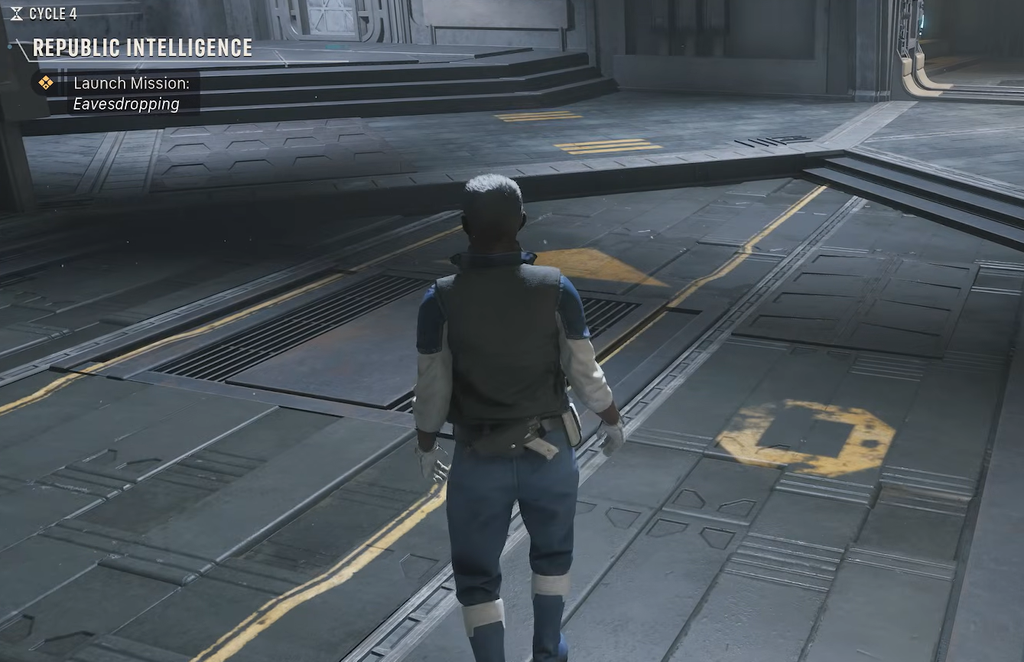
Bonds are not permanent gains. They can decay and fracture based on what you do, so a relationship you built up can slide back down. The largest single drops come from Dilemmas, decision points where every operator weighs in on Hawks’ choice. Each Dilemma offers three options, and each one raises or lowers the bond of every operator you currently employ, so one pick ripples across the whole squad.
Wrong dialogue choices and certain story moments can also cost bond experience. When a Dilemma forces a trade-off, prioritize the relationship between Hawks and your regular rotation over the operators you rarely deploy, since those core pairings are the ones earning you the most through Cross Training.
Note: If a bonded operator dies to permadeath, their relationships are severed for good, and the surviving squad may react to the loss.
To confirm any of this is landing, open the “Bonds” sub-tab in the Personal menu to read a pairing’s current experience and remaining amount to the next level, or check the Cross Trainings menu, which lists every pairing, its meter, and any training reward waiting to be claimed. Keep the same operators working side by side, watch the risk on your Operations, and think carefully at every Dilemma, and your best pairings will steadily climb toward the top of the scale.