The Den is where every run of Star Wars Zero Company is quietly won or lost. Between missions, this base lets you heal wounded operators, buy gear, extend your reach across the galaxy, and hand your squad permanent combat buffs. Credits are scarce, so the order you unlock upgrades matters as much as which ones you pick.
Quick answer: Spend your first Credits on the Black Market and Black Market Quality, then the Medbay and Droid Repair Bay at Den Level 2. After that, push Mid Zone Influence for its facility slot and Weapon Mod rewards, grab Combat Readiness and an extra Weapon Mod slot for your crew, and upgrade base Damage and Critical Chance on the weapons your squad actually carries.
How Den upgrades are organized
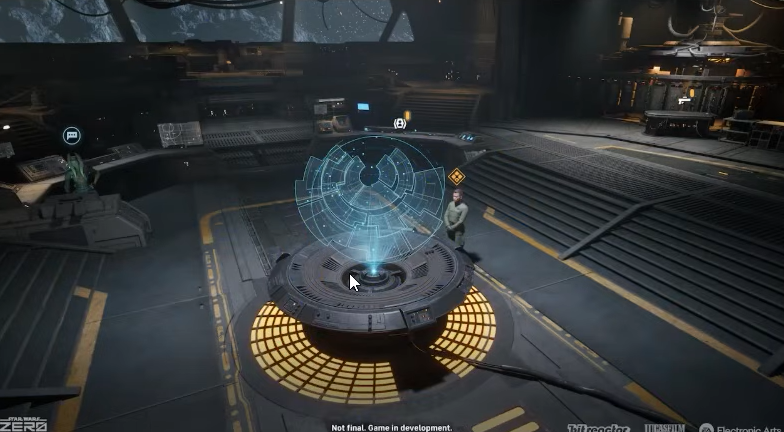
Den upgrades split into three branches: Facilities, Crew, and Weapons. Facilities cover the base itself, the Black Market, healing, and galaxy influence. Crew handles your operators, their slots, and their combat resources. Weapons buff the blasters your squad brings into the field. Higher Den Levels unlock deeper nodes, so some picks are gated until you level the base up.
Note: Because Zero Company runs on permadeath and limited saves at higher difficulties, upgrades that reduce risk, like healing and injury recovery, are worth more than they look on paper.
Best Facilities upgrades to unlock first
Facilities are the backbone of early progress, and a few nodes here unlock at very low Den Levels. The Black Market is available at Den Level 1 and lets you start buying specialized equipment for your operators, so it is the natural first purchase. The first level of Black Market Quality follows closely.
Black Market Quality has two useful early nodes. The first raises the tier of gear you can buy from Basic to Superior, which directly boosts operator stats. The second cuts overall prices by 15 percent. Better gear means you can attempt missions that basic-tier equipment cannot handle, and you can start improving the market as early as Den Level 2.
At Den Level 2, the first Medbay and the Droid Repair Bay open up. The Medbay is the only place to remove injuries from operators, which keeps your core squad alive and lowers the risk of losing them on a mission. An expanded Medbay also makes intel Operations less punishing, since those assignments can injure the operators you send. If two people get hurt at once, being able to put both on bed rest immediately saves a lot of trouble.
Tip: If missions are going smoothly, later Medbay tiers become lower priority. Buy the first level for the injury-removal function, then divert Credits elsewhere until you clearly need more capacity.
| Upgrade | Unlocks at | Why it matters early |
|---|---|---|
| Black Market | Den Level 1 | Opens equipment buying for operators |
| Black Market Quality I | Den Level 2 | Superior-tier gear; second node cuts prices 15% |
| Medbay (Medical Bed II) | Den Level 2 | Removes operator injuries, lowers mission and Operation risk |
| Droid Repair Bay | Den Level 2 | Keeps support droids operational |
Zone Influence: focus the middle zones
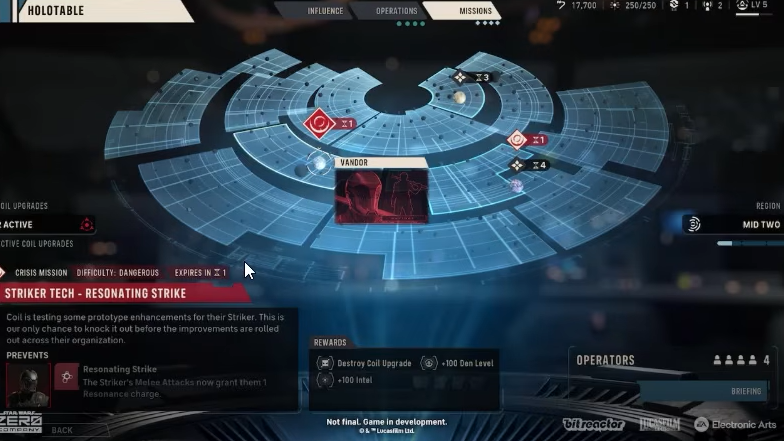
There are four Influence-focused upgrades, and the middle zones give the strongest payoffs. Fully raising intel in these zones unlocks permanent, run-defining rewards, so make Mid Zone Influence your priority among the Influence nodes.
| Zone (Level 3 reward) | What you get |
|---|---|
| Zone Dorn | An extra facility upgrade slot |
| Zone Forn | A Weapon Mod slot for all operators |
| Zone Leth | Higher-quality gear at the Black Market |
| Zone Esk | Permanent health increase for all operators |
The extra facility slot and the squad-wide Weapon Mod slot compound with everything else you buy, which is why maxing the middle zones first is worth the effort. Treat other Networking and Zone Influence upgrades as situational, worth taking only when a specific zone holds a reward you need right now.
Best Crew upgrades to unlock first
Crew upgrades tune your operators directly, and once your basic Facilities are set, this is where the biggest combat gains live. A handful stand out when Credits are tight.
- Combat Readiness I grants +1 Advantage at the start of every combat encounter. Advantage powers many of the strongest tactical abilities, so having more of it from turn one shortens fights and makes tough scenarios easier.
- Additional Weapon Mod Slot lets every operator run more mods per blaster, which noticeably raises damage output across the squad.
- Teamwork (Level 3) unlocks the Lounge, granting Bond XP to operators who sit out a mission. Investing early builds stronger bonds and better progression across the whole roster.
- Increased Crew Quarters I raises your hiring cap, useful if you want a wide bench with an Astromech, a Medic, and a boss-killer on hand.
Crew Quarters is the one to hold off on if you plan to run a small, tightly built team. A compact crack squad performs just as well as a wide roster of expendables, so pour those Credits into Advantage generation and Weapon Mod slots first. Advantage-focused operators like Cly make Combat Readiness even more valuable as you unlock them.
Best Weapon upgrades to unlock first
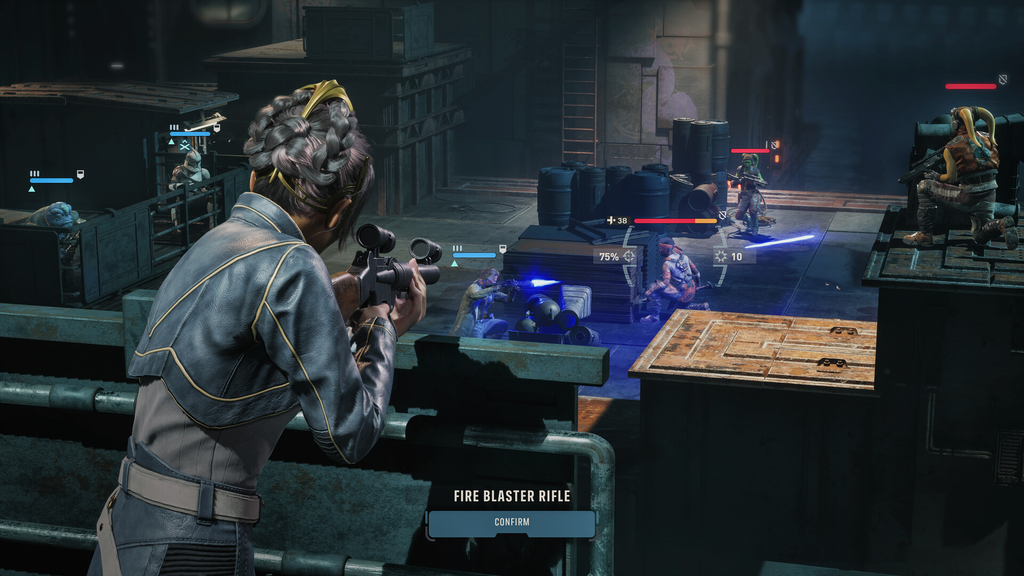
Weapon upgrades depend entirely on what your squad carries into the field, so improve the blaster types your operators actually use. Blasters are the main damage source for most of your crew, so steady investment here pays off across the whole campaign.
Two categories deserve priority. Base Damage upgrades unlock at Den Level 3 for everything except the Longarm, and while unflashy, they add consistent power to every shot. Critical Chance upgrades matter most if you build operators around crits, since several of the strongest operators lean on critical damage and become far more reliable when they hit crits often. This gets more pronounced once dual specializations come online.
At Den Level 2, Pistol Movement Distance or Rifle Movement Distance is worth grabbing when multiple squad members share that weapon, giving you more room to maneuver. Range and Overwatch upgrades are more situational, since a weapon’s effective range scales with your chosen difficulty. Feel out whether you need them in battle before spending on them.
A simple early spending order
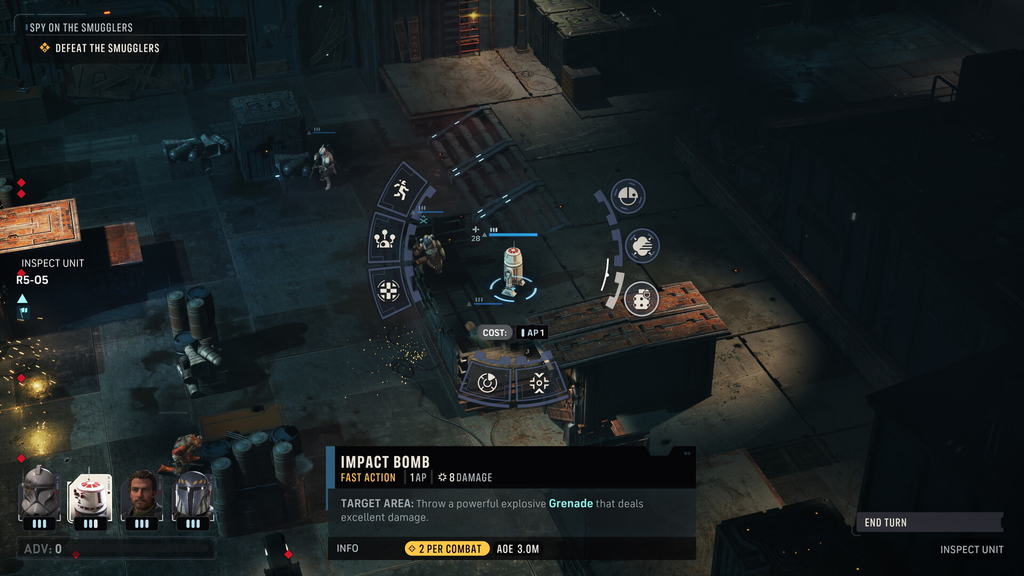
Since Credits stay tight throughout, the goal is to front-load upgrades that compound. Cheaper, higher-tier gear, faster access to Advantage, extra mod slots, and reliable injury recovery all keep your squad alive and hitting harder as the enemies get tougher deeper into the Clone Wars story.