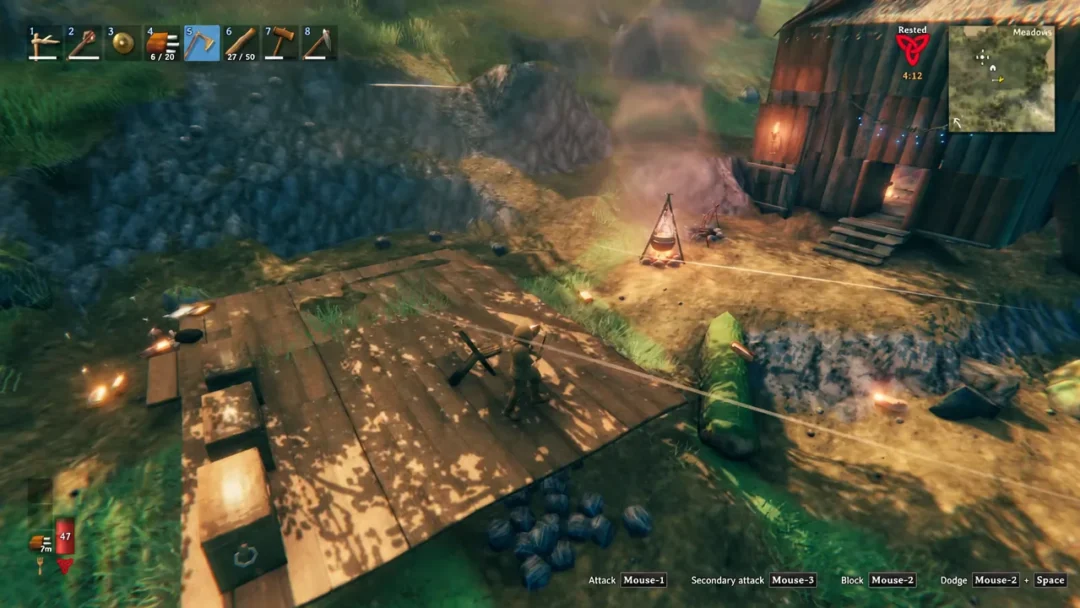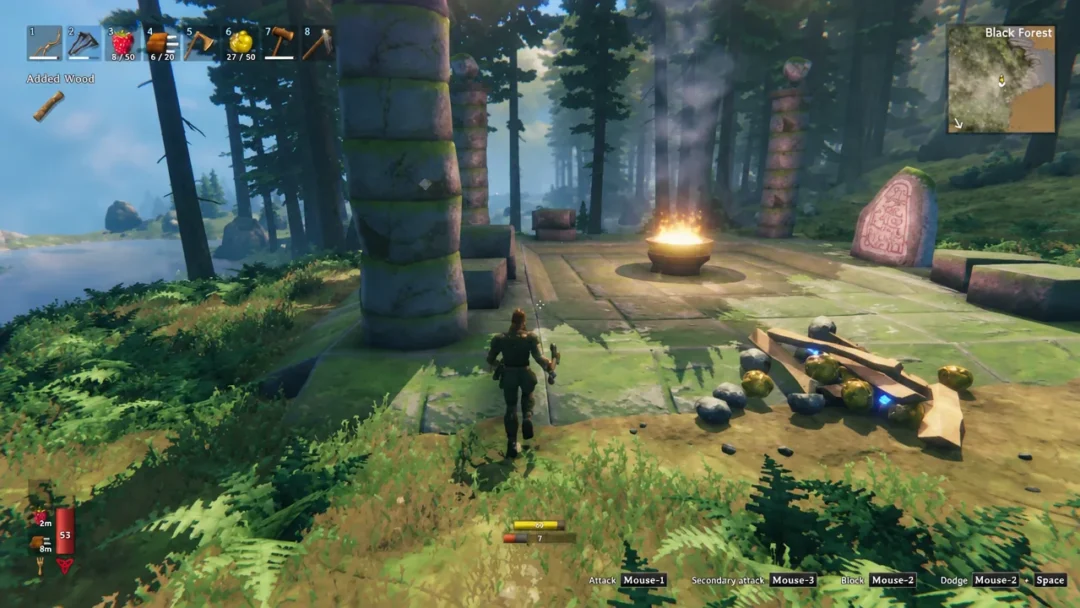
Valheim’s map is enormous, and sailing a longship back to base after every ore run gets old fast. Portals fix that. Two of them, tagged with the same word, turn a 20-minute trek into a few seconds of loading. The catch is that portals only work in pairs, the tags are fussier than they look, and a single copper ingot in your pocket will stop you cold.
Quick answer: Build two portals (20 Fine wood, 10 Greydwarf eyes, 2 Surtling cores each) within range of a Workbench, press E on each one and type the exact same case-sensitive tag, then walk into either portal to teleport.
Portal recipe and materials in Valheim
Each portal costs the same three materials, and you need two portals for a working link, so double everything before you set out. The recipe appears in the Misc tab of your hammer build menu once you have picked up one Fine wood, one Surtling core, and one Greydwarf eye for the first time.
| Material | Amount | Where to get it |
|---|---|---|
| Fine wood | 20 | Birch and oak trees in the Meadows, chopped with a bronze axe or better. Shipwrecks in the Black Forest also drop it. |
| Greydwarf eye | 10 | Greydwarves, which swarm the Black Forest. |
| Surtling core | 2 | Chests and pedestals inside Black Forest burial chambers, or Surtling kills in the Swamp. |
The bronze axe is the real gate here. To get one, you need to beat Eikthyr for Hard antlers, craft an Antler pickaxe, mine copper and tin in the Black Forest, and smelt bronze at a Forge. The axe itself takes 4 Wood, 8 Bronze, and 2 Leather scraps. Only then can you fell the pale birch and oak trunks that give Fine wood.
How to place a portal
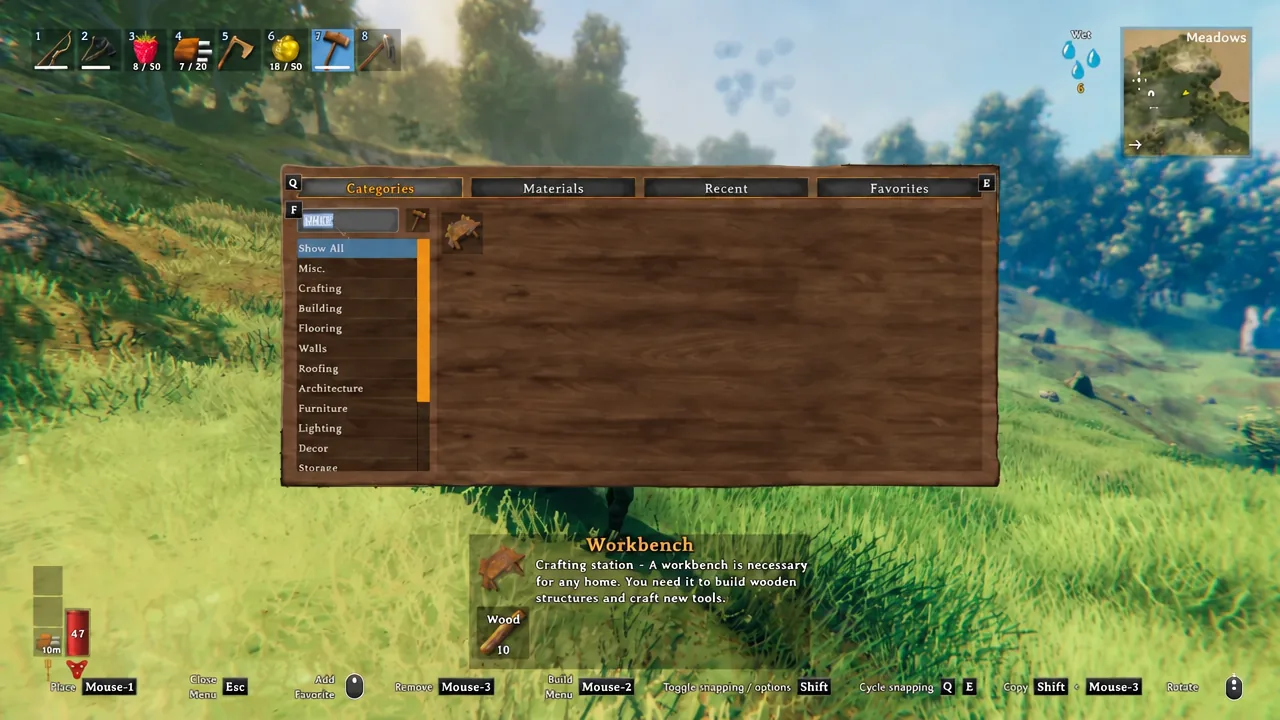
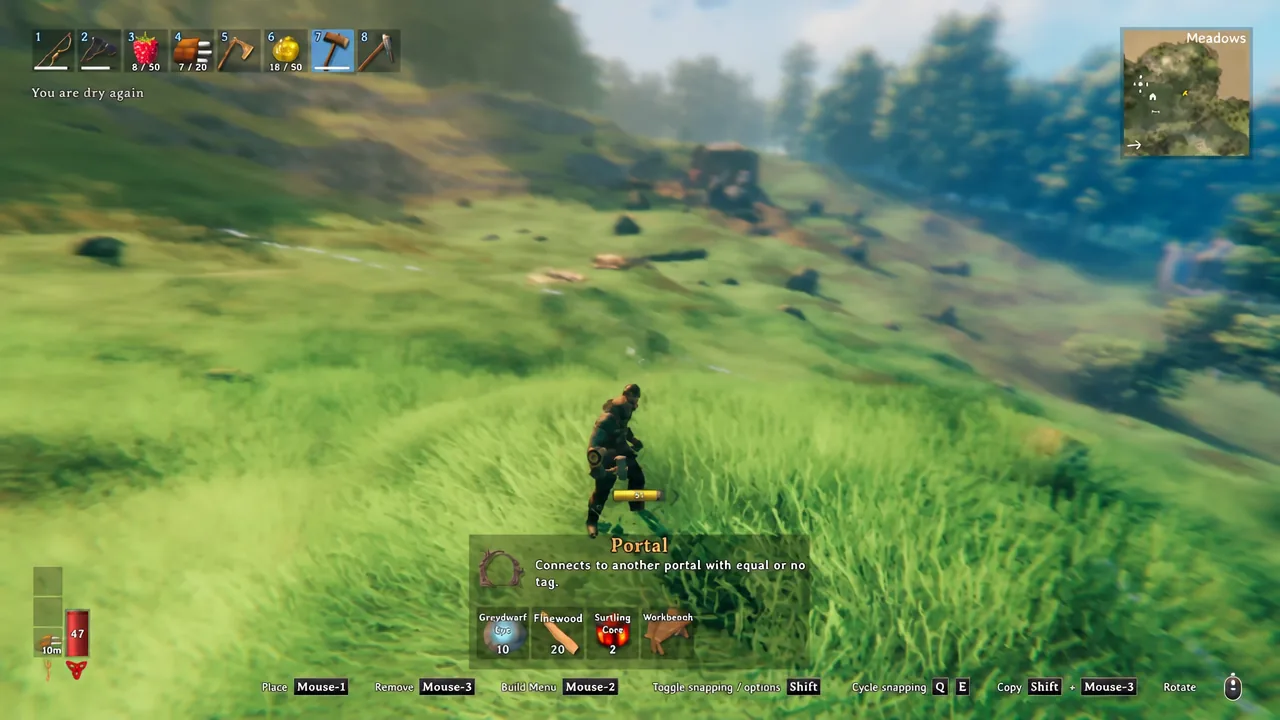
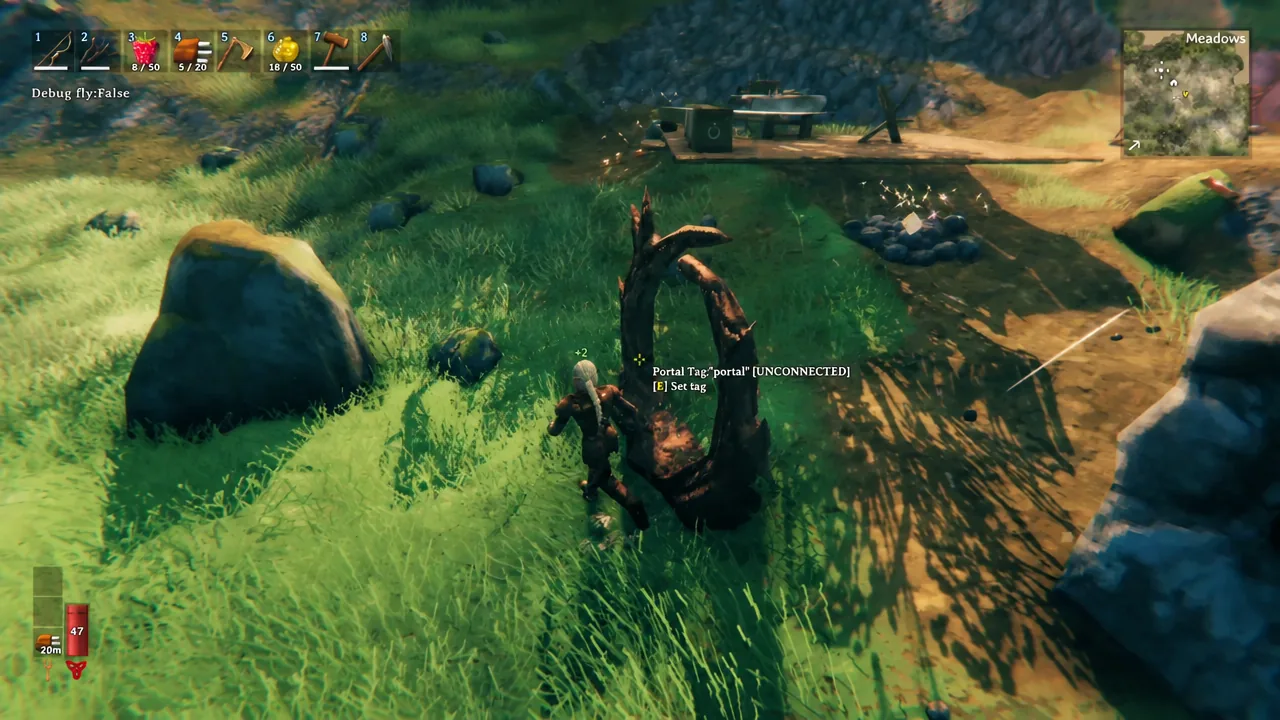
11 or swamp1 works fine. Until it finds a partner, the portal will read Portal Tag: [UNCONNECTED].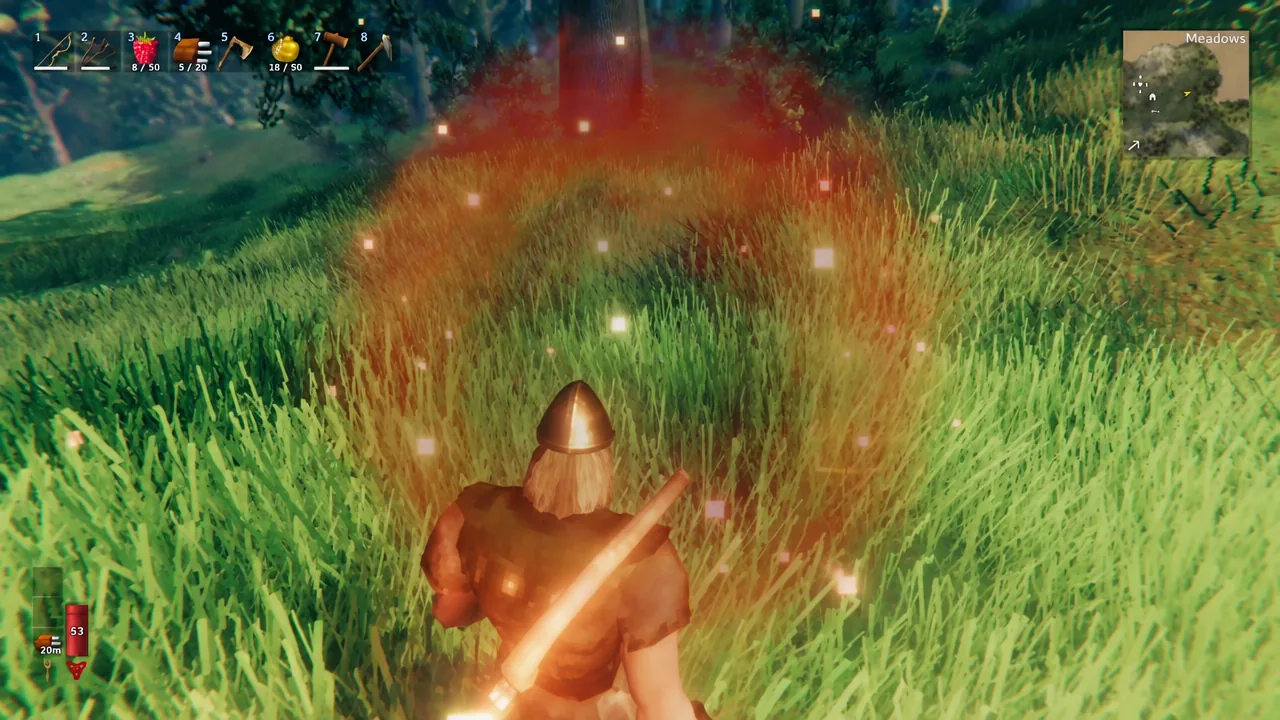
How portal tags pair up
Tagging is the whole mechanic, and it behaves in a very specific way. Portals hunt for any other portal carrying the same tag, and tags are case-sensitive. Cave and cave are two different destinations, which is the single most common reason a link silently fails.
- A portal links to exactly one other portal. Never three, never a menu of destinations.
- Blank counts as a tag. Two untagged portals will pair with each other on their own.
- If four portals share the tag
asdf, the first two pair off and the third and fourth pair off, in the order the tags were set. - Retyping a tag is how you switch destinations. One portal at home can reach any outpost if you keep re-tagging it.
If you have the Surtling cores to spare, the cleaner setup is a portal hub: build a dedicated portal at base for every outpost, name each one after its biome, and stop re-typing tags entirely. Marking the tags on your map next to each portal saves a lot of guessing later.
Note: portals cannot be built everywhere. Troll caves, burial chambers, and areas protected by a Ward will block placement.
How to tell the connection worked
A linked portal stops reading [UNCONNECTED] and starts glowing, with an audible hum as you approach. Walk into it and the teleport begins. The trip normally takes about eight seconds, and you are invulnerable for the entire duration. Your character is physically moved to the destination after roughly two seconds, but you cannot act until the sequence finishes.
Active effects keep ticking down while you travel, but they stop applying to you mid-teleport, which is why walking through a portal is a reliable way to shrug off poison damage. If the exit is obstructed, the game will spend up to 15 seconds looking for a clear spot, eventually dropping you above the portal.
Three things account for nearly every failed trip. The tags do not match exactly, another portal already claimed that tag as its pair, or you are carrying something that cannot be teleported. In the last case you will see an on-screen warning that an item is preventing you from teleporting, even though the portal itself is lit and working.
Items that block teleporting
Restricted items are marked in your inventory with a small blue portal icon crossed out in red. Raw ore and smelted metal are the big ones, which is why hauling copper home still means a longship or a cart. Finished metal gear is fine, so tools, weapons, and armor travel with you without complaint.
| Group | Blocked items |
|---|---|
| Copper and tin | Copper, copper ore, copper scrap, tin, tin ore |
| Bronze | Bronze, scrap bronze |
| Iron | Iron, iron ore, scrap iron, iron pit |
| Silver | Silver, silver ore |
| Black metal | Black metal, black metal scrap |
| Flametal | Flametal, flametal ore |
| Other | Dragon egg, Dvergr extractor, charred cogwheel, mechanical spring, Hildir’s chests |
Everything a portal is made of can pass through a portal, which is what makes the “pack a spare portal kit” habit so useful. Drop a Workbench and a portal before a boss fight or deep into a new biome, and dying stops being a long walk. Portals also work while you are encumbered, so hauling wood, stone, or crops home mostly retires the cart. On dedicated servers, teleport restrictions can be adjusted, so what your world allows may differ from the defaults.
Stone Portals: Moving ore through a portal
The metal ban lifts once you reach the Ashlands. The Portal – Stone version carries everything the wooden one refuses, including ores, metals, dragon eggs, Hildir’s chests, and mechanical springs.
| Requirement | Details |
|---|---|
| Materials | 30 Grausten, 10 Greydwarf eyes, 2 Molten cores |
| Grausten | Smash Ashlands ruins with a pickaxe |
| Molten cores | Putrid Holes and Charred Fortresses in the Ashlands |
| Station needed | A Stonecutter in range (10 Wood, 2 Iron, 4 Stone), which itself needs a Workbench |
| Build tab | Misc, same as the wooden portal |
Stone Portals use the same tag system and will happily connect to an ordinary wooden portal, so you do not have to rip out your existing network. The restriction is directional, though. Carrying blocked items only works on the way out of a Stone Portal, so shipping ore in both directions means building stone at both ends.
Once the first pair is up, the rest is just logistics. Keep one portal at base per outpost, tag them after the biome they lead to, and tuck each remote portal behind a wall or out of sight, because anything that can chop wood can also chop your ride home.