The Faded Citadel is one of the corrupted gates in Mortal Shell 2, and almost all of it is a single sub-location called the Ashen Sanctum, which runs from the first hallway past the Gate of Infinity all the way to Sir Isaac’s arena. It has three beacons, three Tarstones inside its walls, a gland, and a mechanic that will waste your stamina for twenty minutes if nobody explains it first.
Quick answer: Cleanse the Citadel Annex, Citadel Atrium, and Scholar-Prince’s Chamber beacons, collect the Summoning Stone, Stillblade’s Stone, and Faded Gland, defeat Solnir and Sir Isaac, then siphon 26 Ovum.
How to reach the Faded Citadel
The citadel sits behind the Gate of Infinity, the corrupted gate found in the Vestige of Infinity. Several approaches exist, but the cleanest run from the Outskirts of Mammon beacon goes through the Road to Absolution and Castigator’s Keep, across the stone bridge to Barren Crest, then through the snowy canyon to The Silent Steps.
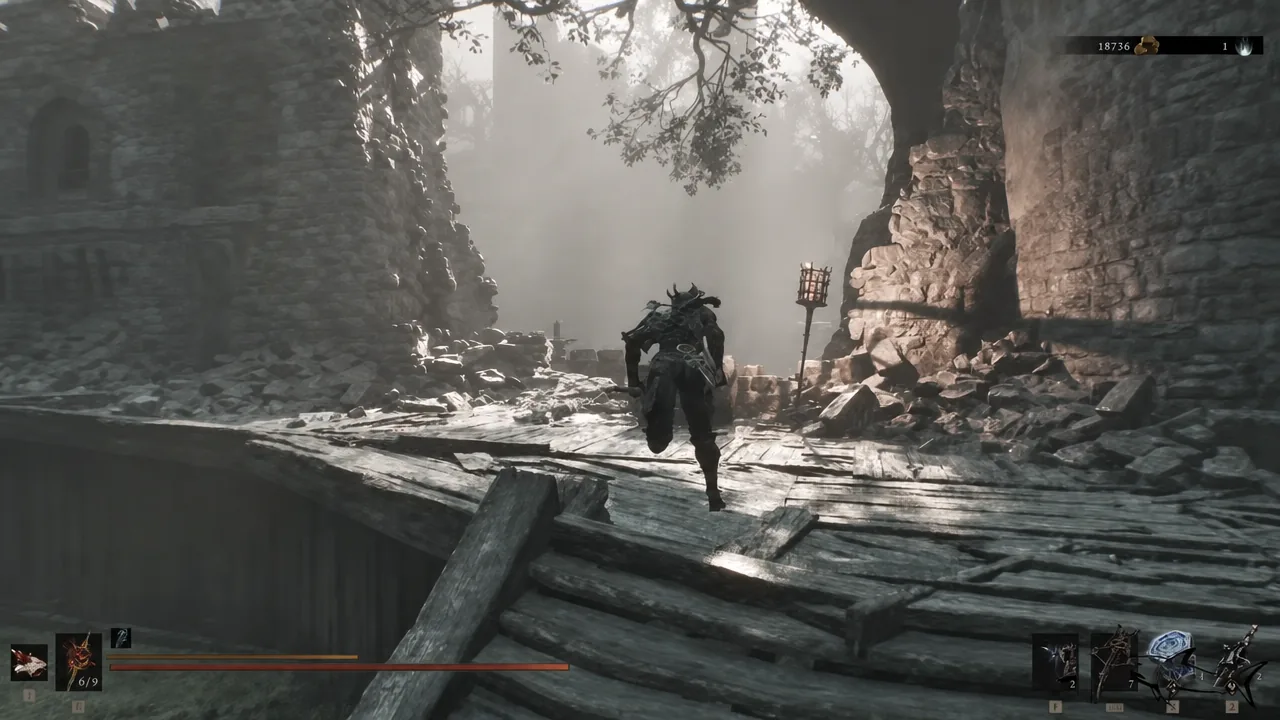
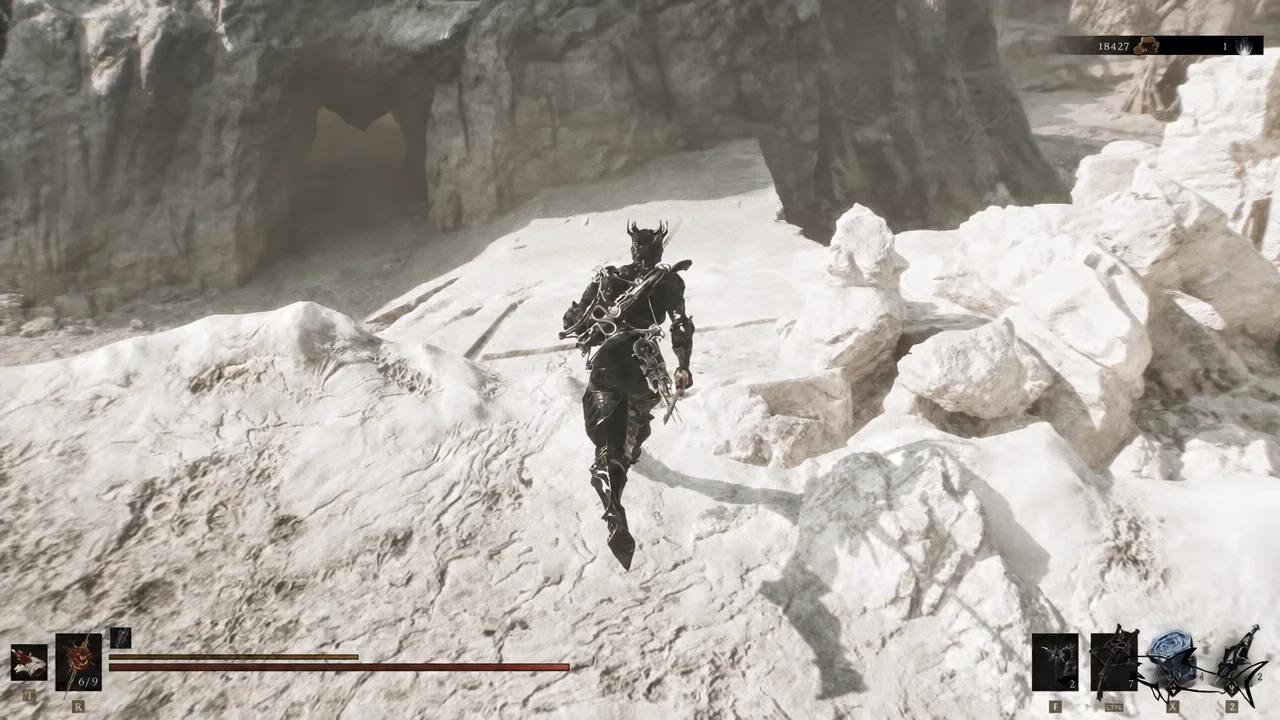
From The Silent Steps, follow the narrow cliff ledges and bridges into the Vestige of Infinity. Once the white terrain appears you are close. A Starved Harridan mini-boss blocks the last stretch; parry its regular swings, dodge the unblockable ones, and mind the weight chained to its leg once its health drops. Beating it hands over Voltaic Essence and opens the path to the gate.
The Gate of Infinity beacon has to be cleansed before the gate itself opens. Inside, you read a book on the right-hand bookshelf to open the way forward, then find the loose book resting on top of the shelves among the candles and return it to the pedestal. That leads to a Gloombound Wraith, which shields itself in red at roughly half health until you destroy the glowing red books on the shelves. Cleansing the beacon awards the Curseblood Stone.
Blue flames: the rule that governs the whole citadel
Blue flame pillars are scattered through the Ashen Sanctum, and anything standing inside their light takes no damage at all. They also hold gates and doors shut. You have two ways to deal with them, and both are valid.
- Shoot the flame with your sidearm until it goes out. This strips the invulnerability and opens whatever door it was sealing.
- Taunt enemies out of the flame’s radius and fight them one at a time in the open. Faster when a crowd is packed around a single pillar.
- Use the blood offering altars inside the dungeons. You lose a sliver of health and gain temporary immunity to the blue flames in range.
Never open a fight while a pillar near the arena is still lit. Solnir in particular becomes effectively unkillable if you charge in before the flames are out.
Faded Citadel completion checklist
| Pickup | Location | Requirement |
|---|---|---|
| Summoning Stone | Ashen Sanctum, sealed room | Shoot the blue flame to open the door |
| Tooth of Nochte | Side area on the staircase landing | Detour before the egg cave |
| Faded Gland | Waterlogged cave below Citadel Annex | Drop down the shaft, clear Gloom Seekers |
| Stillblade’s Stone | Hushed Sanctum dungeon | Ride the giant creature across |
| Winterglass Crystal | Servant’s Hall, chest above the taint | Grab before cleansing the beacon |
| Solnir Shard | Solnir, the Gloom Seeker | Boss drop |
| Scholar’s Wormstone | Sir Isaac, the Scholar-Prince | Boss drop |
Beacons cleansed inside the gate, in order: Citadel Annex, Citadel Atrium, and the Scholar-Prince’s Chamber beacon that only appears after Isaac falls. Loose coin and upgrade material is everywhere, but the two stashes worth a detour are the 3,000 coins and two Laterites at the bottom of the room with the canyon crawler, and the Winterglass Crystal, which Merrick buys for 1,000 coins.
Ashen Sanctum route to the Citadel Annex Beacon
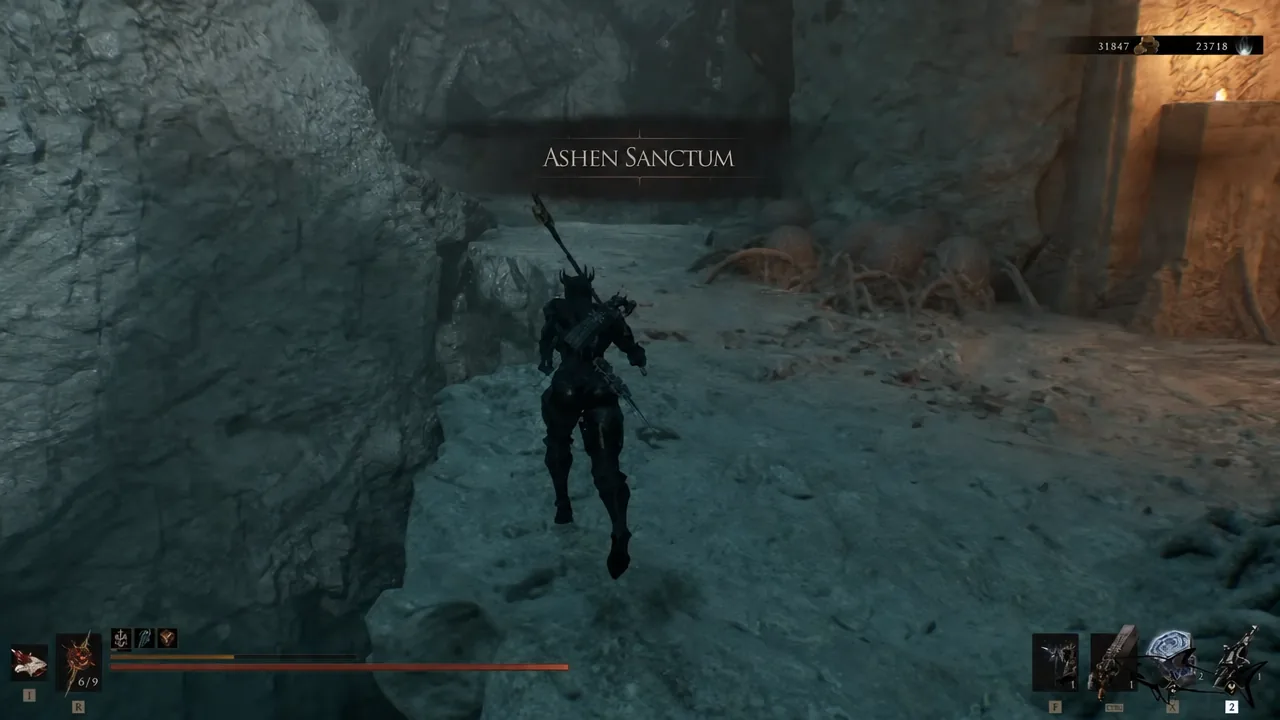

Hushed Sanctum dungeon and the Stillblade’s Stone
Inside the beacon, fight your way through the stone tunnel. The bridge section has blood offering altars on it, and taking the offering is the easiest way to survive the crowd waiting on the other side, since it makes you immune to the flames in range.
At the end, climb the steps and stand on the pressure plate. An enormous bug-like creature rises out of the dark. Jump onto its head, stay still, and let it carry you across before hopping off on the far platform. Kill the slithering enemy waiting there, and the chest behind it holds the Stillblade’s Stone, which boosts stealth attacks.
Cleanse the corruption, collect the Ovum and the Glimpse, and return to the surface.
Faded Gland location below the Citadel Annex
This is the one item people finish the gate without. Back outside the beacon, follow the circular path to the south and drop down the deep shaft into the waterlogged cave underneath. Multiple Gloom Seekers patrol the water, so clear them before you start opening chests.
The chest at the bottom contains the Faded Gland, which is needed later. Several more chests down here are stuffed with gold and sellable junk. Once the area is empty, take the launch pad to get back up to the beacon.
Do this before you cleanse the Annex beacon and push on, since the drop is much easier to find while you are still oriented around that balcony.
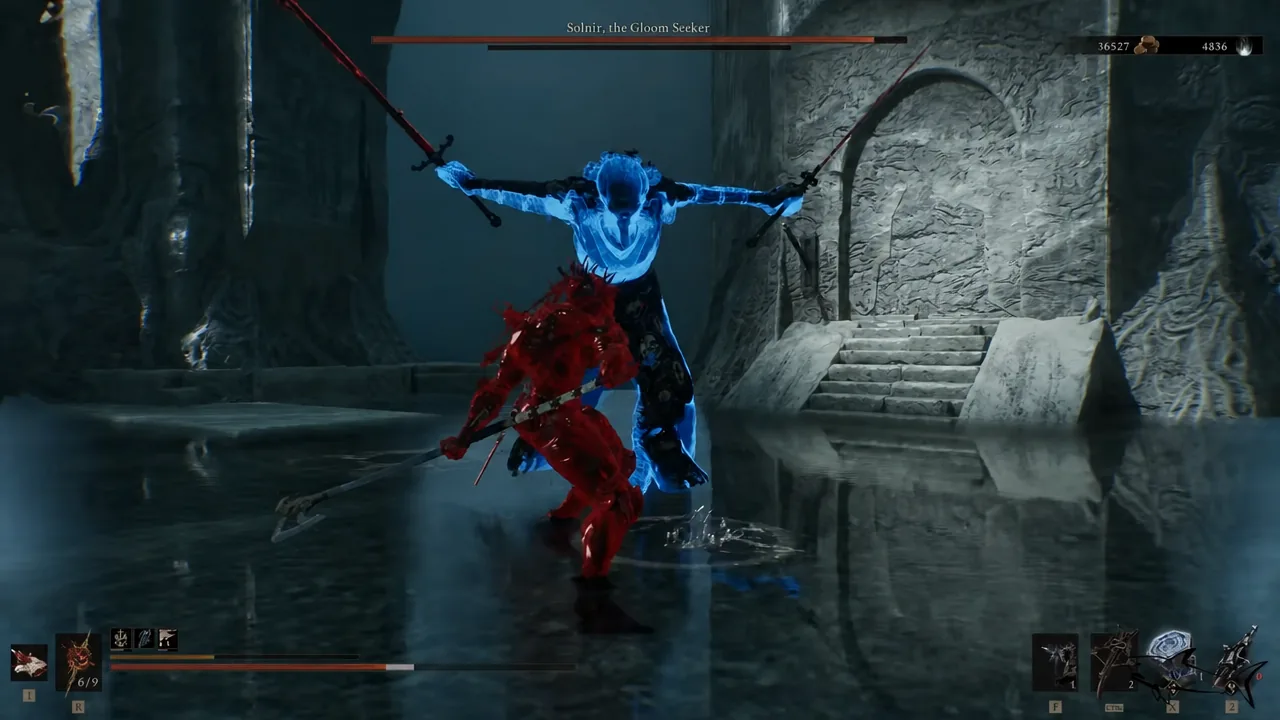
Solnir, the Gloom Seeker
Take the long staircase beside the Citadel Annex Beacon. At the top, another group huddles under a blue flame, and two Ventrium sit behind the tree on your right. Put the flame out to open the next stairwell.
Turn right at the top and you will see a small arena with two blue flame pillars. Shoot both from outside before you step in. Solnir fights like a Dual Blade Assassin with a much deeper health pool, constantly sidestepping and dodging sidearm shots, so close the distance and punish the end of his combos instead of trying to snipe him.
He drops the Solnir Shard and a door opens nearby leading to an elevator up to the next floor.
Citadel Atrium Beacon and the Servant’s Hall
Ride the elevator and cross the chain-suspended platform to the Bone Gate on the other side. After landing, head left until you find the room with a blue flame and a canyon crawler. Go all the way down inside for 3,000 coins and two Laterites, then carry on to the left to reach the Citadel Atrium Beacon.
The Servant’s Hall waits inside. There is no single boss here, just a large group of Servants of the Scholar-Prince sitting inside the range of two flame pillars. Knock out one pillar first, which is enough to make the whole room killable, then work through the crowd.
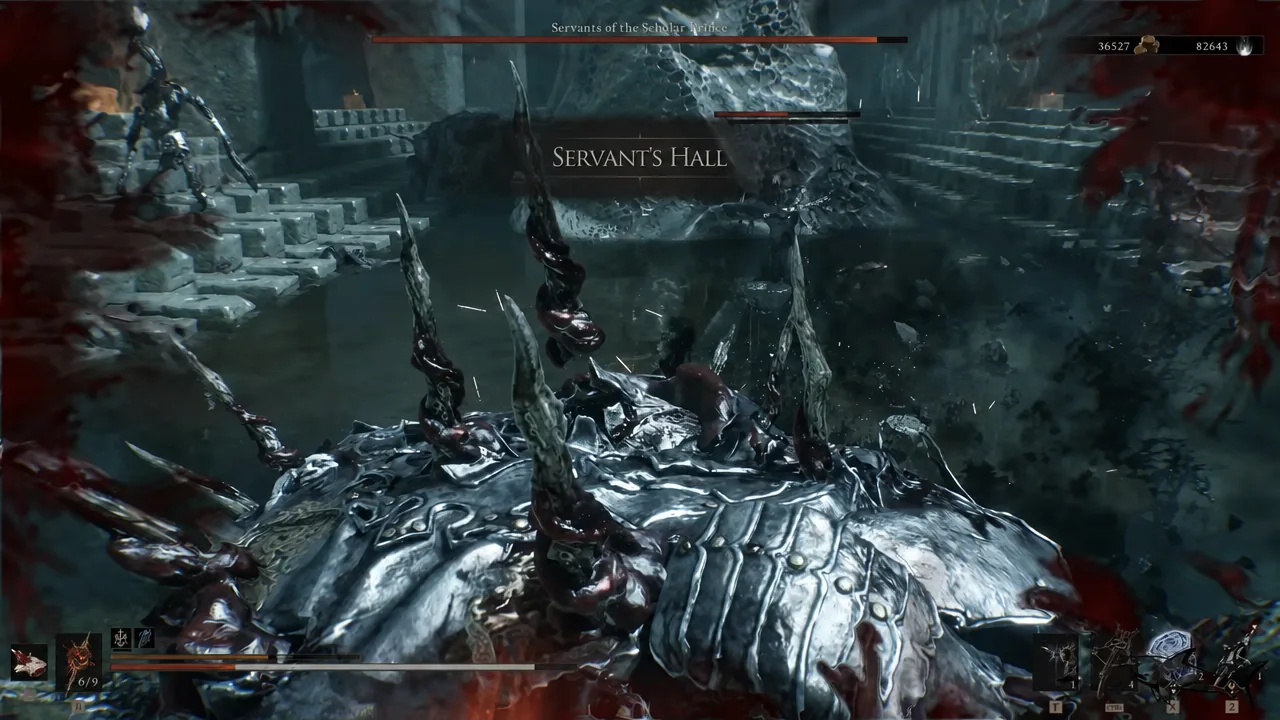
Before you claim the Ovum and cleanse the beacon, check the chest just above the taint for the Winterglass Crystal. It has no combat use, but Merrick pays 1,000 coins for it.
Sir Isaac, the Scholar-Prince
Head back to the exit of the previous room and follow the main path around to the right and up the steps to another Bone Gate. A few paces past it you will find a summon sign for Lazlo and Ruk, the giant raven, who has a few words about the man waiting ahead.
Phase one: sword and shield
Isaac opens with a sword and shield and counters almost instantly after he is hit, so land one attack and back off rather than chaining swings. His grounded attacks are the parryable ones and by far the most predictable. When he launches into the air, dodge and do not try to trade.
Two moves give you a real opening. The long lunging leap-slash leaves him briefly rooted on landing, and the spinning aerial slam does the same. Both are worth a hit or two. His shield also blocks sidearm fire in this phase, so summoning Lazlo mainly buys you aiming time rather than damage.
Phase two: three swords
Around the halfway mark Isaac throws away the shield and picks up three blades. He becomes shootable but also far more aggressive, chasing you across the arena with long, looping attack strings. The mistake that kills runs here is attacking into those strings and getting caught in the follow-up.
Give up the initiative entirely. Ride out each combo, land a single hit while he recovers, and reset. Tiel is a strong pick for this fight, since a perfect dodge leaves a poisoning clone behind that Isaac will happily keep hitting.
Killing him yields the Gloom and the Scholar’s Wormstone.
How to confirm the Faded Citadel is finished
Isaac’s death makes the gate’s final beacon appear. Cleanse the Scholar-Prince’s Chamber beacon, step into the chamber packed with eggs, and siphon the Ovum. The on-screen count reading 26 Ovum siphoned is your confirmation that the gate is fully cleared, with all three interior beacons cleansed and both bosses down.
From there you can fast travel back to Marrow Keep to hand over the Ova, sell the Winterglass Crystal to Merrick, and slot the four Tarstones you walked out with before heading for the next gate.