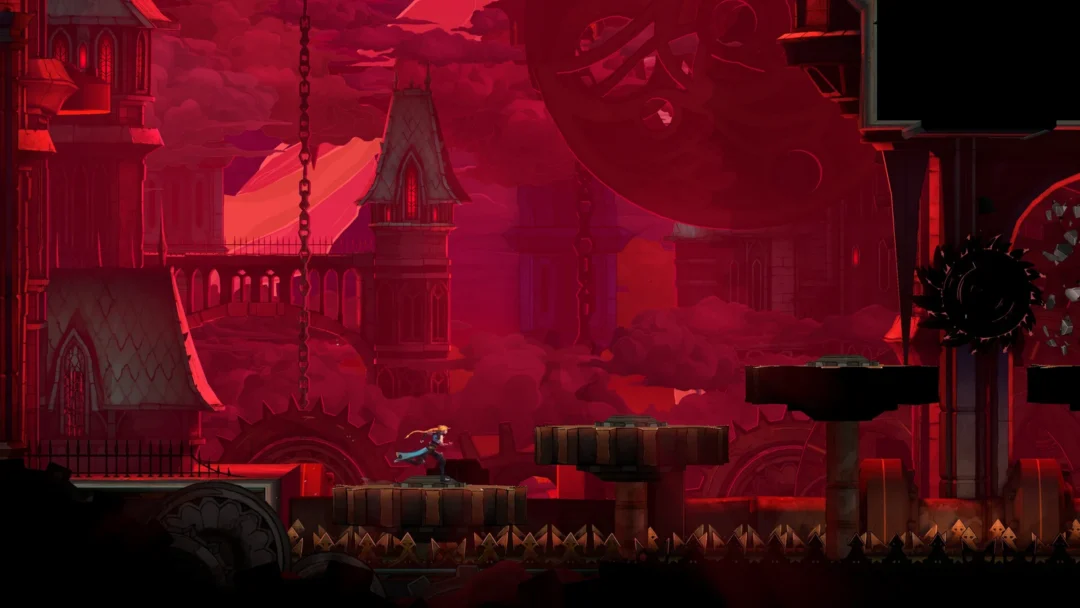
After Medusa falls in the Serpents’ Lair, the map objective still reads “UNLOCK THE GATE TO THE CATACOMBS”. You hold The Prophetess’s Key, but the last key is on top of the Prison Tower, guarded by Joan of Arc. This covers the route from the Serpents’ Lair up to Joan, back down through the Catacombs of Paris, and into the first Death fight.
Quick answer: Beat Joan of Arc atop the Prison Tower for The Warrior’s Key, clear the Chaos Shards with Holy Light, open the Gate to the Catacombs, then descend to the Stairway to Hell to reach Death.
Reach Joan of Arc atop the Prison Tower
If The Prophetess’s Key is not placed yet, you can make a side trip to the Gate to the Catacombs, which is in the Abandoned Sewers at the lower-left corner of the Paris Streets map, and use INTERACT [R1] to set it.
Beat Joan of Arc for The Warrior’s Key
Joan is a single boss with one red health bar named “JOAN”. Learn her pattern and bring the bar down. For her moves across both encounters, work from the Joan of Arc fight breakdown.
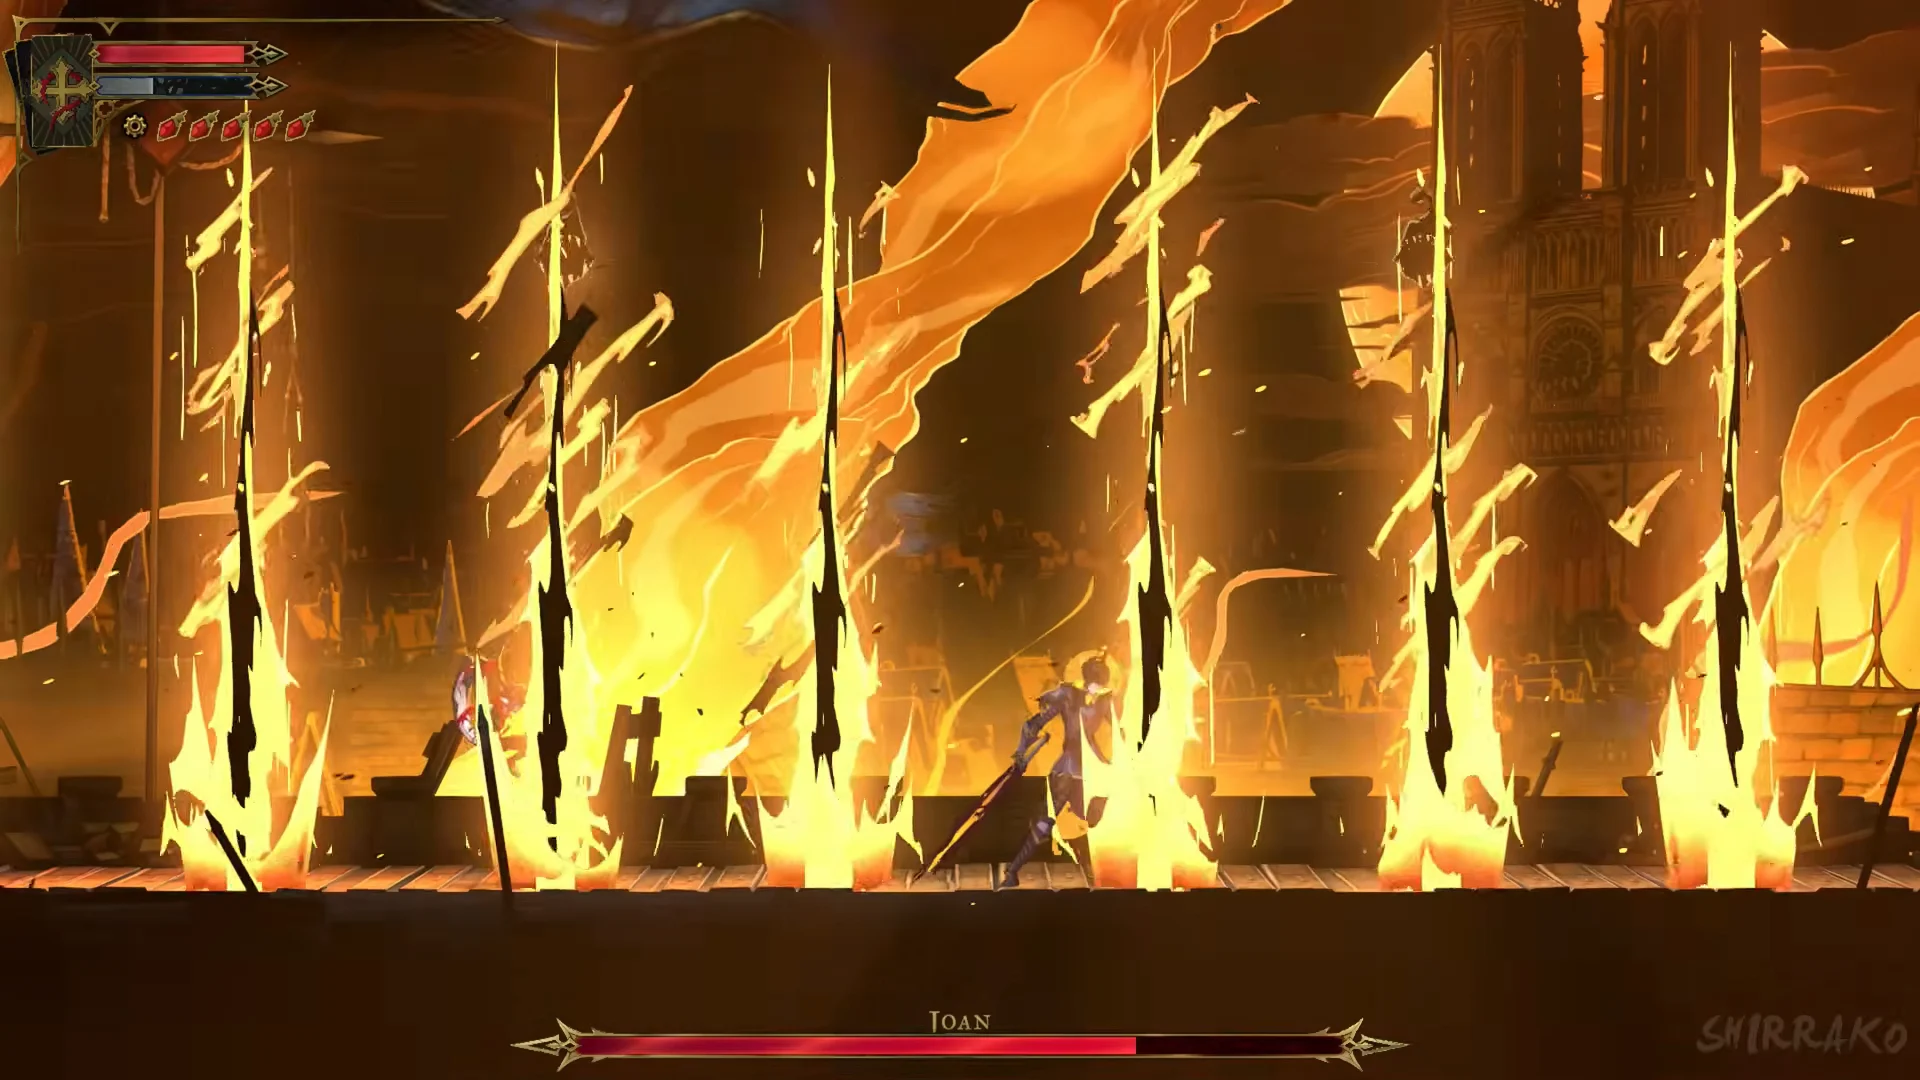
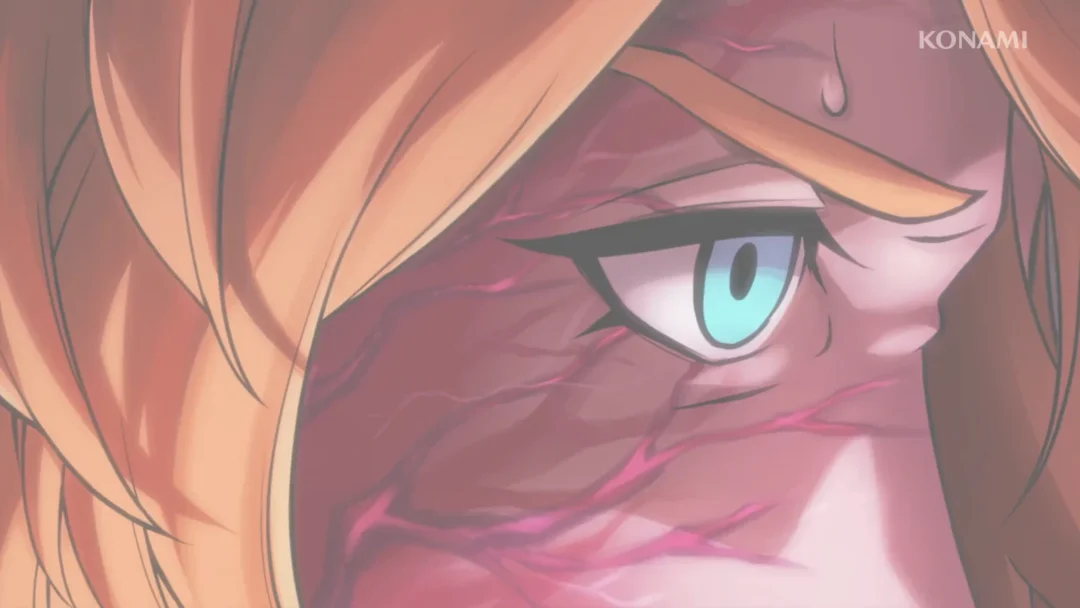
Winning gives you the tarot card The Warrior Arcana (the spell Infernal Pyre) and The Warrior’s Key, an orange gem. A cutscene with Medusa and The Fallen follows, and the map objective changes to “GET TO THE GATE OF THE CATACOMBS”. Run right, go through the tower door, and head down the stairs.
Use Holy Light to clear the Chaos Shards
A Chaos Shard blocks the stairs down. Joan’s cutscene grants Holy Light, and a full-screen box introduces it: “Hold down [L2] to manifest a halo of light to DISPERSE THE CHAOS SHARD. Quickly press the button before being hit to perform a LIGHT PARADE that protects you from damage.”
At the shard itself the prompt reads “Hold down [L2] to manifest a halo of light capable of dispelling the Chaos Shard upon contact.” Hold [L2] against the shard to break it. More shards further down clear the same way.
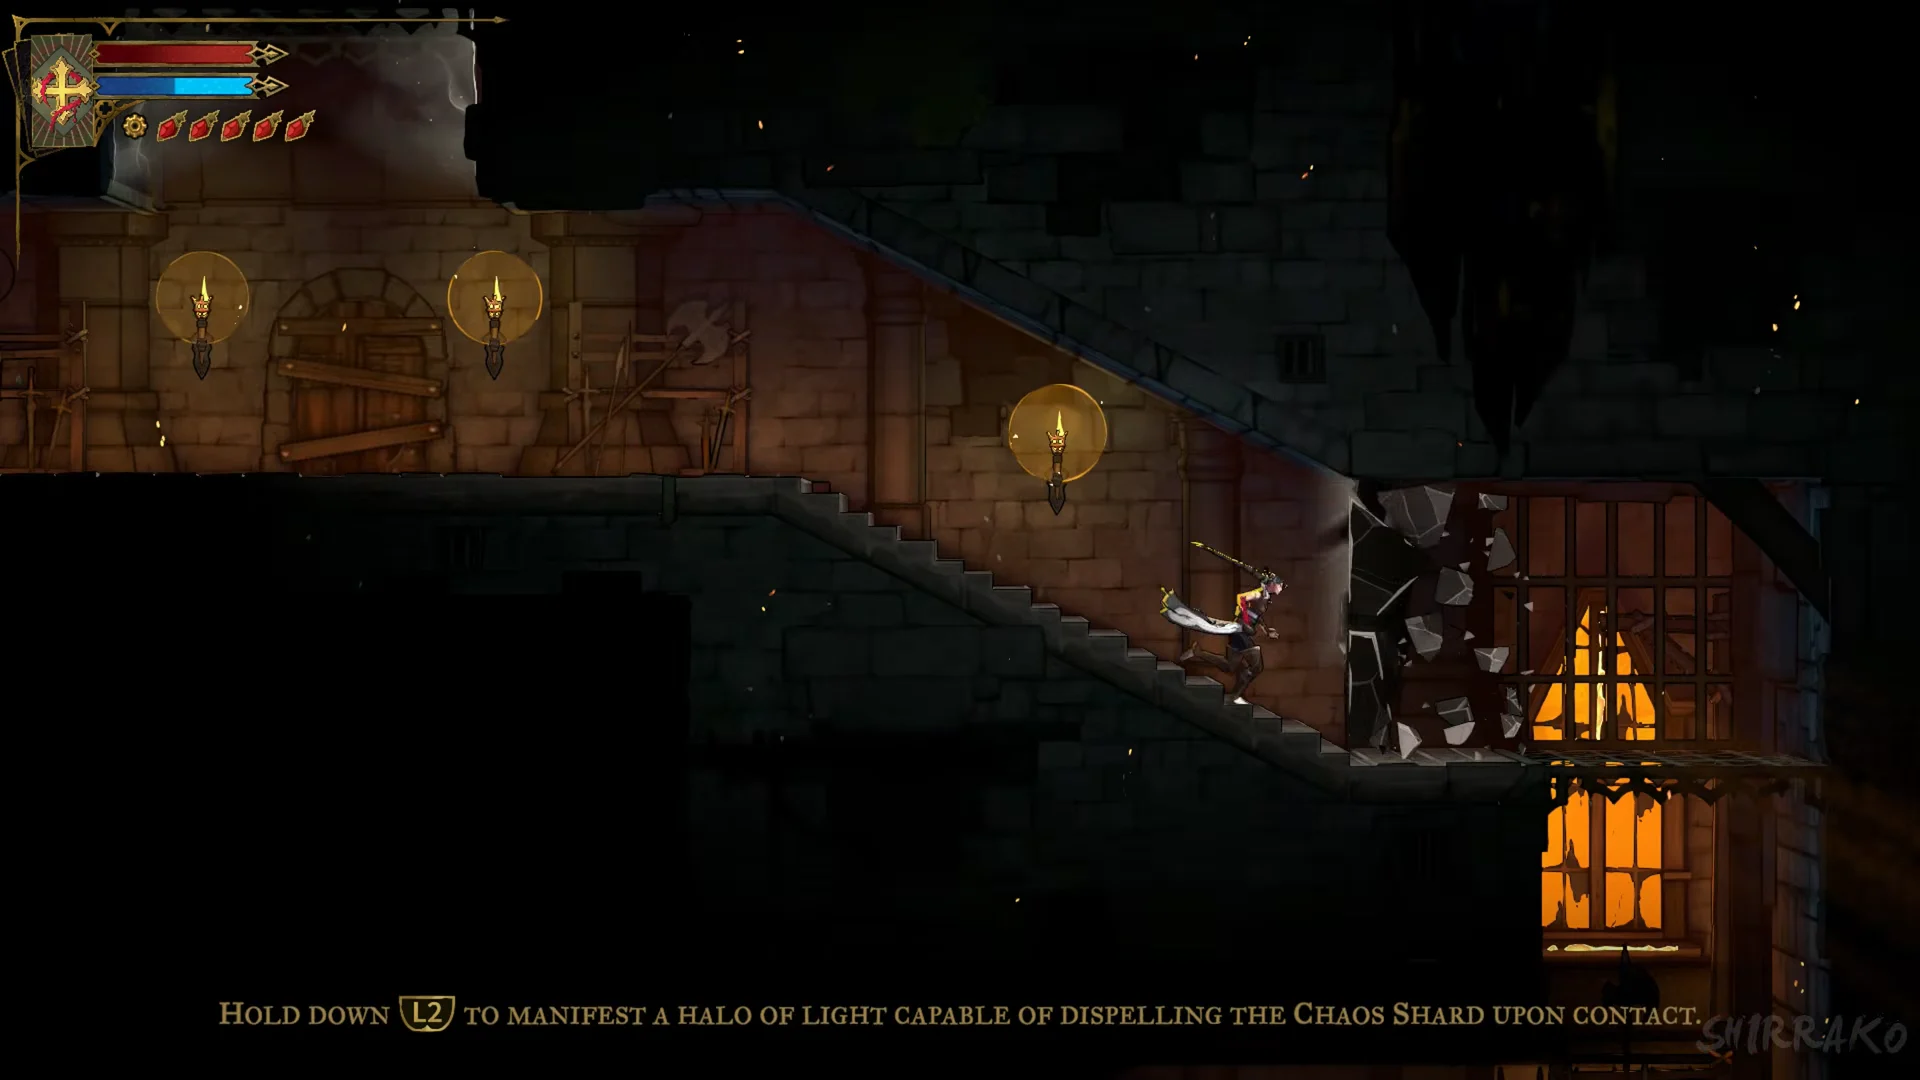
Descend through the Prison Tower, passing the Torture Level and then the Guard Level, where spikes and swinging blades lie in your path. In the Guard Level, a chest tucked into an alcove below a spike-lined drop contains the relic Obsidian Fang. Exit through the Prison Tower and use the whip to cross the burning exterior.
In the Burned District, a chest on the upper ledge of the arena room holds the relic Shadow Veil. Take the Mirror of Life, then move through Bridge of the Millers, Court of Miracles, and Path of the Rat to the Abandoned Sewers. The objective still reads “GET TO THE GATE OF THE CATACOMBS”.
Open the Gate to the Catacombs
At the Gate to the Catacombs, press INTERACT [R1]. Once the third gem slots in, the gate opens; press R1 to go through. For details on the complete key sequence, see how the gate works with all three keys.
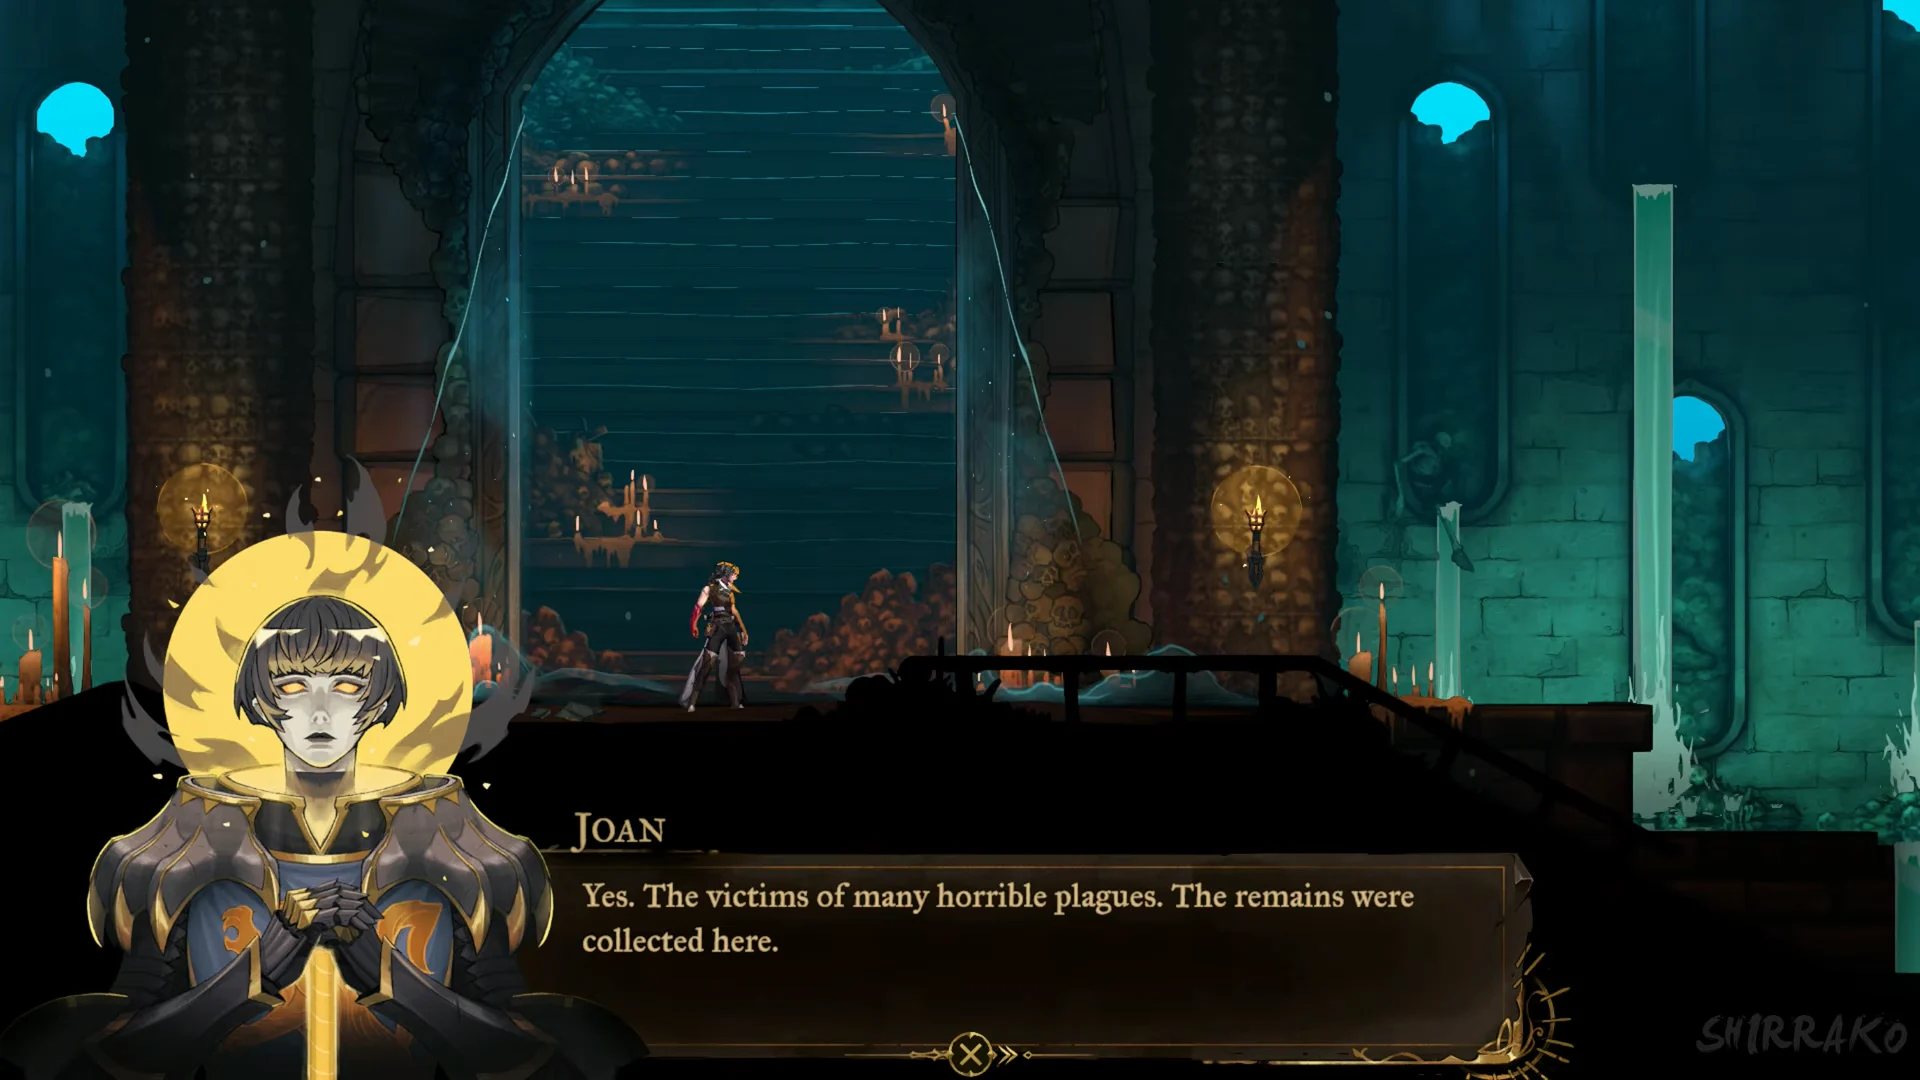
You know the gate is open when you step through and the Catacomb Entrance banner appears, with the map objective switching to “STOP THE RESURRECTION OF DRACULA”.
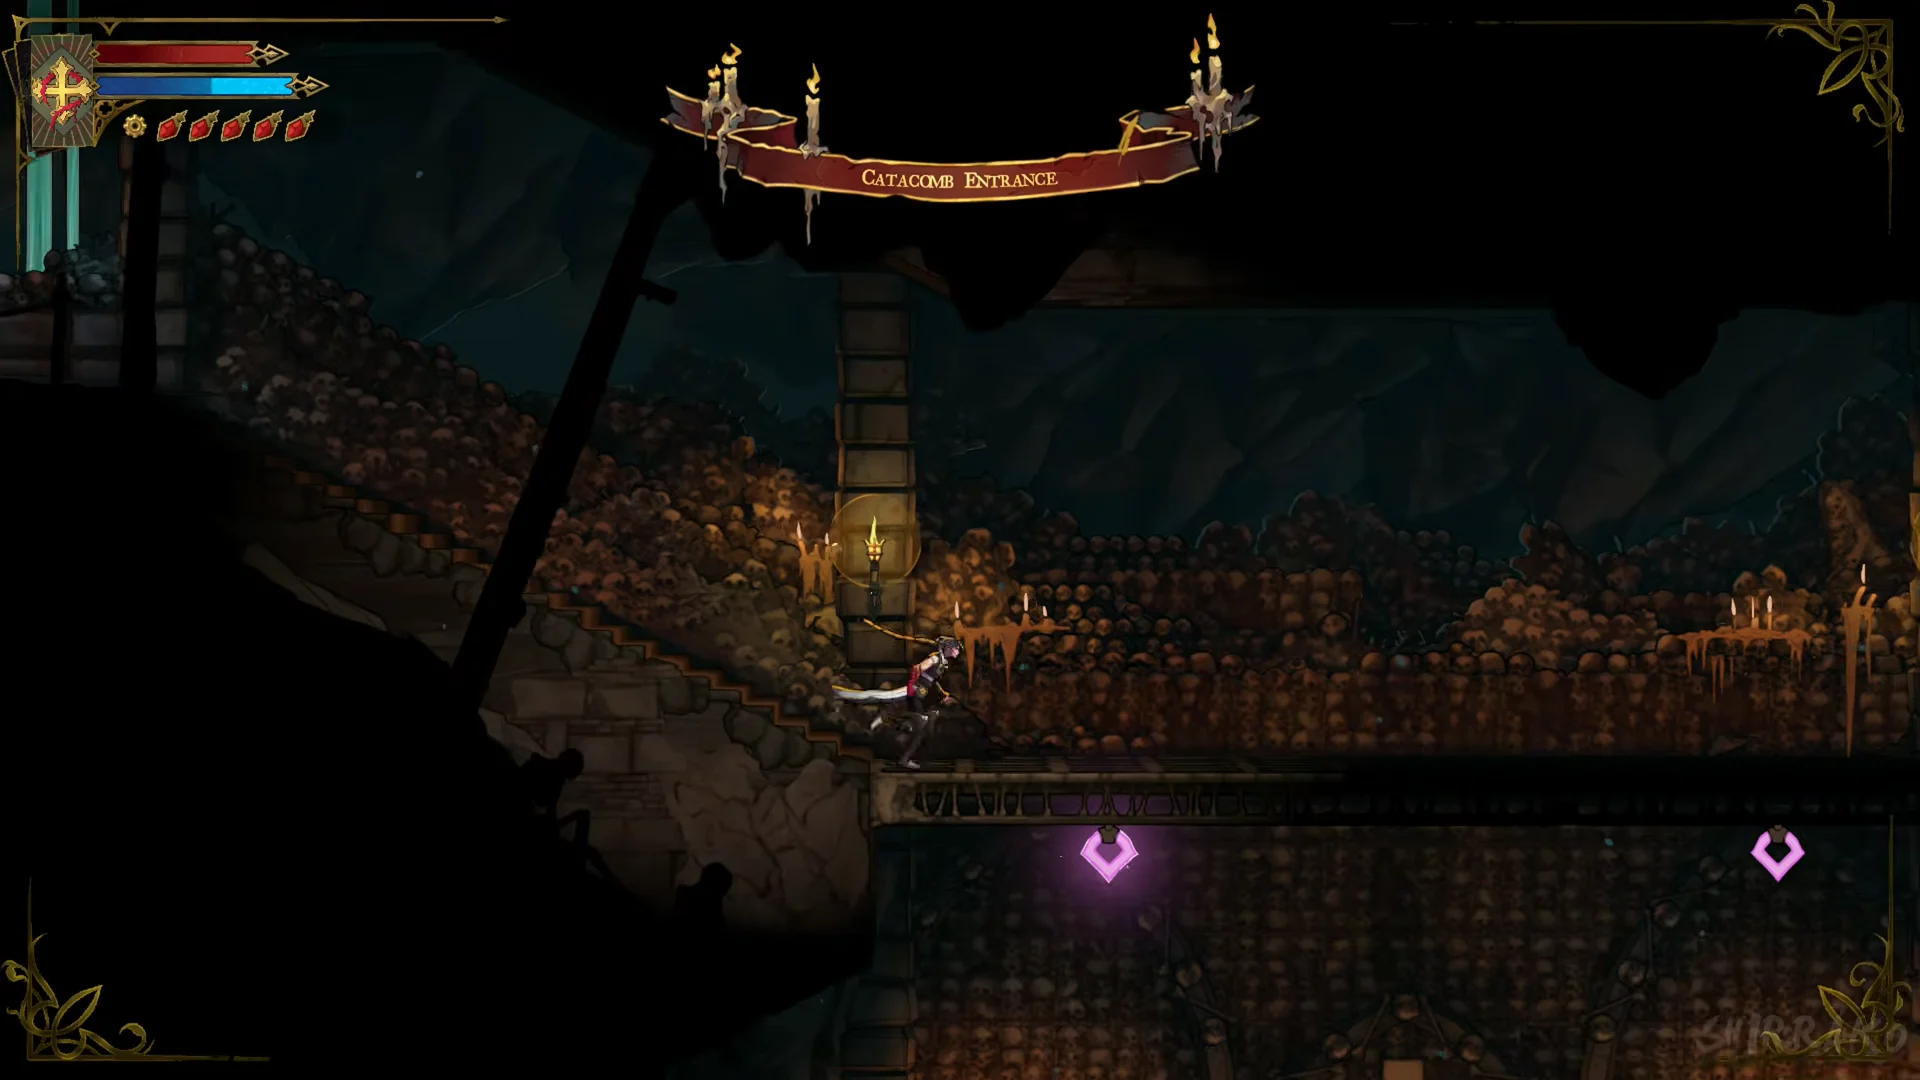
Through the Catacombs of Paris to the Stairway to Hell
From the Catacomb Entrance, break the floor and descend past the altar bearing the stone cross, continuing downward. As you make your way down, the banners appear in this order.
- Path of the Abyss — rotating sawblades and spiked pits; slide and wall-jump between them.
- Quarry Elevator — a mirror room sits beside it, marked with a blue mirror icon on the map.
- Charnel Galleries — reached by breaking the fragile wall on the left at the Crossroads of the Dead.
- De Rais Necropolis — continues to Jaws of Limbo, where spikes and sawblades make up a gauntlet.
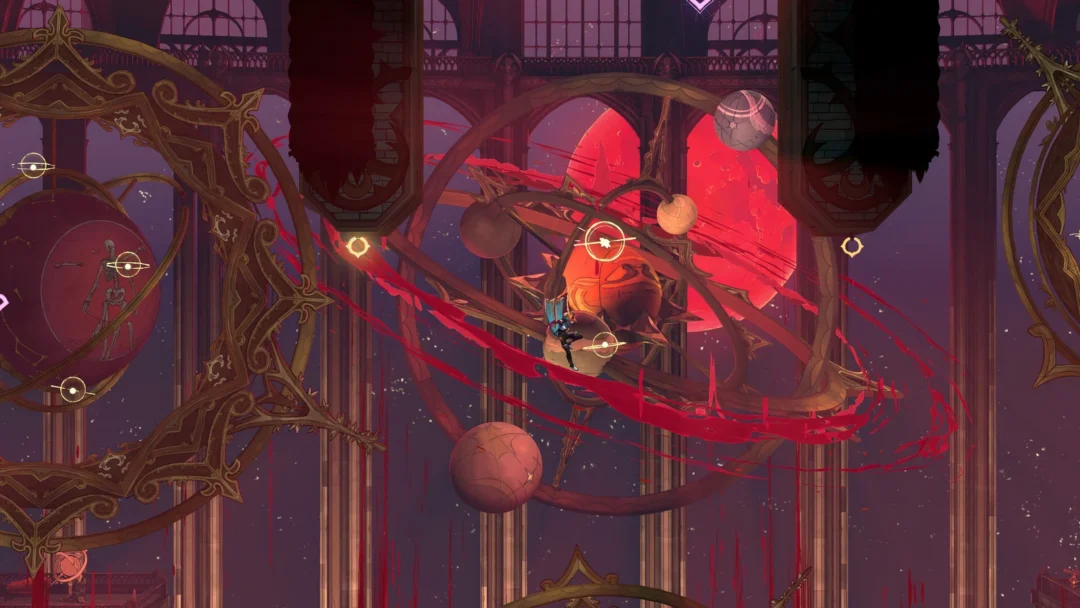
- Realm of Old Night — a cavern washed in red, populated by flying demons and shield-bearers; swing from the hanging rings.
- Stairway to Hell — reached through the Condemned Mineshaft.
In the Charnel Galleries, a corridor of moving sawblades and spiked walls follows. A spirit here gives a “NEW CLUE ABOUT THE SHADOW”, and a wall switch pulled with R1 raises a portcullis. Back at the Crossroads of the Dead, a chest holds the Pair of Longswords. The Condemned Mineshaft has an elevator cage that runs up to the Quarry Elevator and back, and a chest in a red-lit hall holds the Whip; that room locks and an enemy ambush follows.
At the Stairway to Hell, stand on the pedestal and pass through the glowing red portal. The banner displays “STAIRWAY TO HELL” and “MAP UPDATED”. In the green-lit chamber, activate the floor switch with R1, take the elevator cage, then drop down the shafts.
Relics and weapons on this route
These are the named pickups along the way. Weapon stats come from the weapon list.
| Pickup | Type | Where |
|---|---|---|
| Twilight Gem | Relic | Central Sewer Drain |
| Obsidian Fang | Relic | Guard Level |
| Shadow Veil | Relic | Burned District |
| Mourning Bead | Relic | Path of the Abyss |
| Specter’s Whisper | Relic | Charnel Galleries |
| Necro Charm | Relic | Jaws of Limbo |
| Ebony Claw | Relic | Cavern below Jaws of Limbo |
| Pair of Longswords | Weapon (Ordinary, ATK 25) | Crossroads of the Dead |
| Whip | Weapon (Ordinary, ATK 25) | Condemned Mineshaft |
The first Death fight
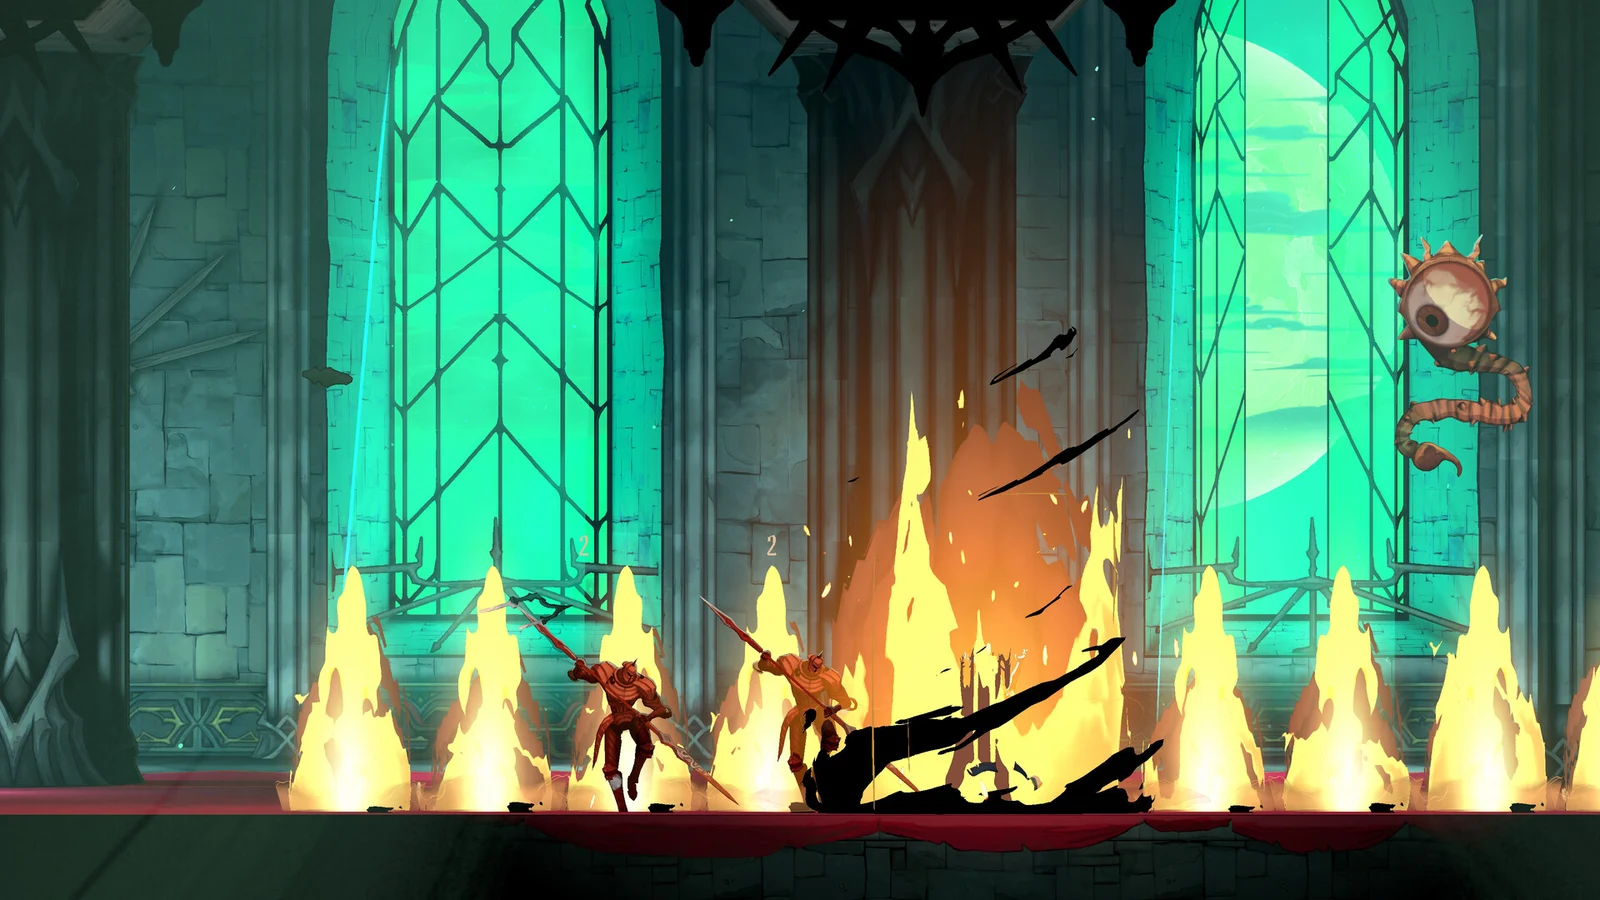
A ritual-seal cutscene plays before Death engages you in battle before a huge green portal. For guidance on its attack pattern, consult the Death fight breakdown.
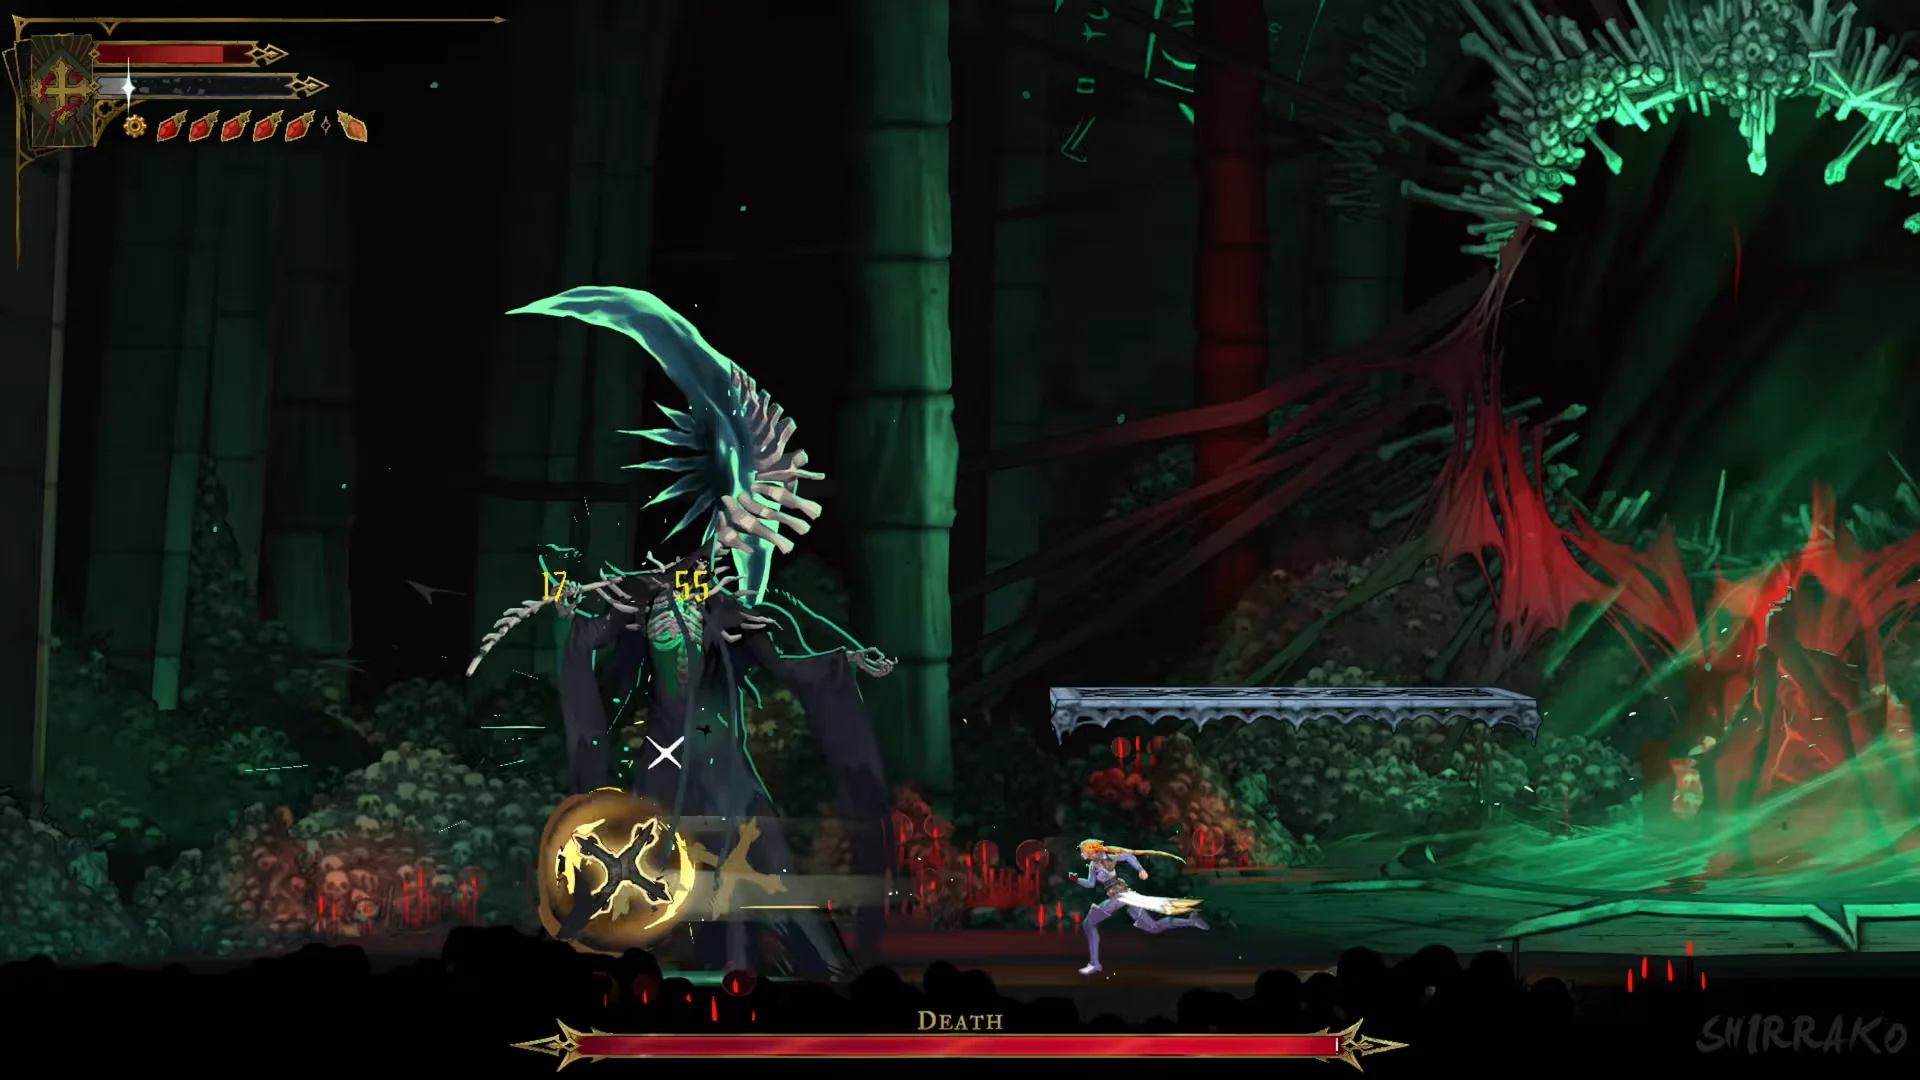
A story cutscene concludes the encounter without a kill. Flames consume the city as Dracula’s castle emerges, and the scene leads directly into part 4.
Walkthrough series: Previous: Part 2: Court of Miracles to Medusa | Next: Part 4: Ferryman’s Wharf to the Mirror Rooms