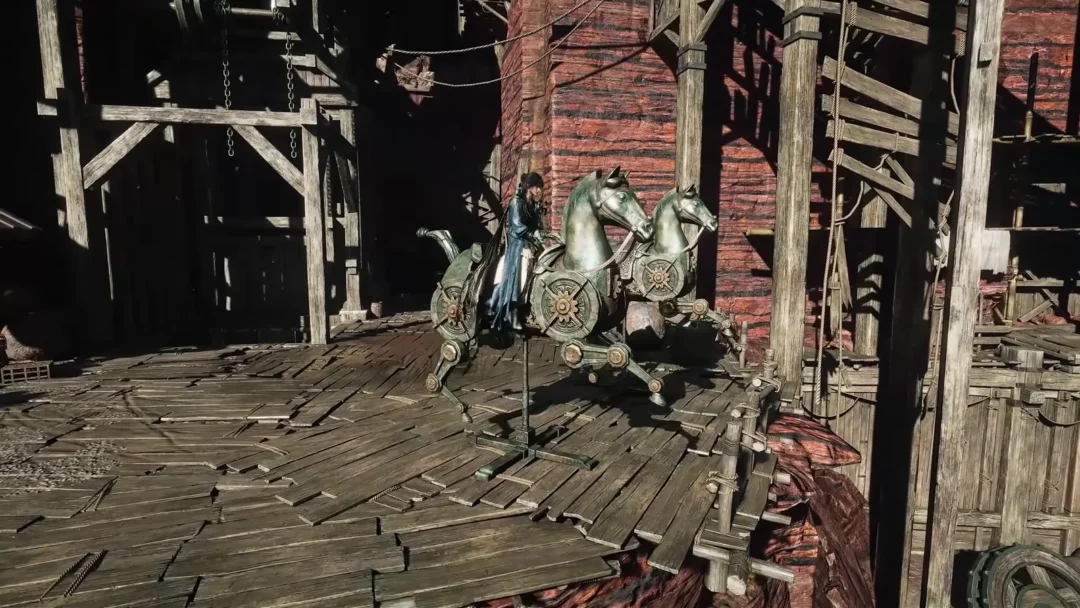
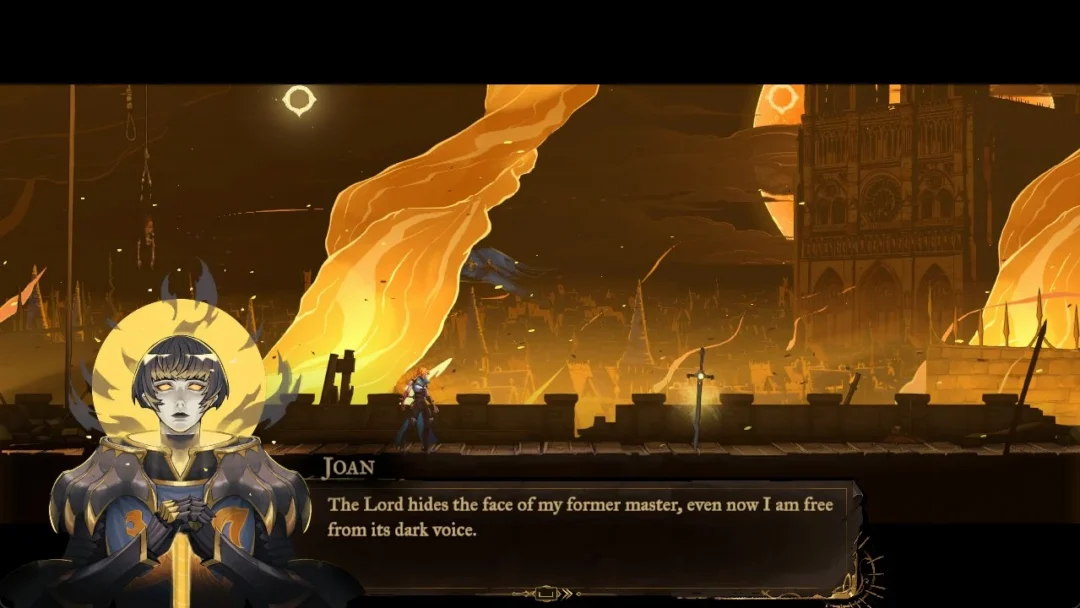
The Sage is Eleanor, an NPC trapped inside a mirror in Castlevania: Belmont’s Curse. Freeing her has three stages. First you clear the fog from the Hall of Mirrors, then you break four seals spread across Dracula’s Castle and Paris. After that, she escapes on her own, and you have to find her again to absorb her Arcana. The A Sketch From Talos clue marks where the seals are. Below is the full order.
Quick answer: Defeat The Temptress in the Hall of Mirrors. Break The Sage’s seal on the engraved Mirror of Life in Paris Streets, Main Hall, Clock Tower, and Notre-Dame. Then visit the Main Hall Mirror Rooms.
Clear the Hall of Mirrors by defeating The Temptress
The Sage’s seals can’t be touched until the Hall of Mirrors is cleared. When you first arrive, fog fills the whole area and there’s no obvious route. The fog only lifts after you beat The Temptress, the Arcana held by the Succubus boss.
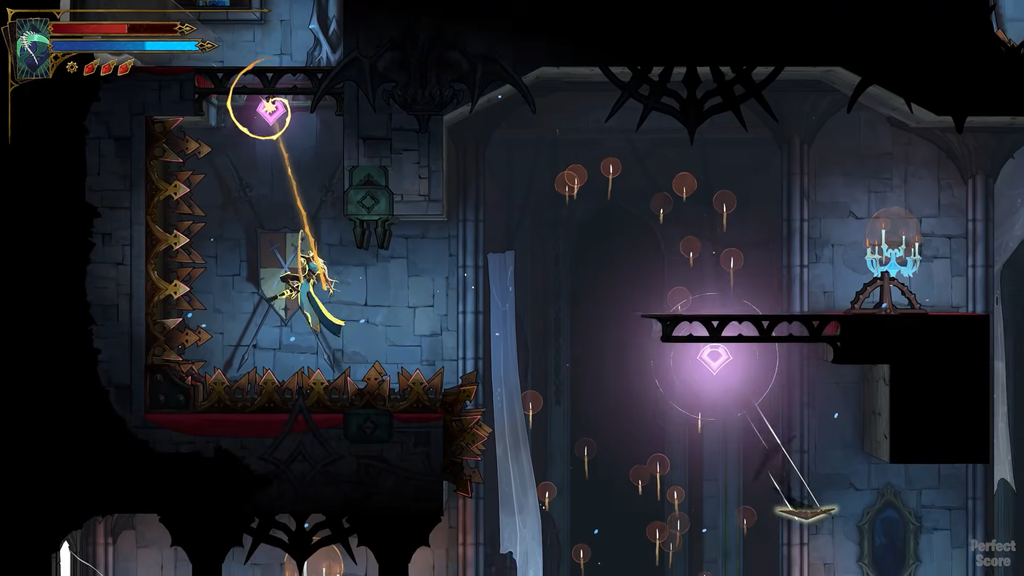
| Reflection | What kneeling does |
|---|---|
| Blue | Shows the way forward |
| Red | Spawns a copy of you that attacks |
| Normal | Sends you back to the start |
If you get lost, use a normal reflection to reset to the start. Avoid red ones unless you’re ready for a fight.
| Succubus | Value |
|---|---|
| Health | 8000 |
| Attack | 50 |
| XP | 1200 |
| Reward |  Life Drain |
The Succubus is immune to freeze, petrify, launch into the air, slam down, Chains of Justice root and stun, Chronomantic Dive slow, Freezing Path link, and Infernal Pyre launch. Plan to rely on straight damage. Absorbing her gives you The Temptress, Arcana number 12, which carries the Life Drain spell.

One of The Temptress’s works of mercy is to explore every room of the Hall of Mirrors. That’s easier after the fog is gone, so it’s a good thing to finish while you’re there.
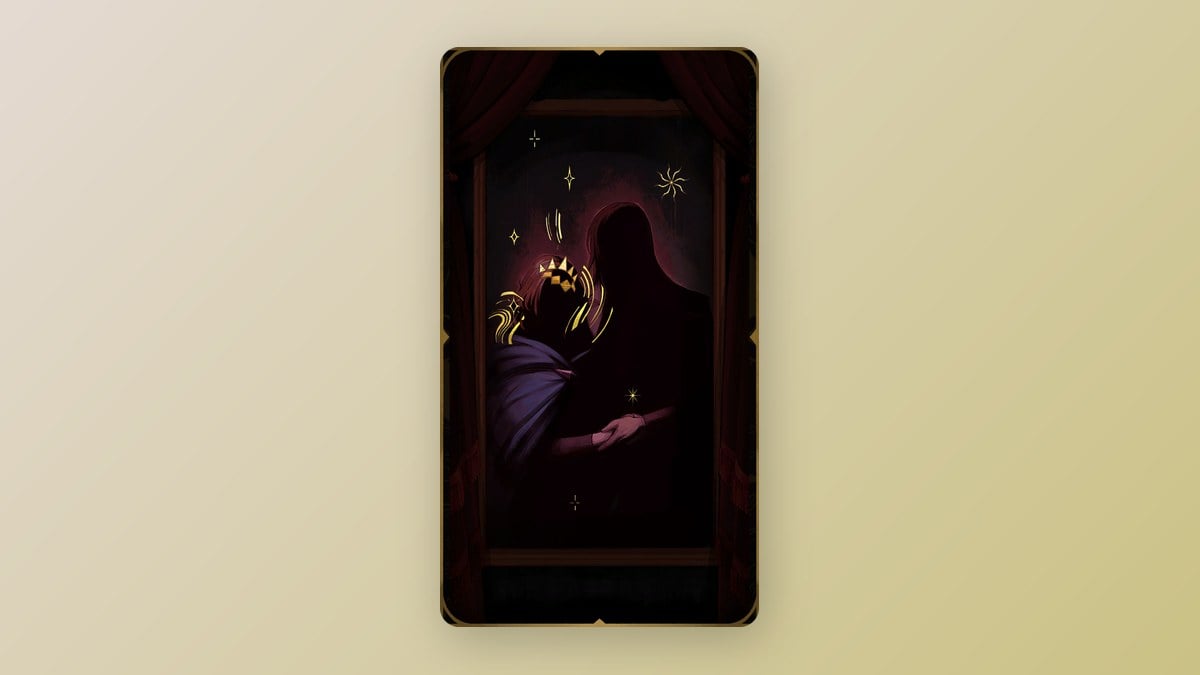
The Sage seal locations: All four engraved Mirrors of Life
Each seal sits on a Mirror of Life engraved with The Sage’s symbol. There’s one in each of four areas, and every area has several ordinary mirrors too, so the district matters.
| Area | District | Which mirror |
|---|---|---|
| Paris Streets | Prison Tower | The middle Mirror of Life |
| Main Hall | Archives | Reached via Servants’ Hall |
| Clock Tower | Mechanic’s Ascent | Left side of the tower |
| Notre-Dame | East Gallery | Final seal |
Engraved mirrors don’t work as fast travel points. You can’t warp to them or from them, so warp to the closest normal teleport point and walk the rest of the way.
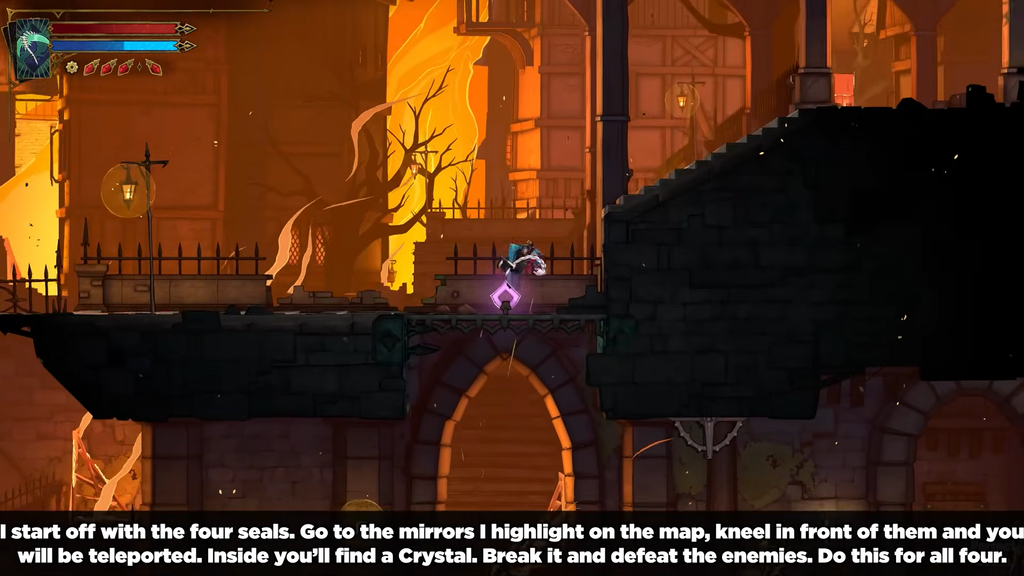
How to break a Sage seal
The process is identical at all four mirrors.
Routes to the Main Hall and Clock Tower seals
The Paris Streets and Notre-Dame mirrors are easy to reach once you’re in the right district. The other two take more work.
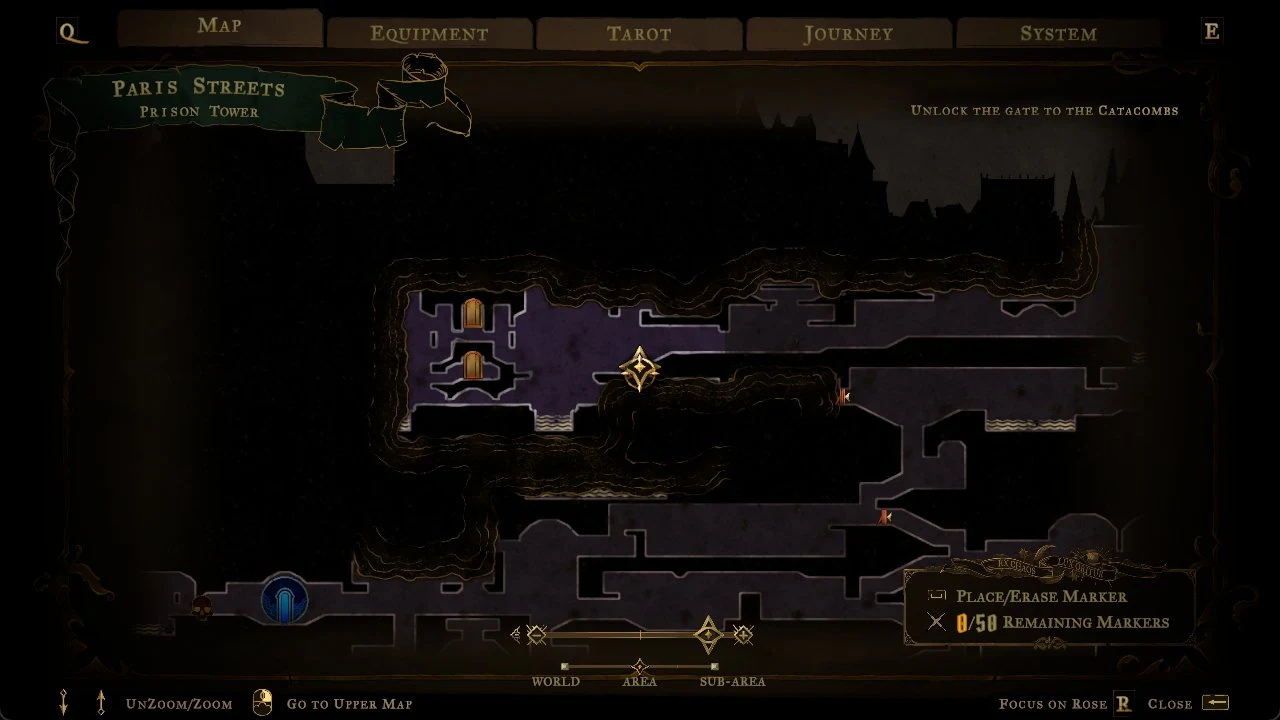
Main Hall: Archives
Clock Tower: Mechanic’s Ascent
The Clock Tower mirror is in Mechanic’s Ascent, on the left side of the tower. To get there you need Arcane Whip, Holy Light, Aerial Rush, and Smash. If any of those is missing, come back once you have it.
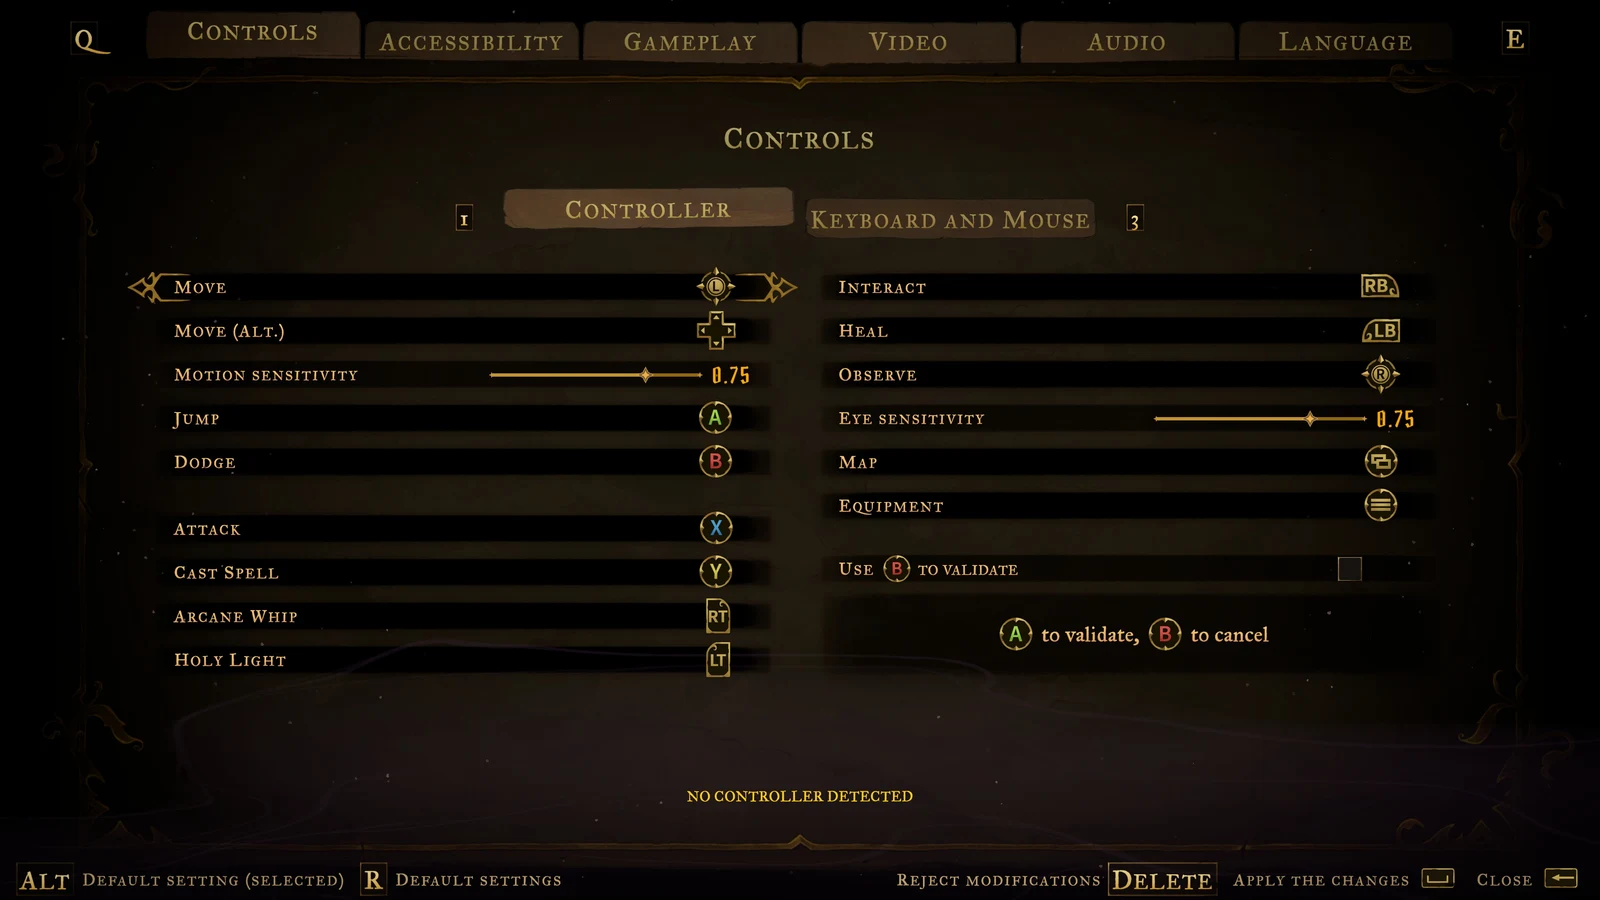
Find The Sage and claim the Mirror Walk Arcana
Breaking all four seals doesn’t hand you the Arcana right away. Eleanor gets herself out, and you still have to catch up with her.
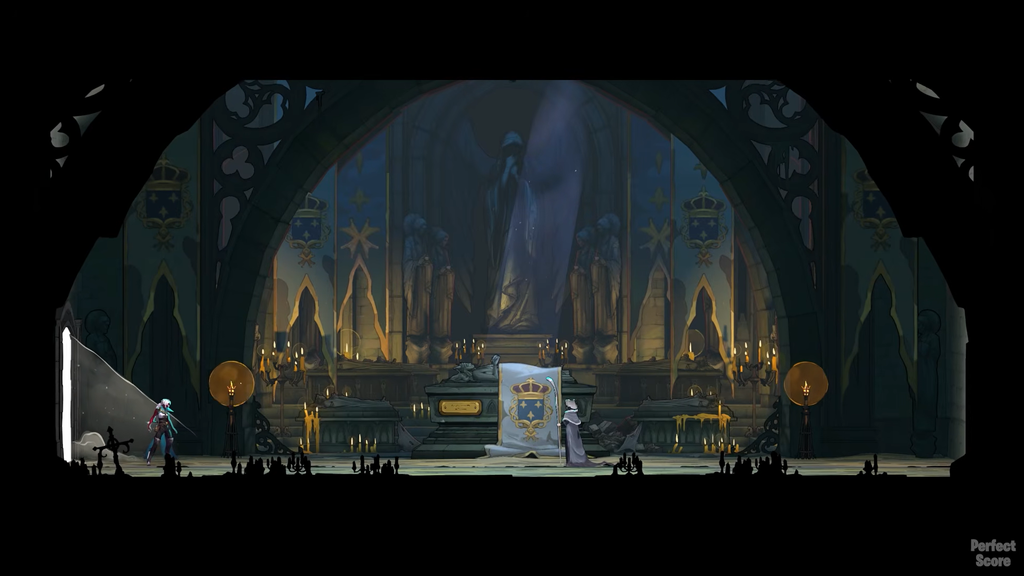
You’ll know it worked in two ways. The Hall of Mirrors appears as a travel destination, and The Sage shows up among your Arcana with the Mirror Walk spell. She’s Arcana number 15, and her card has four clues.
Once you have The Sage, three works of mercy are tied to her card:
- Use 34 Save Rooms.
- Heal 1000 health with Mirror Walk.
- Kill 5 enemies, each within 3 seconds of teleport-dodging its attack.
The Save Rooms one takes the longest, and you’ll make progress on it naturally as you play. The other two depend on using Mirror Walk heavily in combat, so equip it early and keep it equipped.