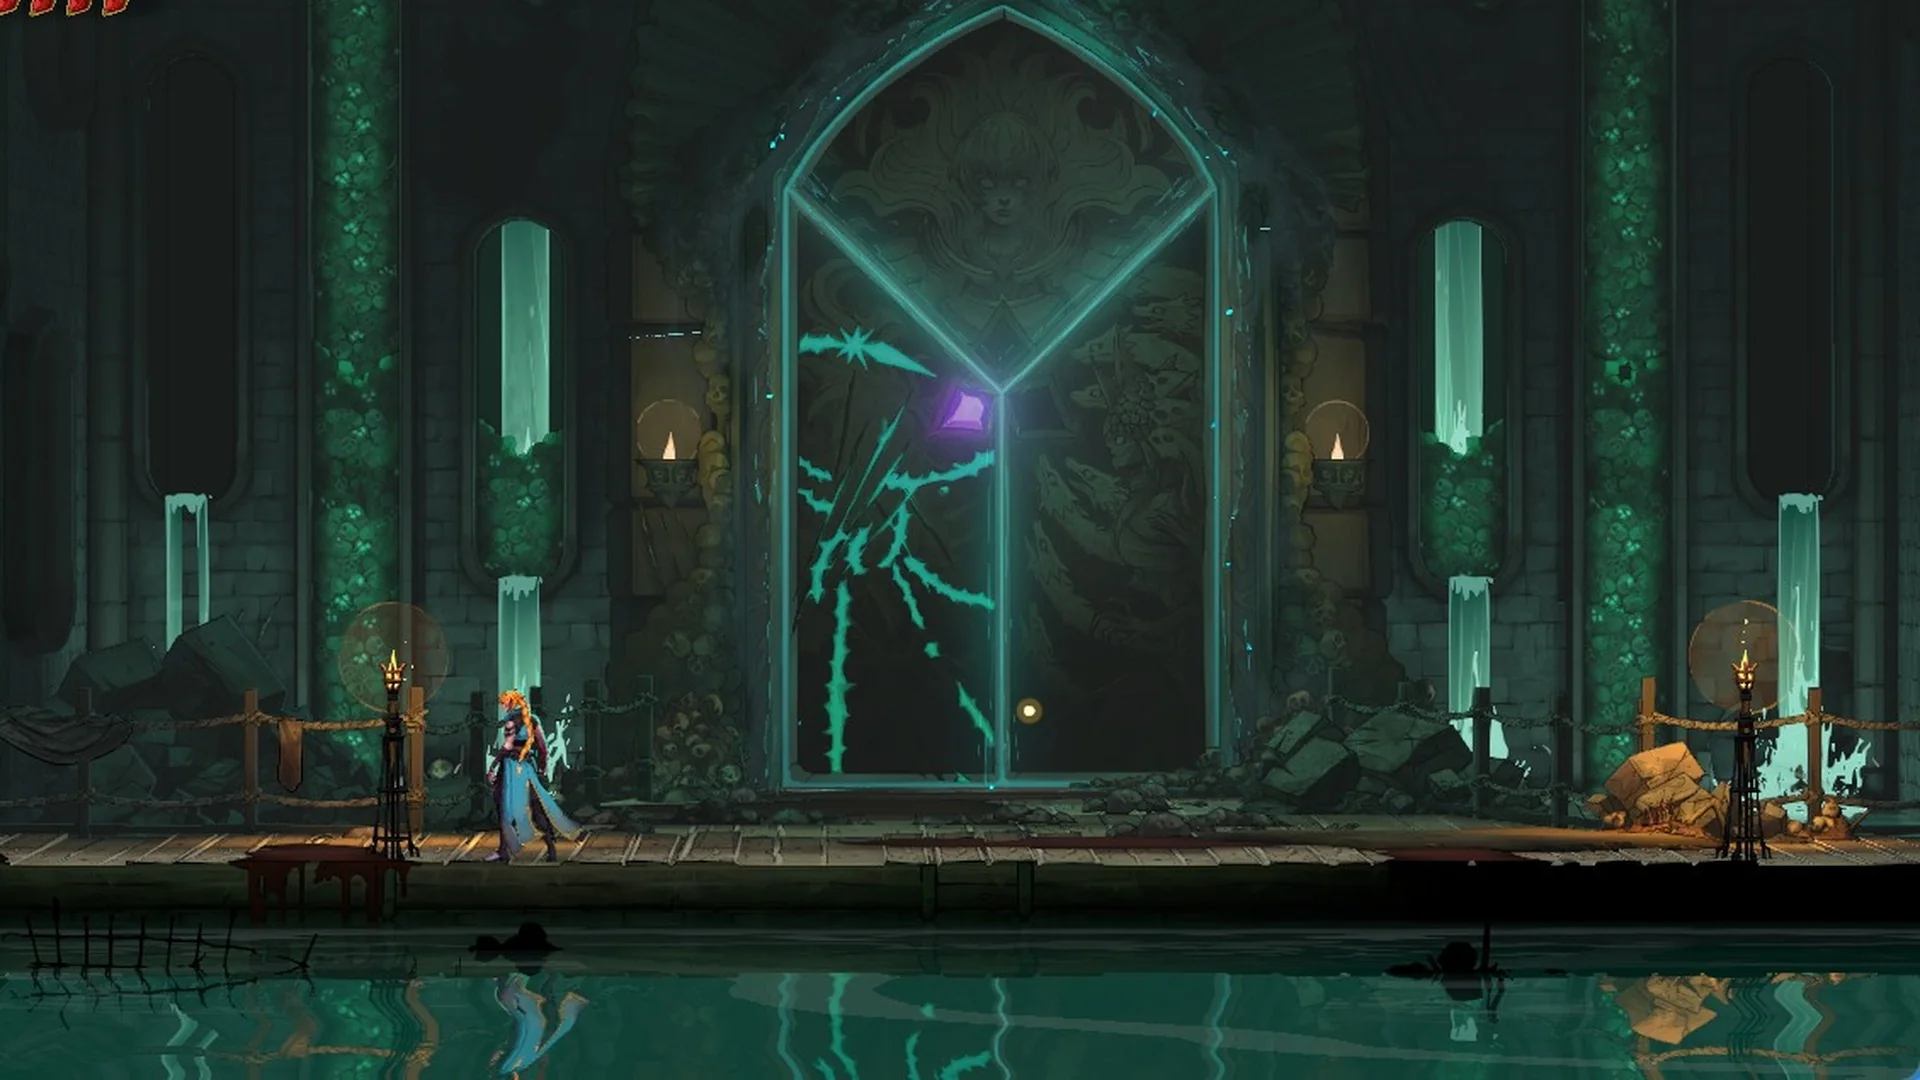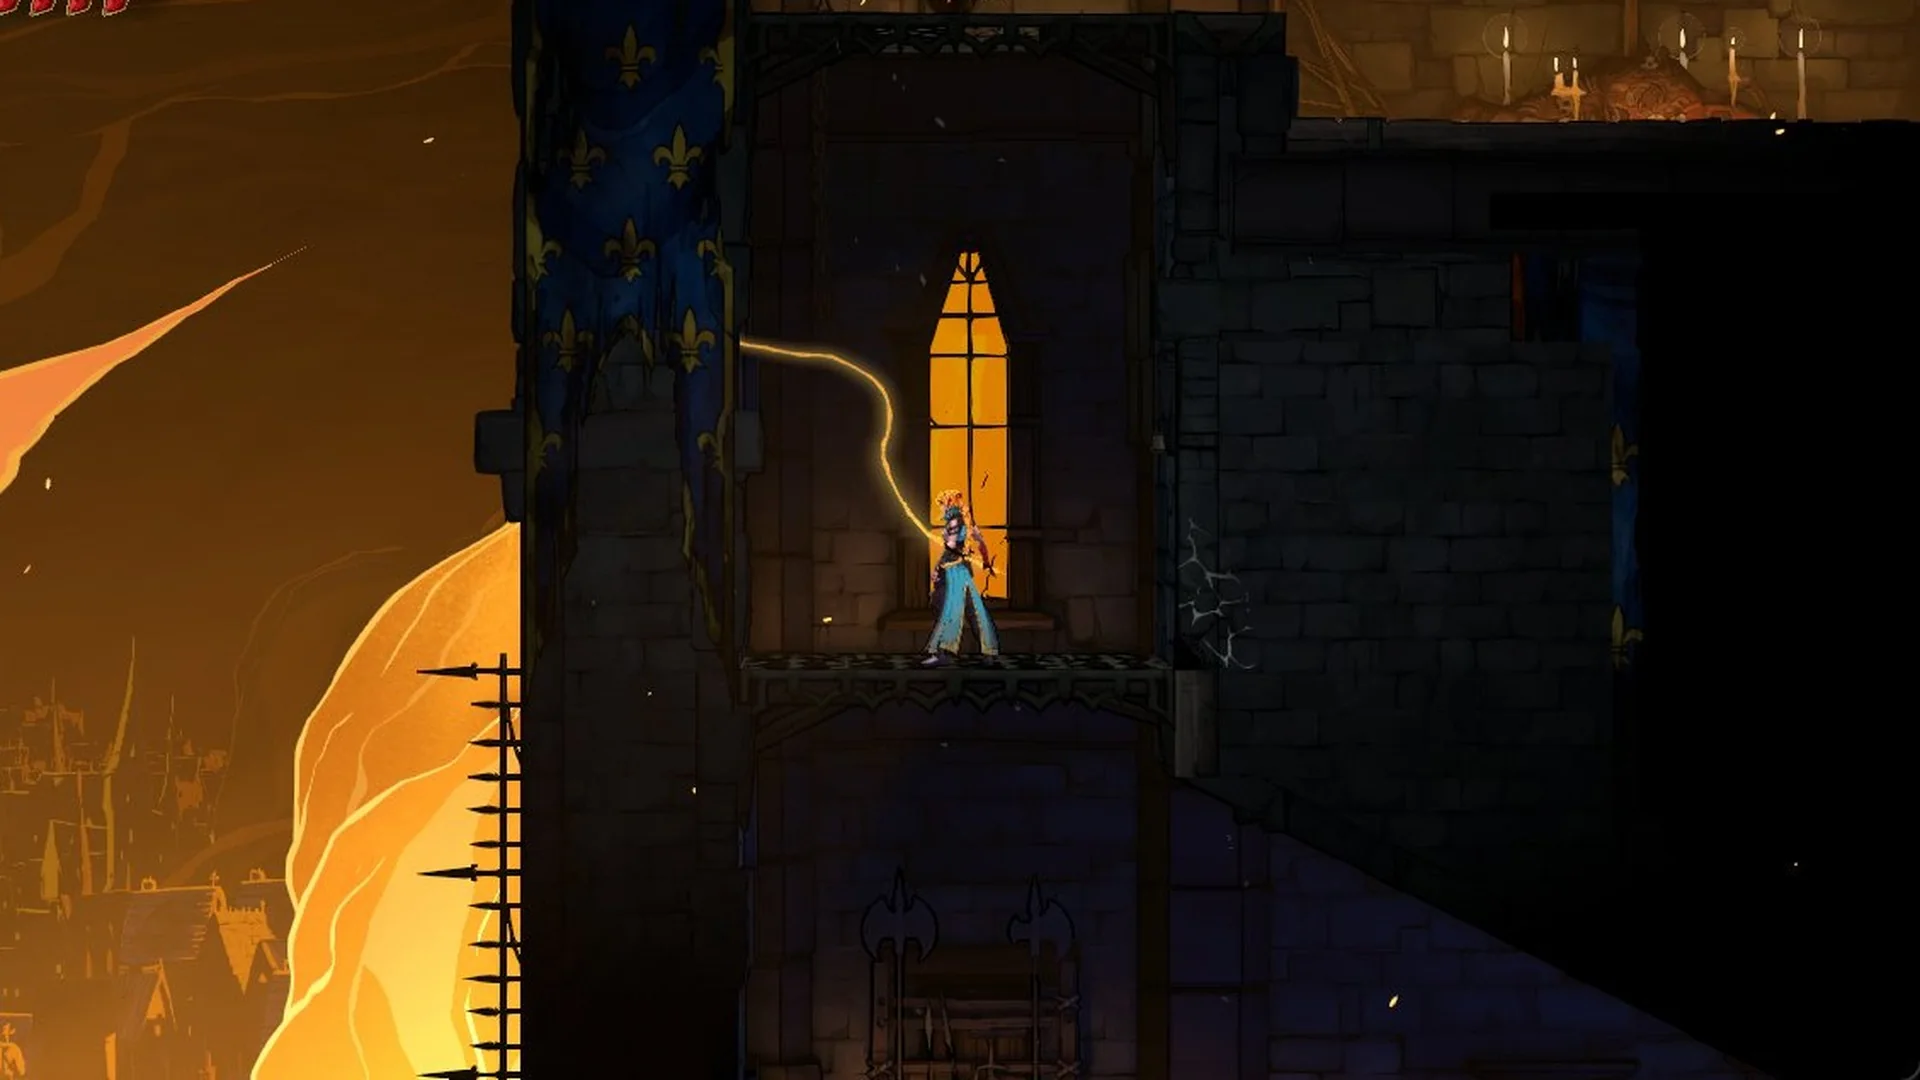
Beating Medusa in Castlevania: Belmont’s Curse does not open a new objective. Instead, it moves you one key closer to the sealed Catacombs. The last key sits with Joan of Arc, back in Paris Streets.
Quick answer: Use the mirrors to reach Paris Streets again. Ascend the Prison Tower to its Roof of the Tower and defeat Joan of Arc to claim The Warrior’s Key, the third Catacombs key.
Medusa’s rewards and The Prophetess’s Key
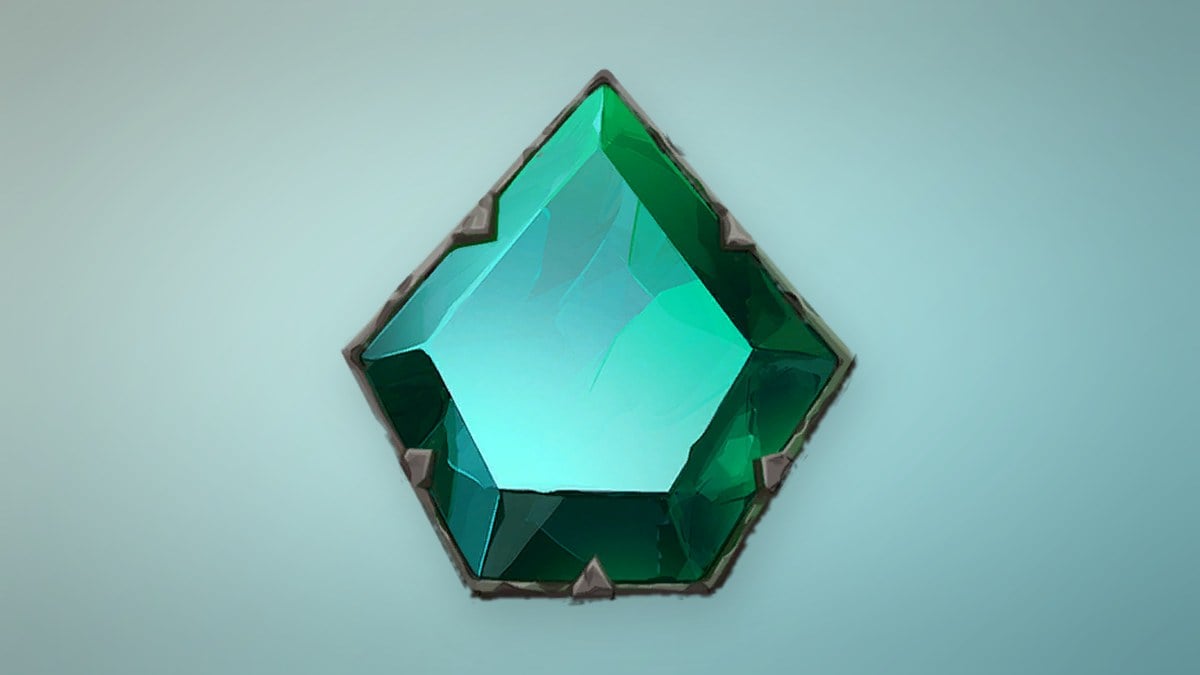
Medusa gives the tarot card The Prophetess and The Prophetess’s Key; a chest in the next room holds the Rusted Harpe and Aegis. The fight is in our Medusa boss guide, and the card in The Prophetess Arcana guide.
| Reward | Type | Where |
|---|---|---|
| The Prophetess | Tarot card (Petrifying Gaze) | Medusa |
| The Prophetess’s Key | Catacombs key | Medusa |
| Rusted Harpe and Aegis | Ordinary, ATK 25 | Chest in the next room |
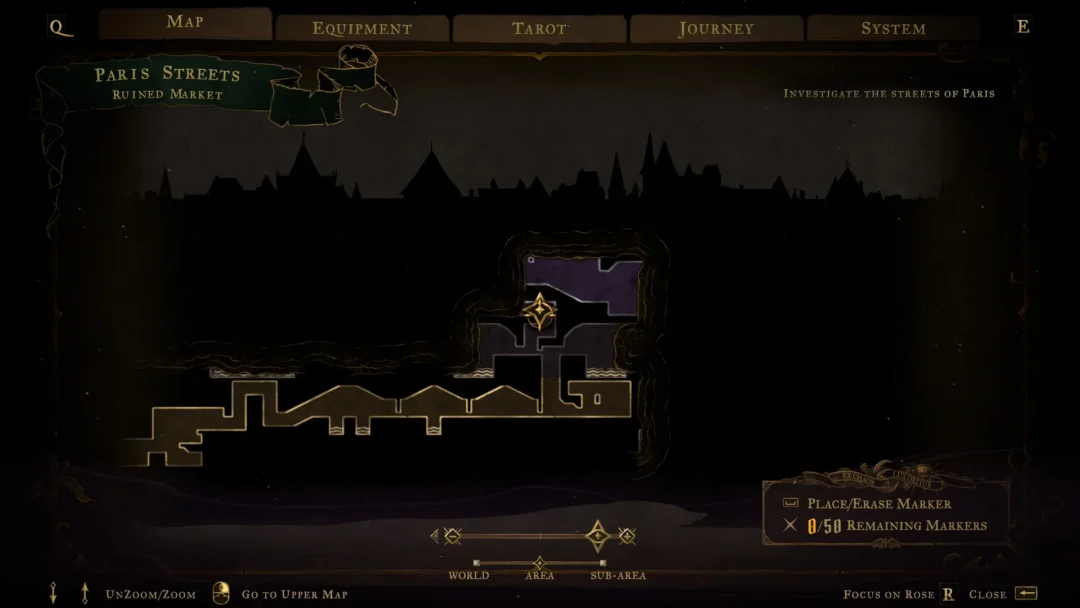
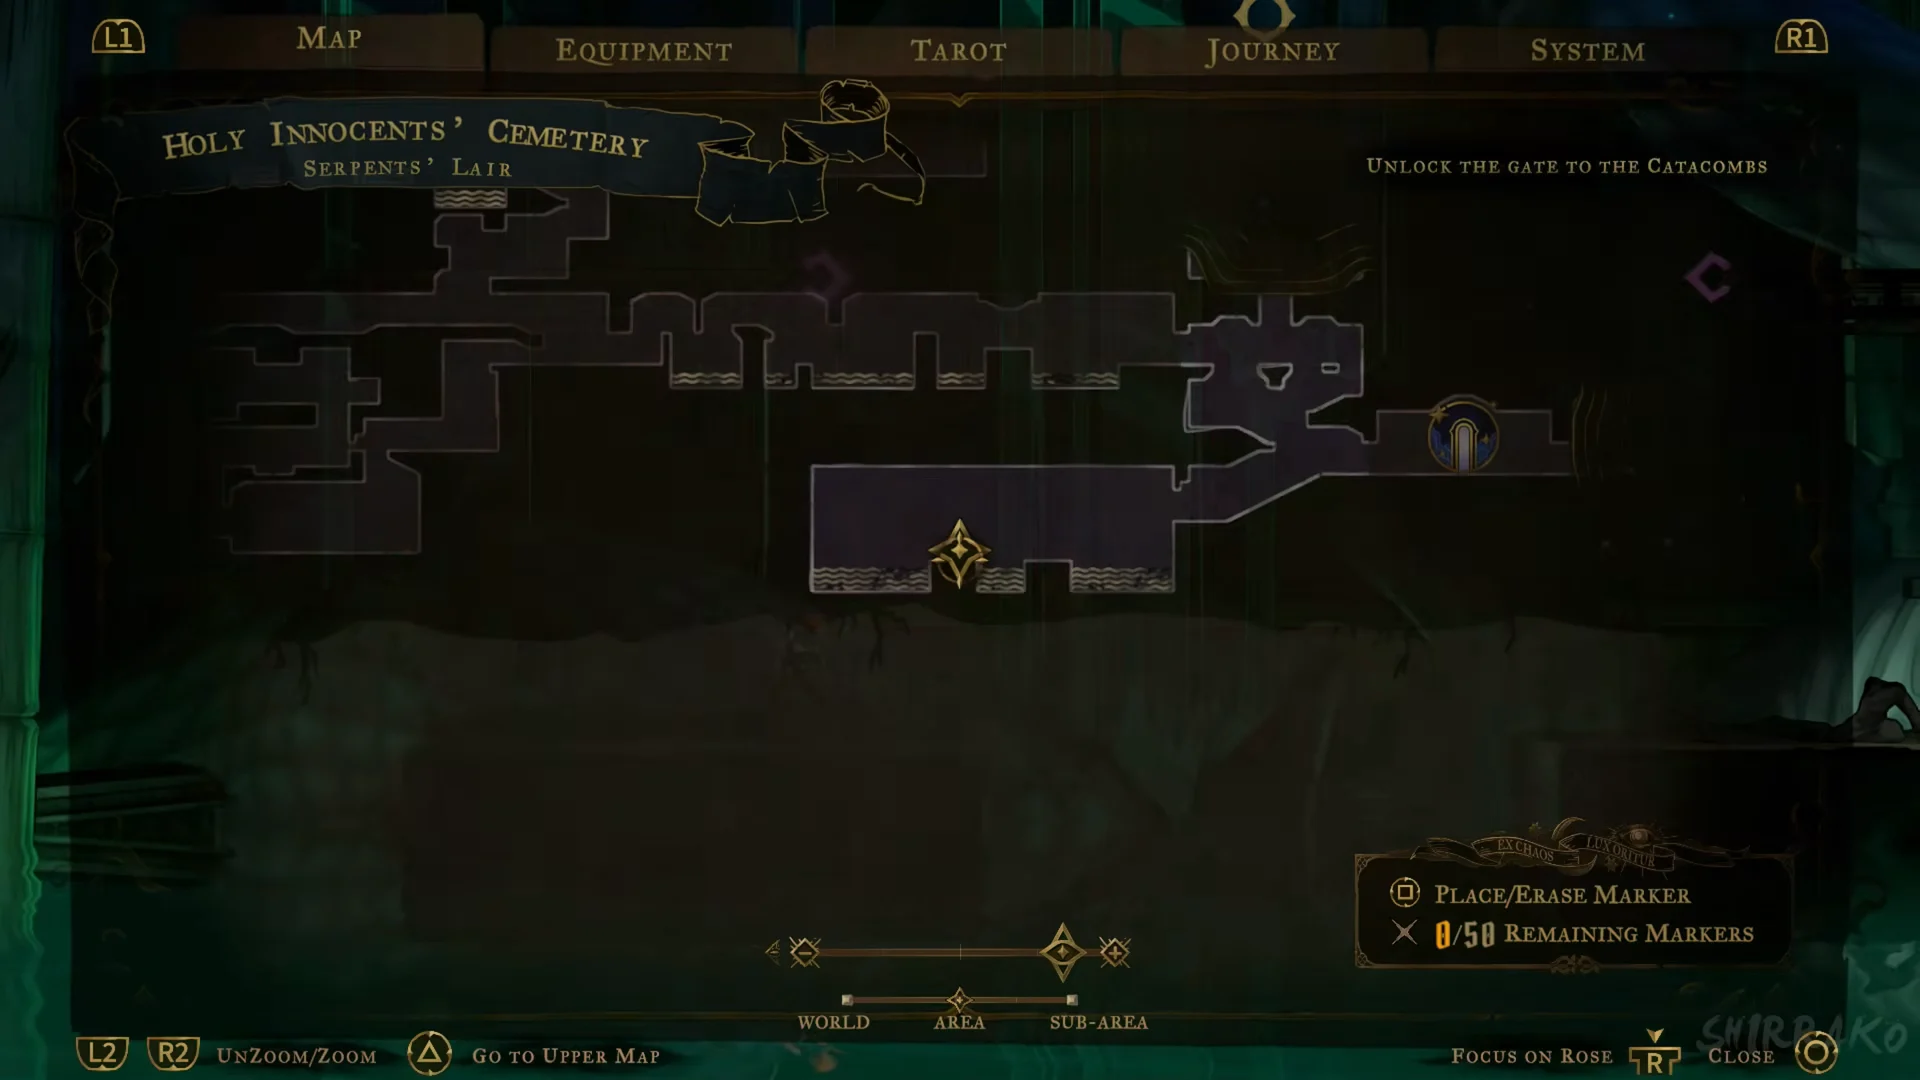
The Petrifying Gaze spell reads “Petrify enemies in front of Rose.” The key’s description spells out what it is for: “One of three keys needed to open the sealed door to the Catacombs. Obtained by defeating Medusa.” It is the second of the three keys. With it, you now hold The Fallen’s Key and The Prophetess’s Key. The objective on the map still reads “UNLOCK THE GATE TO THE CATACOMBS”, because one key is still missing.
Mirror route back to Paris Streets
Joan of Arc is in Paris Streets, so the first job is getting back there. Two mirrors carry you most of the way.
Optional: Place the key at the Gate to the Catacombs
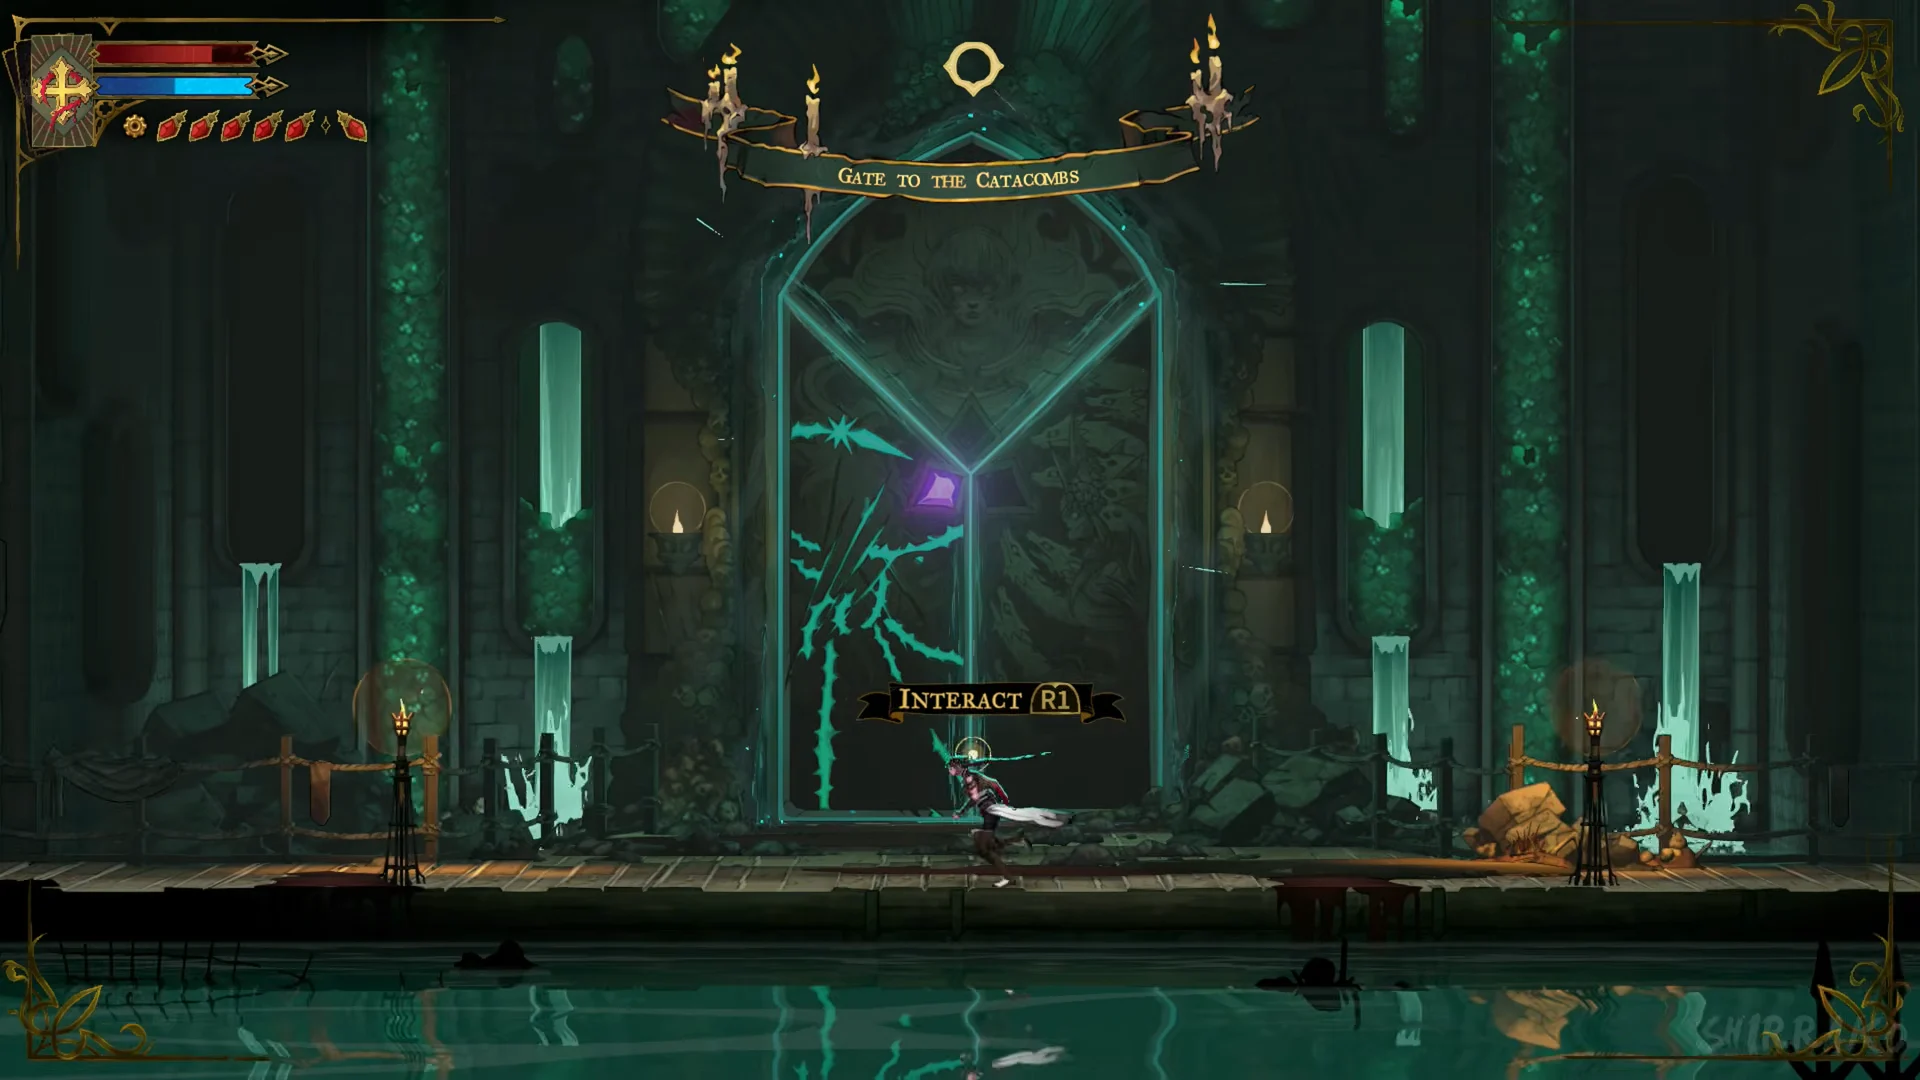
Find the Catacombs Gate in the lower-left corner of the Paris Streets map, within the Abandoned Sewers. Press INTERACT [R1] there to place The Prophetess’s Key in its slot. You may insert it as you pass now or leave it until you can use it with the final key. How the three-key gate works: how to open the Gate to the Catacombs.
Prison Tower climb to Joan of Arc
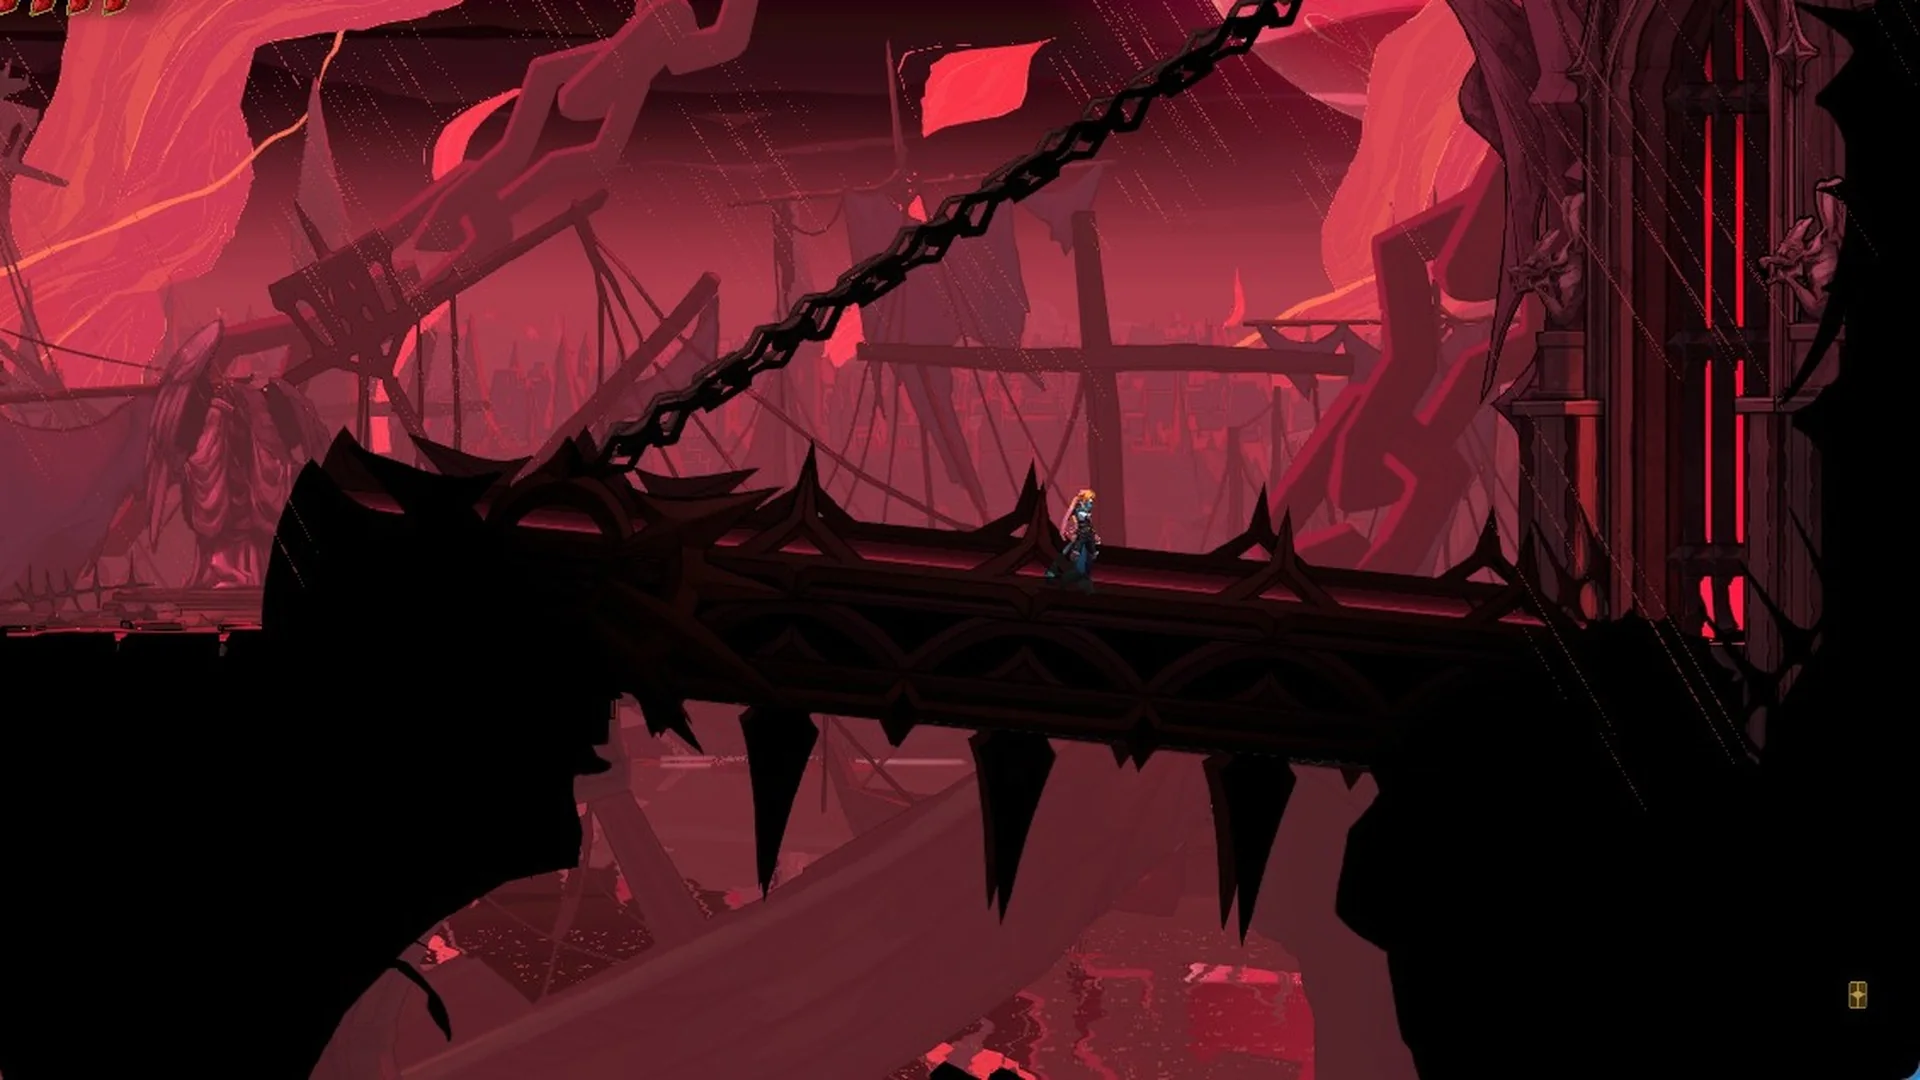
At the summit of the Prison Tower in Paris Streets, Joan is waiting on the Roof of the Tower.
Your victory grants the tarot card The Warrior, whose spell is Infernal Pyre, along with The Warrior’s Key. This is key three; Holy Light comes immediately afterward. Next, head to the Abandoned Sewers to find the Gate to the Catacombs; that route is in walkthrough part 3 and in where to go after Joan.