Clay shows up in Enshrouded right around the point where your base starts to need more than wood and stone. The Kiln, Fired Bricks, and a growing list of Carpenter and Workbench recipes all depend on it. None of it grows in the starting Springlands. You have to head north into Revelwood and know which cliffs to look at.
Quick answer: Mine Lump of Clay in Revelwood. Unlock the fast travel point atop Ancient Spire – Revelwood, then glide west, south, or east to the deposits around it. Willow Crush has closer deposits for earlier trips.
Lump of Clay in Enshrouded: what the deposits look like
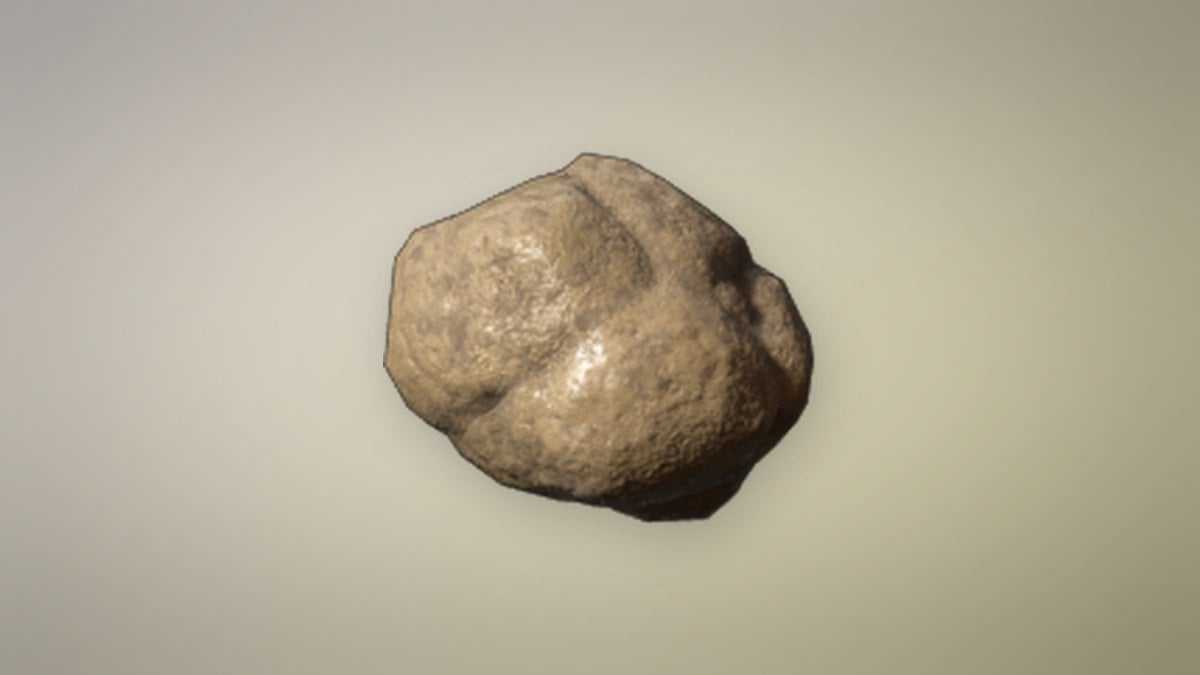
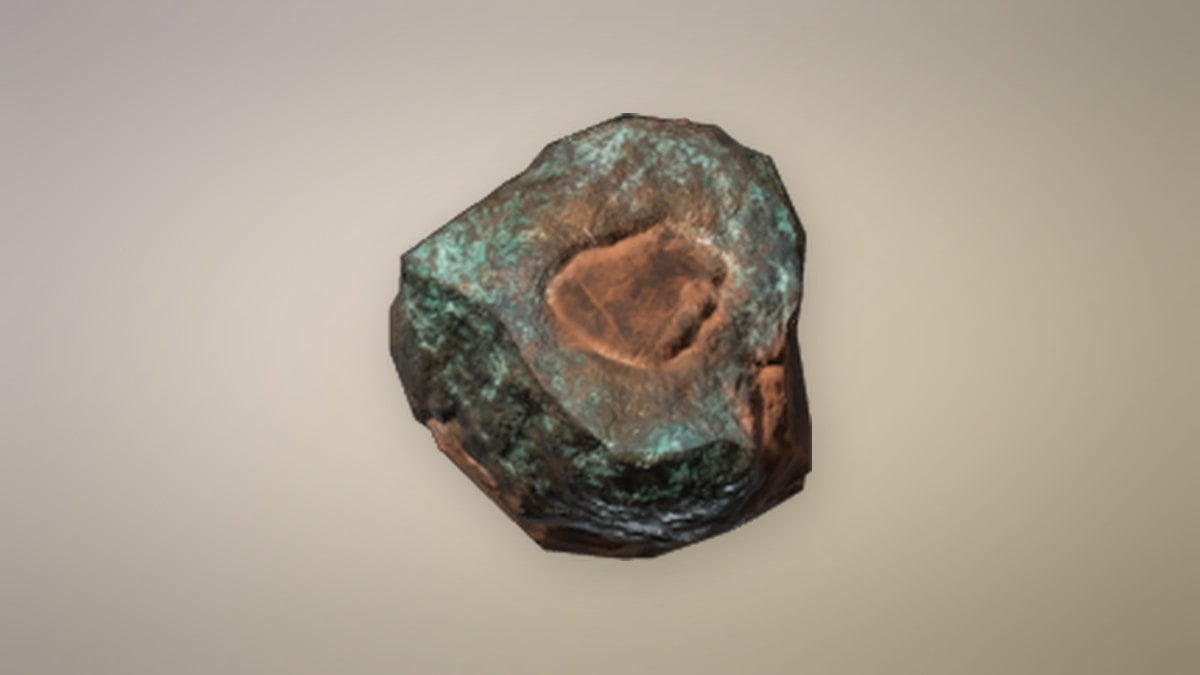
Lump of Clay is a Common material with an item level of 13, and it stacks to 250. It comes from Revelwood, and you mine it with a pickaxe from reddish or orange-brown patches on rock faces, boulders, and the ground. Those patches often sit right next to Copper Ore veins, so a single clay run usually fills your copper stack too.
Every deposit listed below sits outside the Shroud. That means no exposure timer while you mine. Regular enemies still roam these areas, though, and the boar in the Revelwood forests will interrupt you if you stop paying attention.
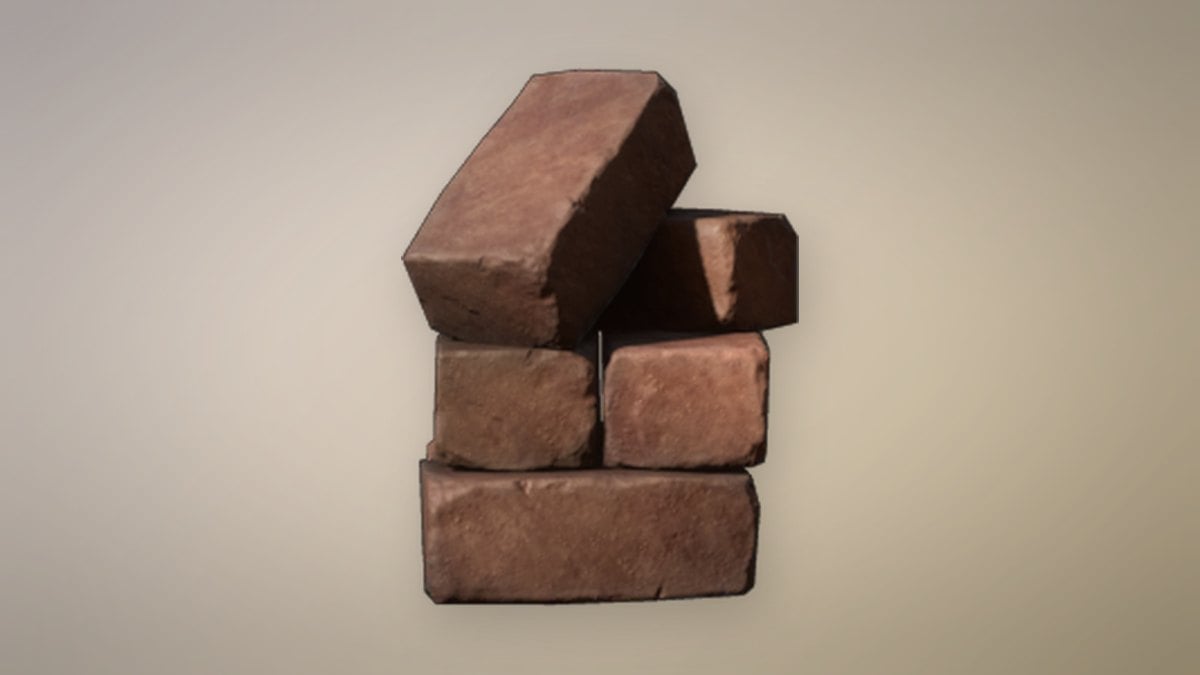
Picking up your first Lump of Clay teaches you the Fired Bricks recipe, which you craft at the Kiln by hardening the clay. Once a clay lump is in your inventory and Fired Bricks appears at the Kiln, you know the unlock went through.
Gear to bring before mining clay
Most clay sits on ledges, boulders, and cliff shelves rather than flat ground. Movement tools do more for a clay trip than anything else in your bag.
- A pickaxe. Any pickaxe can mine clay.
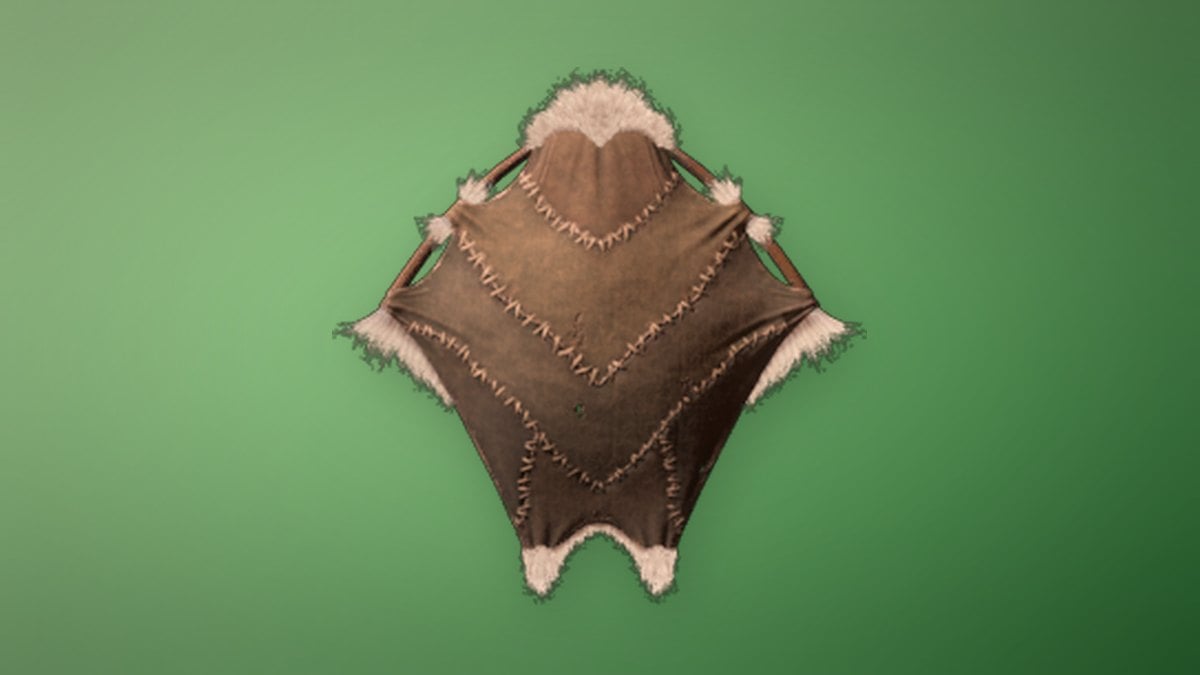
- The Glider, which drains 4 stamina per second while open.
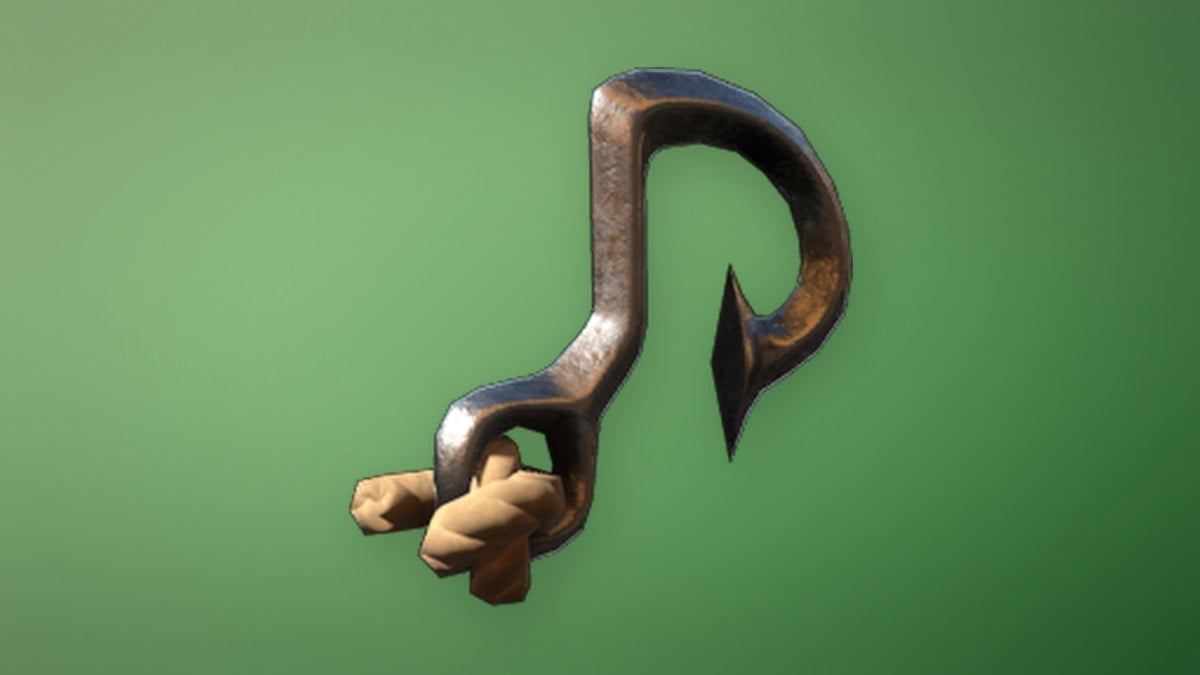
- The Grappling Hook, which costs 40 stamina per use.
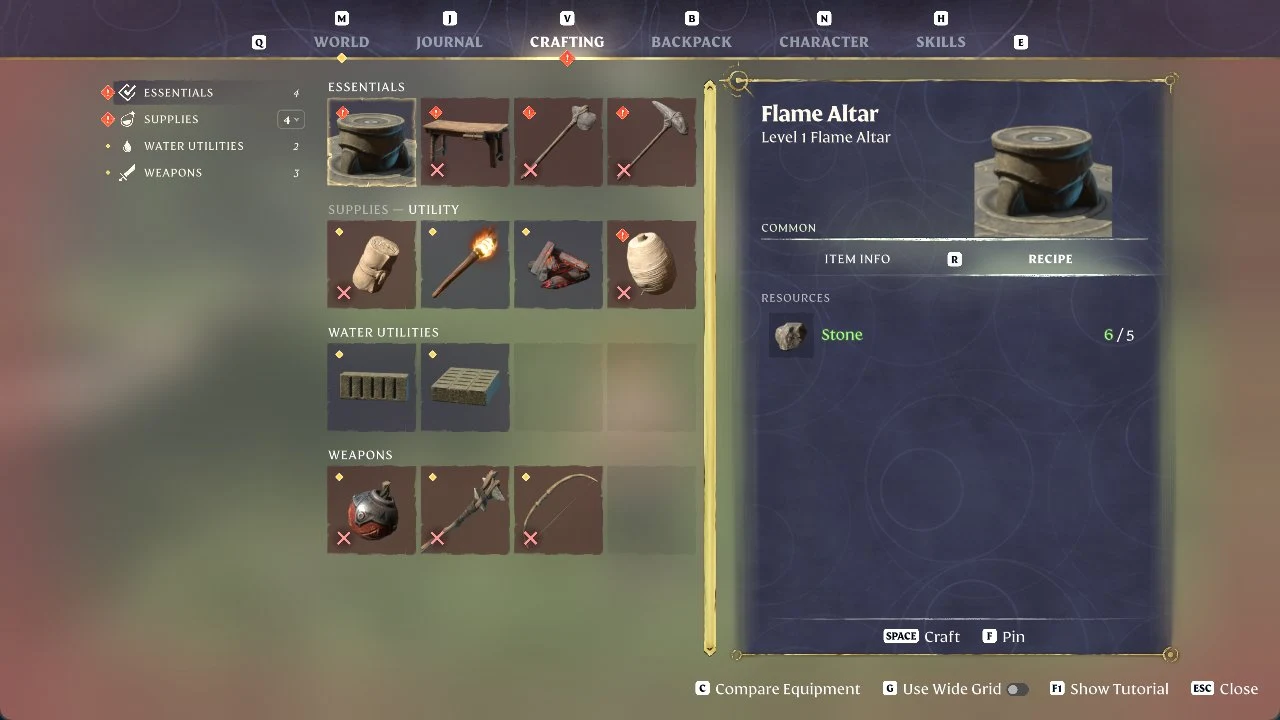
- 5 Stone, enough to craft a Flame Altar near a deposit you plan to revisit.
- Empty inventory space, with your other materials stored in chests at home in case you die on the way.
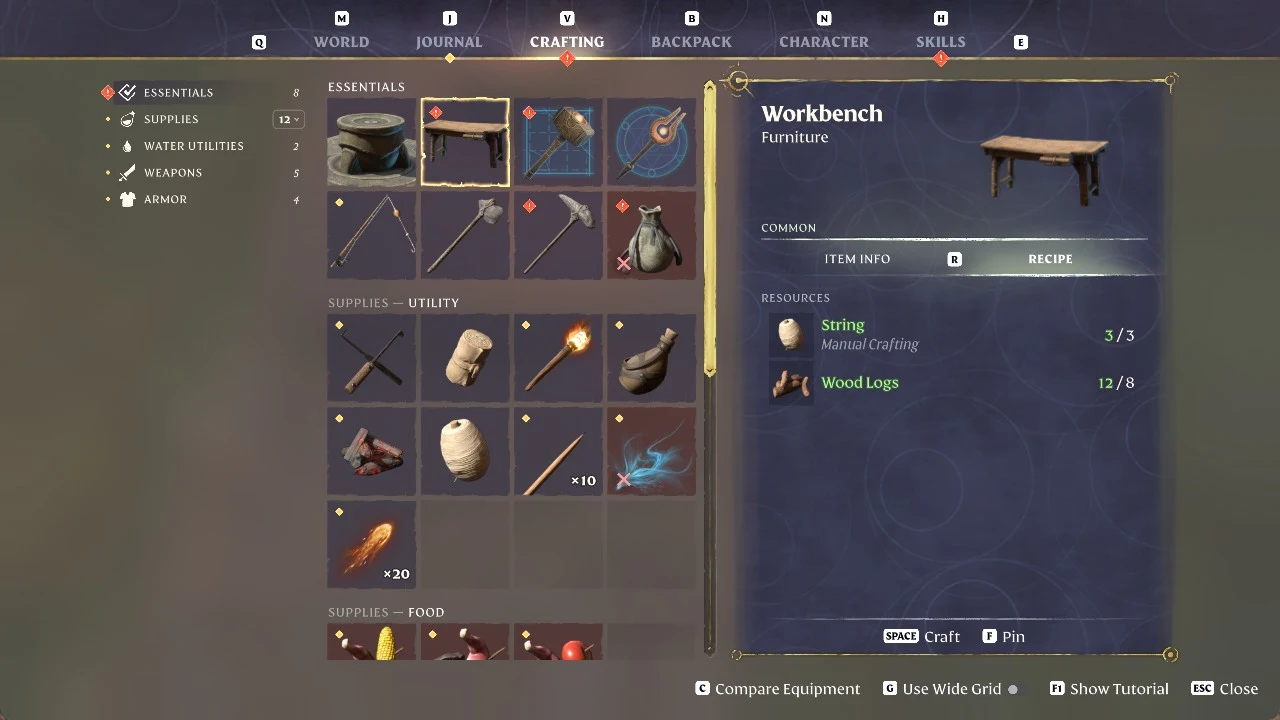
The Glider and Grappling Hook are both Uncommon tools crafted at the Workbench. A Workbench placed next to a mining spot also repairs your pickaxes on the spot, which spares you a trip back to base.
Three skills in the center of the skill tree speed up any mining run.
| Skill | Effect |
|---|---|
| Miner | 10% chance of one extra resource |
| Mason | Pickaxe deals 30% more damage to stone and veins |
| Quality Gear | Tools lose durability 50% slower |
Clay locations around Ancient Spire – Revelwood
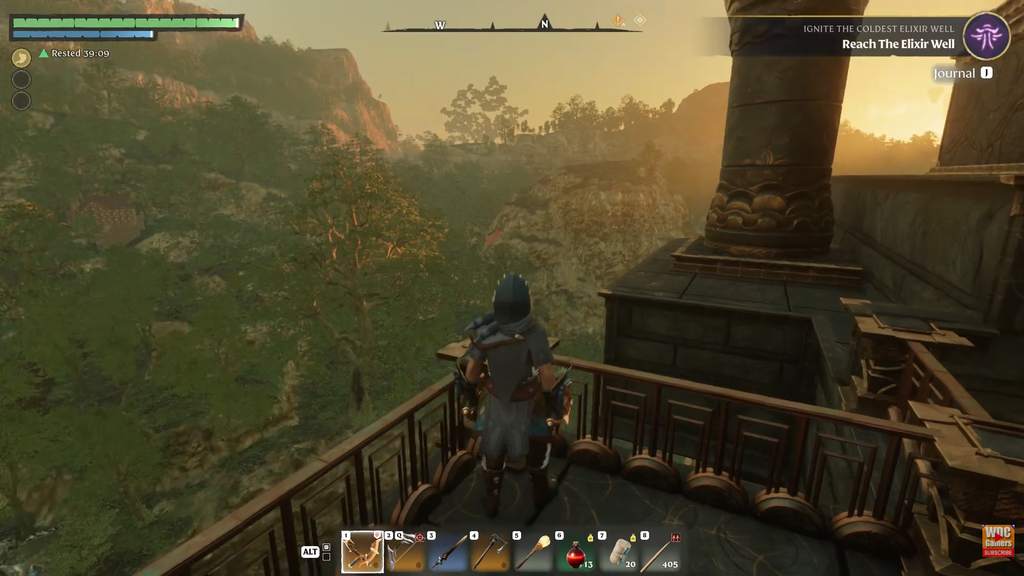
The area around Ancient Spire – Revelwood holds more clay deposits than anywhere else in early Revelwood, and the spire itself does most of the travel work. Complete the spire’s trial to unlock the fast travel point at its peak. When the spire shows up as a fast travel destination on your map, you can teleport to the top and glide down to any of the spots below in seconds.
| Deposit | Position | Access |
|---|---|---|
| Spire boulder | Directly beneath the spire | Glide down from the peak |
| West cluster (3 deposits) | Immediately west of the spire | Glide west from the peak |
| Camp, south side | South of the camp west of the spire | Glide west, Copper Ore nearby |
| Camp, second deposit | Beside the same camp | Short walk from the previous one |
| Far east deposit | A long glide east of the spire | Shroud below, Flame Altar advised |
The deposit under the spire sits on top of a large boulder, and reaching it on foot is awkward. Dropping onto it from the fast travel point is far easier. The west cluster is the quickest haul of the group, since all three deposits sit on sheer cliff faces you can reach in a single glide off the summit.
The two camp deposits sit close together, and the Copper Ore around them lets you fill both stacks without moving on.
The far east deposit is the risky one. The glide is long, the landing spot is easy to overshoot, and missing it drops you into the Shroud. Place a Flame Altar next to it once you get there so later trips skip the glide entirely.
Diadwyn clay route west of the spire
Diadwyn is a desolate village west of Ancient Spire – Revelwood, across a stretch of Shroud. The road leading to it and the nearby Carpentry Camp are lined with banks of Copper Ore and clay, and several more clay nodes ring the village. Use a Flame Altar inside Diadwyn as your hub for the loop.
Hidden Hunting Grounds clay route southeast of the spire
The Hidden Hunting Grounds sit southeast of Ancient Spire – Revelwood. Find the clay about halfway along the strip between the mountains west of the grounds and the Shroud farther west.
Willow Crush clay locations for earlier trips
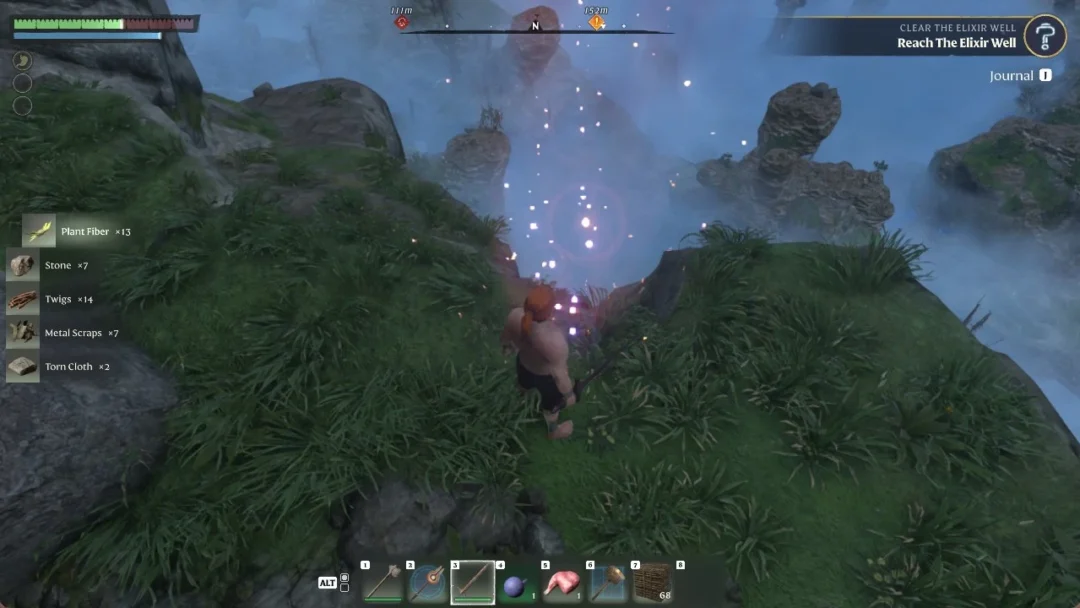
Willow Crush is the clay area closest to the starting region. It sits on the cliffs north of Ancient Vault – Farmer, well north of Braelyn Bridge. It has fewer deposits than the spire area, but you can reach it before you clear the Revelwood spire. There are two spots to check.
- Southeast of Willow Crush, around an abandoned inn. Scan the ground and rocks near the building for orange patches.
- East of Willow Crush, on rock shelves below a Cinder Vault, close to the Shroud. Clay and Copper Ore share these ledges.
The eastern spot works well as a permanent farm. Here is how to get there and set it up.
How clay deposits respawn in Enshrouded
An emptied clay deposit comes back on its own after about two in-game days. You don’t have to wait that long, though.
World resources reset when you leave a world and load back in. If you play solo or on your own private server, mine a spot dry, exit to the main menu, and reload the world through Play and then your private server. The reset worked if the deposits you just cleared are fully back when you return. Pair that with a Flame Altar and a Workbench next to the deposit, and the loop runs indefinitely without travel time or repair costs.
The cluster west of Ancient Spire – Revelwood suits the slower, natural respawn best. Its deposits sit within a single glide of the fast travel point, so checking them every couple of in-game days costs you almost nothing.