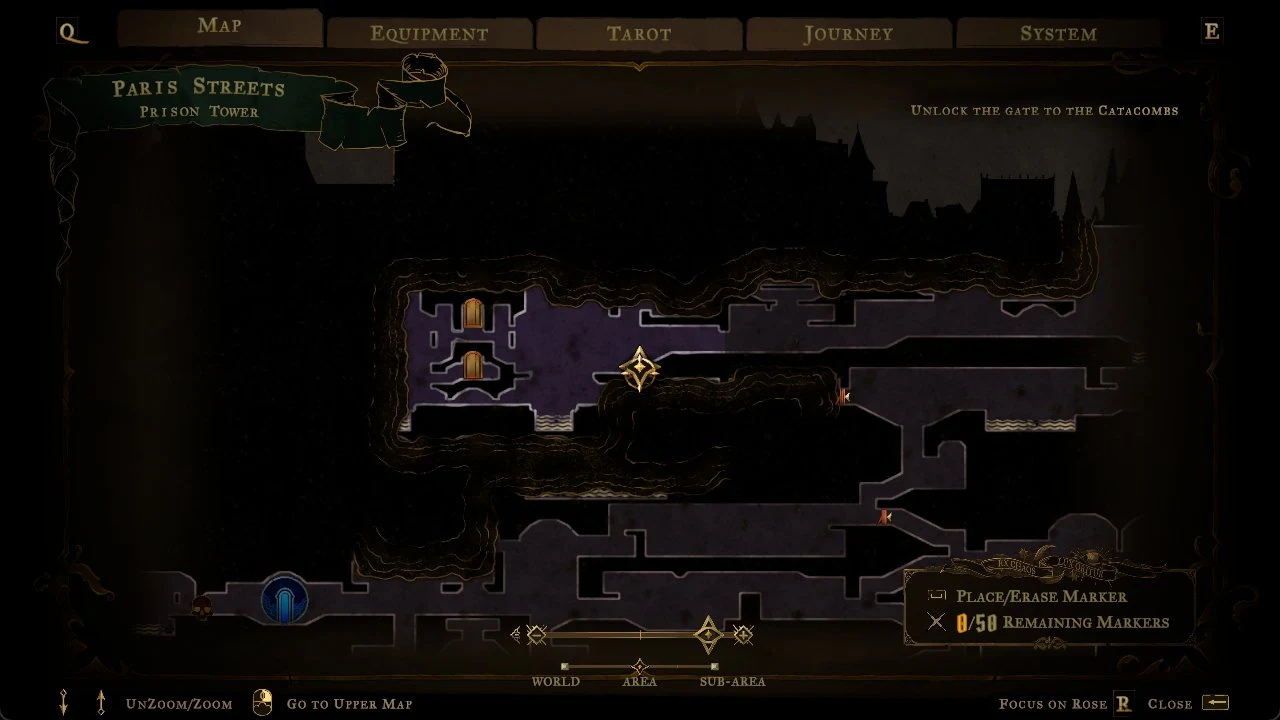
Perfectionist Hunter is the completion trophy and achievement in Castlevania: Belmont’s Curse. It unlocks when the progress counter reaches 100 percent. That counter tracks every area of Paris and Dracula’s Castle, and it counts more than pickups. It also counts exploration zones, area exits, background doors and absorbed arcana, so a run with every item but unexplored rooms will still fall short.
Quick answer: Bring progress to 100 percent by clearing every completion part in every area. That means items, statues, books, heart fragments, arcana, exits, doors and every exploration zone. The achievement fires when the counter hits 100.
Full item checklists by area, with a map link for every item: Paris Streets, Holy Innocents’ Cemetery, Catacombs of Paris, Main Hall, Library, Clock Tower and Master’s Quarters, Notre-Dame, Hall of Mirrors.
What counts toward 100 percent completion
Each area has a fixed number of completion items, and that number is made up of a few kinds of parts. Not every area uses every kind. Notre-Dame is the only one with virtues, for example, and the Master’s Quarters has progression keys but no statues. Across the game, these are the parts the counter tracks:
- Exploration zones, the map cells you physically enter, which make up most of each area’s total
- Items from chests, plus ATK books (Attack Up) and DEF books (Defense Up)
- XP statues you break, plus Wise Heart Fragments and Brave Heart Fragments
- Area exits, background doors and absorbed arcana
- Ferryman’s Wharf stops, progression keys and the four Notre-Dame virtues where an area has them
Some locations open only after you have a later arcana or movement ability. Mark any spot you can’t reach yet and return once the tool for it is unlocked. Mirrors of Life save your game and refill your potions, and Ferryman’s Wharf stops connect the major areas by boat, which makes the late-game cleanup much quicker.
Completion totals by area
Use these figures to check an area against its own total before you move on. Exploration zones are listed separately because they make up most of each count. All nine areas add up to 1,765 parts.
| Area | Completion items | Exploration zones | XP statues |
|---|---|---|---|
| Paris Streets | 319 | 228 | 28 |
| Main Hall | 267 | 190 | 21 |
| Clock Tower | 236 | 192 | 14 |
| Notre-Dame | 235 | 166 | 19 |
| Catacombs of Paris | 211 | 168 | 20 |
| Holy Innocents’ Cemetery | 176 | 131 | 15 |
| Hall of Mirrors | 158 | 114 | 21 |
| Library | 139 | 105 | 9 |
| Master’s Quarters | 24 | 15 | 0 |
The rest of each area’s total is made up of smaller parts. Main Hall has 22 background doors and 5 area exits. Notre-Dame has 10 background doors, 4 absorbed arcana and the 4 virtues. Master’s Quarters has 4 progression keys, 2 background doors, 1 item, 1 area exit and 1 Ferryman’s Wharf.
| Area | ATK / DEF books | Mirrors of Life | Bosses |
|---|---|---|---|
| Paris Streets | 3 / 3 | 5 | The Fallen, Saint Louis, Joan |
| Main Hall | 2 / 2 | 9 | Brauner, Isaac |
| Clock Tower | 1 / 2 | 3 | Isaac, Talos |
| Notre-Dame | 4 / 3 | 3 | Arthur, Death, Doppelganger, Joan |
| Catacombs of Paris | 0 / 0 | 2 | Death, Mammon |
| Holy Innocents’ Cemetery | 2 / 2 | 4 |  Medusa |
| Hall of Mirrors | 2 / 2 | 5 |  Succubus |
| Library | 0 / 0 | 2 |  Carmilla |
| Master’s Quarters | 0 / 0 | 1 |  Dracula |
Statues pay out experience when broken, and the payout rises the deeper you go. Each statue is worth 100 XP in Paris Streets, 150 in Holy Innocents’ Cemetery, 200 in the Catacombs of Paris, 250 in the Main Hall, 300 in the Library, Notre-Dame and Hall of Mirrors, 350 in the Clock Tower and 400 in the Master’s Quarters.
Brave Heart and Wise Heart Fragments
Each heart fragment counts toward completion and also feeds the Collector trophy. Brave Heart Fragments raise maximum health, and Wise Heart Fragments raise maximum mana. Every fragment-bearing area holds three of each.
| Brave Heart Fragment | Value |
|---|---|
| Fragments placed | 24 |
| Areas holding them | 8 (3 each) |
| Fragments per upgrade | 4 |
| Upgrades | 6 |
| Max health per upgrade | +20 |
| Max health with all | 220 |
Brave Heart pieces are found in eight areas: Paris Streets, Holy Innocents’ Cemetery, Main Hall, Catacombs of Paris, Library, Clock Tower, Notre-Dame and Hall of Mirrors. The Master’s Quarters contains none. Collecting four pieces completes an upgrade, confirmed by the message “Brave Heart Completed!”
Locks that gate collectibles
A handful of items sit behind puzzles or item checks rather than simple platforming. Clear these when you reach them, because each one blocks completion items further on.
The Judge and the Palace of Justice scale
The giant scale in the Palace of Justice (Overgrown Oak room) balances when you place 12 or more Wise and Brave Heart Fragments on it. This unlocks The Judge arcana and the Valmanway weapon. Defeat Saint Louis to earn The Judge’s spell, Chains of Justice. It uses 40 mana and has 45 attack power. Nearby enemies are held in place for 4 seconds, and the first strike against a chained enemy deals bonus damage.
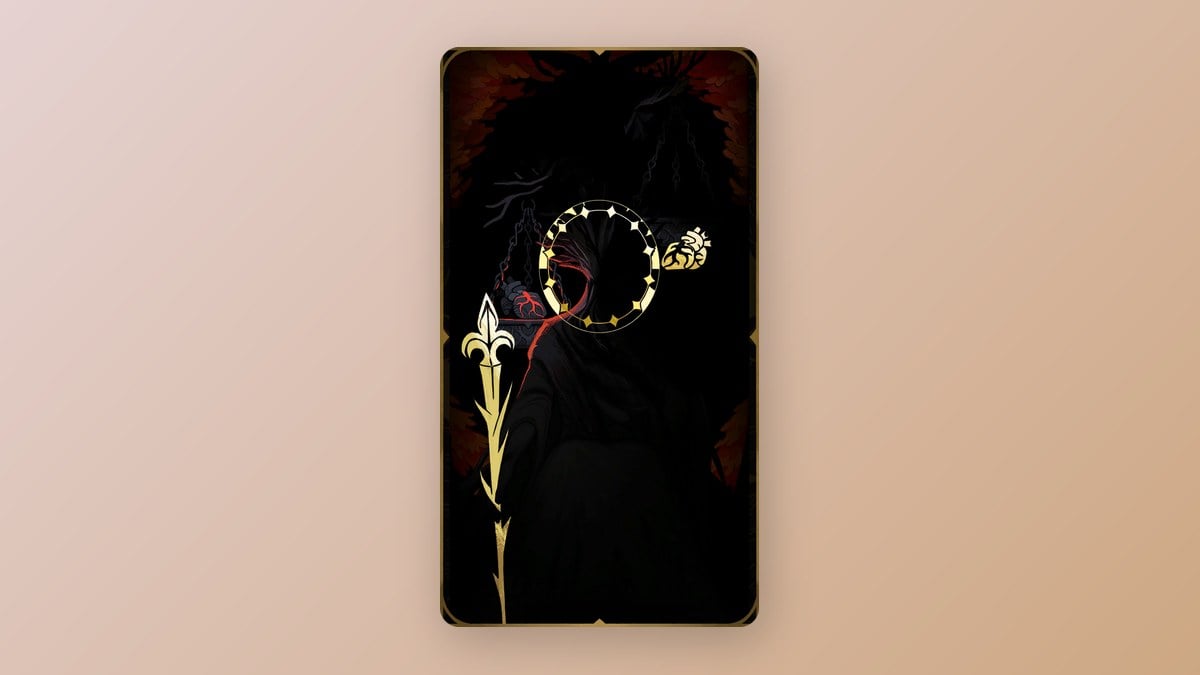
Its three gifts prevent chained enemies from acting, transfer the chain to a nearby foe if the chained target dies, and instantly kill a chained enemy with less than 20 percent health. To earn its blessings, chain four enemies simultaneously, kill 25 enemies while they are chained, and increase maximum health and maximum mana five times apiece.
Mammon’s flesh door in the Circle of Greed
The door of flesh and eyes in the Catacombs of Paris opens only when Rose has all three eye relics equipped at once. Those relics are the Thrilling Eye from the Paris Streets Hospital, the Trembling Eye from the Cemetery’s Mass Grave, and the Oozing Eye from the Circle of Greed. Beating Mammon behind the door grants The Miser arcana and the Ferryman’s Obol, which opens extra ferry routes.
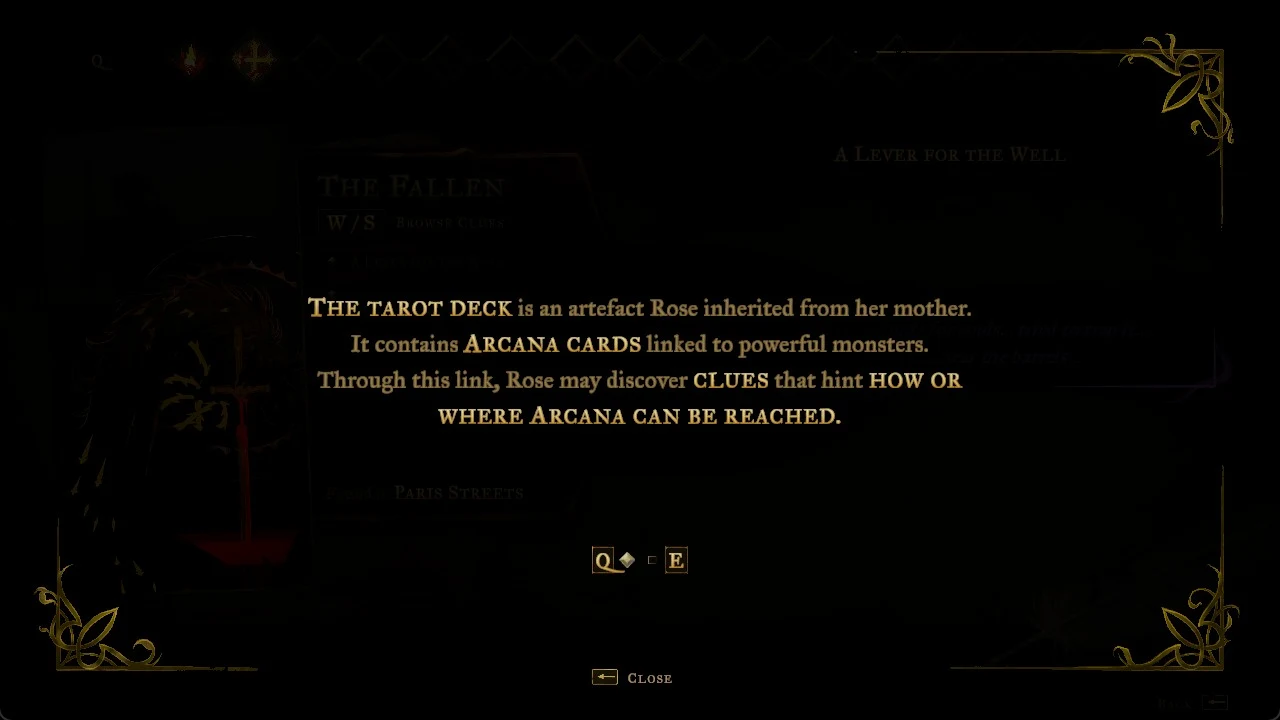
The Sage seals
The Sage arcana requires breaking four blue seal mirrors, one each in Paris Streets, the Clock Tower, Notre-Dame and the Main Hall. Breaking all four opens the Hall of Mirrors.
Notre-Dame organ sequences
In the Great Organ Room, you step on numbered zodiac floor plates in the order shown by the clefs on each Melody Sheet. The first three sequences lead to Death, The Shadow arcana and Vampire Killer. The fourth, secret sequence opens a crypt holding War and Famine.
| Sequence | Plate order |
|---|---|
| The Shadow, part 1 | 5, 4, 2, 1, 3 |
| The Shadow, part 2 | 1, 6, 2, 5, 7, 4, 3 |
| The Shadow, part 3 | 1, 7, 2, 4, 6, 3, 5 |
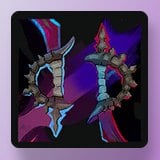 War and Famine (secret) | 10, 9, 8, 6, 7, 1, 2, 3, 5, 4 |
Excalibur and The Brittle King
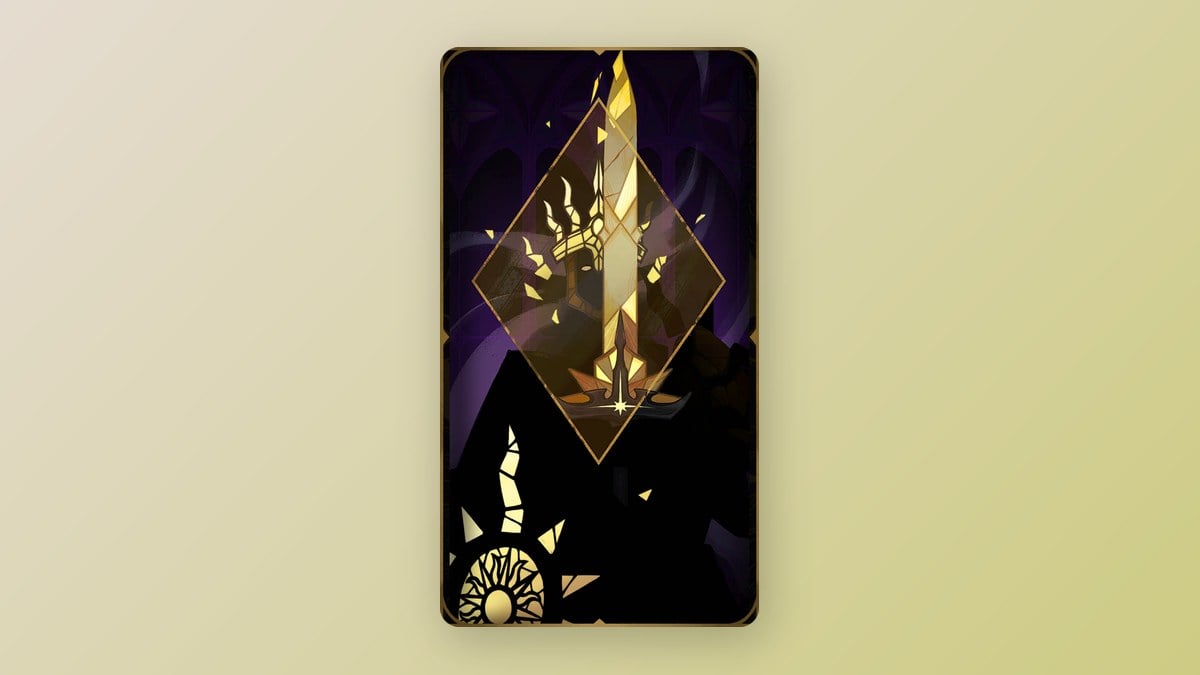
The stone sword in Notre-Dame’s Chapel carries the Feat of Strength clue. Equip Fist of Talos, The Builder’s spell, and interact with it to fight Arthur; beating him gives The Brittle King and Excalibur. The Brittle King is arcana number 13, tied to Arthur, and casts Stained-Glass Shield. Its works of mercy are absorbing an otherwise fatal attack with Arthur’s spell, killing 25 Haunted Armor, and killing 3 enemies with a single attack.
Paris Streets collectibles locations
Full checklist with a map link for every item: All items in Paris Streets.
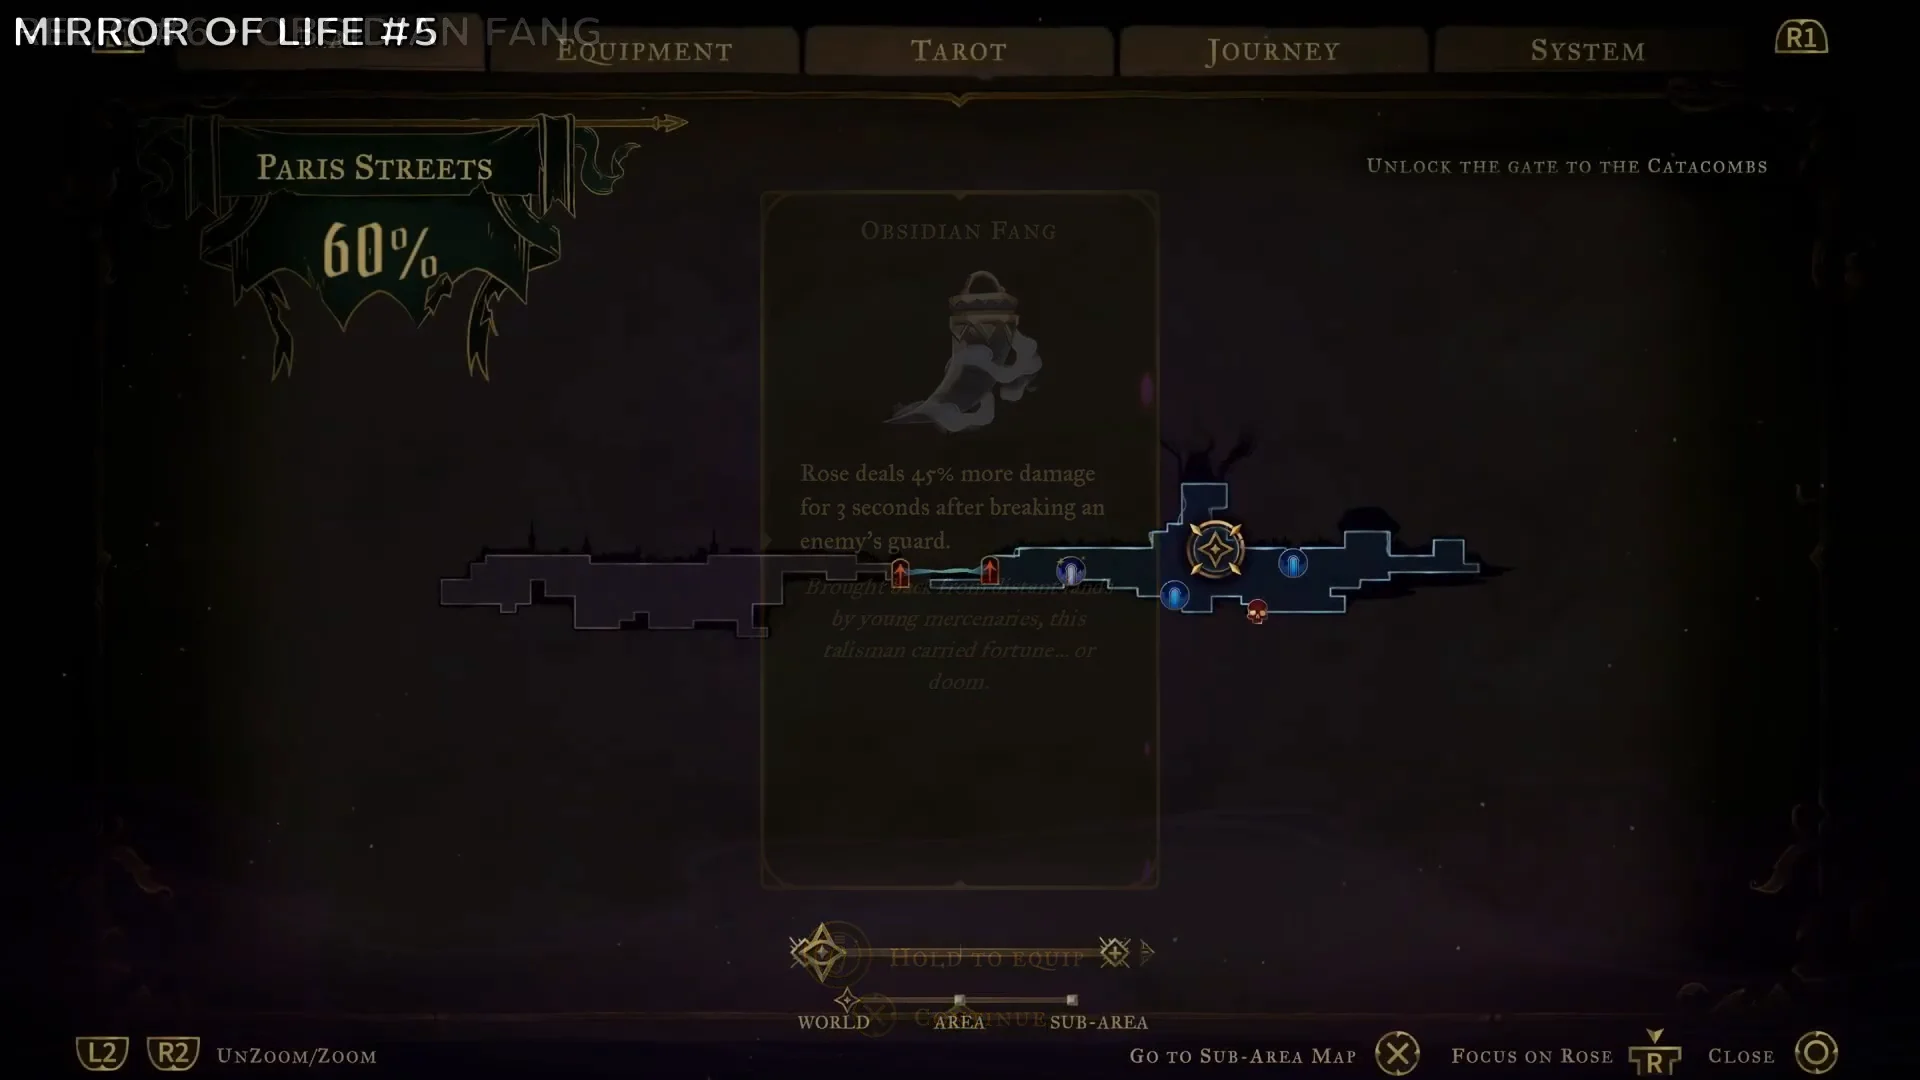
Paris Streets is the opening region and has the most statues, with 28. It also holds five Mirrors of Life, at the Central Sewer Drain, Gate to the Stone Bridge, Burned District, Undercity and Prison Tower. Its Ferryman’s Wharf is in the Abandoned Sewers. Statue locations by district:
- Ruined Market walkway, sewer drain, Sewer Reservoir grapple and Path of the Rat upper platform (one each)
- Abandoned Sewers (2), including the spiked floor section
- Court of Miracles (3): rooftop, high ledge behind a breakable section, interior past shielded enemies
- Bridge of the Millers waterwheel underpass and Undercity entrance (one each)
- Burned District (3): ground-floor room, burning balcony, upper interior ledge
- Street of the Tomb Masons (3), including the spiked-wall cage roof, and the morgue interior (2)
- Prison Tower (6): lower drop, three in the secret descent, outer wall, roof ledge
- Holy Innocents’ Cemetery entrance rooftop, Guard Level shaft and Upper Tower crane gear (one each)
Upgrades in Paris Streets:
- Brave Heart Fragments: Upper Court of Justice breakable-block chest, Undercity past the swinging blades, Guard Level upper exterior grapple run
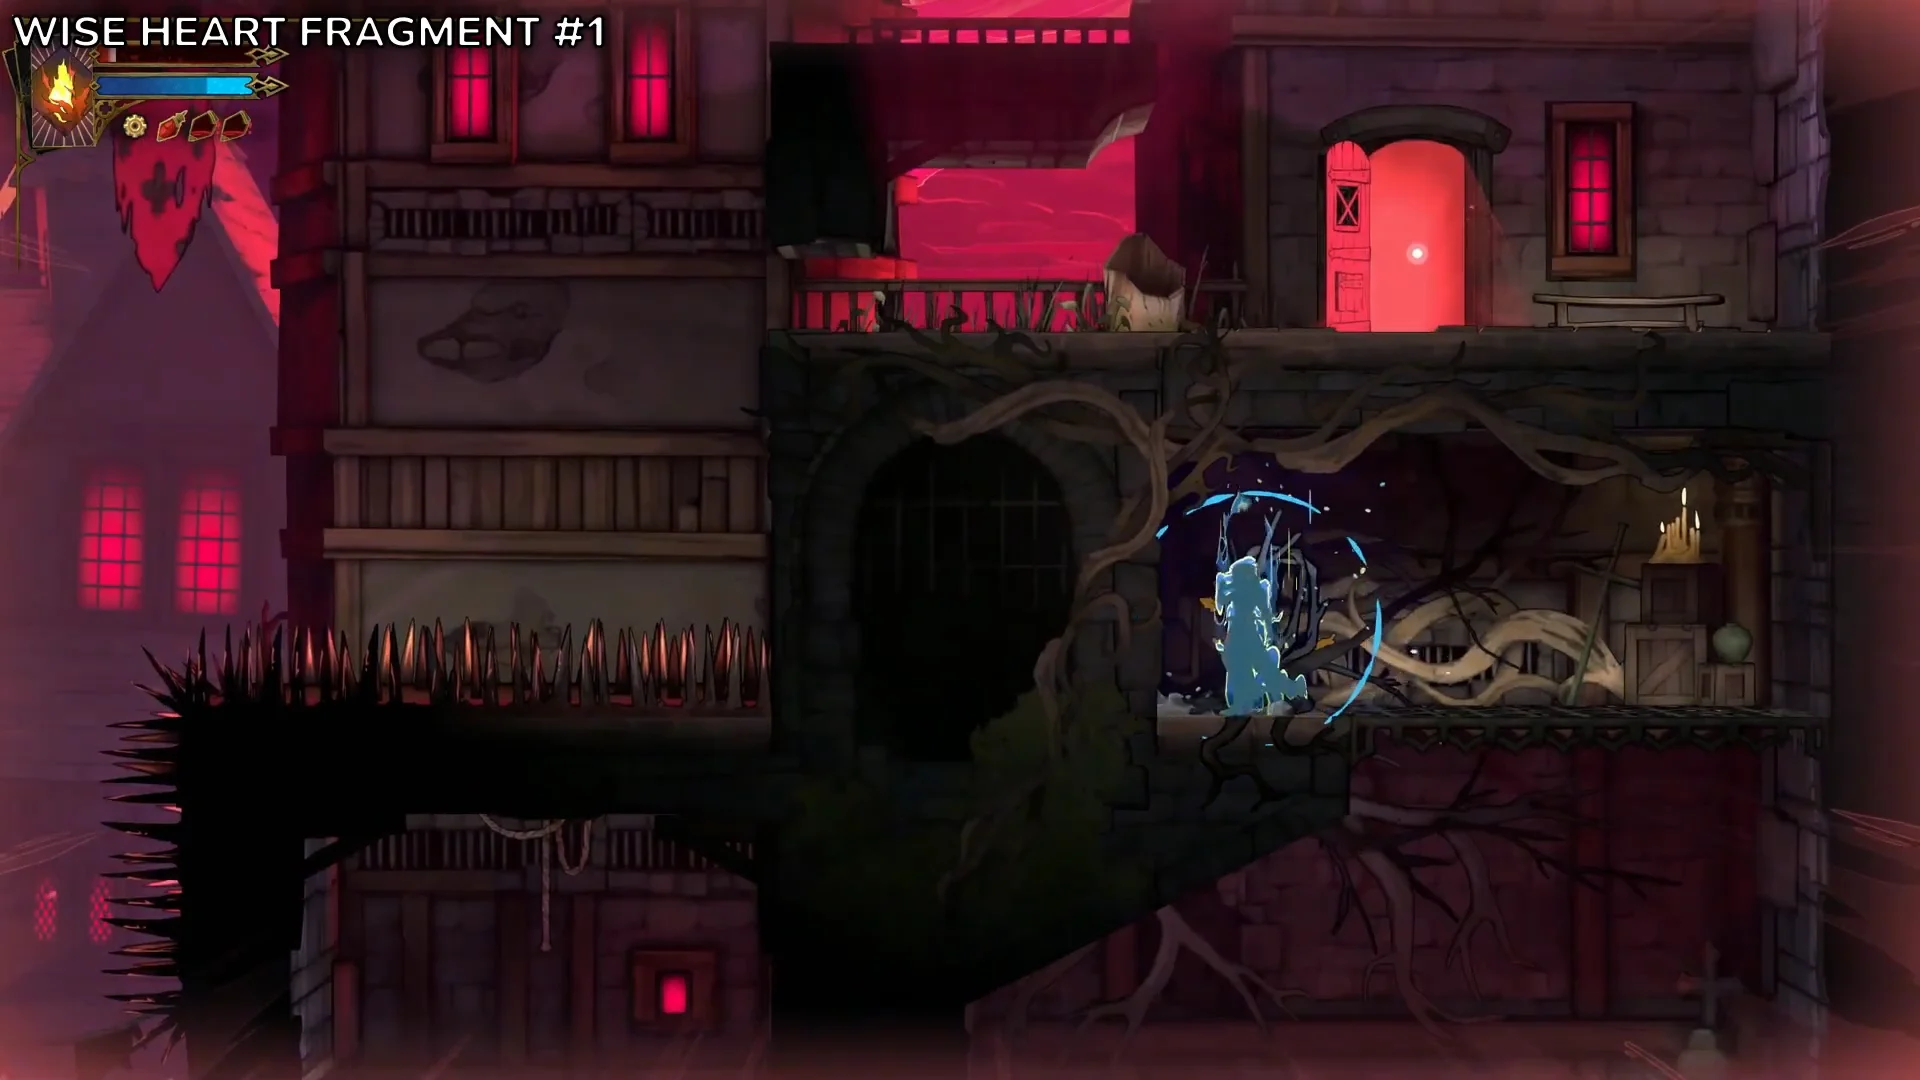
- Wise Heart Fragments: morgue basement drop, Guard Storehouse gear puzzle, hidden room on the Torture Level
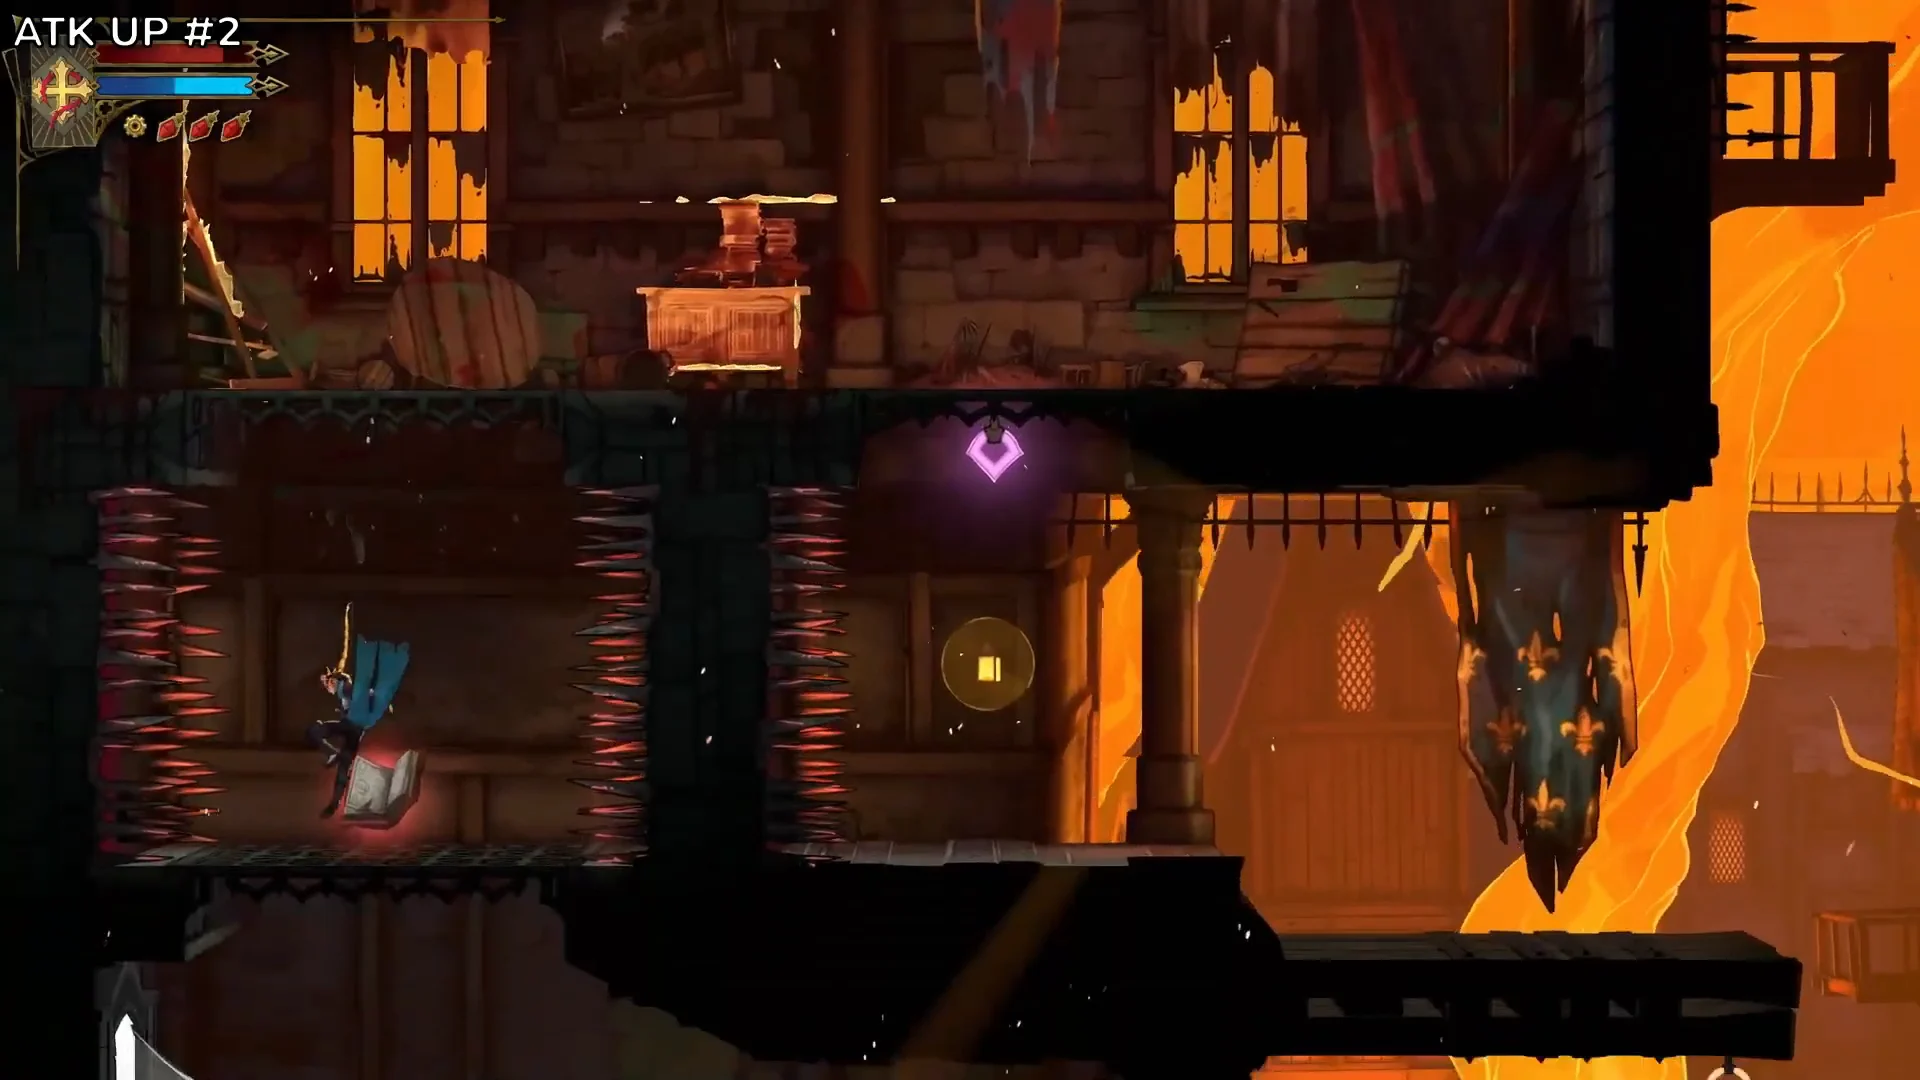
- ATK Up: Sewer Reservoir grapple puzzle, grapple climb outside the Prison Tower, secret wall on the Stairs to the Tower Roof
- DEF Up: slide through the Abandoned Sewers barrier, Ruined Market rooftop, Upper Tower spike maze
Gear, arcana and clues in Paris Streets:
- Weapons: Valmanway (scale), Bastard Sword (Justice District Sewers waterwheel gold chest), Cestus (Sewer Reservoir over toxic water), Burnt Sword of Fierbois (Joan’s sword on the tower roof)
- Relics: Shadow Veil (Burned District), Crypt Key (Seer’s Hovel), Twilight Gem (Central Sewer Drain gears), Thrilling Eye (Hospital teleporter room), Dark Sigil (Ruined Market slide), Obsidian Fang (Guard Level, near the Prison Tower)
- Arcana: The Fallen (story), The Judge (scale), The Warrior (defeat Joan on the Roof of the Tower)
- Clues: The First Card (automatic), A Monster Terrorizes Paris, Balancing the Scales of Justice, Tomb Relic, Hospital Relic, Catacomb Relic, The Warrior is at the Top of the Tower, A Lever for the Well, Stolen Oboles, Carpenter’s Crane Sketch
The three relic clues are in the Bishop’s Office. Tomb Relic comes from a document there, and Hospital Relic and Catacomb Relic come from its bookshelves. Stolen Oboles comes from a phantom in the hospital attic.
Holy Innocents’ Cemetery collectibles locations
Full checklist with a map link for every item: All items in Holy Innocents’ Cemetery.
The cemetery adds five Haunted Coffin combat encounters. There is one each in the Cemetery Entrance, Ancient Sewers, Mass Grave, Ossuary of the Innocents and Pillaged Tombs. Mirrors of Life are at the Ancient Sewers, Cloister, Pauper’s Grave and Overgrown Crypt. The Ferryman’s Wharf is in the Ossuary of the Innocents.
- Statues (15): Cemetery Entrance stair niche, Sepulcher of the Knight spike pit, Memorial for the Dead, Cloister archway, Fountain of the Innocents (2), Pauper’s Grave (2), Roman Baths (2), Hot Springs alcove, Serpents’ Lair bridge, Ancient Sewers balcony, Overgrown Crypt shaft (2)
- Brave Heart Fragments: Ancient Sewers after the second coffin, Ossuary chandelier grapple, Mausoleum of the Kings spike chamber
- Wise Heart Fragments: Cloister interior, Roman Baths vertical cavern, Mausoleum of the Kings spike shaft
- ATK Up: Ossuary high ledge, Overgrown Crypt hidden path. DEF Up: Flooded Crypt bell puzzle, Ancient Sewers wall drop
- Arcana: The Prophetess (defeat Medusa in Serpents’ Lair), The Sage (four seals)
- Clues: Roman Baths, Cemetery Fountain, Guardian’s Gaze, The Roots of the Hollow Tree
Weapons and relics in the cemetery:
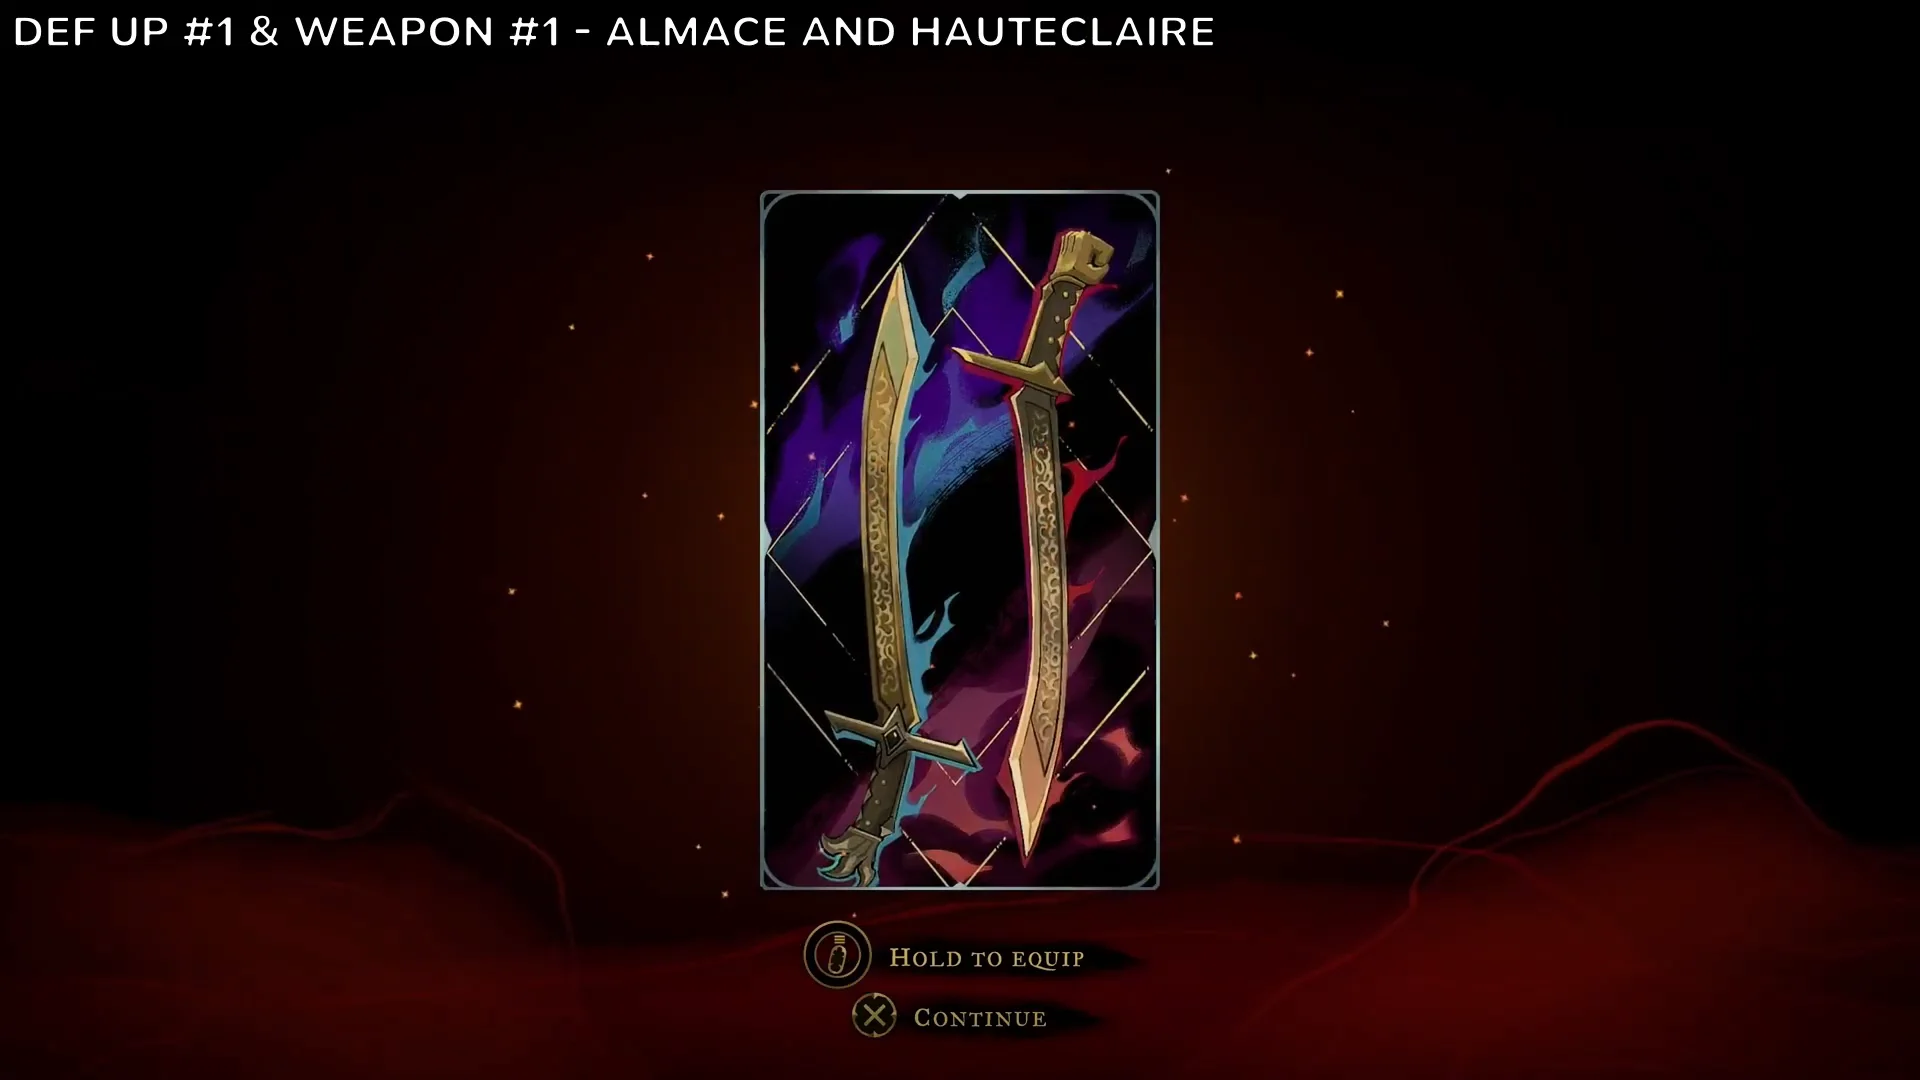
- Weapons: Almace and Hauteclaire (Flooded Crypt chest after the bell puzzle), Lance (Fountain of the Innocents monument), Rusted Harpe and Aegis (Serpents’ Lair pedestal)
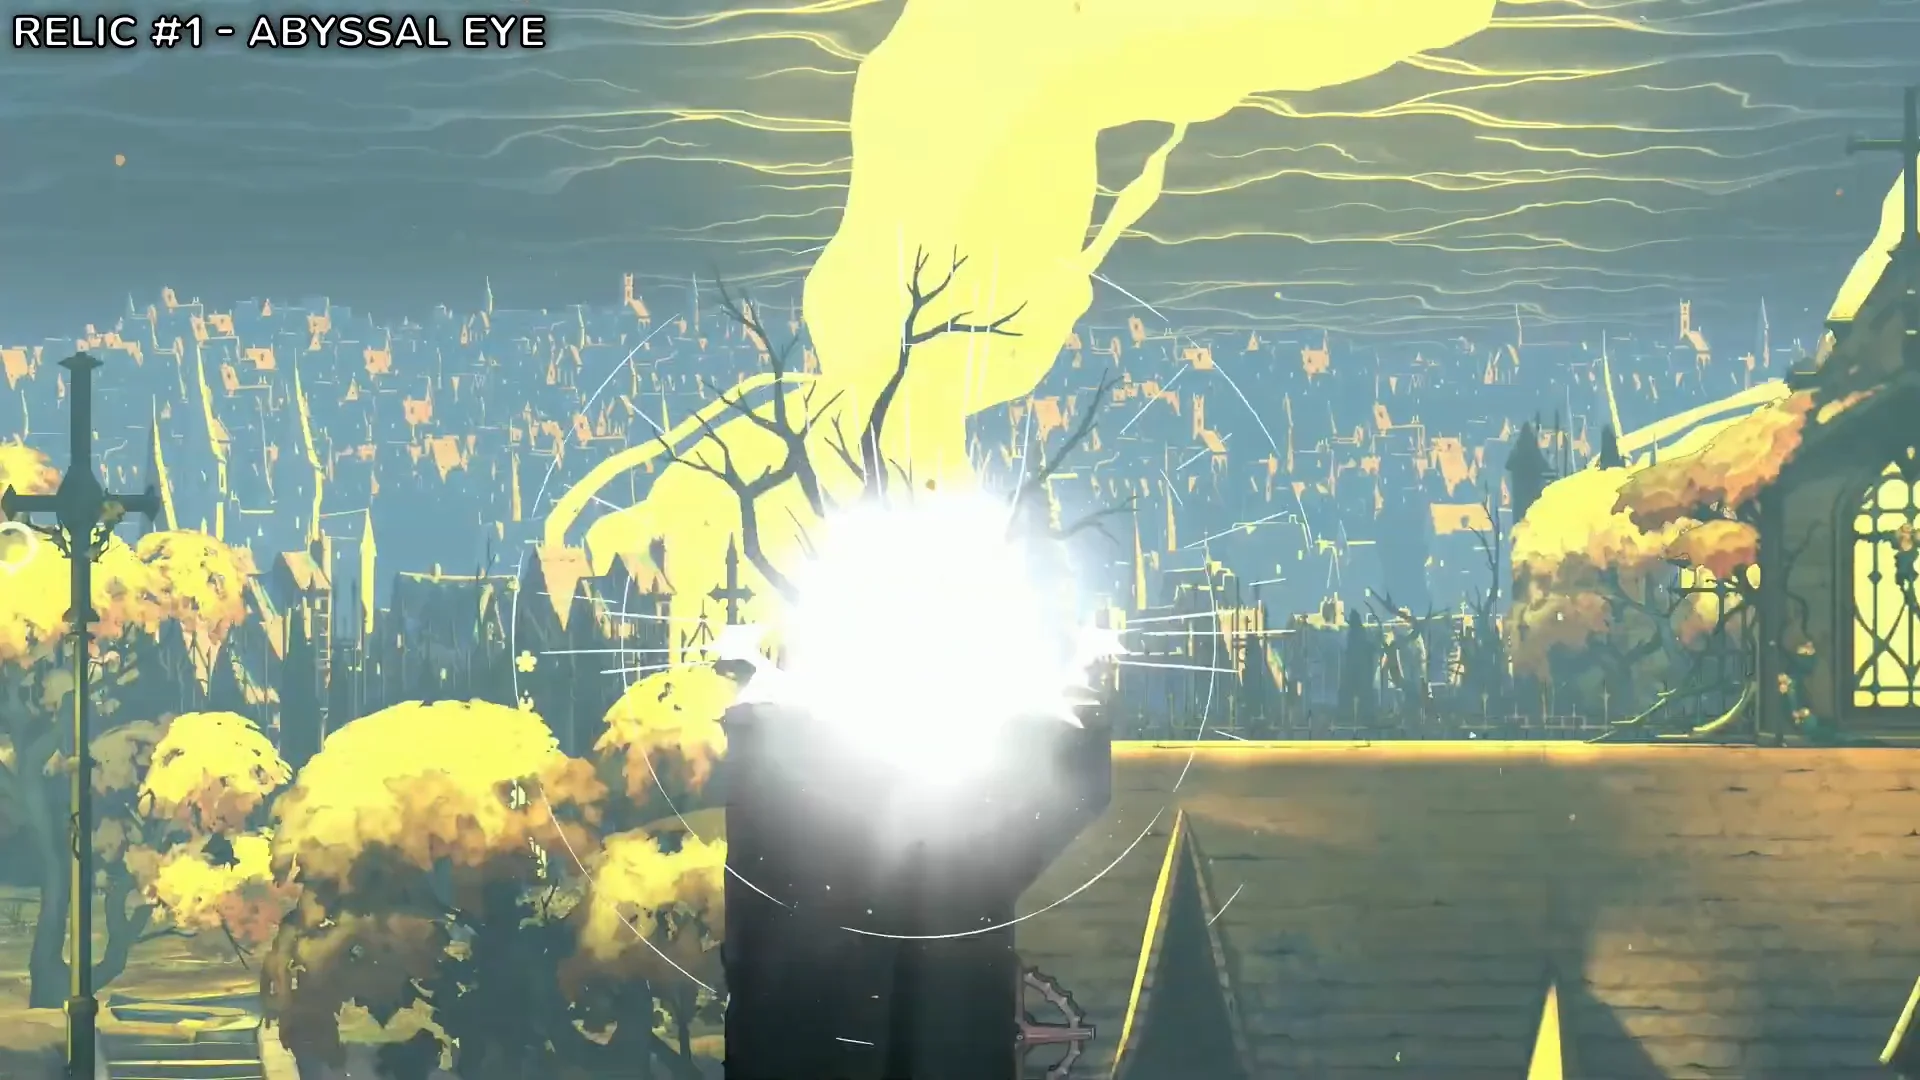
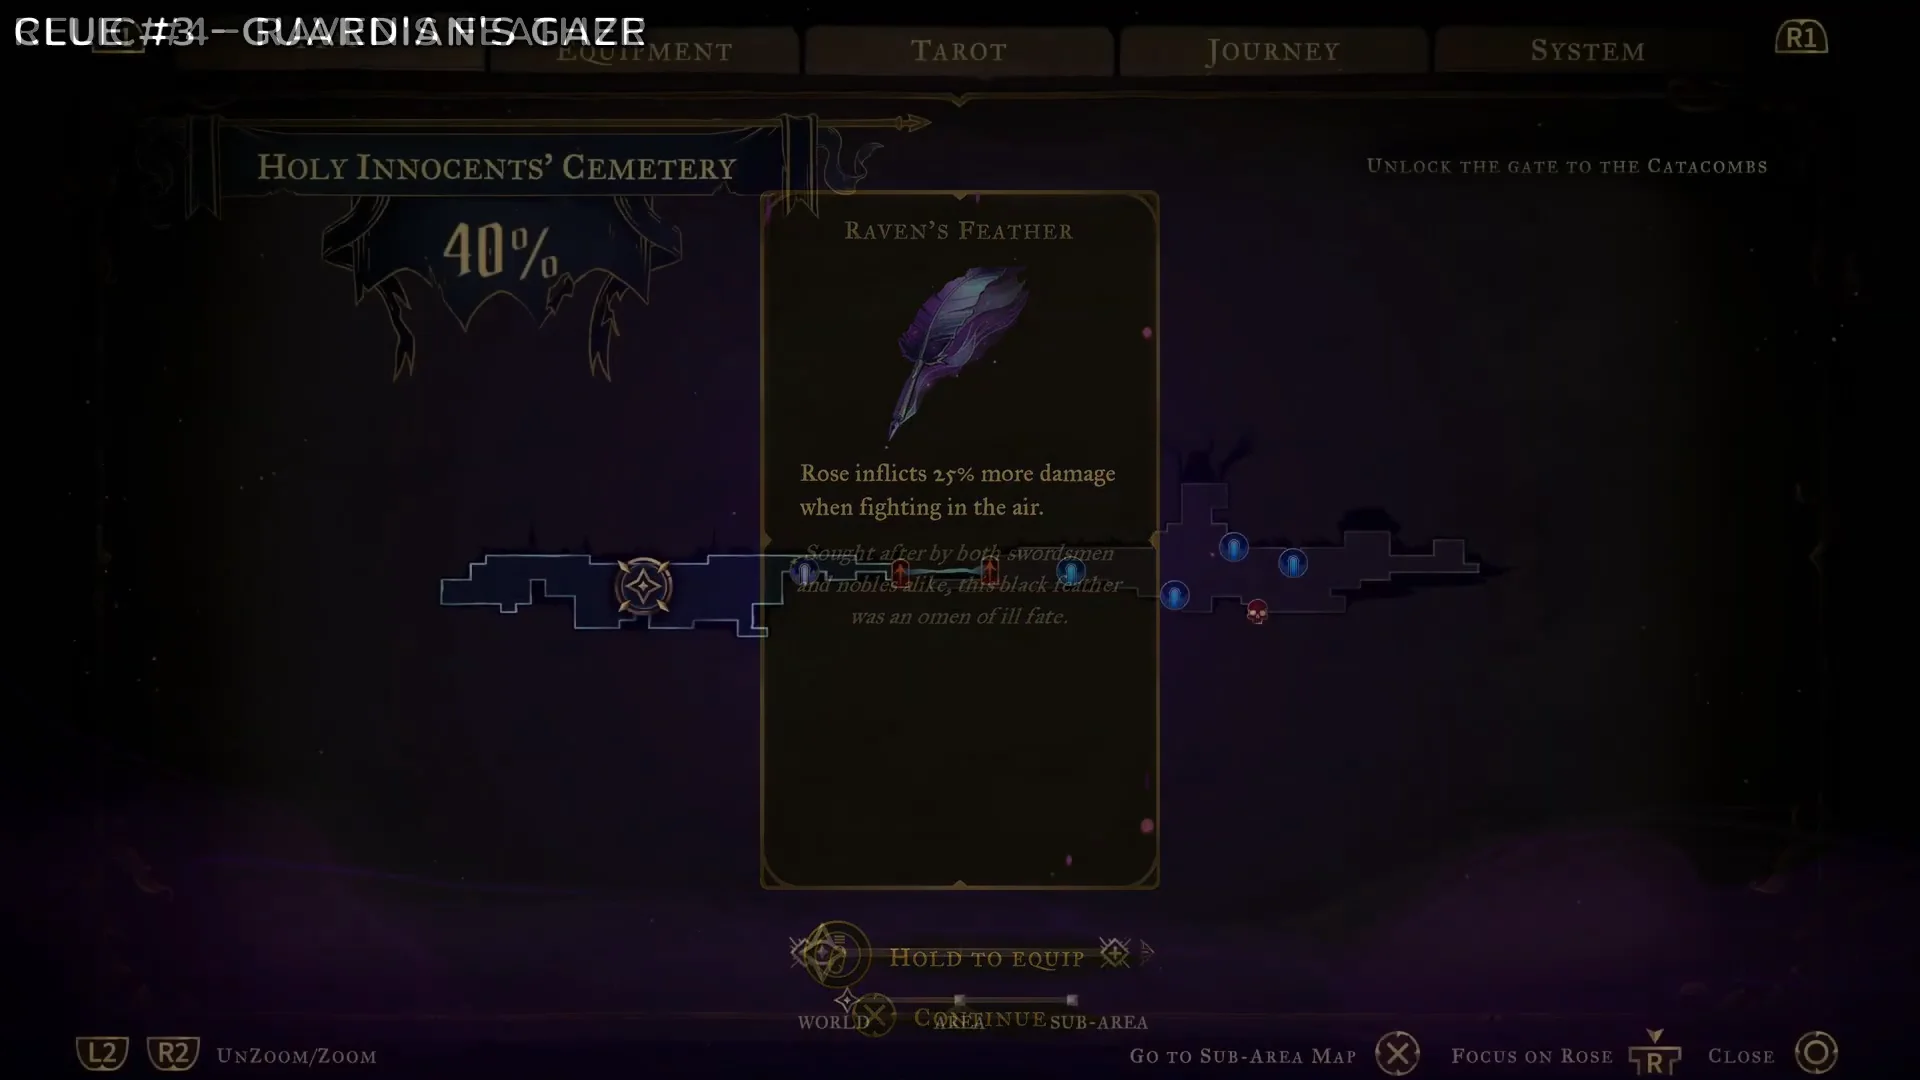
- Relics: Abyssal Eye (grapple line over the cathedral roof), Nightshade (Pillaged Tombs), Trembling Eye (red flesh door at the bottom of the Mass Grave shaft), Raven’s Feather (Mass Grave)
- More relics: Vampire’s Fang (chained chest in Serpents’ Lair, opened by breaking all five Haunted Coffins), Pale Thorn (Hot Springs gear wheels)
Main Hall collectibles locations
Full checklist with a map link for every item: All items in the Main Hall.
Main Hall has the highest completion total in Dracula’s Castle. Much of it comes from 22 background doors and nine Mirrors of Life, found at the Entrance Corridor, Boudoirs, Ballrooms, Elevator Tower, Archives, Storerooms, Servants’ Quarters, Waterworks and Torture Chambers. The Ferryman’s Wharf is in the Armoury.
- Statues (21): Entrance Corridor (2), Grand Hall (6, mostly along the painting walls and rafters), Boudoirs, Ballrooms (2), West Hall, Armoury, Wine Cellar, Dungeon (4), Torture Chambers (2), Forgotten Basement
- Brave Heart Fragments: Mirror Rooms spike jump, Wine Cellar spike-pillar drop
- Wise Heart Fragments: Grand Hall boudoir drop, Wine Cellar side room, Torture Chambers balcony exit
- ATK Up: Old Gallery sword-trap room, Wine Cellar upper ledge. DEF Up: Mirror Rooms stair alcove, Servants’ Quarters saw maze
- Weapons: Rapiers (Watch Tower), Morning Star (by the Castle Garden in the Inner Courtyard), Jewel Knuckles (Old Gallery via Servants’ Hall), Alucard’s Sword and Shield (Alucard’s Tower portrait room)
- Relics: Ghostly Pendant, Witch’s Knot, Blackened Heart, Blood Vial, Cursed Coin, Grim Token, Banshee’s Wail
- Arcana and clues: The Artist (Brauner’s Atelier), Builder Flees to the Clock Tower, Brauner’s “Masterpiece”, A Strange Painting of Notre-Dame, Artist Hides in the Main Hall, Carmilla in the Library, Alucard Guides
The relics are spread across the hall’s side rooms. Ghostly Pendant is in the Abandoned Workshop and Witch’s Knot is behind the West Hall fireballs. Blackened Heart is up the Abandoned Staircase, and Blood Vial is behind the Archives switch-and-lift puzzle. Cursed Coin is on a chandelier-reached balcony, Grim Token is in the Crematorium, and Banshee’s Wail is high in the Servants’ Hall.
Catacombs of Paris collectibles locations
Full checklist with a map link for every item: All items in the Catacombs of Paris.
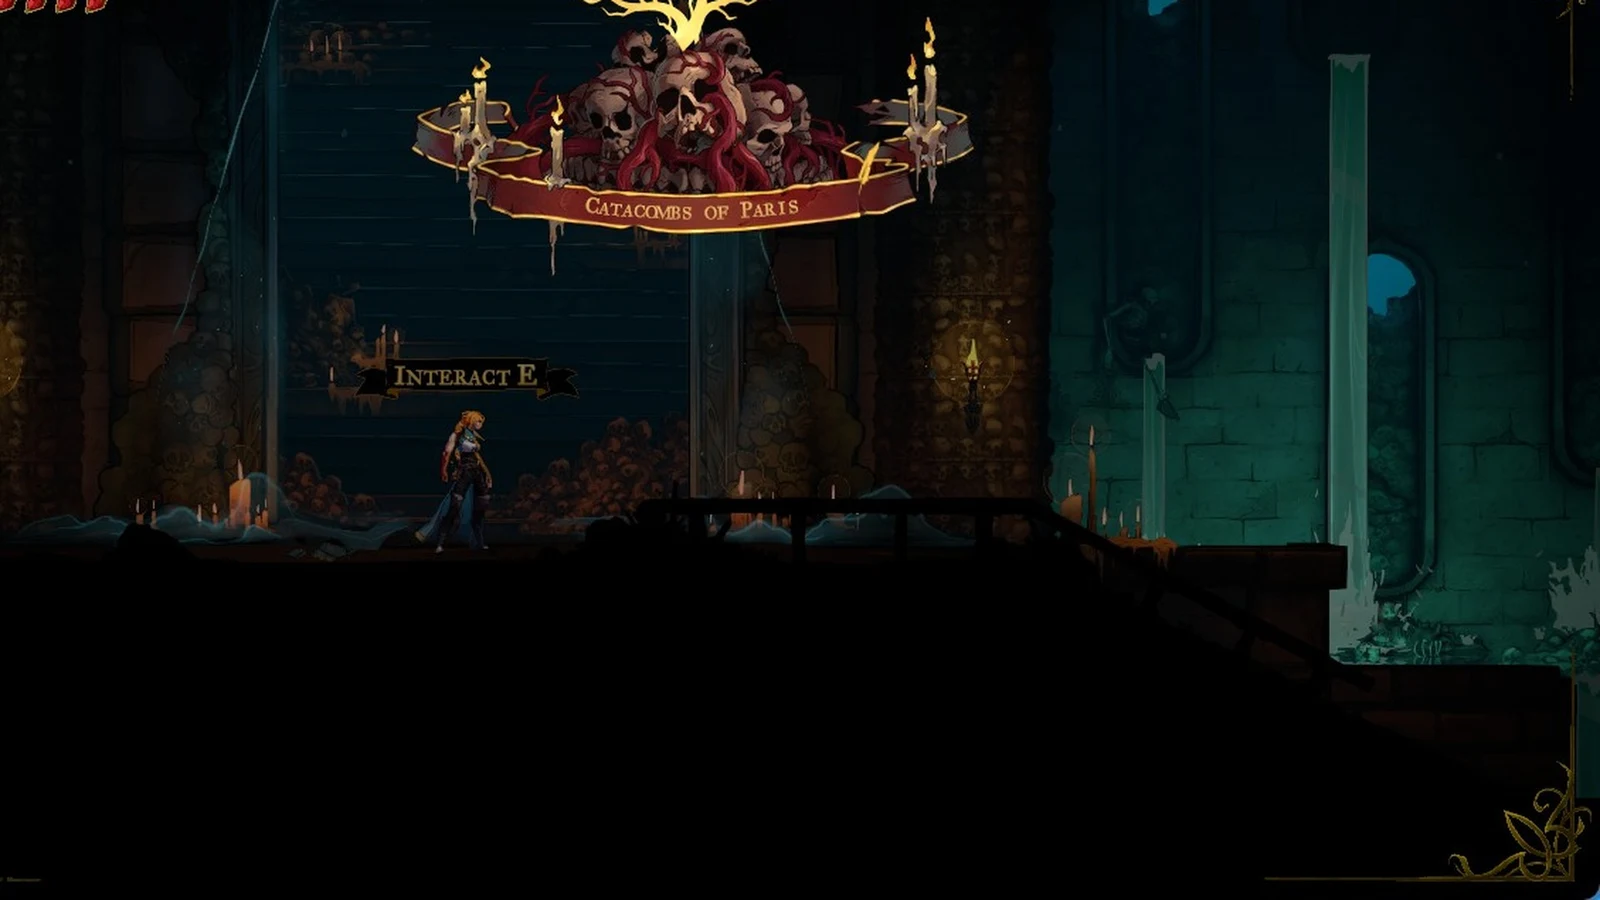
The Catacombs have no ATK or DEF books. Mirrors of Life are at the Quarry Elevator and Realm of Old Night, and the Ferryman’s Wharf is in the Collapsed Path of Orpheus.
- Statues (20): Catacomb Entrance (3), Quarry Elevator, Charnel Galleries, Crossroads of the Dead (2), Gallery of Teeth, Jaws of Limbo, Realm of Old Night (3), Antechamber of Sin (2), Collapsed Path of Orpheus (4), Blood Pits (2)
- Brave Heart Fragments: entrance shaft through crumbling blocks, Circle of Greed root chamber, Blood Pits secret wall
- Wise Heart Fragments: Crossroads of the Dead side room, Throat of Hell red waterfall room, Hall of the Fallen Angels saw gauntlet
- Weapons: Pair of Longswords (Crossroads of the Dead, left of the Quarry Elevator mirror room), Gungnir (Collapsed Path of Orpheus), Whip (Hall of the Fallen Angels)
- Relics: Mourning Bead (Path of the Abyss), Specter’s Whisper (hidden passage by the Gate to the Catacombs), Necro Charm (Jaws of Limbo), Forsaken Ring (Antechamber of Sin), Oozing Eye (Circle of Greed), Ebony Claw (Throat of Hell)
- Arcana and clues: The Miser (Mammon), Death Mark, A Door Made of Flesh and Eyes
Library collectibles locations
Full checklist with a map link for every item: All items in the Library.
Several Library pickups depend on the orrery and planetarium mechanisms. Mirrors of Life are in the Rhetoric Shelves and Exhibition Room, and the Ferryman’s Wharf is at the Bridge of Knowledge, reached through the Planetarium. The Observatory also holds Brauner’s Paintbrush, a key item.
- Statues (9): Library Foyer window ledge, Poetry Shelves balcony, Astronomer’s Office (after the orrery puzzle), Exhibition Room, Trophy Room arena, Study Room (2), Natural Philosophy Shelves (2)
- Brave Heart Fragments: Library Foyer bookcase platform, Poetry Shelves chandelier puzzle, Planetarium exterior balcony
- Wise Heart Fragments: Rhetoric Shelves ceiling drop, Planetarium orrery grapple, Fine Arts Shelves chandelier climb
- Weapons: Fleuret and Tower Shield (Condemned Shelves), Durandal (Lisa’s Laboratory), Thorn Whip (Fine Arts Shelves)
- Relics: Lich’s Mark and Midnight Tear (Rhetoric Shelves), Revenant’s Shard (Curiosity Cabinet), Wraith’s Tear (Study Room)
- Arcana and clues: The Occultist (Observation Tower), Star Chart, Magical Brush, Organic Astrology, Blood Poem
Clock Tower collectibles locations
Full checklist with a map link for every item: All items in the Clock Tower and Master’s Quarters.
The Clock Tower takes two visits. A barrier blocks the upper half until you equip The Shadow, the arcana you earn from Death, at the Clock Tower Bridge. The Clock Keeper’s Atrium, Eastern Summit, Steps of Time and Heart of the Clock pickups all sit behind it. Mirrors of Life are at Foundry Apex, Mechanic’s Ascent and Eastern Summit, and the Ferryman’s Wharf is at the Forgotten Bridge, reached from the Foundry Apex furnace room.
- Statues (14): Path of the Builder, Eastern Access Shaft (5), Daedalus Crossing (4), Serpent Pinion, Clock Keeper’s Atrium, Eastern Summit (2)
- Brave Heart Fragments: Serpent Pinion crumbling wall, Eastern Steps, Steps of Time saw gauntlet
- Wise Heart Fragments: Central Fuel Reservoir, Mechanic’s Ascent elevator shaft, Upper Gallery exterior roof
- ATK Up: Counterweight Chamber. DEF Up: Daedalus Crossing gear rooms, Eastern Summit saw maze
- Weapons: Fists of Talos (Builder’s Bureau), Halberd (Mechanic’s Ascent, behind a lever gate), Claymore (The Way of the Fist), Chauve-Souris (defeat Isaac)
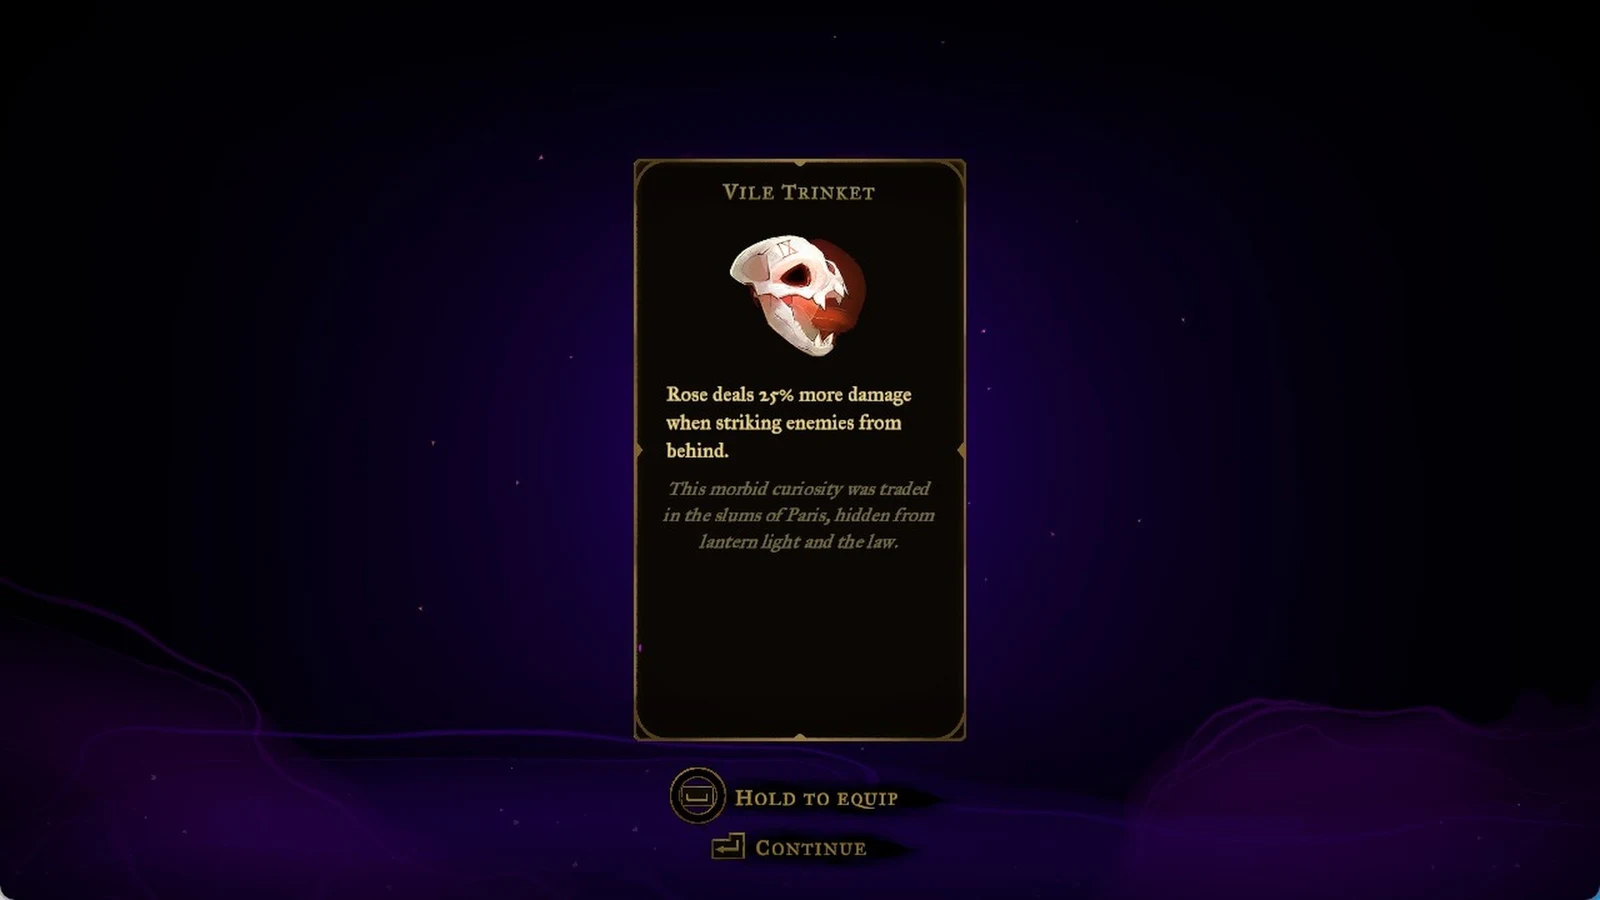
- Relics: Moonlit Shard, Phantom Ring, Sinister Rune, Vile Trinket, Hollow Bone
- Arcana and clues: The Builder (Throne of the Builder), The Zealot (Heart of the Clock), A Sketch from Talos, Isaac Waits in the Clock Tower, Blueprints for the Clock Tower
Moonlit Shard is at the end of the Path of the Builder gear gauntlet, and Phantom Ring is up the giant gears of the Western Ascent. Sinister Rune is in the upper Eastern Access Shaft, and Vile Trinket is past the Daedalus Crossing gear hazards. Hollow Bone is reached by an elevator drop from the Steps of Time back into Daedalus Crossing.
Notre-Dame collectibles locations
Full checklist with a map link for every item: All items in Notre-Dame.
Notre-Dame holds the most ATK books, with four, plus the organ puzzles and the four virtues needed for the True Ending. Mirrors of Life are in the Notre-Dame Undercroft, West Triforium and East Gallery, and the Ferryman’s Wharf is in the East Triforium.
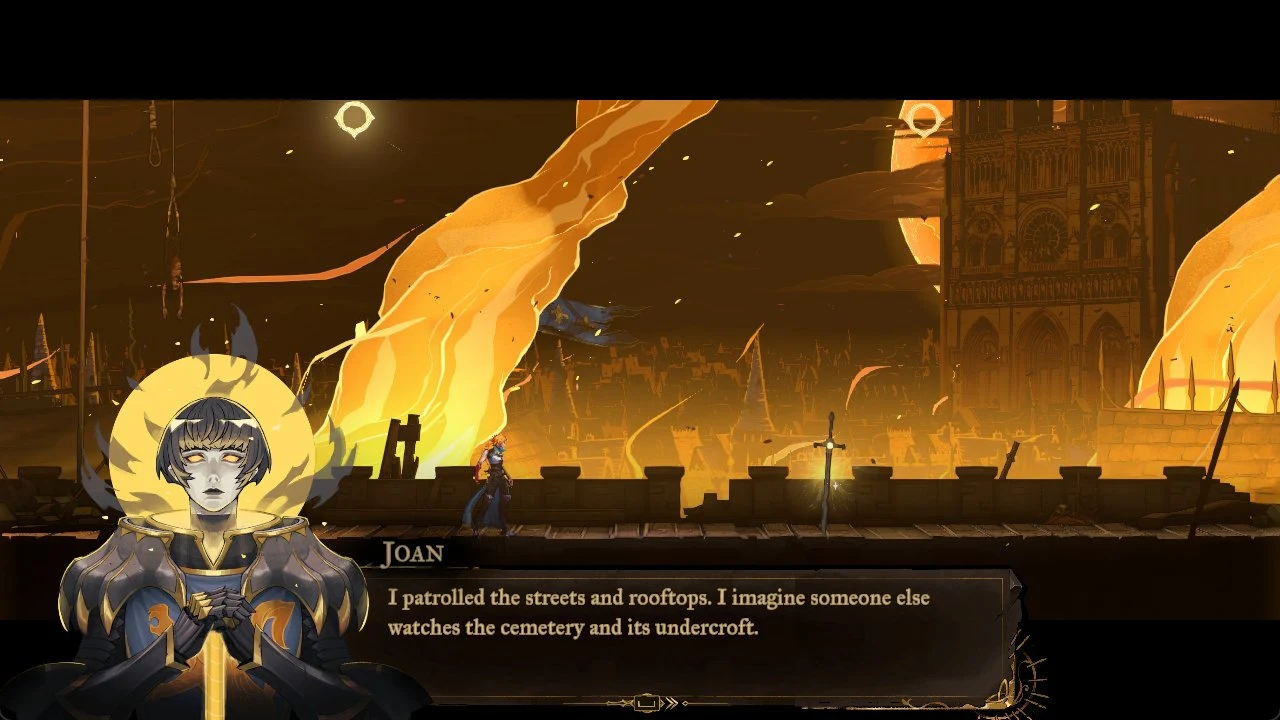
- Statues (19): Chapel of Patience timed gate, Path of the Penitent, Great Organ Room, Undercroft, Tomb of the Chevaliers, Narthex, West Triforium, Nave balcony, La Flèche hidden room, East Gallery, Chapel chandeliers, Apse, Reliquary
- Brave Heart Fragments: Tree of Saints upper islands, La Flèche pinnacle, The Forest laser run
- Wise Heart Fragments: Tree of Saints floating islands, Apse lower laser gauntlet, Chapel of Patience timed door
- ATK Up: Tomb of the Chevaliers (2), Narthex entrance arch, Tree of Saints. DEF Up: Great Organ Room laser wall, Tree of Saints, East Triforium
- Weapons: Vampire Killer (Death), War and Famine (secret organ crypt), Joyeuse (Path of the Penitent), Arondight and Lancelot’s Shield (Tower Entrance), Excalibur (Chapel, from Arthur)
- Relics: Beelzebub’s Seal (Chapel of Patience), Soul Fragment (Nave), Witch’s Brew (behind a breakable wall in the Transept), Eldritch Talisman (East Gallery), Infernal Medallion (Reliquary)
- Arcana: The Shadow (Death), The Brittle King (stone sword)
Notre-Dame’s seven clues are The Corrupted Pipes of the Notre-Dame Organ (Transept) and the Melody Sheet for the Fugue of Notre-Dame (Great Organ Room). The others are The Masters of Music Hide from Death (Collapsed Crypt), The Prophecy (Gallery of the Four Virtues), the Melody Sheet for the Concerto of Notre-Dame (La Flèche), the Melody Sheet for the Sonata of Notre-Dame (Sealed Scriptorium) and Feat of Strength (Chapel).
Hall of Mirrors and Master’s Quarters collectibles locations
Full checklist with a map link for every item: All items in the Hall of Mirrors and All items in the Clock Tower and Master’s Quarters.
The Hall of Mirrors opens once The Sage’s four seals are broken, and its arcana, The Temptress, comes from defeating Succubus. Mirrors of Life are at The Descent Into Memory, Heart of the Maze, Familiar Way, Nightmare Atrium and Threshold of Vision. Its Ferryman’s Wharf is in the Delived Level.
- Statues (21): Steps of Misdirection (2), Passage of Perplexity, Familiar Way, Dead-end Tower, Gallery of Glass, Level Deviled, Nightmare Atrium, Tower of Worldly Reflection (8 via mirror teleports), Servants’ Refectory, Looping Hallways (3), Boudoir of Bewilderment
- Brave Heart Fragments: Nightmare Atrium chandelier, Steps of Misdirection saw puzzle, Looping Hallways saw corridor
- Wise Heart Fragments: Familiar Way crumbling wall, Ballroom of Terror wall break, Boudoir of Bewilderment
- ATK Up: Ballroom of Terror saw maze, Looping Hallways kneeling door. DEF Up: Corridor of Déjà Vu gear climb, Passage of Perplexity chandelier
- Weapon and relics: Bernhard’s Wrath (Level Deviled altar), Crystallized Blood, Haunting Relic, Sand Charm, Dusk Amulet
- Clues: The Reflection Deceives, Eleanor Flees to the Cemetery, The Temptress Guards the Hall of Mirrors, Kneeling is the Way
The Master’s Quarters is short. It has one Mirror of Life and one Ferryman’s Wharf in the Sanctuary of Solitude, and a chest above its chandeliers holds the Gloomstone relic. Its four progression keys count toward completion along with its exploration zones.
Endings and the True Ending arcana
The three endings each have their own trophy, and the True Ending route adds The Self arcana and the Notre-Dame virtues. Here is what triggers each one:
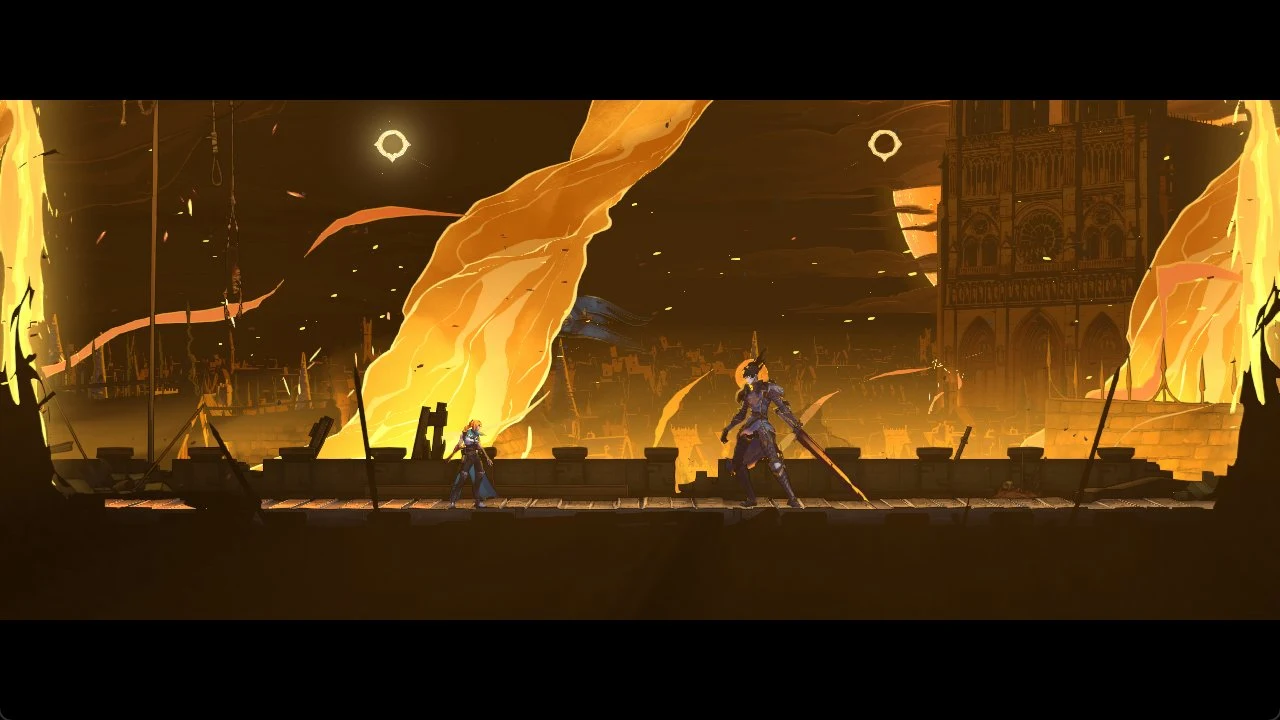
- Bad Ending (Belmont’s fall): walk to the Clock Tower Bridge without dispelling Death’s barrier
- Normal Ending (The hunt goes on): equip The Shadow at the Clock Tower Bridge, climb to the Master’s Quarters and defeat Dracula
- True Ending (Curse lifted): clear the four virtue challenges, take The Self, and cast Absolution in the final fight
For the True Ending, complete the Works of Mercy for Faith, Hope, Charity and Prudence. Then upgrade and activate each window in Notre-Dame’s Room of the Four Virtues, clear its platforming trial and ring its bell. Once all four bells ring, the restored central altar window gives you The Self. Equip it against Dracula and press Triangle or Y to cast Absolution during his final red vortex attack.
How to confirm Perfectionist Hunter unlocked
The trophy or achievement pops the moment the progress counter reaches 100 percent, with the description “Reach 100% game completion.” It is not hidden on Steam, and only 0.1 percent of Steam players have unlocked it. If the counter stalls just below 100, compare each area against the totals above. Exploration zones and background doors are the parts most often missed, because they don’t show up as pickups.