Grandport looks like it sits just west of the Village of Kol on the World Map, but the canyons between them block a straight ride west. The way there loops south through the desert on your chocobo and comes back up to Grandport from the south-east.
Quick answer: Leave Kol by the west exit, cross the gorge bridge, turn south at the valley junction and ride across the antlion sands to the south coast. Go west to the east end of the small wooden bridge (don’t cross it), ride north up the sand valley, cross the south bridge over the river and pass the walled estate into Grandport Harbor. Coming from Felicitas? Take the long stone bridge west to the desert and start at step 6.
| Step | Where | What to do |
|---|---|---|
| 1 | Village of Kol, west exit | Press F to Proceed, then R to mount the chocobo |
| 2 | Gorge south-west of Kol | Cross the plank bridge heading south-west |
| 3 | Valley junction | Turn south; west is a dead end |
| 4 | Antlion sands | Stay on the chocobo and ride across |
| 5 | South coast | Ride to the signpost; don’t cross the long stone bridge |
| 6 | Small wooden bridge | Stop at its east end; don’t cross |
| 7 | Sand valley | Ride north |
| 8 | River bank | Cross the south bridge to the Siren’s Tower / Grandport sign |
| 9 | Walled estate | Go west past it, press F to Proceed into Grandport Harbor |
Before you set out
The trip comes up in Chapter 1, “Tailing the Truth”, when the objective reads “Find a ship in Grandport”. That objective appears in the Town of Felicitas once the Kolobos Ruins are done. Press M to open the World Map: Grandport is the yellow quest marker on the green peninsula on the west side of the Kingdom of Grandshelt map, west of Kol’s desert.
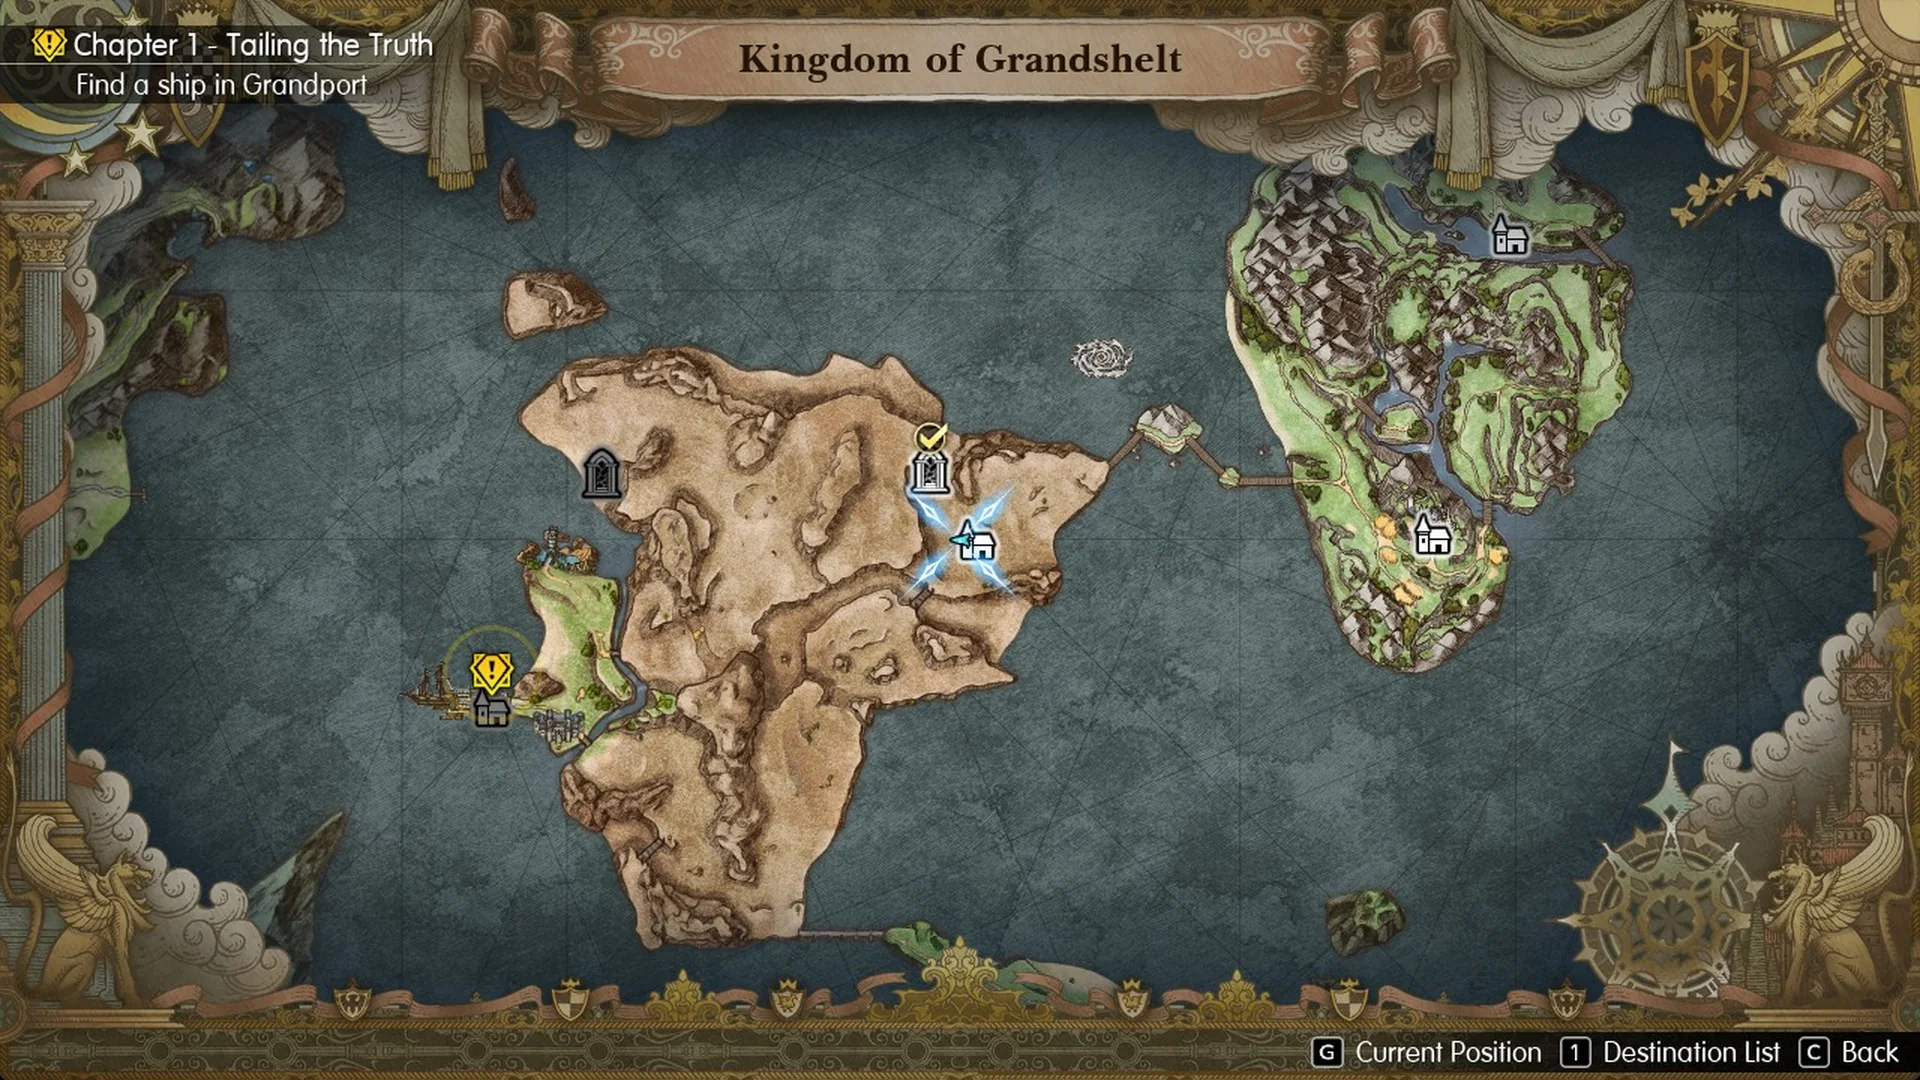
The marker looks close, but the canyons between Kol and Grandport block any direct line west, so the way around runs south through the desert. Ride your chocobo for that whole stretch (here’s how to get a chocobo if you don’t have one yet). On the World Map field the HUD shows “R Mount Chocobo”; press R to climb on.
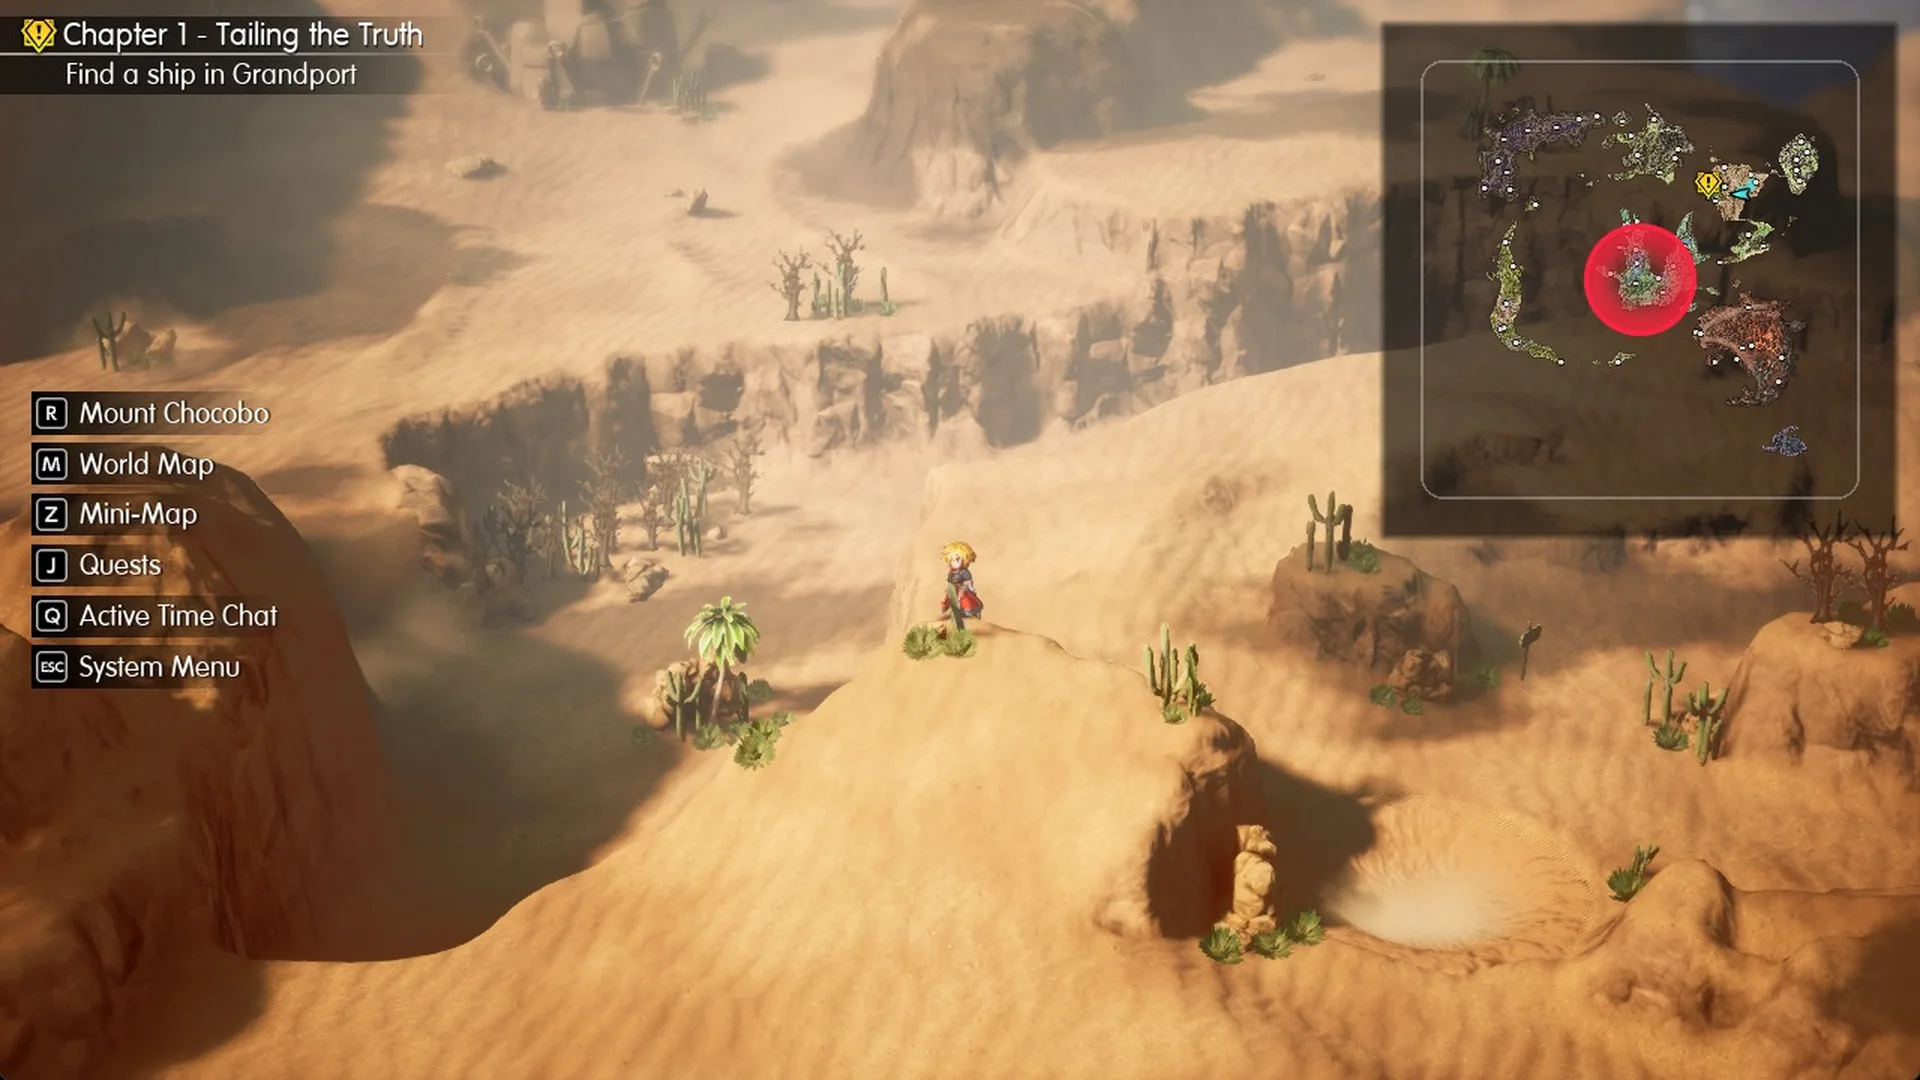
You can save from the System Menu while you’re on the World Map field, which is handy before a long ride. See fast travel and saving for the rest.
Route from the Village of Kol to Grandport
1. Leave Kol by the west exit
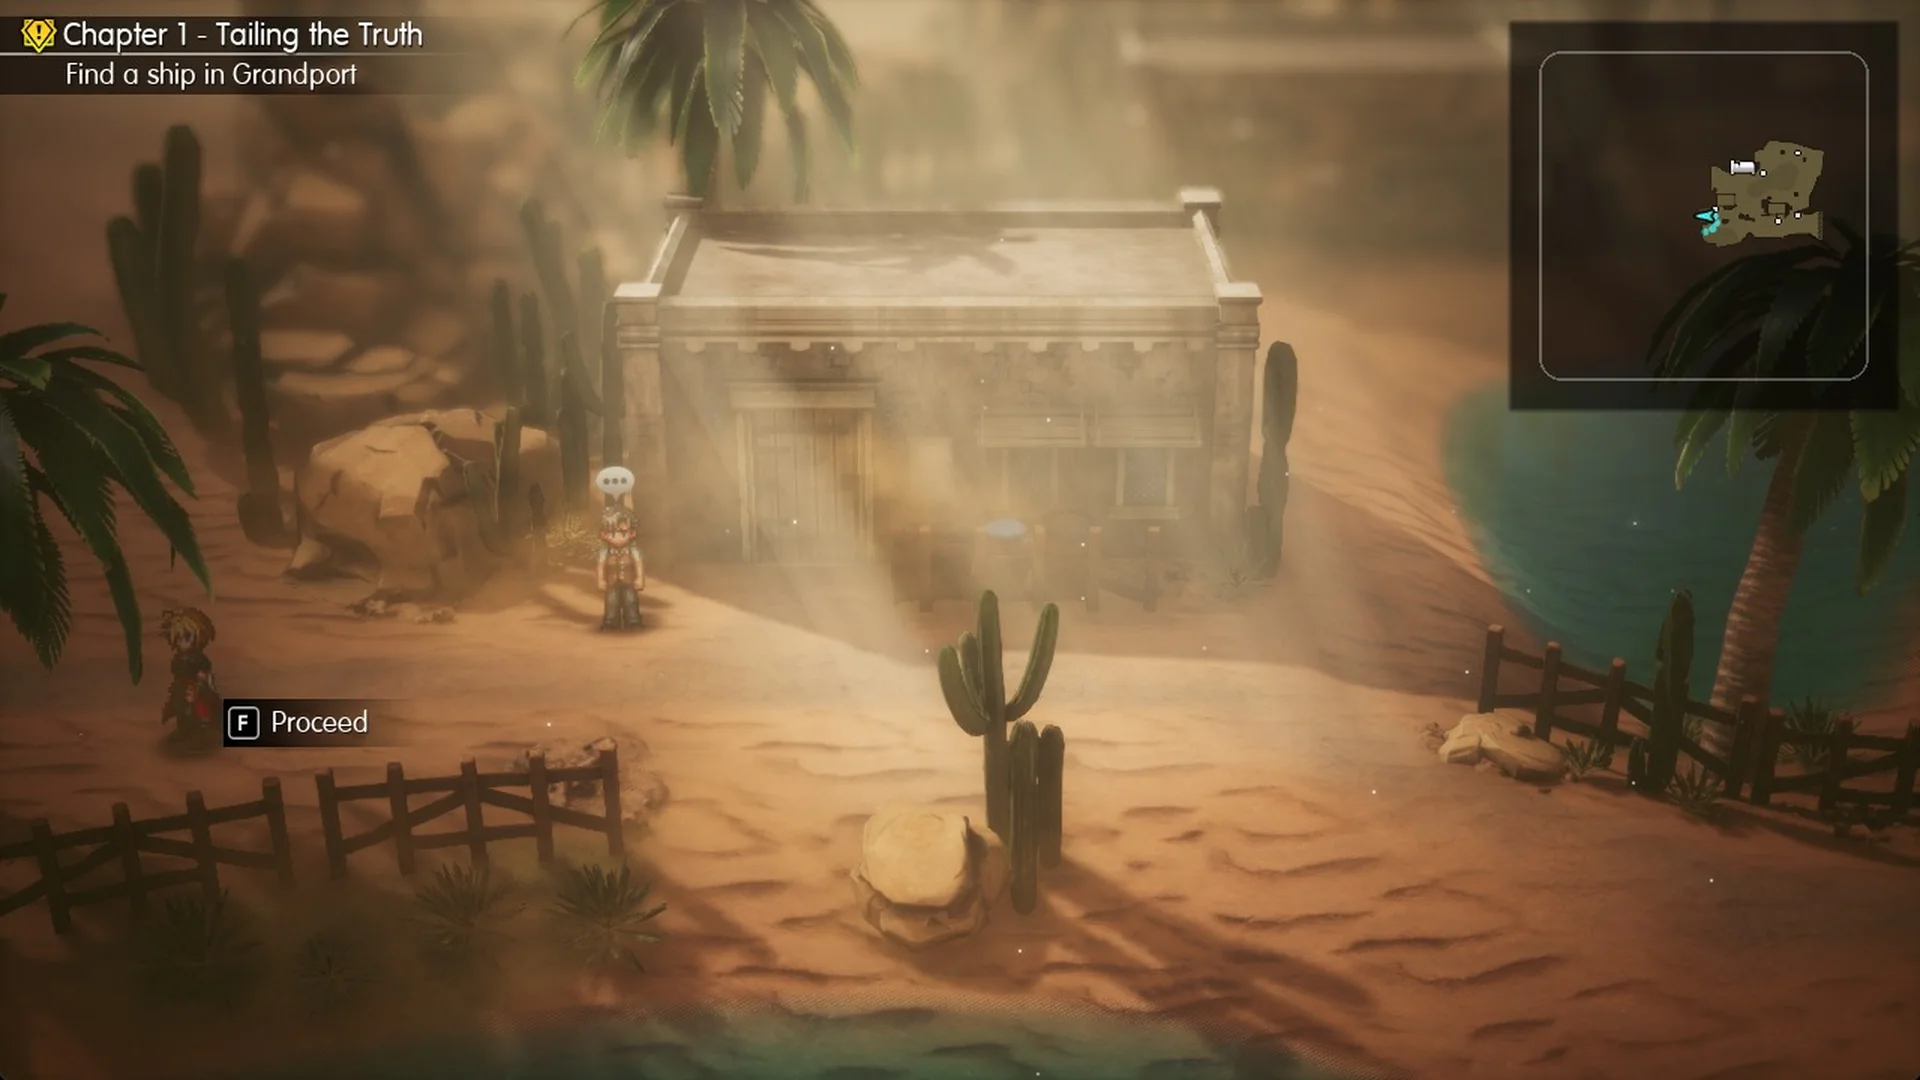
The exit to the World Map is on the west side of the village, just west of the house by the tall cactus and north of the low wooden fence. Stand there and press F to Proceed. You come out on a field labelled “Kingdom of Grandshelt”.
2. Cross the plank bridge over the gorge
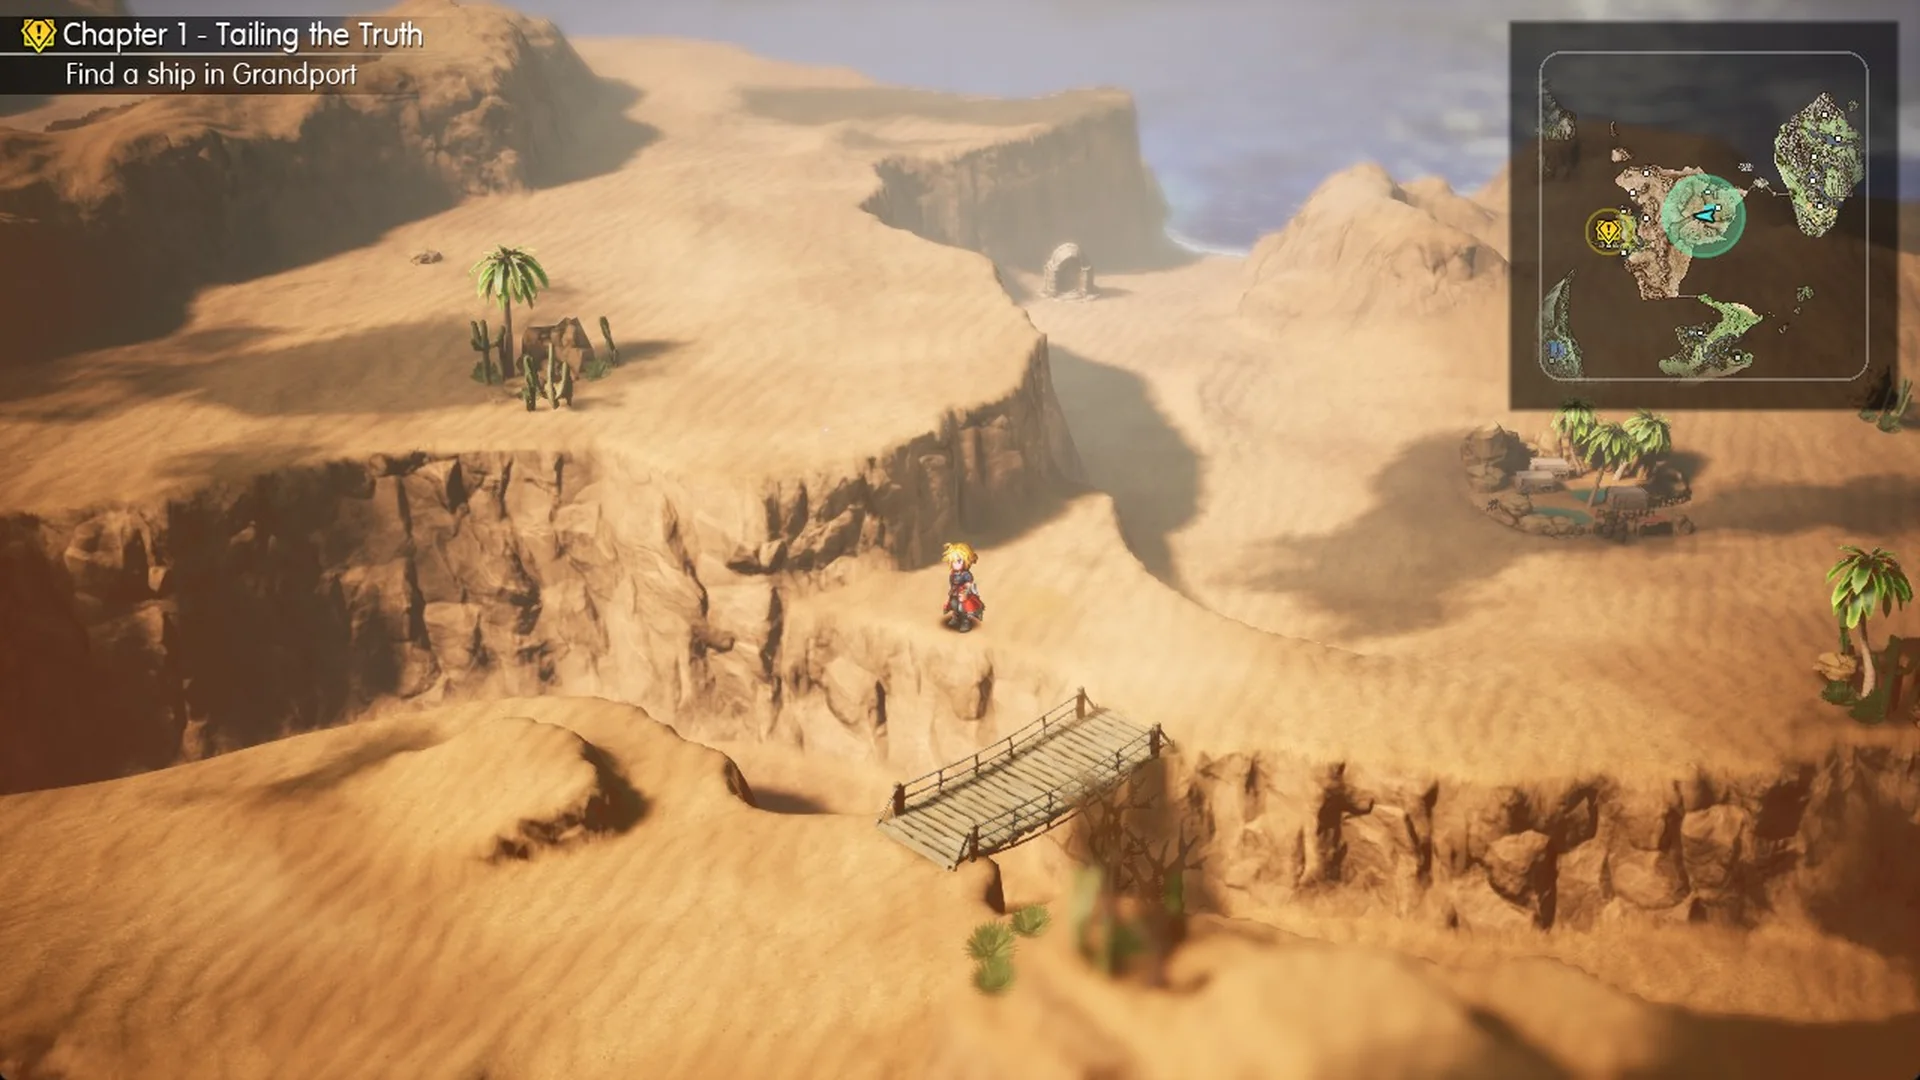
Head south-west down from the village to the wooden plank bridge over the dark gorge just south-west of Kol, and cross it heading south-west.
3. Turn south at the valley junction
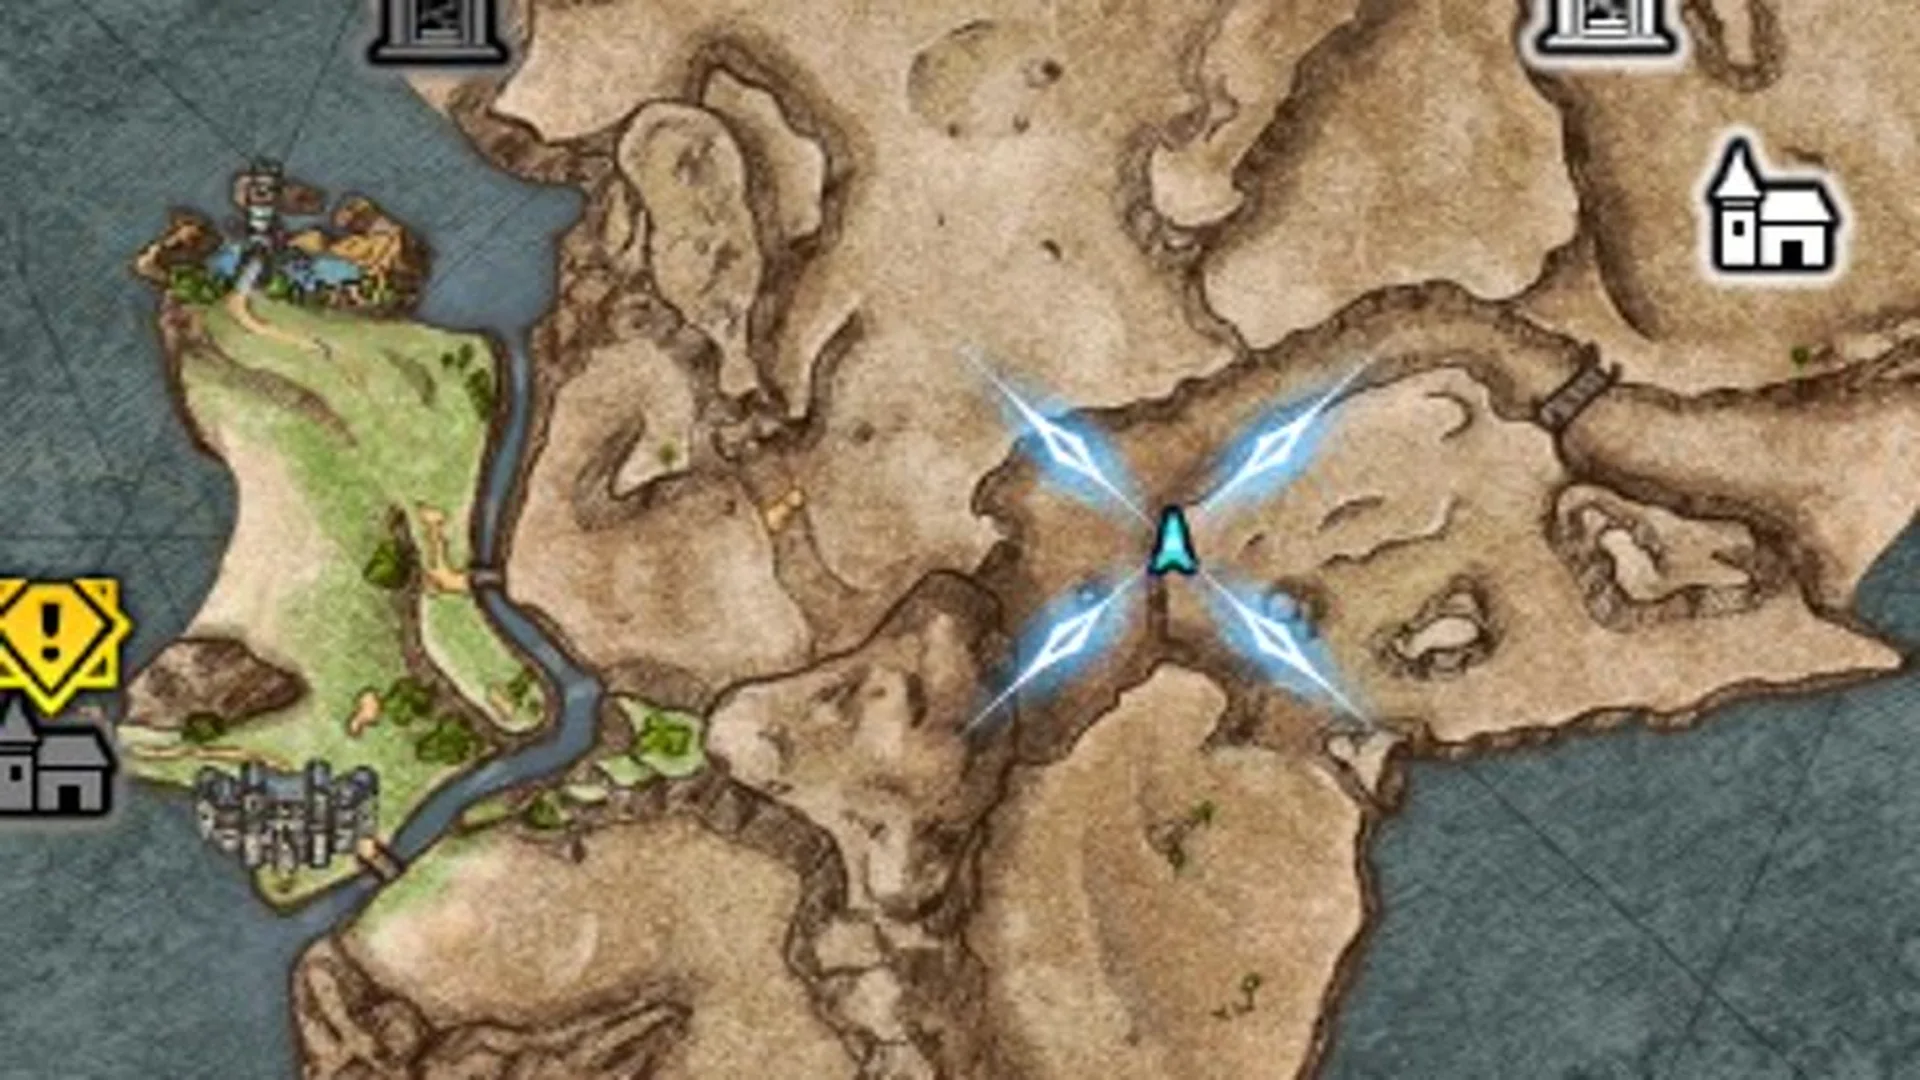
Keep going west along the plateau until the canyons meet in an X-shaped junction on the World Map. Grandport’s marker is to the west, but don’t follow it from here: the dunes west of the junction are a closed pocket with no way on. Keep to the junction’s east side and head south.
4. Ride the chocobo across the antlion sands
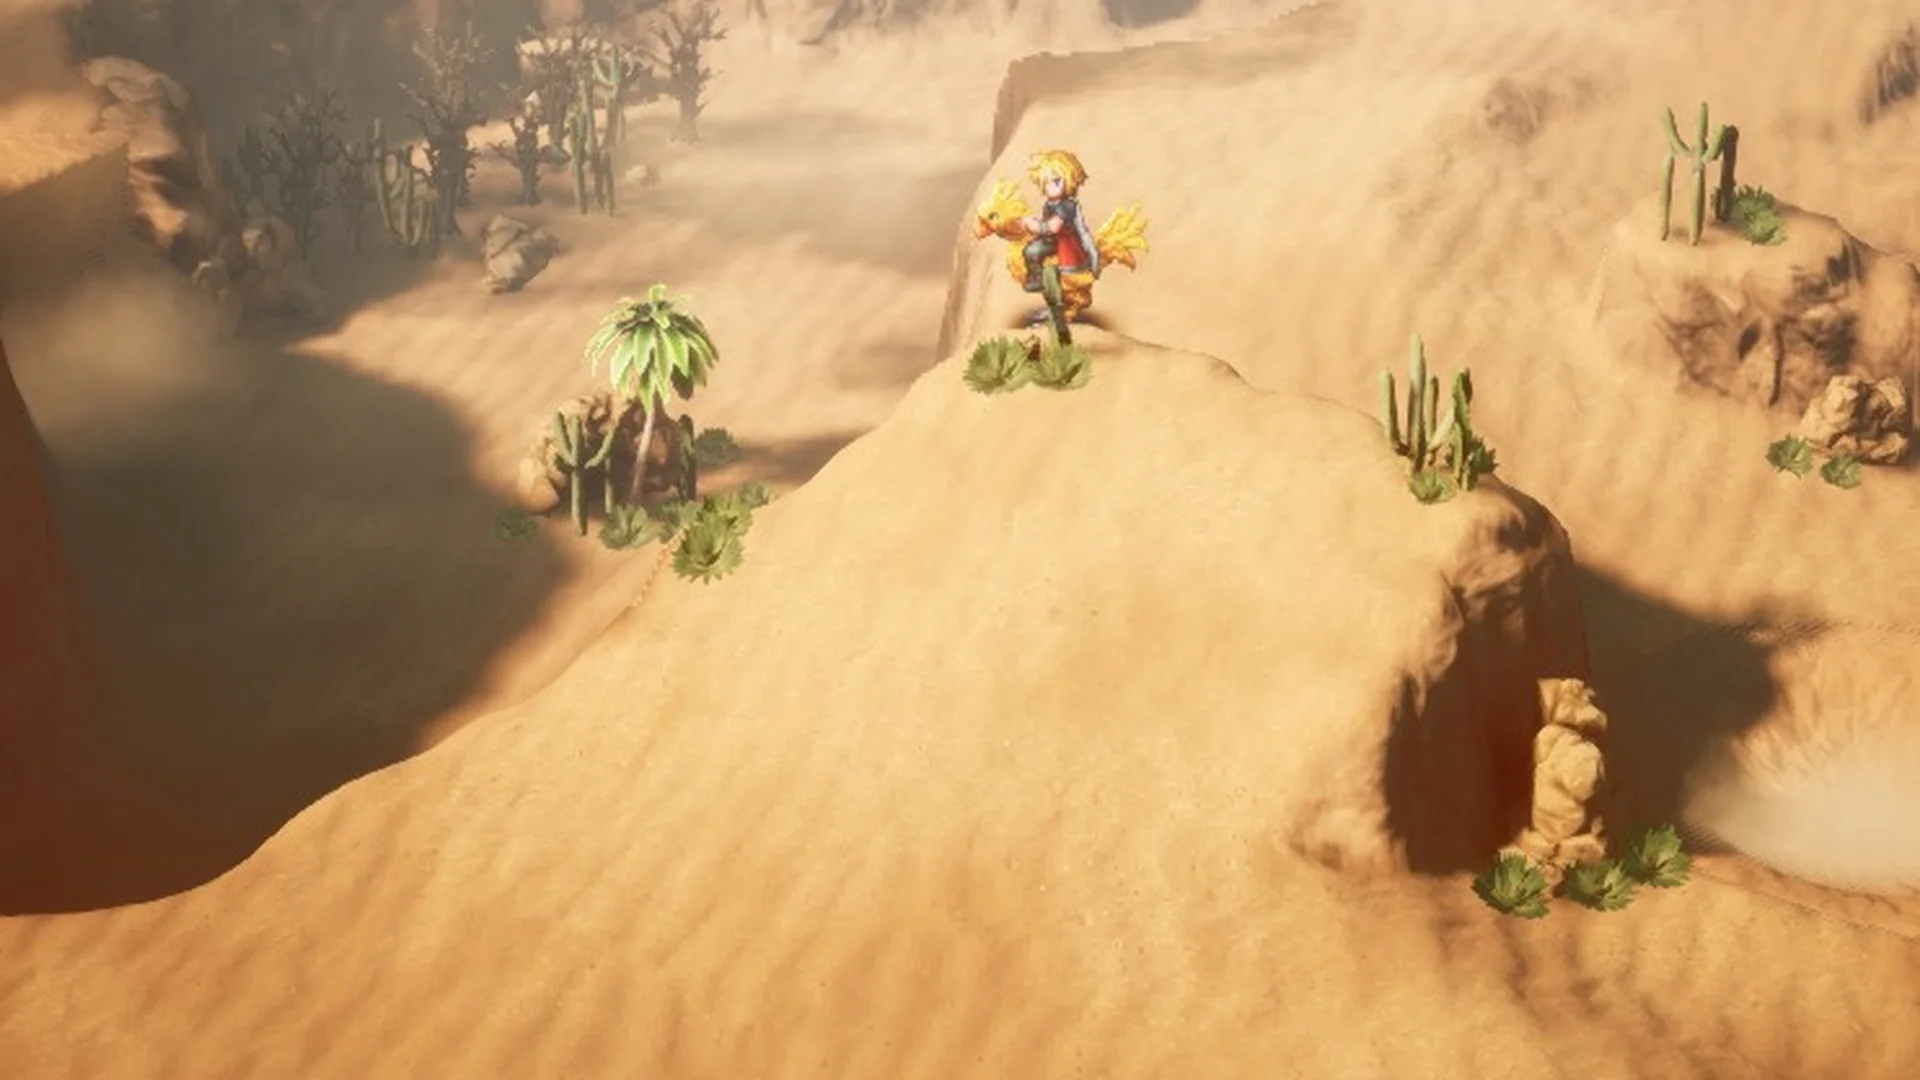
South of the junction you reach open sand with a sign that reads “BEWARE THE ANTLION! Cross by chocobo only!” Do what it says and stay mounted. On foot, the antlion attacks; on the chocobo you ride straight over without a fight.
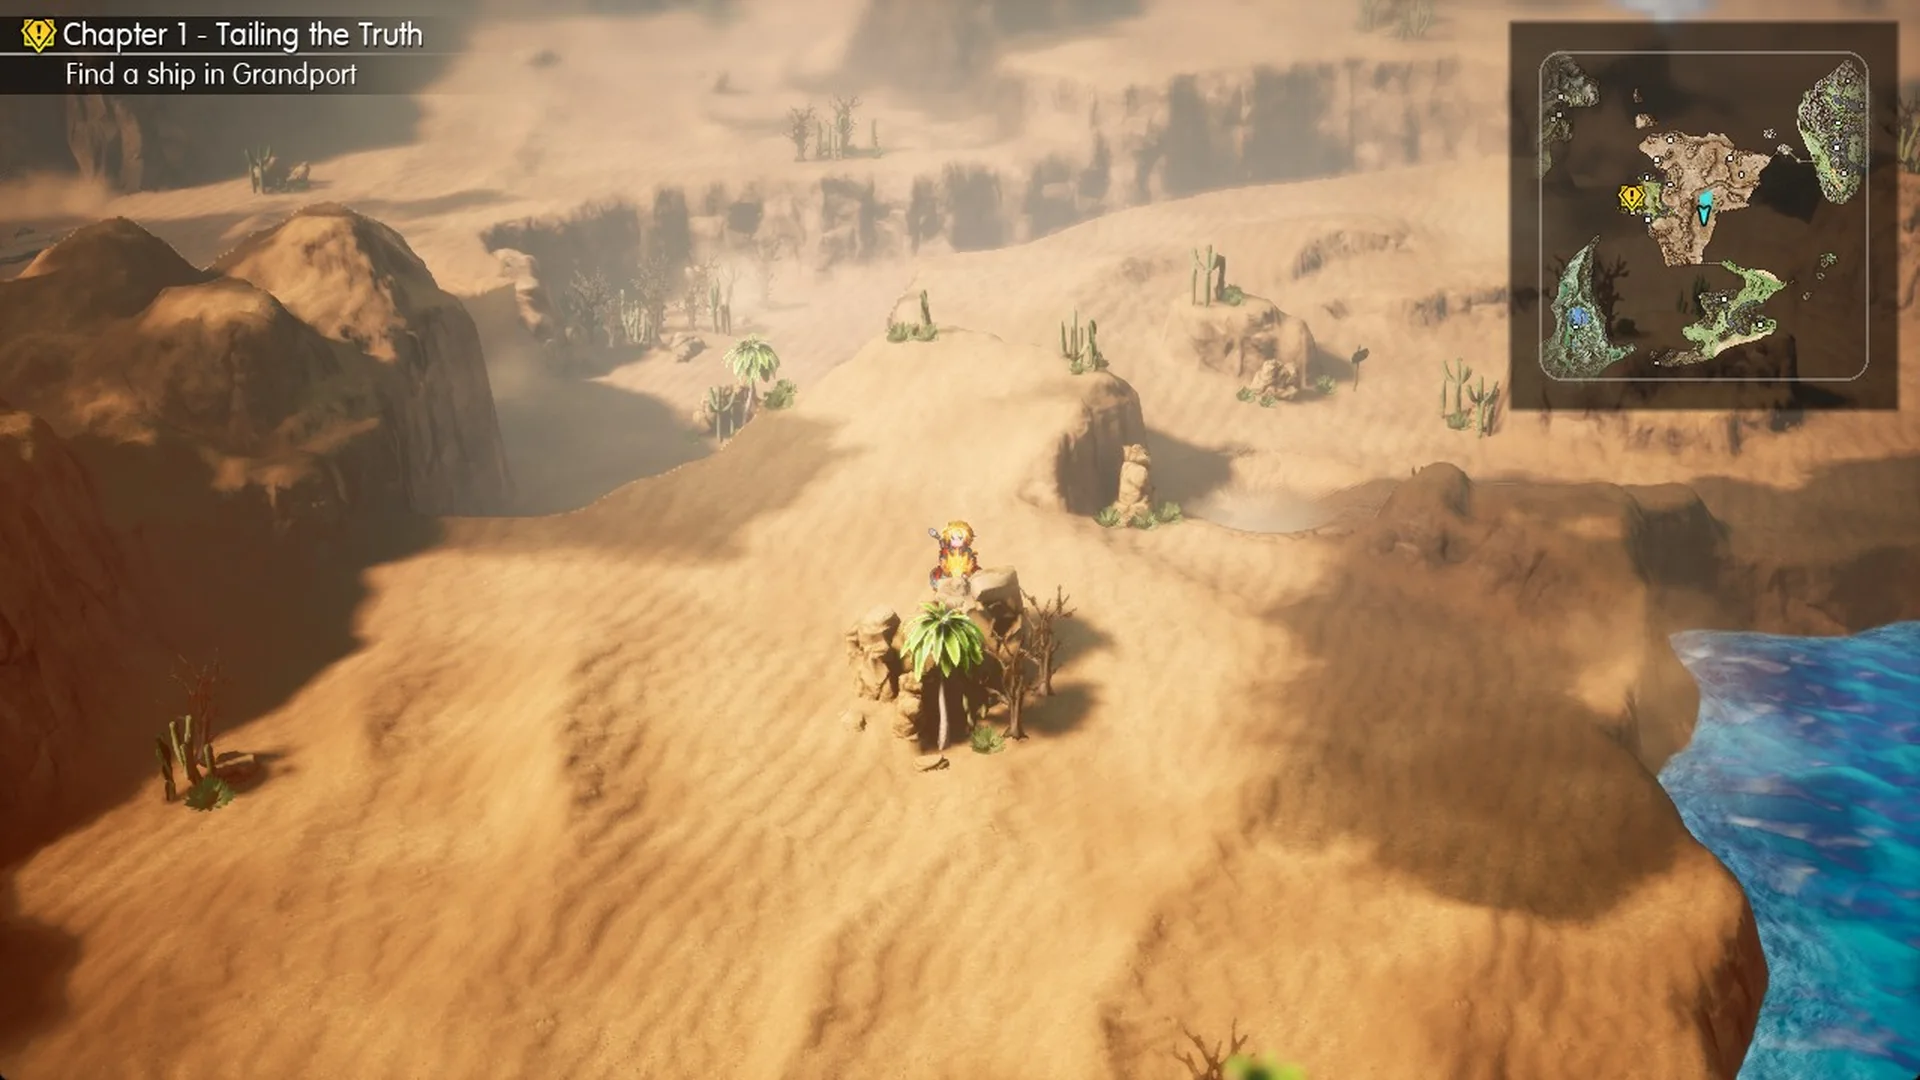
5. Head south to the signpost by the long bridge
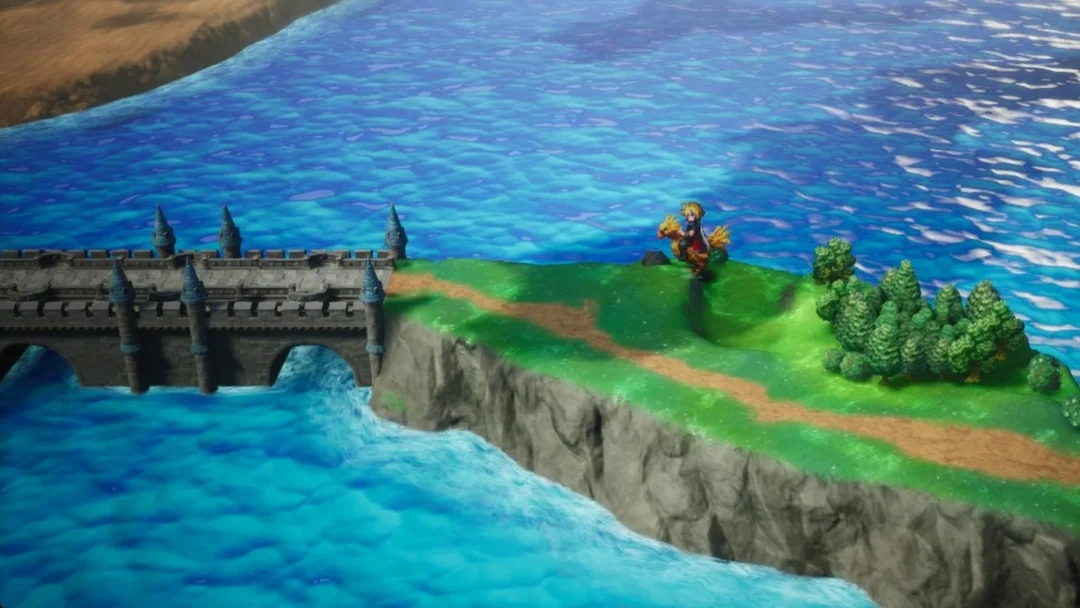
Keep riding south down the east side of the desert to the coast. A small signpost stands just west of a long stone bridge with towers; it reads “← Grandport / → Felicitas”. Don’t cross the long bridge, which goes east to the island with Felicitas and Kolobos Ruins. Turn west.
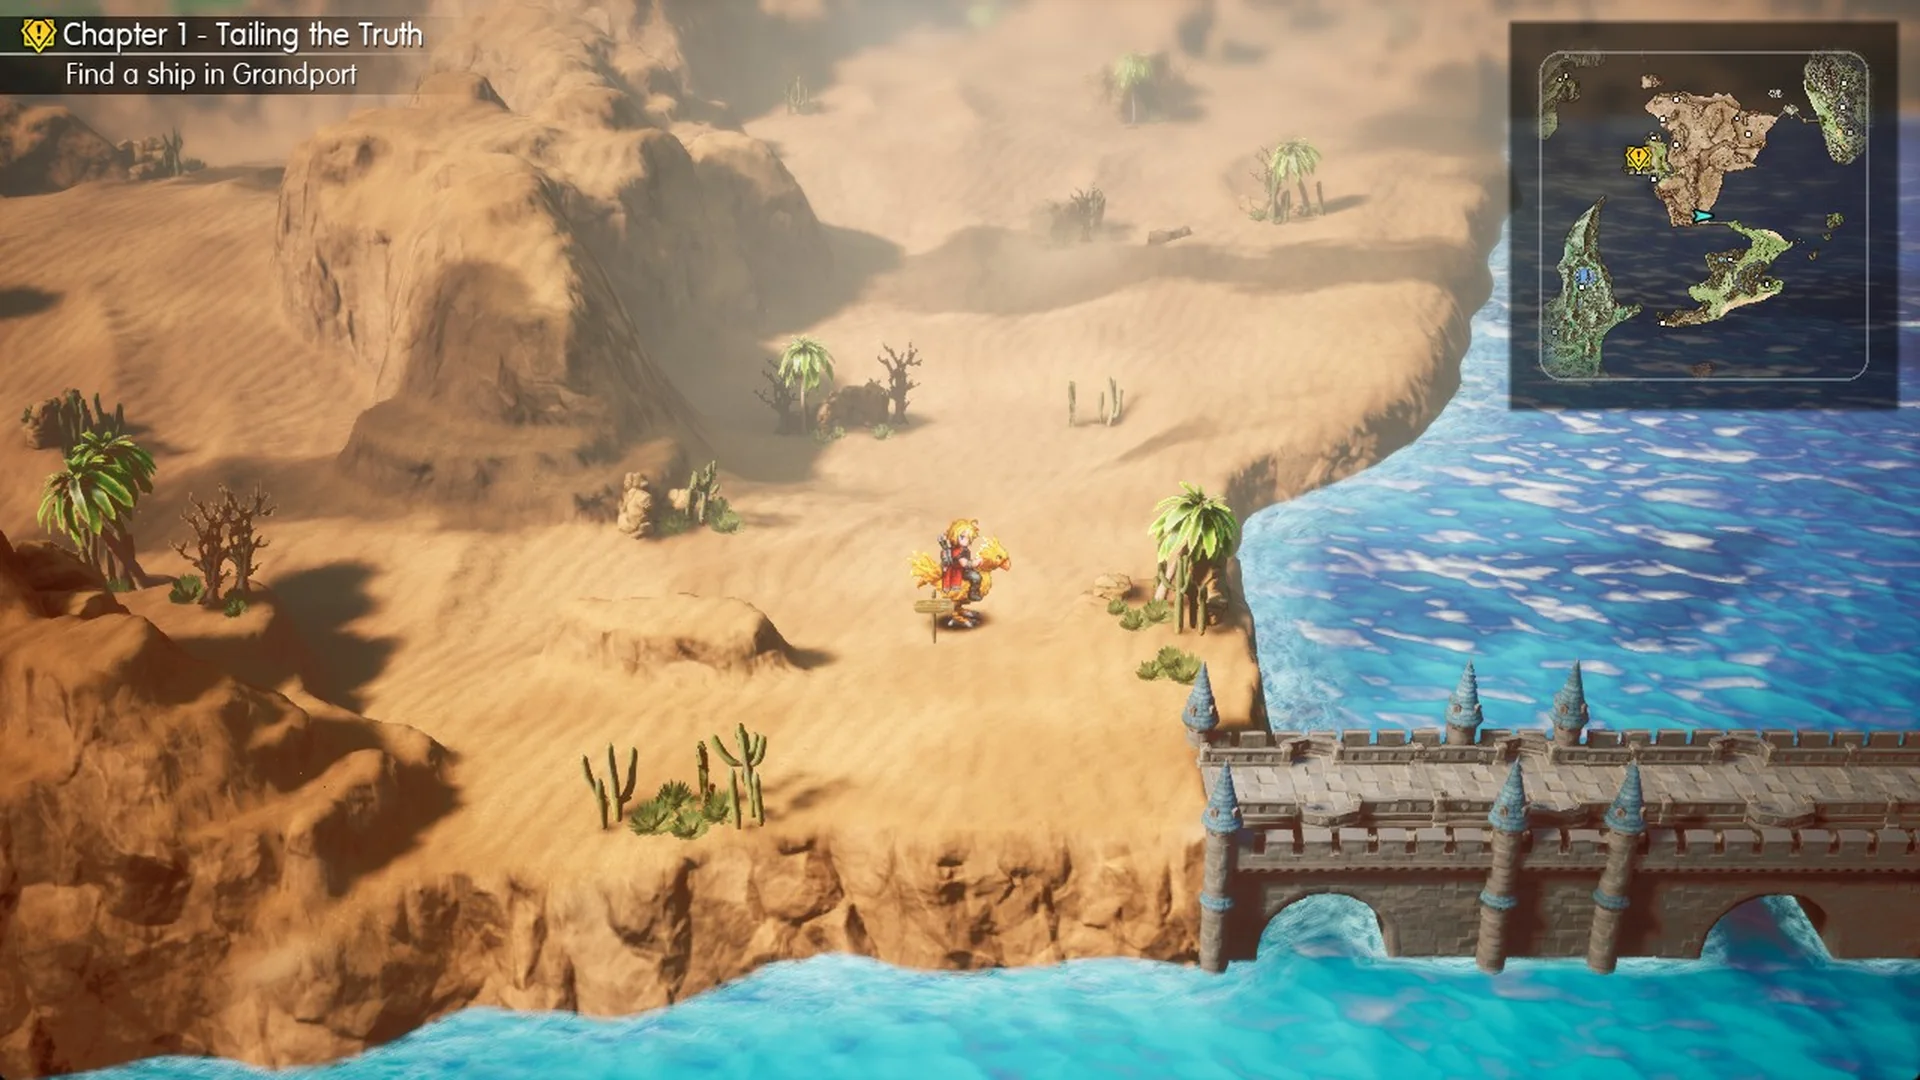
6. Stop at the east end of the small wooden bridge
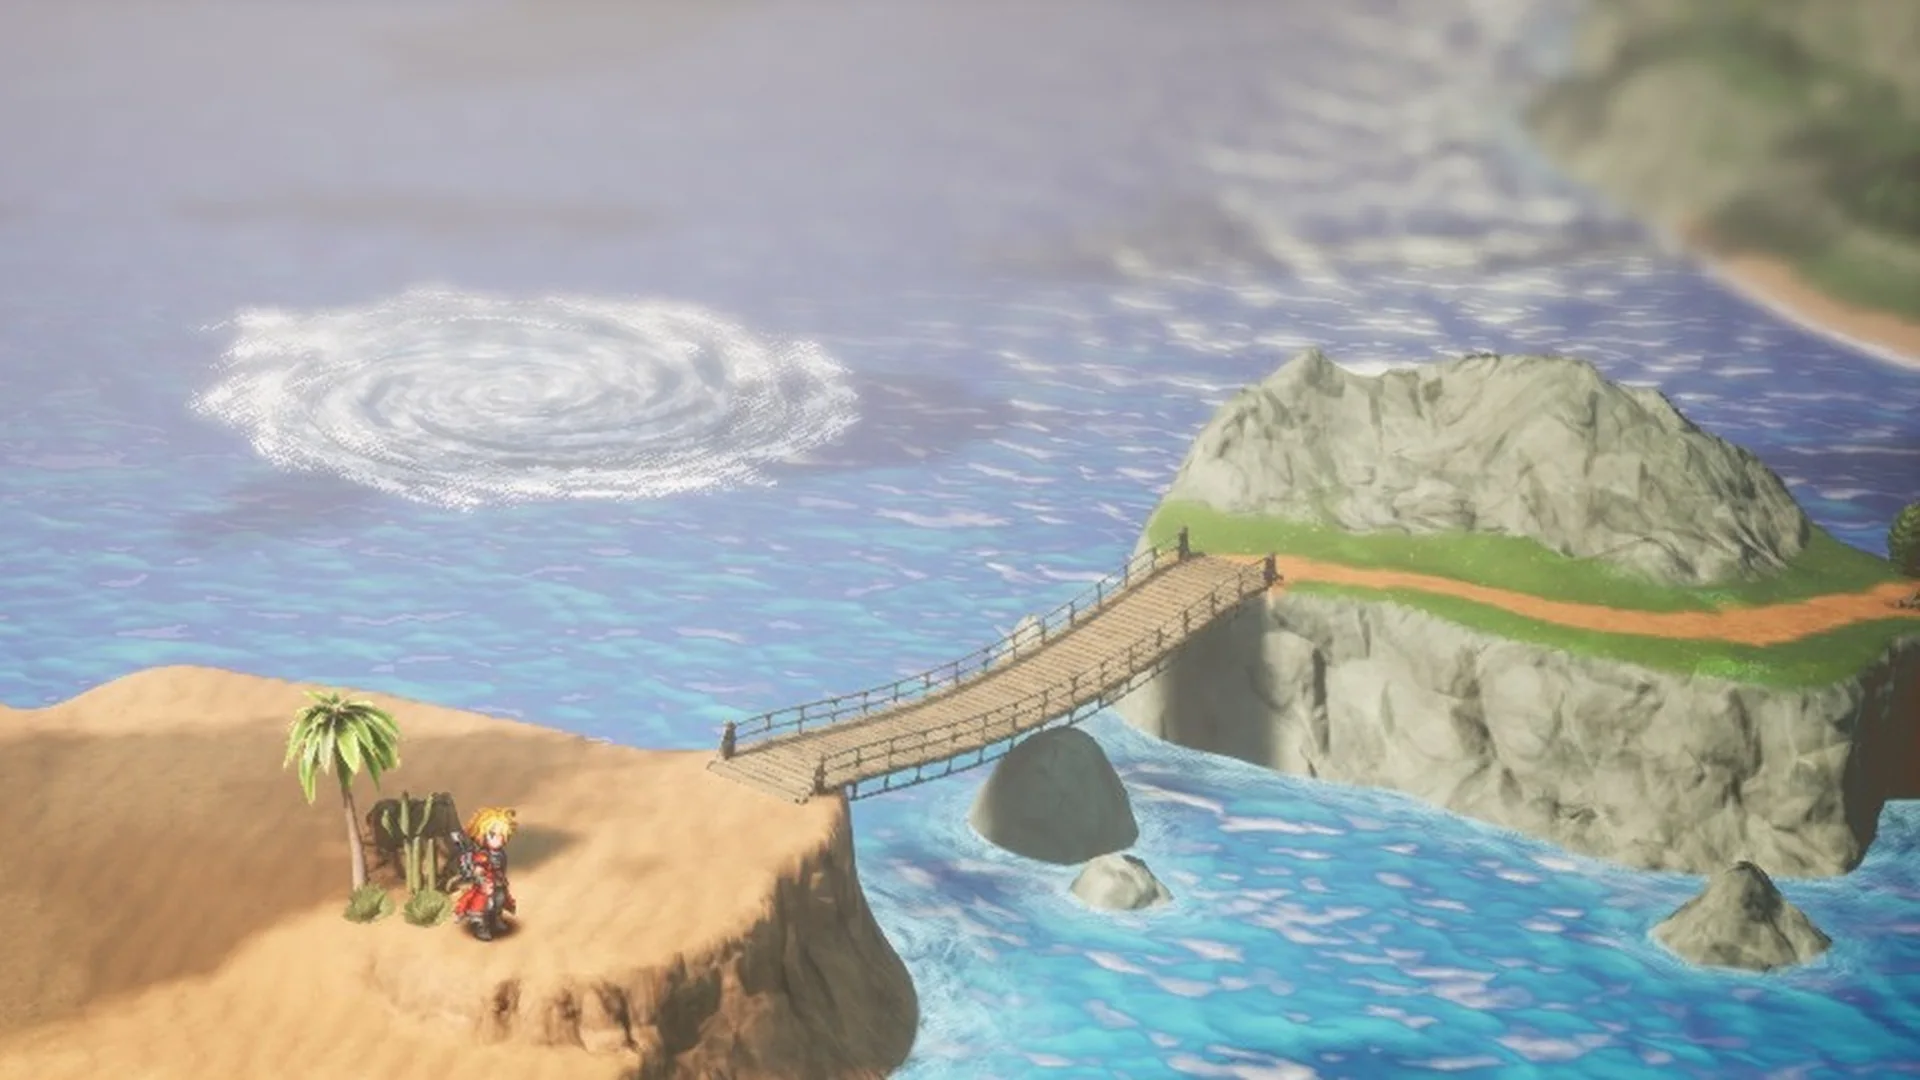
Ride west and north-west over the dunes, up one ledge, to a small wooden bridge over a gap above the sea. Stop at its east end. The far side is a dead end (see below).
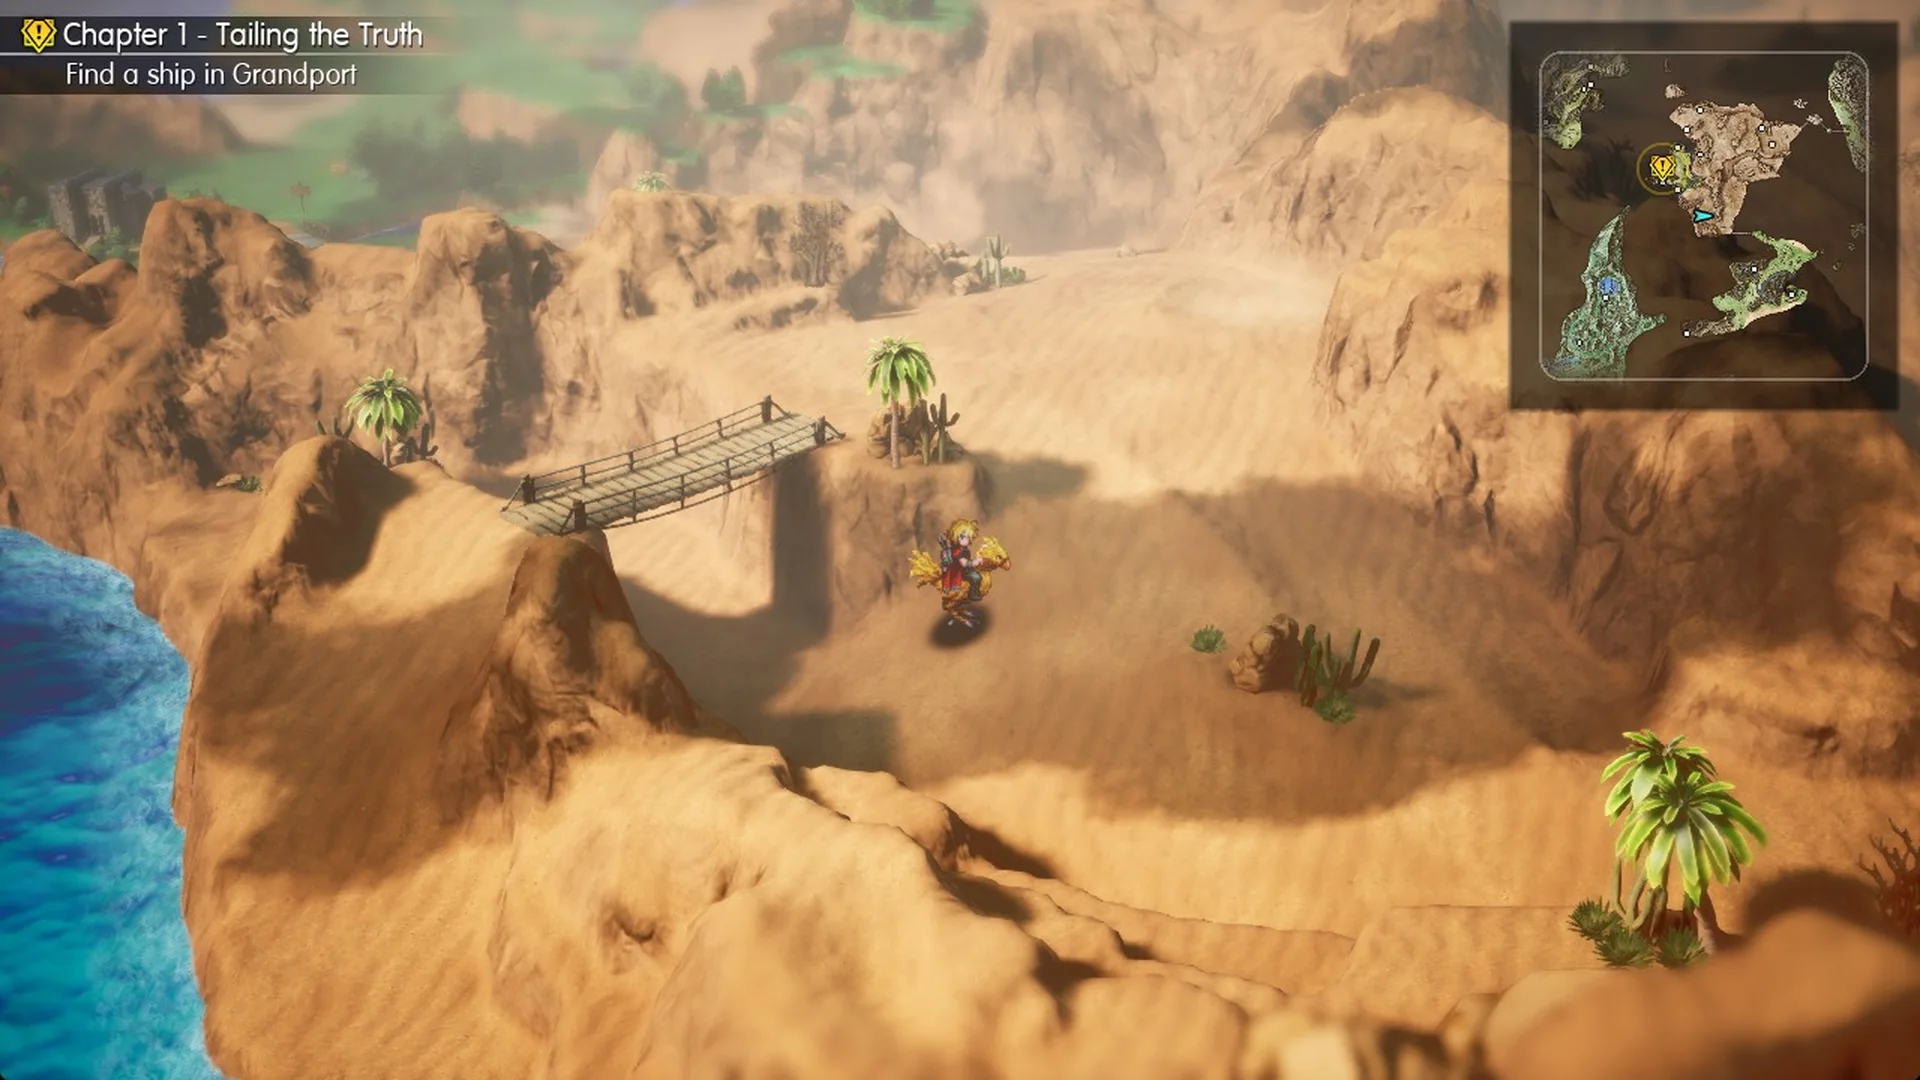
7. Ride north up the sand valley
From the bridge’s east end, turn north and ride up the open sand valley. It’s a short ride.
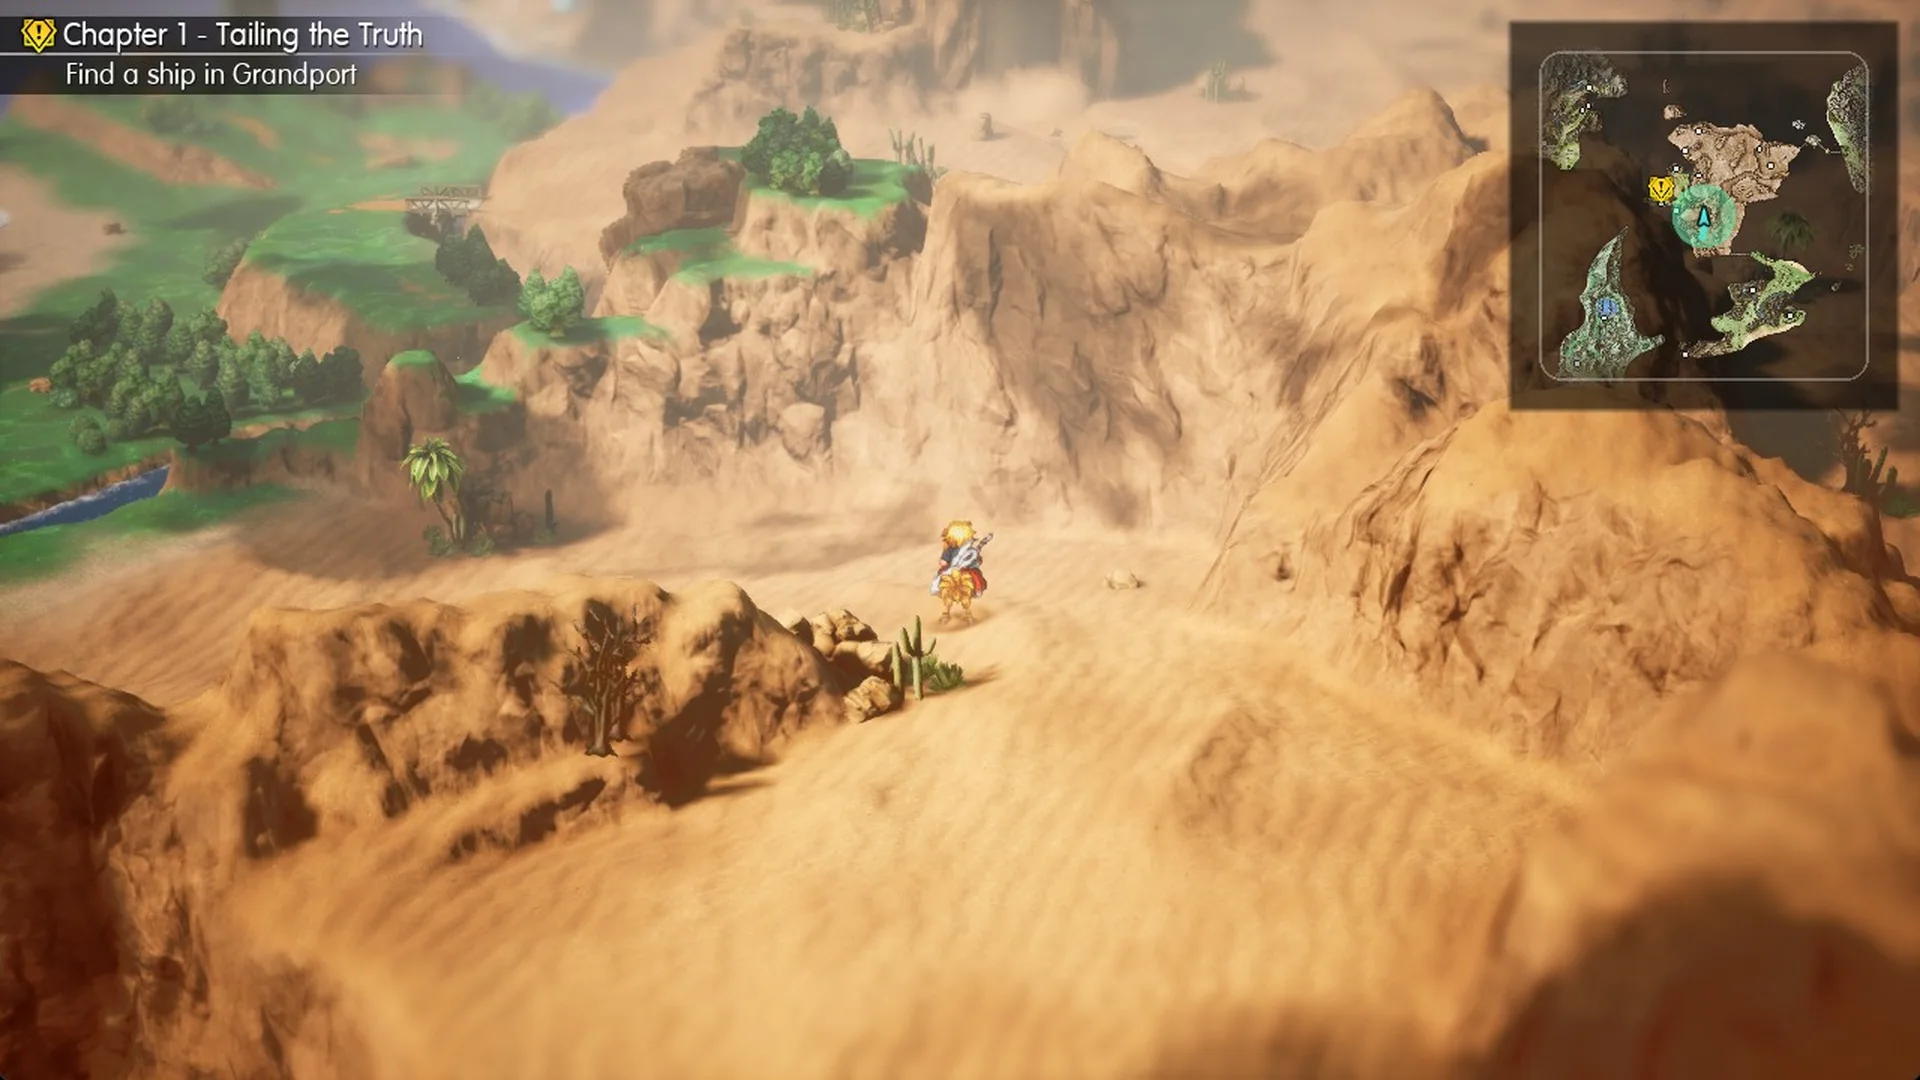
8. Drop down to the river and cross the south bridge
At the top, head west and north-west down the sand slope to the green river bank. The south bridge is right there; cross it heading west.
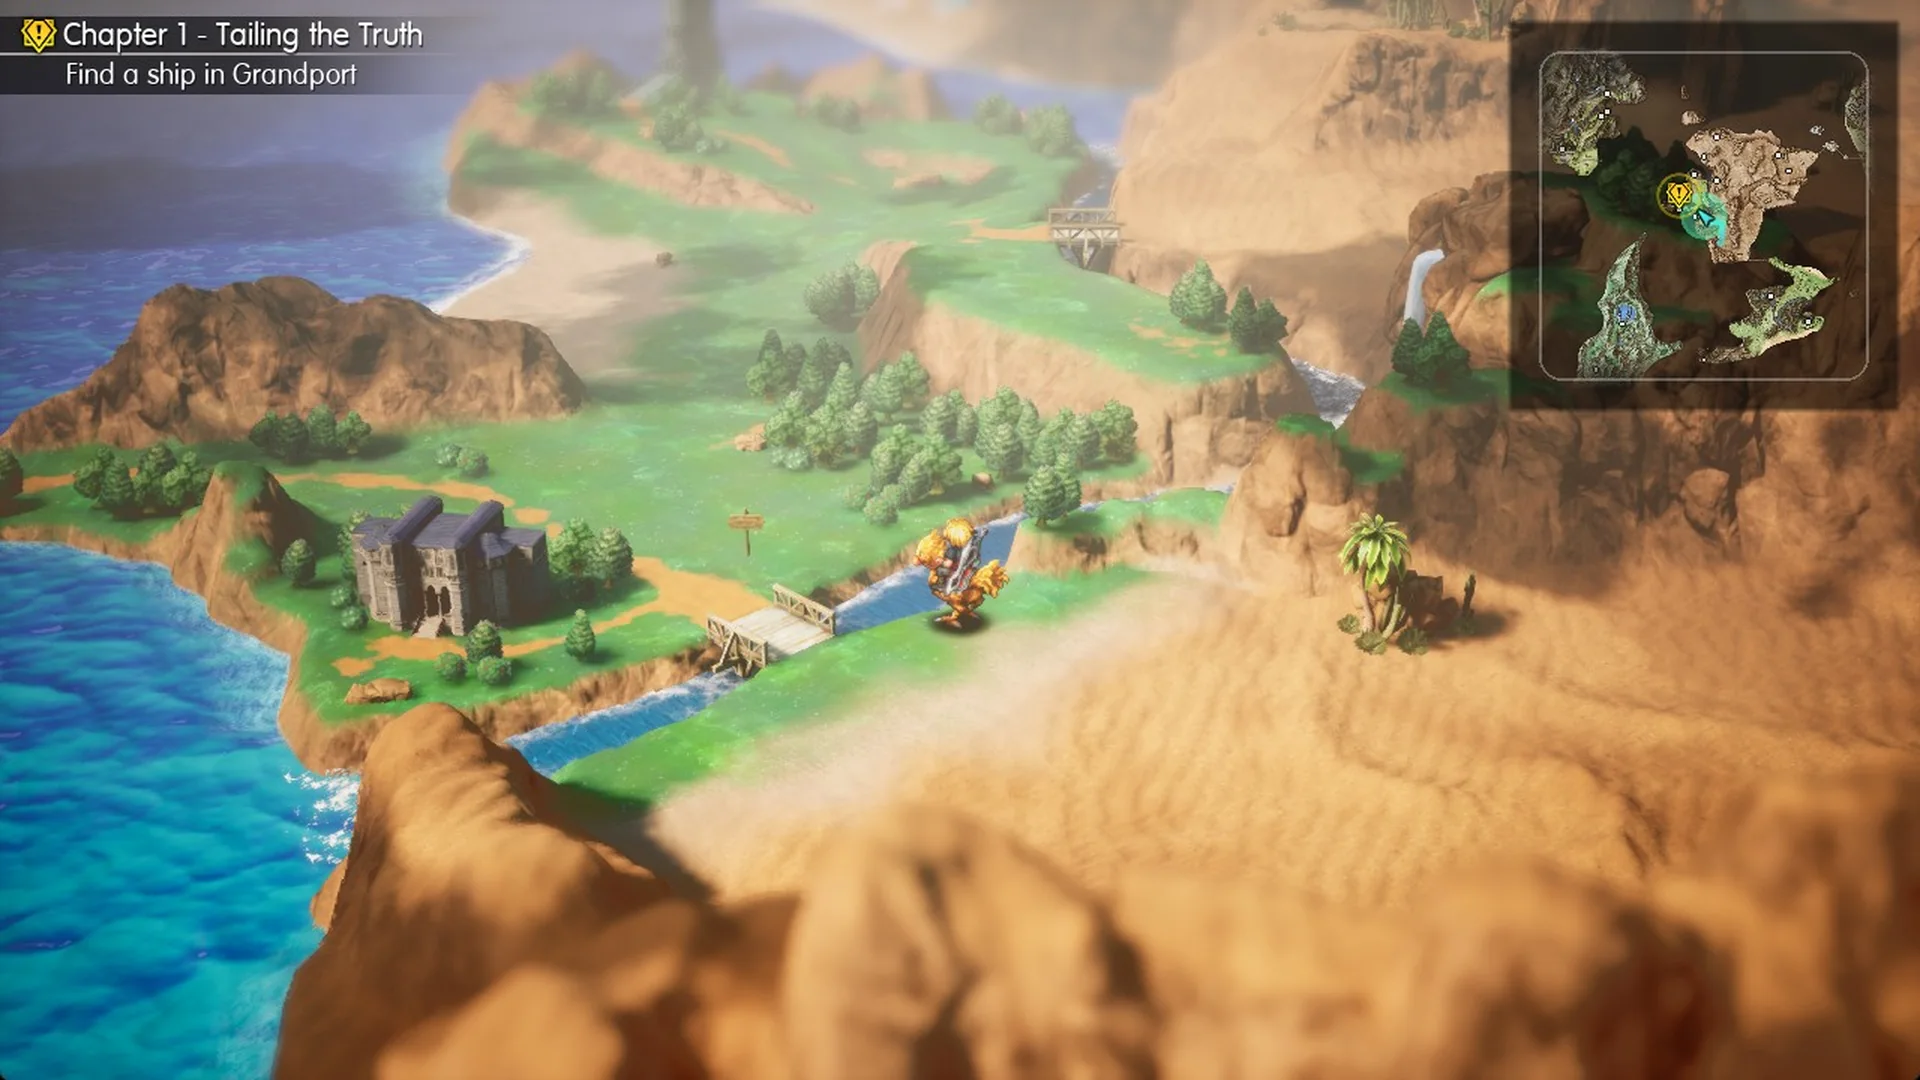
On the far side, a sign reads “↑ Siren’s Tower / ← Grandport” (press F to Examine it). Follow the Grandport arrow west.
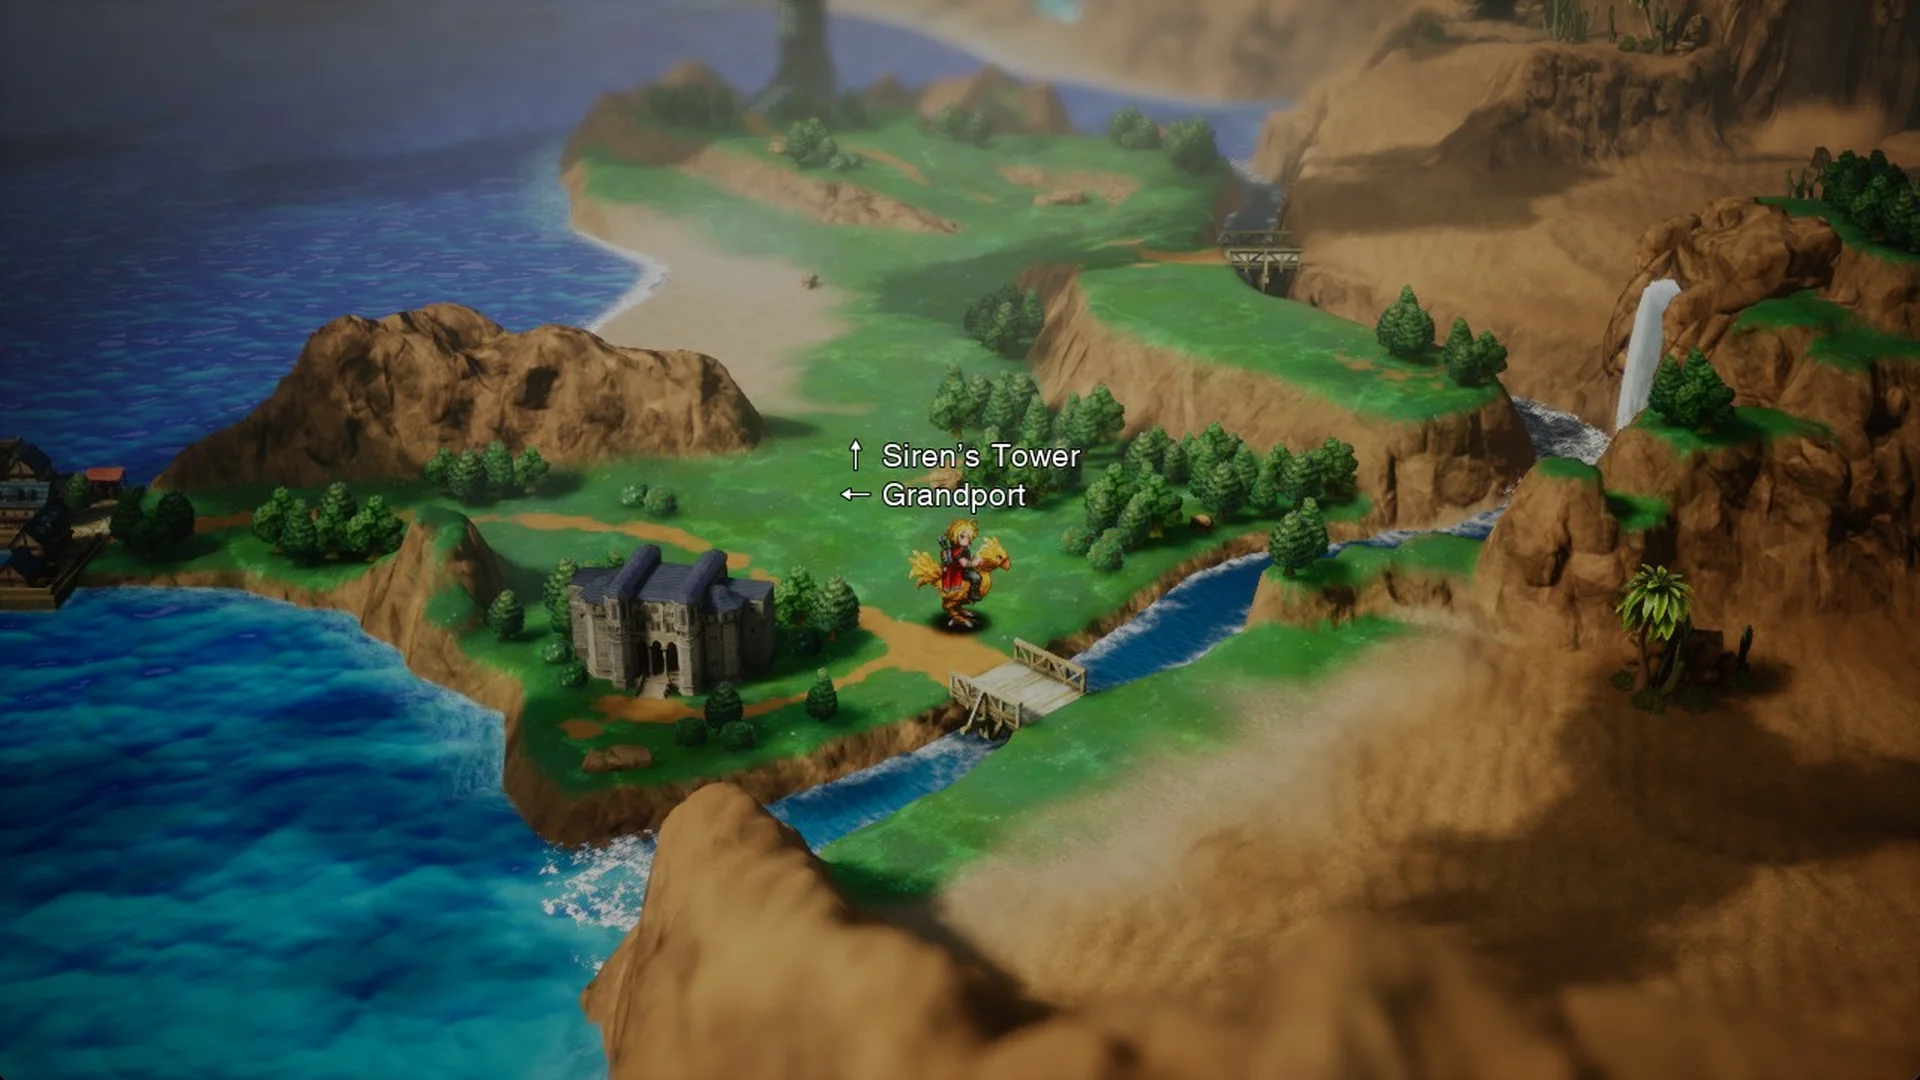
9. Walk past the walled estate into Grandport Harbor
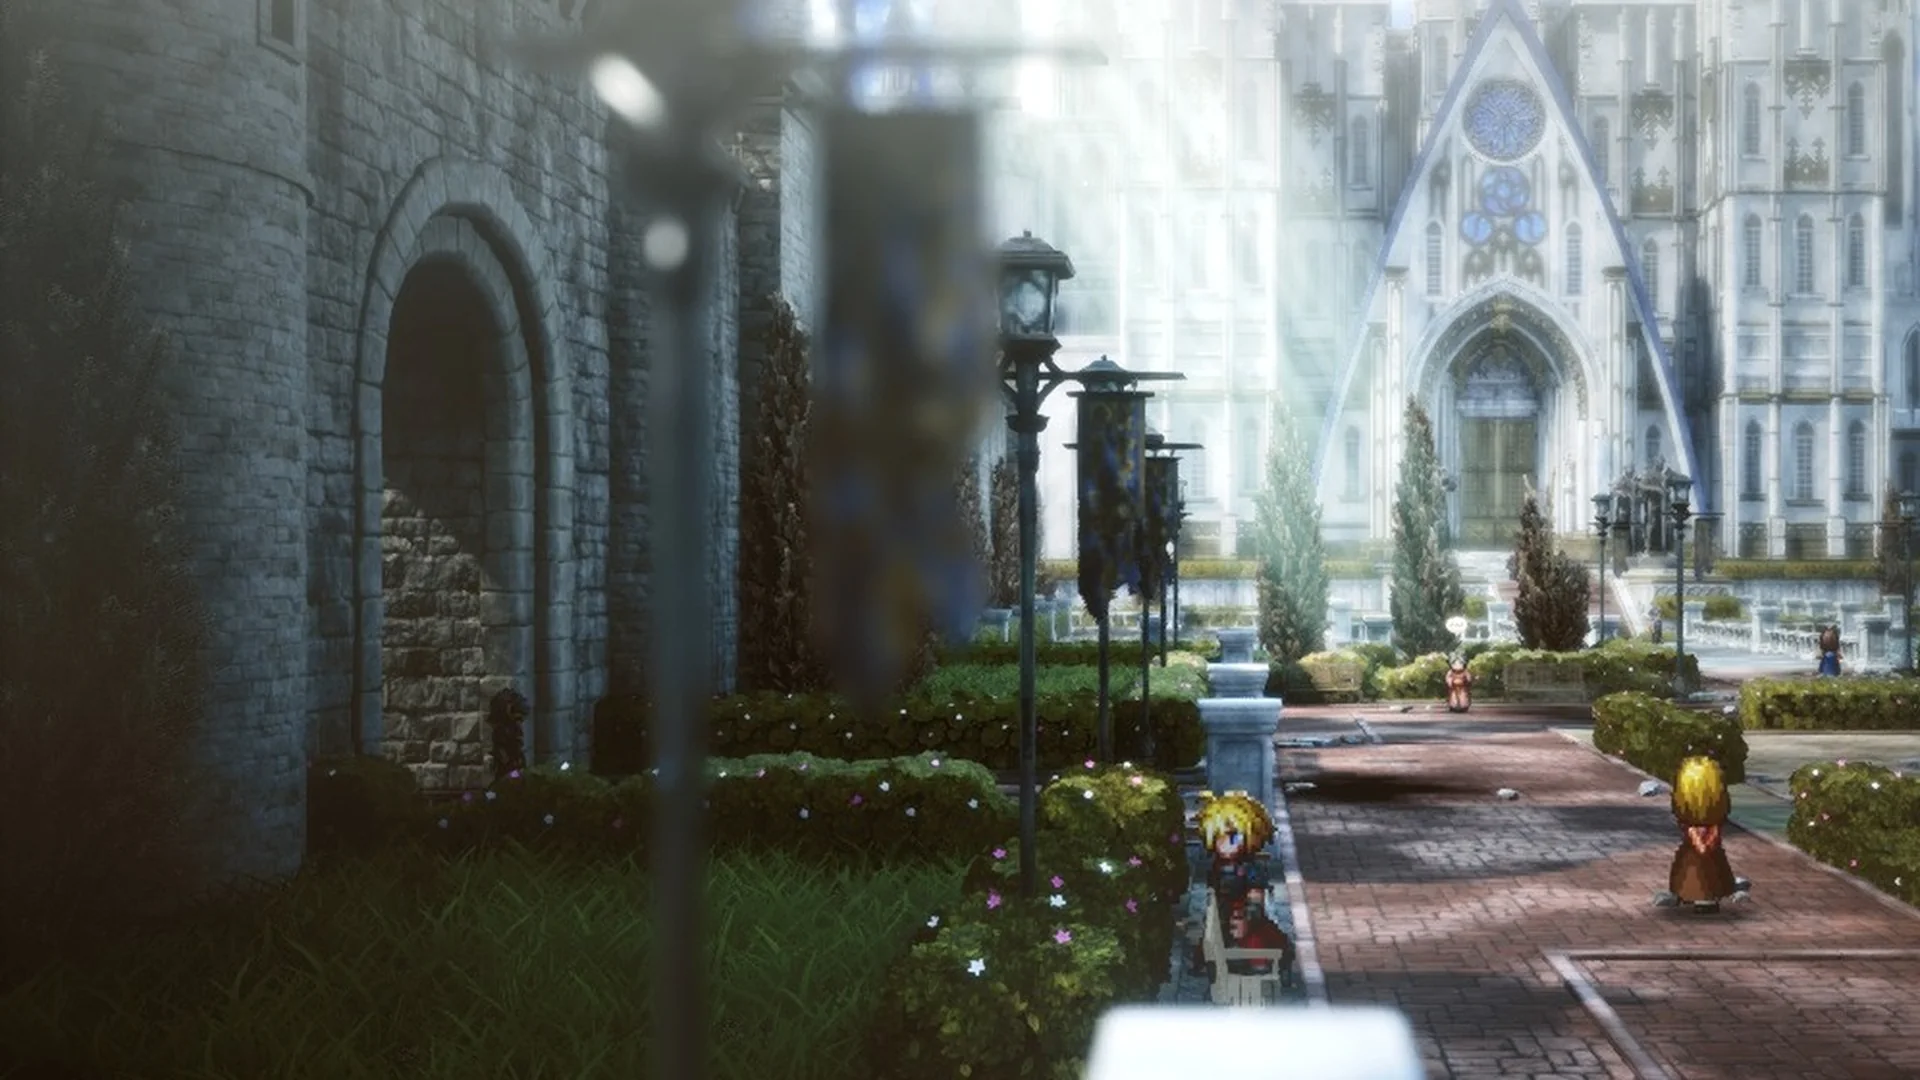
Keep going west with the walled estate, a grey castle-like building with towers, beside you. Grandport is just past it on the coast.
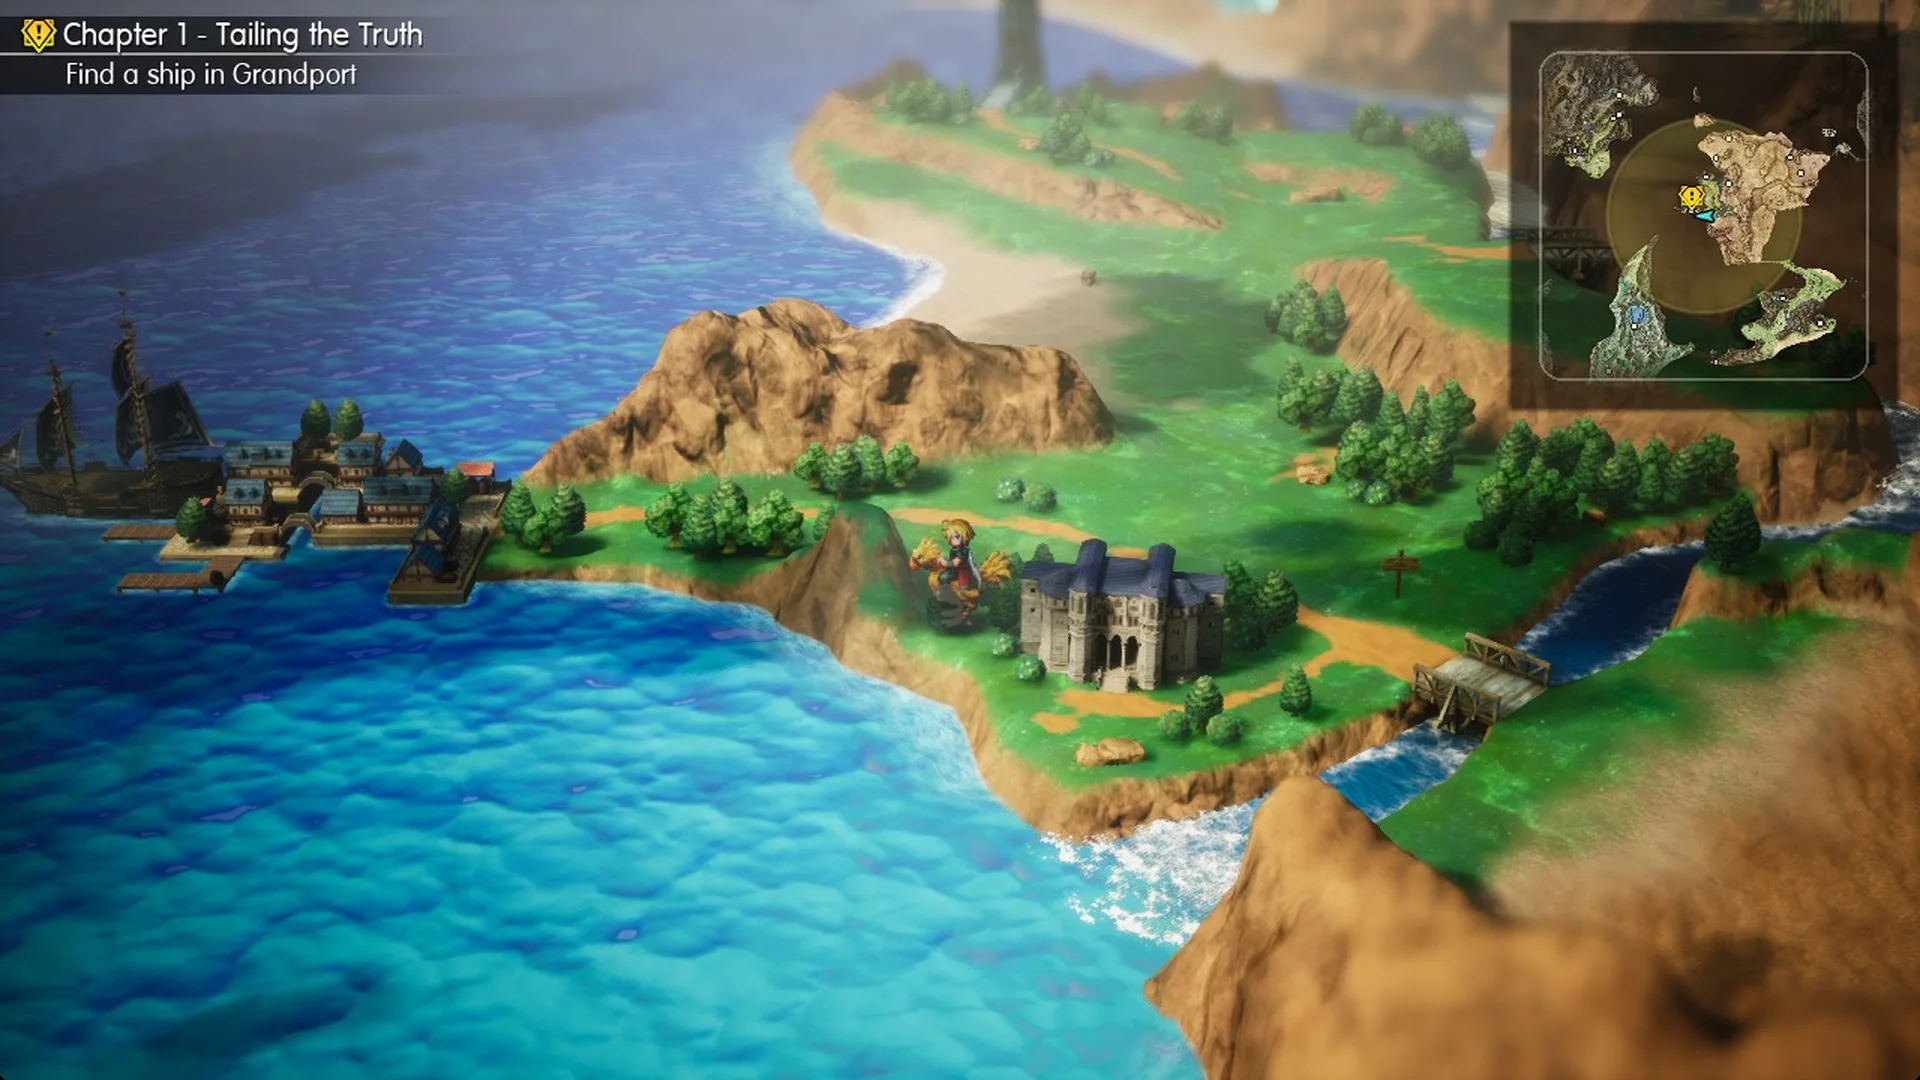
At the edge of town the banner reads “Grandport Harbor” and the F Proceed prompt appears. Press F to go in.
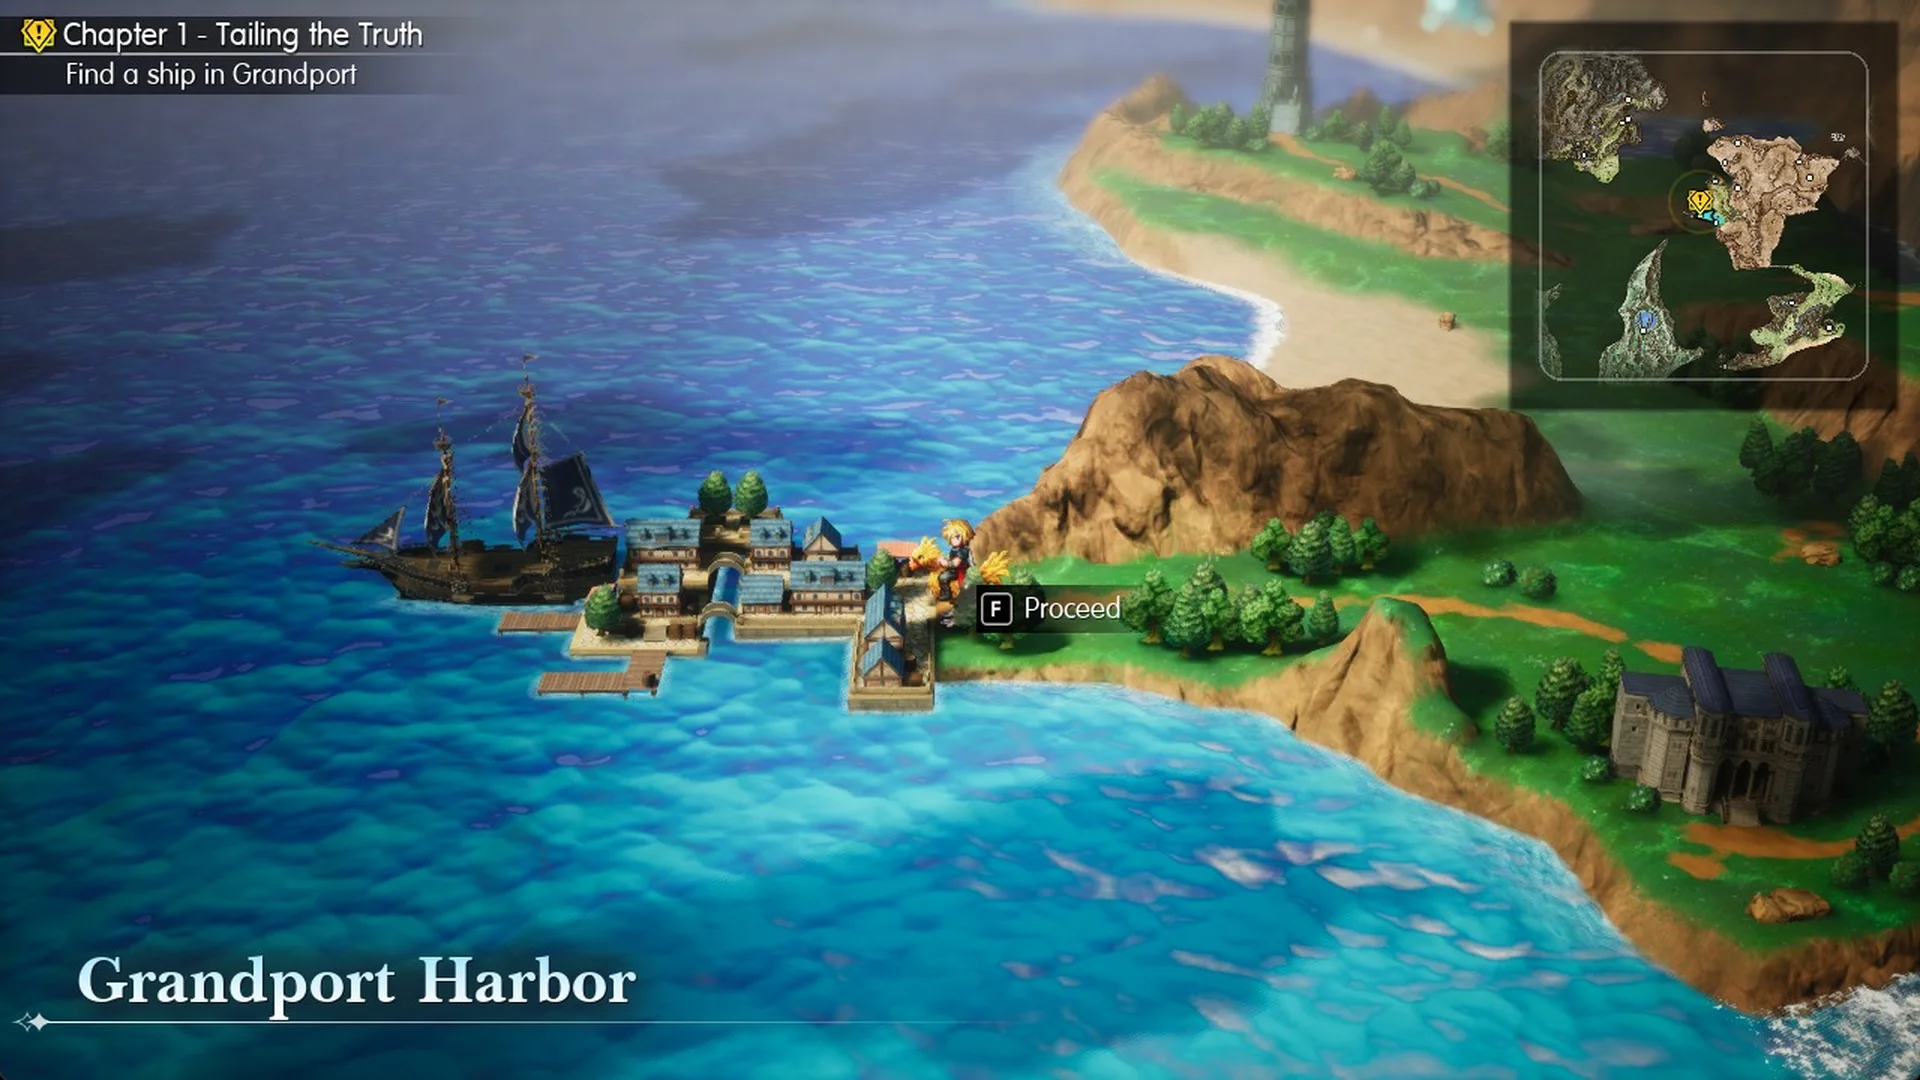
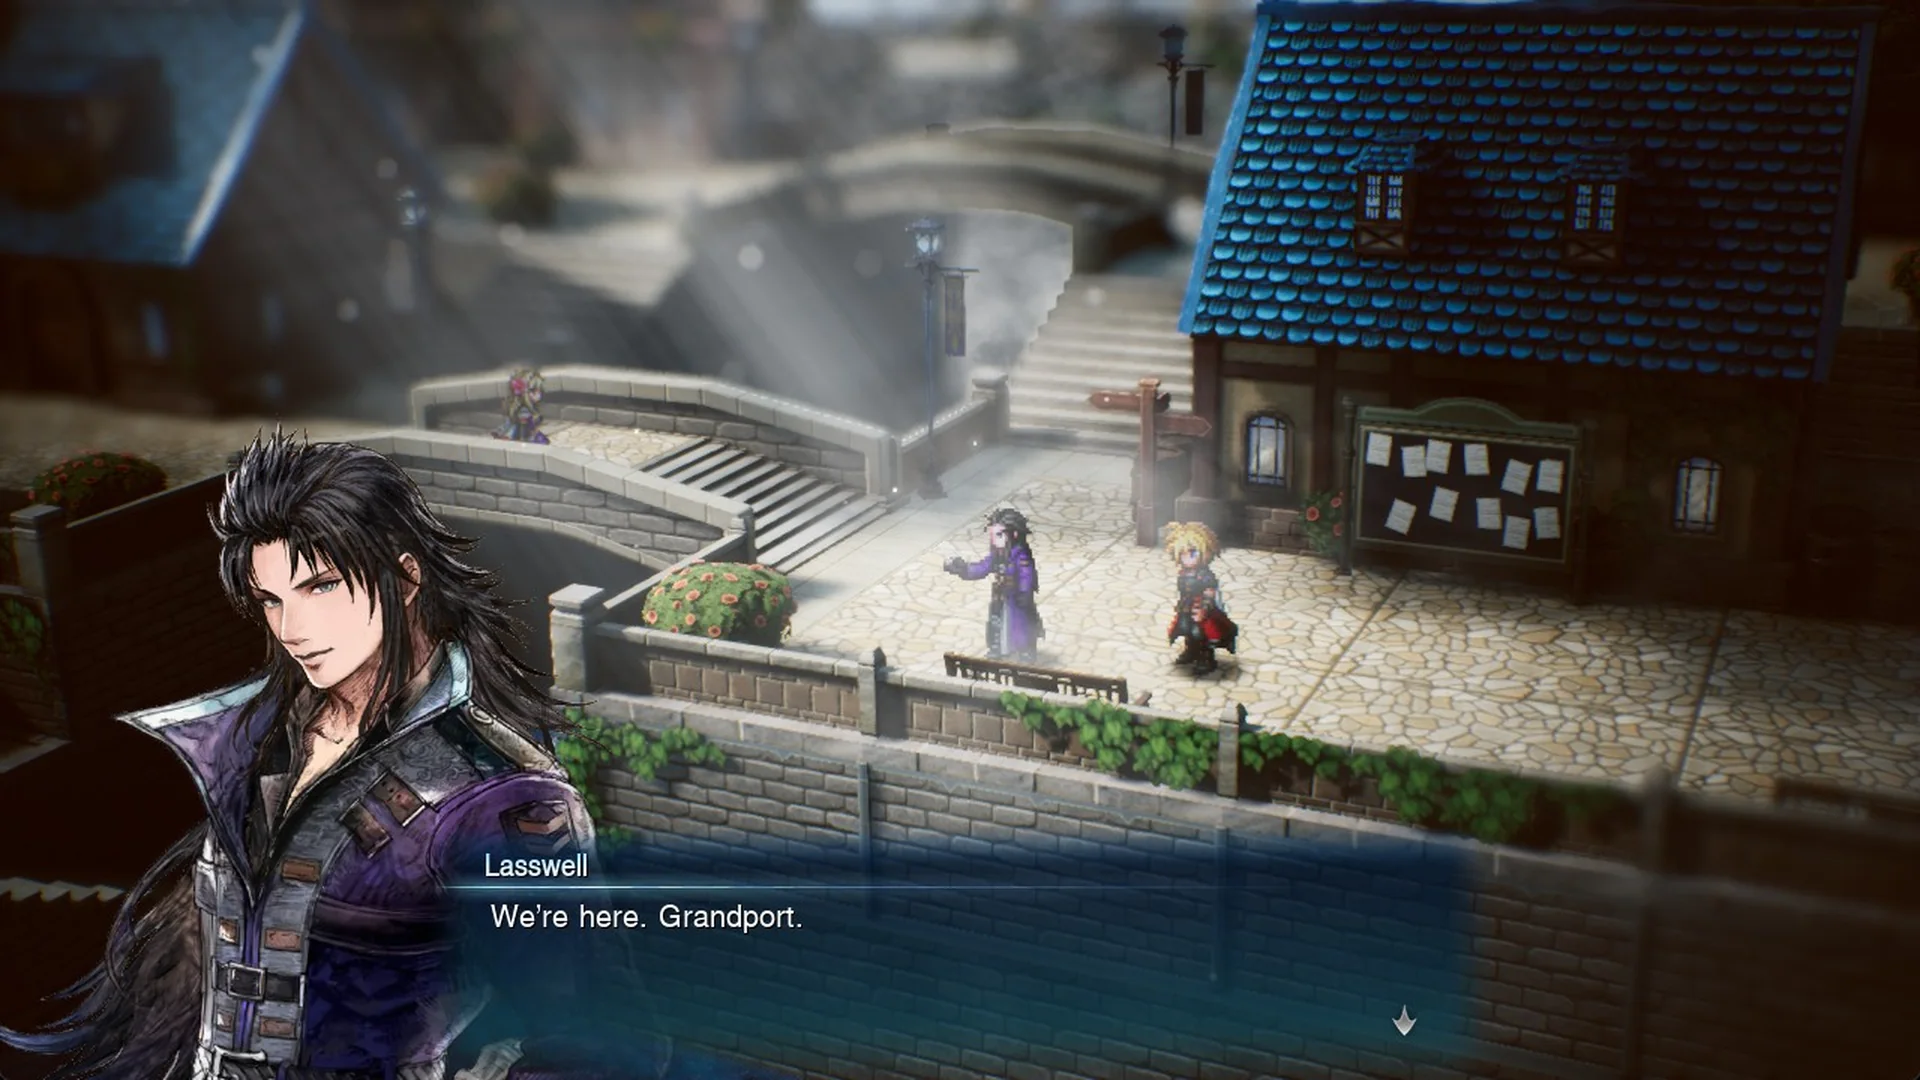
Inside, Lasswell says “We’re here. Grandport.” and Fina adds “It’s beautiful!” The objective still reads “Find a ship in Grandport”.
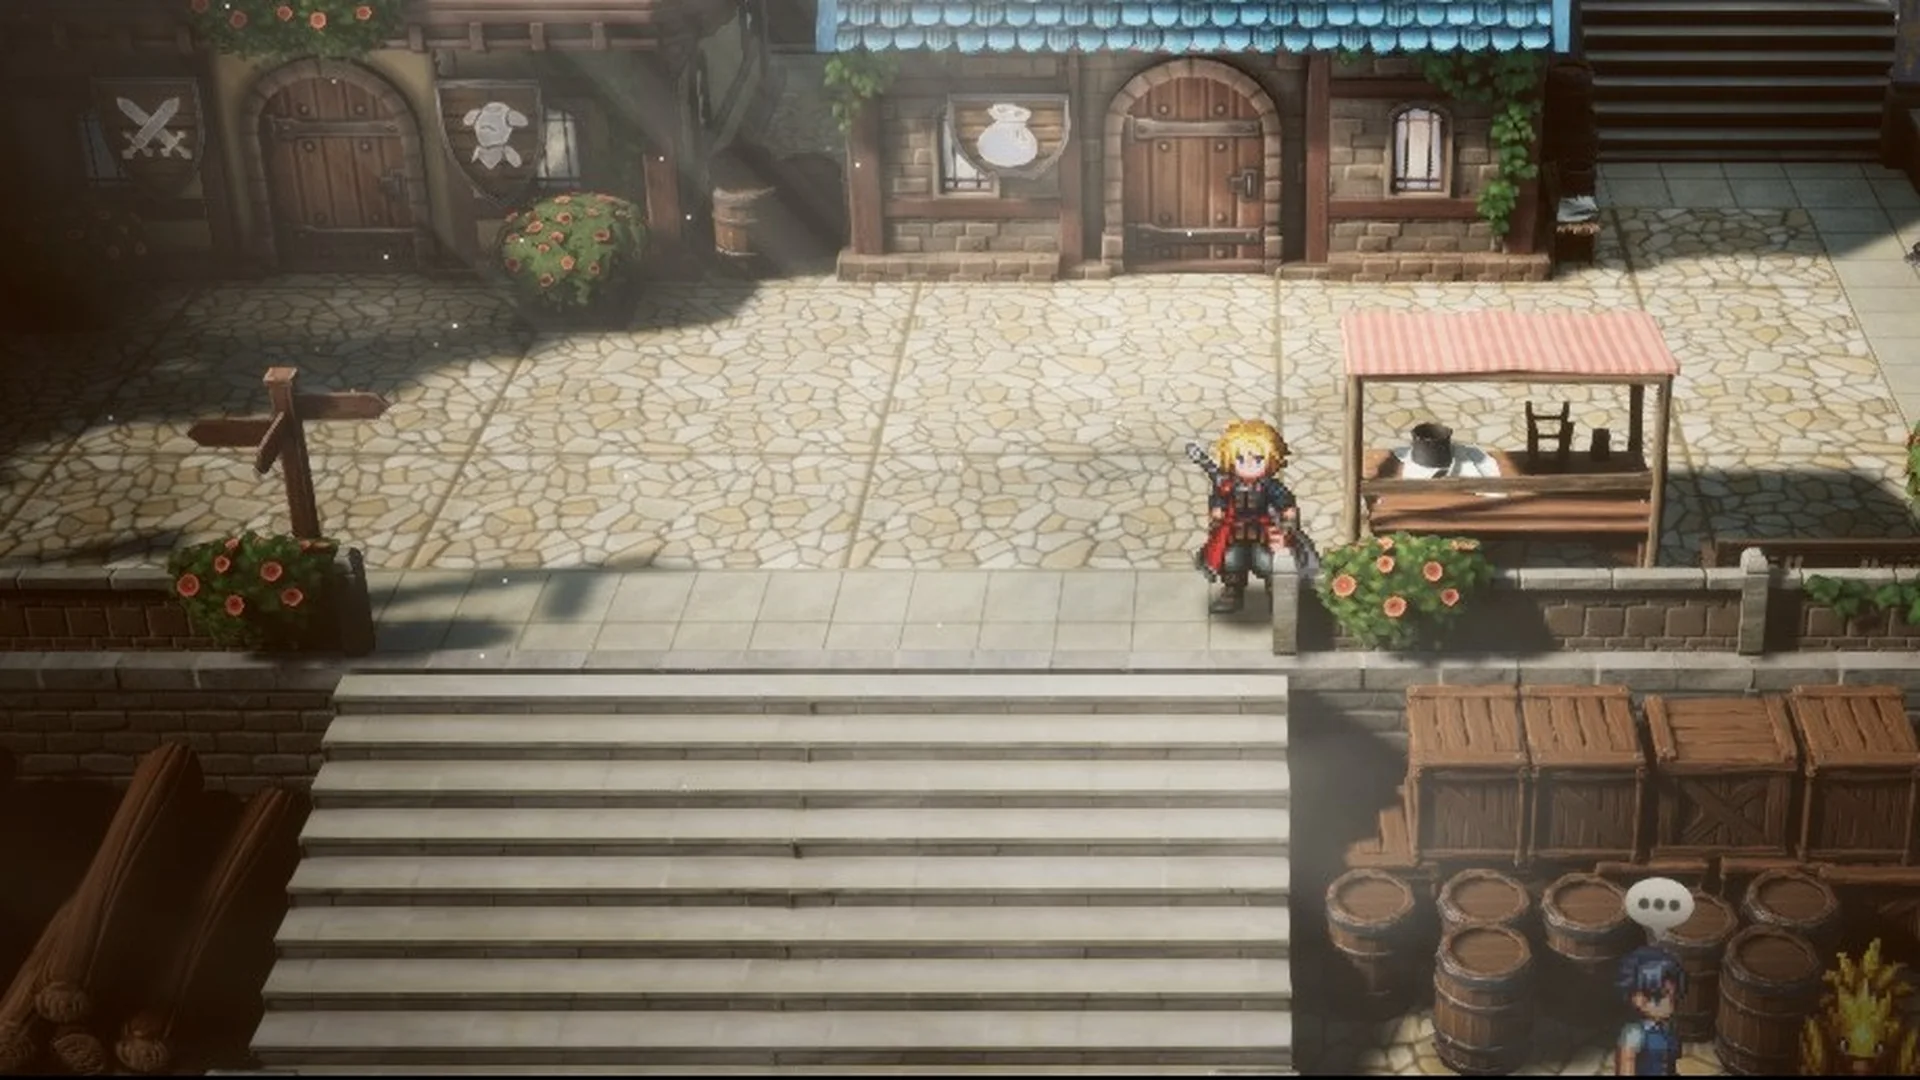
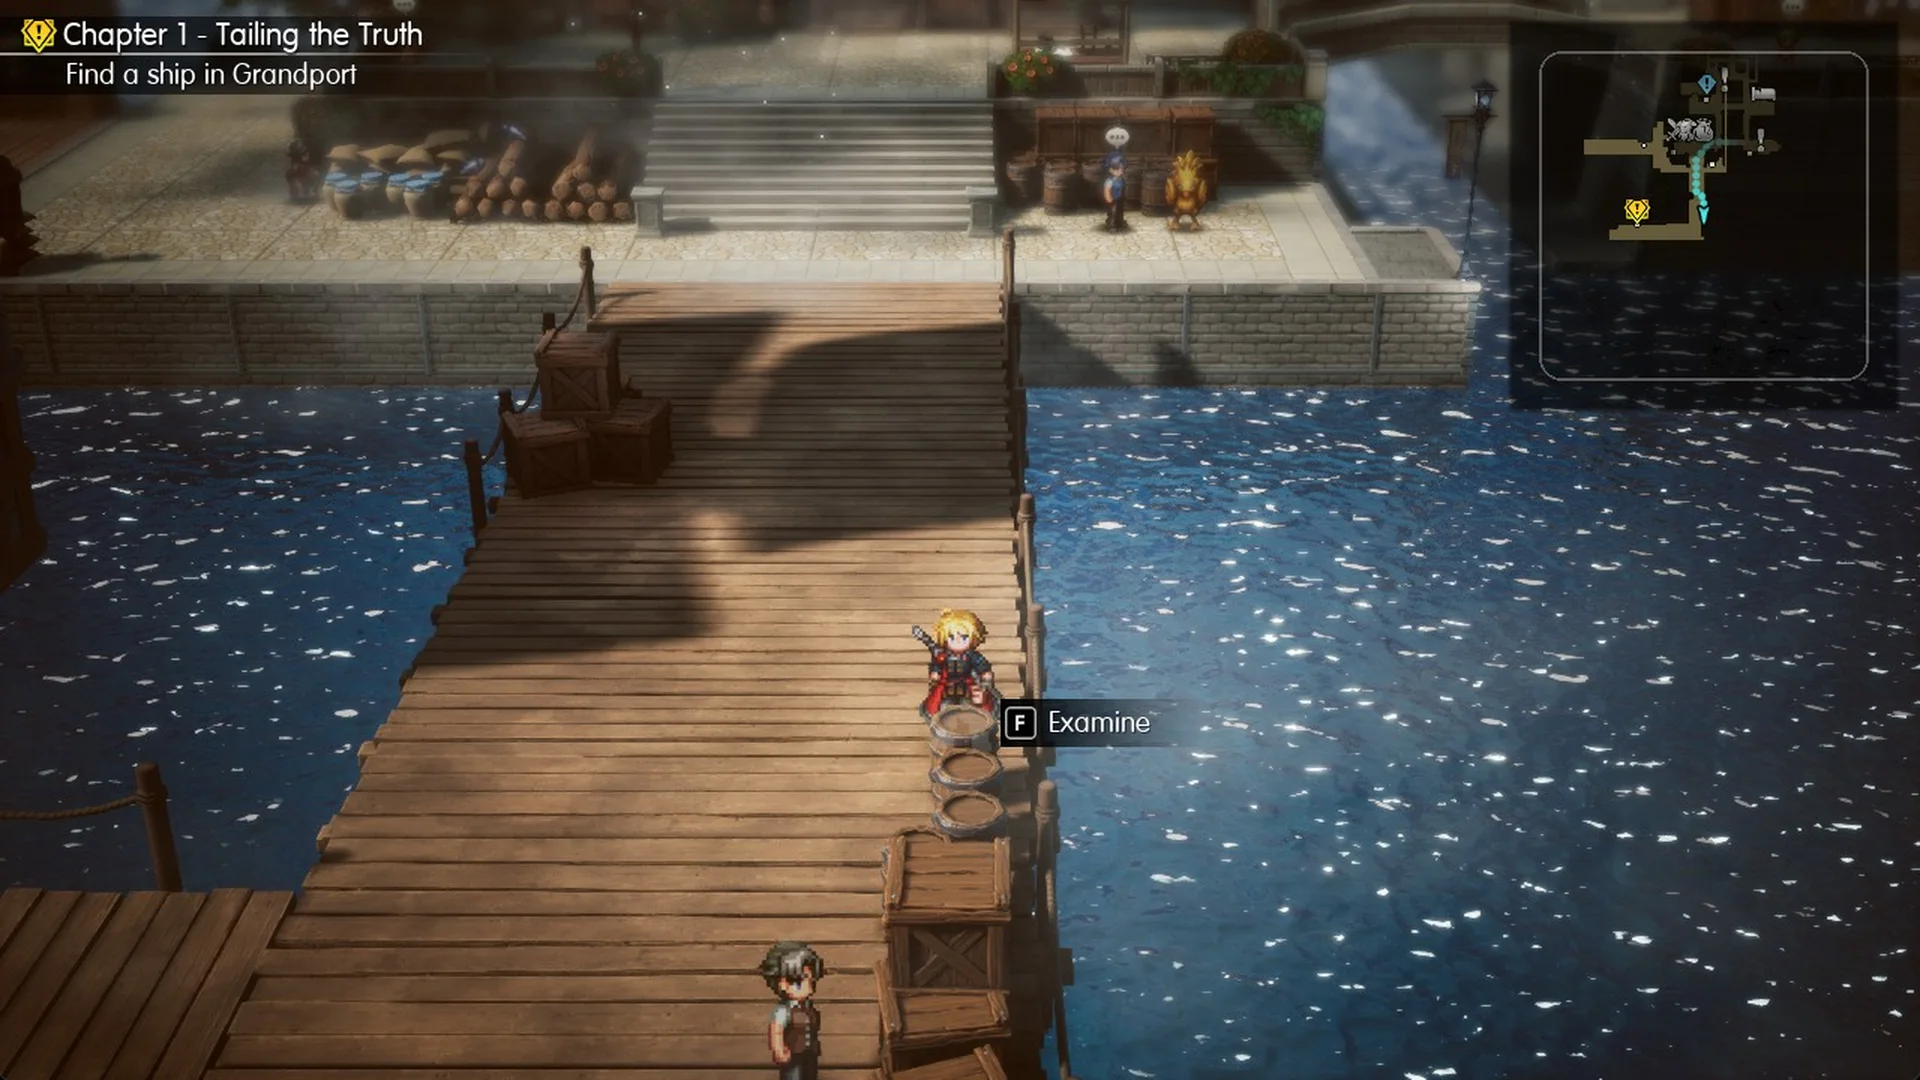
While you’re in town, one Tablet Shard is on the lower docks: take the big stairs down from the shop square, walk onto the long pier running south and keep to its east edge; the Examine prompt is by the stacked barrels and crates. The rest are in our Tablet Shard locations guide.
Shortcut: fast travel to Kolobos Ruins
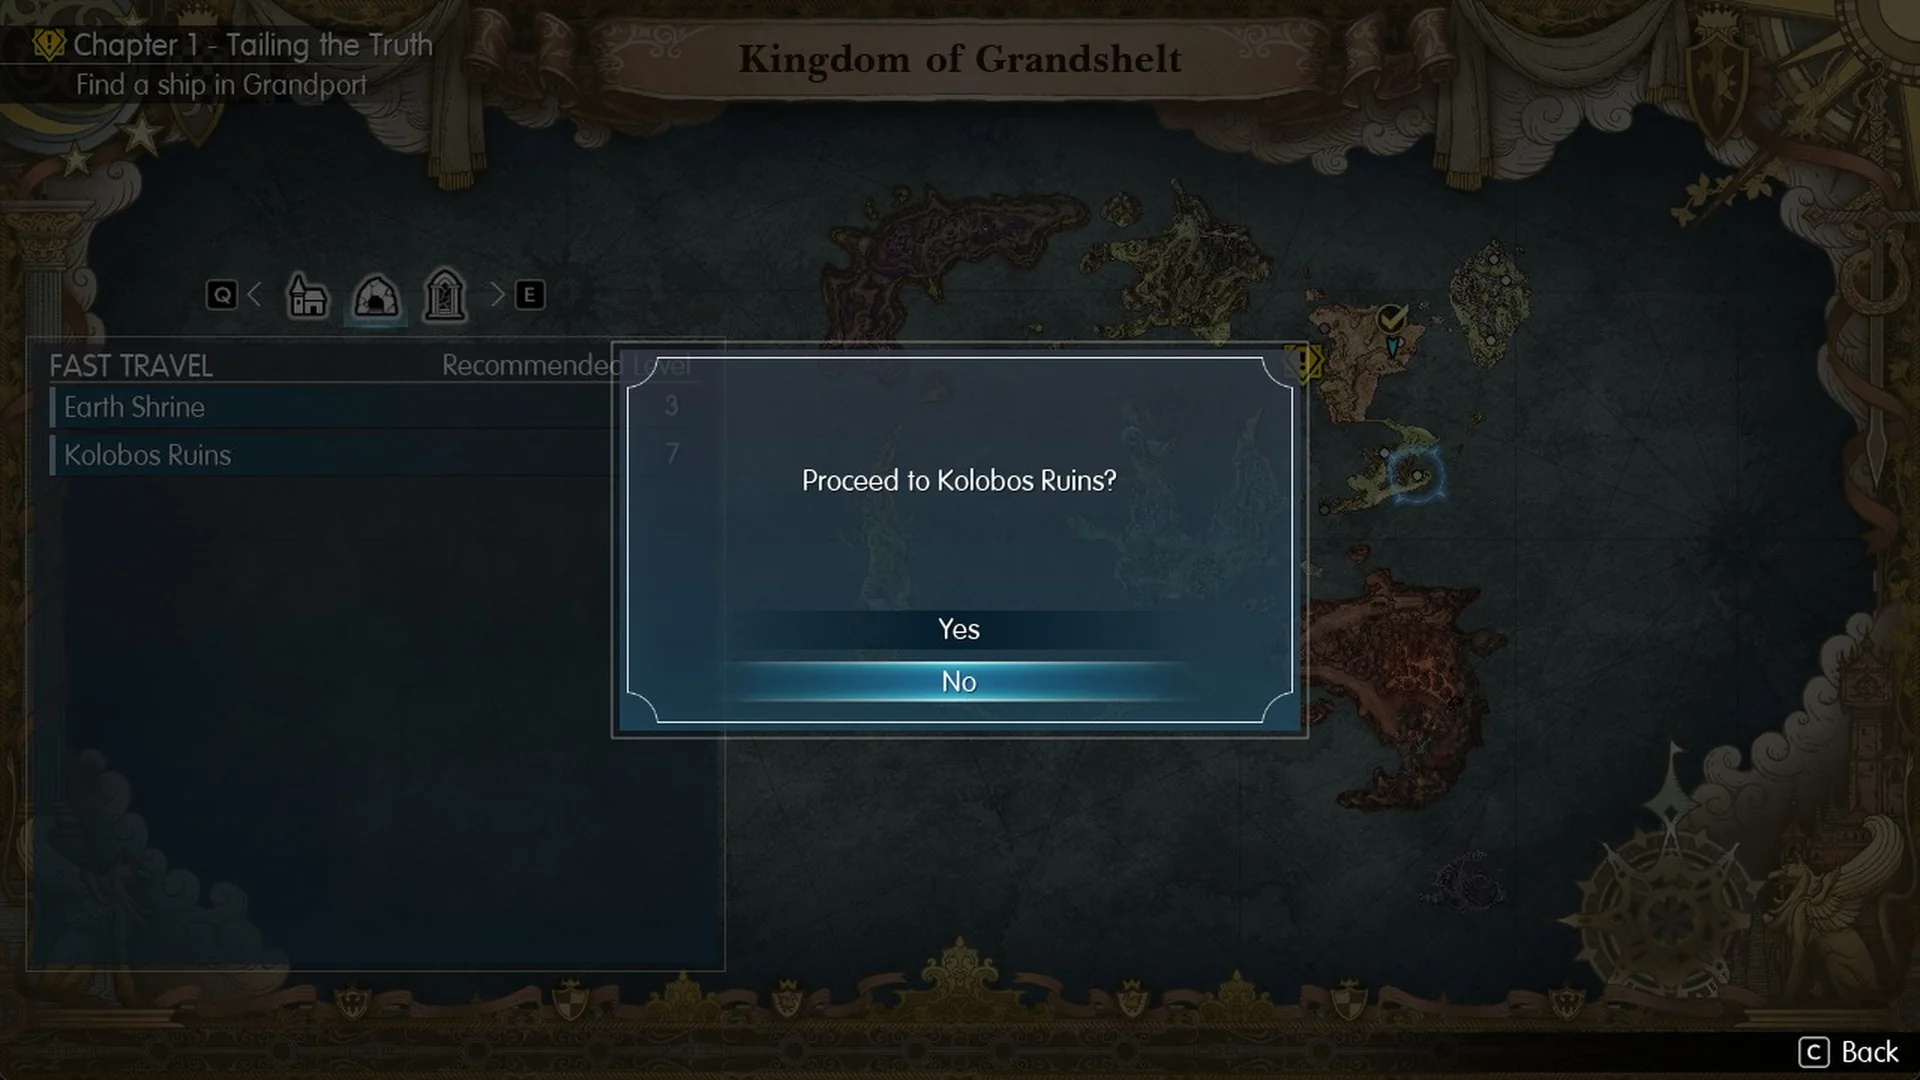
If you’ve already been to Kolobos Ruins, you can skip the gorge, the junction and the antlion sands. Open fast travel, pick Kolobos Ruins and confirm “Proceed to Kolobos Ruins?”. You arrive inside, at the entrance hall.
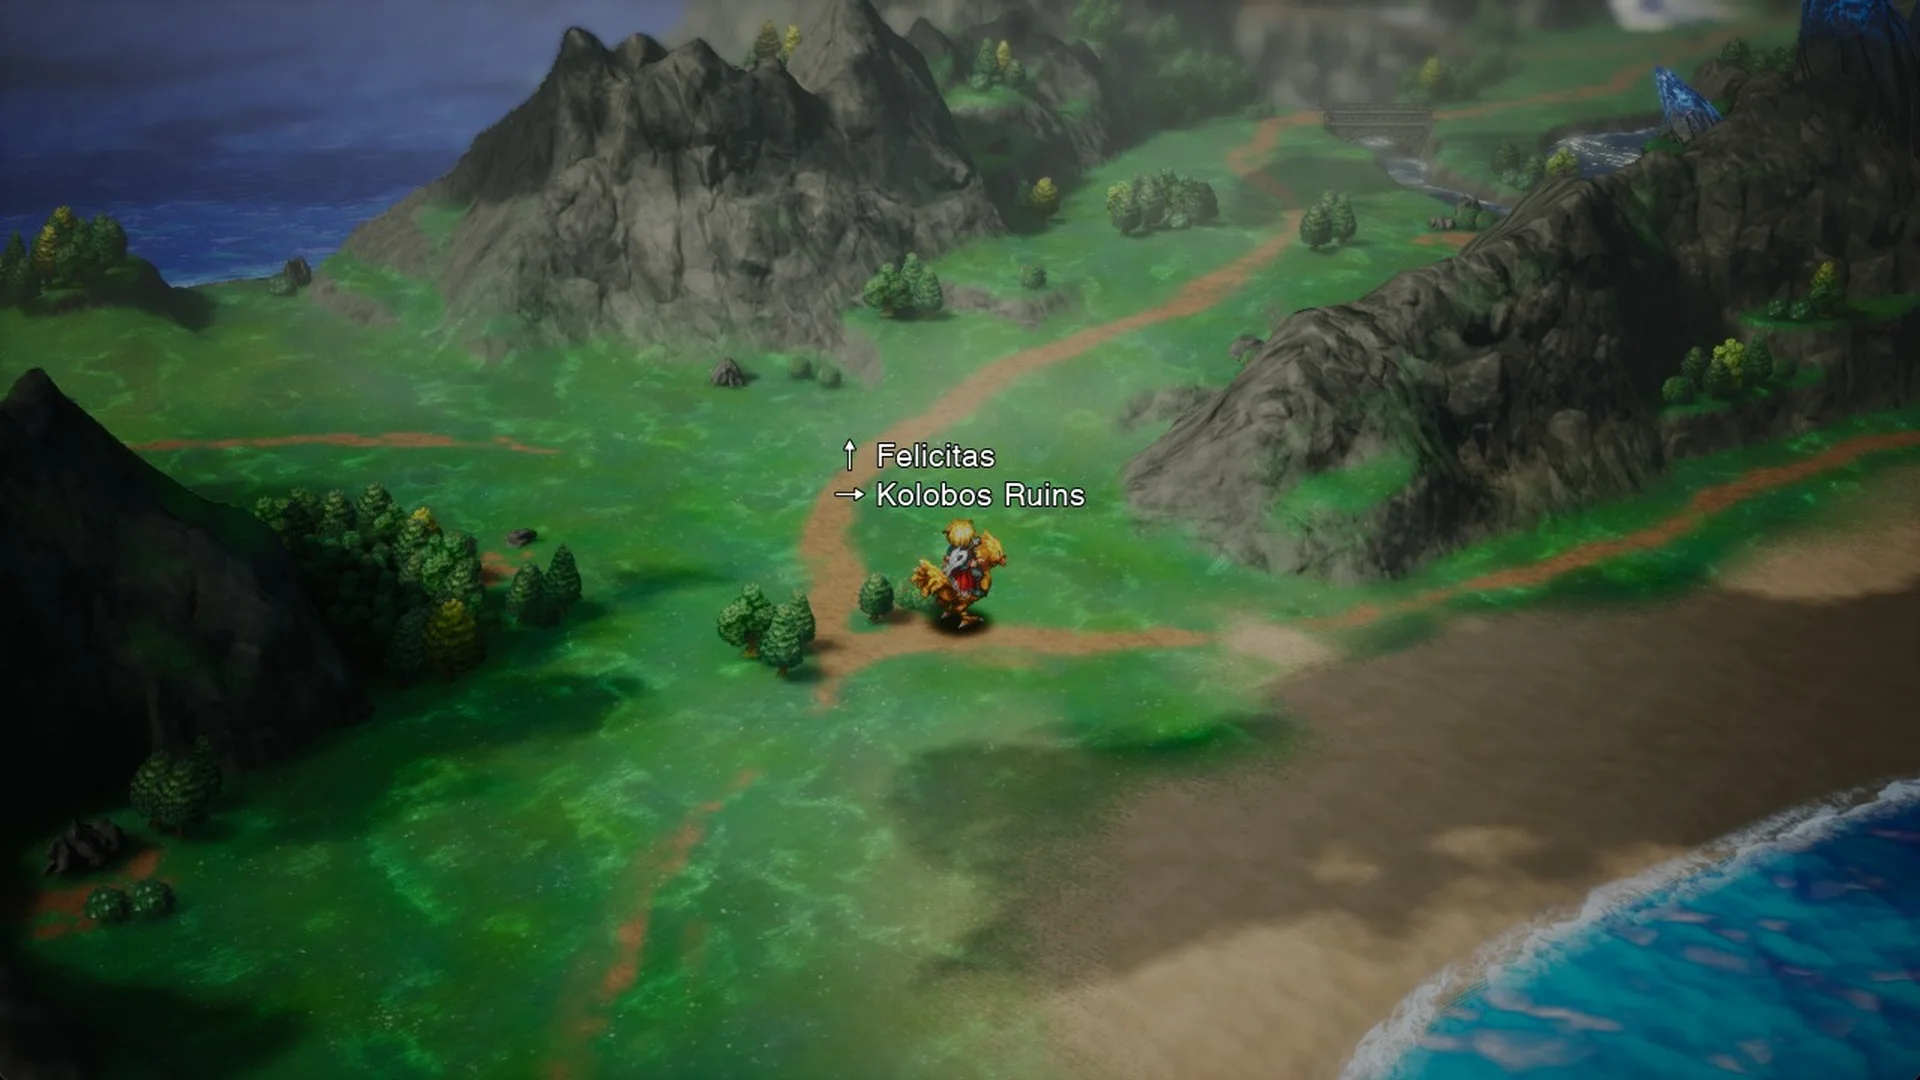
Walk south and press F to Proceed out onto the field. Take the road south-west to the fork above the beach, where the signpost reads “↑ Felicitas / → Kolobos Ruins”.
Follow the road north past the blue-crystal mountain, over the small river bridge and up to the island’s north tip. There, the long stone bridge with towers runs west to the desert’s south tip. Ride onto it along the road: from the grass beside it, the chocobo can run in place.
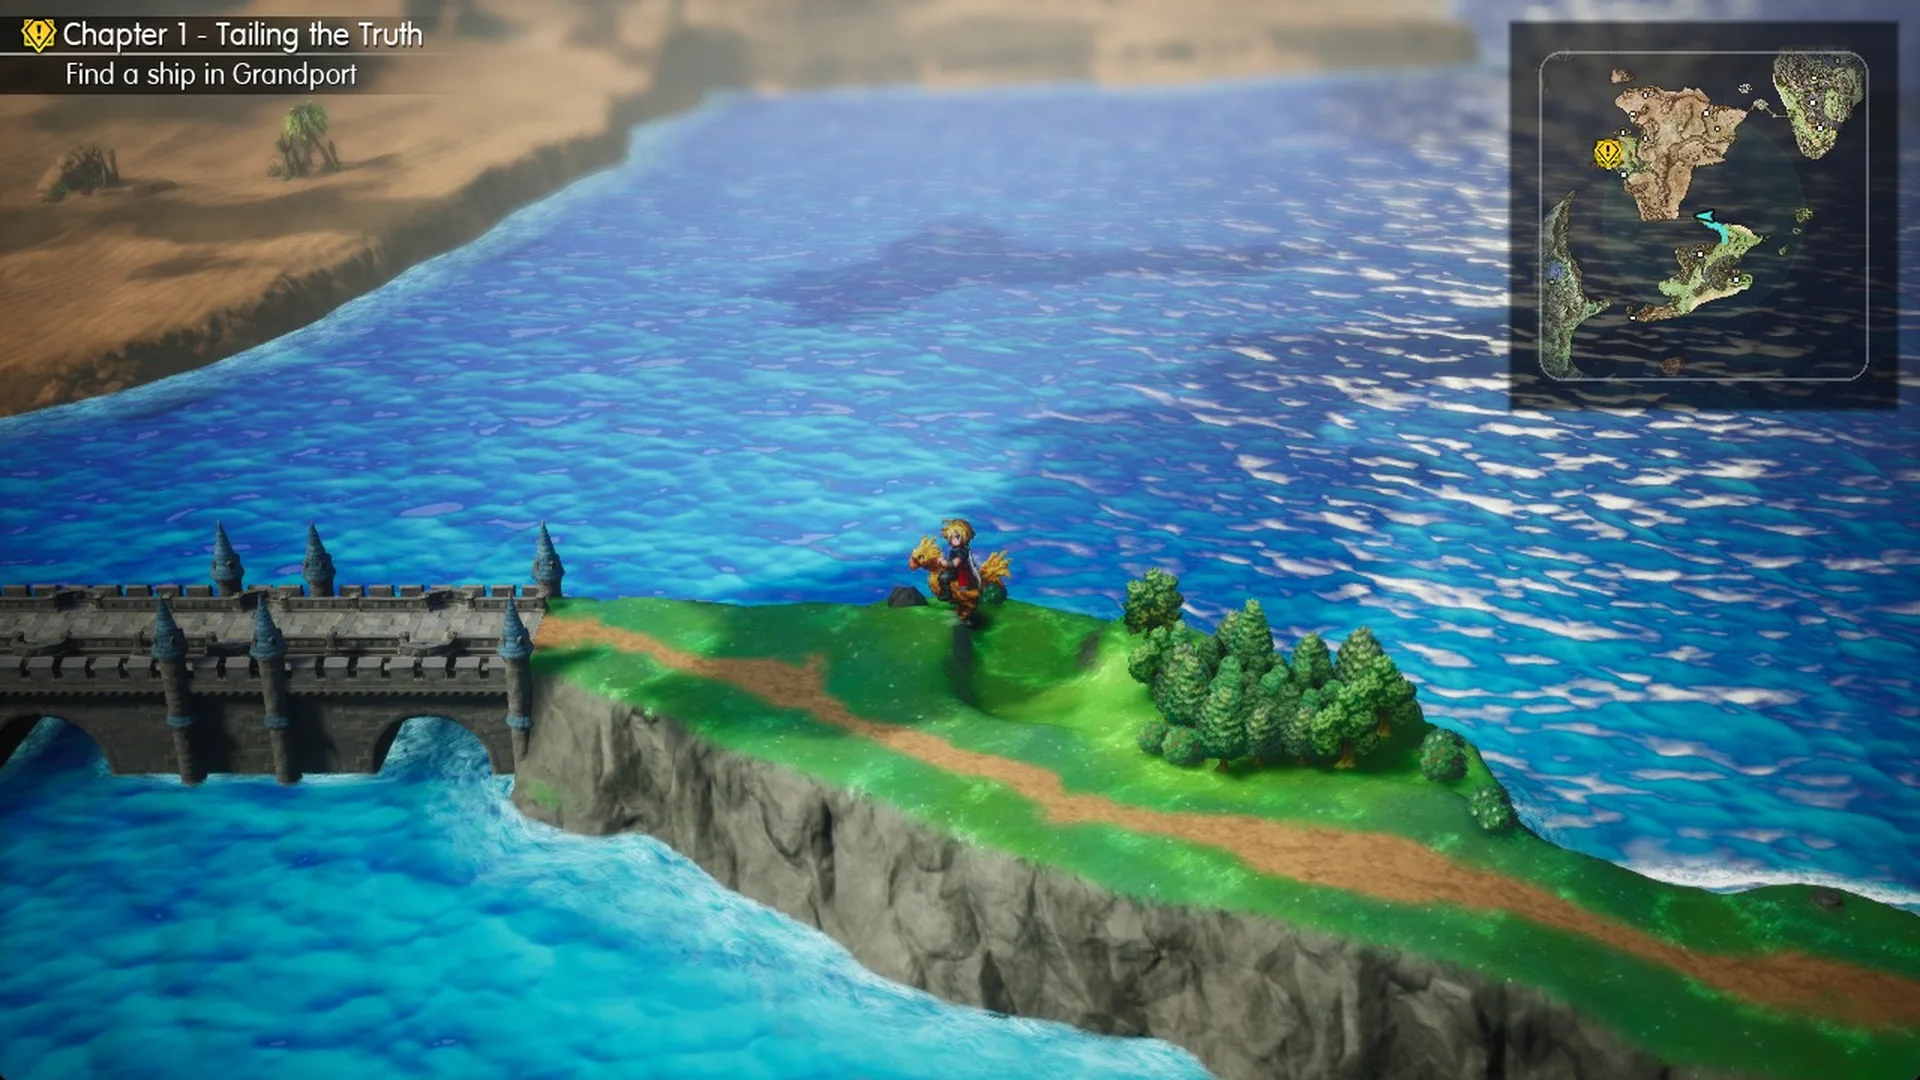
At the far end you’re at the “← Grandport / → Felicitas” signpost from step 5. Turn west and carry on from step 6.
Dead ends to avoid
The dune pocket west of the valley junction
The dunes west of the junction are closed in on every side, even though Grandport’s marker points that way. Ride back to the junction and go south.
The far side of the small wooden bridge
Cross the small wooden bridge and you end up on a small rock shelf. Rock walls block the north, north-west and north-east, even though the walled estate and the green meadow are visible just past the ridge.
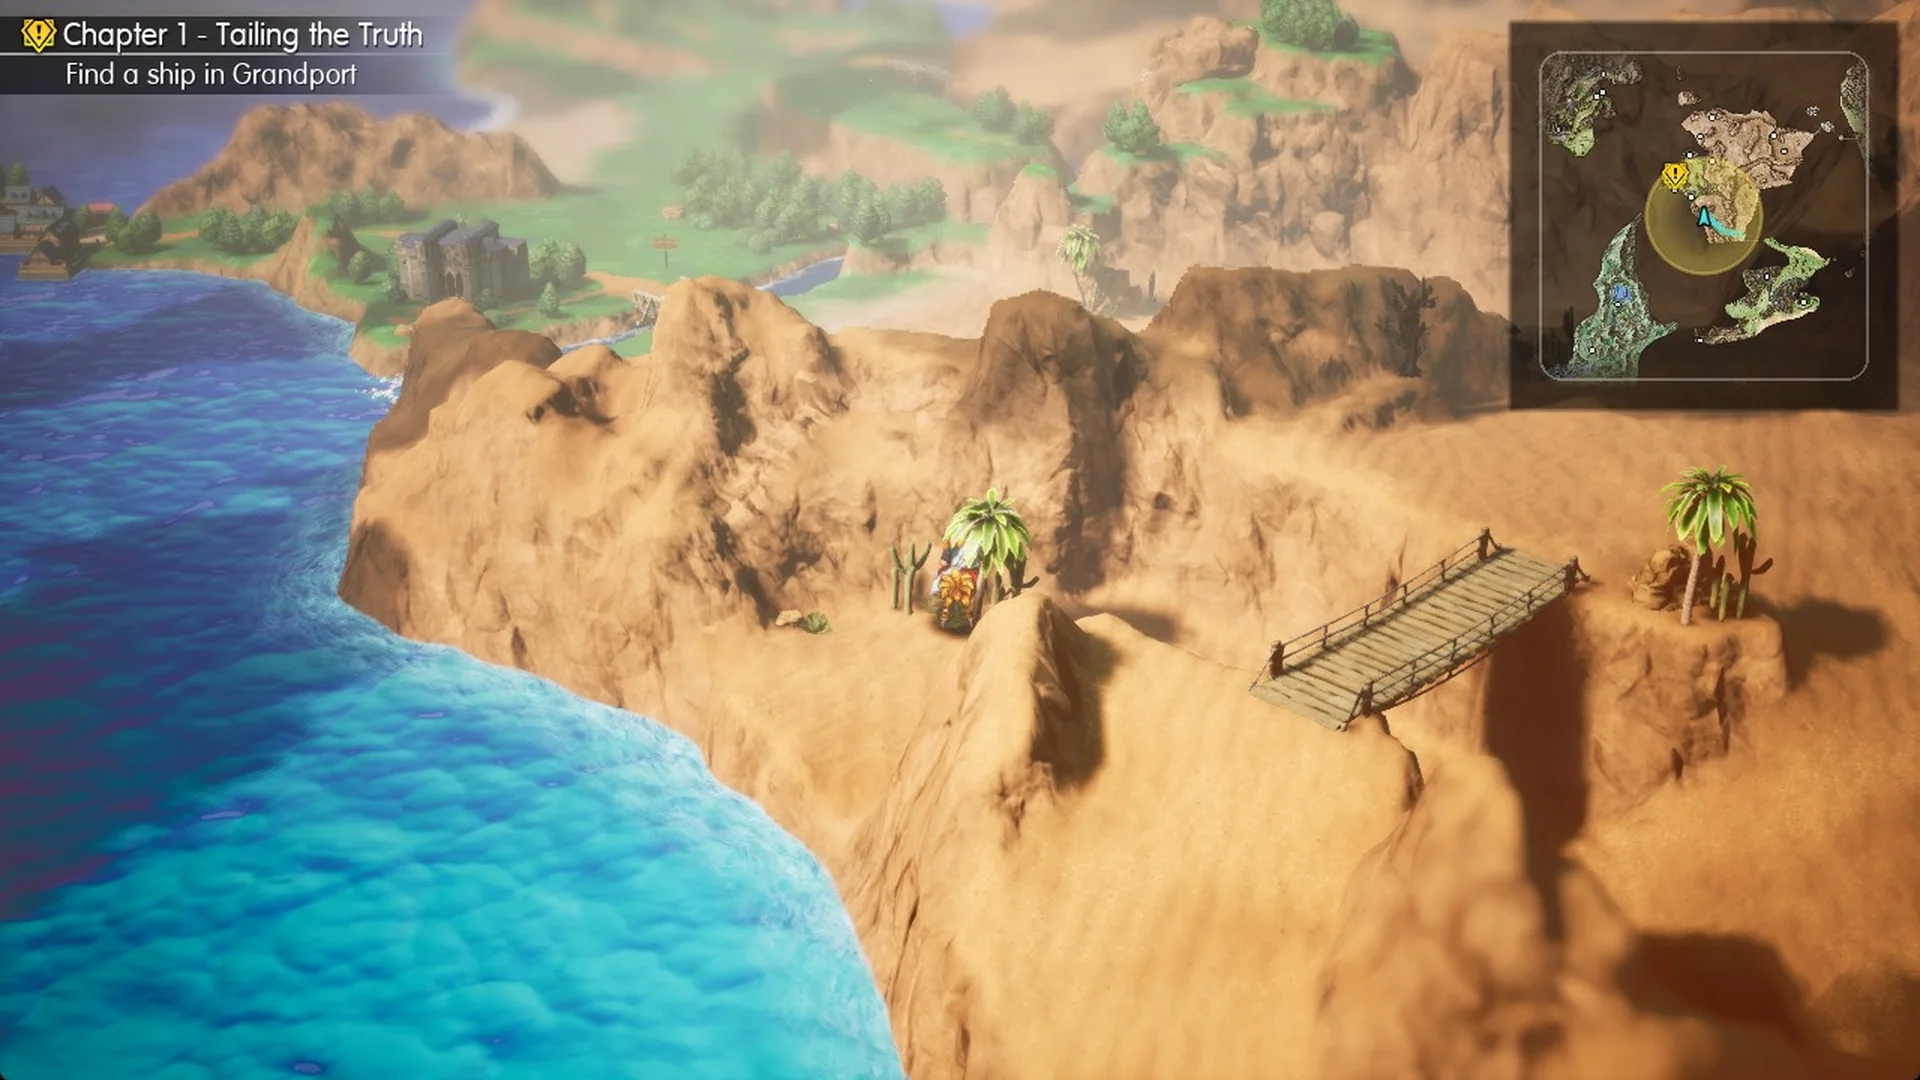
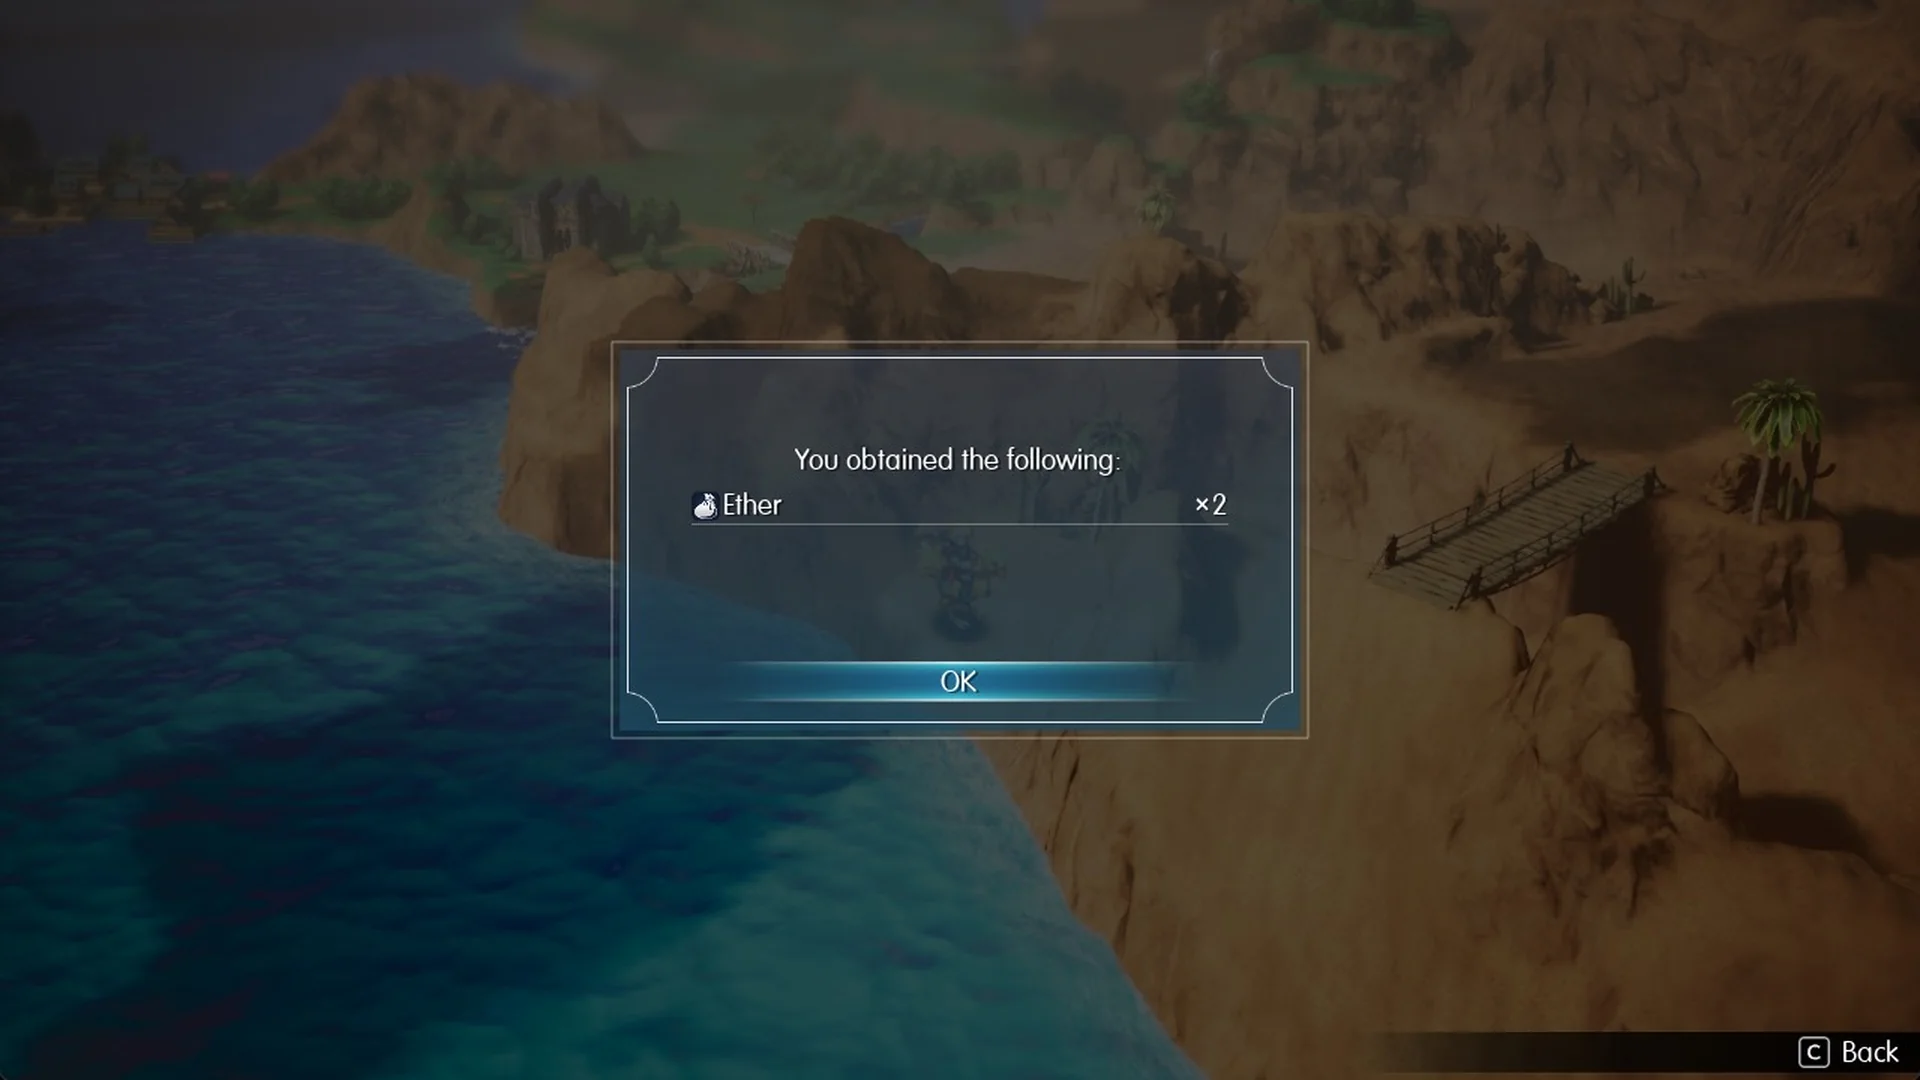
West of the shelf, a lower coast ledge runs along the sea and loops back up to the same shelf. There is one reason to go down: a sparkle on that ledge gives “You obtained the following: Ether x2” when you examine it. Grab it, then cross back east and head north up the sand valley.
The southern cliffs
From the sea cliffs in the south-west of the desert, Grandport is visible to the north-west across the water, but the cliffs give no way down. Go back to the east end of the small wooden bridge.
Fights on the way
These random battles turned up along the route on NORMAL difficulty. A red circle on the mini-map marks an encounter zone. For weaknesses and drops, see the enemies list.
- Desert near Kol: Crawler Lv.7 with Scorpions Lv.6, and Wild Rats Lv.8 with a Human Trap.
- Desert’s south tip: three Human Traps. One fight dropped Knife of Poison x2.
- East of the small wooden bridge: Wild Rats and a plant inside the encounter zone.
- Kolobos shortcut: Toads, which poisoned the party, and Cutpurses (Lv.6), who steal Gil.
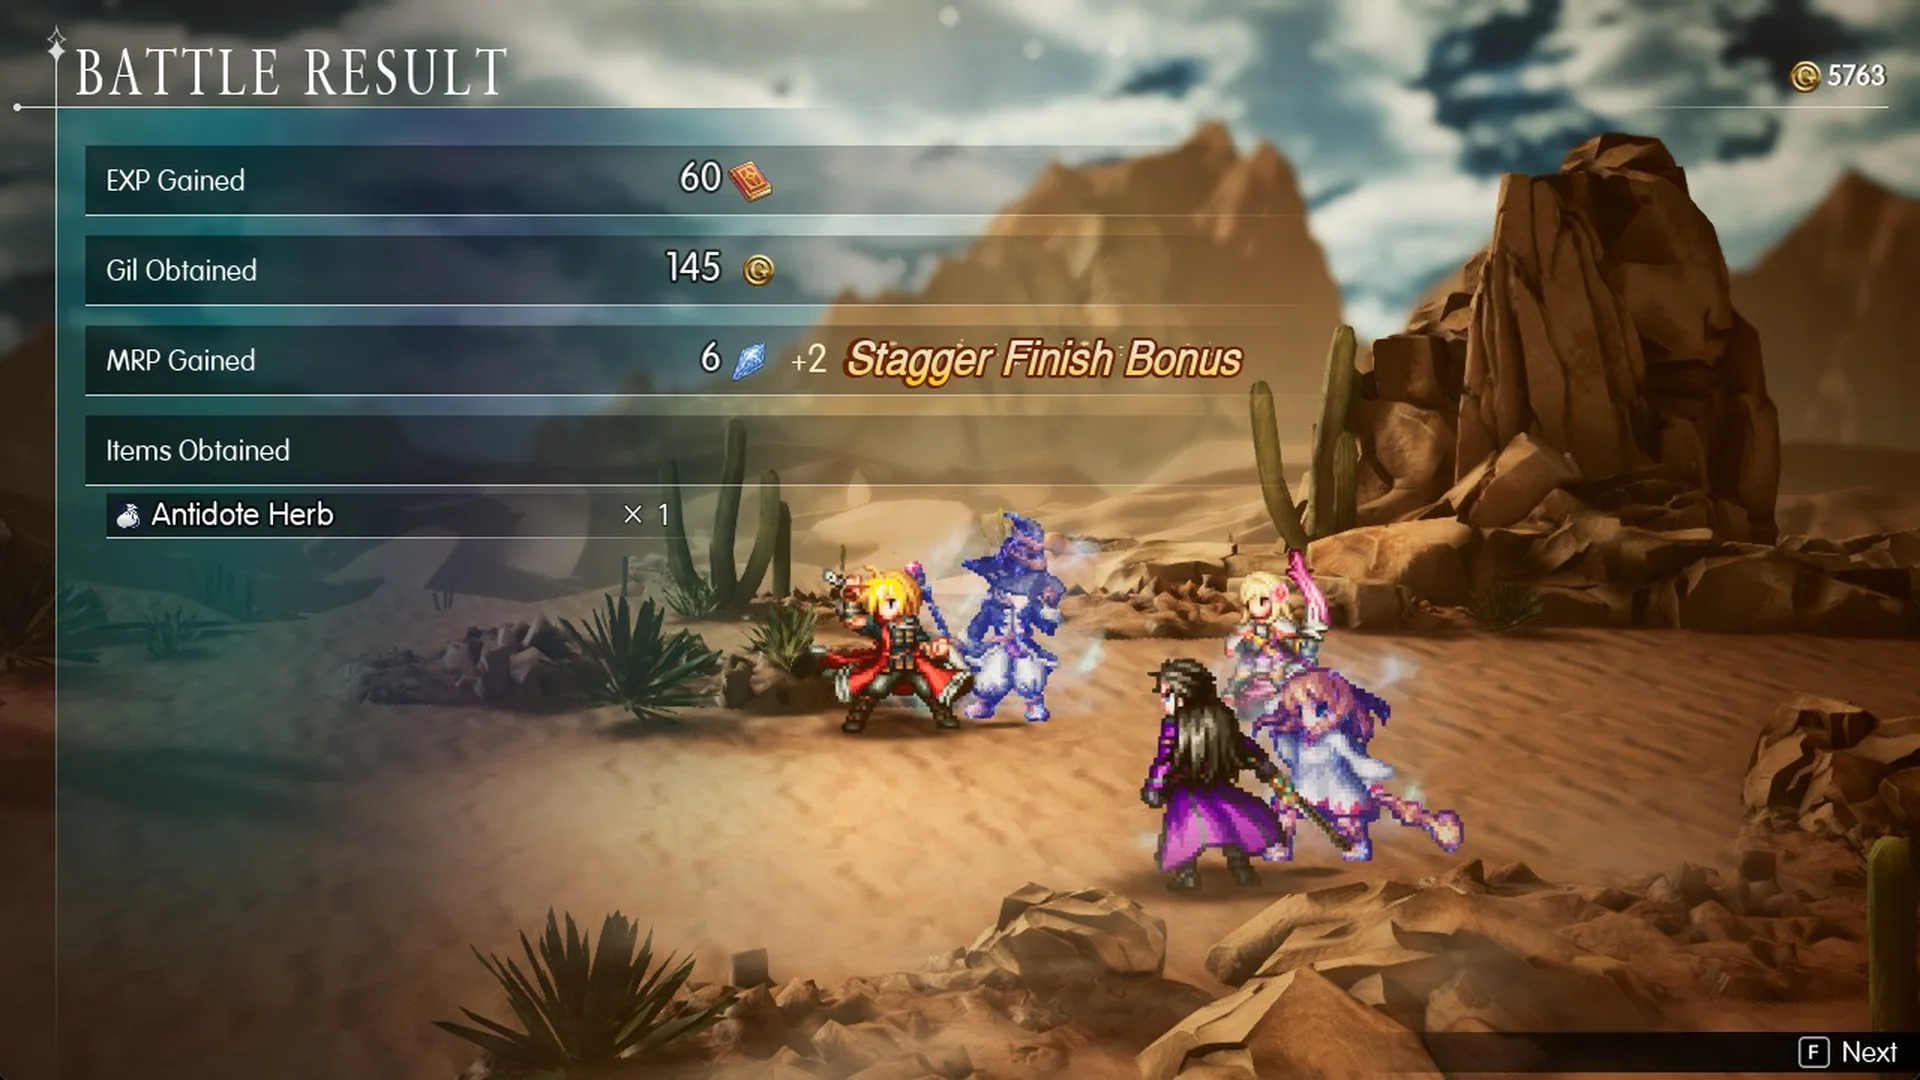
The fight east of the small wooden bridge paid out 60 EXP, 145 Gil, MRP 6 (+2 Stagger Finish Bonus) and an Antidote Herb.
Cutpurses can stop you escaping, and their theft shows up as “249 gil was stolen.” Beat them and the stolen Gil comes back on the Battle Result screen.
Next: Siren’s Tower
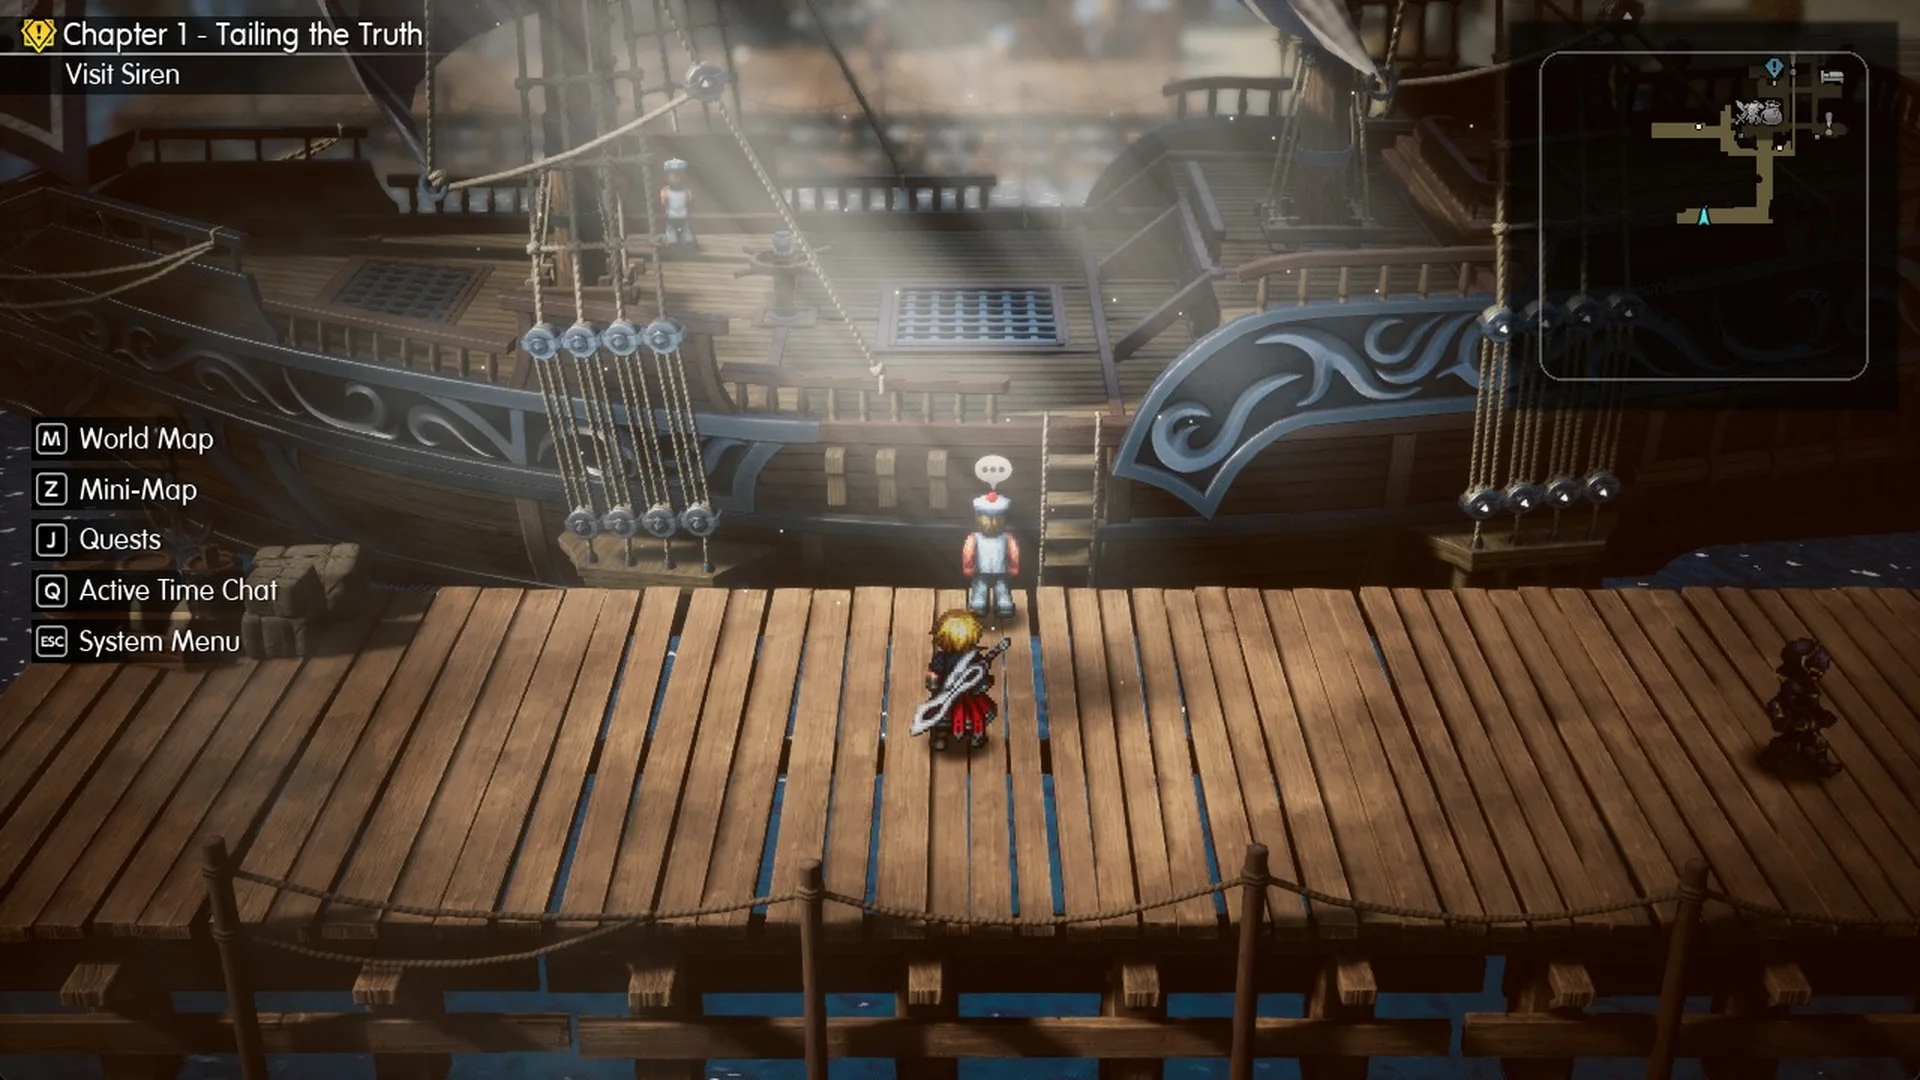
There’s no ship out yet. Talk to the Captain by the docked ship at the far end of the lower docks. Lasswell tells him “We’re looking for a ship that’ll take us to Dirnado.” He answers “Sorry, the seas are too choppy right now. No boats are goin’ out.” Siren normally sings the waves down, he explains, but nobody has heard her for a while. When Fina asks where to find her, he says “She’ll be in the tower to the northeast. Call it Siren’s Tower, we do.”
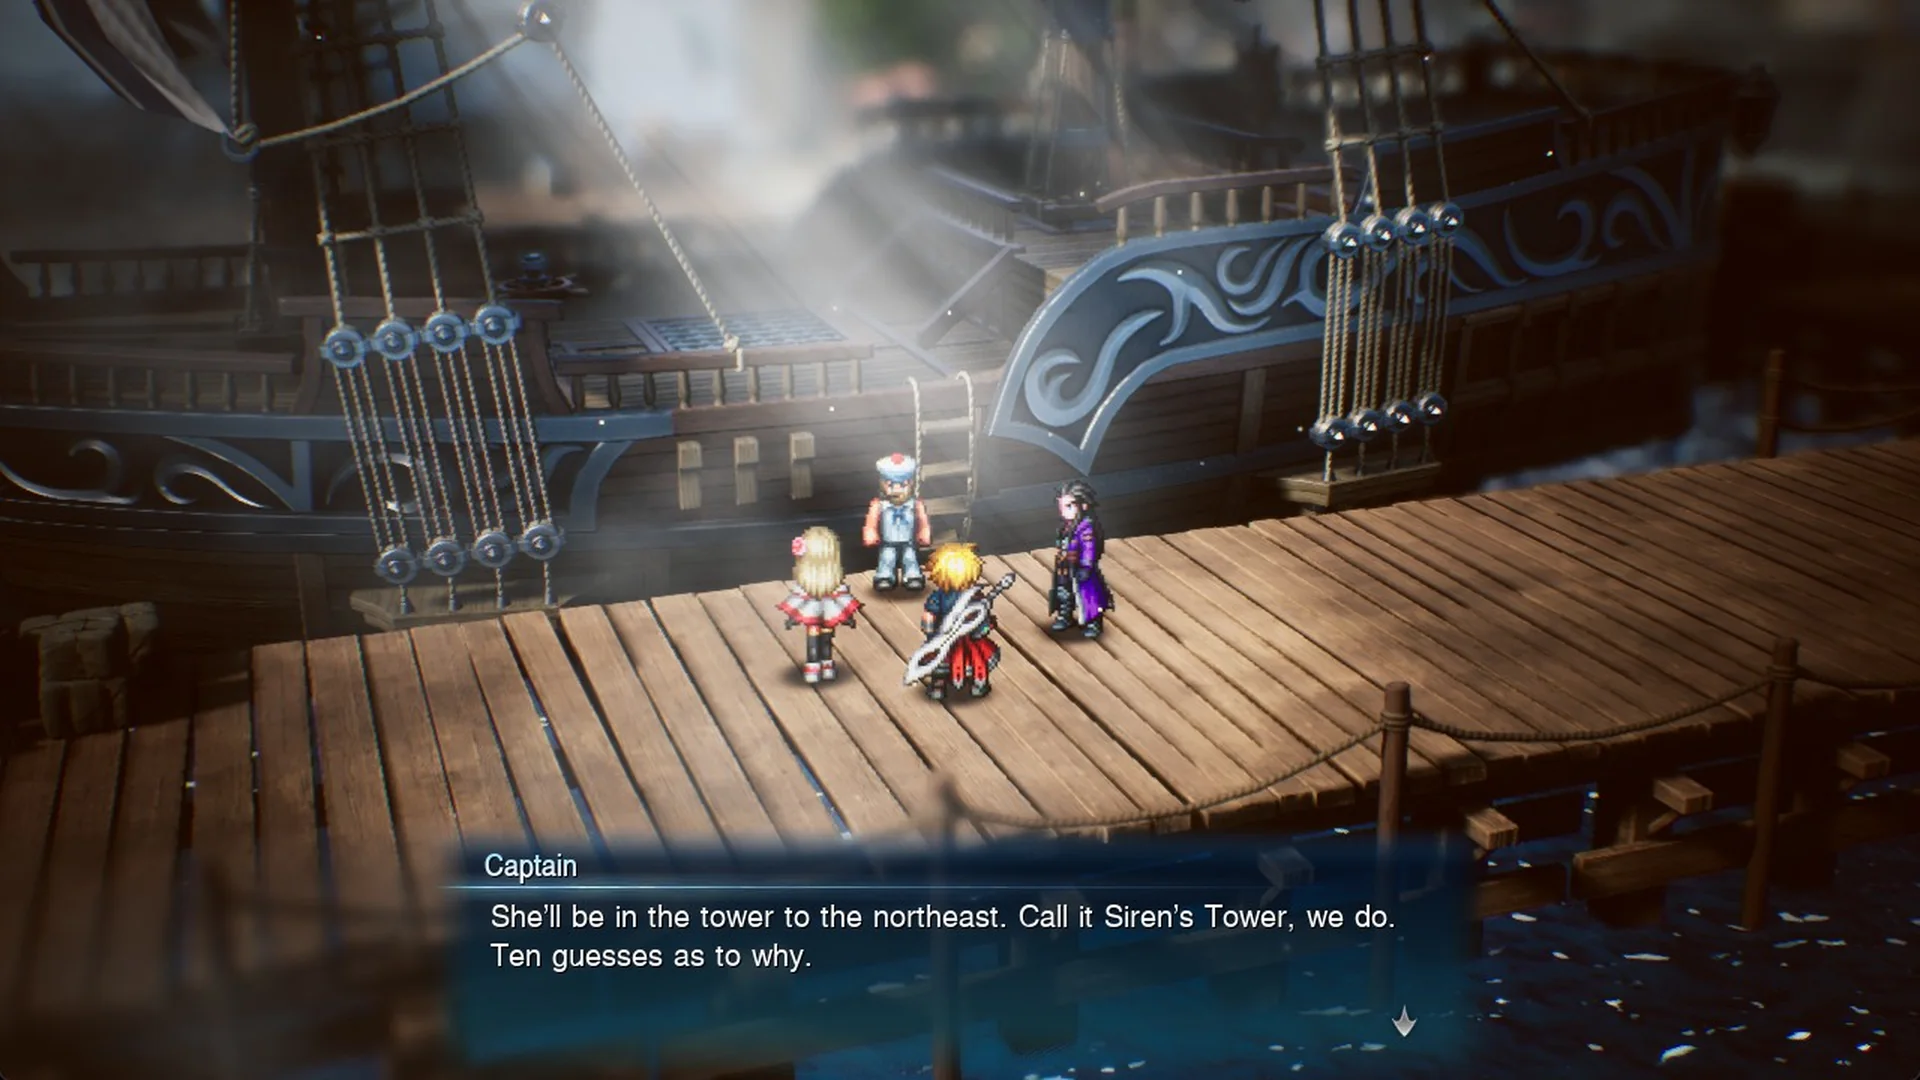
Rain decides “We can’t afford to be stalled here. Let’s head to Siren’s Tower.” The objective changes to “Visit Siren”. Siren’s Tower is the way the “↑ Siren’s Tower” sign at the south bridge points; for getting in, see how to get inside Siren’s Tower. The rest of the chapter is in our Final Fantasy Resonance walkthrough.