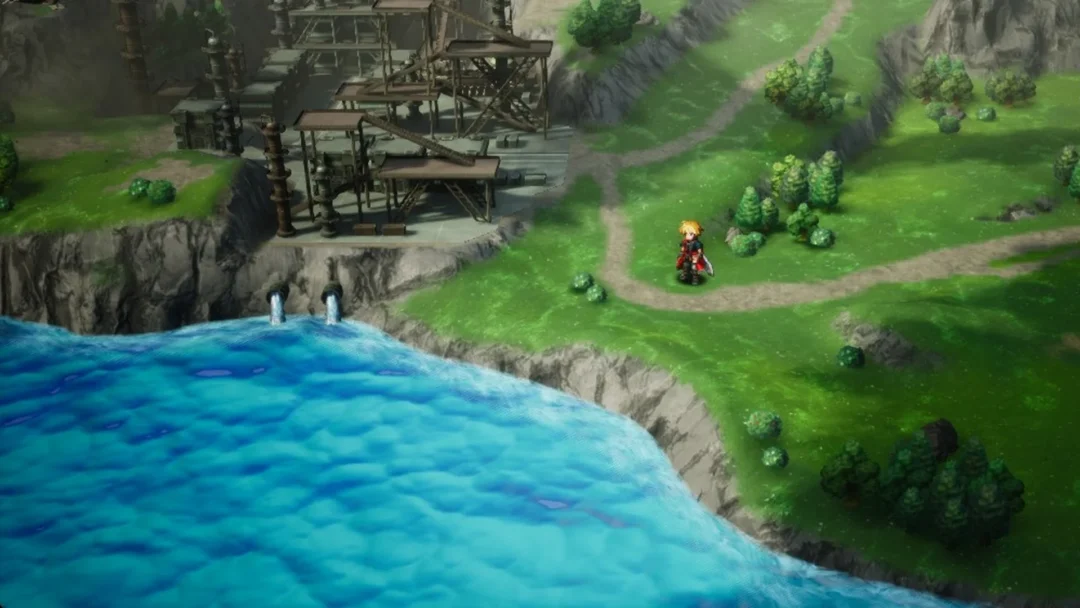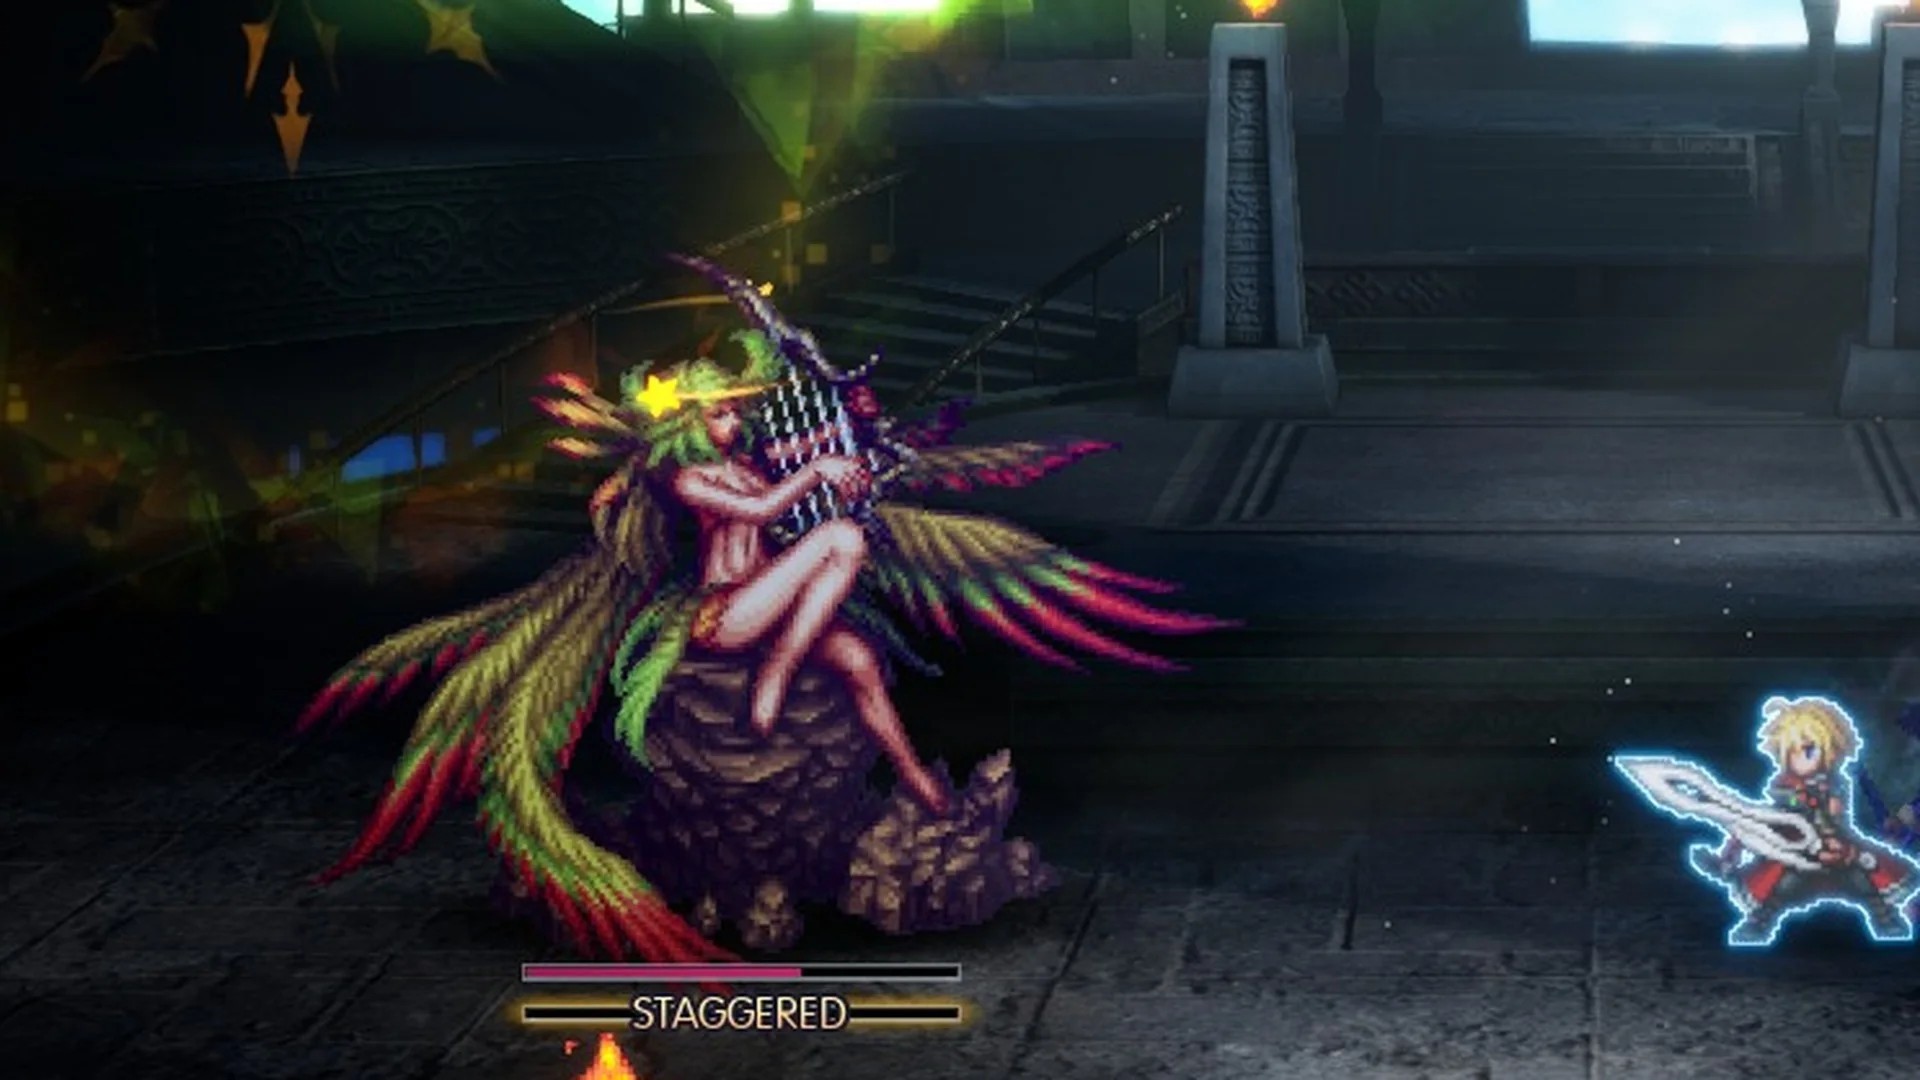
Siren’s Tower is the last dungeon of Chapter 1, “Tailing the Truth”, located north-east of Grandport Harbor. If you still need to reach the port, follow how to get to Grandport first. The tower’s interior consists of fractured rings and stairways that loop back around; some paths appear promising but stop at a wall. This Normal-difficulty guide leads from the entrance to Siren and notes everything along the route.
Quick answer: Follow the second-floor ring to the square block, reach the Ether x2 room, then take the long corridor north and the railed stair to the pre-boss save circle. You pass 3 Tablet Shards and 5 chests.
| What | Where | Picked up |
|---|---|---|
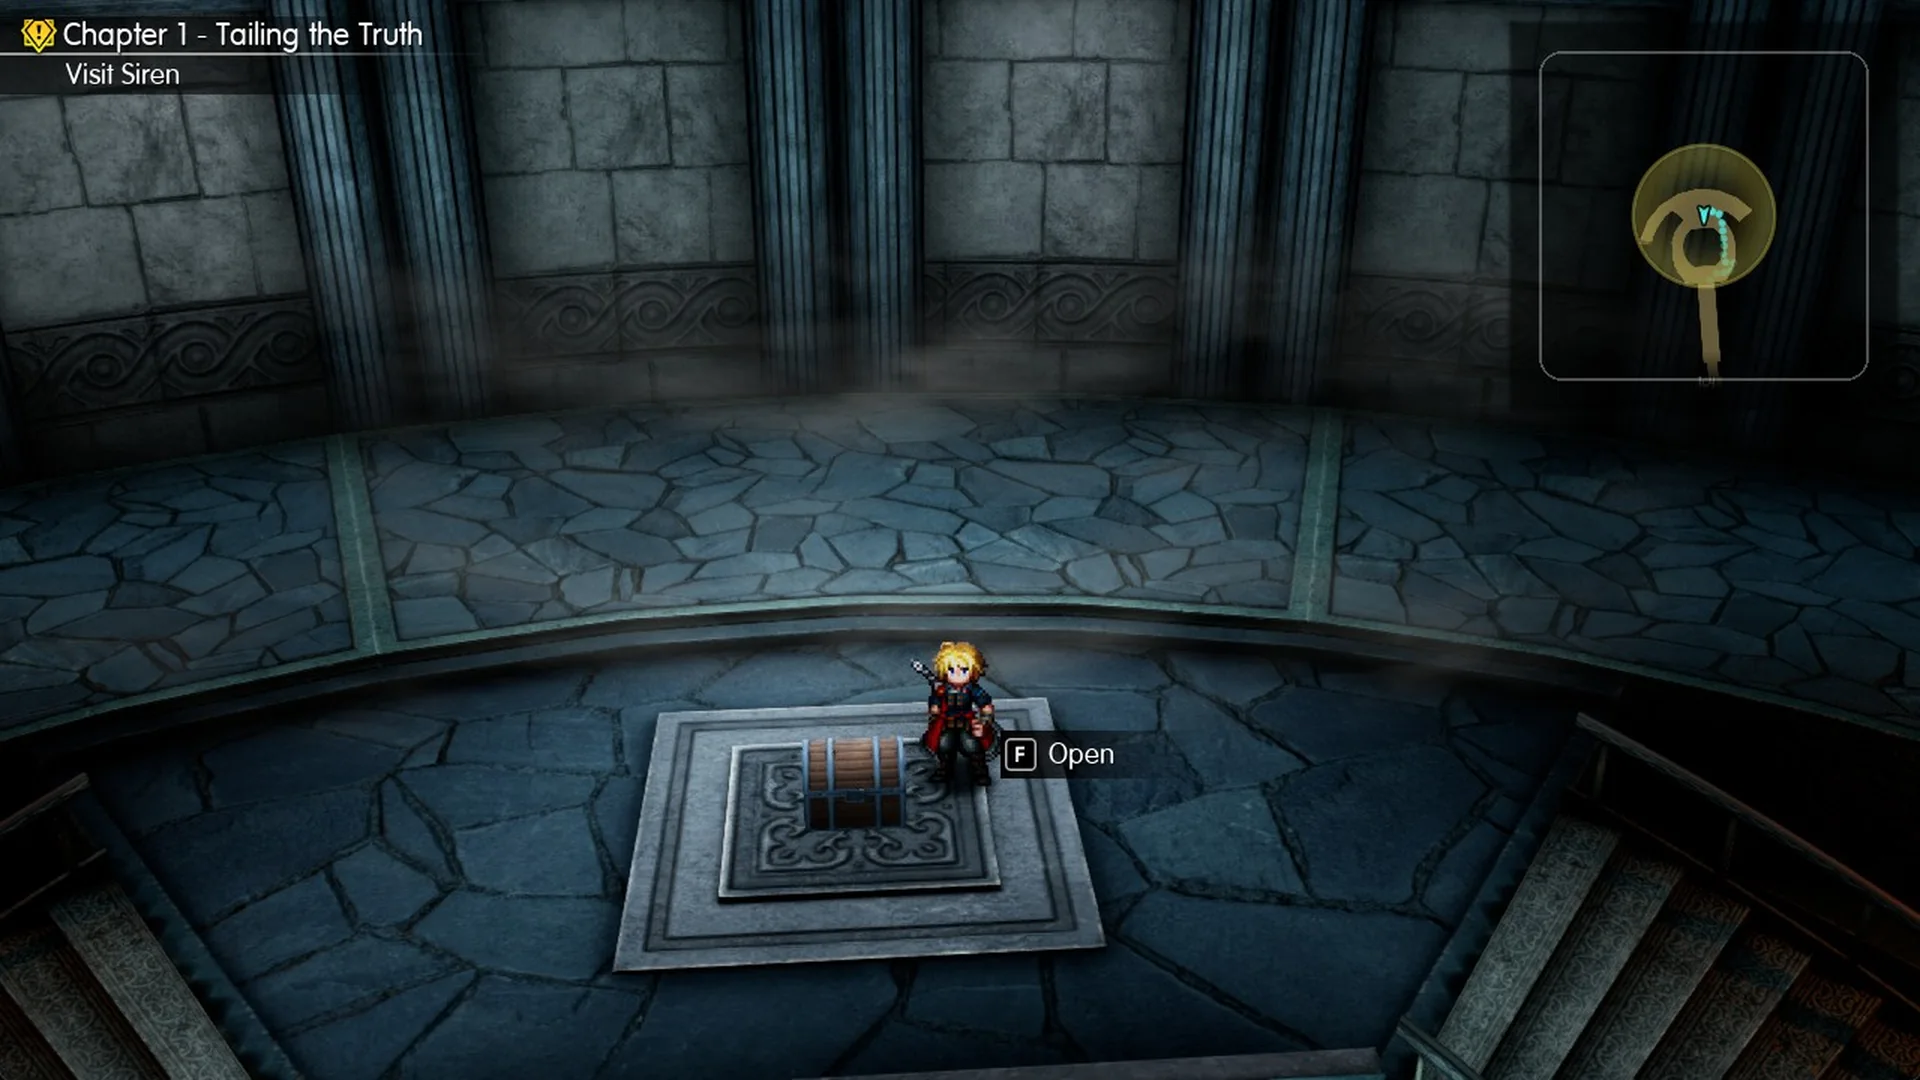
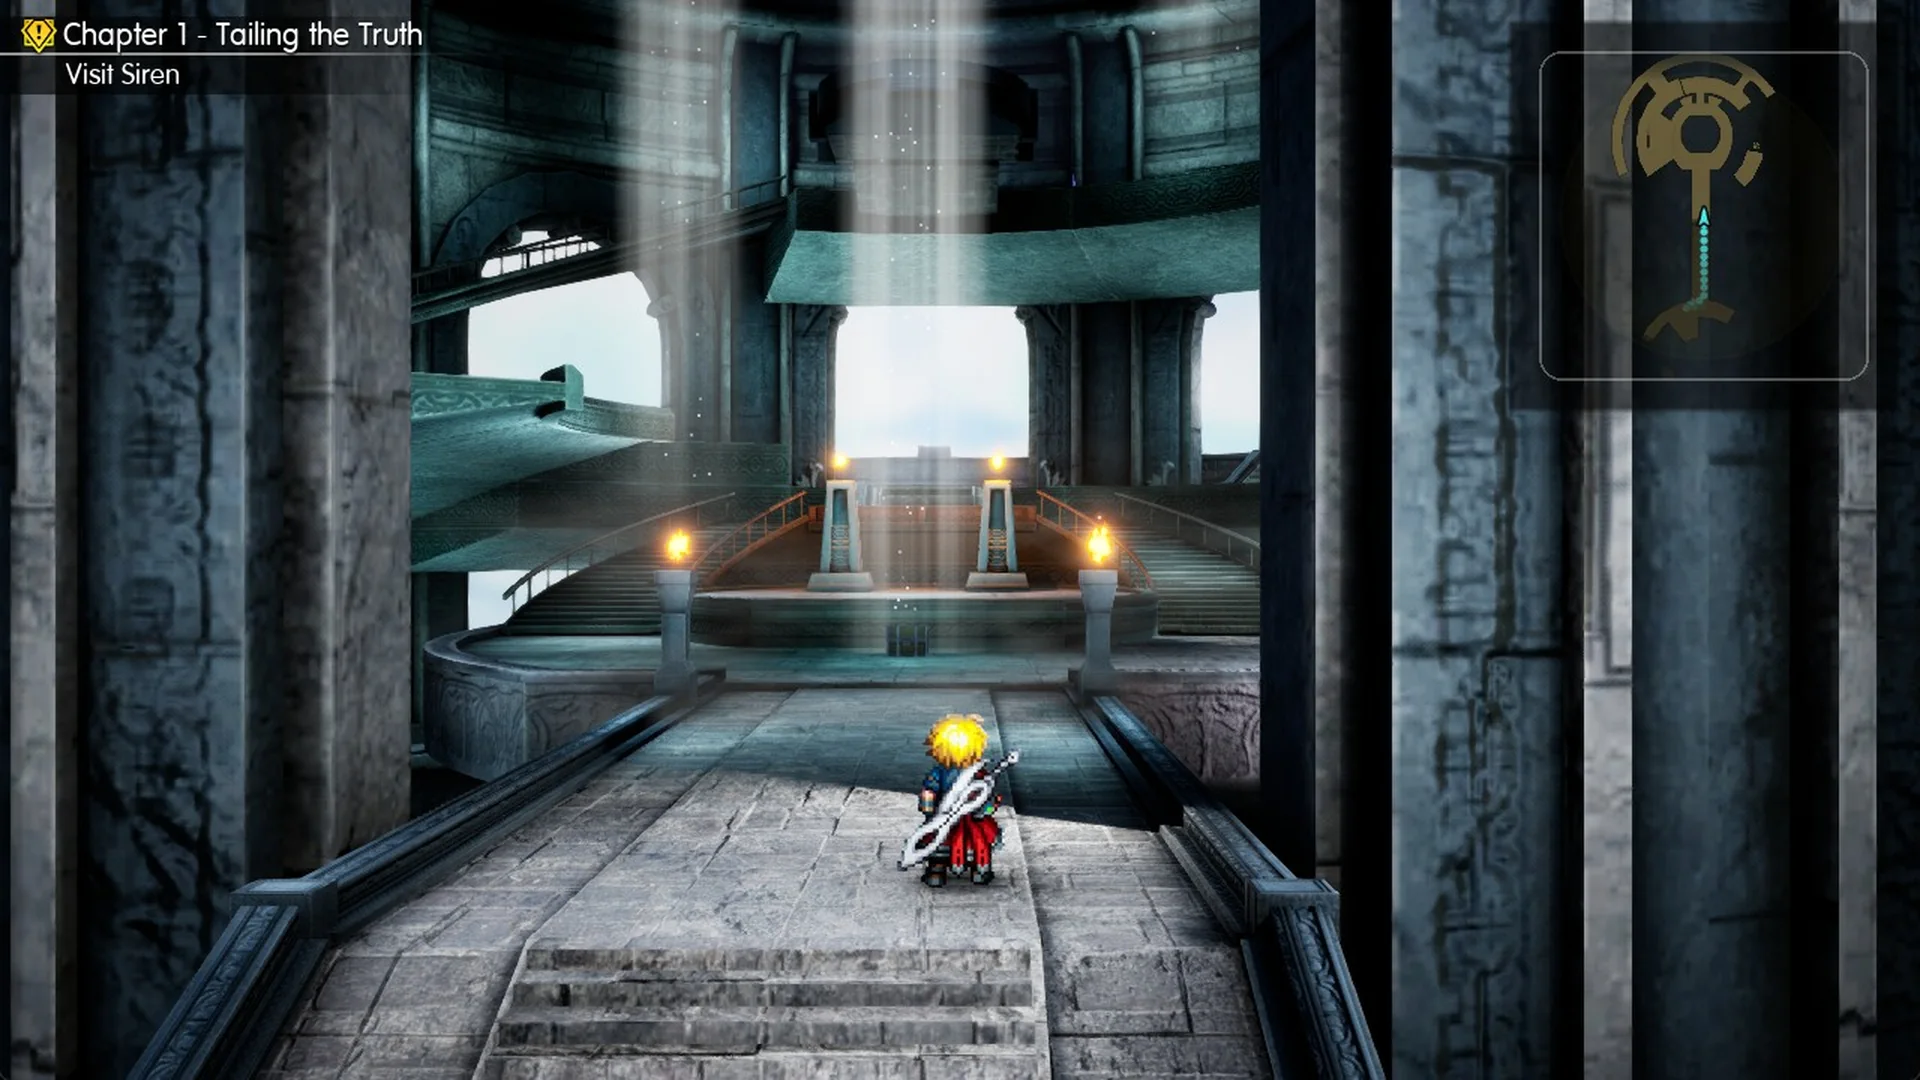
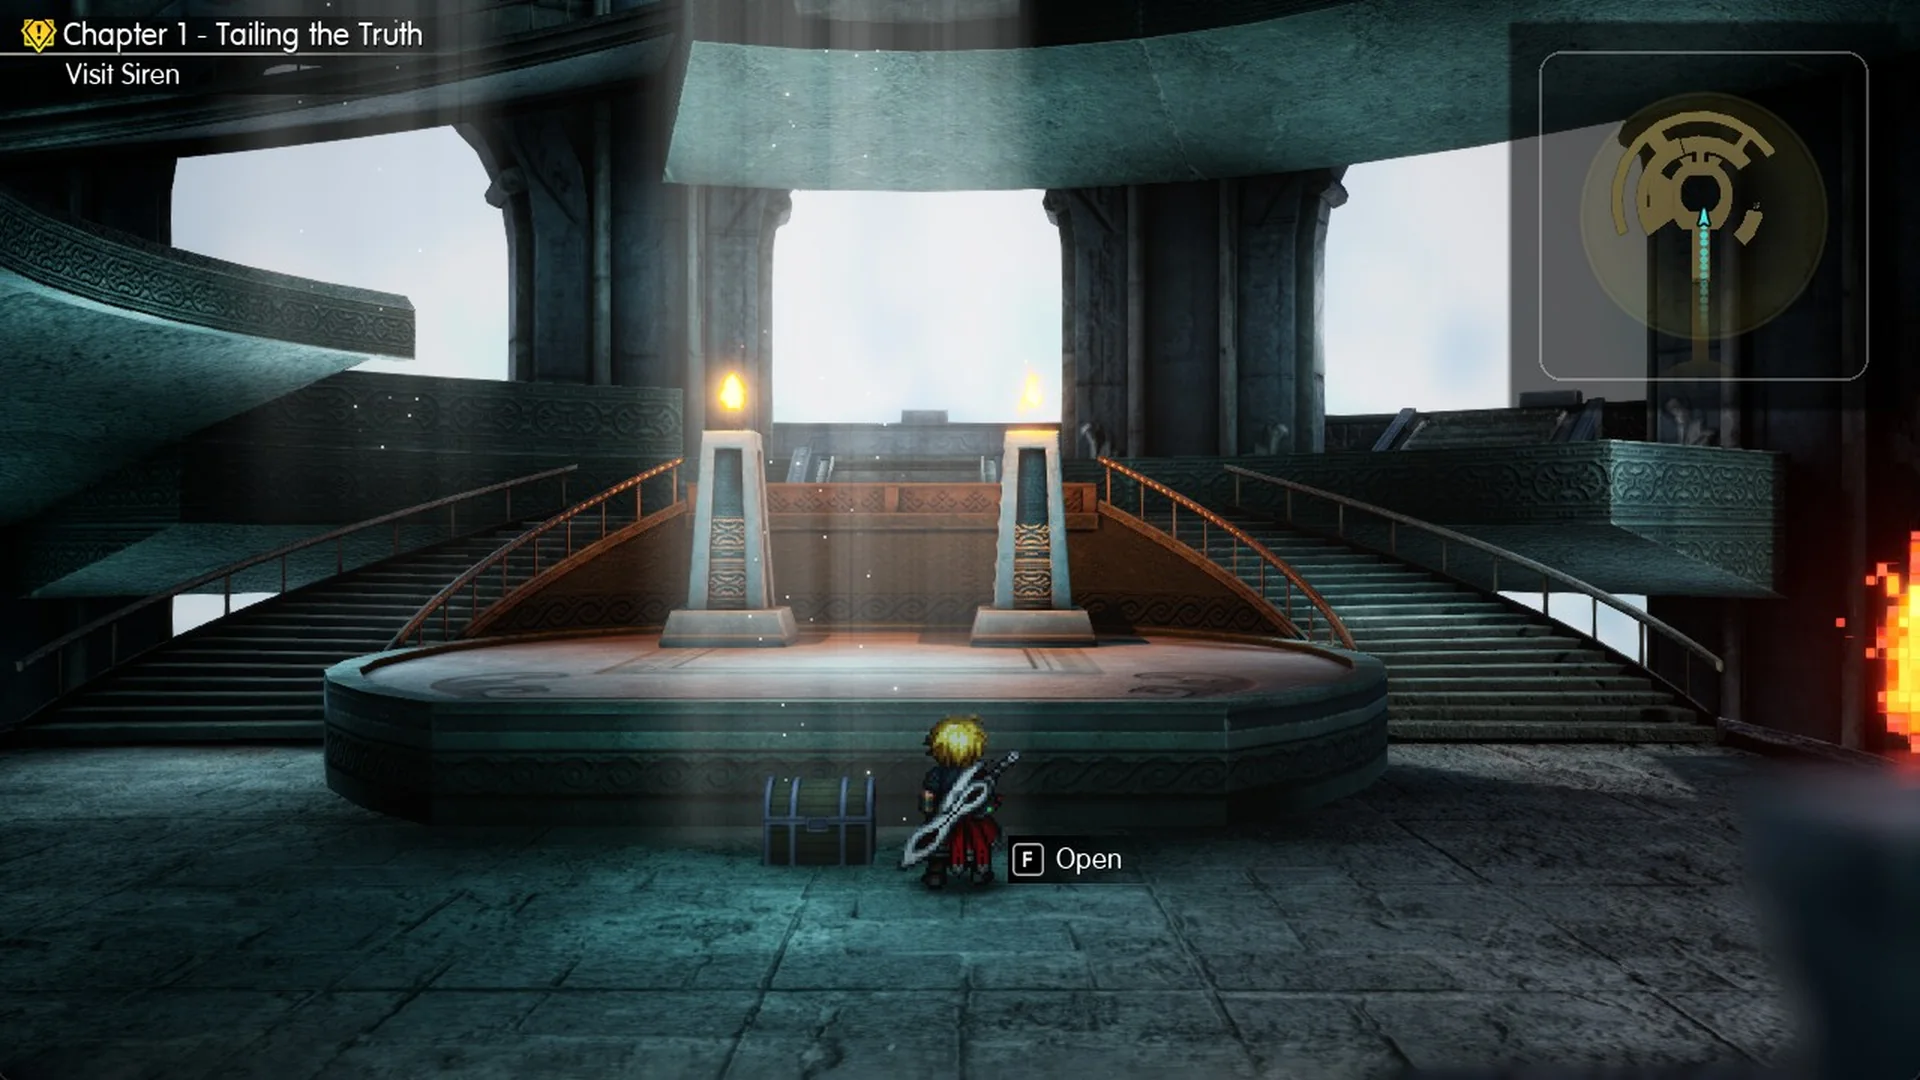
| Chest | Ground floor, stone dais at the top of the curved stairs | Ether x1 |
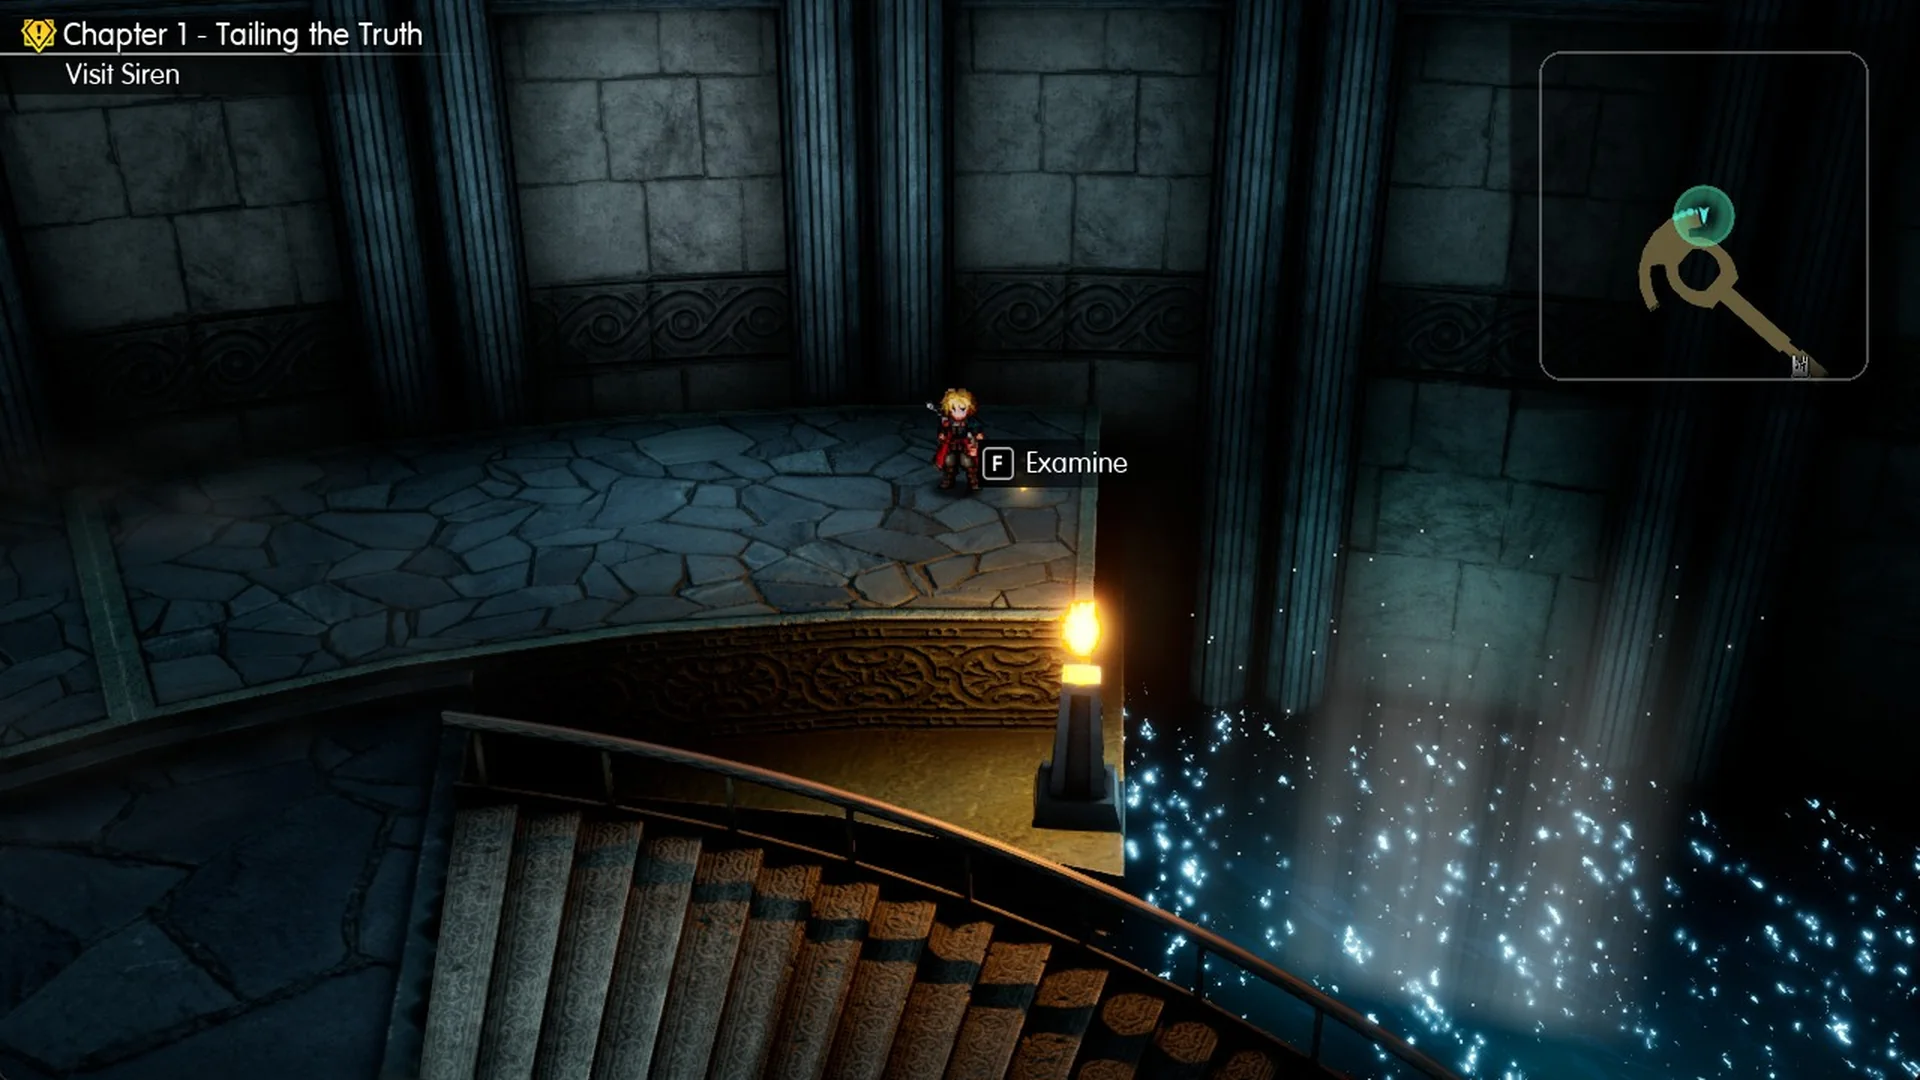
| Tablet Shard | Ground floor, by the torch post past the Ether chest | Tablet Shard x1 |
| Chest | Third floor, room behind the lift balcony | Ether x2 |
| Chest | Upper balcony, top of the big curved railed stair | Echo Herb x2 |
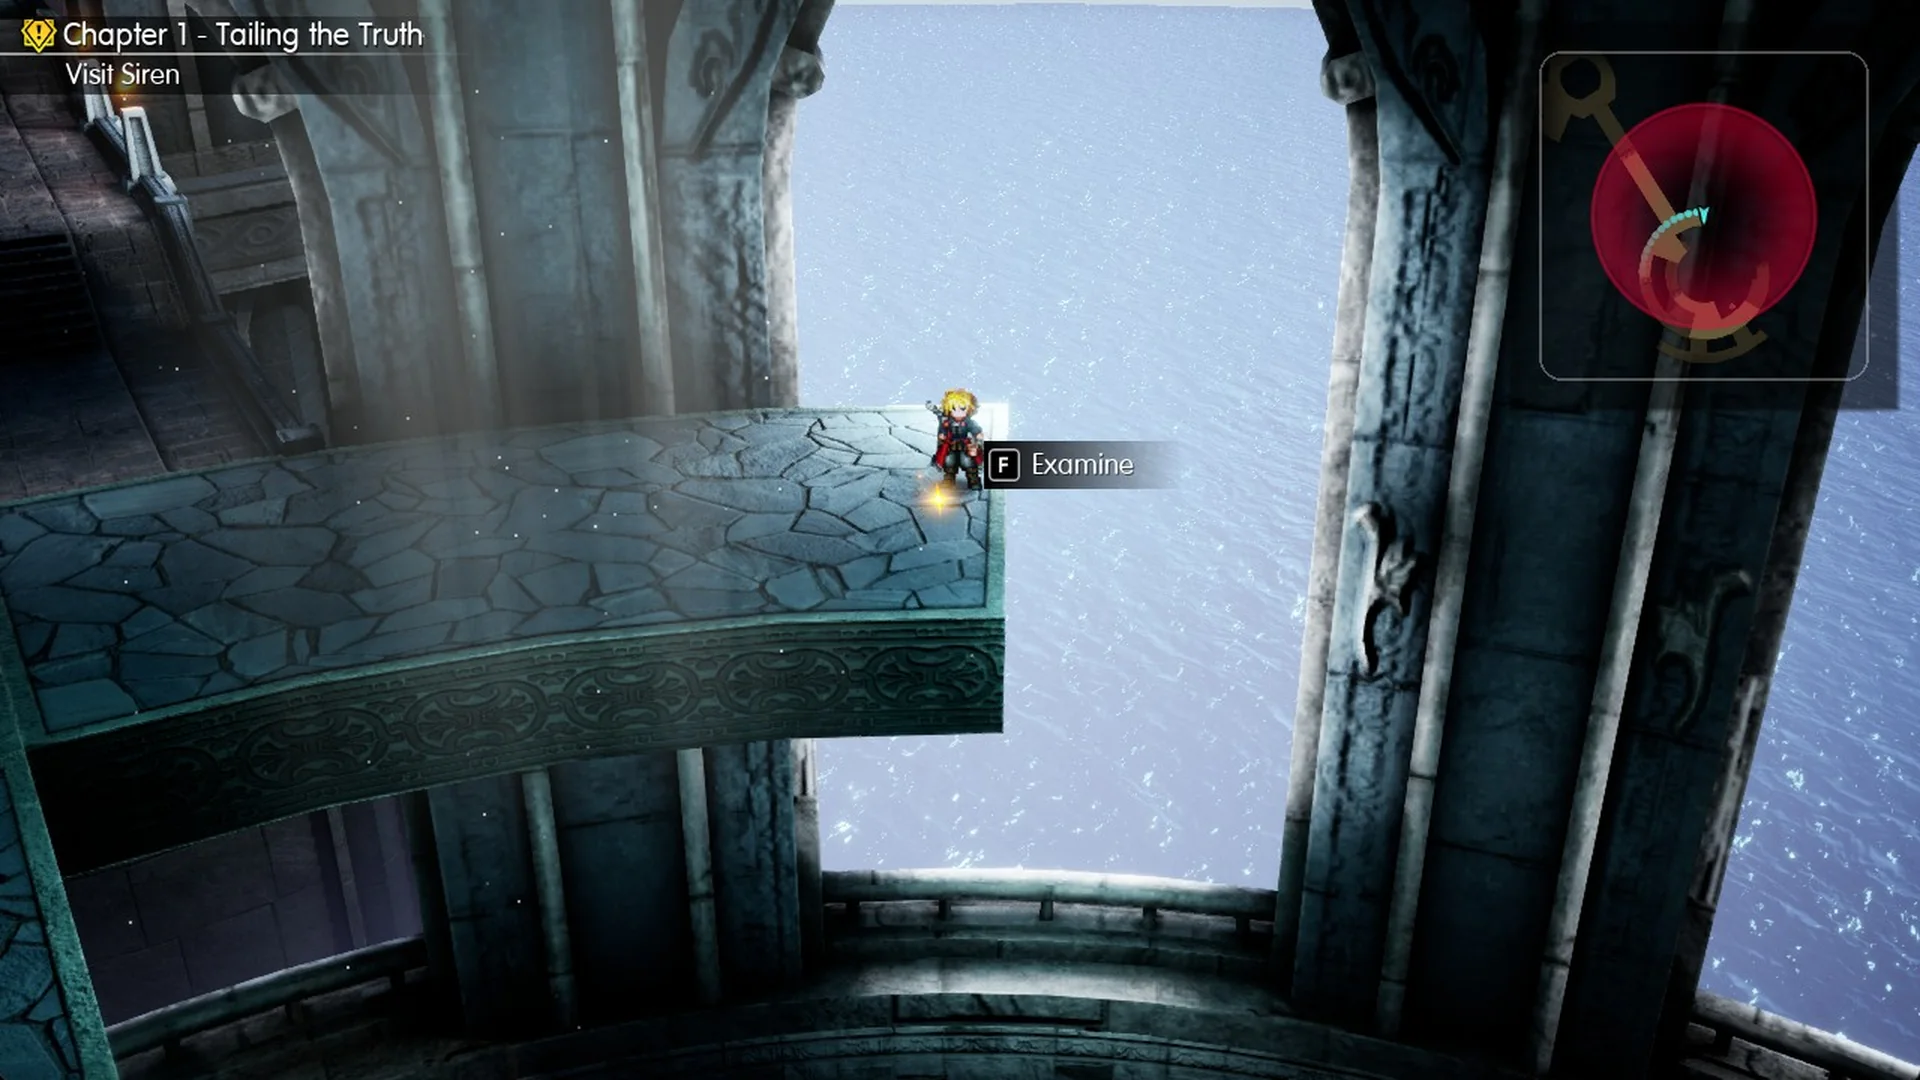
| Tablet Shard | Upper floor, tip of the spur beside the long corridor | Tablet Shard x1 |
| Chest | End of the long corridor, at the hall | Genji Gloves x1 (Gilgamesh takes them) |
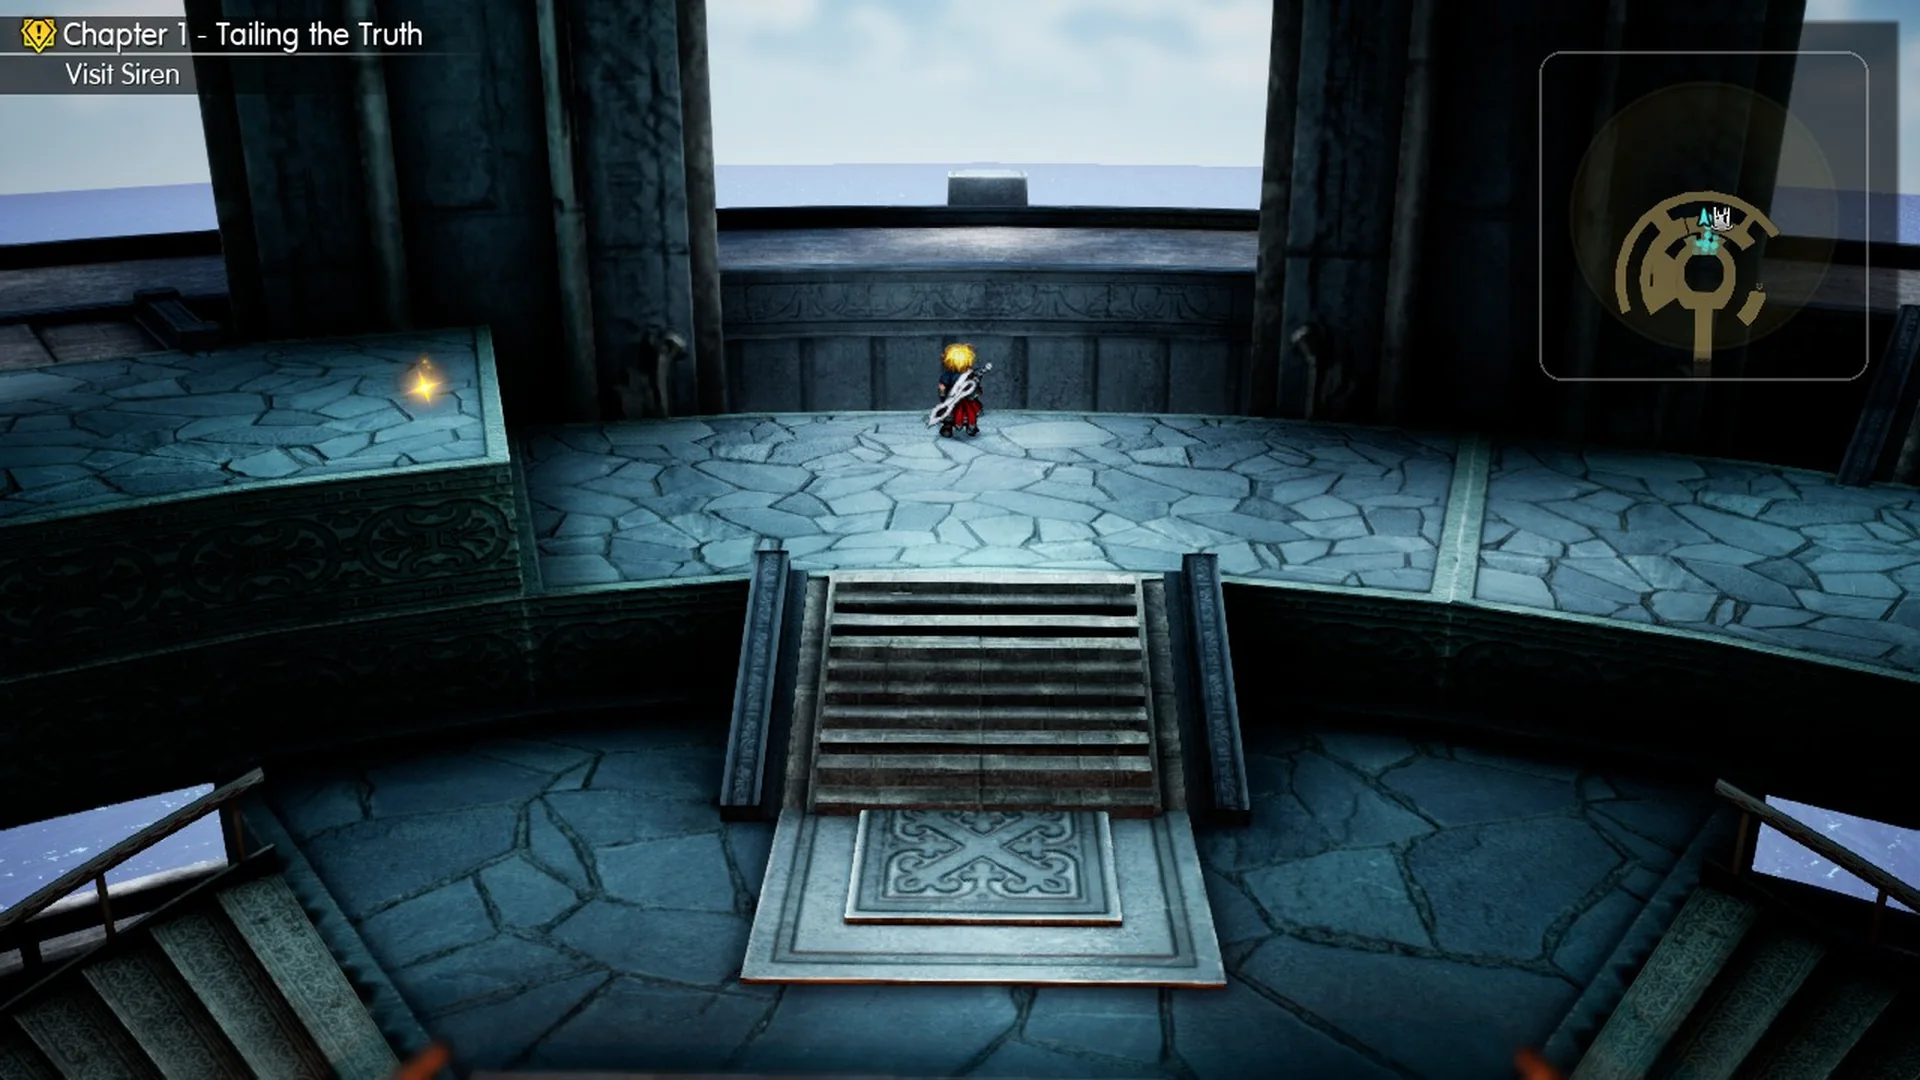
| Tablet Shard | Top half, raised stone block below the outer ring | Tablet Shard x1 |
| Chest | Top half, window alcove at the end of the outer ring | Magicite Shard x1 |
Before you go in
On the World Map, the tower’s banner displays “Siren’s Tower / Recommended Level 11”. Random encounters occur throughout the ascent; on Normal, a party at level 12 to 14 can handle them without trouble.

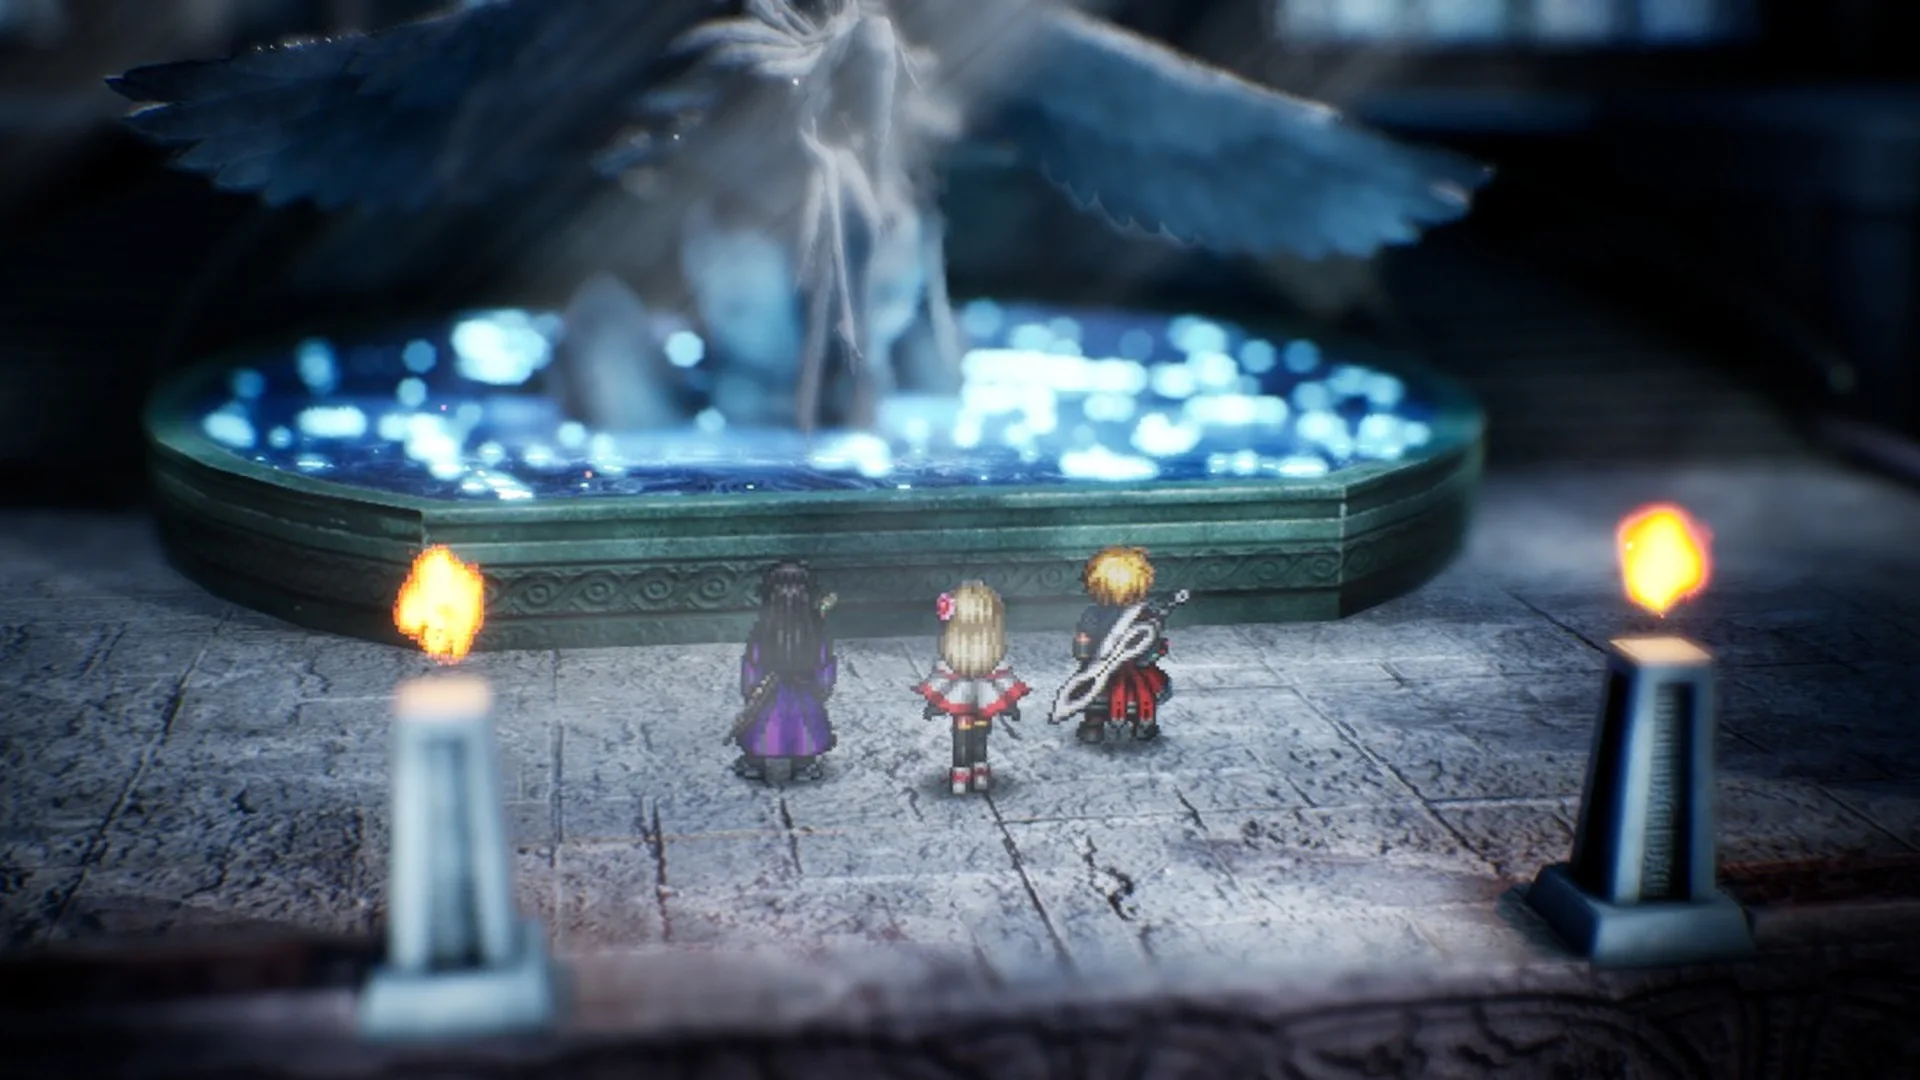
The door is locked when you arrive. Lasswell says “The entrance is locked…” and Rain adds “What’s with this? It won’t budge.” Then Fina says “…I can hear Siren’s voice.” and asks “Please, let us inside.” The door opens for her, and she tells the group “Siren. She’s waiting at the top of the tower.” The full sequence is covered in How to get inside Siren’s Tower. Once you’re through, a save circle sits just inside the door on the left.
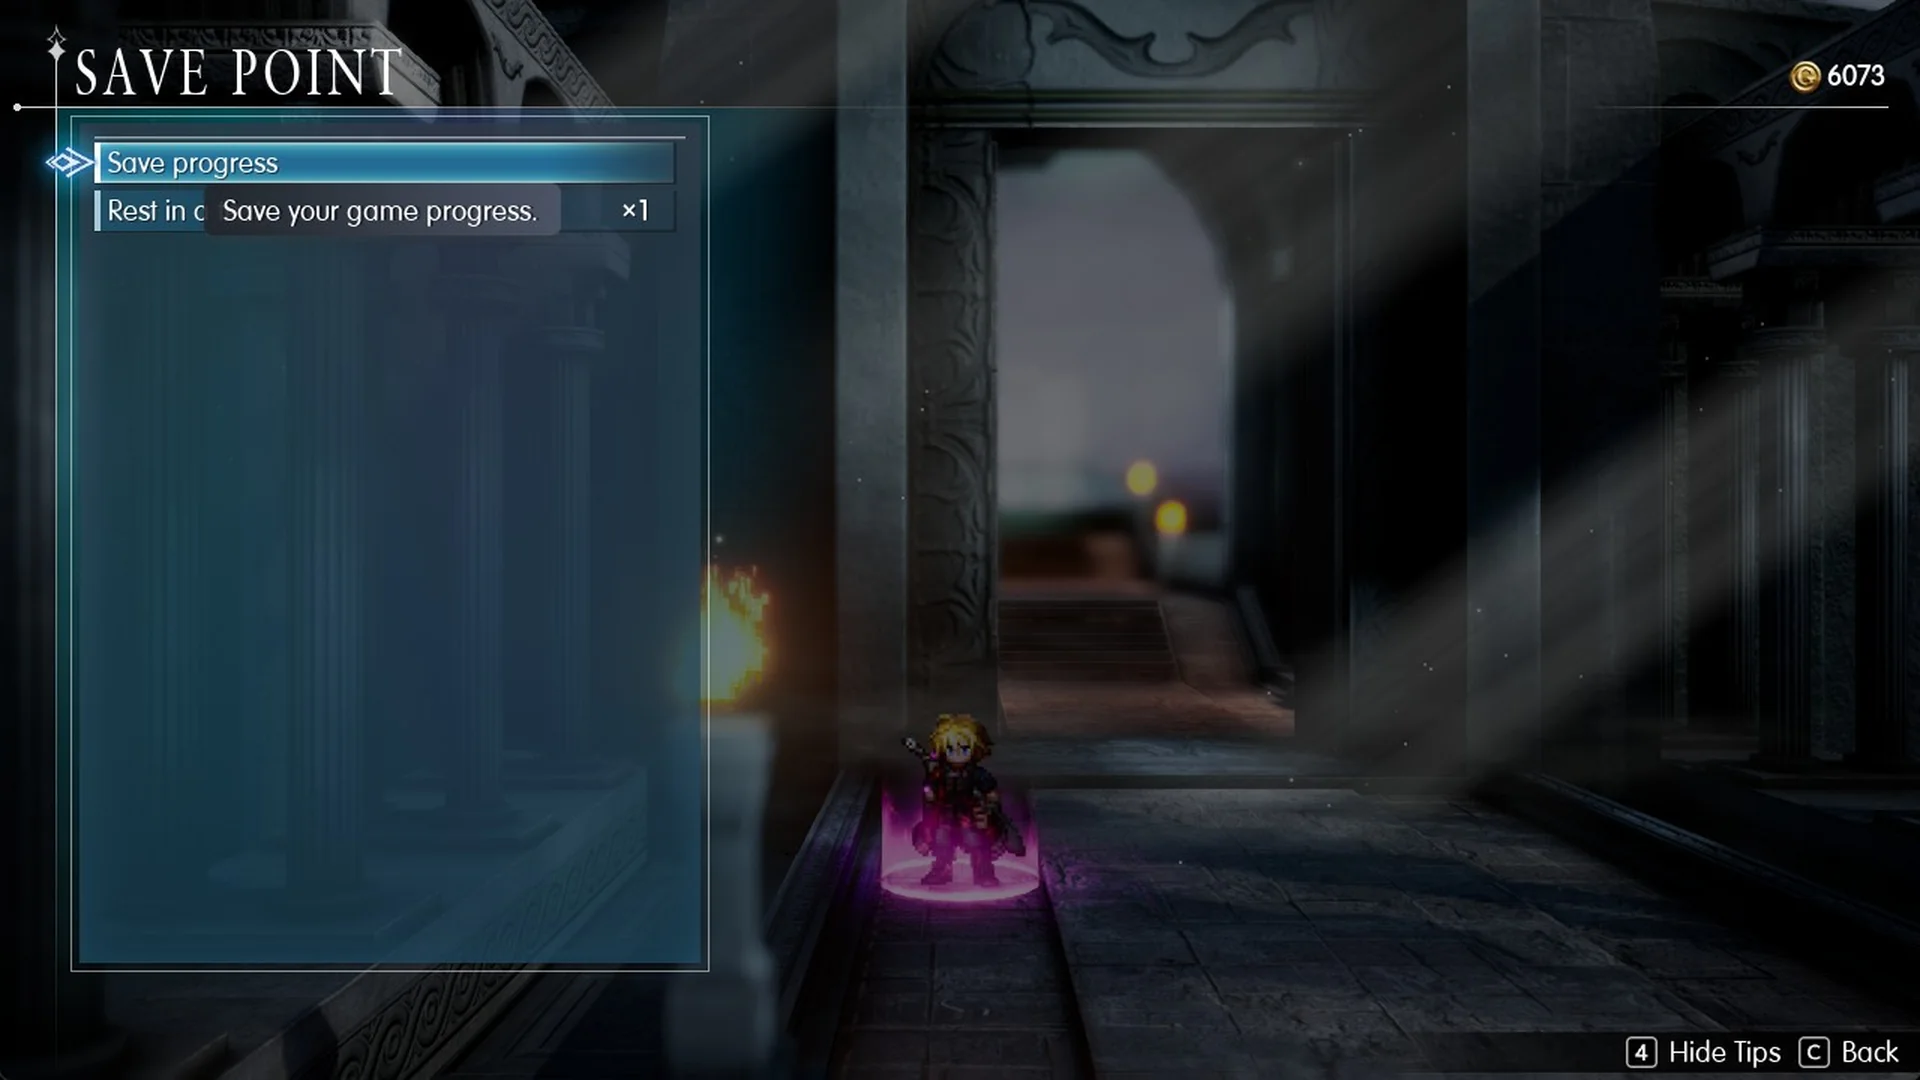
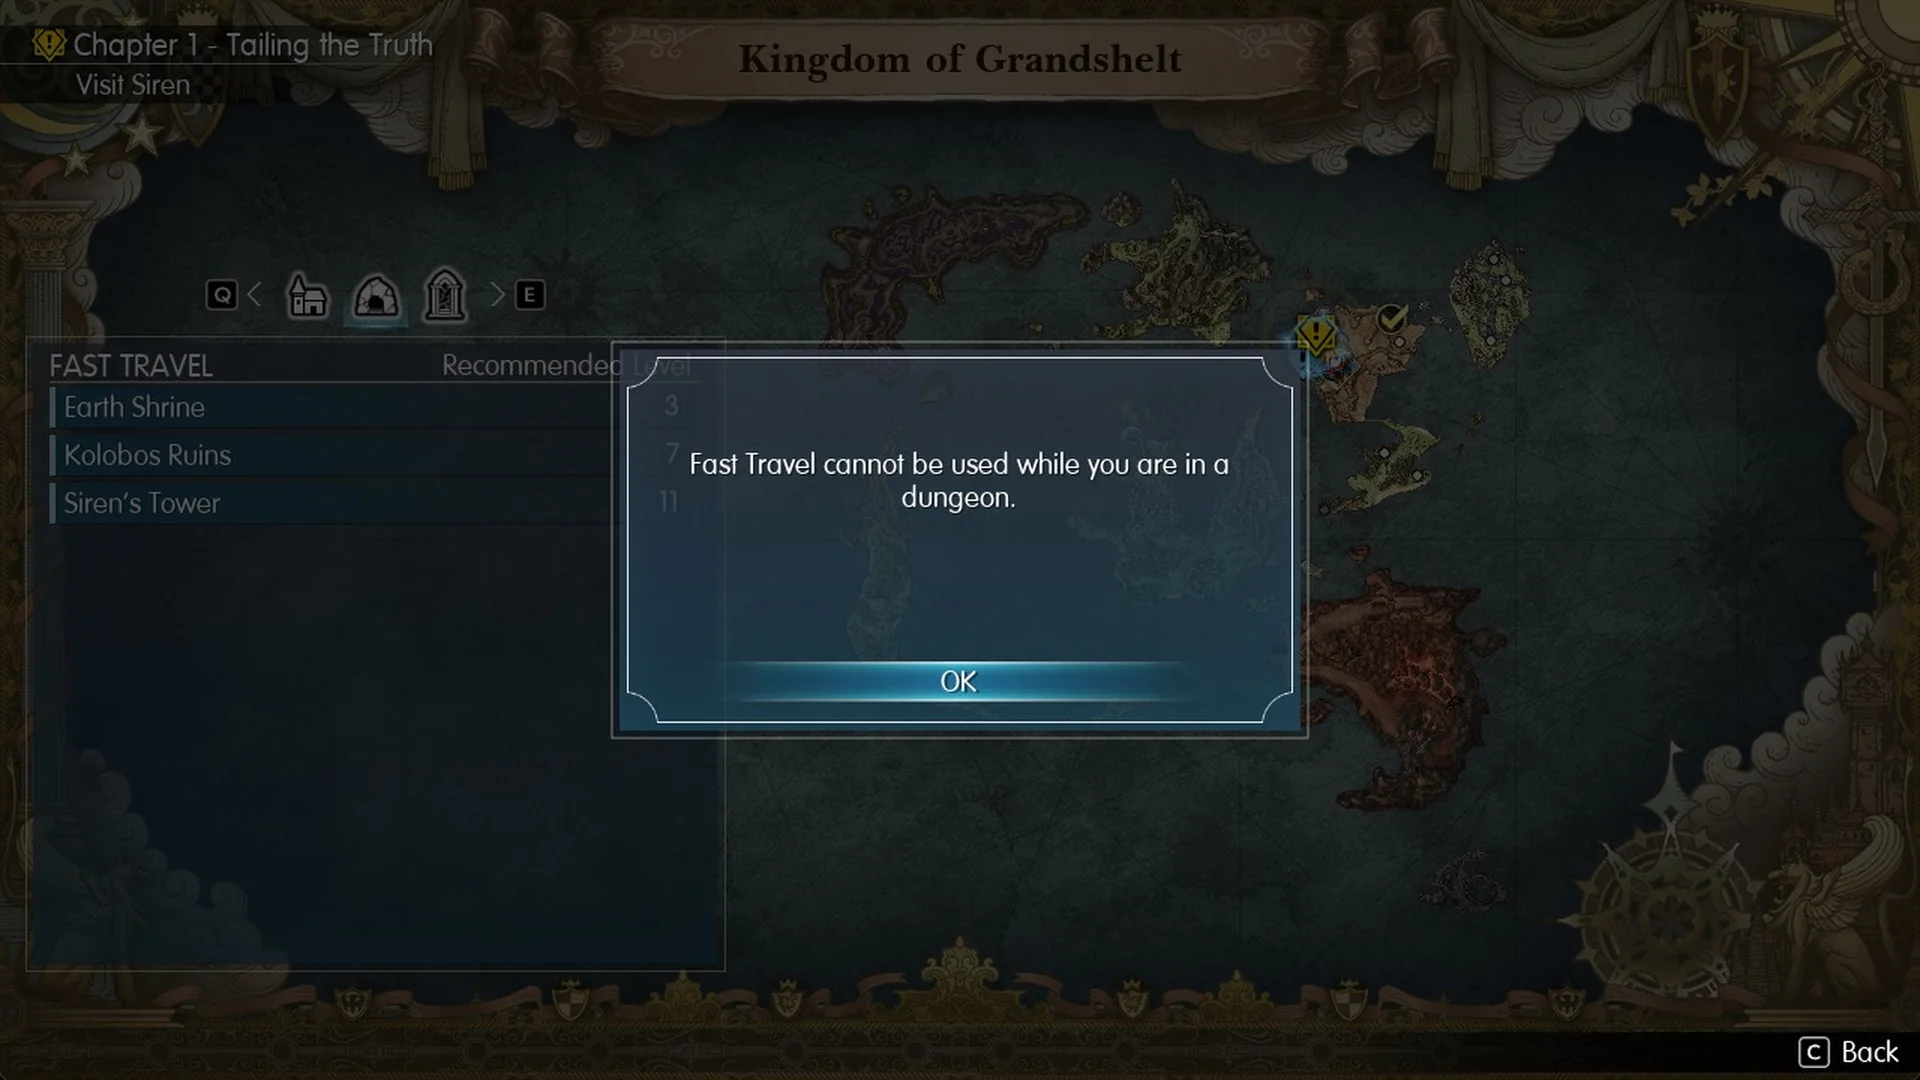
Use that circle. The System Menu has no Save option inside the tower, so this circle and the one before the boss are the only places you can save. Fast travel is off too. Open the World Map and the game tells you “Fast Travel cannot be used while you are in a dungeon.”
Ground floor: Ether chest and the first Tablet Shard
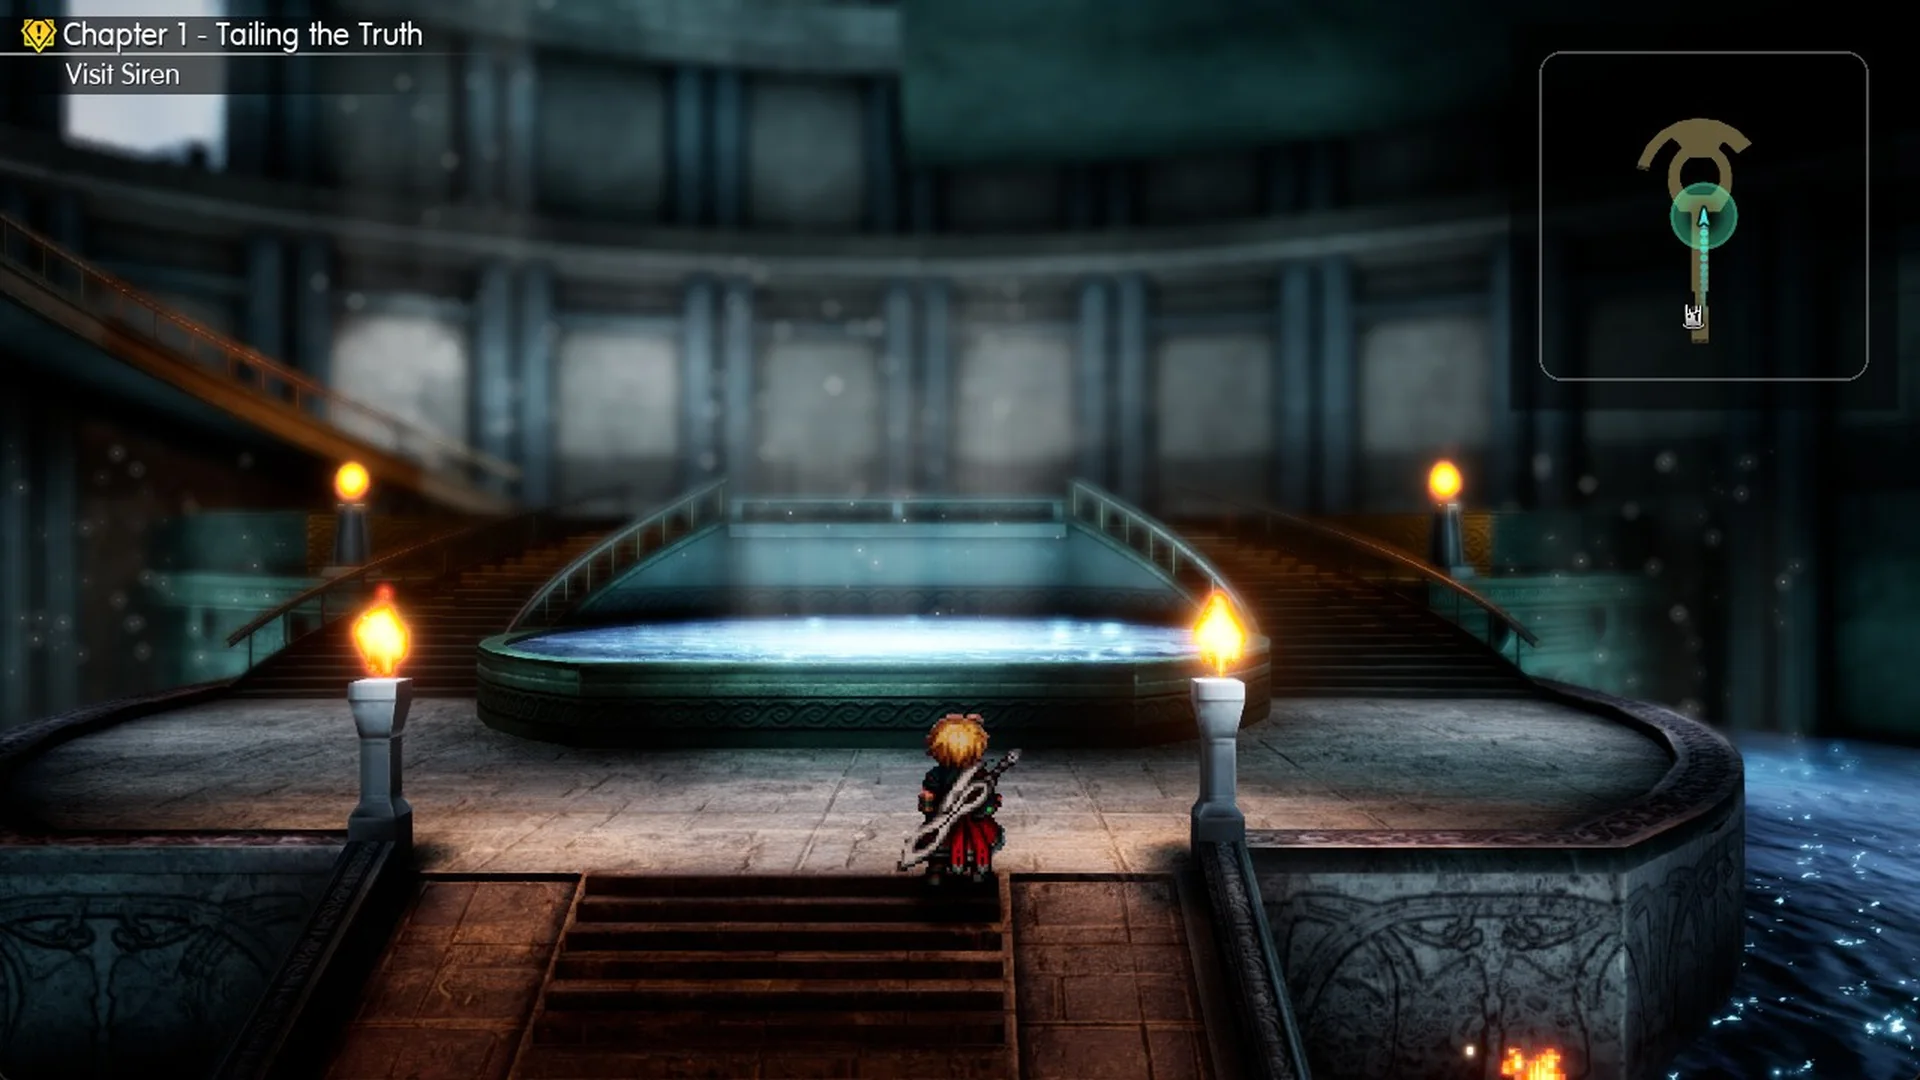
Second floor: follow the ring
A large, fragmented ring encircles the central drop on floor two. Follow its curve to advance, even when the route appears to descend again.
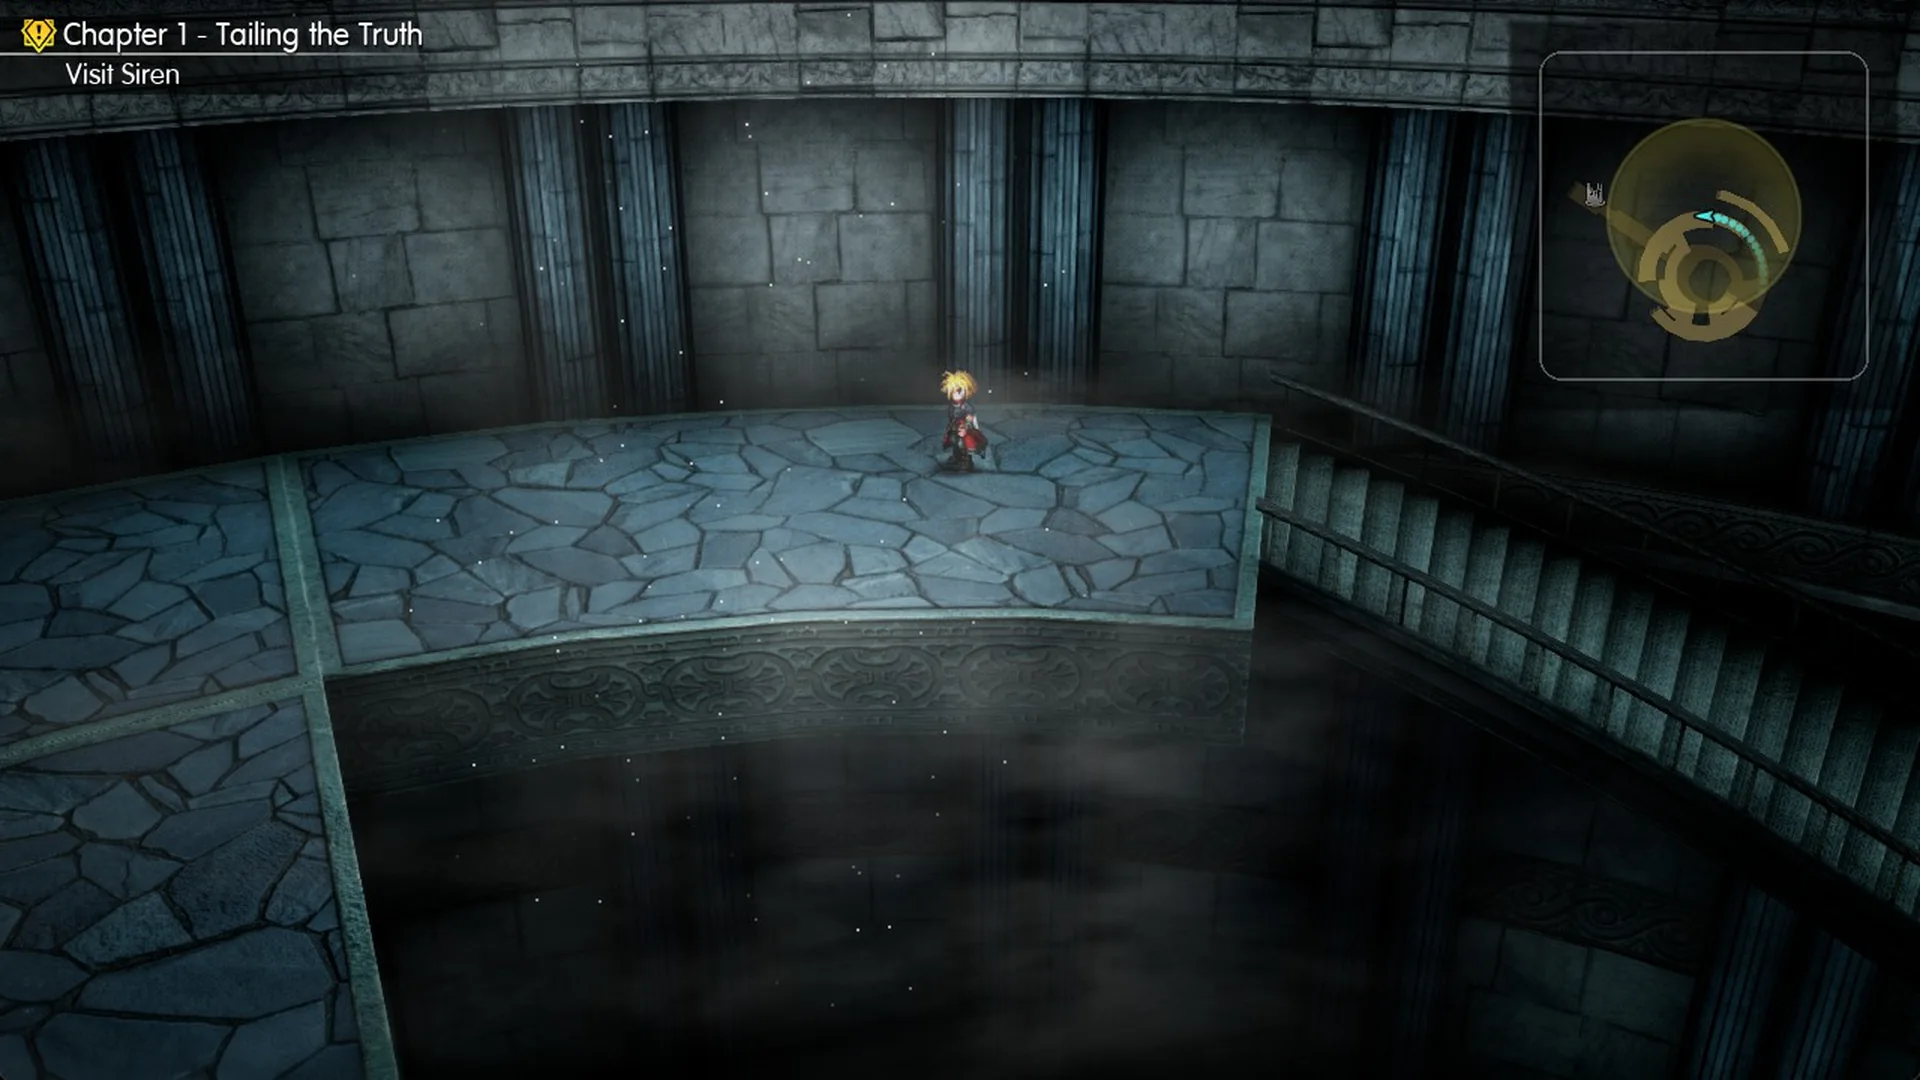
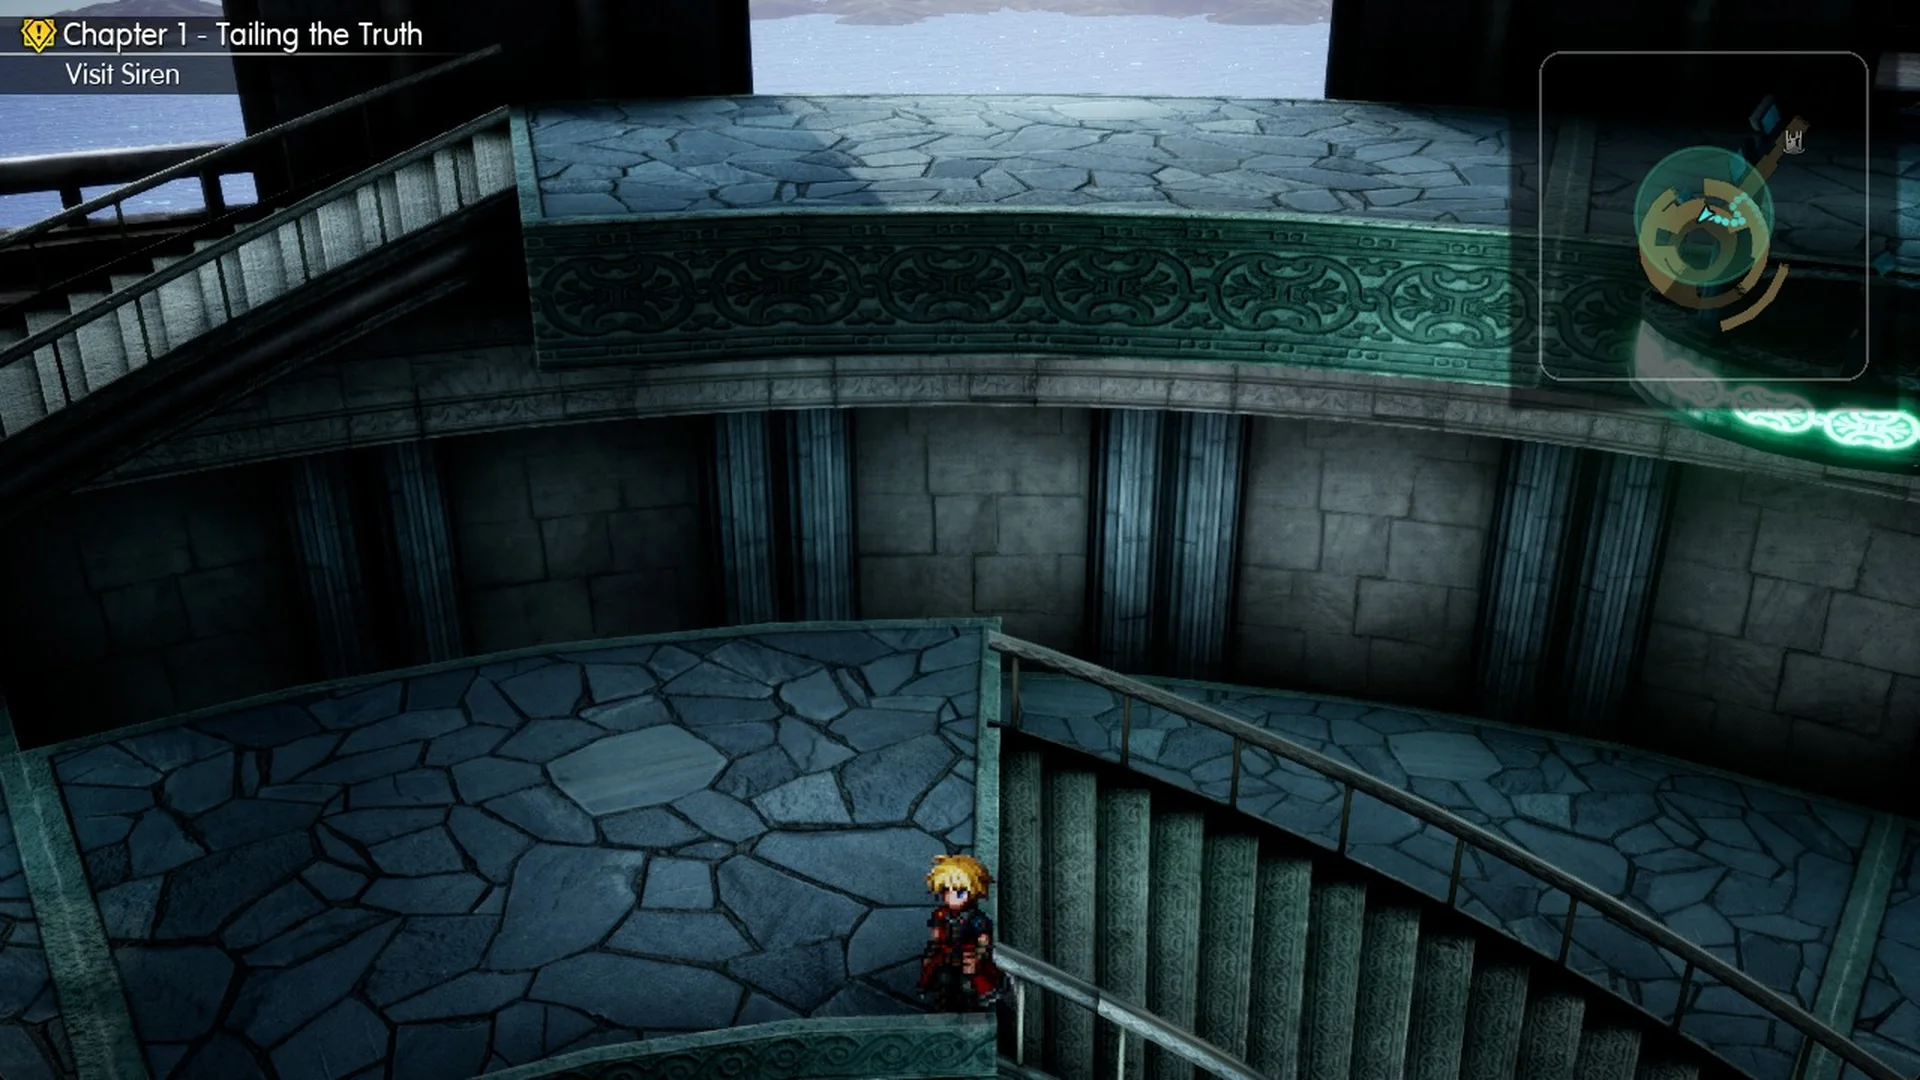
Avoid the band’s far-left tip: the camera changes to a fixed angle there, and the path ends.
The square block landing
At the bottom of the railed stairs, continue around the ring to a broad, level platform centered on a large square stone block. The platform splits into two routes, with a staircase leading away in each direction:
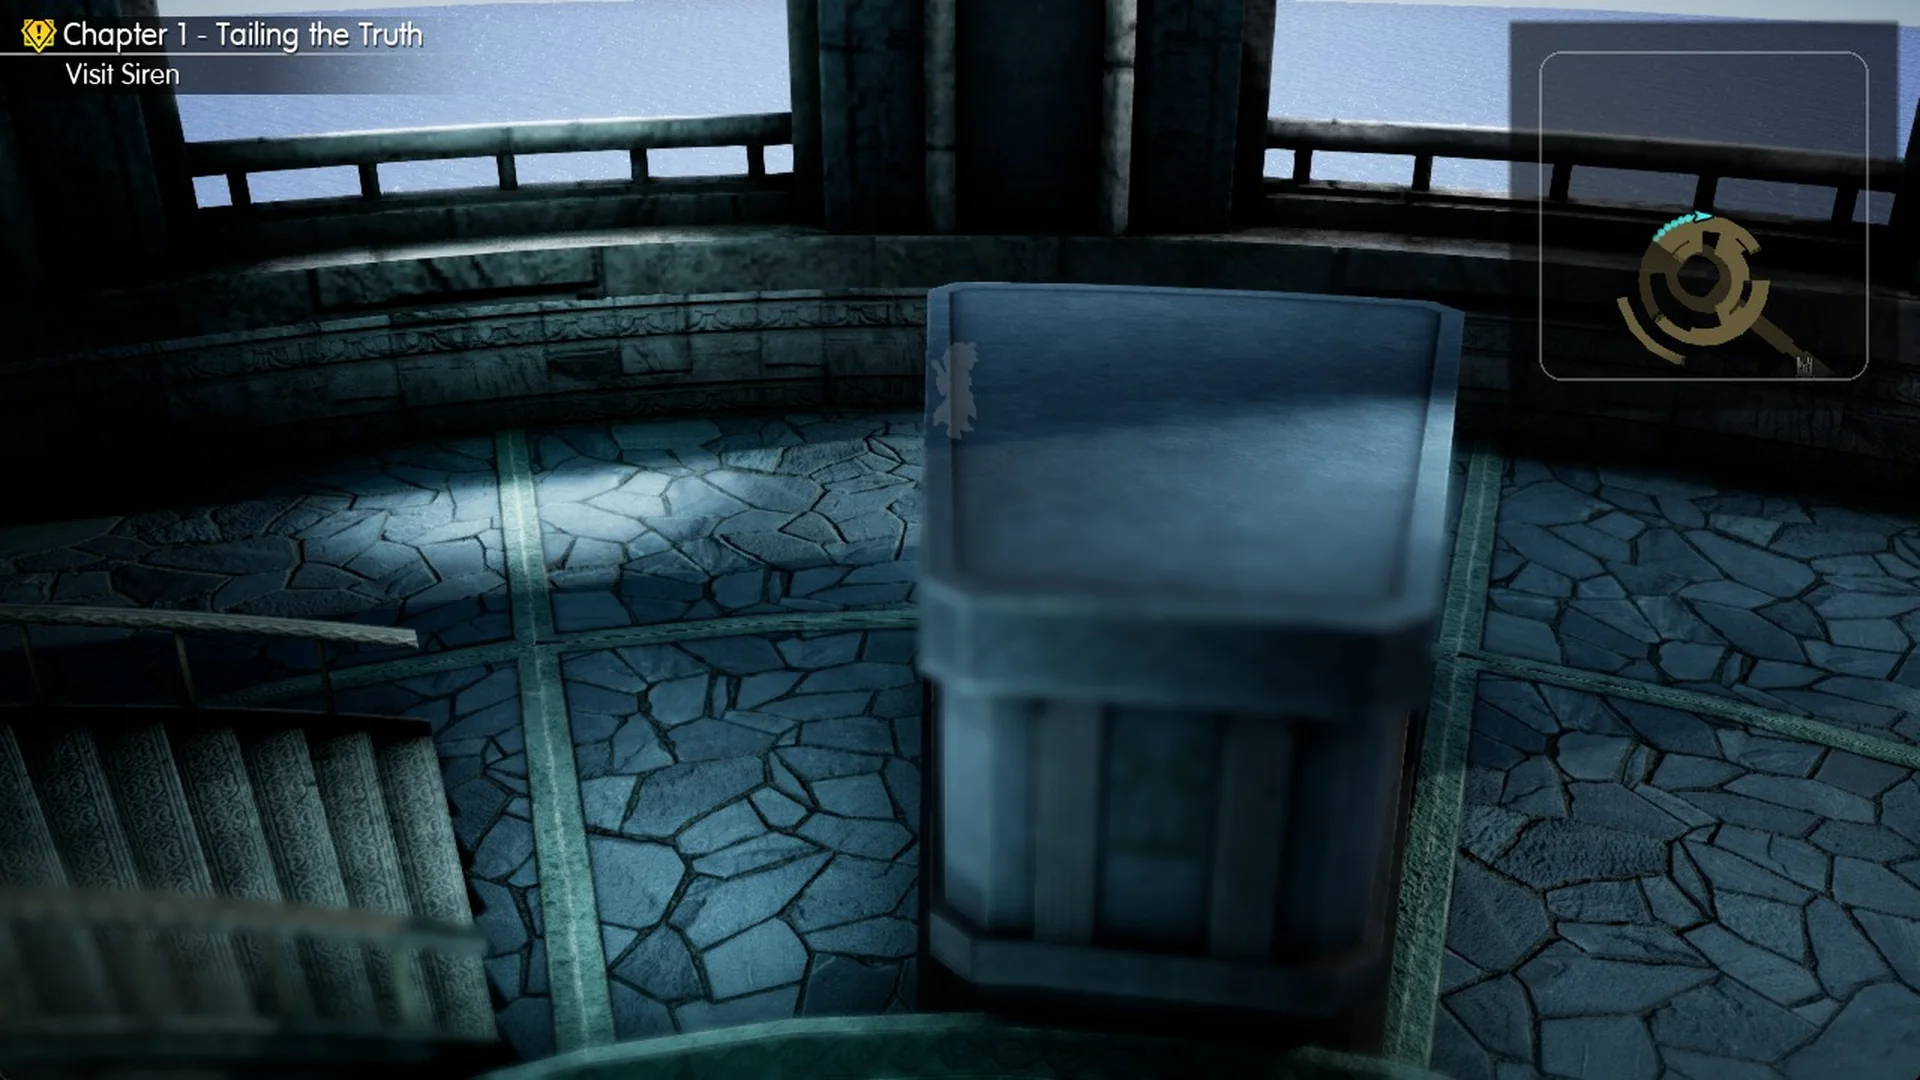
- The staircase beside the block climbs to the third-floor lift balcony; take that route to continue.
- The big curved railed stair on the other side of the block climbs to the upper balcony with the Echo Herb chest.
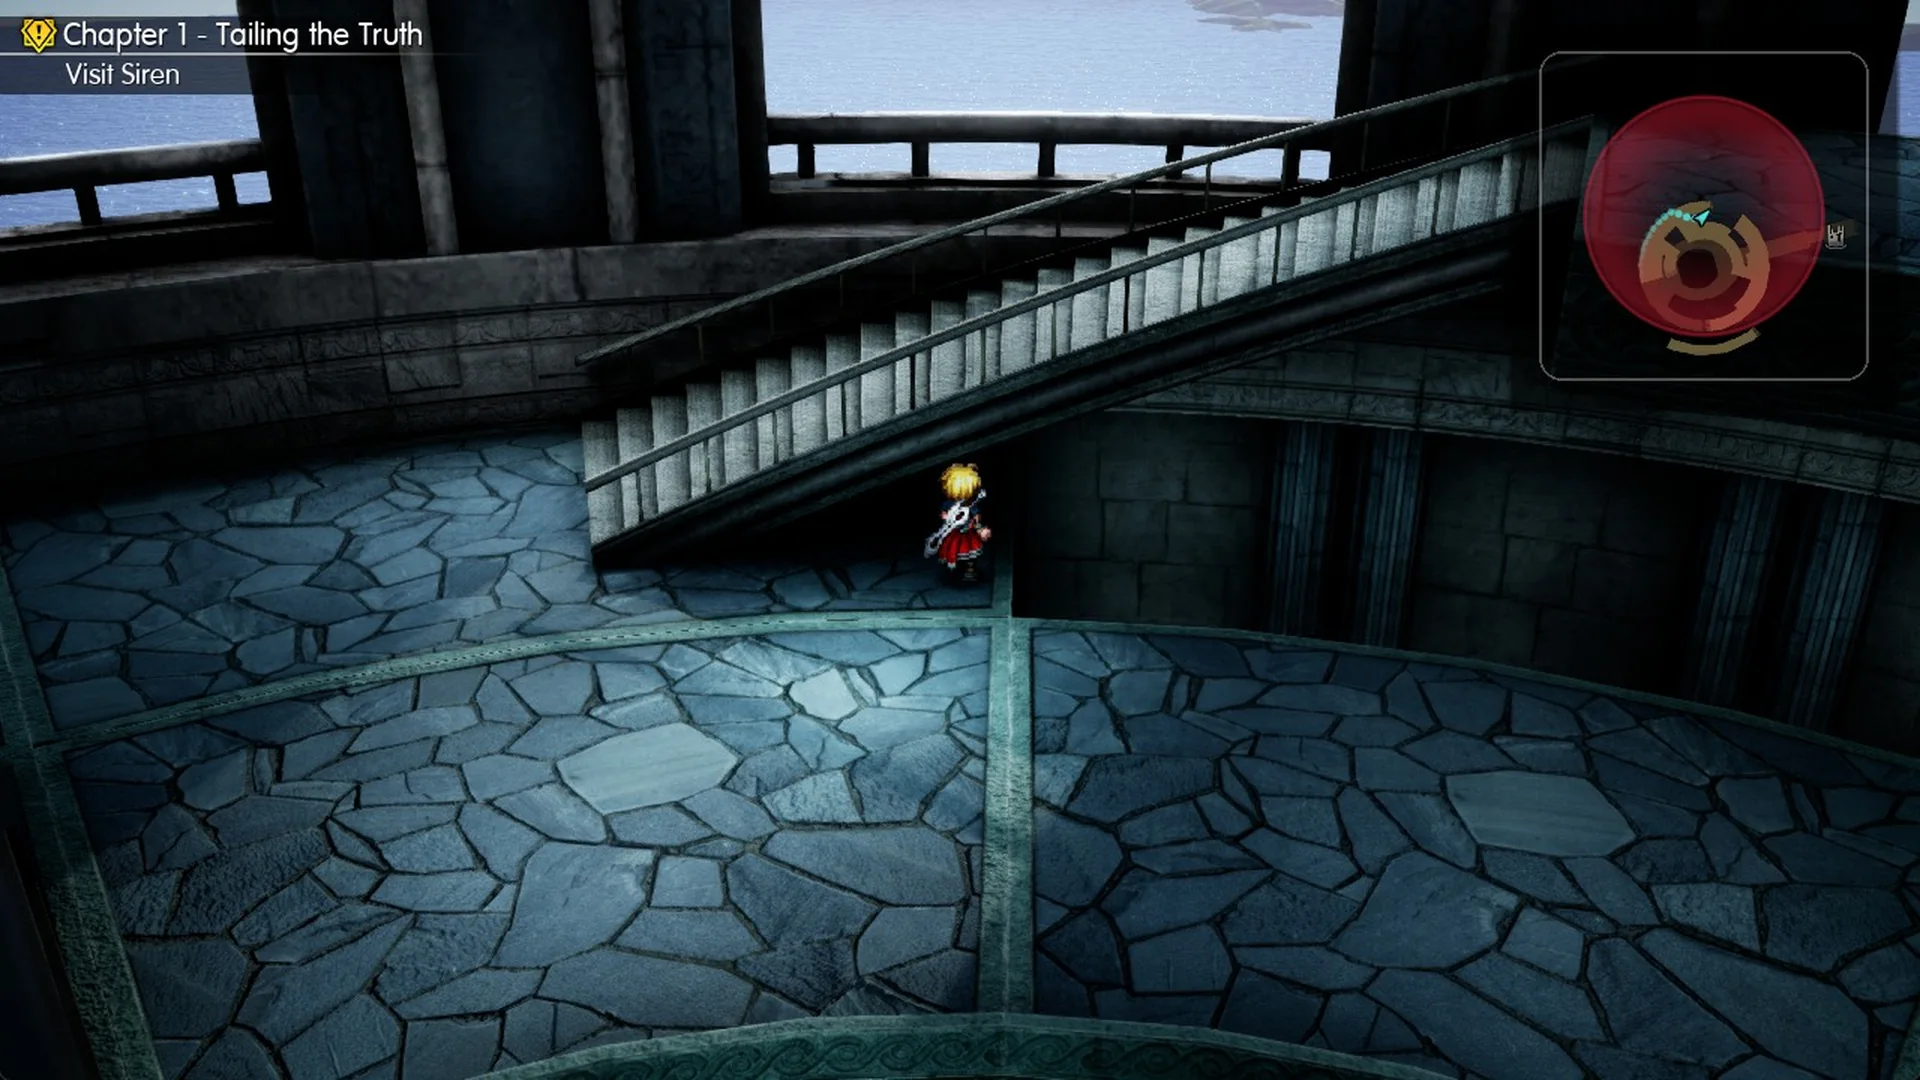
Third floor: lift balcony, archway and Ether x2
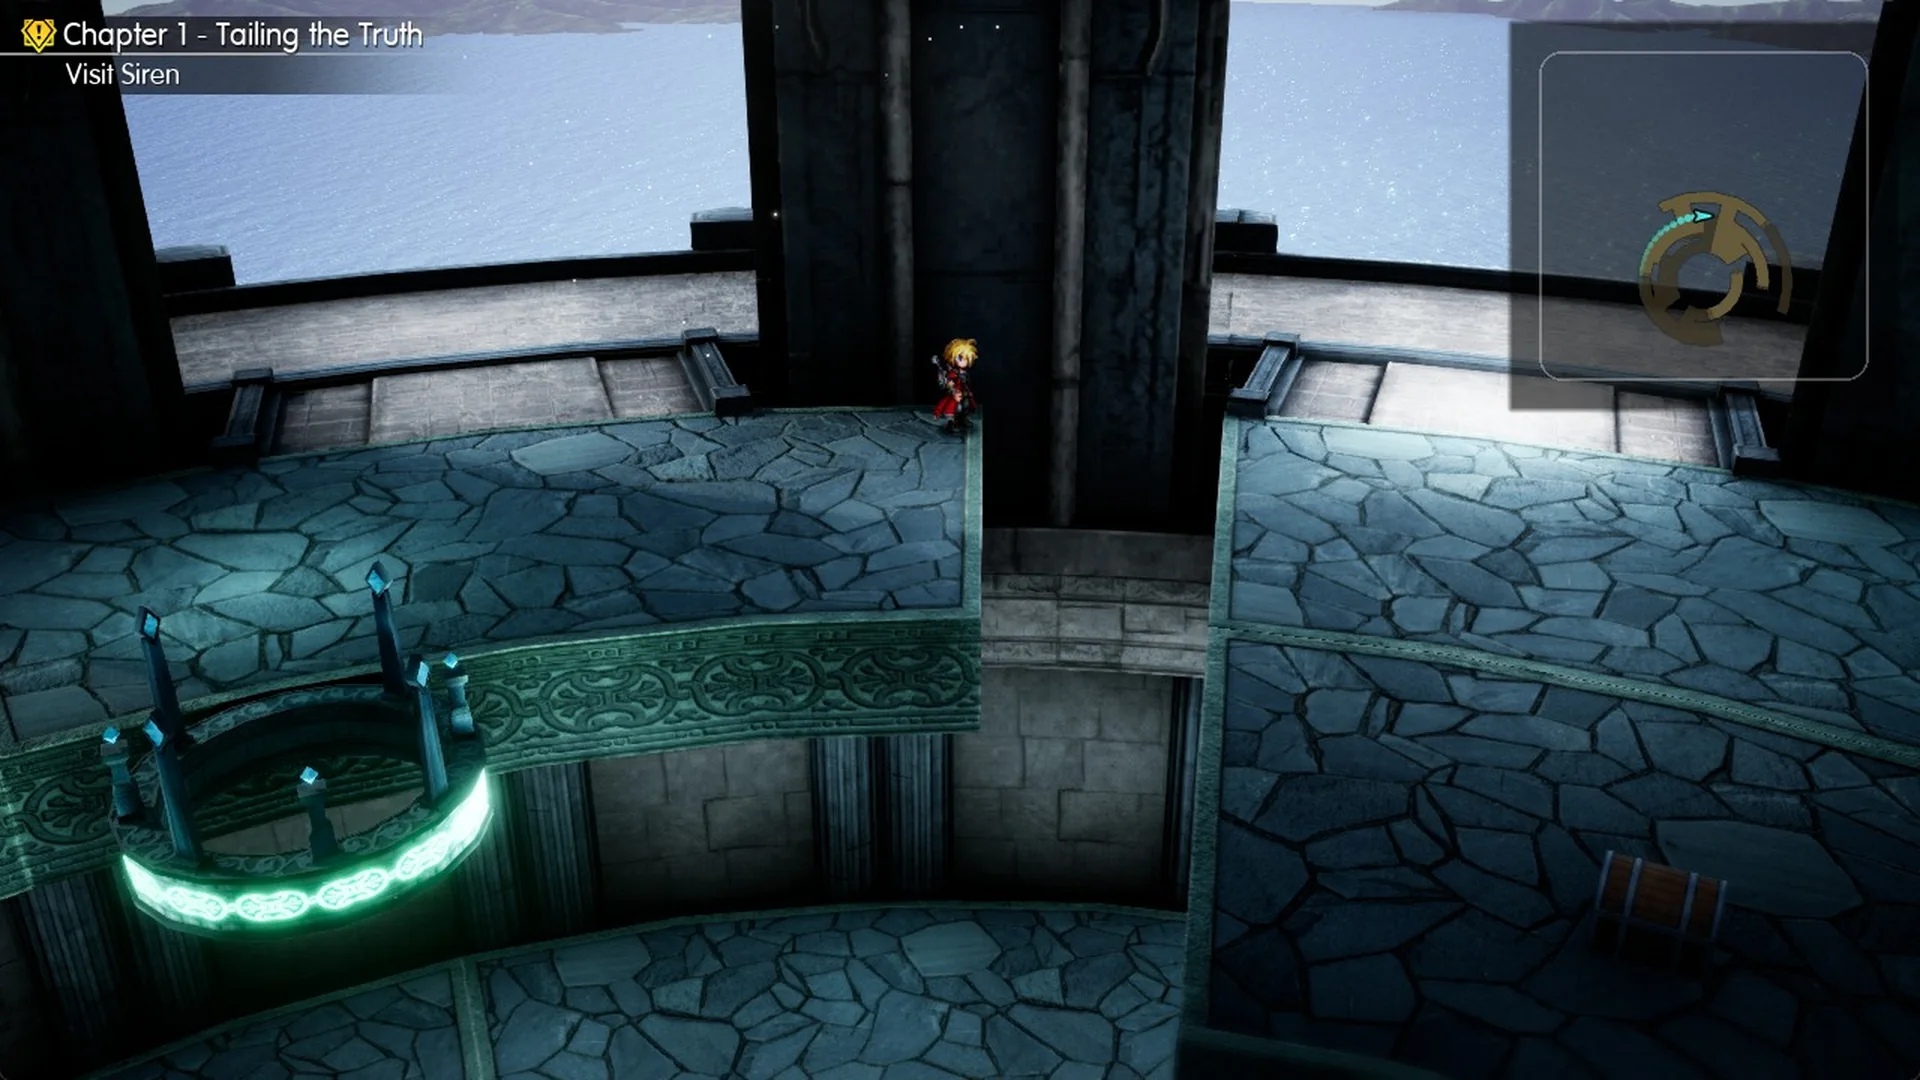
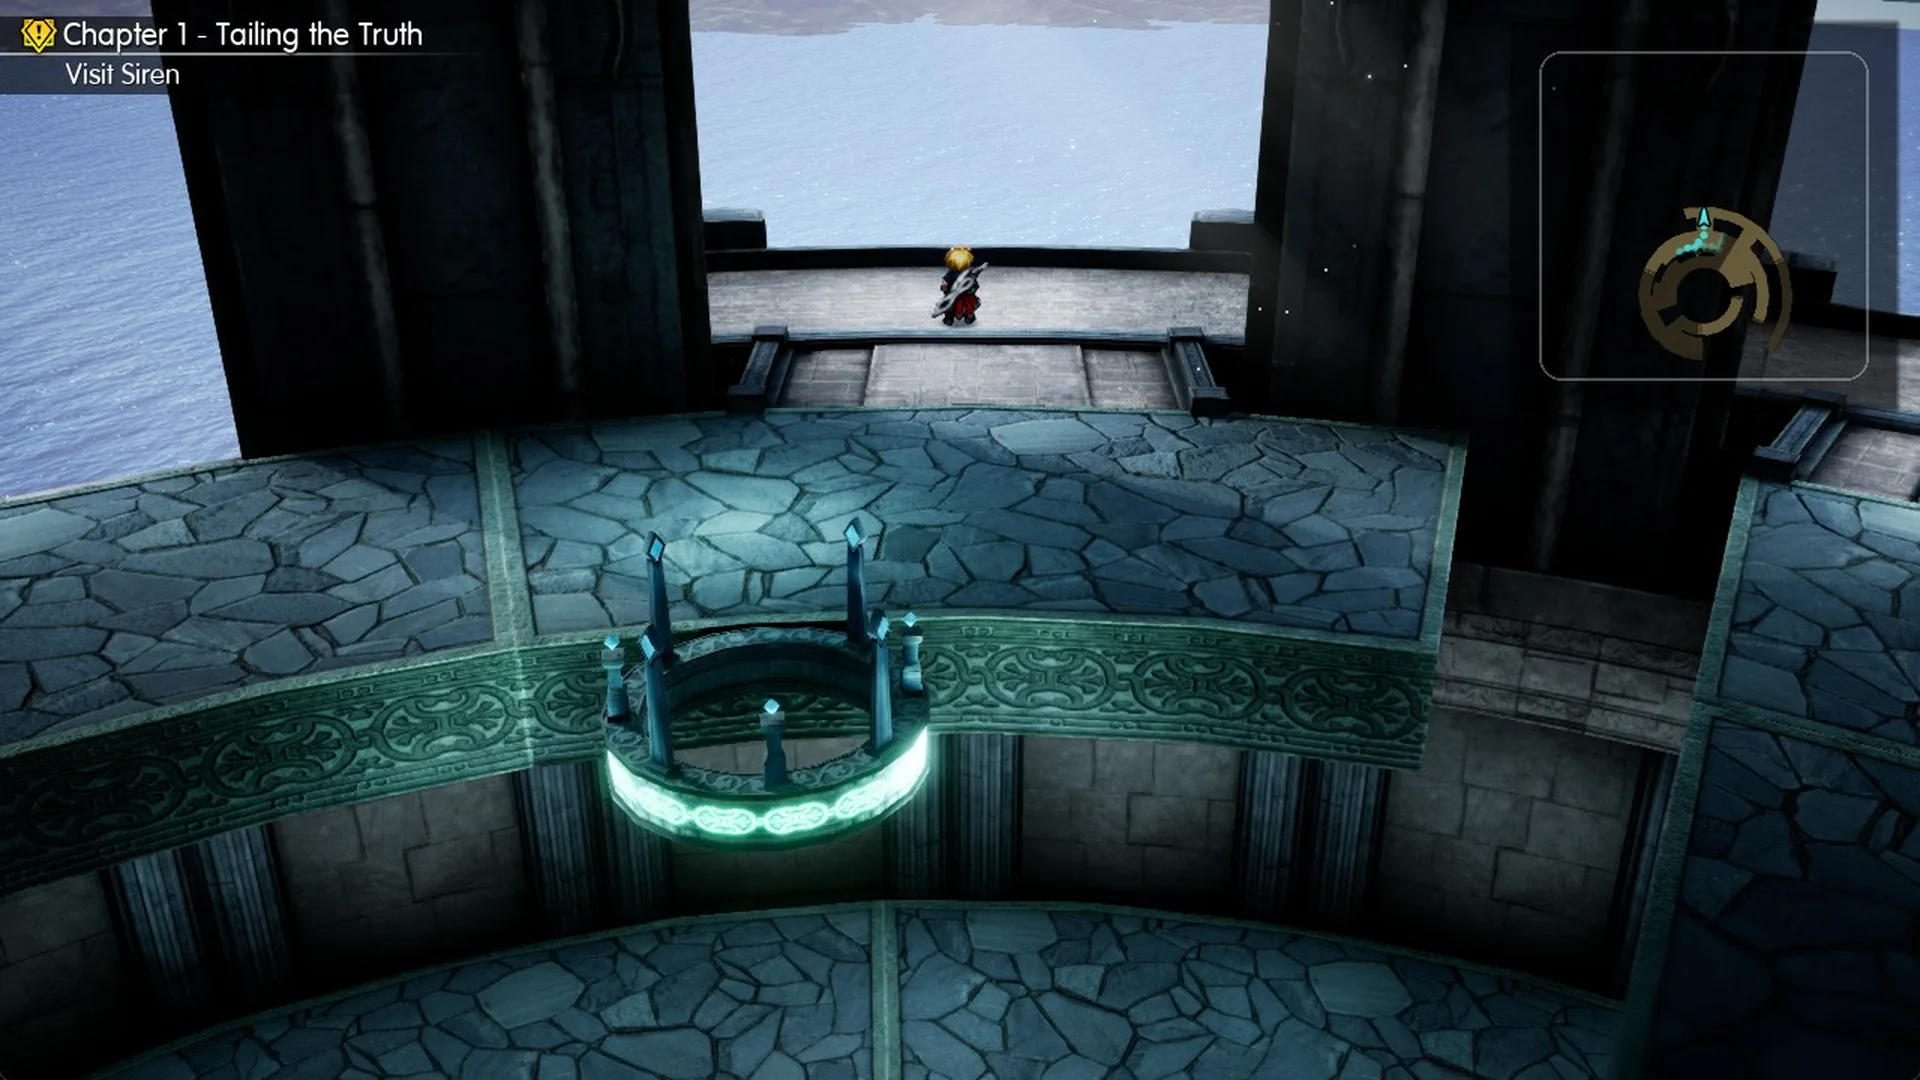
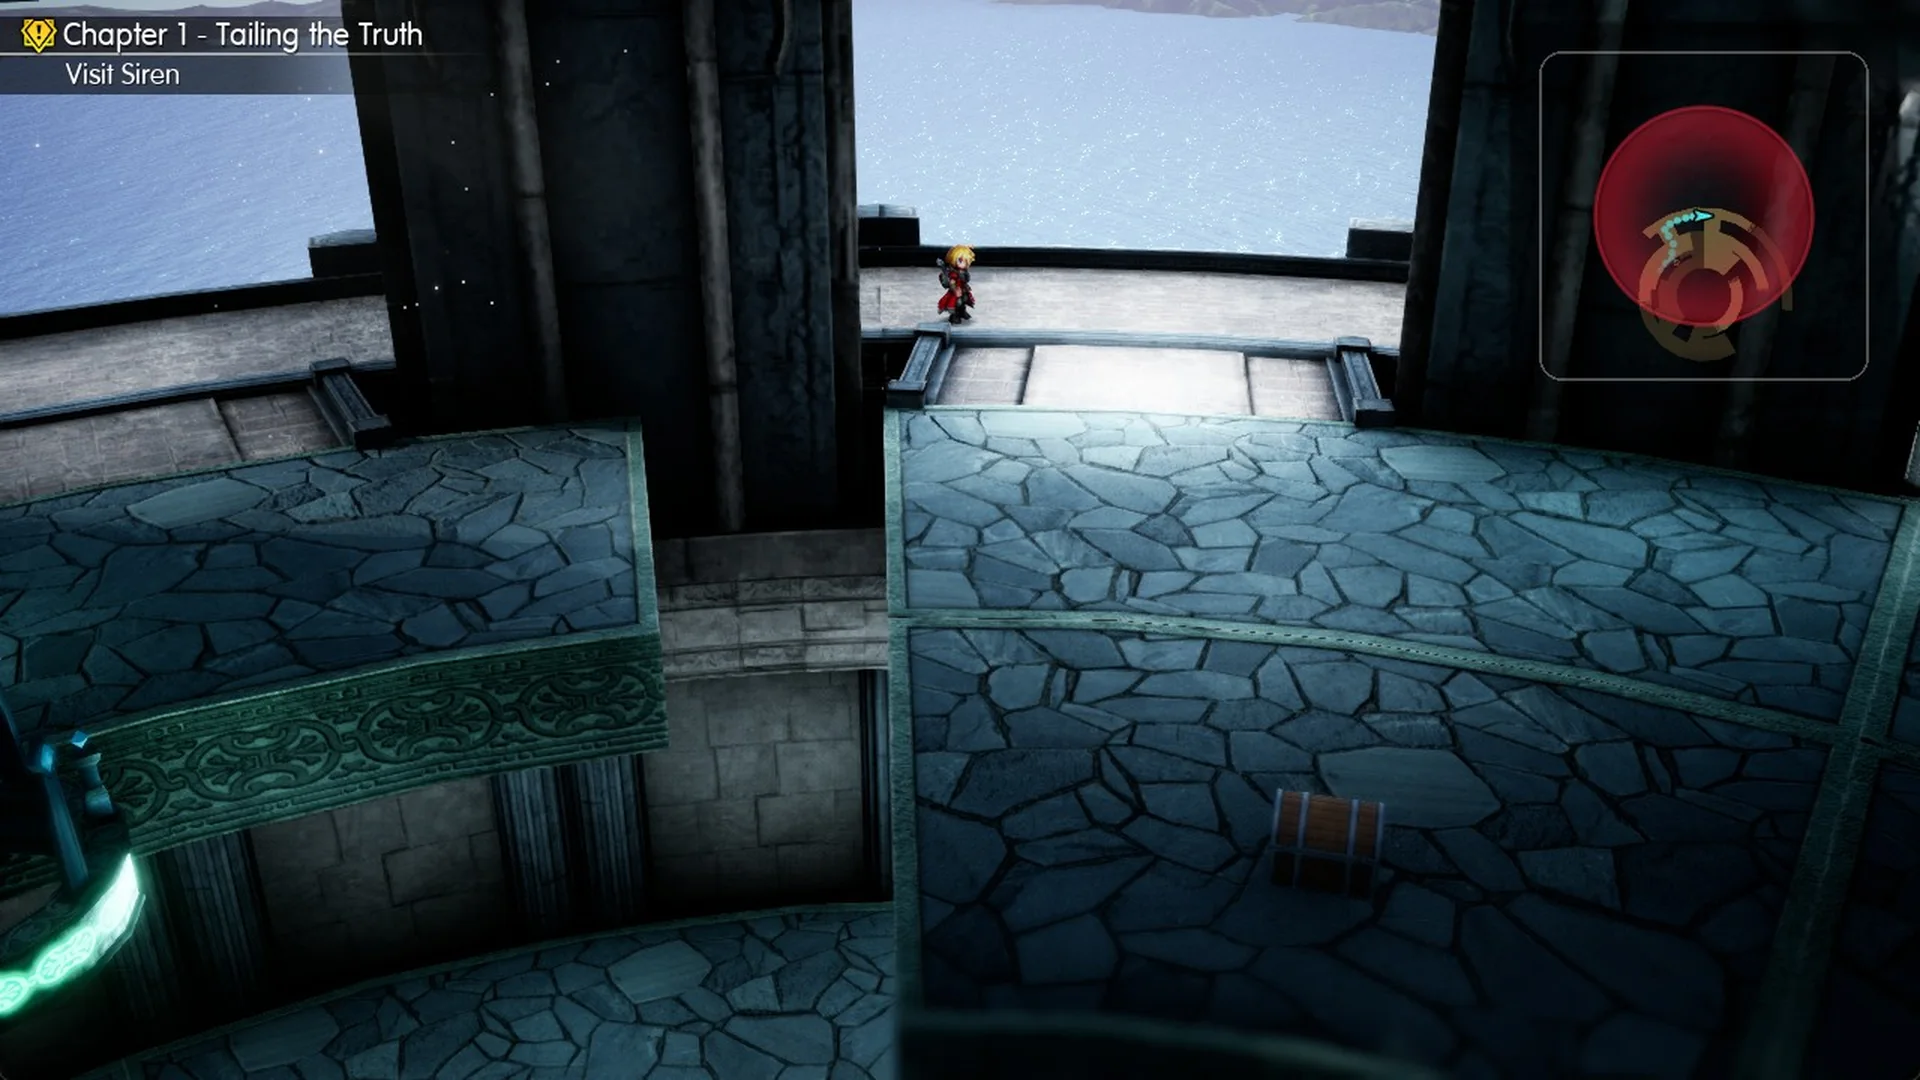
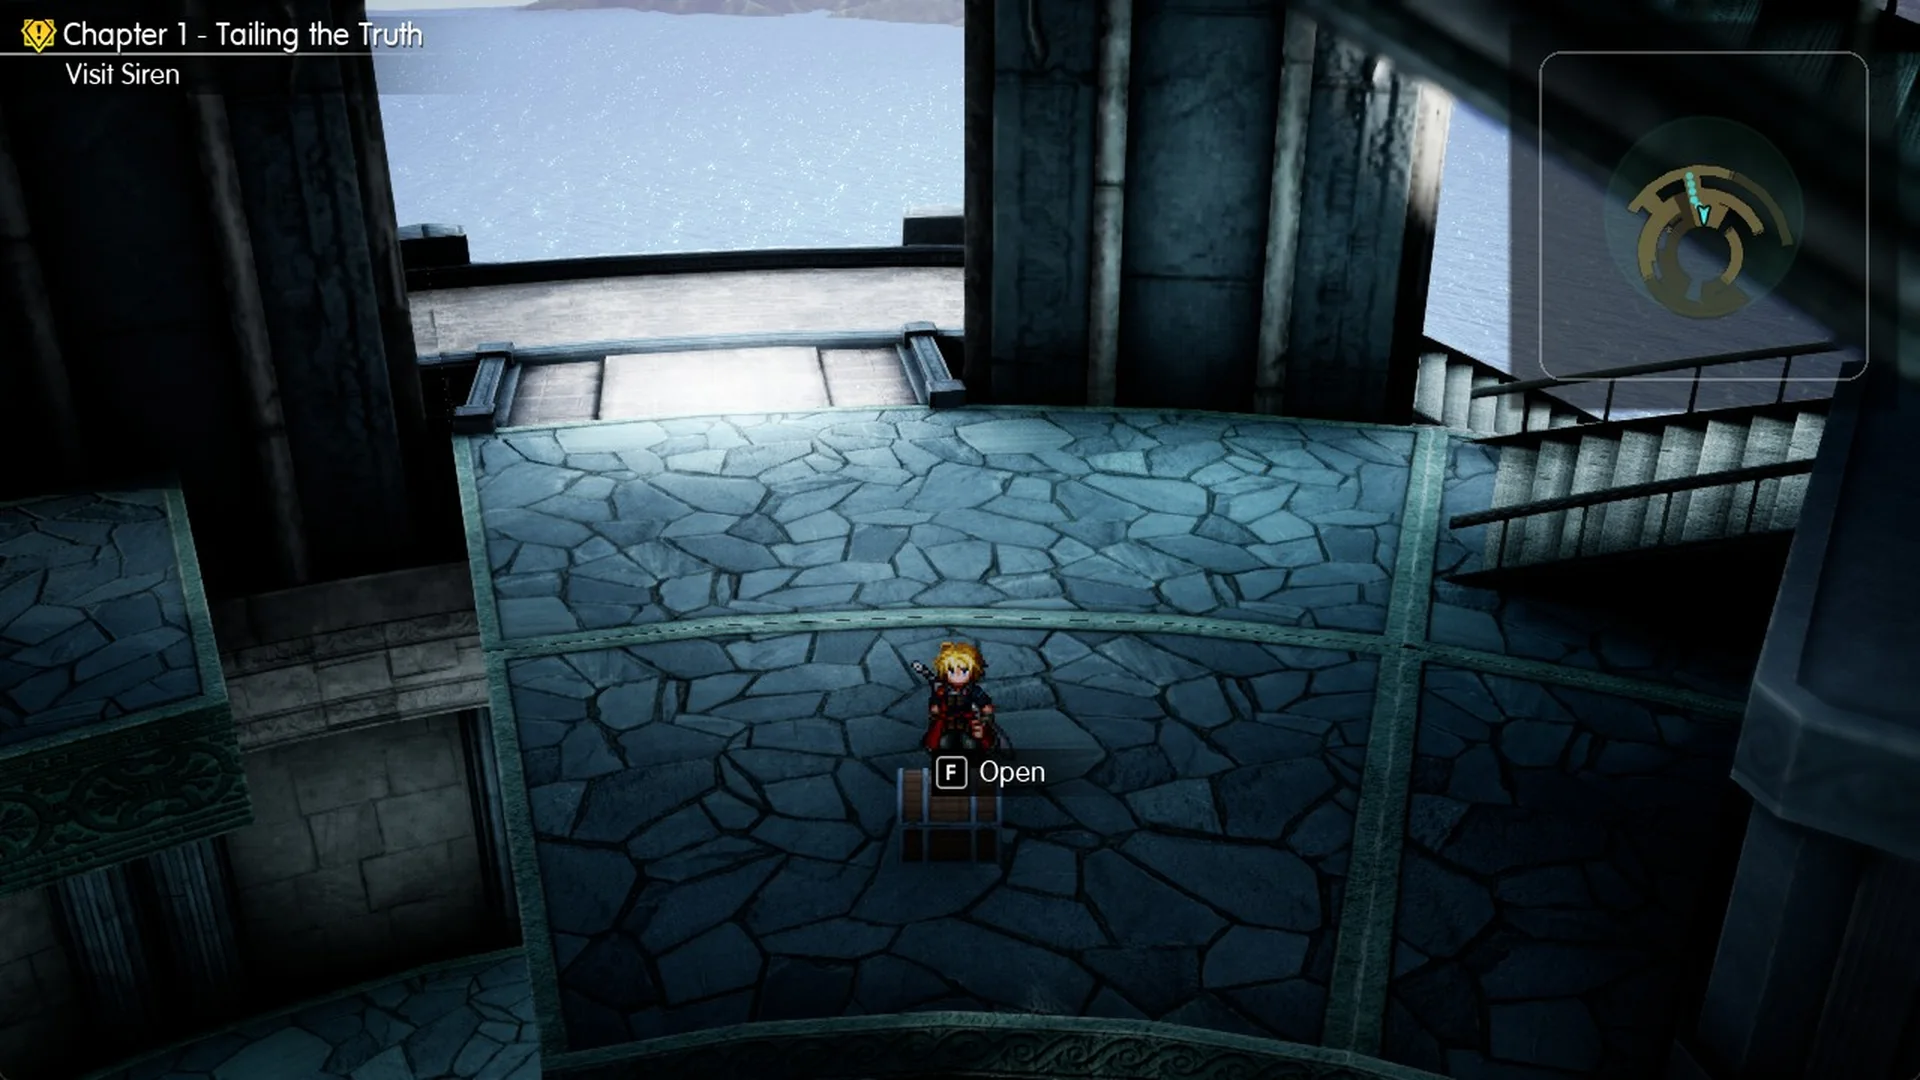
The Echo Herb x2 balcony
This balcony is an optional detour. From the square-block platform, climb the large curved railed staircase rather than the stairs beside the block.
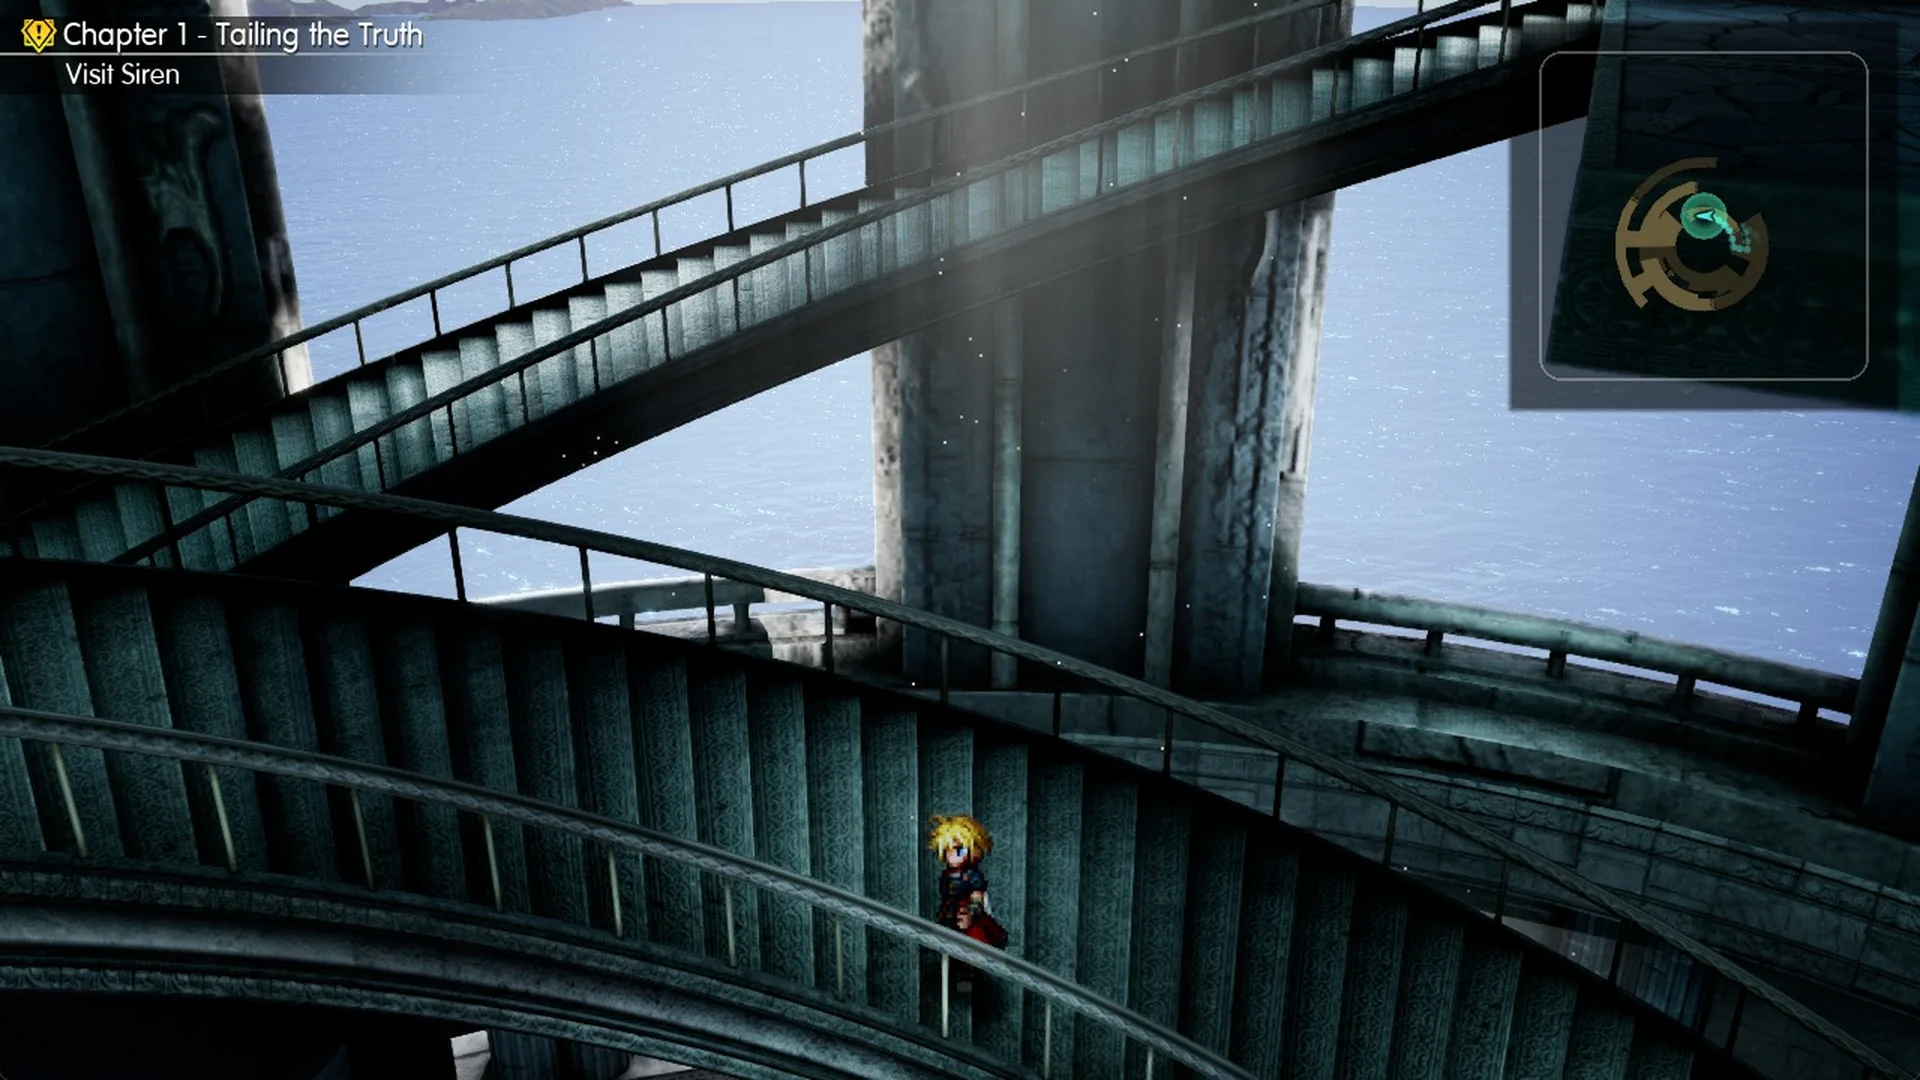
At the stair’s top, you’ll find a higher balcony and a chest containing Echo Herb x2. A lift on this balcony lowers you to the third-floor lift balcony. The two balconies are linked, so you can ride down and use the archway to reach the Ether x2 room.
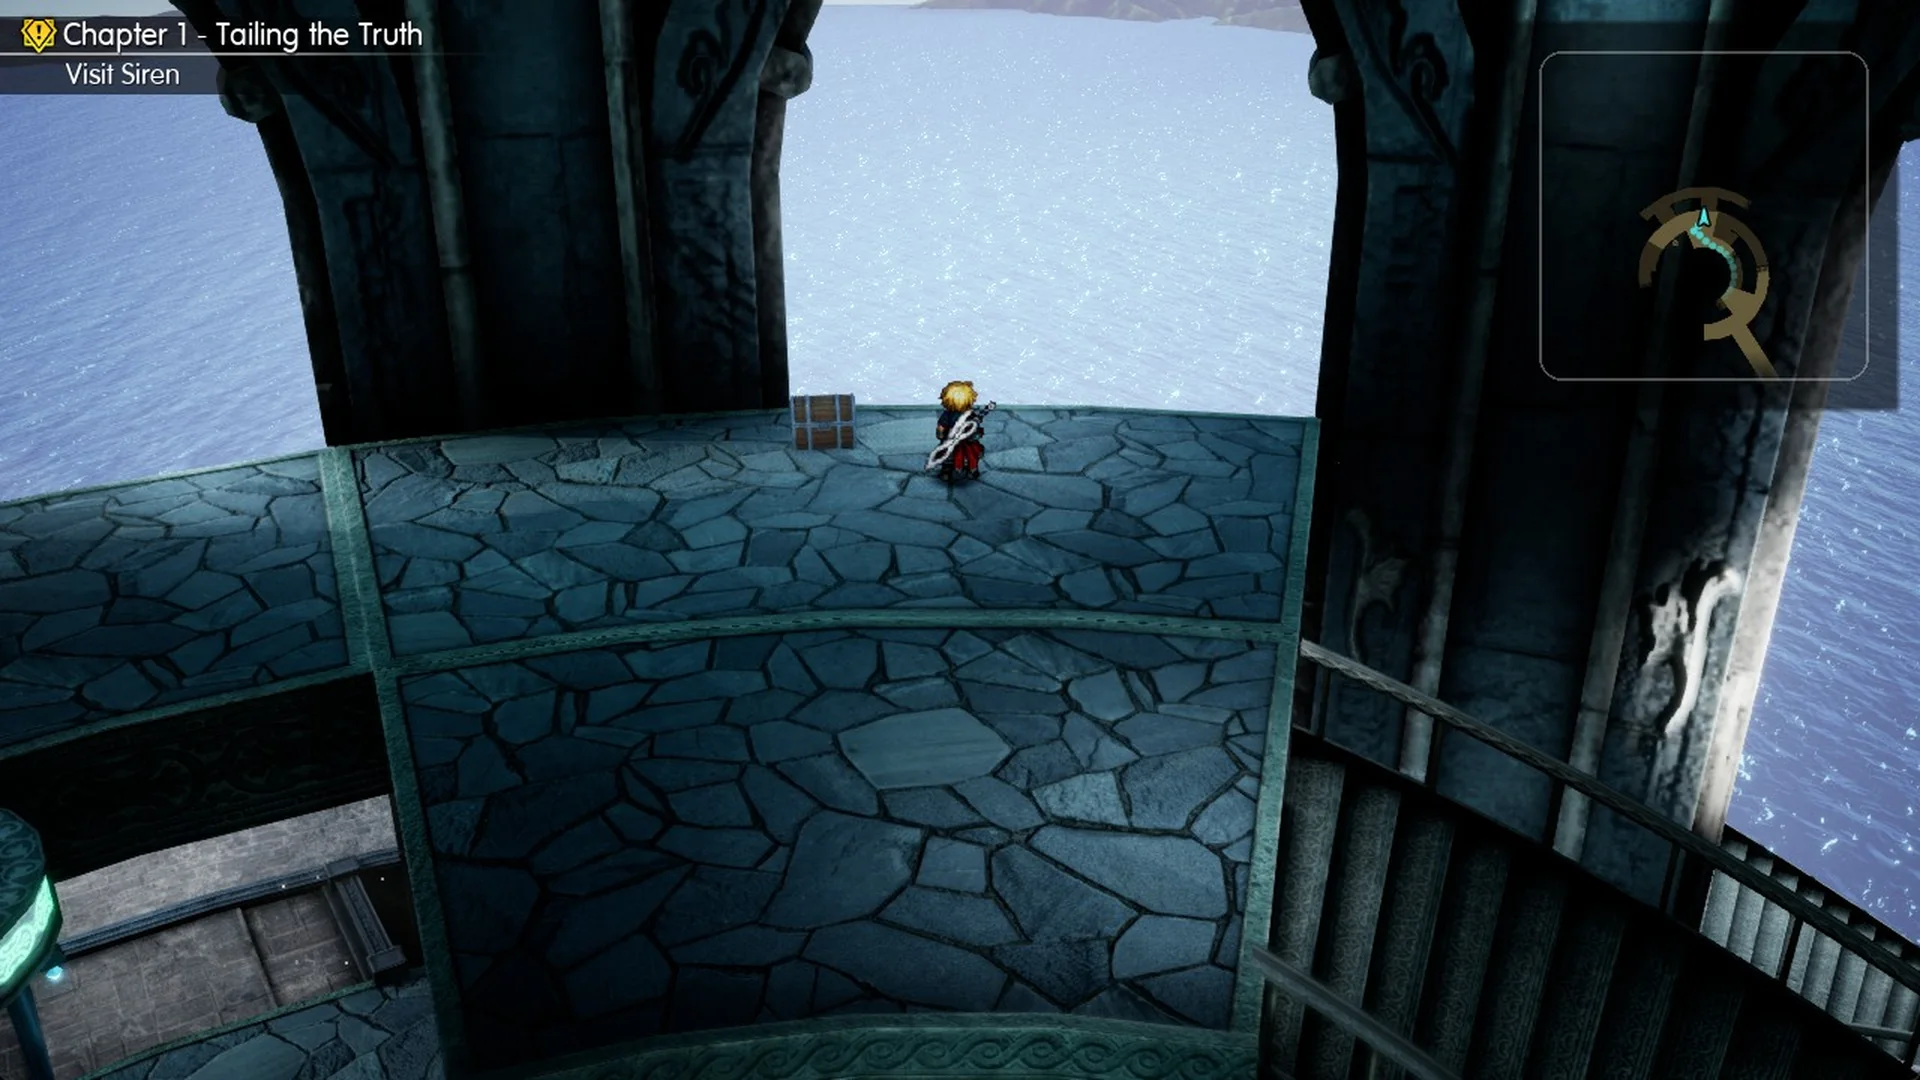
Upper floor: the Tablet Shard on the spur
The long corridor, the Genji Gloves and Gilgamesh
The fight and the way to win the gloves back later are covered in how to get the Genji Gloves.
The top half: Tablet Shard on the raised block and the Magicite Shard alcove
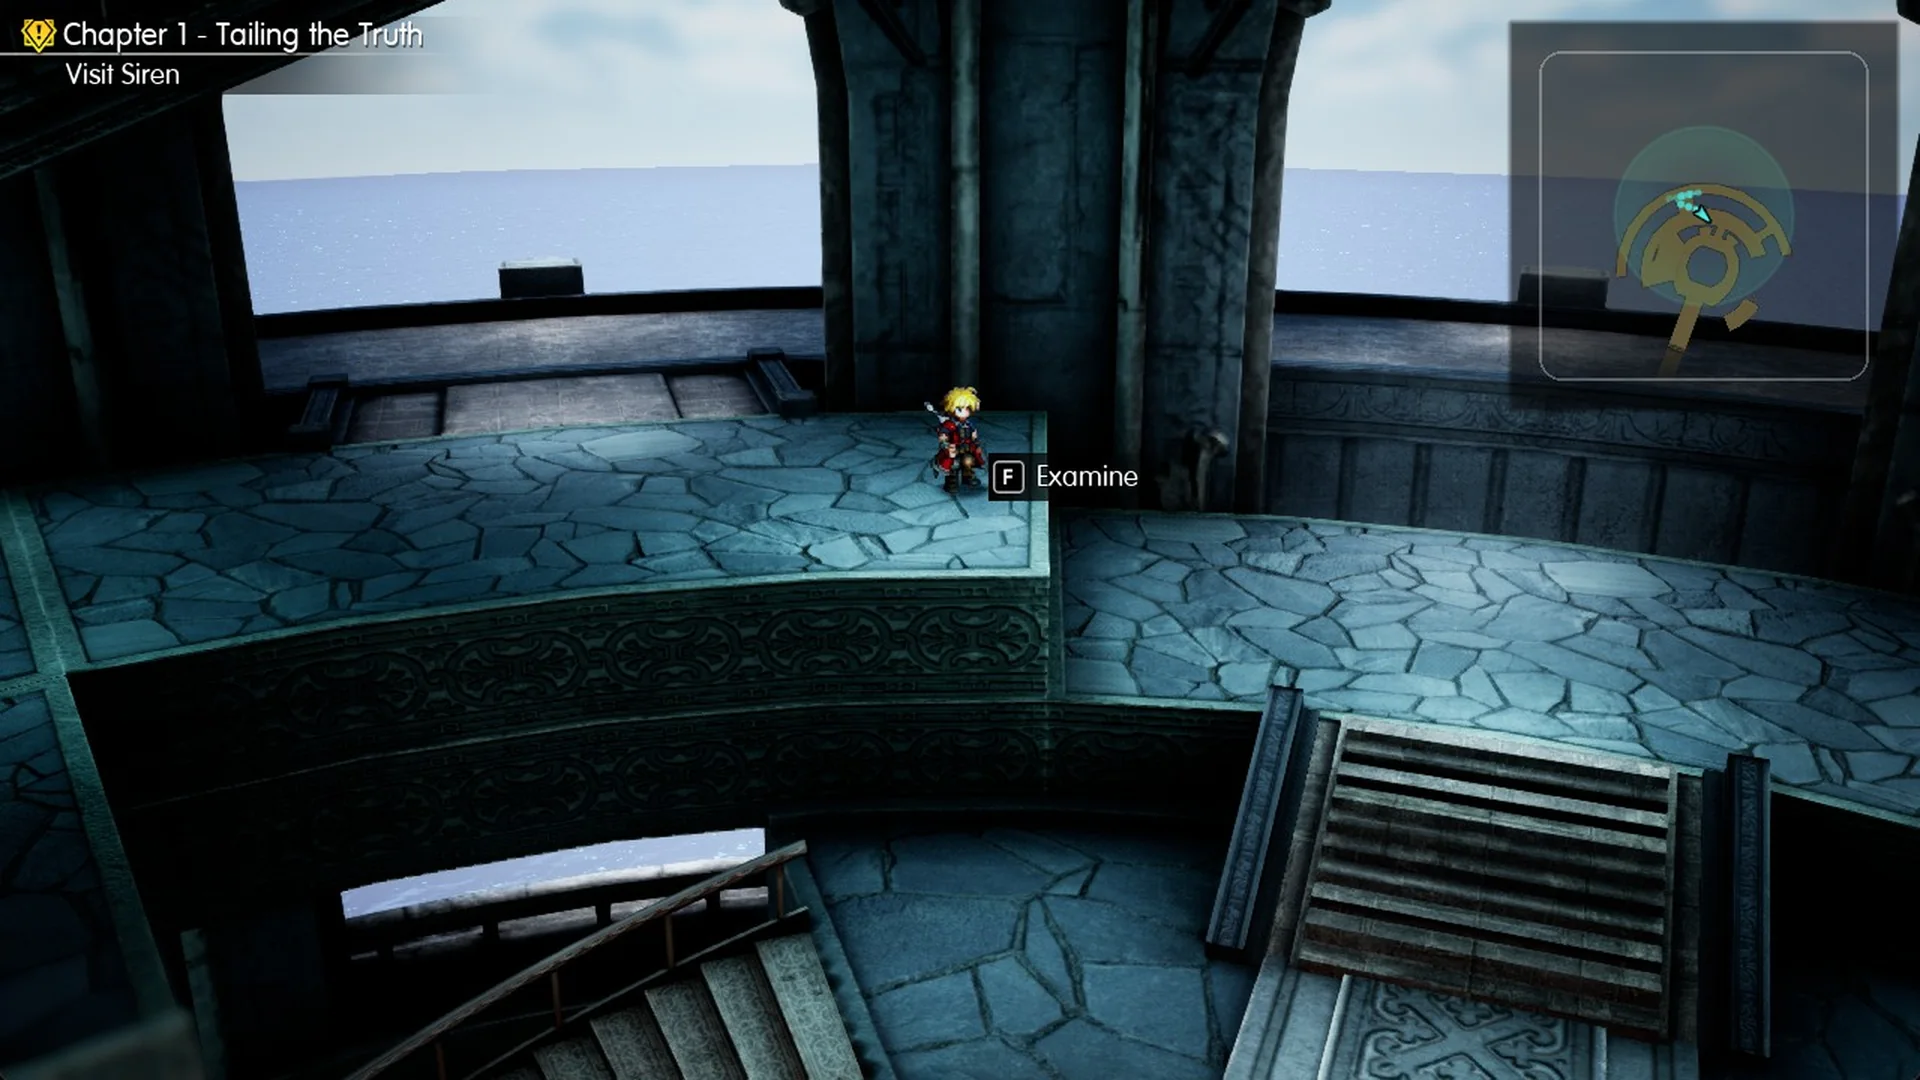
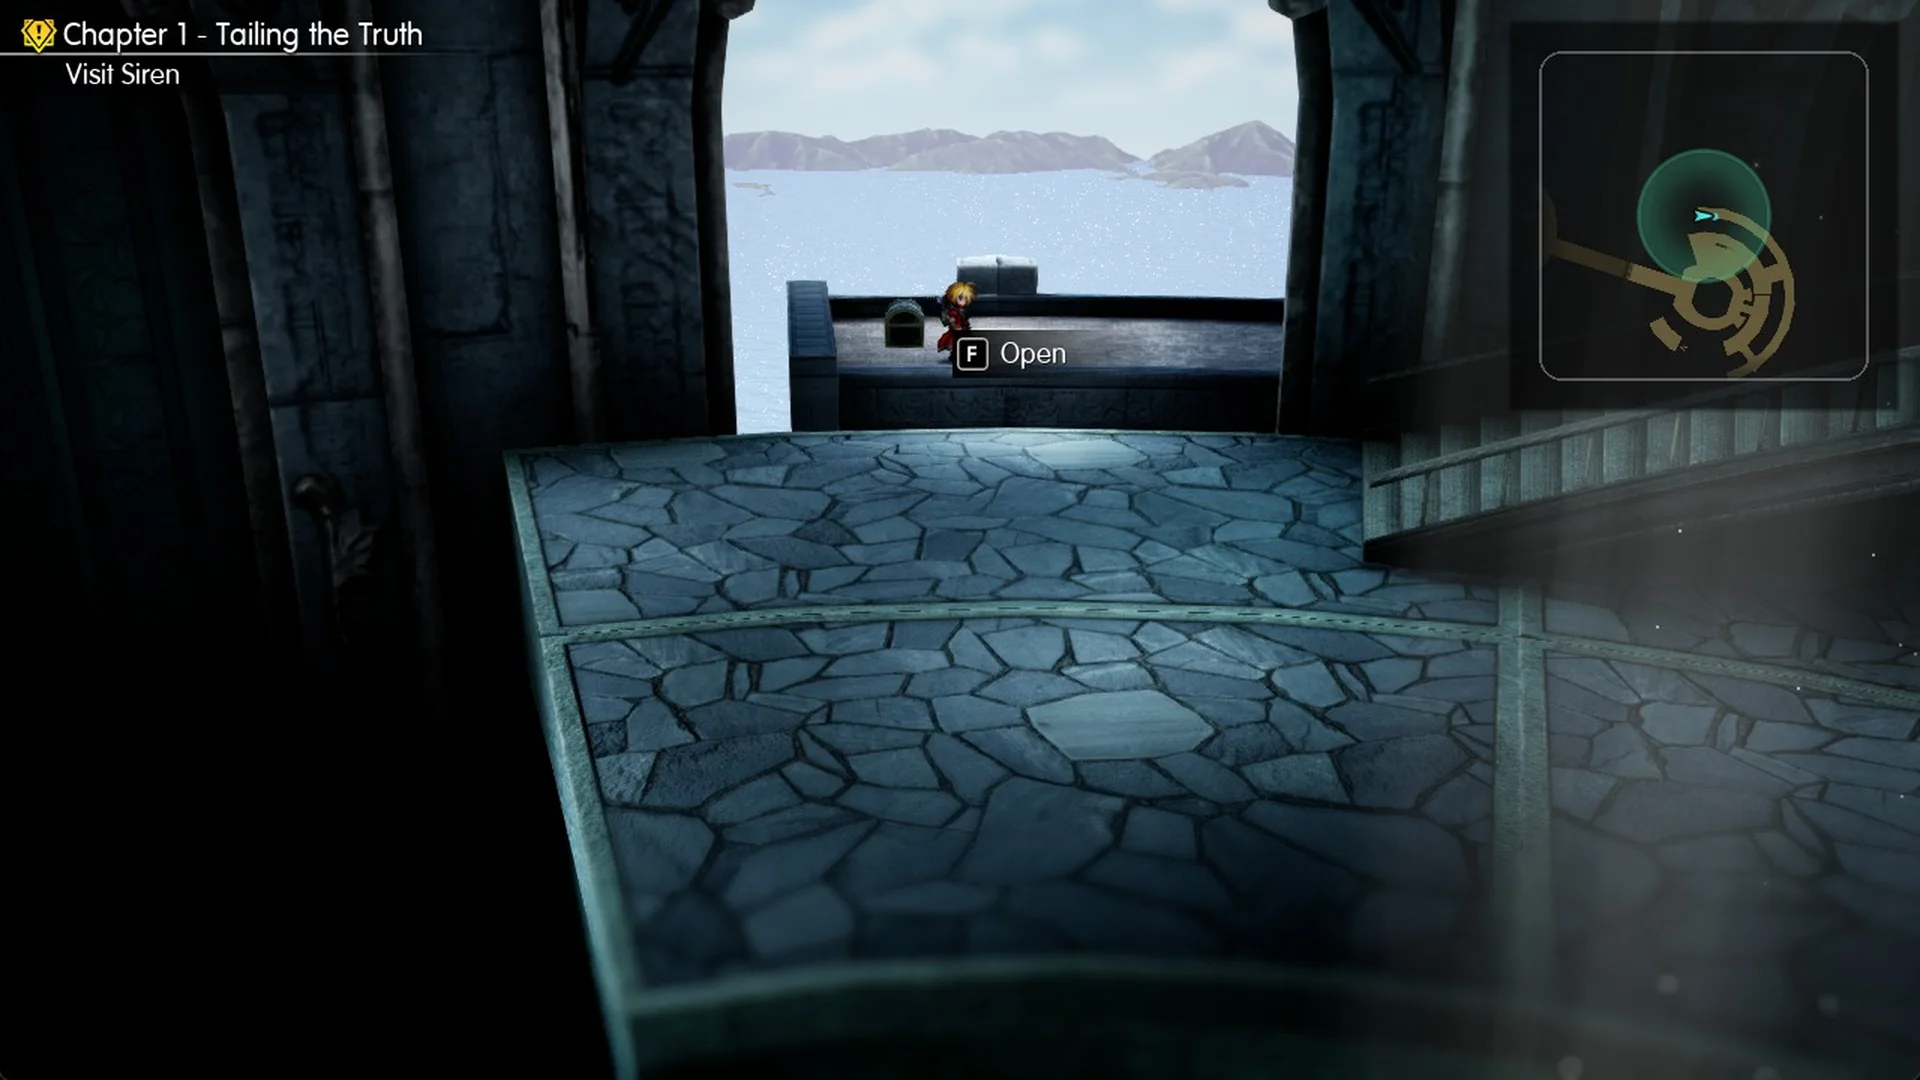
The way up to the pre-boss circle
To reach the next floor, use the long railed staircase spanning the fan-shaped floor beneath the outer ring. Much of it runs overhead, so you may not notice it as you cross the floor.
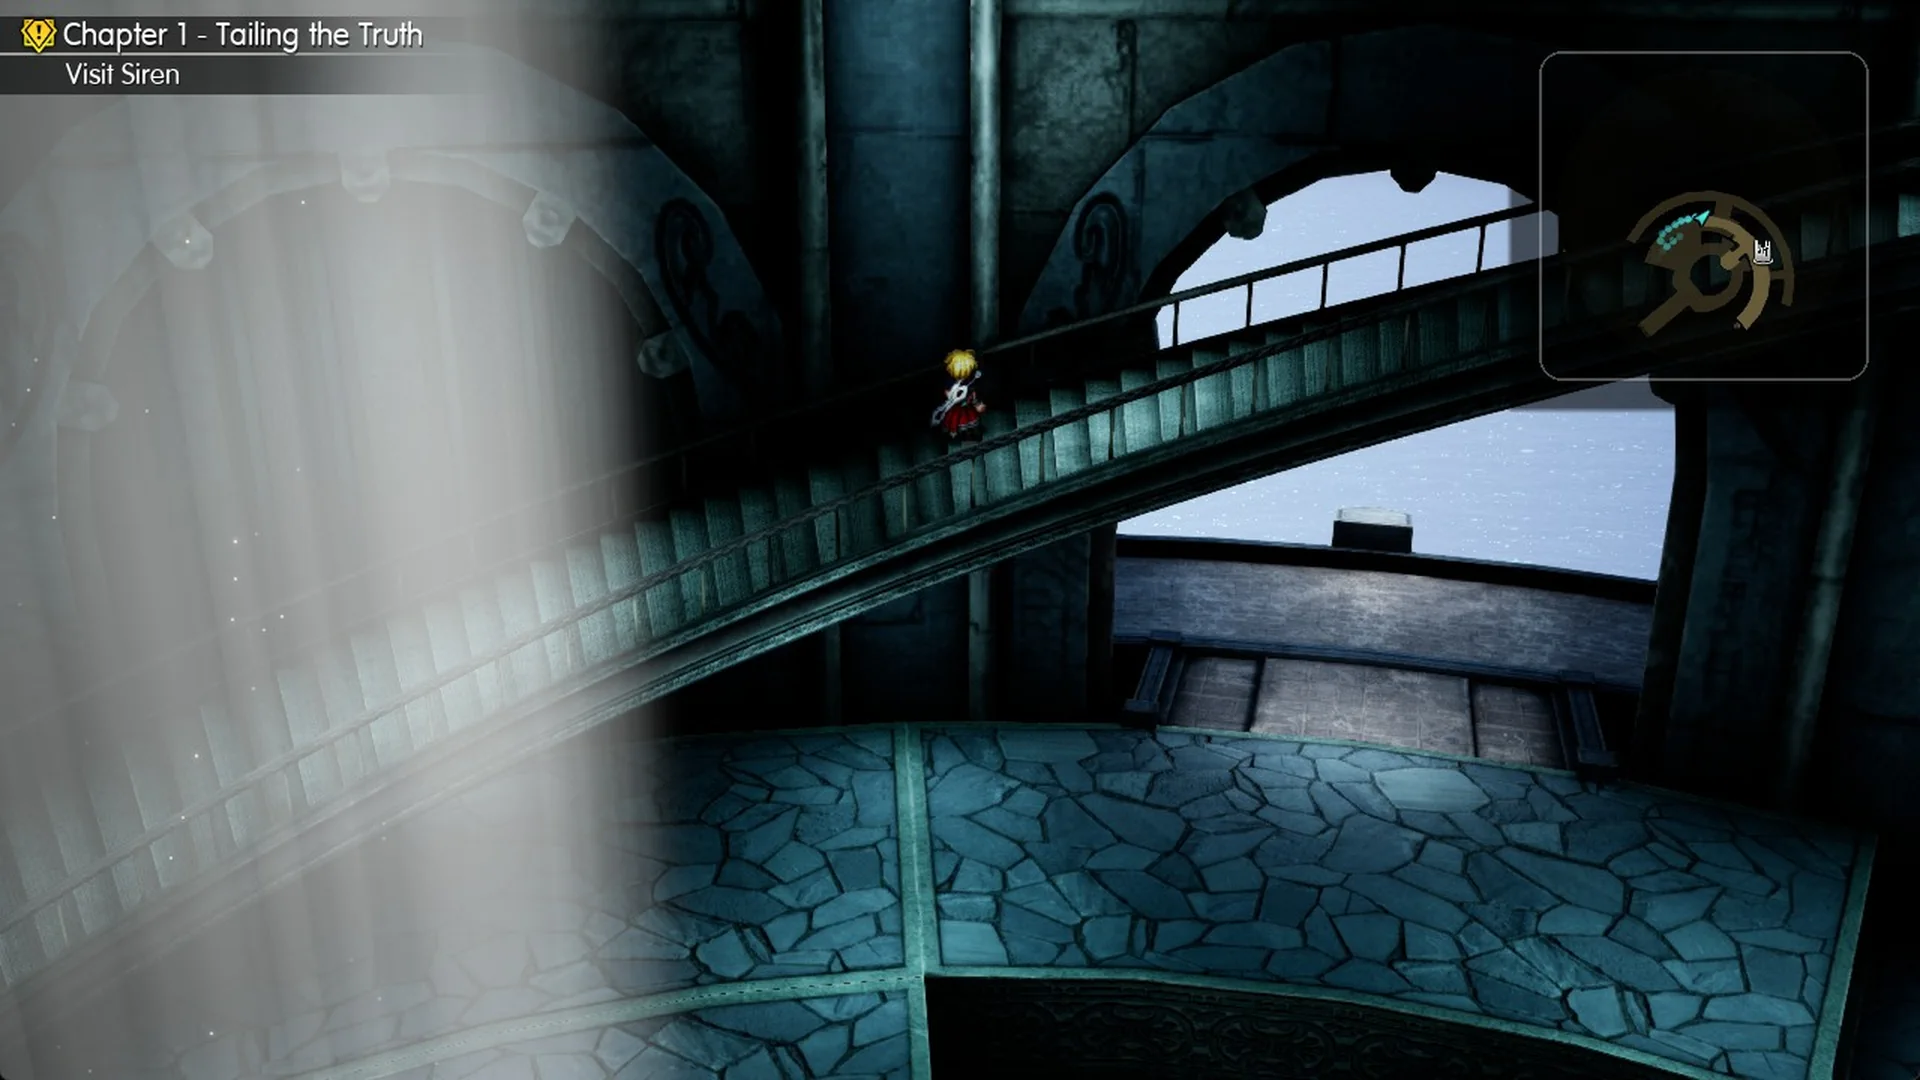
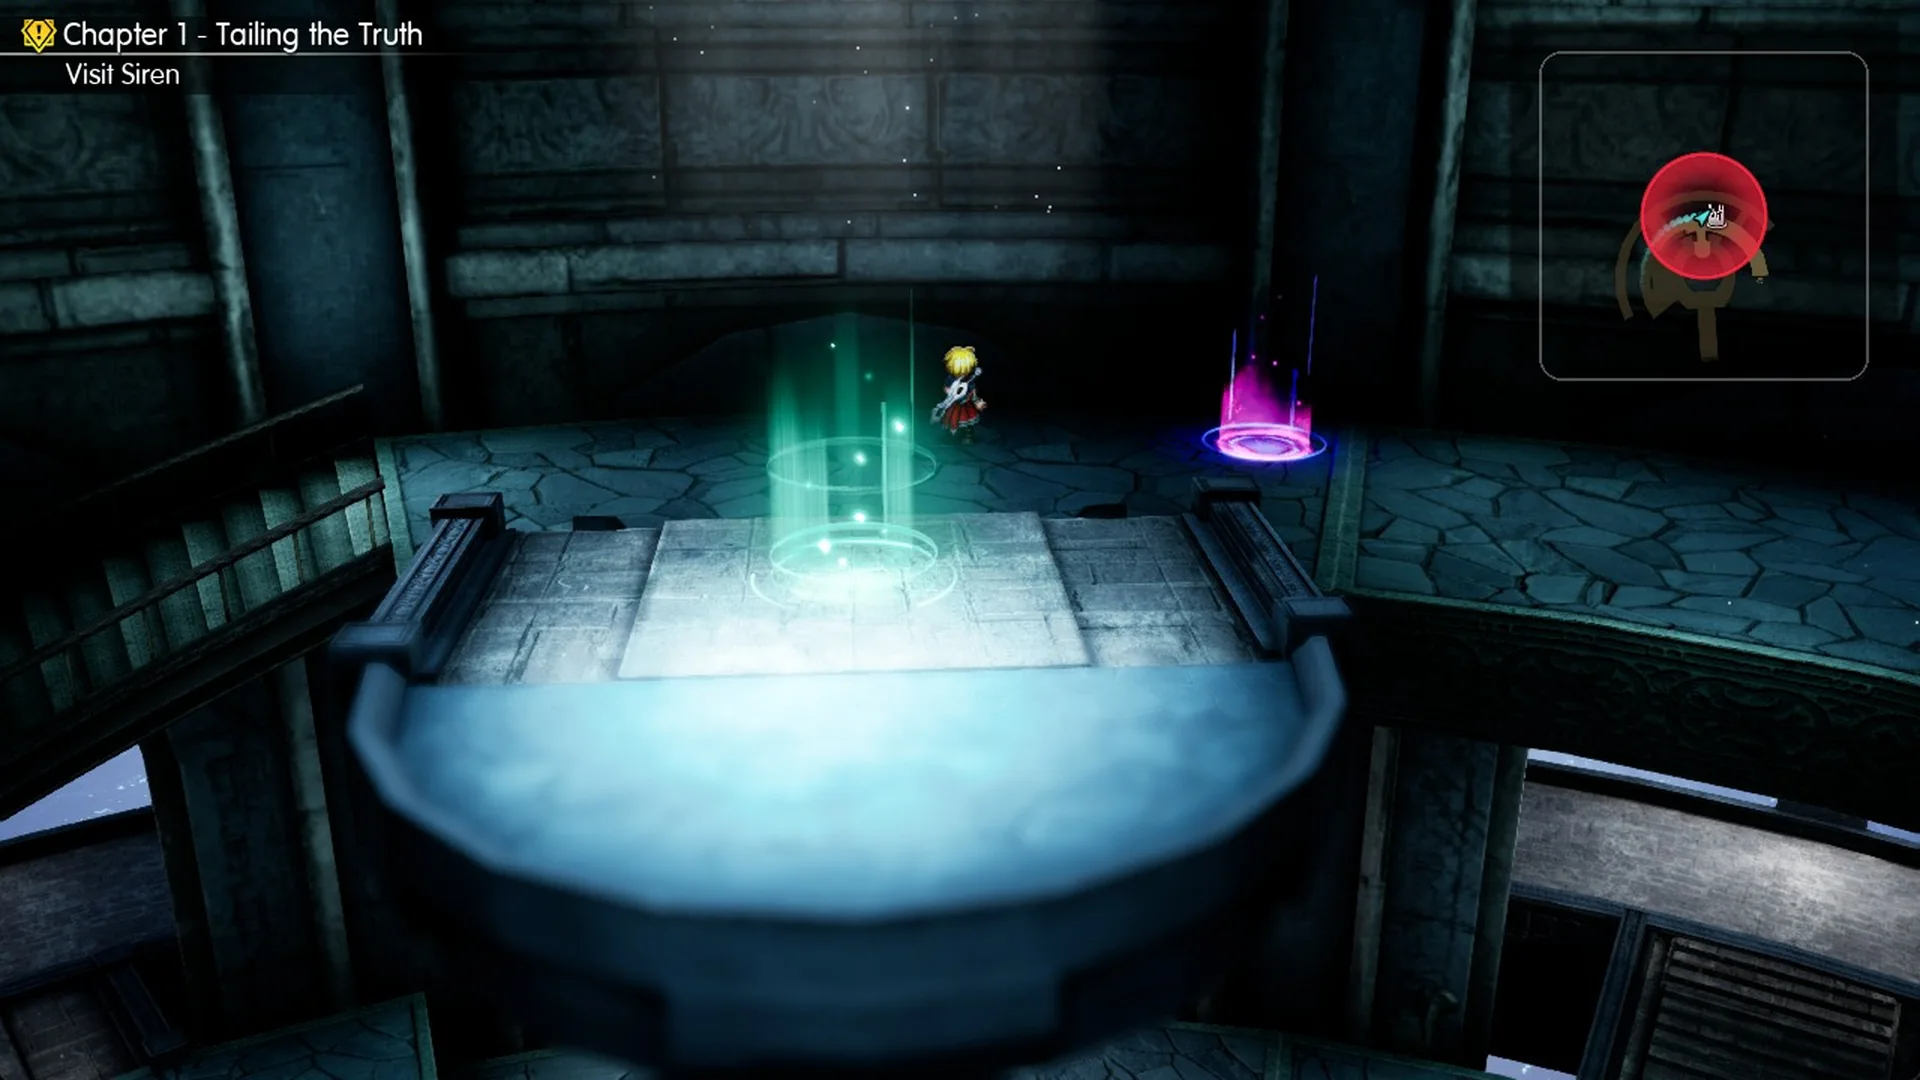
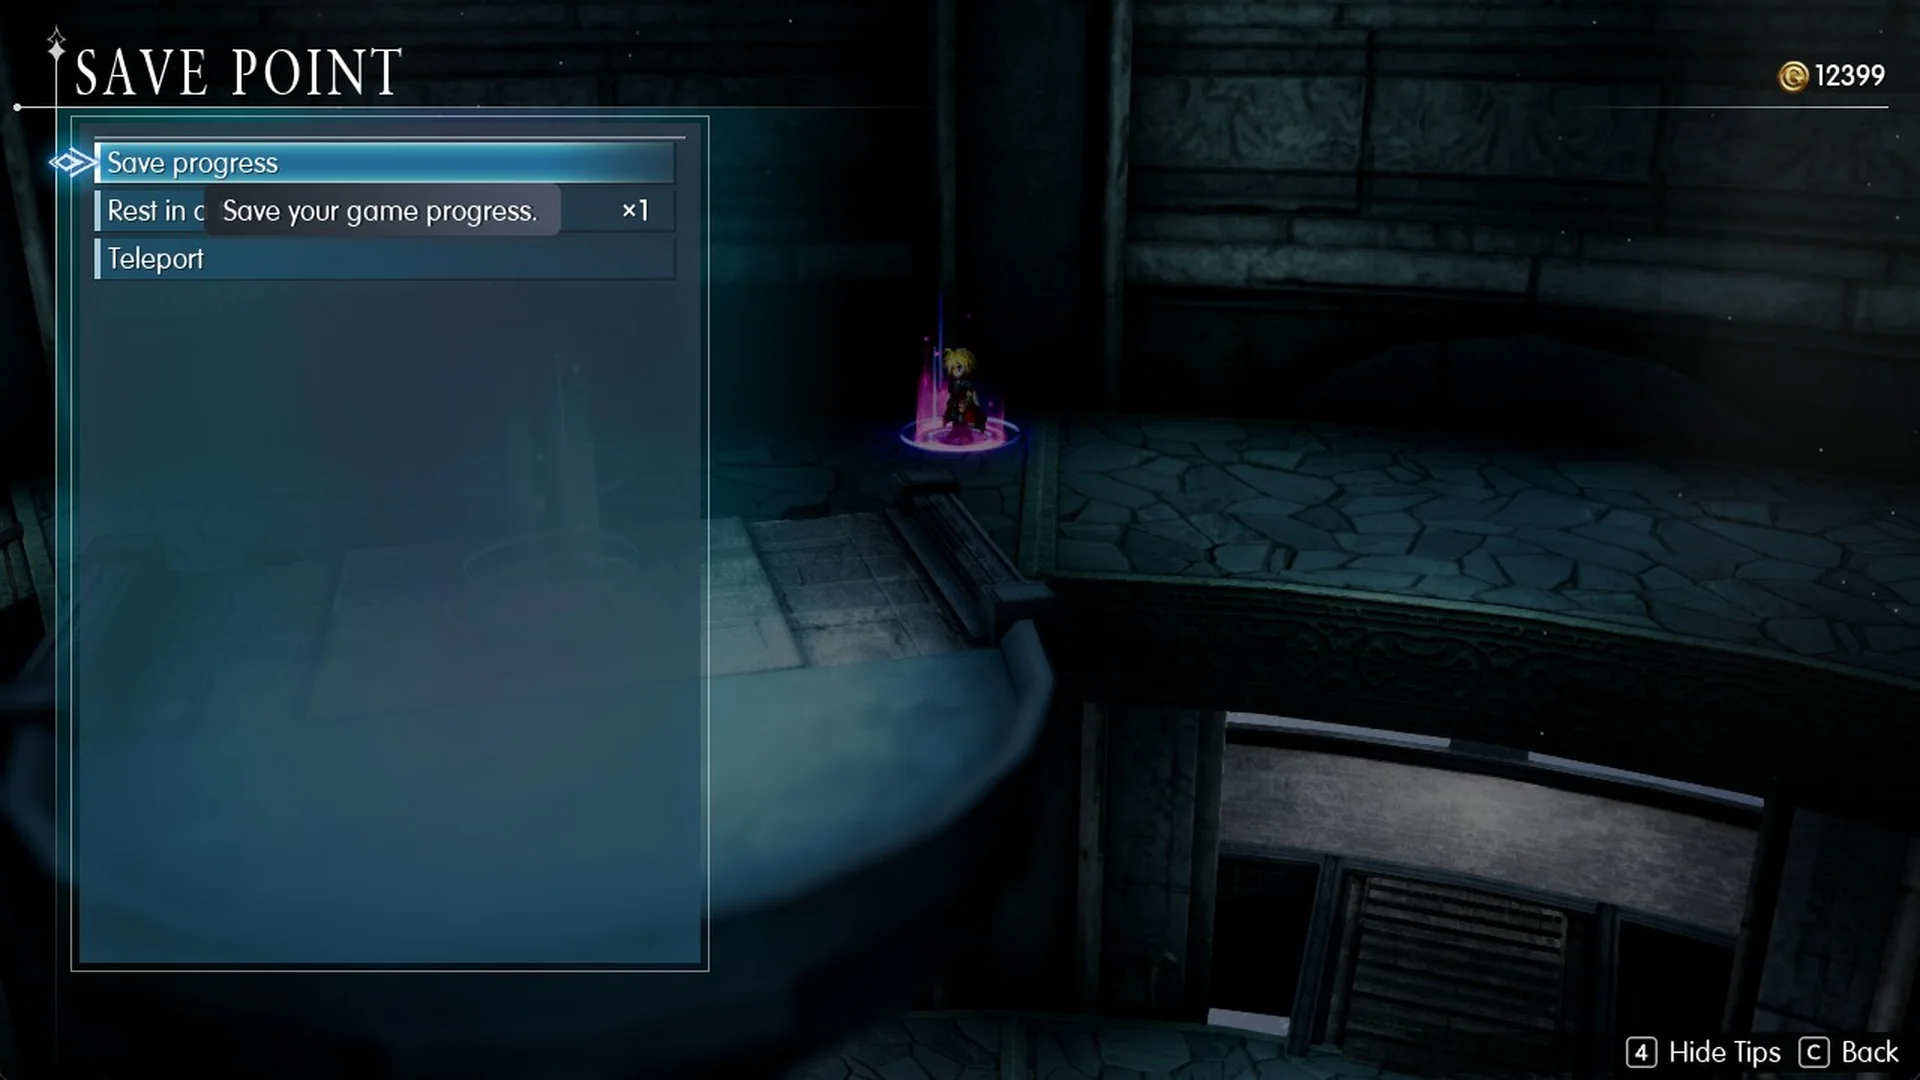
When you inspect the circle for the first time, you’ll see the message “You can now return to the save point at the entrance.” The menu includes Save progress, Rest in a tent, and Teleport; choosing Teleport takes you to the circle by the entrance. If you have a Tent, resting with it replenishes all HP and MP. Save at this point before proceeding.
The summit
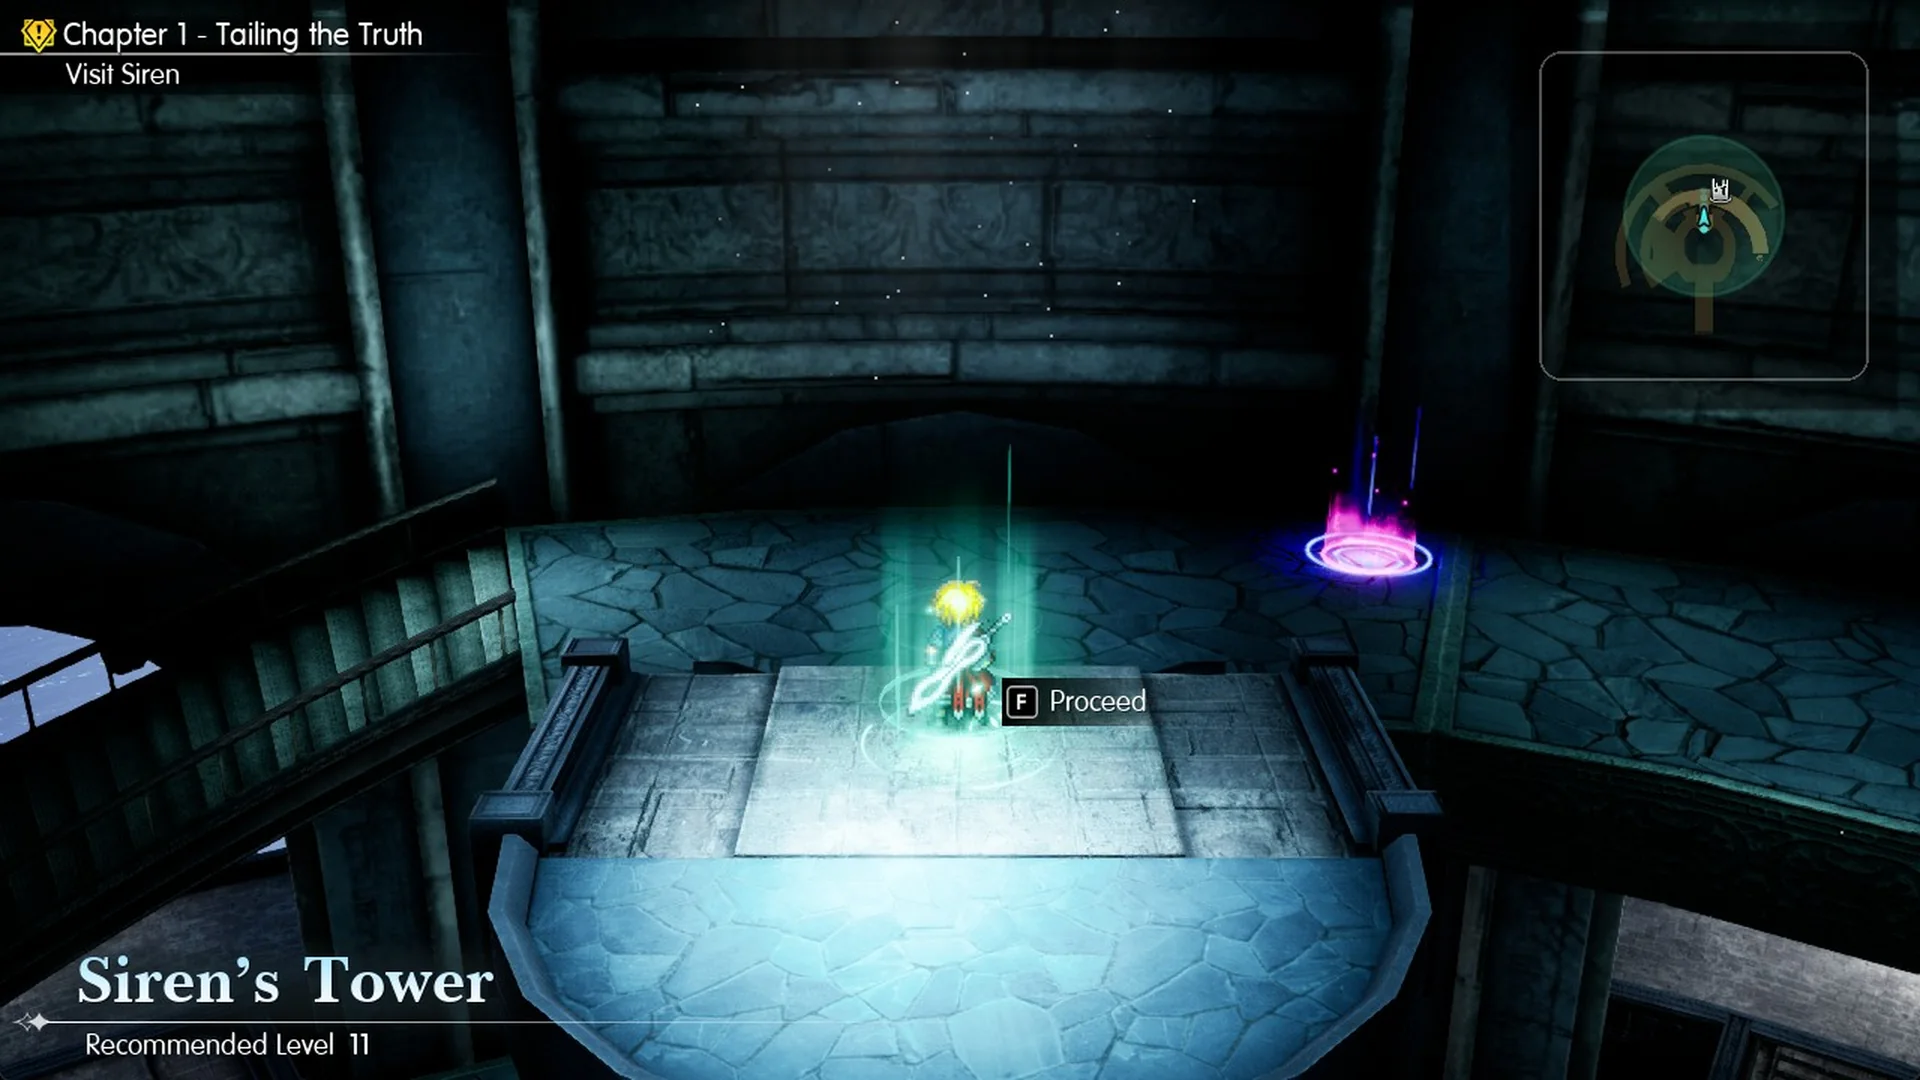
Walking into the green column does nothing. Start at the round end of the stem and walk straight up to the front of the column. The F Proceed prompt appears along with the “Siren’s Tower / Recommended Level 11” banner.
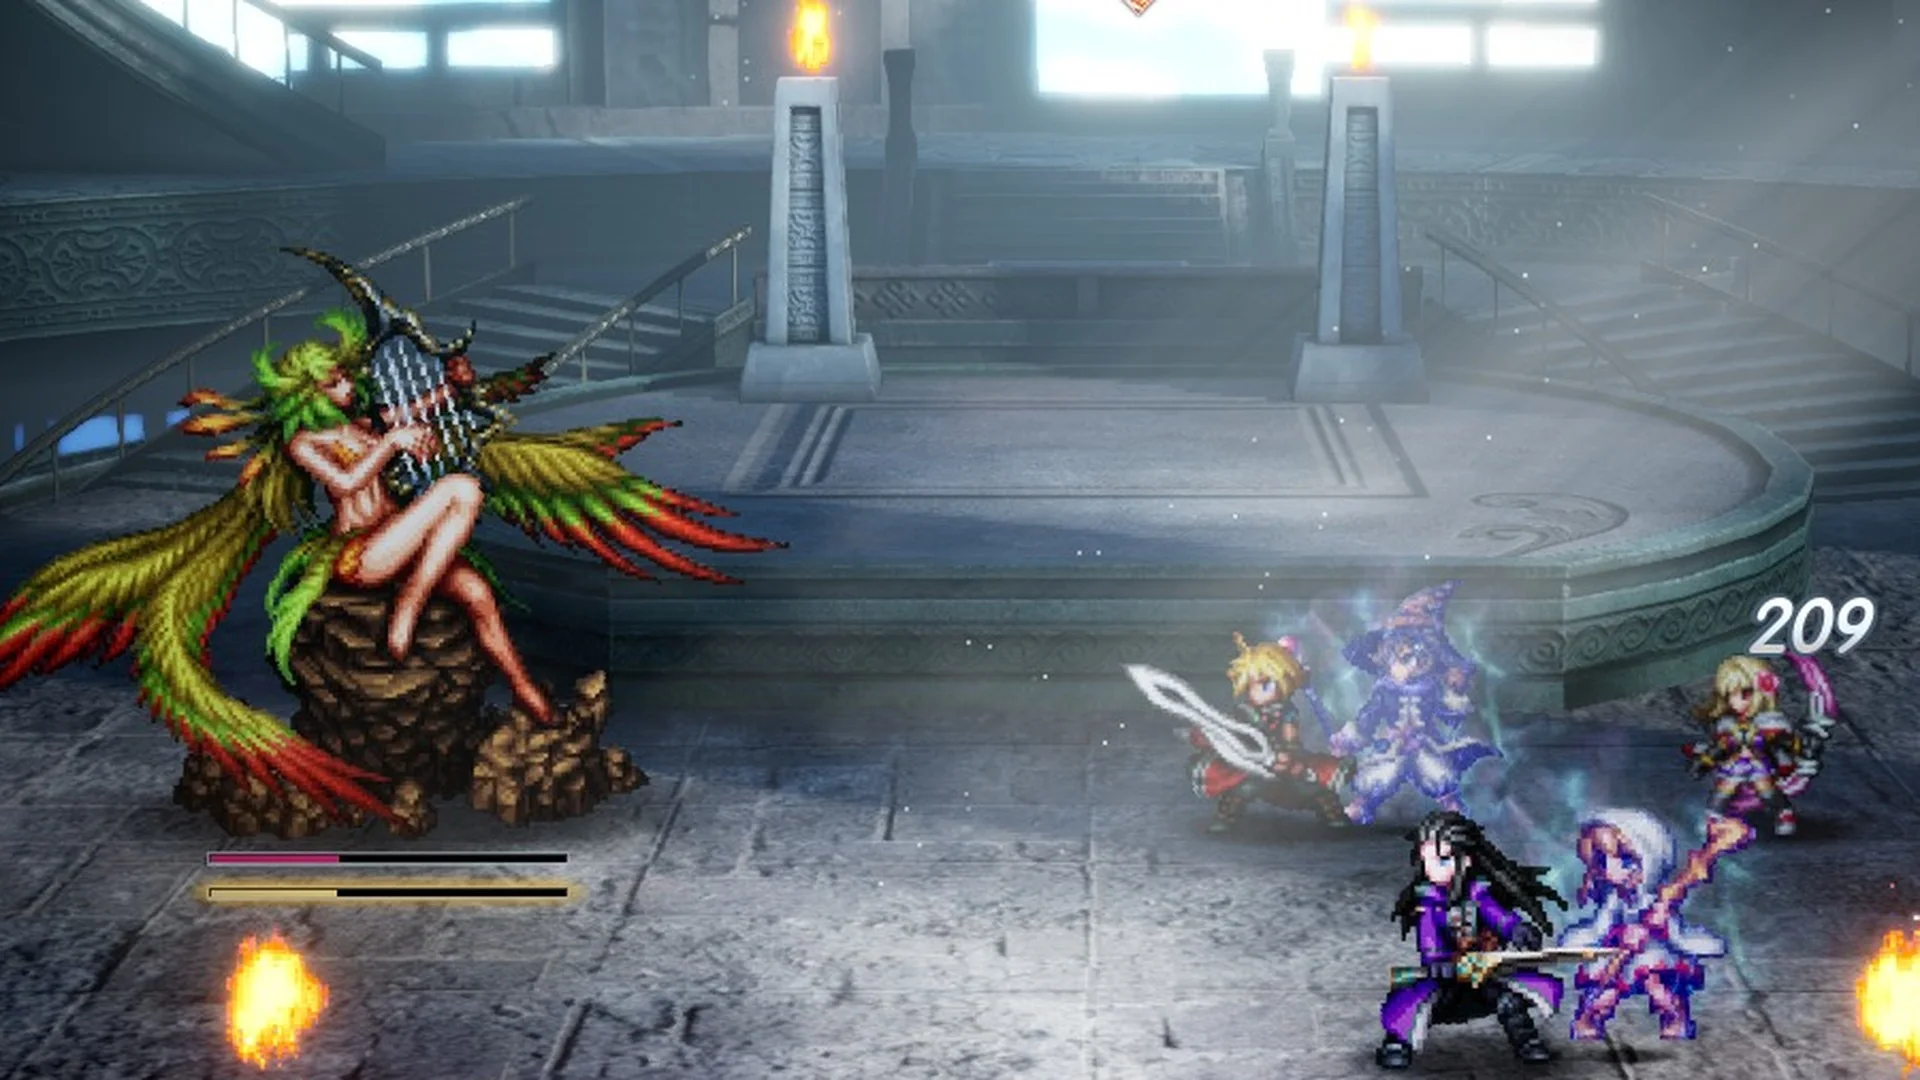
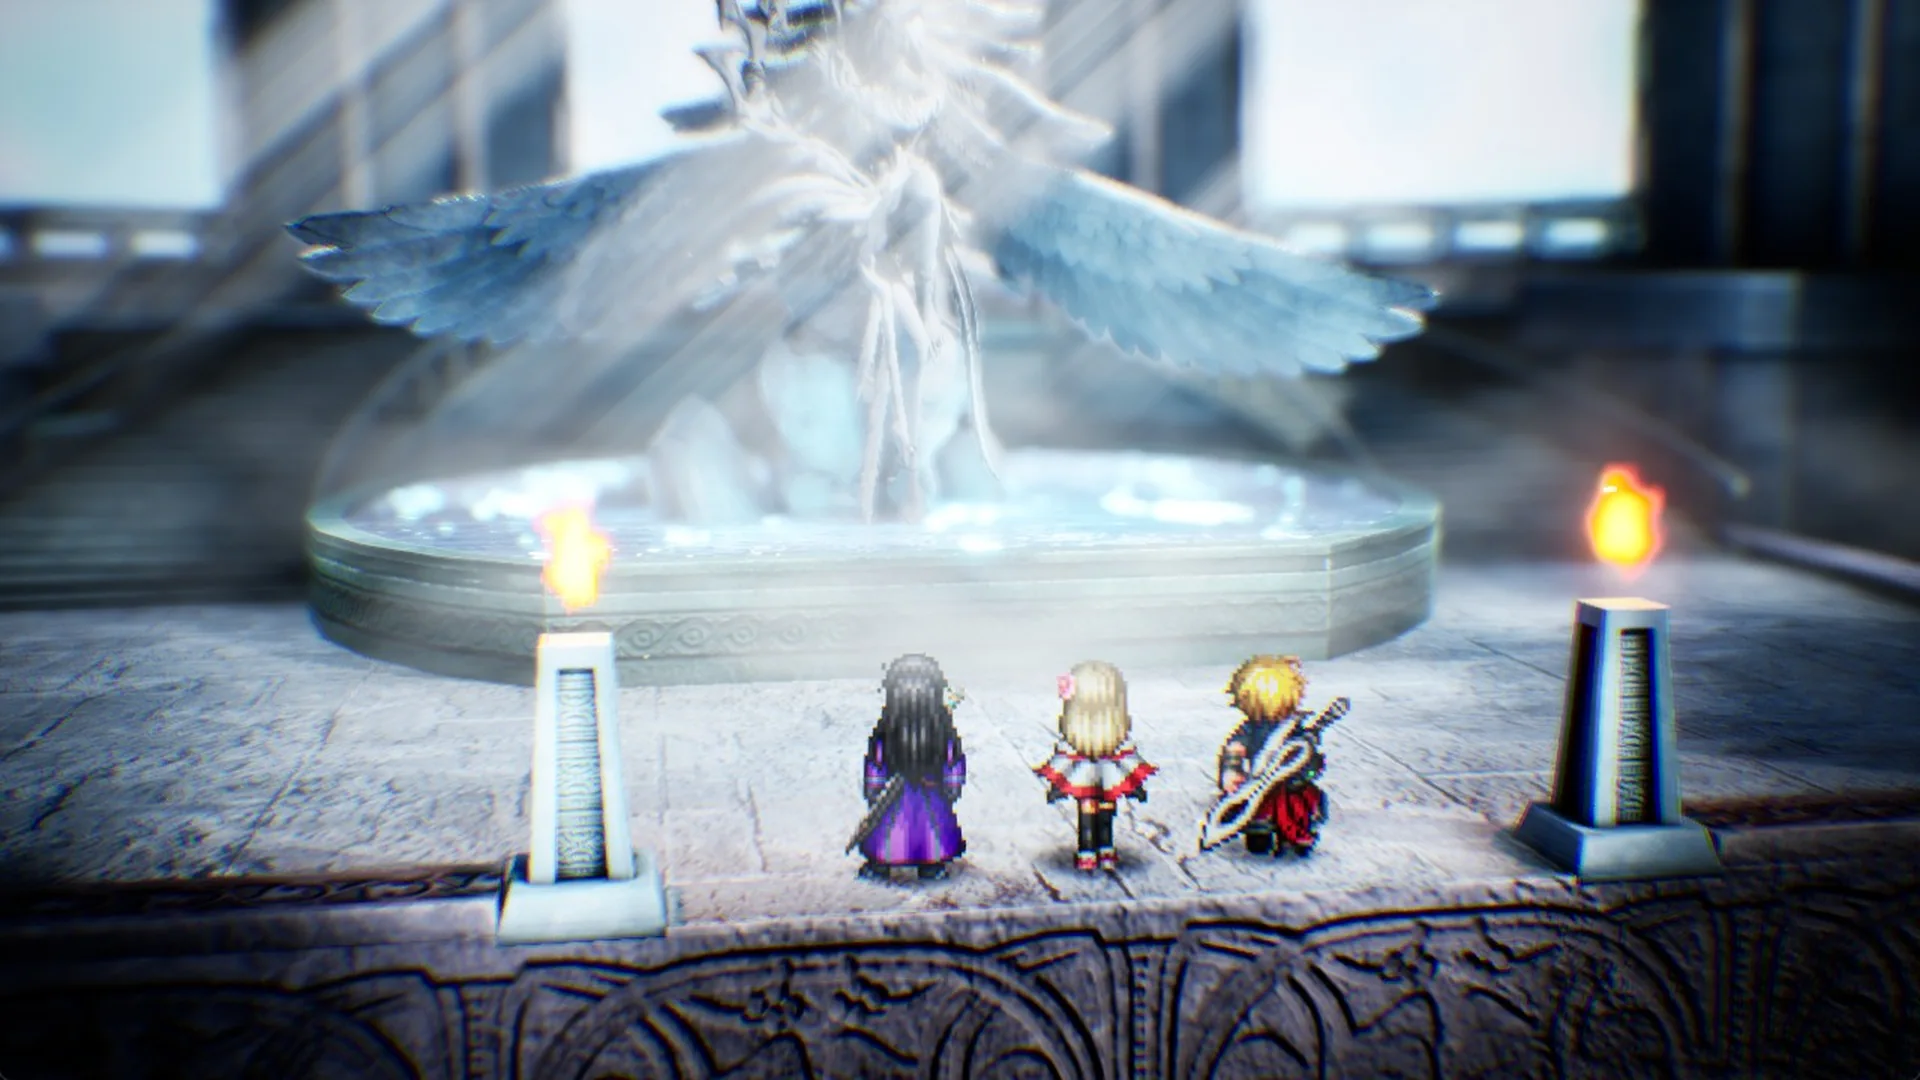
Press F to appear at the summit beside Siren’s statue and start the boss encounter. For guidance on the battle, see how to beat Siren. Continue with the rest of Chapter 1 in the walkthrough.
Also in the tower
Three more things in Siren’s Tower sit off the route above:
- On the second floor’s outer arc, there’s a chest containing Monk’s Prayer Beads (“Prevents Charm.”).
- A chest with the Sakura-Fubuki katana (43 Phys. Atk, 22 Mag. Atk) in the top half of the tower.
- On the third floor, a Lv 15 Citrine Pot can appear in battle and has a rare Elixir drop. Details are in Pot locations.
There’s no need to collect these during your initial ascent. Once Chapter 1 is complete, the tower remains available through fast travel, letting you return whenever you like. Find the game’s other shards in the Tablet Shard locations list.