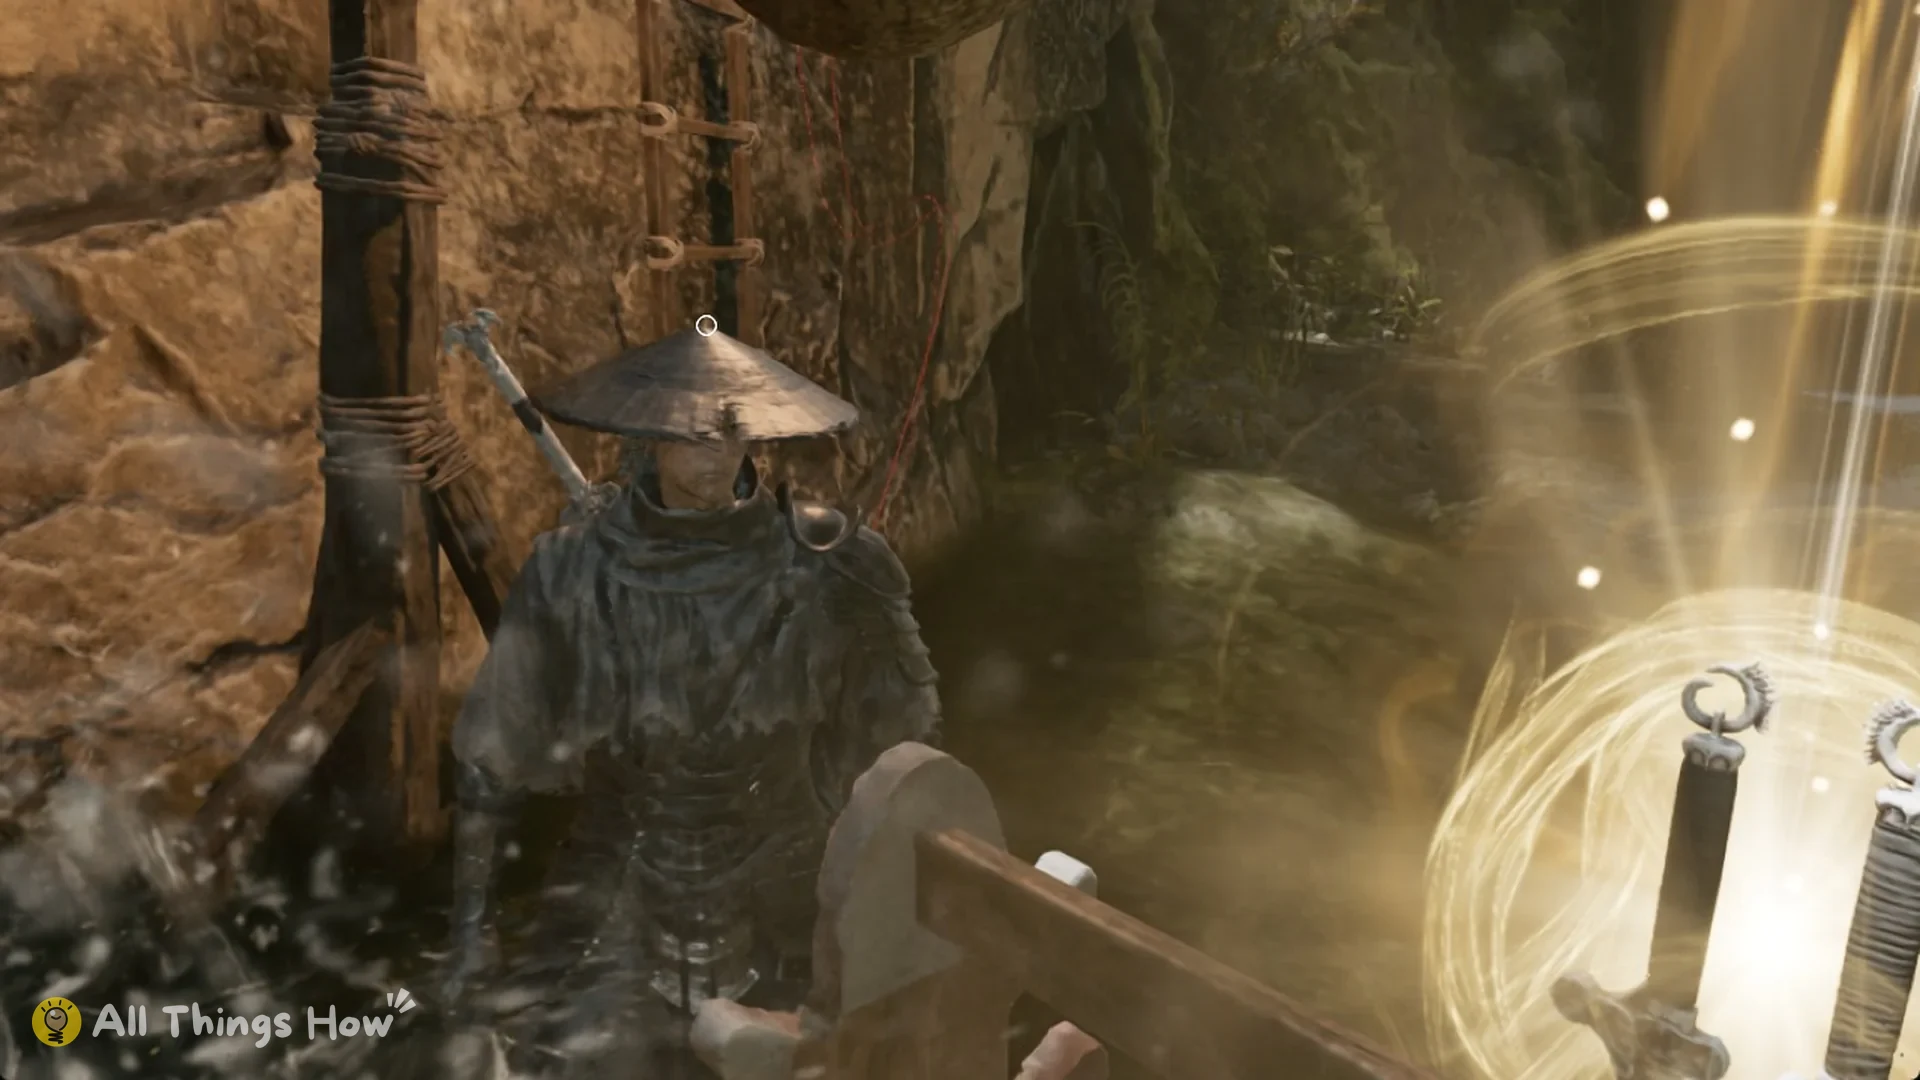
Quick answer: Run Sanguine Twin with Jagged Steel, the Dread Axe and Hunter’s Chain Sickle Phantom Edges, plus Battle Wraps, Hunter’s Insight and Medicine Case. You can find every part in Weeping Creek Valley.
Early build at a glance
| Slot | Pick | Numbers | Where to get it |
|---|---|---|---|
| Main Weapon 1 | 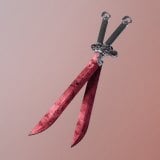 Sanguine Twin | Dual-Wield, Damage 200, Guard Break 100 | Weeping Creek Valley (First Meeting with Yu’er bell) |
| Main Weapon 2 | 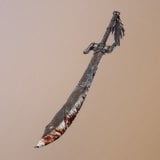 Jagged Steel | One-Handed, Damage 240, Status Effects 124 (Bleed) | Weeping Creek Valley (Rustblade Pavilion bell) |
| Phantom Edge 1 | 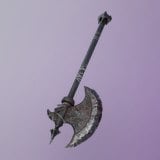 Dread Axe | Destructive, Damage 309, Guard Break 208 | Weeping Creek Valley (The Axemaster’s Fall bell) |
| Phantom Edge 2 | 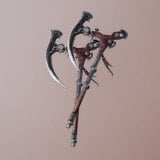 Hunter’s Chain Sickle | Martial, Damage 247, Guard Break 213 | Weeping Creek Valley (Great Waterfall bell) |
| Accessory 1 | 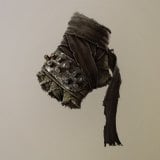 Battle Wraps | +5% damage (refined +10%) | Weeping Creek Valley (Red Thread Barrier bell) |
| Accessory 2 |  Hunter’s Insight | +7% damage and Sha-Chi depletion against attacking enemies (refined +15%) | Weeping Creek Valley (The Lady’s Rift bell) |
| Accessory 3 | 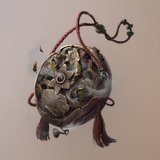 Medicine Case | +20% healing from Medicine (refined +30% and Super Armor) | Weeping Creek Valley (Outpost bell) |
| Accessory (swap) | 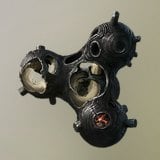 Reflex Device | +15% Parry and Perfect Dodge timing windows | Weeping Creek Valley (Valley Sha-Chi Tower Base bell) |
| Accessory (swap) | 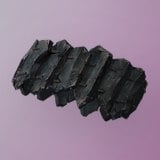 Boulderguard | -15% damage taken while not Guard-Broken | Weeping Creek Valley (The Axemaster’s Holding Cell bell) |
| Medicine 1 | 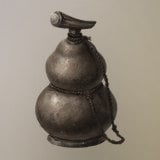 Healing Gourd | 40% HP at Lv 1, 50% at Lv 7 with 4 uses | On hand from the prologue |
| Medicine 2 | 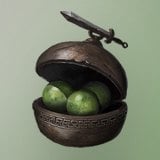 Focus Pill | -30% Sha-Chi use for 15 s, 30% HP over time | Weeping Creek Valley (The Axemaster’s Holding Cell bell), in a chest |
Phantom Blade Zero early build slots on the Equip screen
The entries below pair each item with its nearest bell. Unless a different level is specified, the figures are base card stats for level 1.
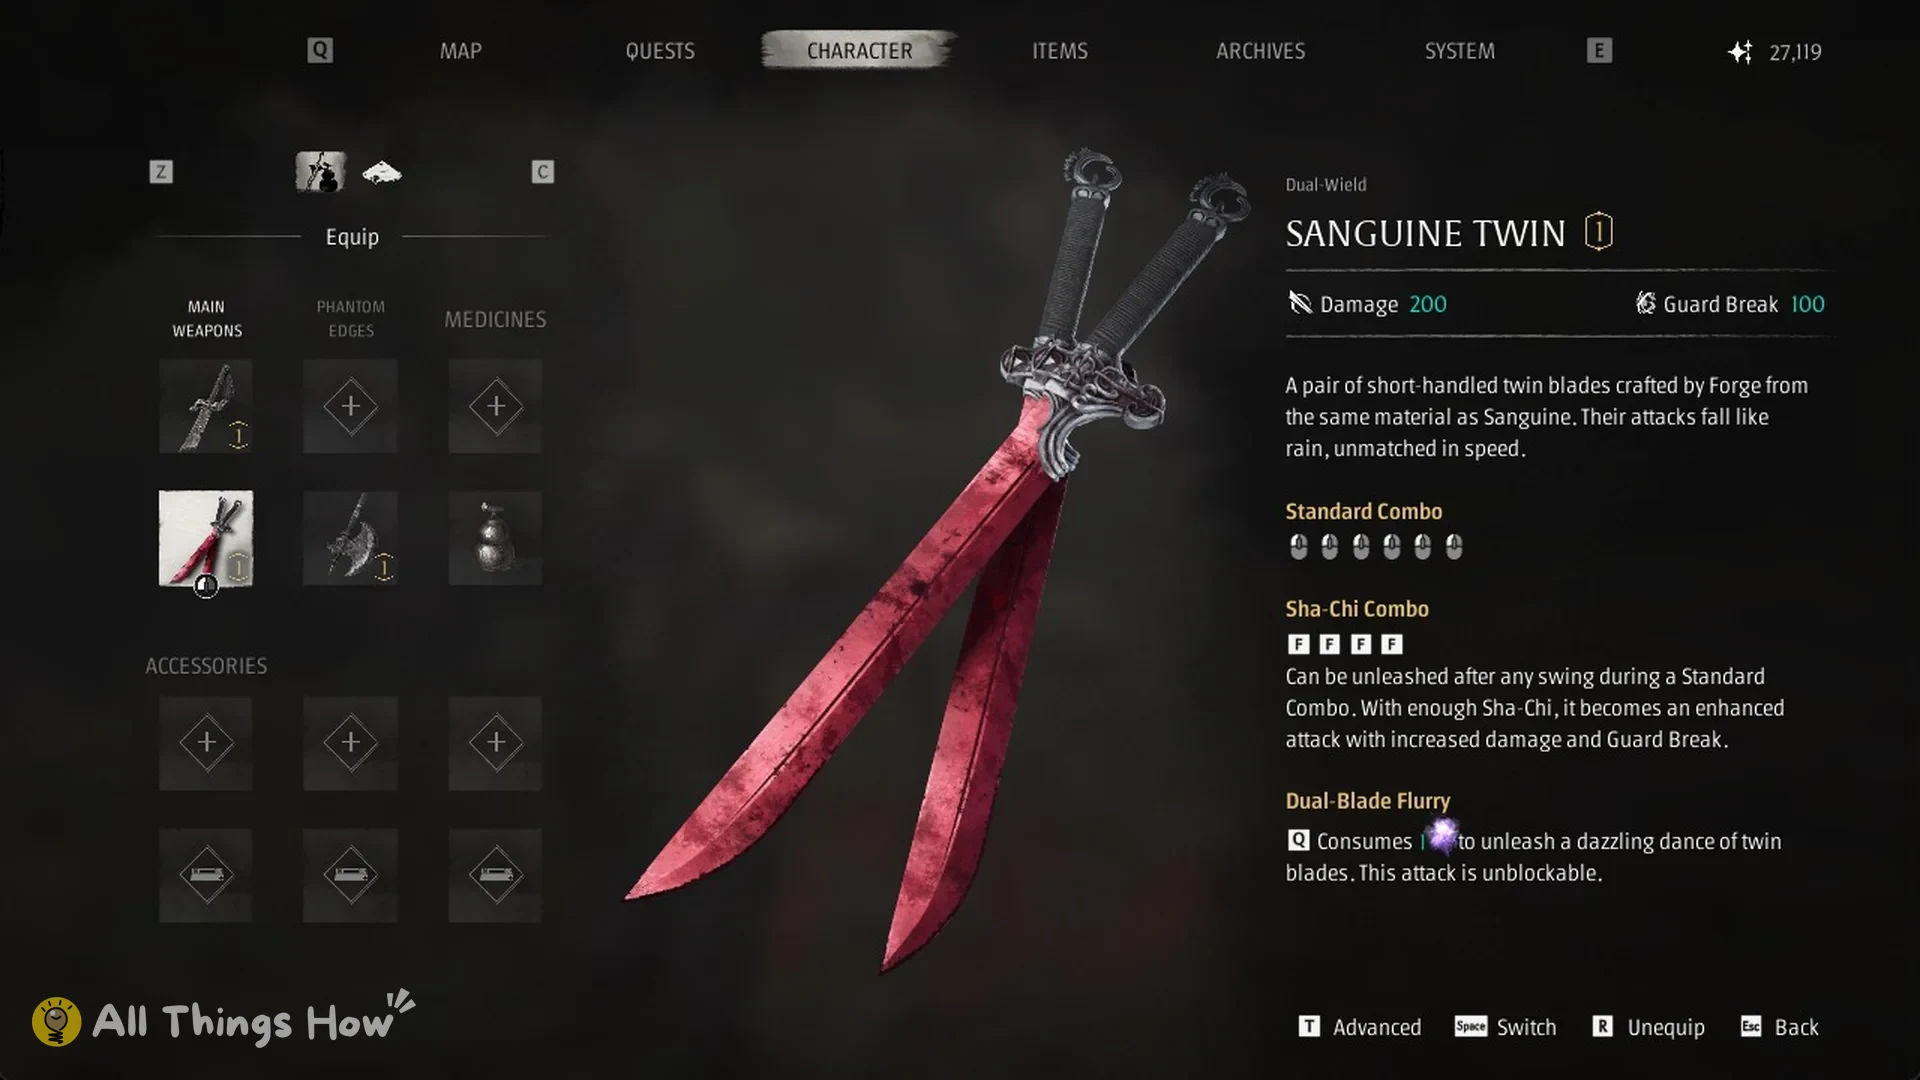
Open Character > Equip to set up the build. There are two slots for Main Weapons, two for Phantom Edges, two for Medicine and six for accessories. Three accessory slots are available immediately. Switching between your Main Weapons restores Sha-Chi, so choose weapons that make up for one another’s shortcomings.
Best early main weapons and their locations
Sanguine Twin goes in slot 1 and Jagged Steel goes in slot 2. The other three are options for specific jobs.
| Weapon | Pick | Numbers | Where to get it |
|---|---|---|---|
| Sanguine Twin | Our pick | Dual-Wield, Damage 200, Guard Break 100 | Weeping Creek Valley (First Meeting with Yu’er bell) |
| Jagged Steel | Our pick | One-Handed, Damage 240, Status Effects 124 (Bleed) | Weeping Creek Valley (Rustblade Pavilion bell) |
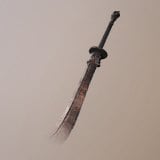 Scarlet Wraithblade | Option | Two-Handed, Damage 240, Guard Break 117 | Reward from Hua, Deadly Betrothed, Weeping Creek Valley (Flesh Lily Fields) |
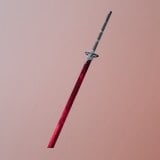 Sanguine Reach | Option | Two-Handed, Damage 200, Guard Break 100 | Weeping Creek Valley (Outpost bell) |
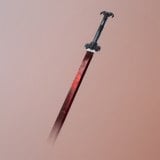 Sanguine | Option | One-Handed, Damage 200, Guard Break 100 | Soul’s own weapon from the start |
Sanguine Twin (slot 1)
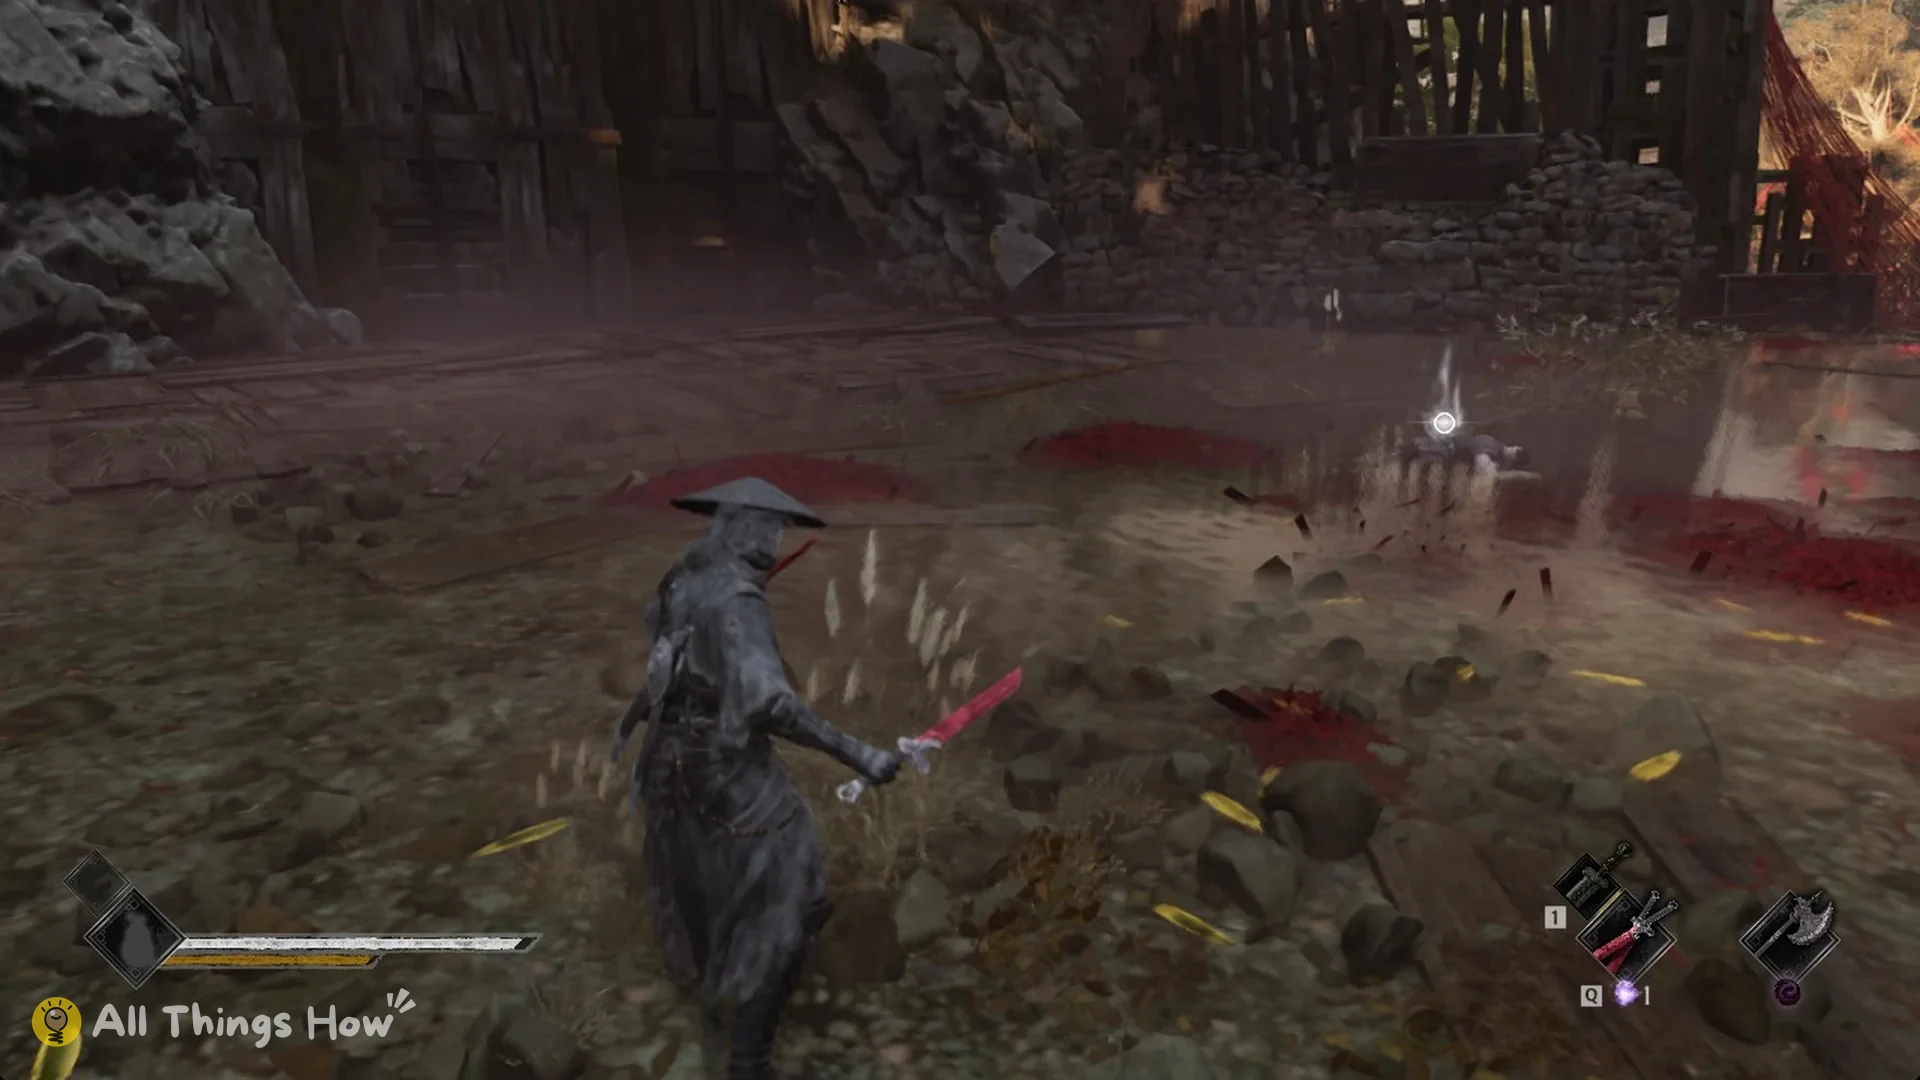
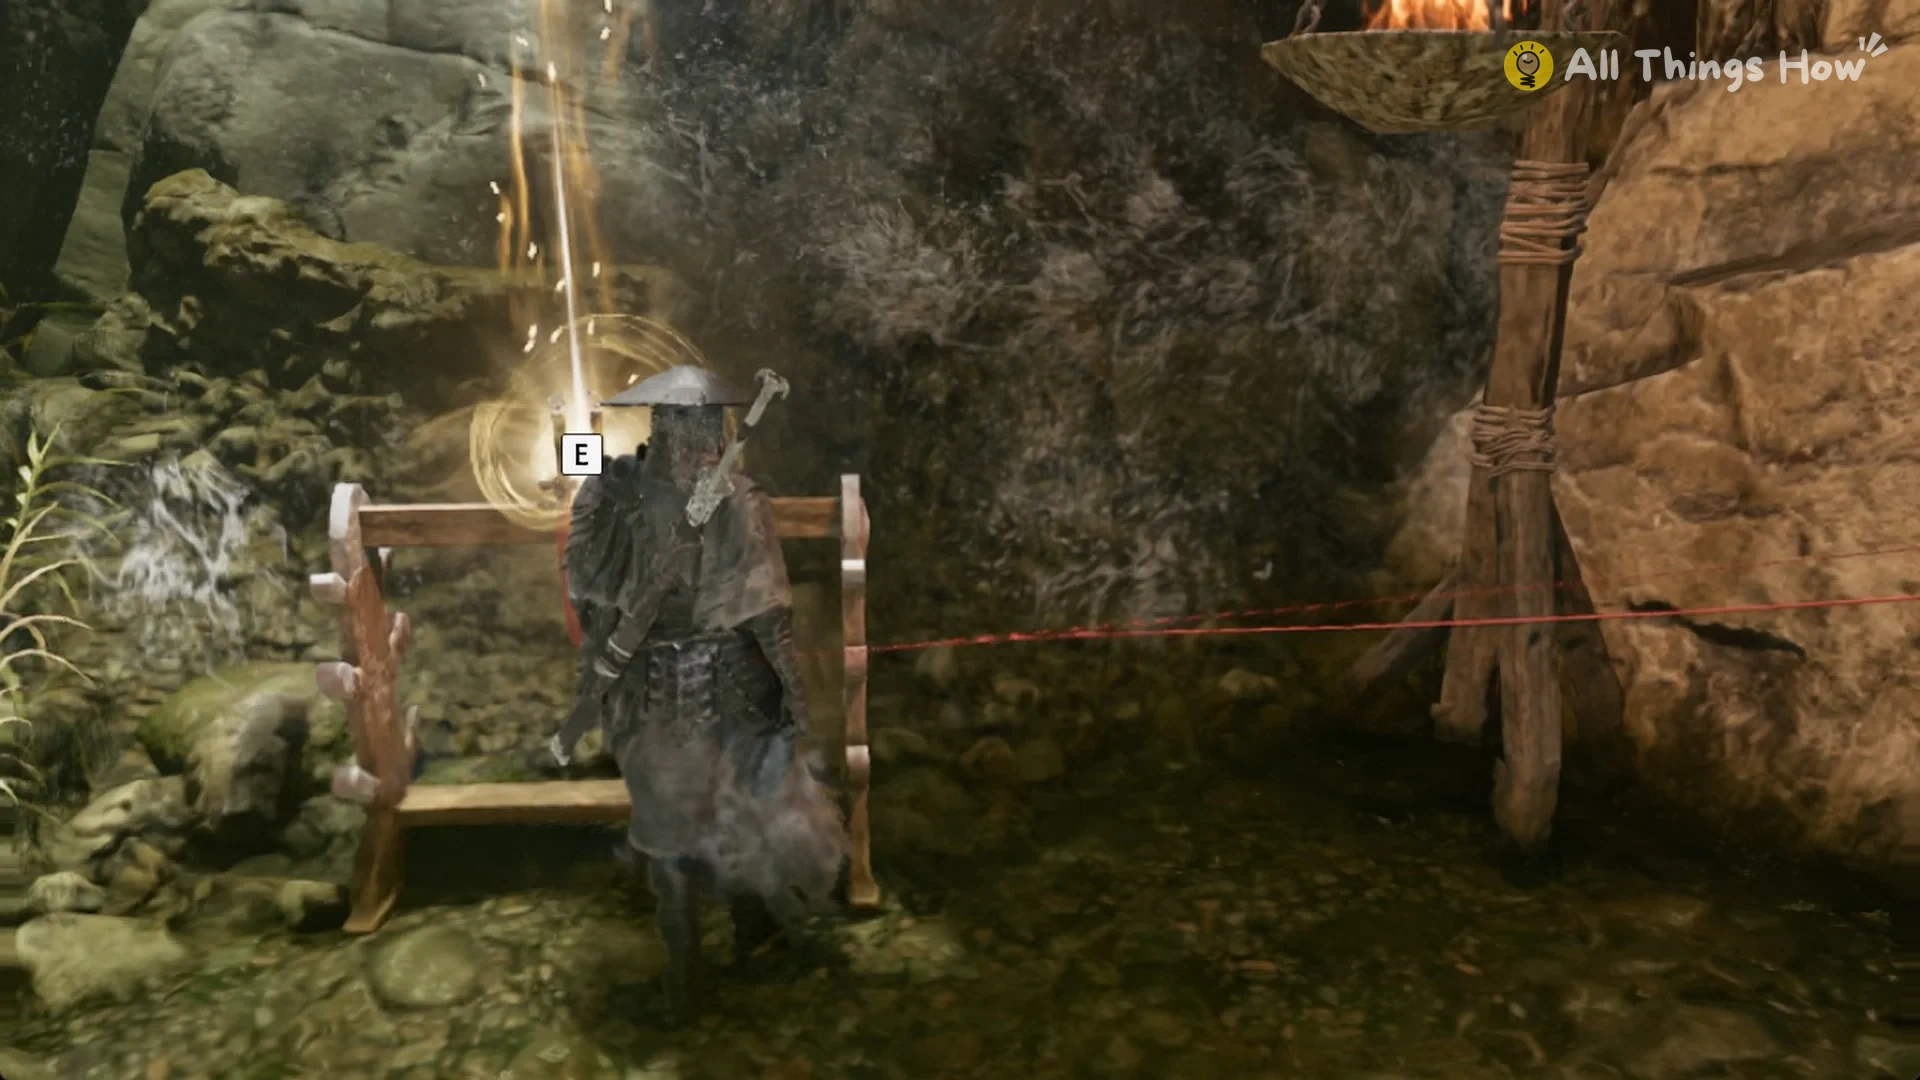
Sanguine Twin is a Dual-Wield weapon with Damage 200 and Guard Break 100. You’ll find it near the First Meeting with Yu’er bell, glowing behind a wooden rack. Its card reads “A pair of short-handled twin blades crafted by Forge from the same material as Sanguine. Their attacks fall like rain, unmatched in speed.” Its Power Surge, Dual-Blade Flurry, cannot be blocked.
Jagged Steel (slot 2)
Jagged Steel is a One-Handed weapon with Damage 240 and Status Effects 124. That ties it with Scarlet Wraithblade for the highest Damage among the early main weapons. It sits near the Rustblade Pavilion bell. The card says “A battered, rust-scarred blade with a jagged edge. Its slashes inflict Bleeding and can trigger Blood Loss.” Bleed has no effect on Puppets, Golden Bodies or Phantom Bodies.
Scarlet Wraithblade (Guard Break option)
Scarlet Wraithblade is Two-Handed, with Damage 240 and Guard Break 117. It is the reward from Hua, Deadly Betrothed at Flesh Lily Fields. Red Spider Lilies remain after Heavy Attack combos, slowing enemies and draining their Sha-Chi.
Sanguine Reach (crowd option)
Sanguine Reach is a Two-Handed weapon with Damage 200 and Guard Break 100. Look for a glowing blade behind the weapon rack next to the forge at the Outpost bell. Its card reads “A two-handed long blade crafted by Forge from the same materials as Sanguine. Designed for wide, sweeping strikes, it cuts through crowds with overwhelming force.”
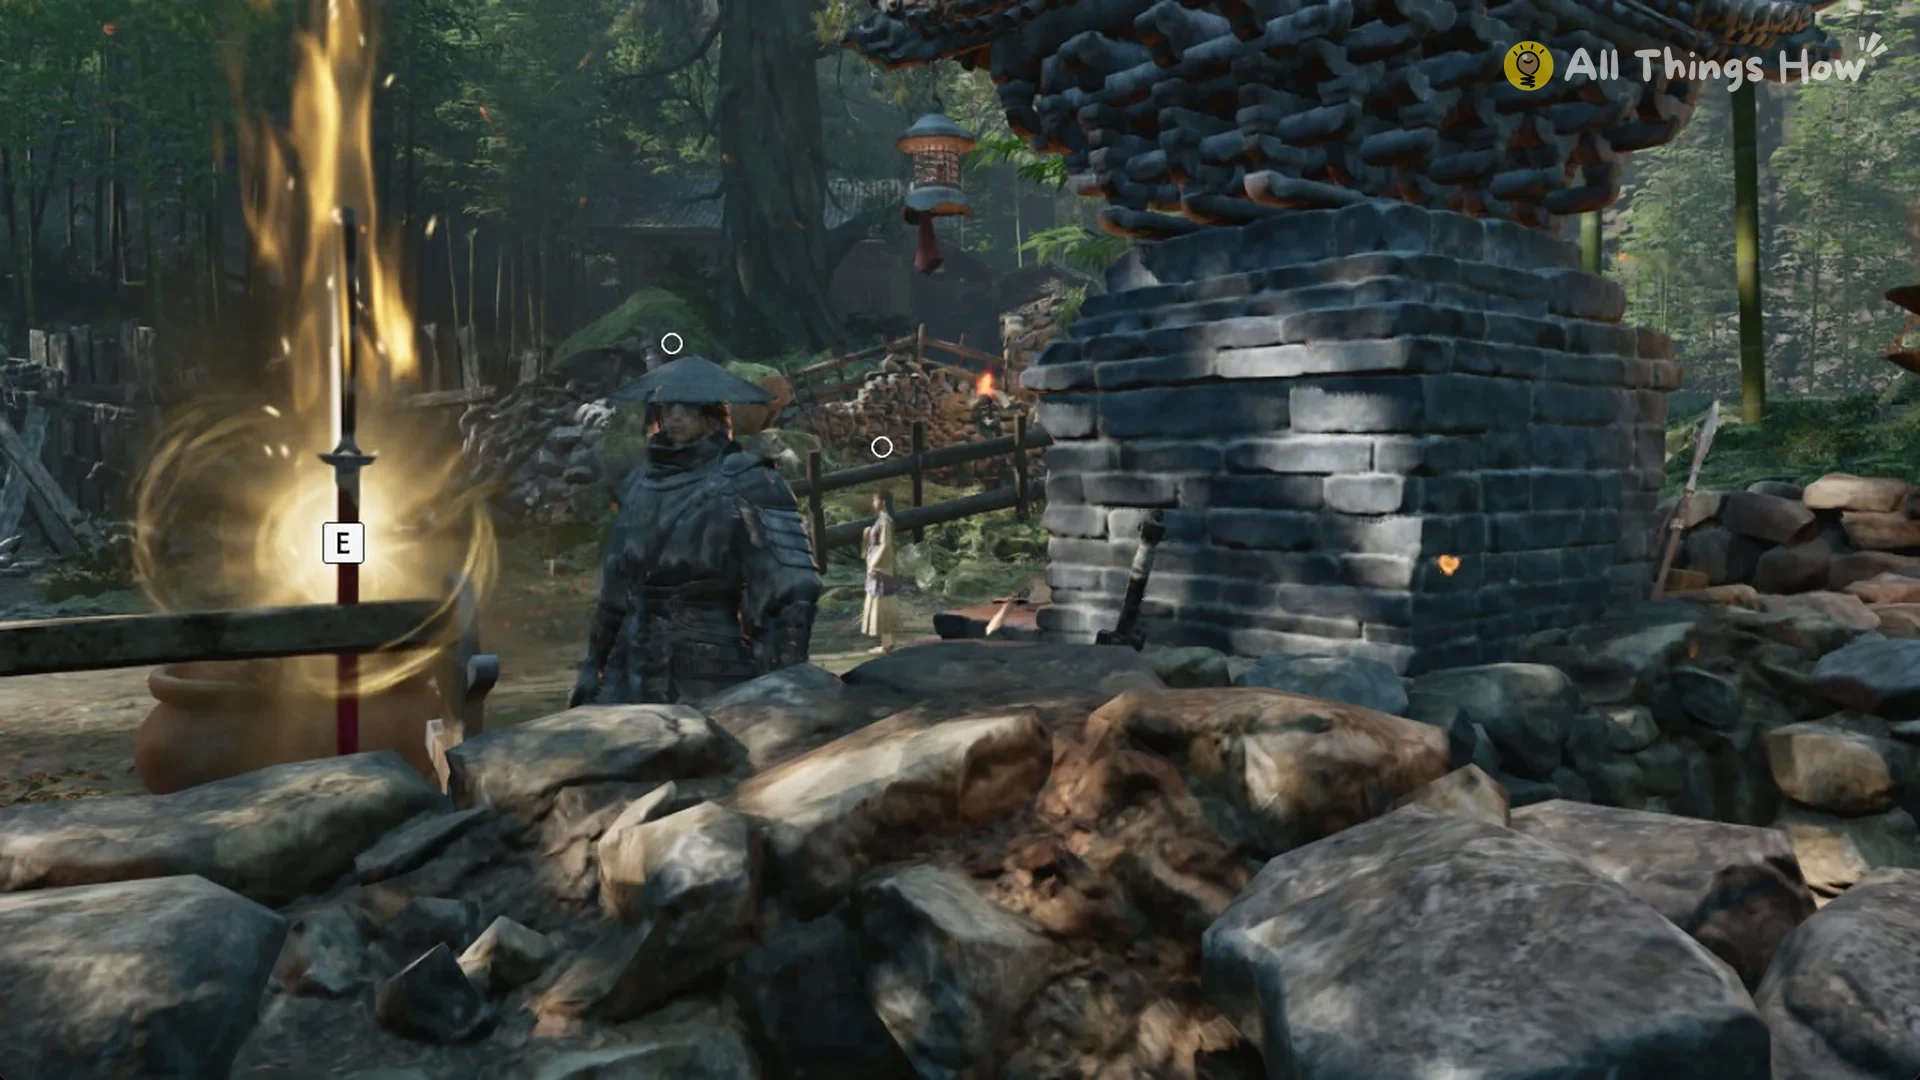
Sanguine
Sanguine is Soul’s own blade, and you have it from the start. It’s a One-Handed weapon with Damage 200 and Guard Break 100.
Best early Phantom Edges: Dread Axe and Hunter’s Chain Sickle
| Phantom Edge | Pick | Numbers | Where to get it |
|---|---|---|---|
| Dread Axe | Our pick | Destructive, Damage 309, Guard Break 208 | Weeping Creek Valley (The Axemaster’s Fall bell) |
| Hunter’s Chain Sickle | Our pick | Martial, Damage 247, Guard Break 213 | Weeping Creek Valley (Great Waterfall bell) |
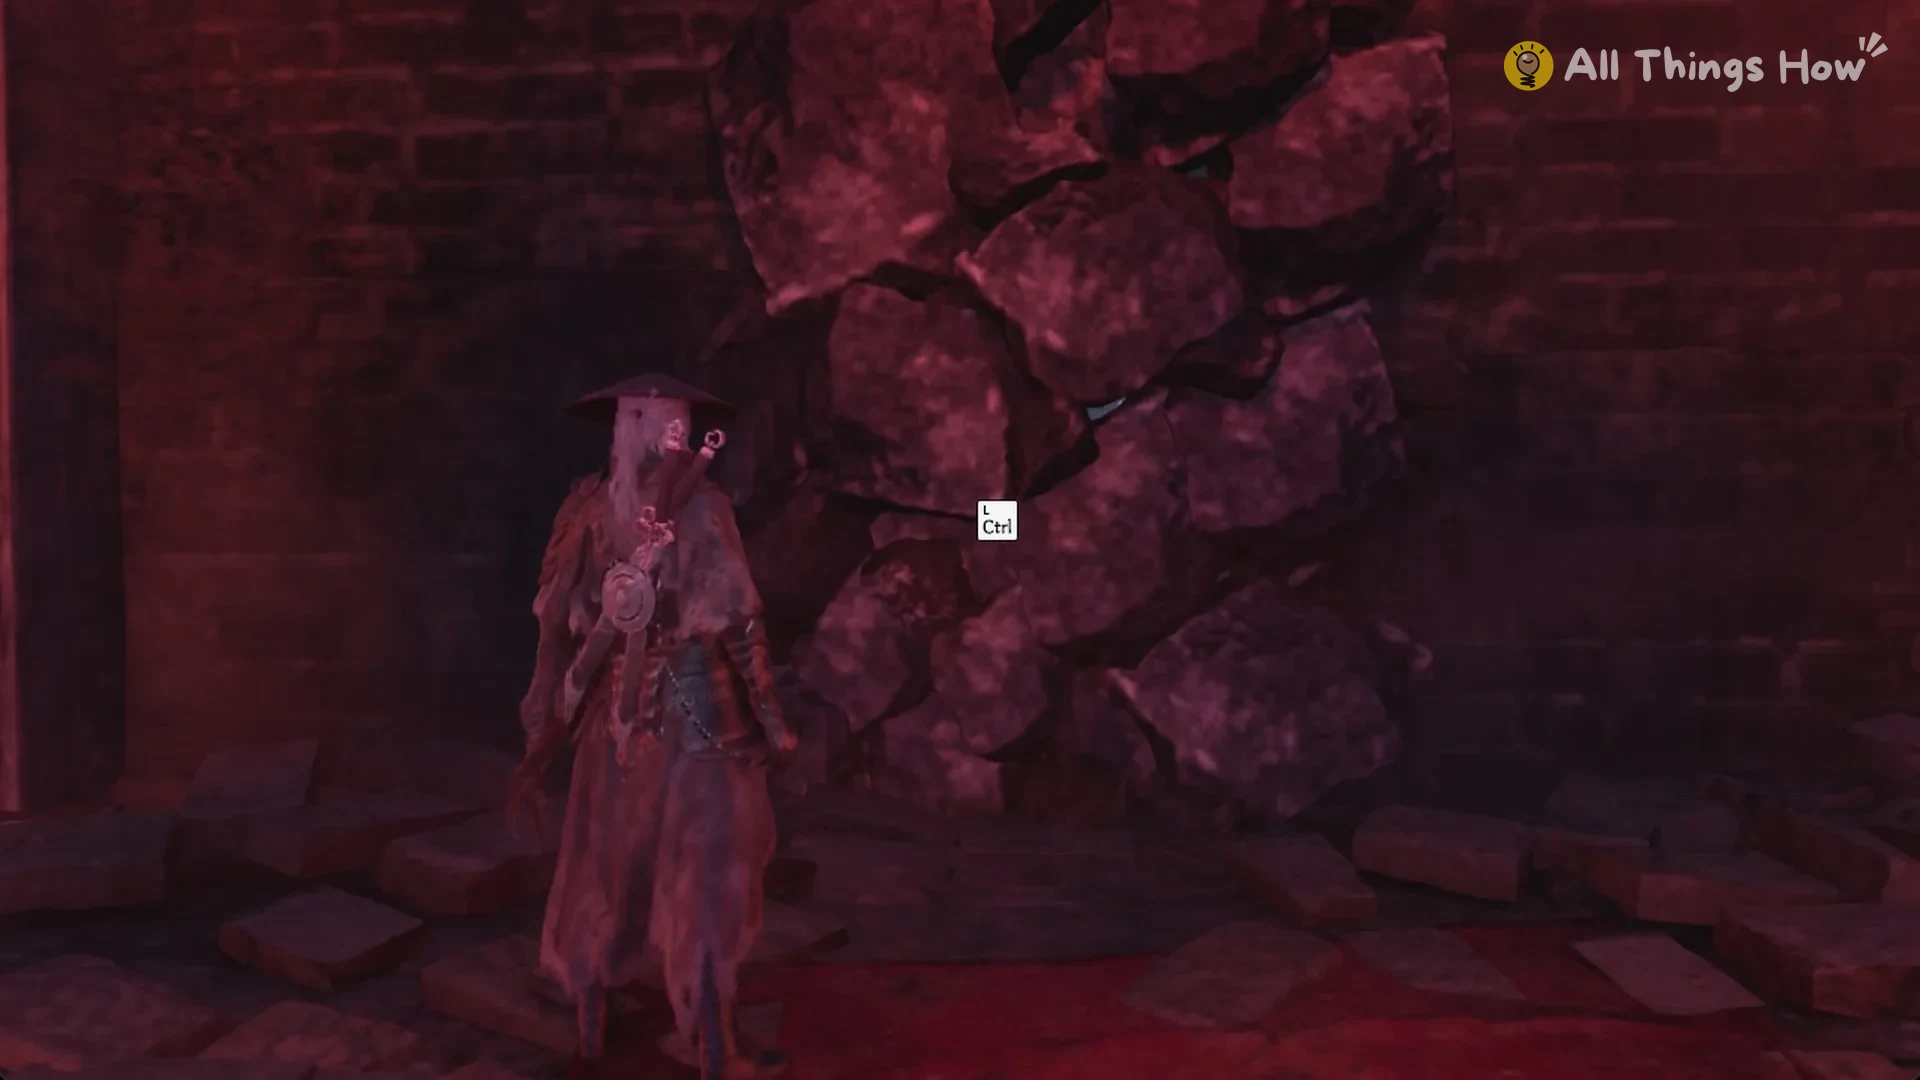
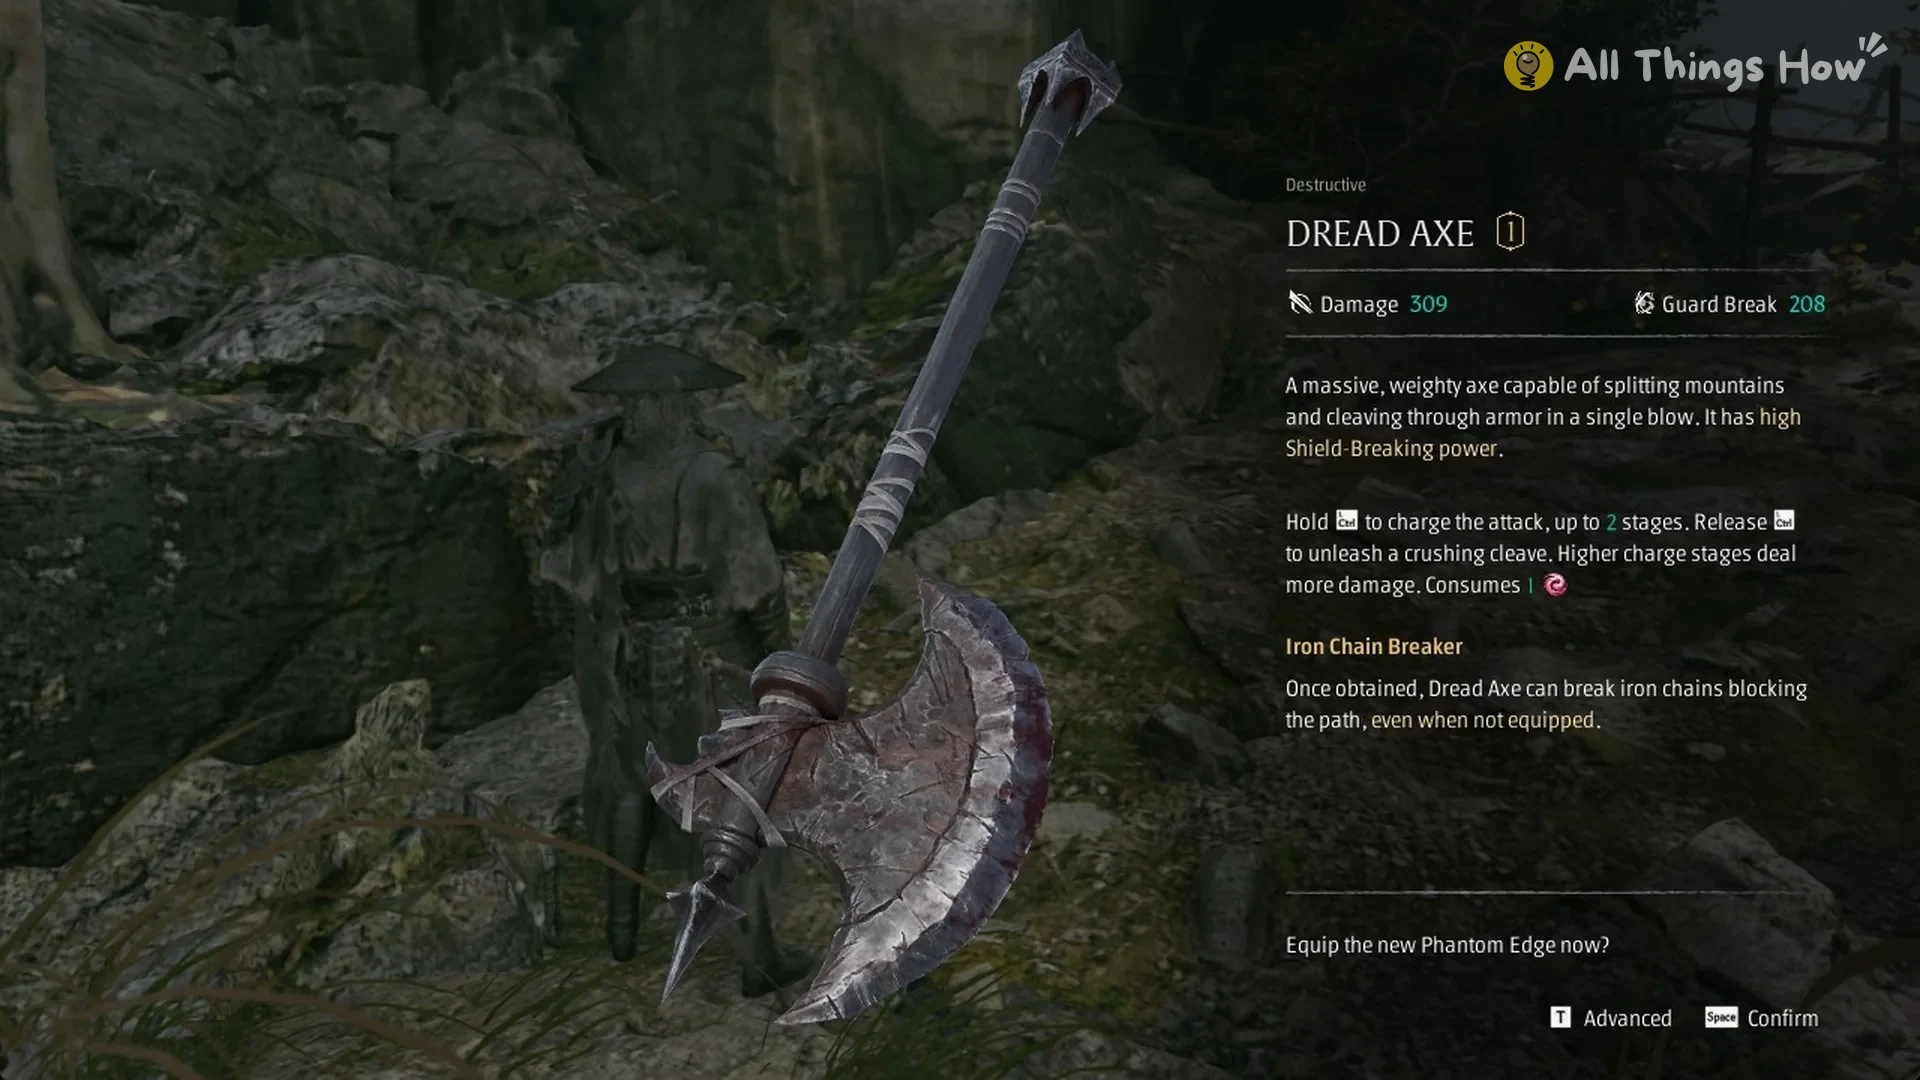
Dread Axe is a Destructive Phantom Edge with Damage 309 and Guard Break 208. It is the reward from Axemaster Peng Meng at The Axemaster’s Fall. Hold the Phantom Edge key “to charge the attack, up to 2 stages”. The card also lists “high Shield-Breaking power”. Its Iron Chain Breaker line reads “Once obtained, Dread Axe can break iron chains blocking the path, even when not equipped.”
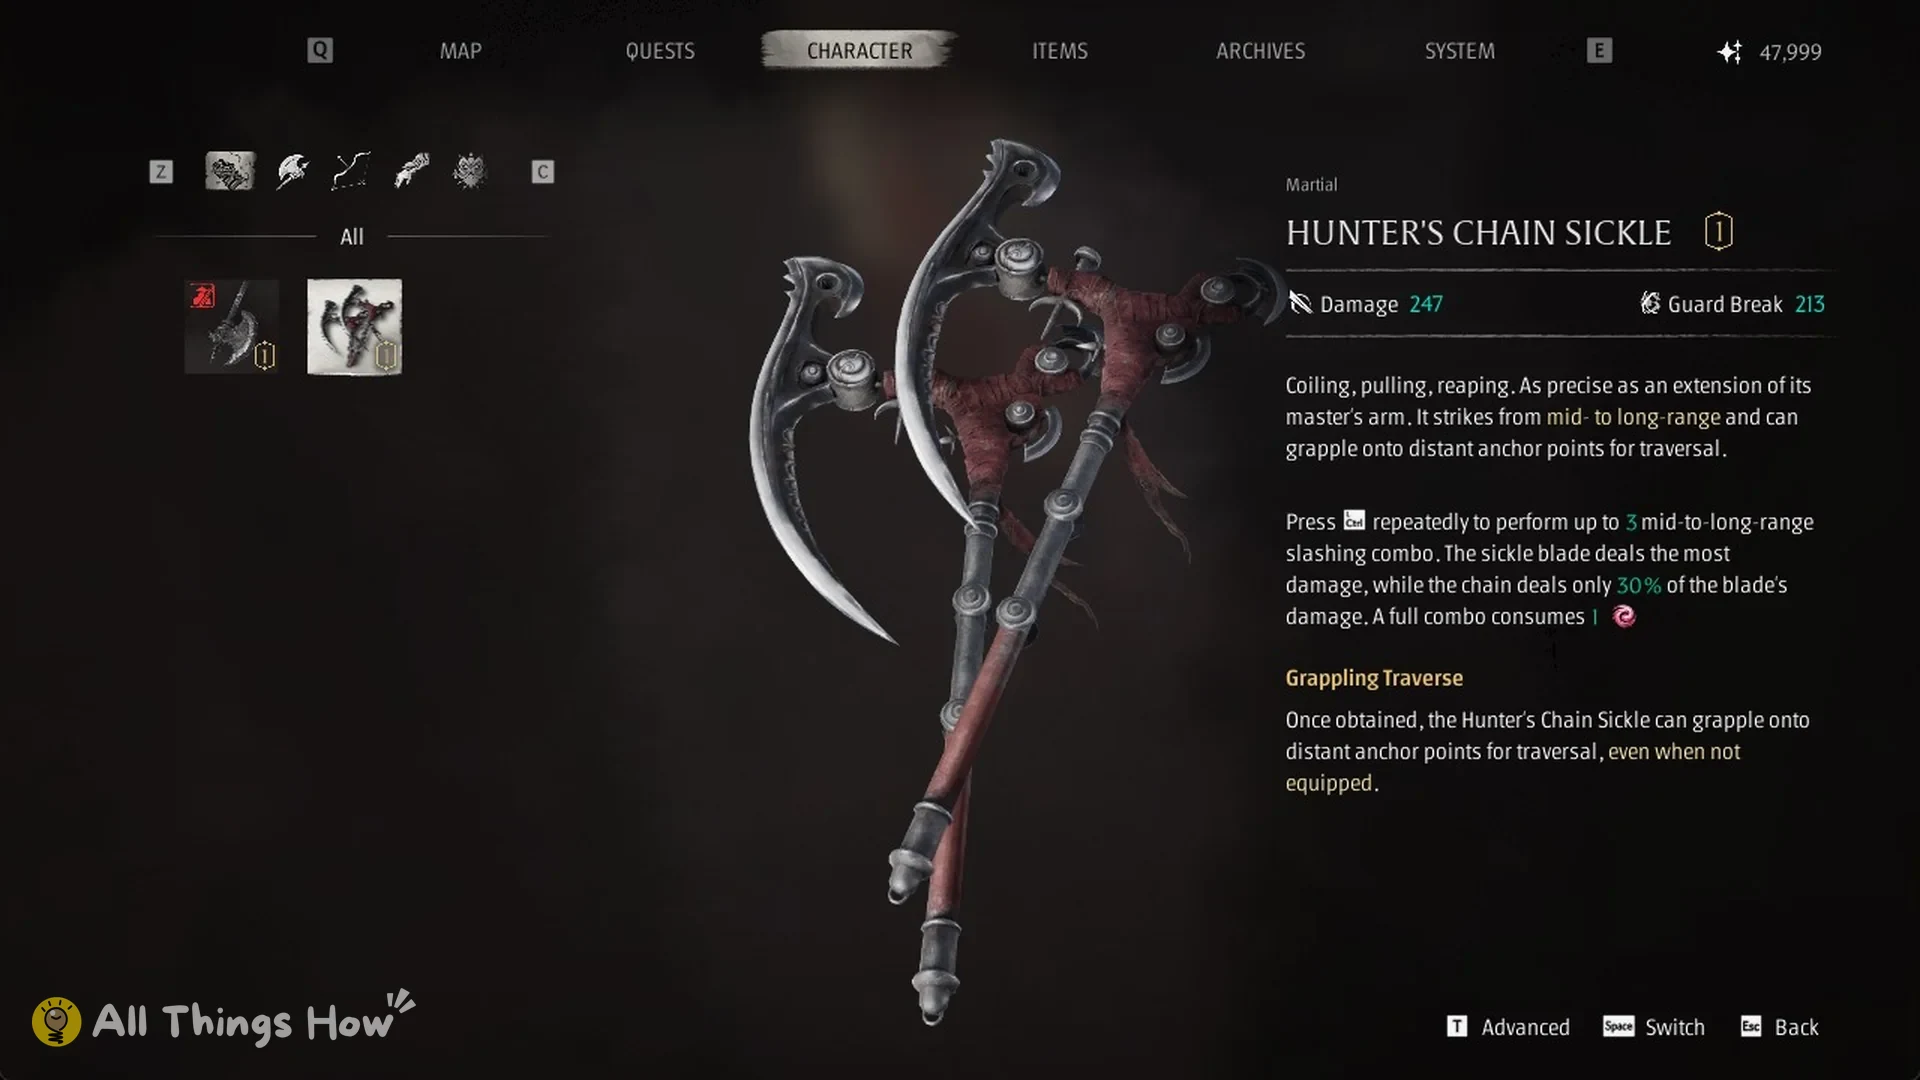
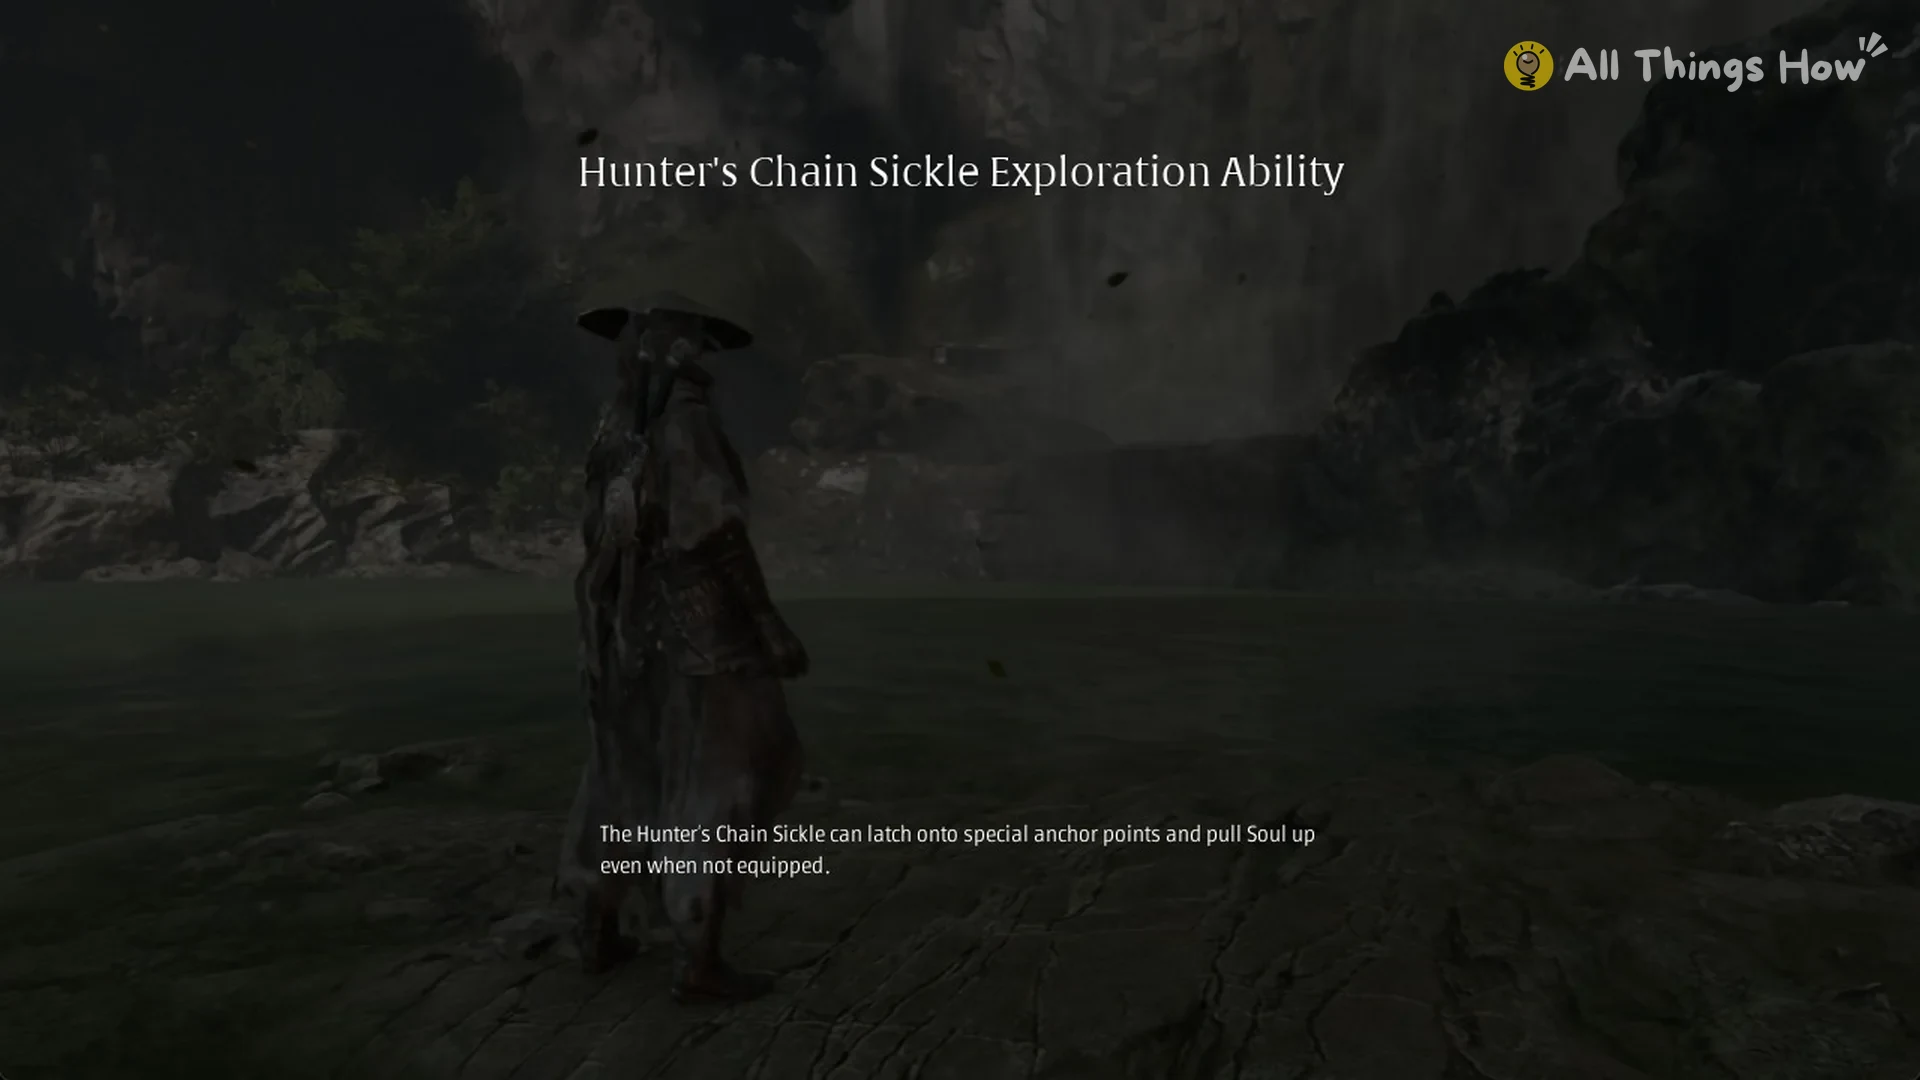
Hunter’s Chain Sickle is a Martial Phantom Edge with Damage 247 and Guard Break 213. It’s near the Great Waterfall bell. It hits from mid to long range in a combo of up to 3 slashes. Its Grappling Traverse line reads “Once obtained, the Hunter’s Chain Sickle can grapple onto distant anchor points for traversal, even when not equipped.”
Best early accessories and where to find them
Put these three in the accessory slots that are open from the start:
- Battle Wraps: “Increases damage dealt to enemies by 5%.” Found at the Red Thread Barrier bell.
- Hunter’s Insight: “Increases damage dealt and Sha-Chi depletion against attacking enemies by 7%” Found at The Lady’s Rift bell.
- Medicine Case: “Increases healing from Medicine by 20%.” Found at the Outpost bell.
The same region has more accessories you can swap in. If you parry a lot, use Reflex Device. If you take a lot of hits, use Boulderguard.
| Accessory | Pick | Effect | Where to get it |
|---|---|---|---|
| Battle Wraps | Our pick | +5% damage (refined +10%) | Weeping Creek Valley (Red Thread Barrier bell) |
| Hunter’s Insight | Our pick | +7% damage and Sha-Chi depletion against attacking enemies (refined +15%) | Weeping Creek Valley (The Lady’s Rift bell) |
| Medicine Case | Our pick | +20% healing from Medicine (refined +30% and Super Armor) | Weeping Creek Valley (Outpost bell) |
| Reflex Device | Option | +15% Parry and Perfect Dodge timing windows | Weeping Creek Valley (Valley Sha-Chi Tower Base bell) |
| Boulderguard | Option | -15% damage taken while not Guard-Broken | Weeping Creek Valley (The Axemaster’s Holding Cell bell) |
 Shenji’s Ring | Option | -20% Sha-Chi used when blocking (refined -30%) | Weeping Creek Valley (Outpost bell) |
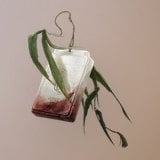 Lingran’s Pendant | Option | -15% Sha-Chi used by Heavy Attack Sha-Chi Combos (refined -30%) | Weeping Creek Valley (The Beginning bell), in a chest |
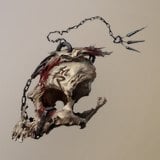 Token of Pursuit | Option | +7% damage to Guard-Broken enemies (refined +15%) | Weeping Creek Valley (Ruthless Archer Camp bell), in a chest |
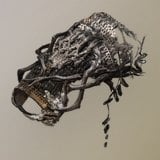 Ancient Armor Fragment | Option | Damage reduction up to 20% at full HP | Weeping Creek Valley (Crimson Manor bell) |
Best early Medicine for the two slots
You have the Healing Gourd from the prologue. It restores 40% HP at level 1.
Open the chest beside The Axemaster’s Holding Cell bell to get the Focus Pill. For 15 seconds, it reduces Sha-Chi use by 30% and restores 30% HP.
Look in the chest beside the Valley Sha-Chi Tower Base bell for the Vessel Restorative. It restores 70% HP and raises natural Sha-Chi recovery by 50% for 5 seconds. It has one use at every level.
| Medicine | Pick | Effect at Lv 1 | Where to get it |
|---|---|---|---|
| Healing Gourd | Our pick | 40% HP at Lv 1, 50% at Lv 7 with 4 uses | On hand from the prologue |
| Focus Pill | Our pick | -30% Sha-Chi use for 15 s, 30% HP over time | Weeping Creek Valley (The Axemaster’s Holding Cell bell), in a chest |
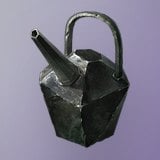 Vessel Restorative | Option | 70% HP, +50% natural Sha-Chi recovery for 5 s, 1 use | Weeping Creek Valley (Valley Sha-Chi Tower Base bell), in a chest |
Abilities to train first with Remnant Dust
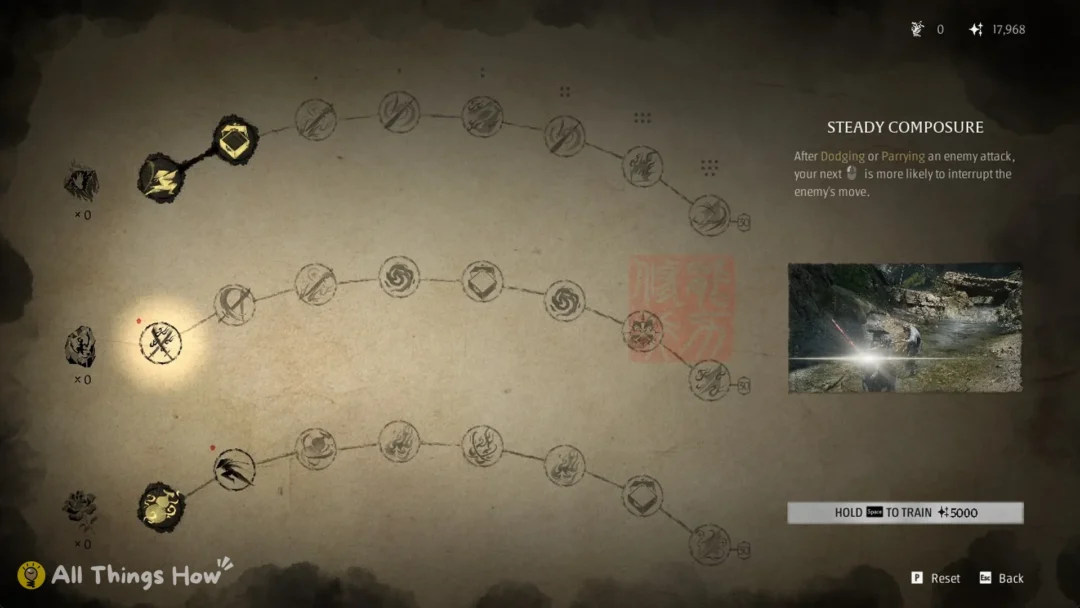
You can train abilities at any bell by spending Remnant Dust. Fluid Form is already unlocked at 0. Train these next:
| Ability | Remnant Dust | What it does |
|---|---|---|
 Fluid Form | 0 | Quick Pursuit on a distant enemy after a Perfect Dodge, a Parry or a Guard Break |
 Healing Art | 5,000 | +1 Medicine use |
 Steady Composure | 5,000 | next Light Attack after a Dodge or Parry interrupts more |
 Boundless Capacity Lv. 1 | 10,000 | +1 accessory slot |
 Thousand-mile Stride | 10,000 | high-speed sprint after 2 s of sprinting |
 Flow Like Water | 12,500 | blocking and dodging keep the combo going |
Upgrading Sanguine Twin and Jagged Steel
In our run, taking Jagged Steel from level 1 to level 2 required no materials; afterward, its stats were Damage 264 and Status Effects 136.
In our run, the Sanguine Twin upgrade screen at level 2 showed Damage 220 and Guard Break 110. The step to level 3 asked for 4 Twinned Metal, 2 Solvent and 1,485 Remnant Dust, which brought it to Damage 240 and Guard Break 120.
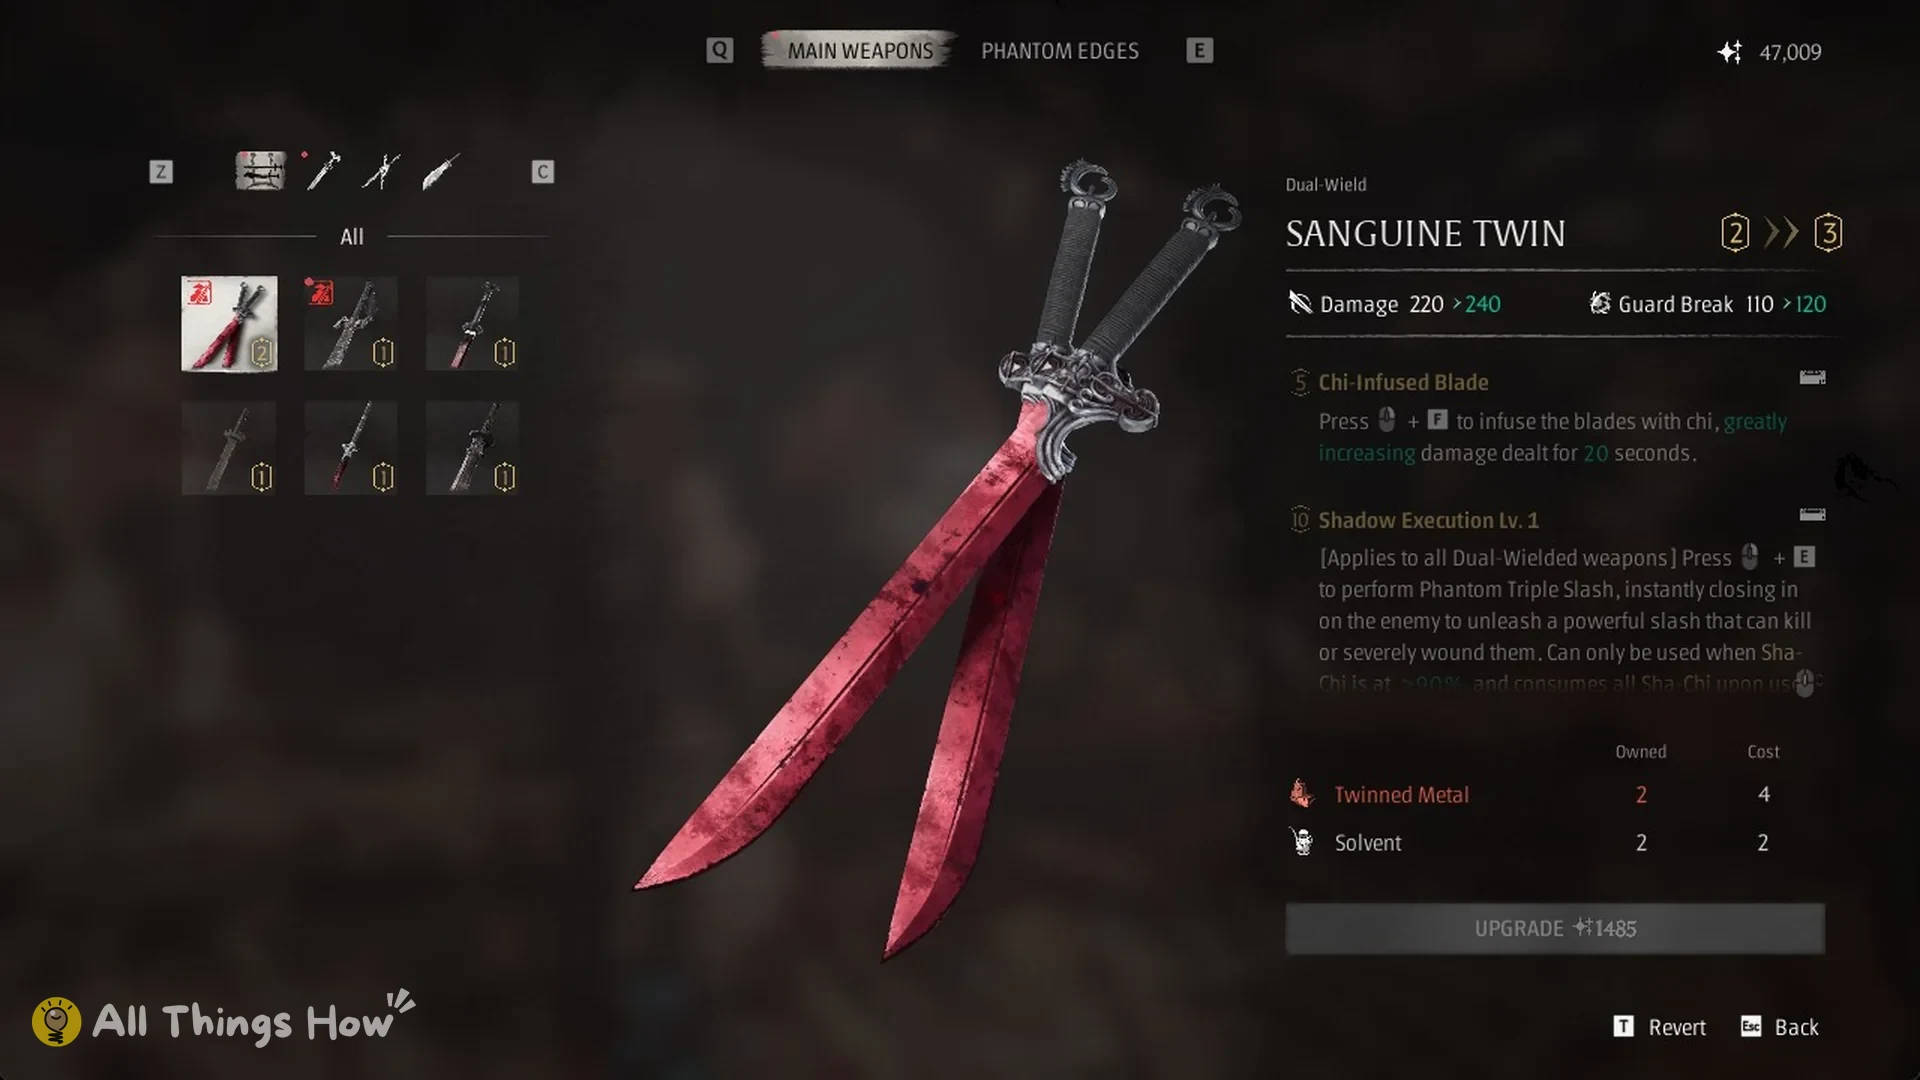
Prioritize upgrades for both Main Weapons. Every level increases each of the two card values.
How to play the Phantom Blade Zero early build
Your Light Attack string is the Standard Combo. The Sha-Chi Combo card line reads “Can be unleashed after any swing during a Standard Combo. With enough Sha-Chi, it becomes an enhanced attack with increased damage and Guard Break.”
Start with Jagged Steel against anything that bleeds. Use its Power Surge, Jagged Steel Rampage, to fill the Bleed Gauge. Each Power Surge costs 1 Sha-Chi Essence.
Use Sanguine Twin on Puppets and any other foes immune to Bleed. Changing weapons restores Sha-Chi, and enemies cannot block Dual-Blade Flurry.
Against enemies that guard, spend Remnant Spark on a charged Dread Axe. When a target is out of reach, use the Hunter’s Chain Sickle.