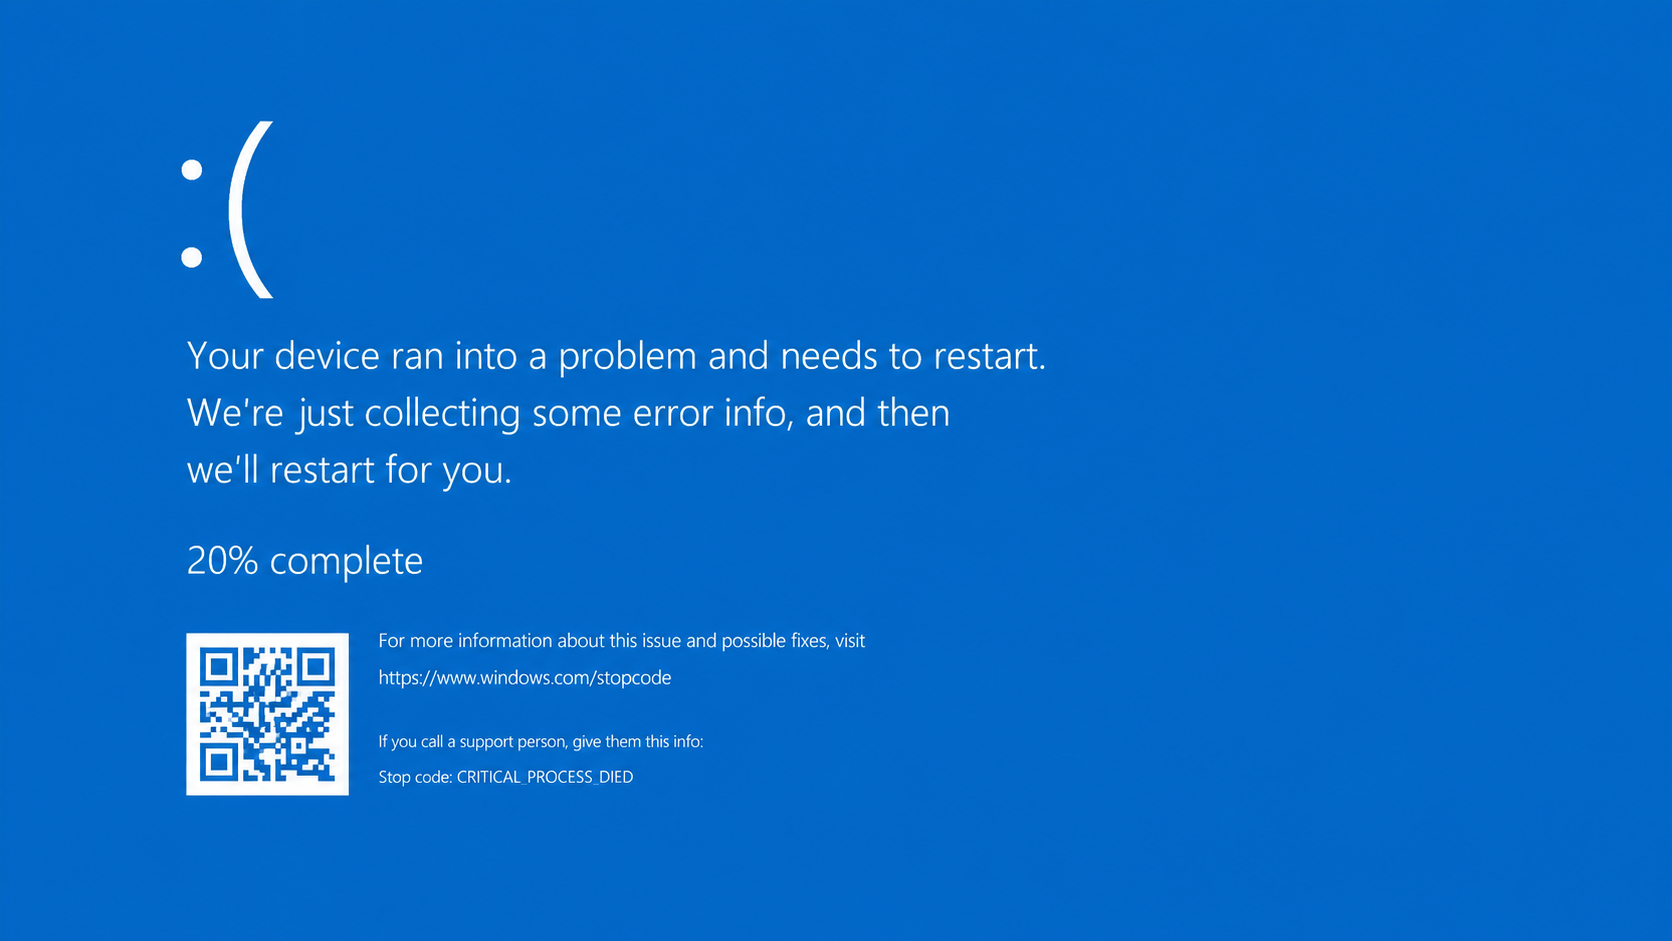
A CRITICAL_PROCESS_DIED blue screen with the code 0xEF (stop code 0x000000EF) means a process that Windows 11 cannot run without has shut down unexpectedly. Sometimes it hits once and the PC reboots normally. Other times it turns into a loop of “Critical process died,” then “Starting Automatic Repair,” then “Your PC did not start correctly,” with every recovery option failing in turn.
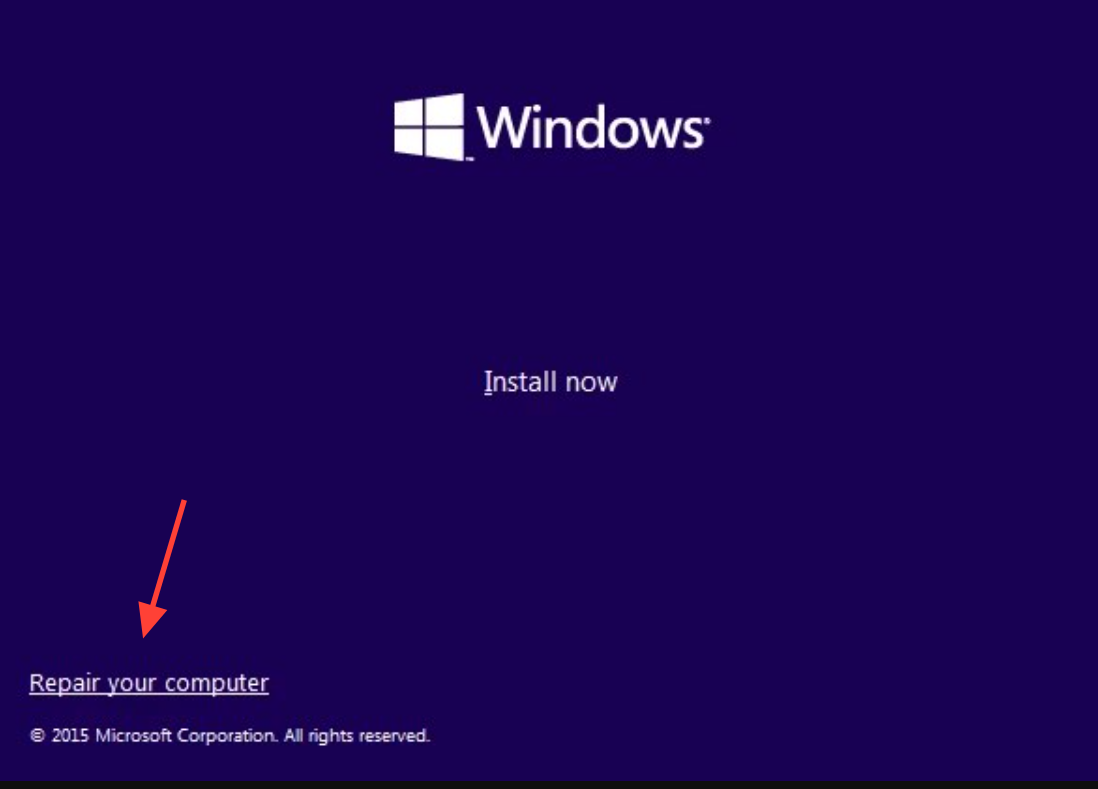
Quick answer: Boot into the Windows Recovery Environment (force a hard shutdown three times during startup), suspend BitLocker, then run sfc /scannow and DISM /Online /Cleanup-Image /RestoreHealth from Command Prompt. If those fail, uninstall the most recent update or do a system restore. If recovery still won’t complete, boot from a Windows 11 USB and use “Repair this computer.”
What causes the 0xEF critical process error
This bug check fires when a critical system process ends without warning. The most common root cause is hardware, but corrupted system files, a bad update, and third-party drivers all produce the same crash. Knowing which one you are dealing with decides how you fix it.
| Likely cause | Typical sign |
|---|---|
| Failing hardware (RAM, storage, power) | Random freezes then a crash, happens across different apps and at desktop |
| Corrupted system files | Crash after a forced shutdown or interrupted update; sfc reports repaired files |
| A problematic Windows update | Crashes begin right after an update; a restore point was used mid-update |
| Anti-cheat or other third-party drivers | Crashes return only after installing a game such as VALORANT with Riot Vanguard |
Get into the Windows Recovery Environment
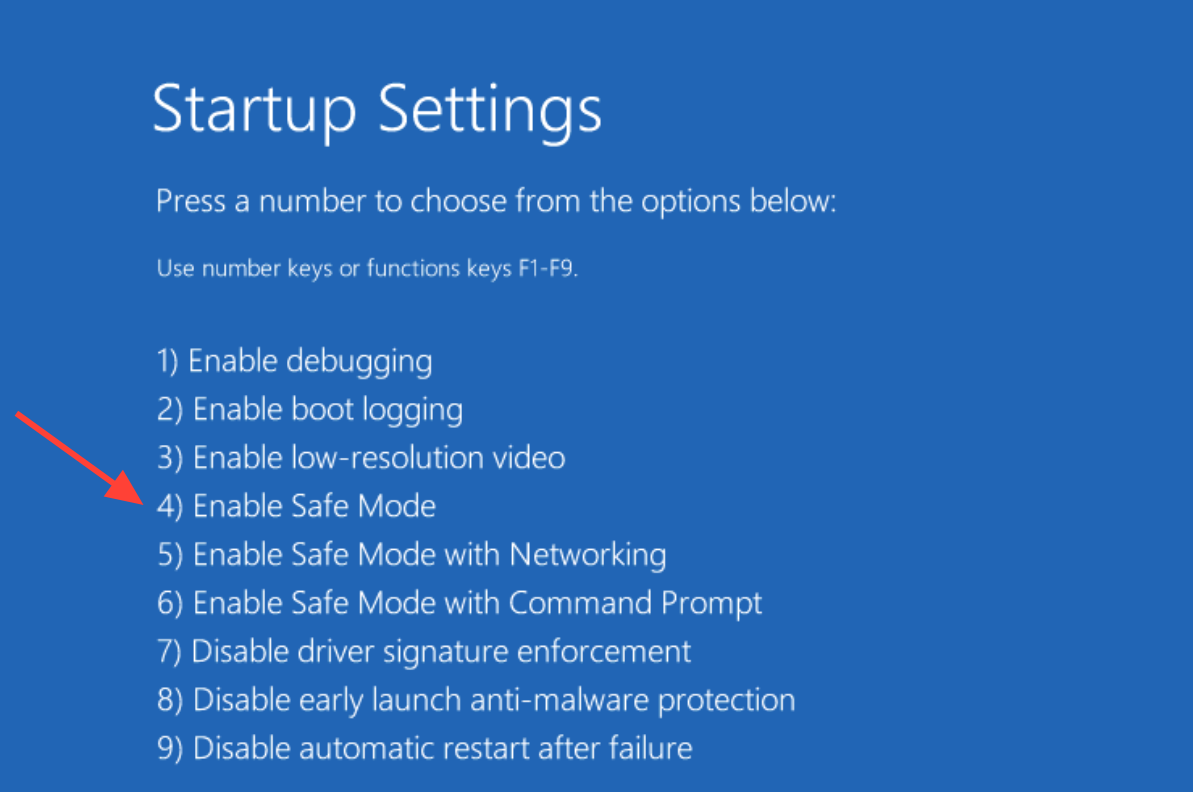
If the PC won’t reach the desktop, you need the recovery environment (WinRE) to run repairs. There are two reliable ways in.
Protect your BitLocker key before you repair anything
Many Windows 11 machines encrypt the system drive with BitLocker or device encryption by default. Repairs, BIOS updates, and USB boots can all trigger a recovery-key prompt, and without that key you can be locked out of your own data. Handle this first.
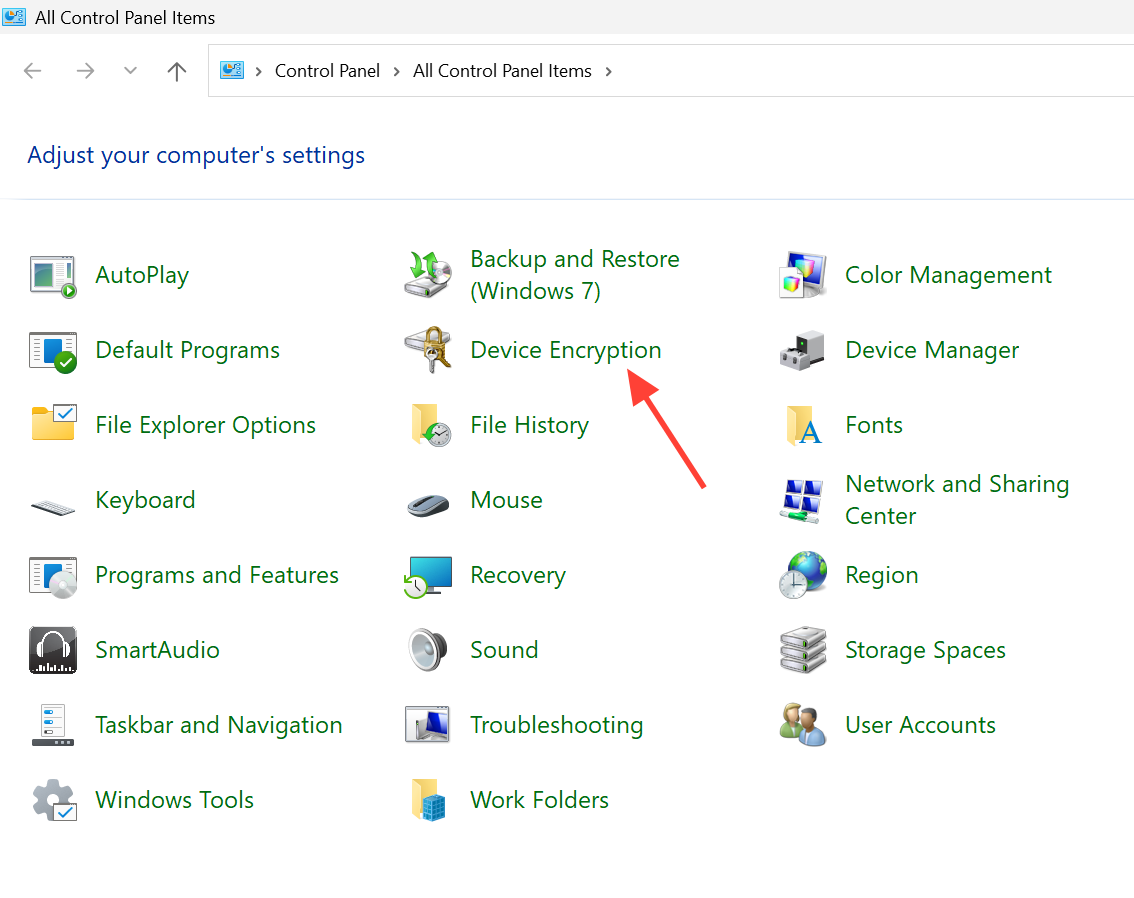
Back up the recovery key from your Microsoft account or a second device using the official BitLocker recovery key page. If you can still reach the desktop, suspend BitLocker protection before making changes, and on Windows 11 Home turn off device encryption if you plan to do repairs or a BIOS update.
Enter the correct recovery key exactly when prompted. A wrong key or a lost key is a separate dead end that no repair command can bypass.
Repair corrupted system files from Command Prompt
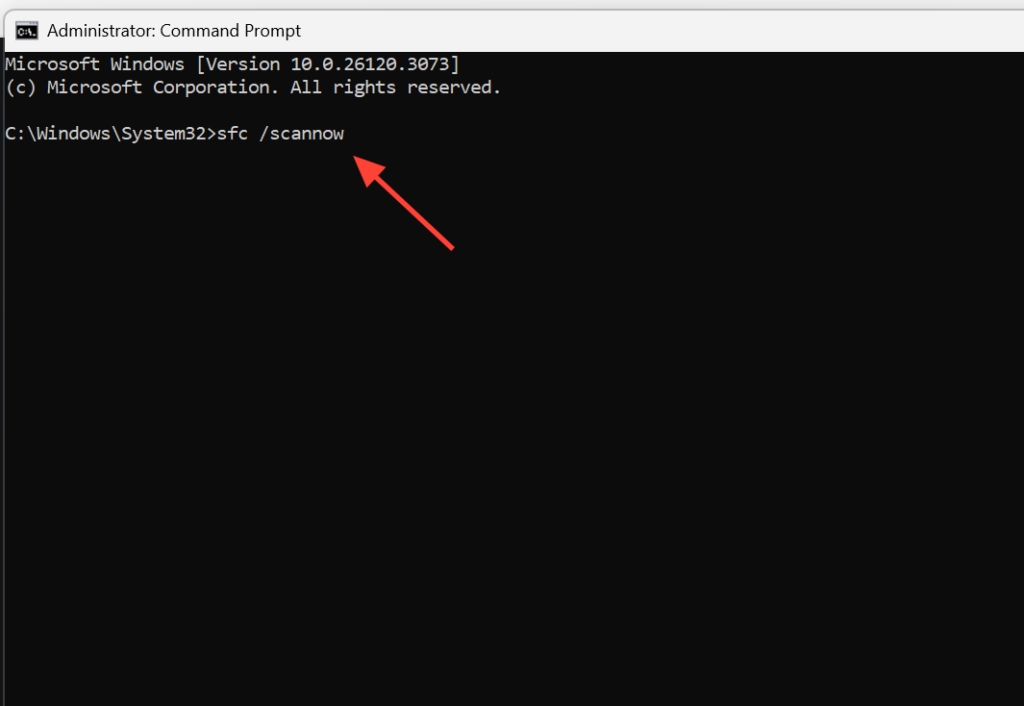
From the recovery environment, open Command Prompt and run the built-in repair tools. These fix the corrupted files that often follow an interrupted update or a forced shutdown.
sfc /scannow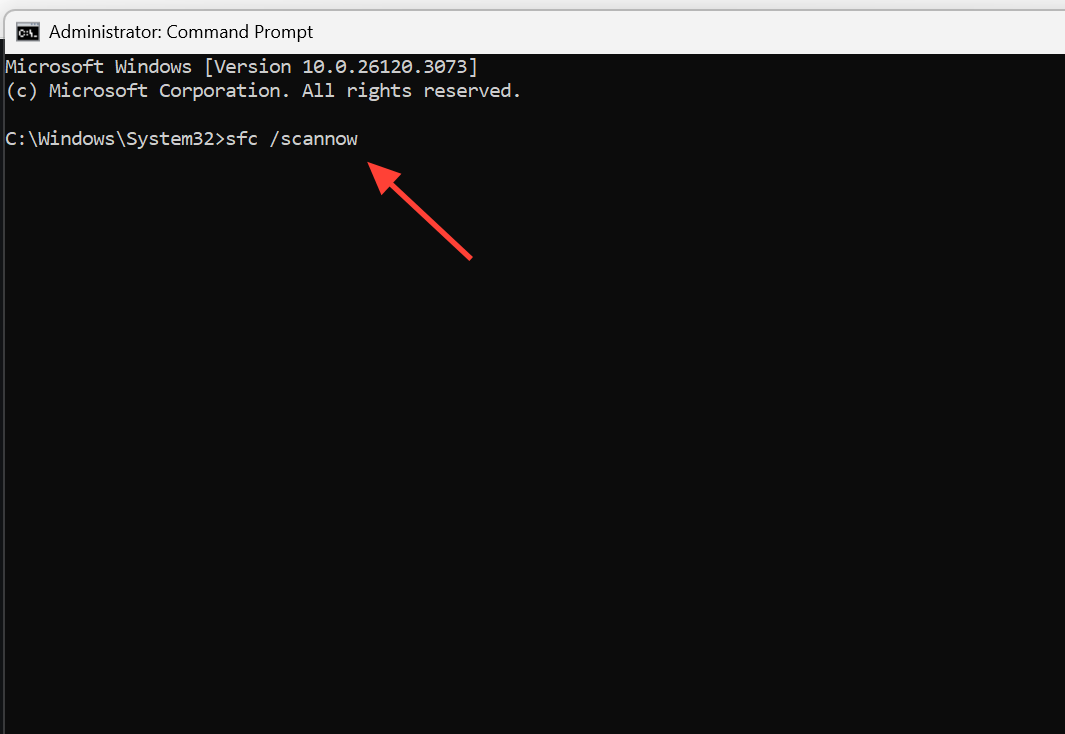
DISM /Online /Cleanup-Image /RestoreHealth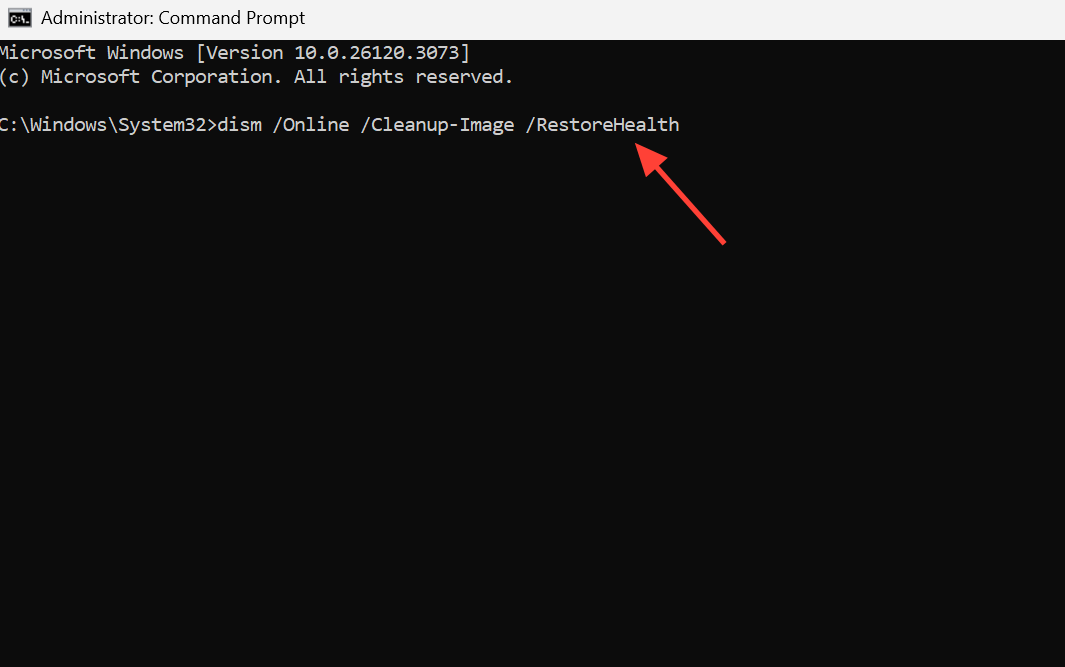
chkdsk /scan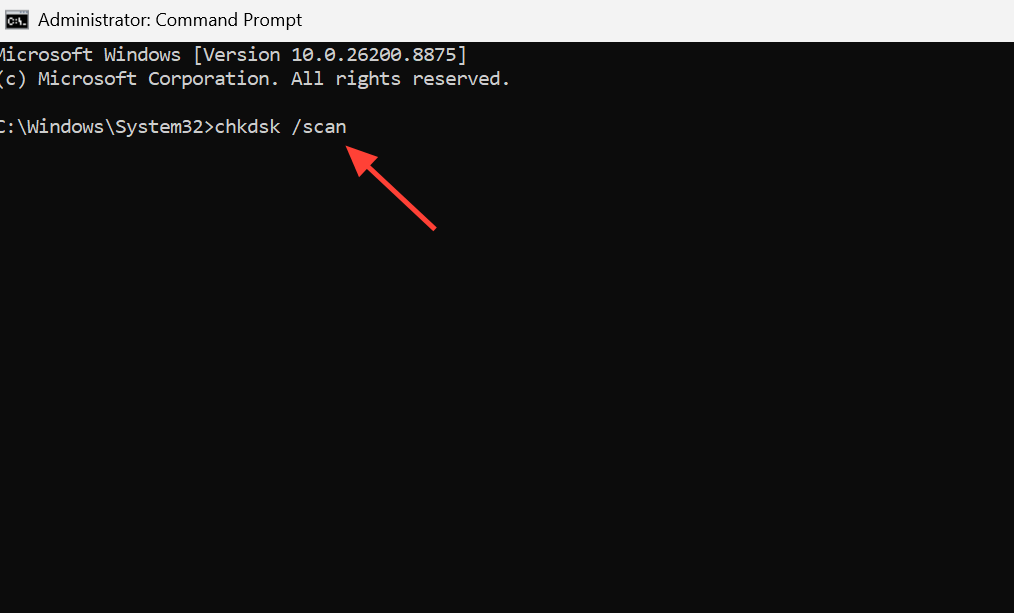
An important detail trips people up here. When sfc reports that it “found corrupt files and successfully repaired them,” reboot normally and let the PC start Windows rather than closing the window and forcing another shutdown. Re-running the same repair over and over does not stack, and forcing shutdowns can undo the fix. If DISM returns “The Cleanup-Image option is unknown” or sfc returns “Windows Resource Protection could not start the repair service,” the running recovery image itself is damaged, which is the signal to move to a bootable USB.
Remove a bad update or roll back with System Restore
If the crashes started right after an update, the update is the prime suspect. From the recovery environment, go to Troubleshoot, then Advanced Options, and try “Uninstall Updates.” You can remove either the latest quality update or the latest feature update.
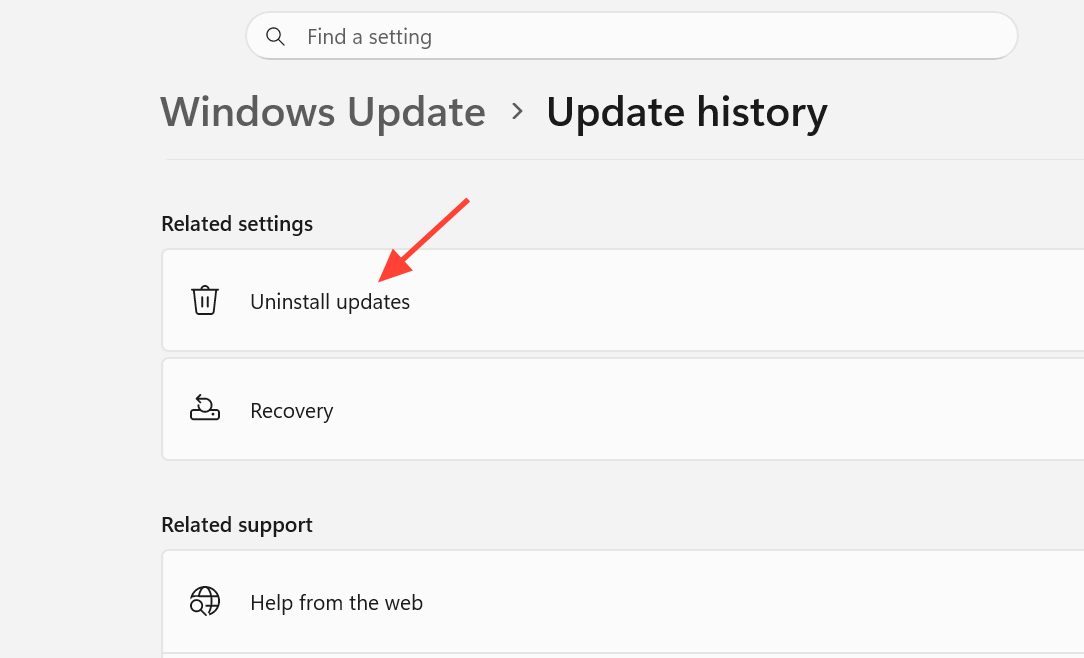
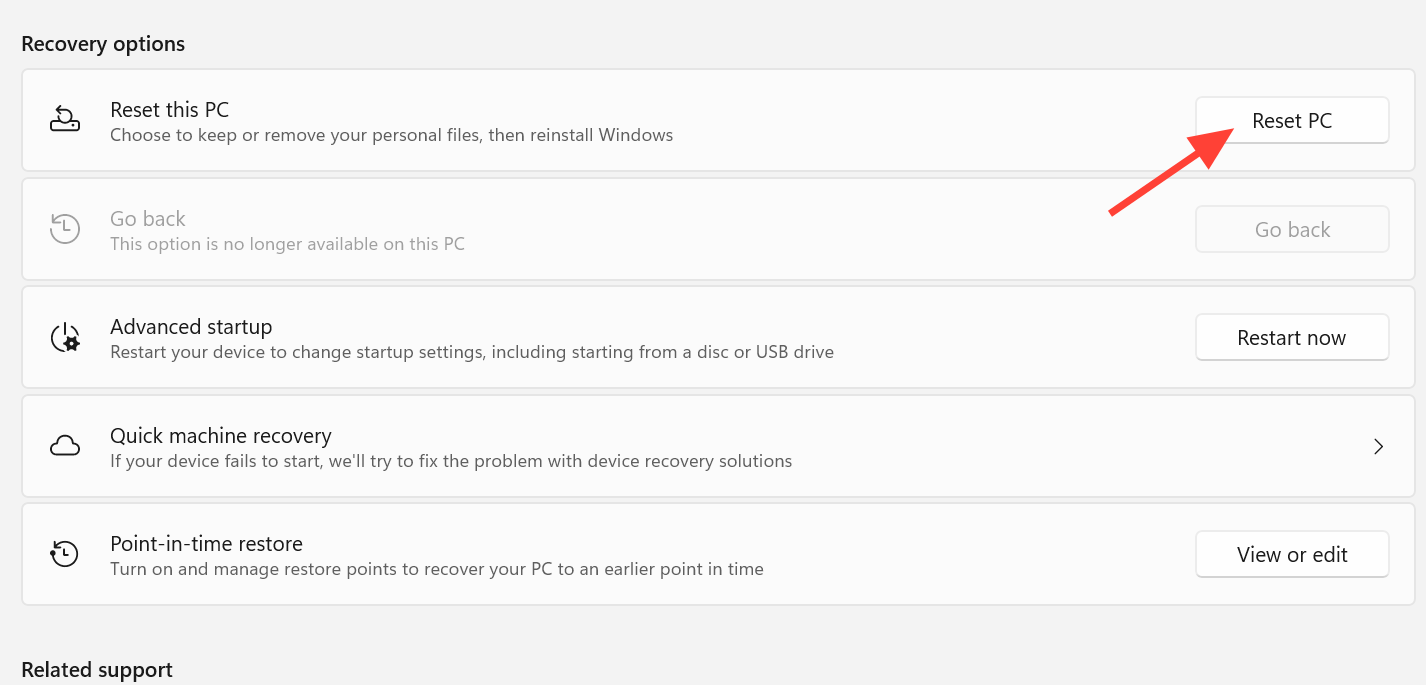
These uninstalls do not always work. You may see “A problem occurred and you will not be able to uninstall the latest Windows quality update,” or “There was a problem and you can’t uninstall the latest Windows feature update.” When that happens, use System Restore to a point from before the update, if a restore point exists. If both fail, the last resort inside WinRE is Factory reset your PC under Troubleshoot, which reinstalls Windows and removes your installed apps.
When every recovery option fails: boot from a Windows 11 USB
If the local recovery environment throws an error at every option, its files are too damaged to help. Build a clean recovery environment on a USB drive using a second, working PC.
Rule out drivers and hardware if the crash keeps coming back
When 0xEF returns after a clean install or keeps appearing on a PC that does reach the desktop, software repairs alone won’t hold. Work through drivers first, then hardware.
Anti-cheat drivers are a frequent trigger. Riot Vanguard’s vgk.sys in particular has a long record of random blue screens, and just having it loaded can be enough. To test, reboot so the driver unloads, then use the PC hard without launching any game that requires an anti-cheat tool. If it stays stable without that driver loaded, you have your culprit.
For a wider driver hunt, enable Driver Verifier to expose a misbehaving third-party driver. On the hardware side, update the motherboard BIOS to the latest version, install the current chipset drivers, test each RAM stick individually, reseat the modules, and confirm the SSD’s SMART health. Also make sure the OS drive has more free space than the amount of installed RAM, since a crash dump cannot be written without it, which shows up in the event log as “Dump file creation failed due to error during dump creation.”
How to confirm the fix worked
You know the recovery succeeded when the PC boots straight to the Windows 11 desktop and stays there without cycling back into “Starting Automatic Repair” or the blue screen. Because a 0xEF crash can be intermittent, don’t call it fixed after one clean boot alone. Keep using the machine across several restarts and a range of apps, since these crashes often land within the first minute at the desktop or roughly once every few boots.
To dig into repeat crashes, check for dump files at C:WindowsMinidump. Their presence means Windows captured the fault for analysis; an empty folder usually means dump creation is failing, which points back to disk space or a storage or driver problem worth chasing before you trust the machine again.