Making money fast in Storage Hunters: Open World comes down to one loop. Win auctions for undervalued storage units, clean the items you pull, sell them from your shelves, and pour the profit into unlocking the next net worth zone. Each new area holds better loot and more luck, so climbing net worth as quickly as possible is the whole game.
Quick answer: Finish the tutorial, grind the free Scrap Garage in the ScrapYard, skip auctions with weak items and only bid on units that look valuable, then reinvest earnings to hit the net worth needed for each higher zone.
Zone unlock order by net worth
Every garage area is gated behind a net worth requirement and charges a small entry fee per auction. Start in the free ScrapYard, then move up as your net worth crosses each threshold. Later zones give more valuable items and higher luck, so there is no reason to stay in an area once you can afford the next one.
| Garage | Entry fee | Net worth to enter |
|---|---|---|
| Scrap Garage (ScrapYard) | Free | $0 |
| Shop Front (Back Alley) | $5.00 | $750 |
| Camo Shop Front | $10.00 | $3,000 |
| Stable Garage (farm) | $15.00 | $10,000 |
| Barn Garage (farm) | $25.00 | $50,000 |
The Back Alley is worth farming early. Once you reach $750 net worth, its Shop Front auctions can drop mythic and legendary accessories that give luck and other boosts, and they are not hard to reach compared to their payoff.
Win auctions faster by skipping bad units
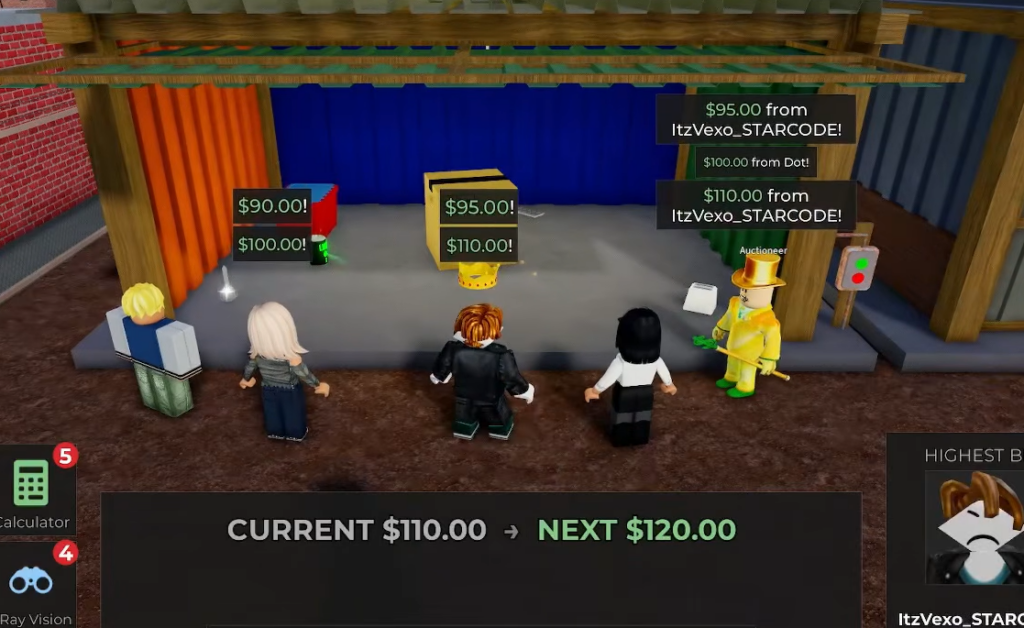
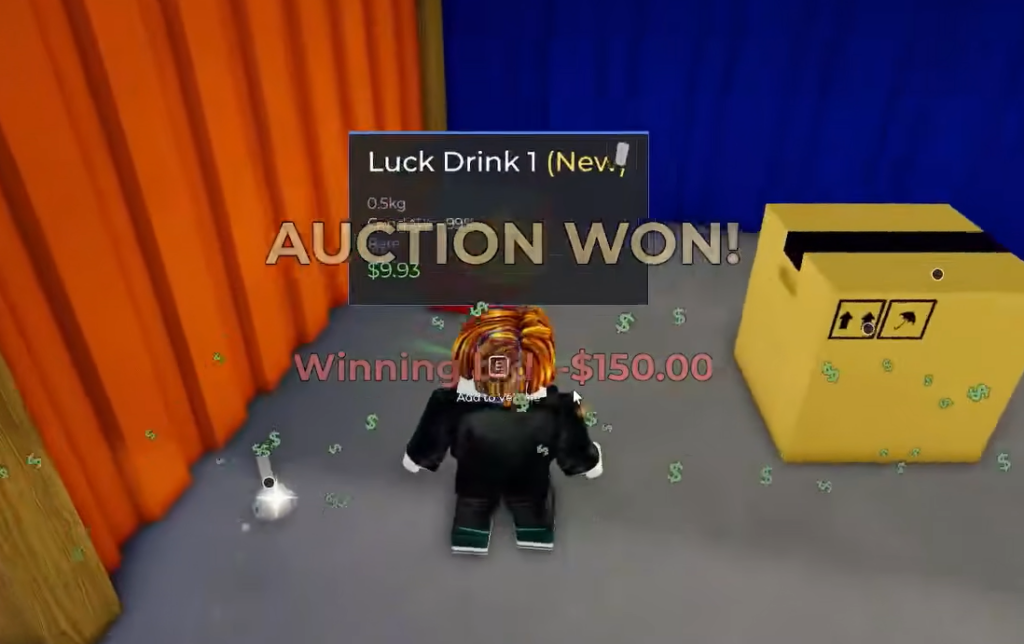
Auctions are your main income source, so treat them like a filter rather than a place to spend on everything. Walk up to a garage spot and press E to start an auction against the NPC bidders. If the unit on offer holds weak items, leave it and move to the next one.
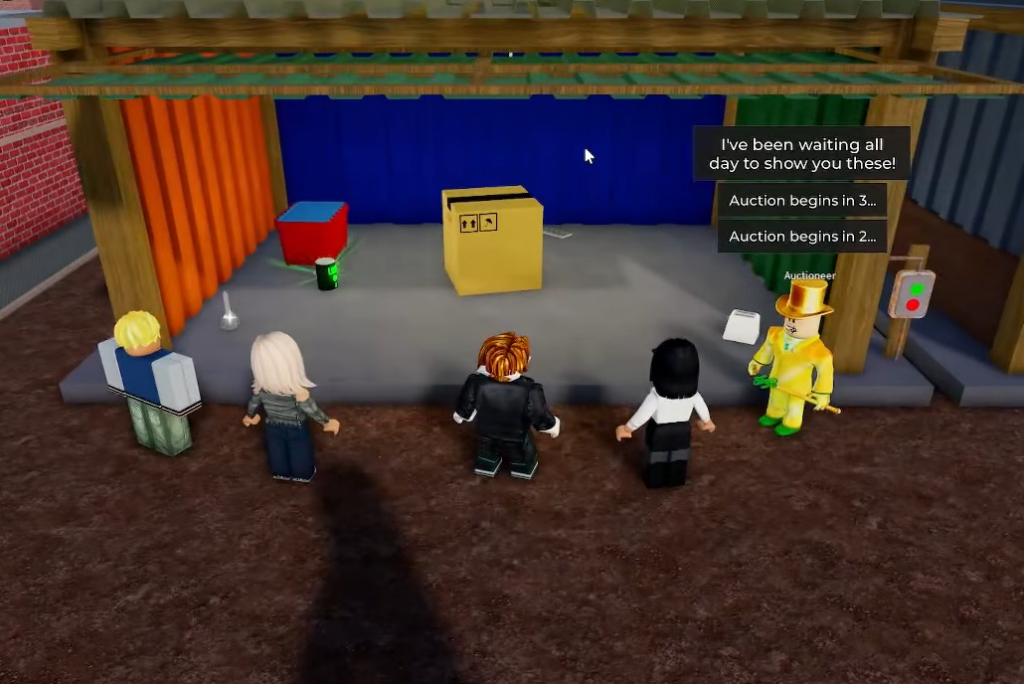
E to start it. NPC bidders join in and the bidding begins.[Dirty], then place them on your shelves to sell to customers for cash.Every zone past the Junkyard has a rare chance to spawn a special auction type. These need higher net worth to enter, but they pay out better and grant more luck, so keep an eye out for them as you grind.
Accessories that speed up your runs
Accessories slot into Head, Back, and Wrist positions and carry stats that directly help you win auctions. The two most useful stats to chase are bid zone width and bid arrow speed. Some of the rare mutations bid very quickly, and without these boosts you can lose them at the last moment.
Keep a second set of head and wrist accessories built around energy drink time. Energy drink potions are extremely strong, so extending how long they last makes a real difference during grinding sessions.
| Accessory | Slot | Example stats |
|---|---|---|
| Skull Domino Crown | Head | +42% Luck, +31% Bid Zone Width |
| Skull Domino Crown (alt) | Head | +57% Energy Drink Time, +19% Bid Recovery |
| Safe Wristband | Wrist | +3.6% NPC Offers Bonus, -15% Bid Arrow Speed |
| C4 Wristband | Wrist | +73% Energy Drink Time, +7.3% NPC Offers Bonus |
Raise your luck to pull better items
Luck controls the quality of items you find, and it stacks from several sources. Your overall luck is the sum of each source, so building up all of them together is how you push the number higher.
- Collection Book progress
- Net Worth
- Friends in the server
- Equipped Accessories
- Active Energy Drinks
The Luck menu lists each source and its current contribution. There is also a paid option to boost luck through Robux, but the free sources above rise naturally as you grind net worth, fill the Collection Book, and equip luck accessories.
Use quests and diamonds on shop upgrades
Talk to every quest giver you pass. They hand out diamonds, which are the currency for shop upgrades that make each selling run more profitable. Quests like winning a set number of Small Container, Stable Garage, or Back Alley auctions keep diamonds flowing while you grind.
Spend those diamonds in the Shop Upgrades menu. More inventory and selling space lets you hold and sell more per run, while faster offers and tips speed up how quickly cash comes in.
| Upgrade | Effect | Diamond cost |
|---|---|---|
| Inventory Space | Carry more items (25 to 30 slots) | 35 |
| Selling Space | Place more shelves (14 to 16 slots) | 75 |
| Advertising | Faster offers (+30% to +40%) | 200 |
| Tip Jar | Customers leave extra diamond tips | 45 |
Stick to the loop and the cash builds on its own. Grind the highest zone you can afford, skip weak units, keep a luck set and an energy drink set of accessories ready, and feed diamonds into inventory and selling upgrades so every winning auction turns into more money on your shelves.