The Shattering Stone is one of the more useful Support Tarstones in Mortal Shell 2, and it sits at the end of a short optional dungeon rather than behind a boss. It rewards aggression: every time you kill something, your next swing hits poise significantly harder. Getting it is mostly a matter of knowing which beacons to chain together.
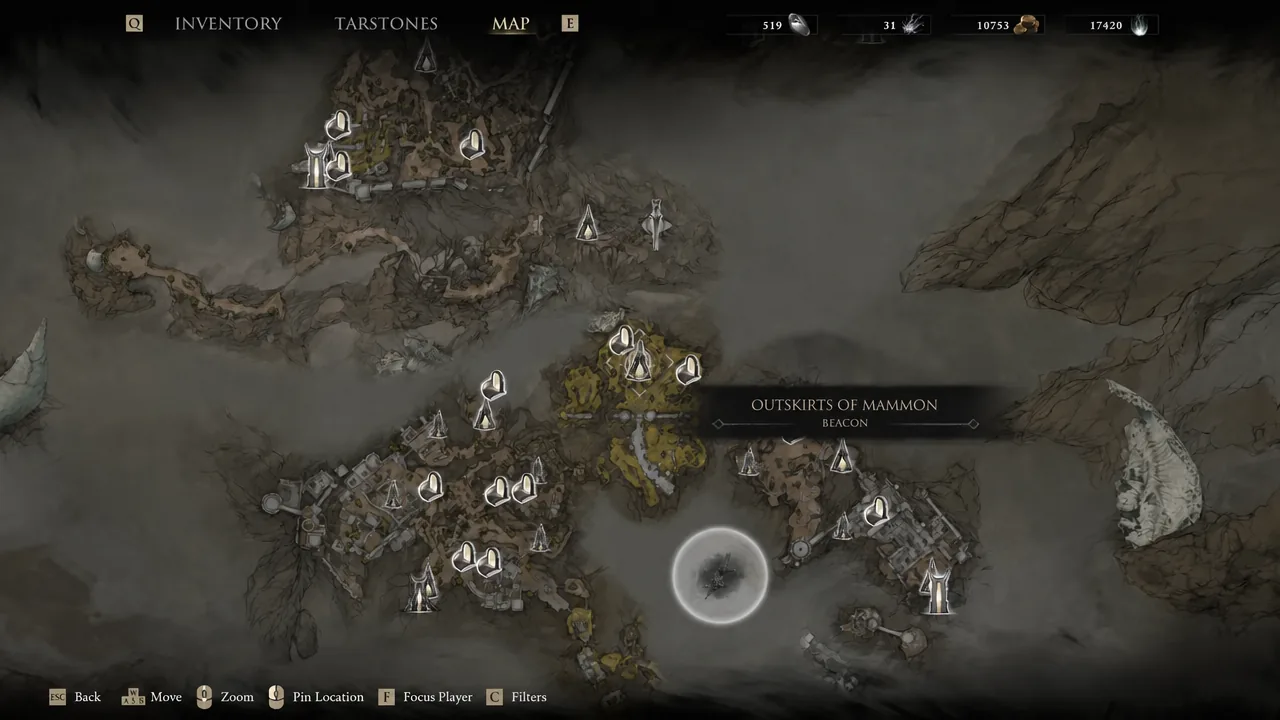
Quick answer: The Shattering Stone is in a stone chest at the end of the Collapsed Mine dungeon. Travel from the Outskirts of Mammon beacon through Deserted Slums, Abandoned Outpost, High Lord’s Terrace, High Lord’s Courtyard, Gate of Mammon, and Lonesome Spire, then drop into the mine entrance below the wooden scaffolding.
Shattering Stone effects and stagger damage bonuses
The Shattering Stone is a Support Tarstone that triggers on kills. Land a killing blow and your very next attack gets a stagger multiplier, scaled by the type of attack you use. Stagger damage is a separate damage type in Mortal Shell 2 — deal enough of it and the target breaks, opening a window for a punish.
| Attack after a kill | Bonus stagger damage |
|---|---|
| Next melee attack | +20% |
| Next heavy attack | +30% |
| Next sync attack | +50% |
Those are the Level 1 values, which is how the Tarstone drops. Upgrading it raises the melee figure further, so the stone scales with the enemies you fight rather than with your weapon. It works with the game’s melee arsenal, including the Axatana, Axe and Dagger, Black Needle, Clockwork Scythe, Great Martyr’s Blade, Obsidian Hammer, The Iconoclast, and Veteran’s Battle Axe.
The value of a stagger boost depends entirely on what you’re hitting. Poise pools in Mortal Shell 2 vary wildly, from trash mobs that break instantly to bosses that soak an enormous amount of pressure.
| Enemy | Poise |
|---|---|
| Hexapod (boss) | 1,200 |
| The Lost Child (boss) | 800 |
| Magdalena, the Lady of the Woods (boss) | 500 |
| Grisha (miniboss) | 270 |
| Tarred Corpse | 10 |
Route to the Collapsed Mine from Outskirts of Mammon
This is the cleanest run if you already have the Outskirts of Mammon beacon lit. Most of the enemies along the way can be sprinted past, so you don’t need to clear anything until you’re inside the dungeon.
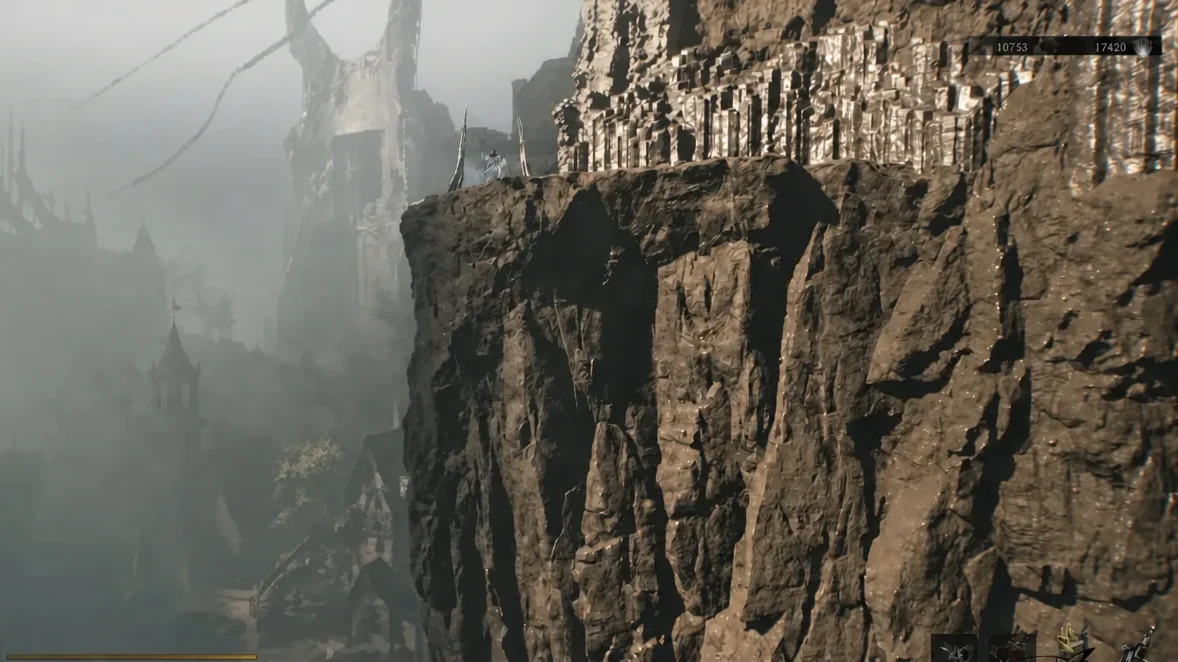
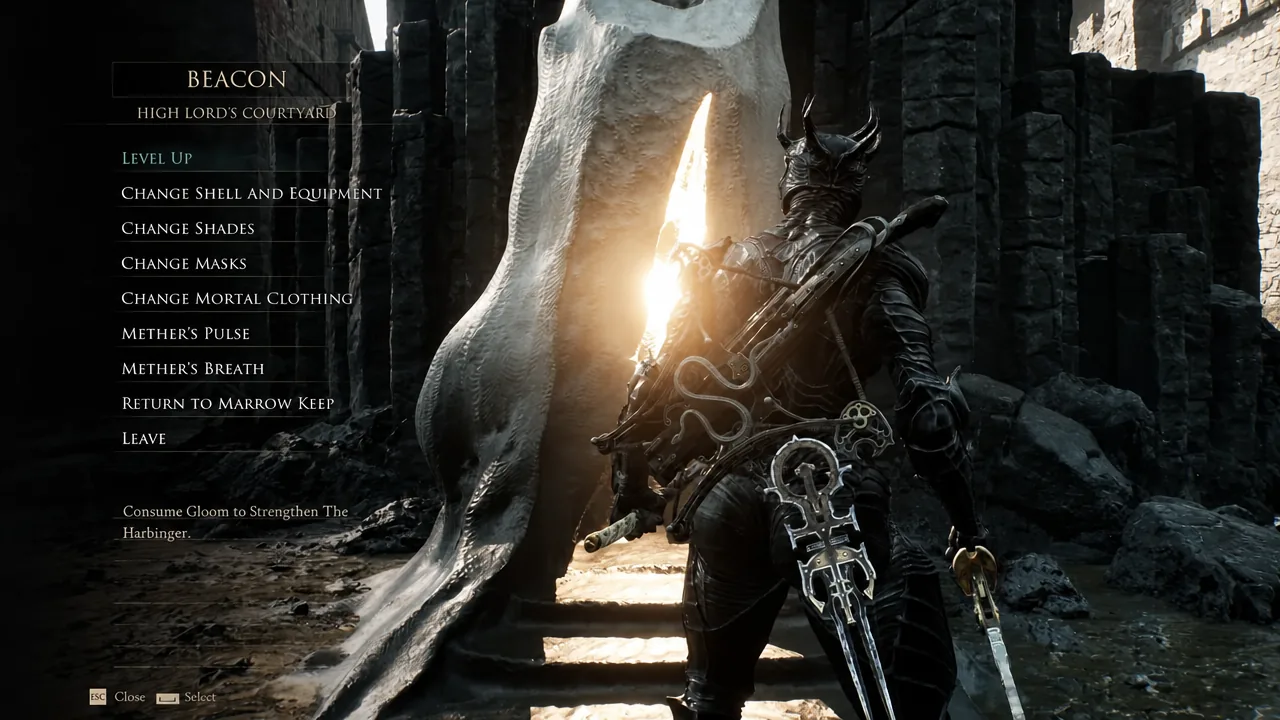
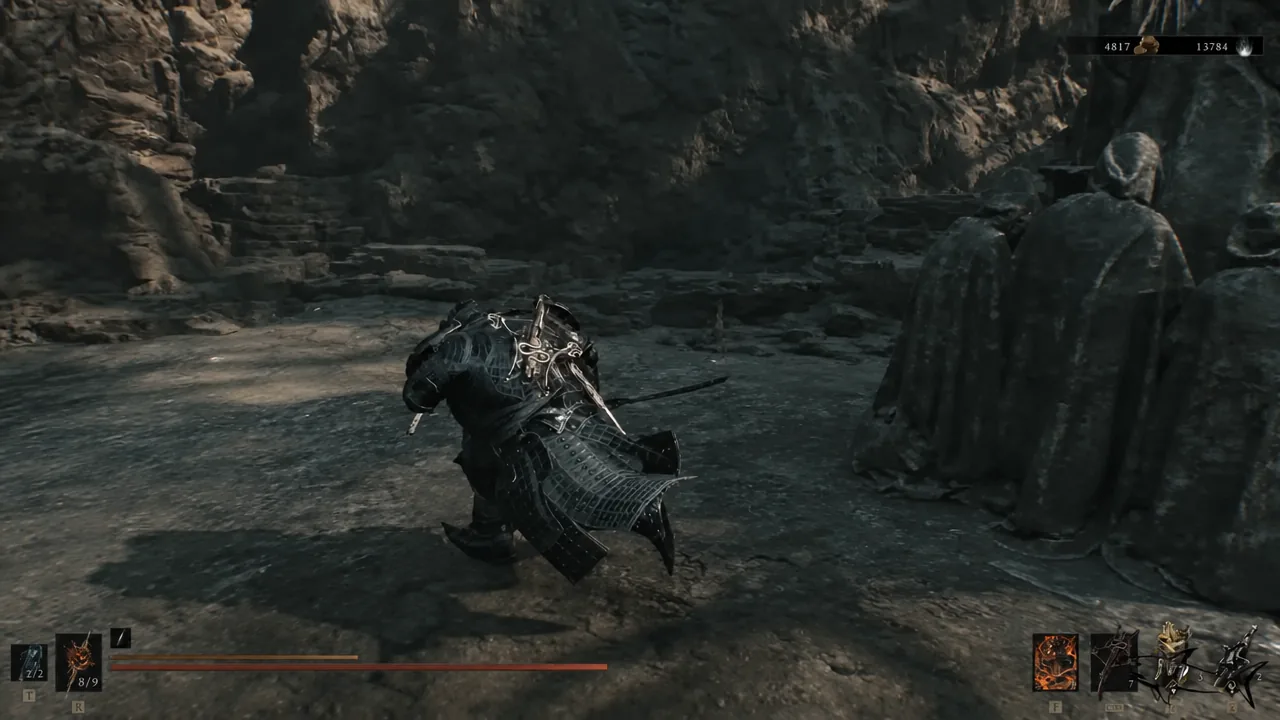
If you’d rather not run the whole chain, there’s a shortcut from the other direction. Starting at the Obsidianite Mines dungeon entrance, ride the northern elevator back up and follow the path west; the Collapsed Mine entrance is at the end of it. Either way, the dungeon shows up as its own marker on the map, so you can confirm you’re at the right cave before dropping in.
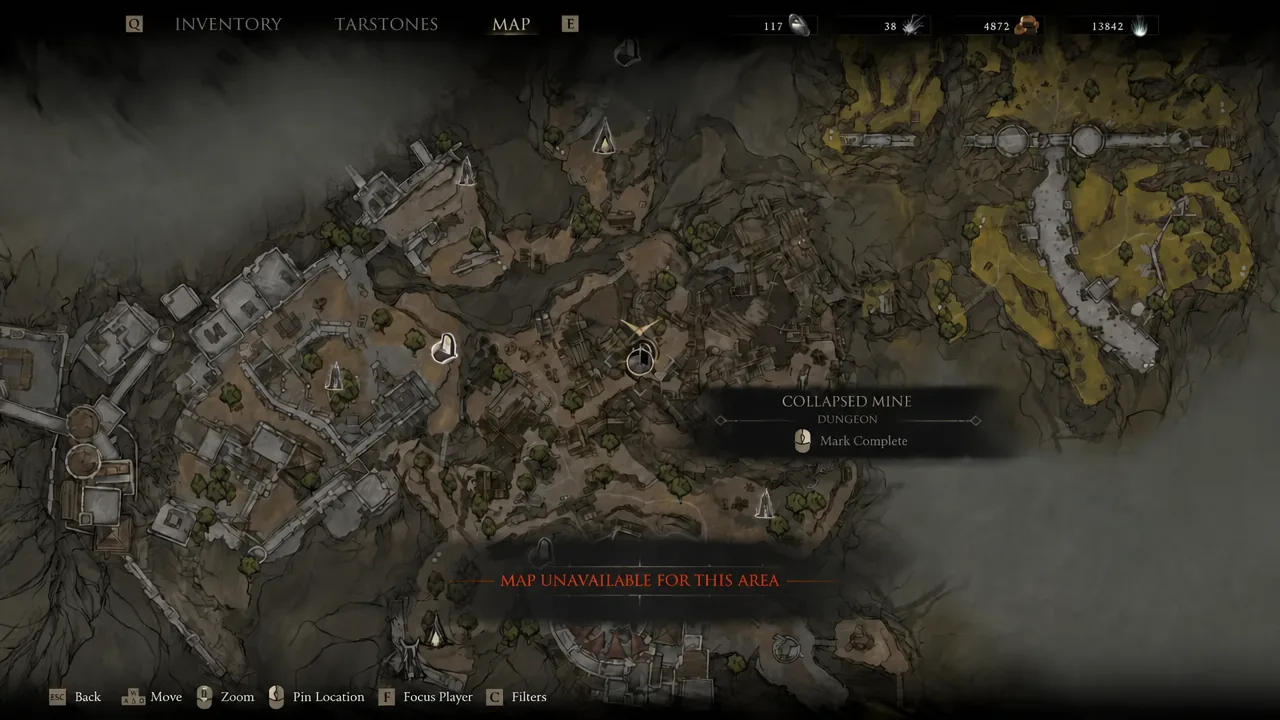
Finding the Shattering Stone chest inside the Collapsed Mine
The dungeon is short. Once inside, drop down the shaft in the first chamber and follow the tunnel. You’ll need to break a wooden barricade with melee attacks to continue, and there are cave dwellers scattered through the cavern that are easier to handle at range before they close in.
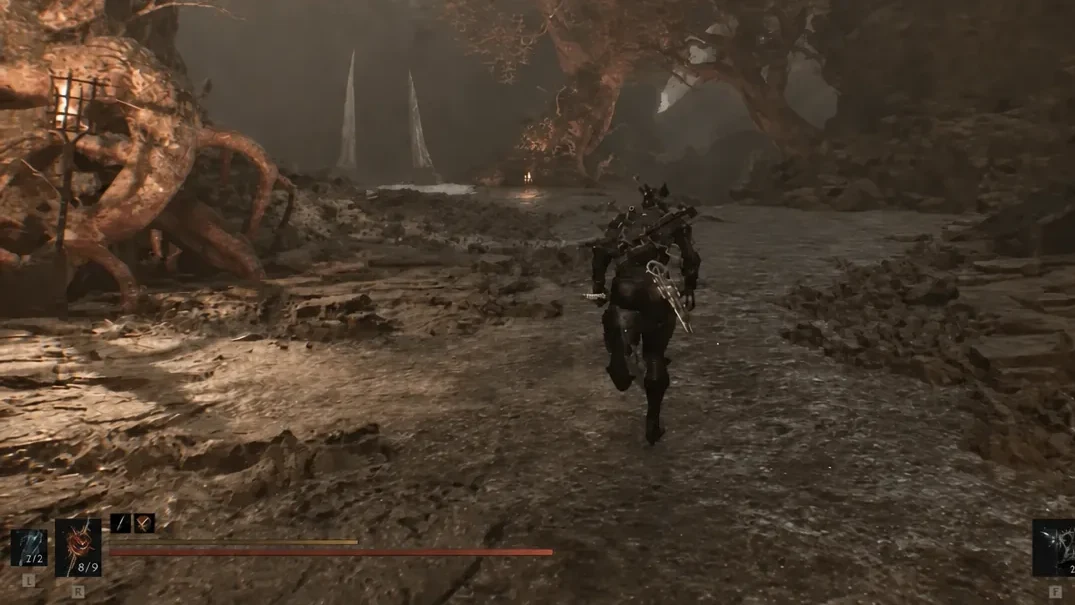
Keep going until the tunnel splits left and right. Take the left branch, which dead-ends in a small chamber holding a stone sarcophagus-style chest. Opening the lid gives you the Shattering Stone.
Note: The right-hand branch continues past a wooden barrier and a narrow rock gap into a room with a glowing white pool, so if you find yourself there, you took the wrong turn.
How to confirm you picked up the Shattering Stone
Opening the chest fires a “New Tarstone Acquired” notification on screen. Open the Tarstones menu afterward and the Shattering Stone should be listed as Level 1 with an XP bar reading 0 / 10000. If the chest gives you nothing but Coin and no notification appears, you did not get it.
That empty-chest outcome has been reported repeatedly since a balance patch, with players finding only currency in the correct chest while earlier playthroughs pulled the Tarstone normally. There’s no in-world workaround for it — no illusory wall or second chest hiding the stone elsewhere in the dungeon. If you’re chasing the Stoned trophy and achievement, the requirement is 73 of the 75 Tarstones, so missing this one alone still leaves you enough margin to unlock it.
Upgrading the Shattering Stone at the Tarforge
Tarstone upgrades run through Franz at the Tarforge in Marrow Keep, but he can’t do anything with the Shattering Stone until you hand him the Etching Needle. That quest item is in a chest just before the Magdalena, the Lady of the Woods boss fight. When you spot Ruk past the bridge, jump down through the opening and turn right before the tunnel to reach a small alcove with a bone chest.
After Franz has the needle, equip the Shattering Stone and keep killing enemies to fill its 10,000 XP bar. Once it’s full, return to Marrow Keep and pay Coin to push it to the next level. The upgrade isn’t needed for the collection achievement, so it’s purely a power decision.
Slotted in, the stone works best on runs of linked enemies rather than one-on-one boss fights, since the bonus only exists in the window right after a kill. Clear a pack, carry the buff into the next target, and lead with a heavy or sync attack to get the biggest chunk of poise damage out of it.