Portals are the closest thing Valheim has to fast travel, and they turn a 20-minute sail into an eight-second loading screen. The catch is that they only work in pairs, and the pairing is decided by a short text tag you type in yourself. Get the tag wrong by a single capital letter and the two portals will sit there, dark and unconnected.
Quick answer: Build two portals in range of a Workbench, then interact with each one and enter the exact same case-sensitive tag. Matching tags link them immediately, and walking into either portal teleports you to the other.
Portal recipe and how to unlock it
The Portal recipe appears in your hammer’s build menu the first time you pick up one Finewood, one Surtling core, and one Greydwarf eye. None of those three come from the same place, which is why unlocking portals usually happens after Eikthyr, once you have an Antler Pickaxe, some copper and tin, and a Bronze Axe capable of felling birch and oak.
| Material | Amount | Where to get it |
|---|---|---|
| Finewood | 20 | Birch and oak trees in the Meadows, cut with a Bronze Axe or better. Shipwrecks in the Black Forest also drop it, and trolls smashing trees will knock some loose. |
| Greydwarf eye | 10 | Dropped by Greydwarves, most densely in the Black Forest. |
| Surtling core | 2 | Chests and pedestals inside Burial Chambers in the Black Forest, or from Surtlings in the Swamp. |
Because you need two portals for a working link, double every number above before you set out. Ten wood for a spare Workbench is worth packing too.
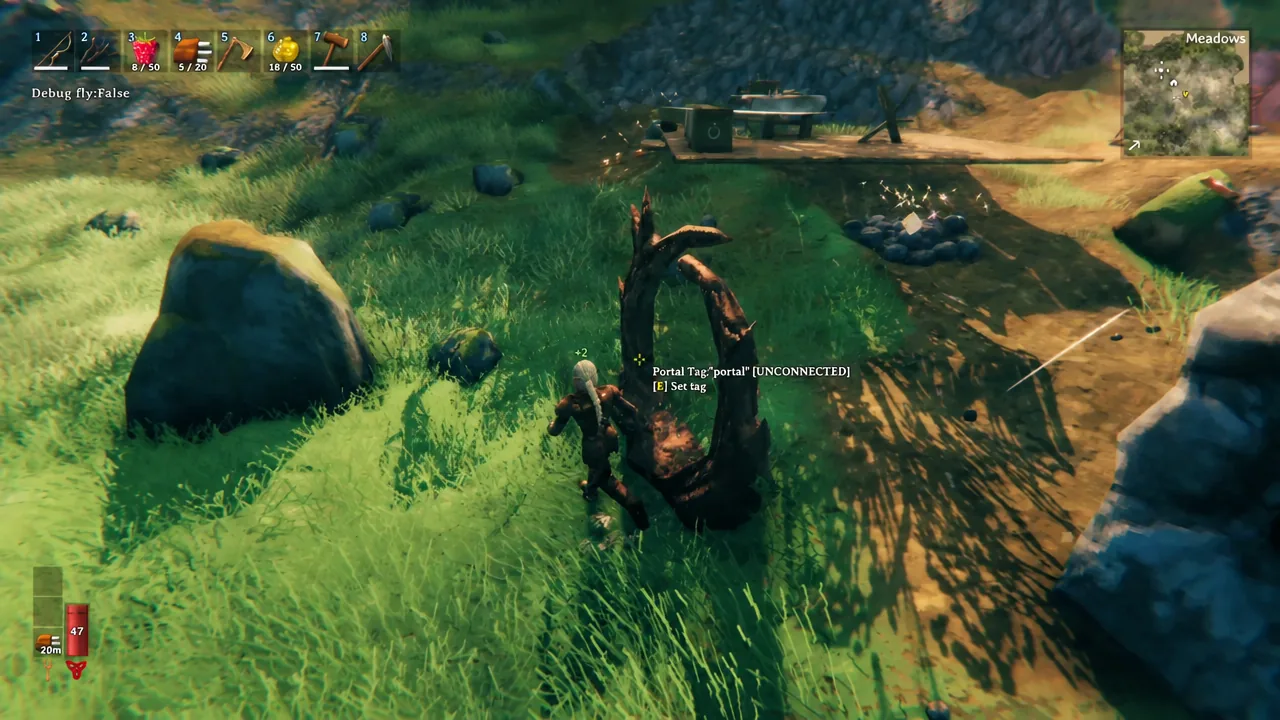
Build and tag the first portal
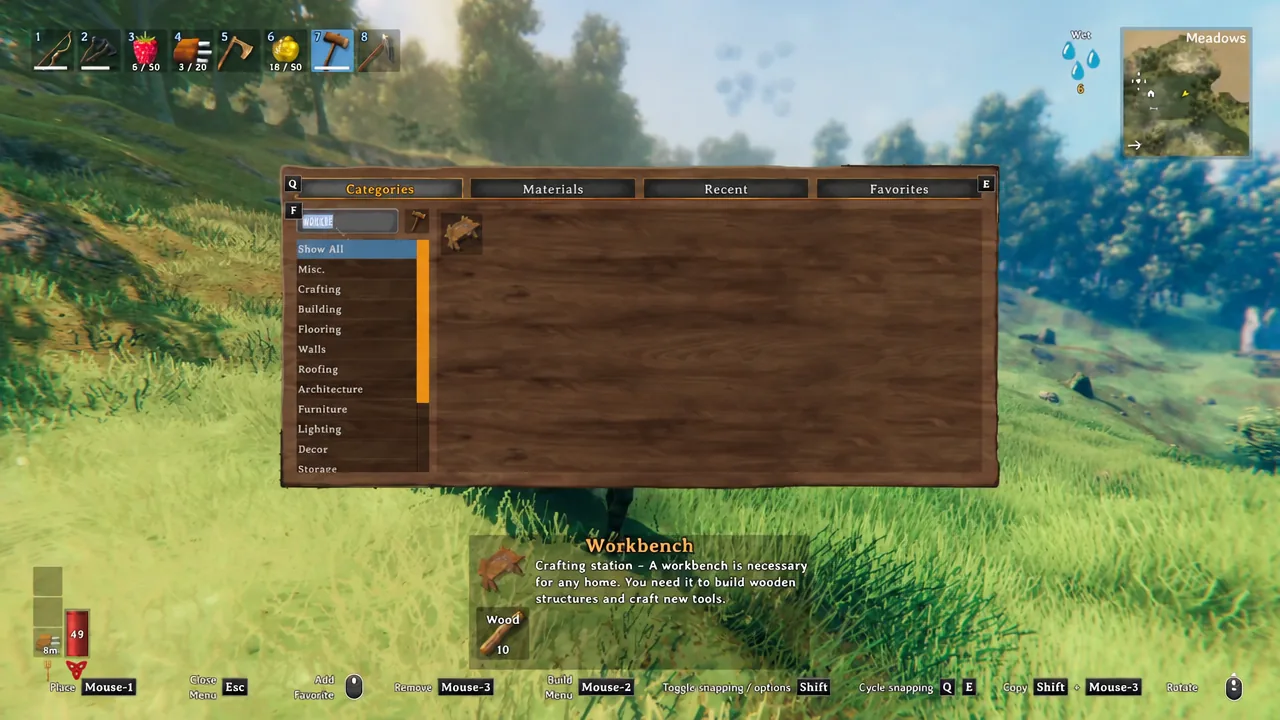
11 work fine, as do biome names. The field takes up to ten characters, and letters, numbers, and symbols are all accepted.How tag matching connects two portals
Portals do not care about distance, ownership, or which biome they sit in. They look for another portal carrying an identical tag, and tags are case-sensitive. “Swamp” and “swamp” are two different destinations, and a stray space will break the link just as effectively.
Leaving the tag blank is a shortcut rather than a bug. Two untagged portals will pair with each other automatically, which is enough if you only ever plan to run one route.
The important limit is that a portal only ever links to one partner. If you build four portals all tagged asdf, the first two pair up and the third and fourth pair up, in the order the tags were set. There is no menu for picking a destination.
That single-partner rule shapes how most bases are laid out. One portal at home can reach any outpost you like, as long as you retype its tag each time you want to travel somewhere new. If you have the Surtling cores to spare, building a dedicated pair per destination — a portal room, effectively — saves you the retyping.
Marking each portal’s tag on your map with the Cartography Table makes a growing network far easier to keep straight.
Confirming the link works
A portal with no partner reads as unconnected and stays inert. Once the tags match, the frame lights up and hums as you approach, which is your confirmation before you ever step through.
Walk into the lit frame and a loading screen takes over. Teleporting normally runs about eight seconds, and you are invulnerable for the whole thing. Your character is physically moved to the other end after roughly two seconds, but you cannot act until the sequence ends. If the destination is obstructed, the game can take up to 15 seconds before it gives up and drops you into a free spot above the portal.

Tip: active effects keep counting down during the trip, but they do not apply to you while you are in transit. Stepping into a portal is a legitimate way to sit out poison ticks.
Why a portal won’t connect or won’t let you through
There are only a handful of real causes, and they are easy to check in order.
- The tags do not match exactly — check capitalisation, spelling, and trailing spaces on both ends.
- A third portal shares the tag and has already claimed one of the pair.
- The far portal has been destroyed. Portals have 400 durability, are weak to chop damage, and are a favourite target during raids, though rain does not harm them.
- You are trying to build somewhere portals are not permitted, such as troll caves, burial grounds, or areas protected by ancient runes.
- The frame is lit but you bounce off with a message about an item preventing teleportation. That is inventory, not tagging.
Items that block teleportation
Ores and their smelted bars refuse to travel through a wooden portal, along with a few special objects. These items carry a small blue portal icon crossed out in red, so you can spot them in your inventory before you waste a trip.
| Category | Blocked items |
|---|---|
| Ores and metals | Tin and tin ore, copper, copper ore and copper scrap, bronze and scrap bronze, iron, iron ore, scrap iron, silver and silver ore, black metal and black metal scrap, flametal and flametal ore |
| Special objects | Dragon egg, Dvergr extractor, charred cogwheel, mechanical spring, iron pit, Hildir’s chests |
Finished gear made from those metals is fine. Tools, weapons, and armour all pass through without complaint — it is the raw ore and ingots that are restricted. Everything a portal is built from can also be teleported, which is what makes carrying a spare portal kit into unexplored territory practical.
Note: server settings can alter which materials are allowed through, so a friend’s world may behave differently from your solo save.
The Stone Portal exception
The Ashlands adds a Portal – Stone that ignores the metal restriction entirely, carrying ores, metals, dragon eggs, Hildir’s chests, and mechanical springs. It costs 10 Greydwarf eyes, 30 Grausten, and 2 Molten cores, and it needs a Stonecutter in range to place rather than just a Workbench.
Grausten comes from smashing the Ashlands ruins with a pickaxe, and Molten cores turn up in Putrid Holes and Charred Fortresses. A Stone Portal will happily link to an ordinary wooden portal using the same tag system, so you do not have to rebuild your whole network. The privilege only runs outward, though — restricted items travel out of a Stone Portal, so hauling ore in both directions means building one at each end.
Portals also work while you are encumbered, which quietly makes the cart redundant for wood, stone, and crops. That, plus the fact you can drop a portal mid-expedition and be back at your bed in seconds, is why a stack of portal materials belongs in your pack before any boss fight — the cheapest insurance in the game.