Final Fantasy Resonance came out on PC through Steam on 22 October 2026, and its first chapter, “Tailing the Truth”, covers a lot of ground. Below is the story route in the order you play it, on NORMAL difficulty, with the objective the game shows for each part and the guide that covers it.
Quick answer: Chapter 1 runs from the Earth Shrine through the Town of Mitra, Grandshelt Castle, the Village of Kol and the Town of Felicitas to the Kolobos Ruins. It ends at Siren’s Tower. Each part below links to its full guide.
| Part | Where | Objective on screen | Guide |
|---|---|---|---|
| Prologue | Battlefield | – | Stagger explained; Difficulty |
| Chapter 1 | Earth Shrine | “Investigate the Earth Shrine” | Earth Shrine route guide; Belmodar boss strategy |
| Chapter 1 | Town of Mitra | “Go to the town of Mitra”, “Investigate Rain’s house” | Earth Shrine route guide; How to equip Visions |
| Chapter 1 | Mitra to the royal capital | – | Earth Shrine route guide |
| Chapter 1 | Grandshelt Castle | “Go to Grandshelt Castle” | Guide to Grandshelt Castle; Hell’s Rider boss strategy |
| Chapter 1 | Outside the castle | – | Can you beat Umbra |
| Chapter 1 | Leaving the capital, Fina joins | “Go to the town of Felicitas”, “Go to the village of Kol” | Guide to Grandshelt Castle; Playable characters |
| Chapter 1 | Village of Kol | “Stay at the inn in the village of Kol” | Guide to Grandshelt Castle; Getting a chocobo |
| Chapter 1 | Town of Felicitas | “Go to the Kolobos Ruins” | Guide to Grandshelt Castle; Stores in Felicitas |
| Chapter 1 | Road to the Kolobos Ruins | “Go to the Kolobos Ruins” | How to get to the Kolobos Ruins |
Prologue: Battlefield
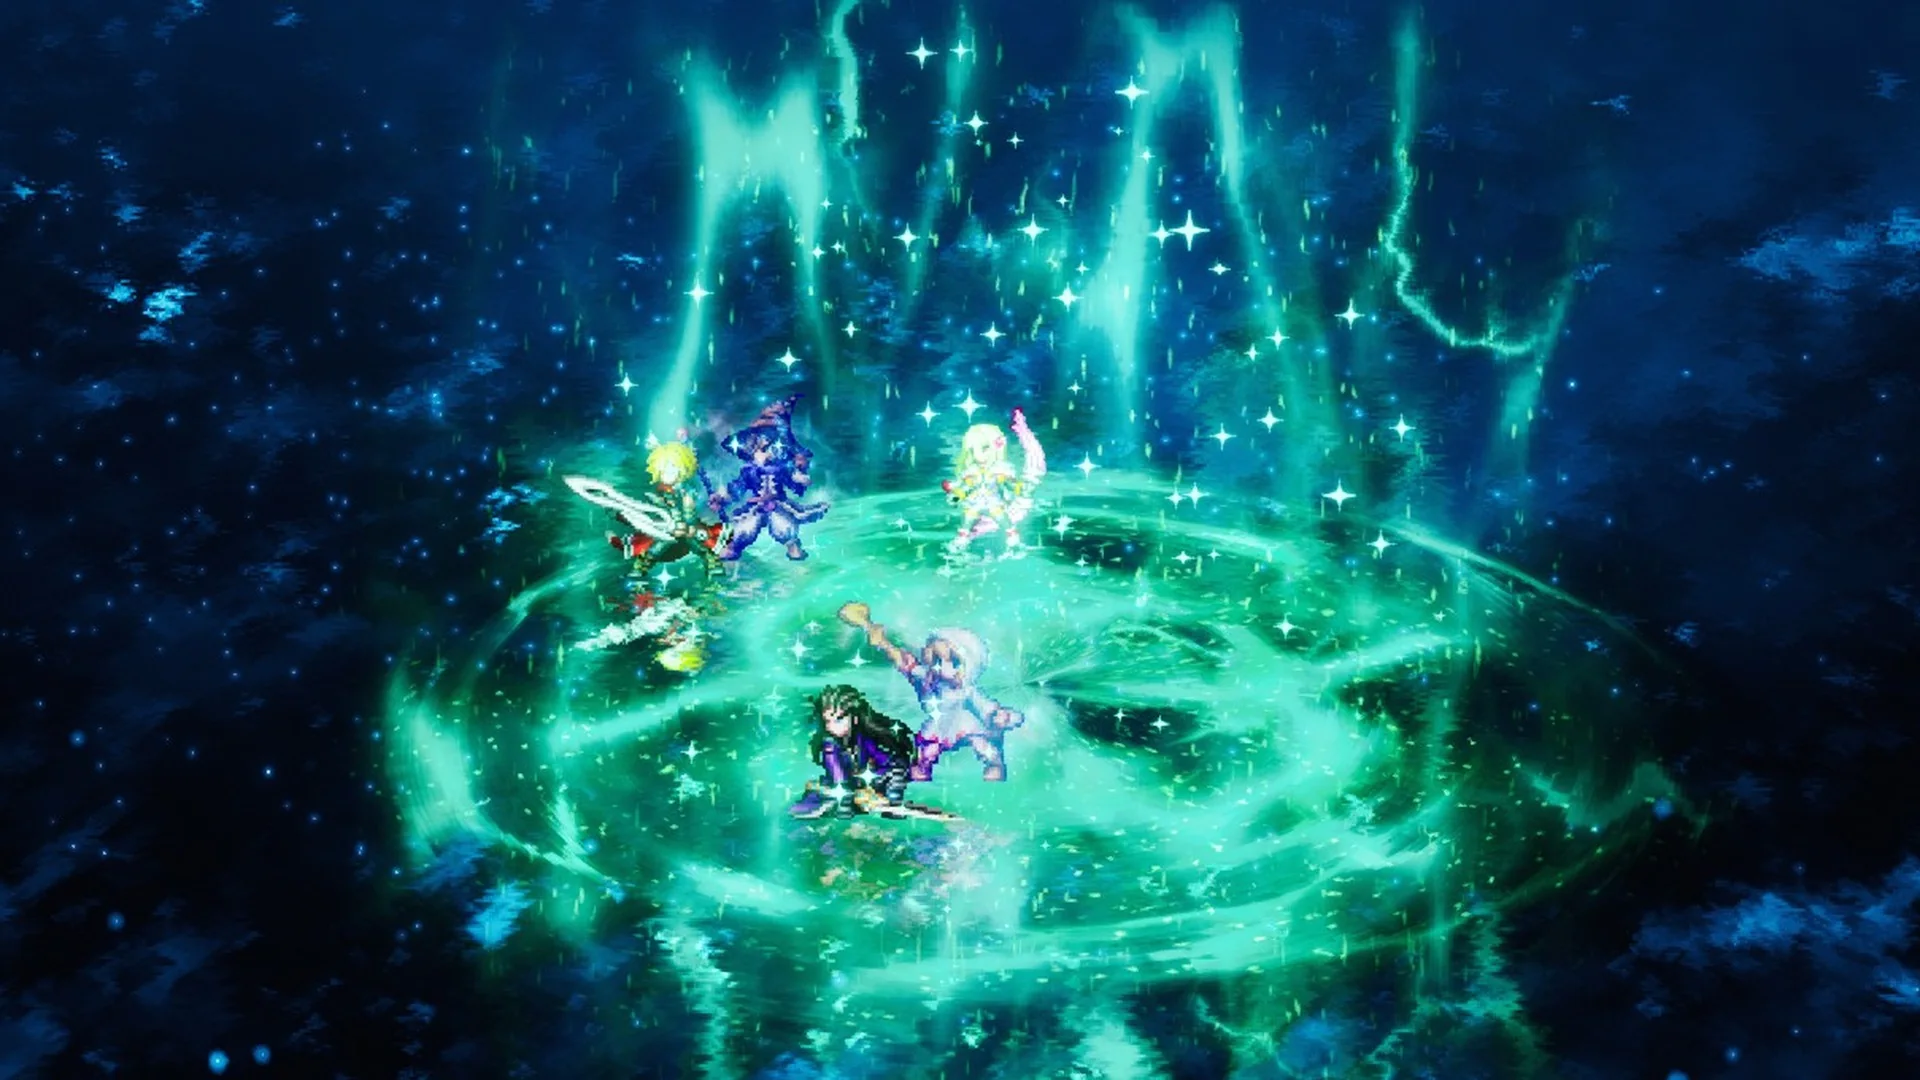
After an opening cutscene about the crystals, you take control of a mysterious figure listed as “???”, armed with Dystopia, Firaga, Blizzaga and Thundaga, while tutorials cover moving, the mini-map and the turn order bar. You fight soldiers, then two Lv.30 Magitek Armor, then the Lv.35 Cutting Edge Magitek Weapon, which goes down to the Limit Burst Chaotic Convergence. Stagger explained covers Limit Bursts, stagger and the bonus phase, and Difficulty shows how to switch between Casual, Normal and Expert in Options.
Chapter 1 – Tailing the Truth, part by part
Earth Shrine and Belmodar
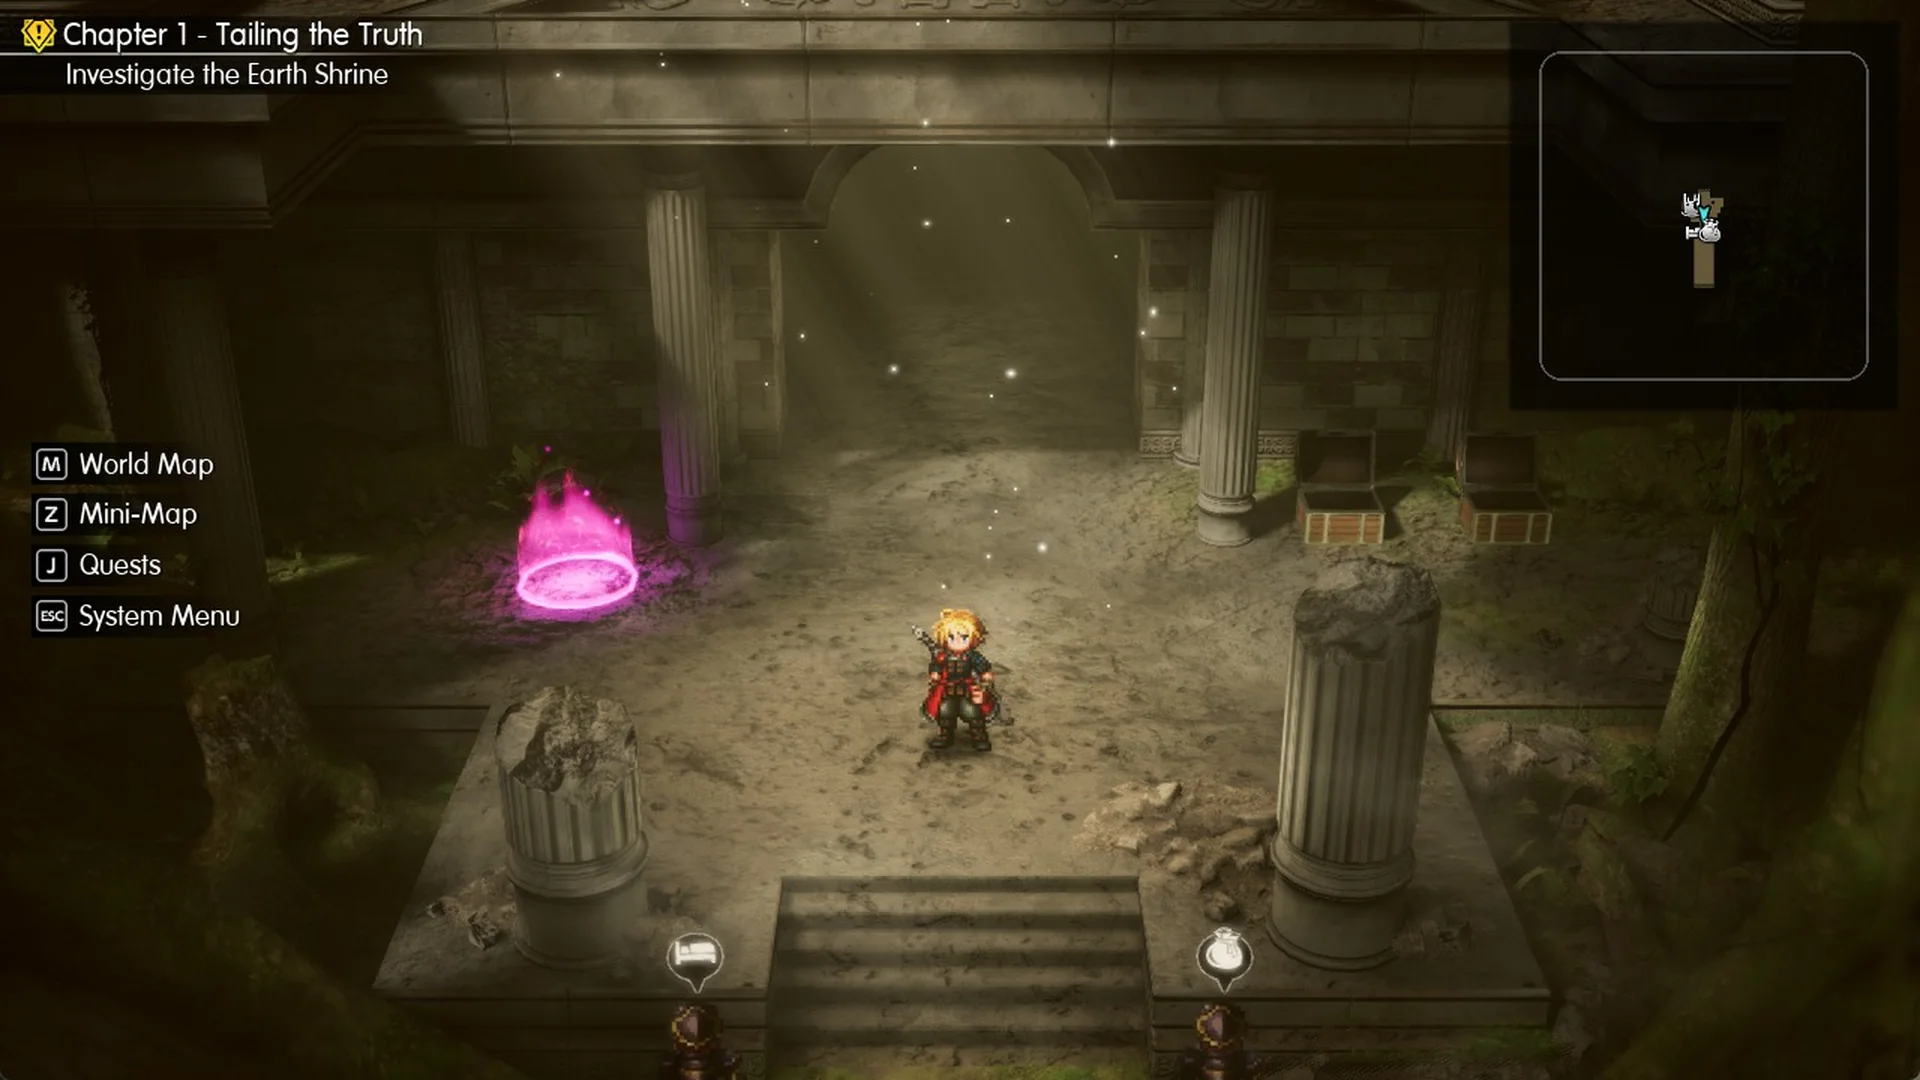
At daybreak, Rain and Lasswell arrive at the shrine with the objective “Investigate the Earth Shrine” active. Soldiers stationed at the entrance provide items and healing. Circle the pedestal, descend to the floor below, then make your way up the western side to the second save point (full route in the Earth Shrine walkthrough). Outside the Crystal Chamber, Belmodar (Lv.4) is vulnerable to Fire.
Town of Mitra and Rain’s house
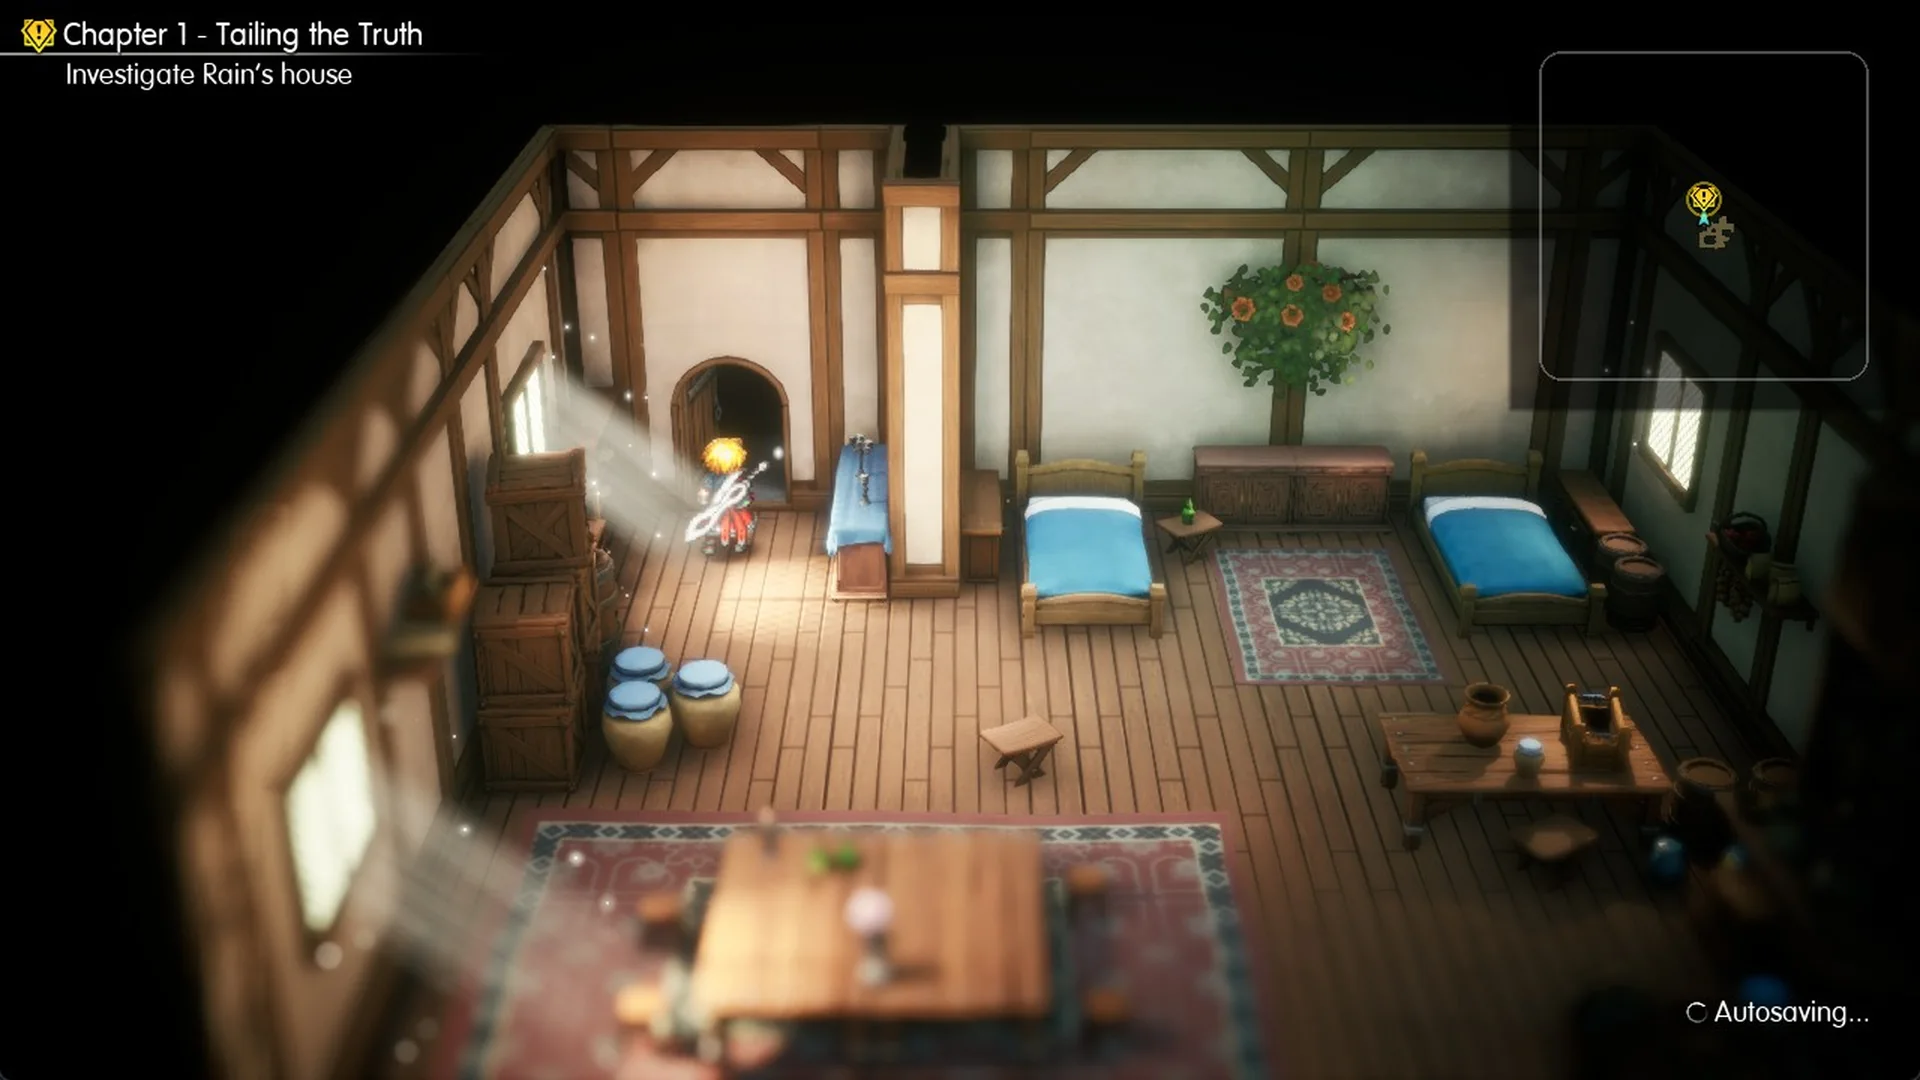
Once the shrine is done, the objective switches to “Go to the town of Mitra” and then “Investigate Rain’s house”. The house has an arched wooden door, and Visions are introduced inside.
Mitra to Grandshelt, the Royal Capital
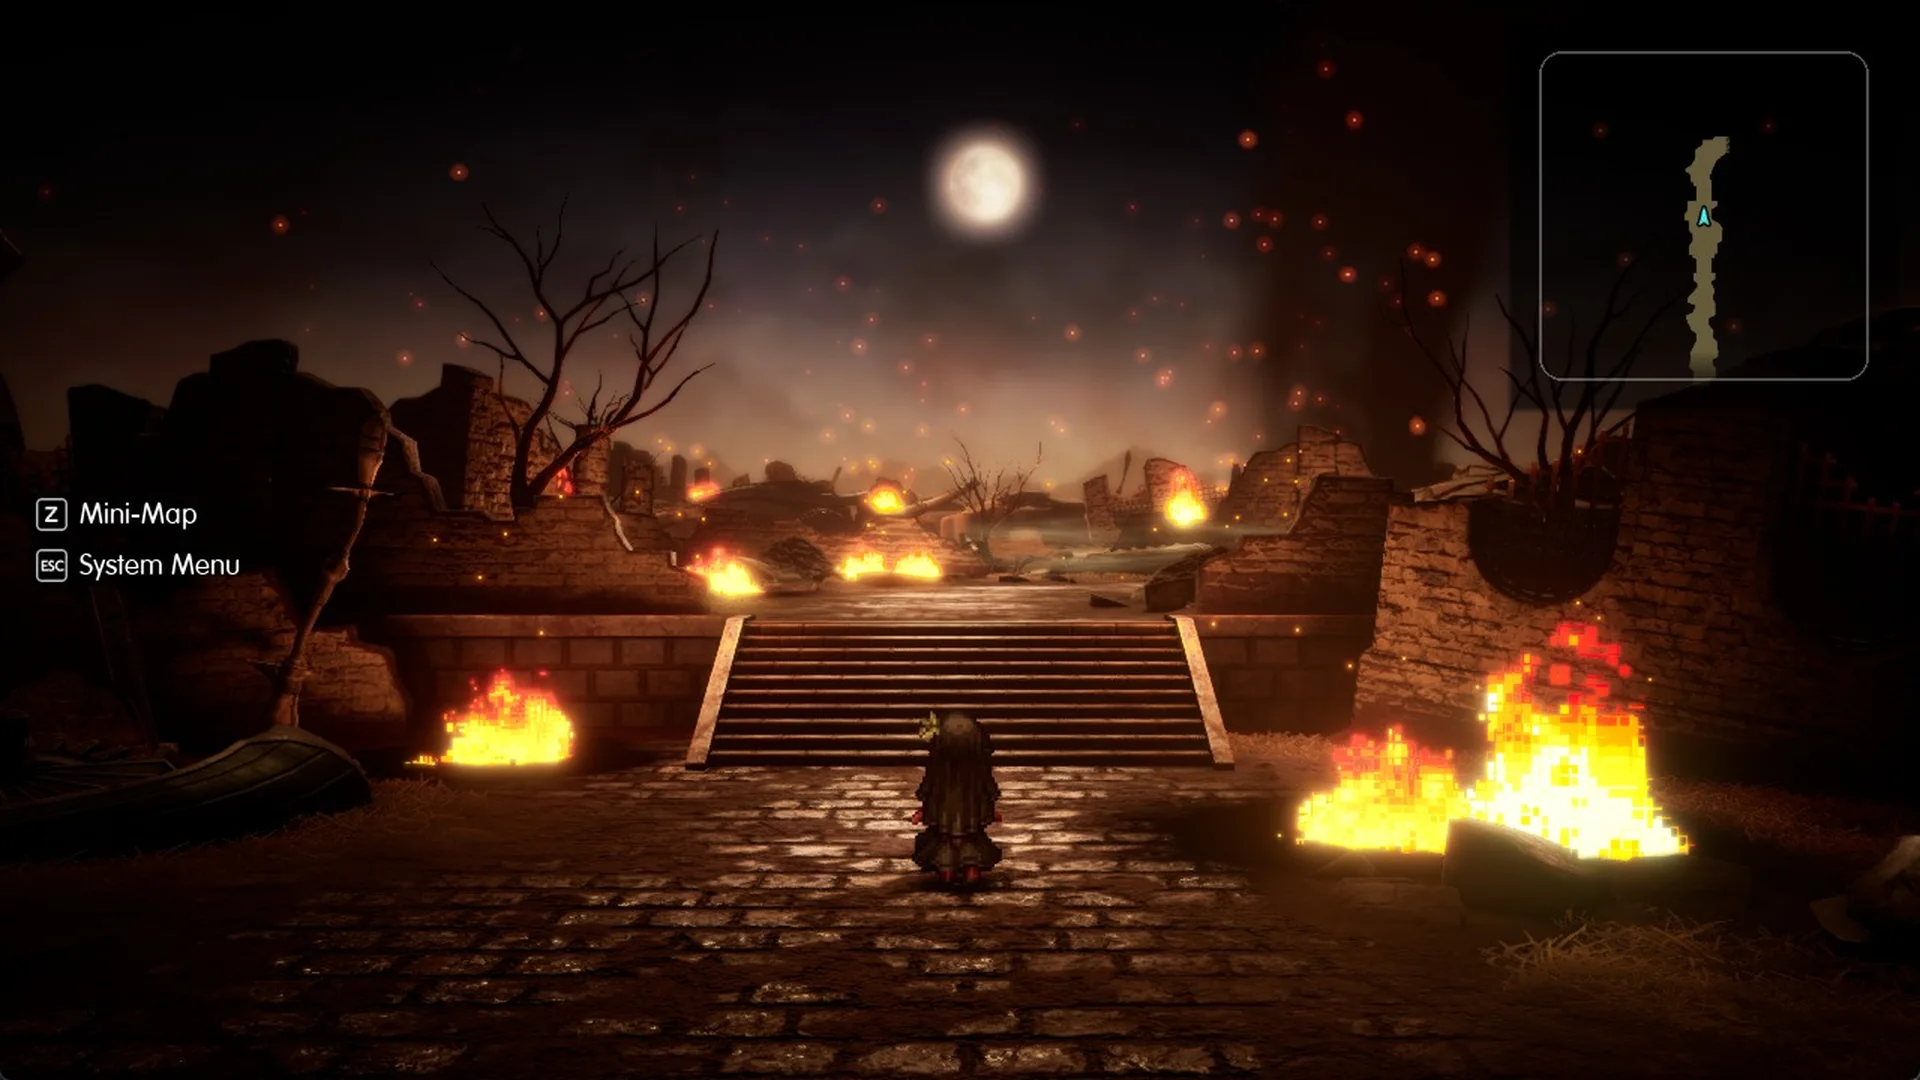
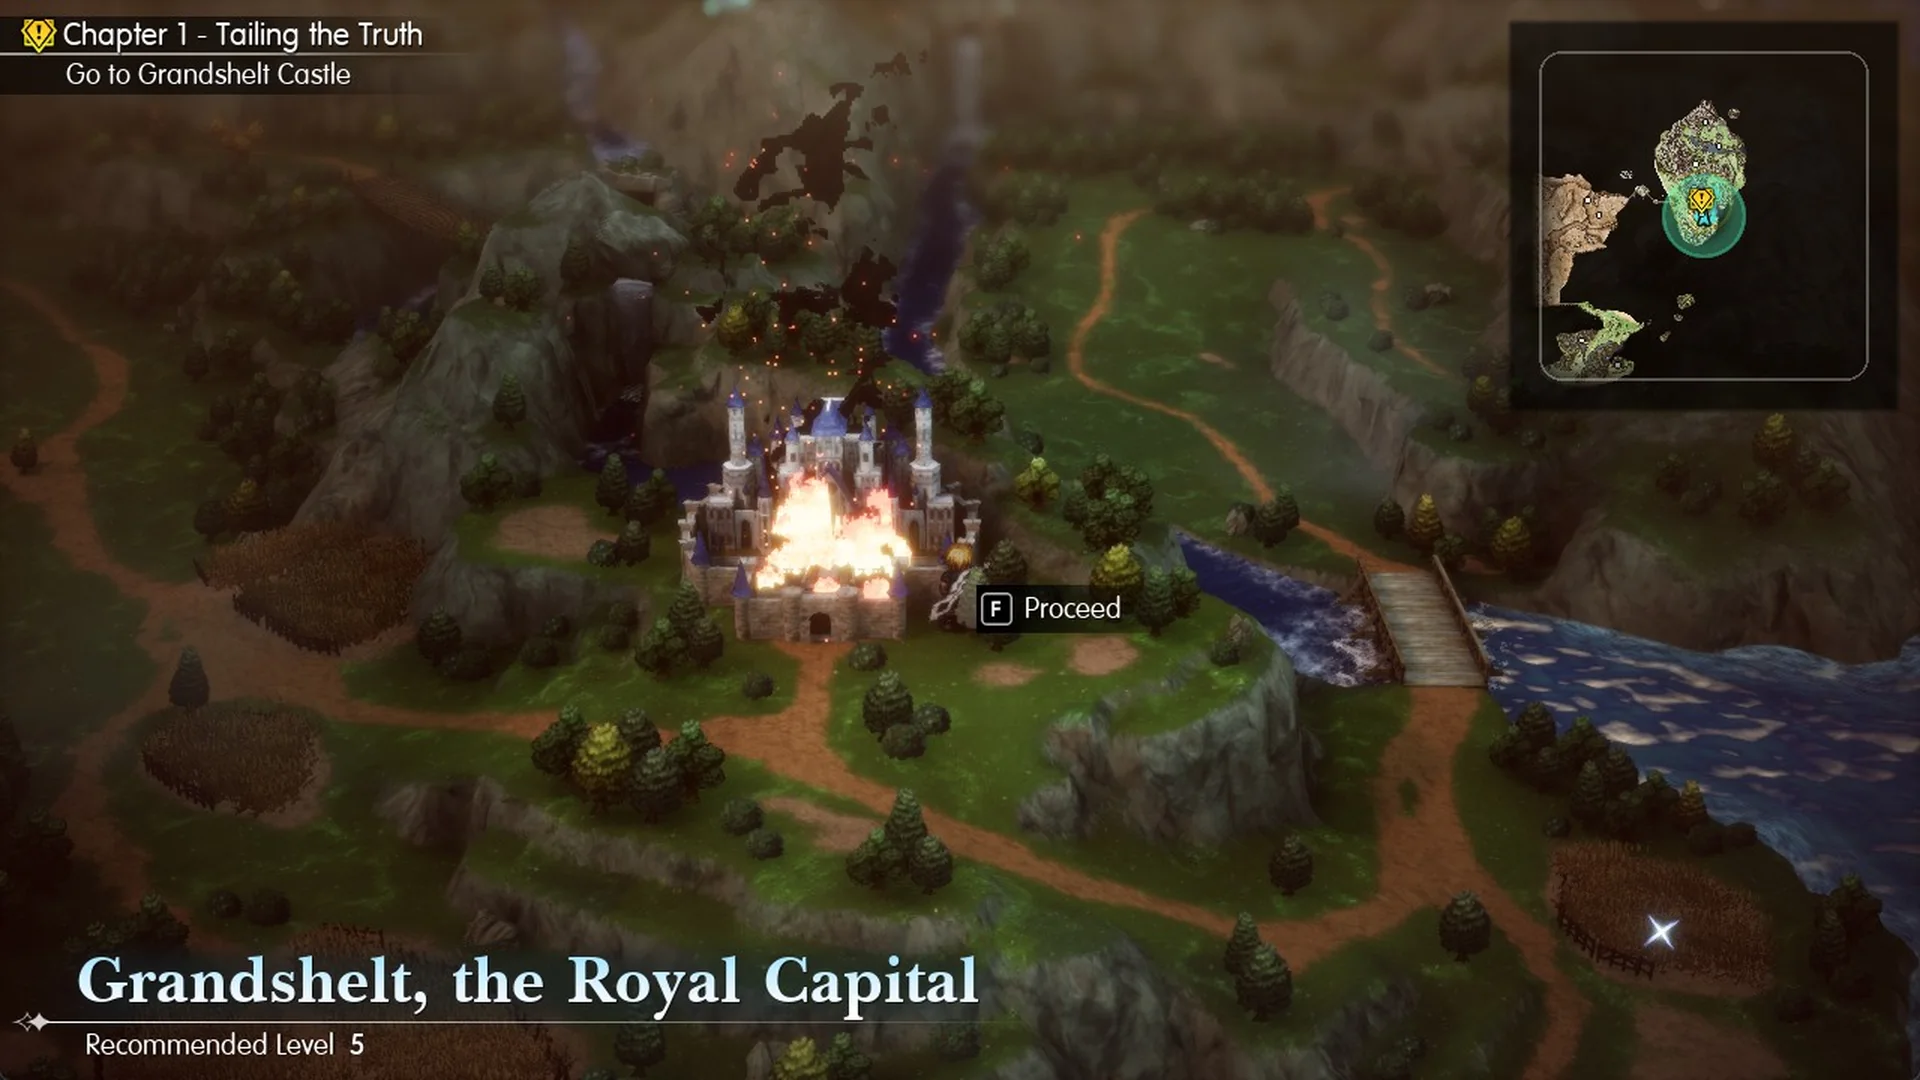
At Mitra’s first fork, choose the higher road. Cross the long rope bridge, then stay on the forest road and pass over another wooden bridge to reach “Grandshelt, the Royal Capital”; press F to Proceed. By then, the capital is ablaze.
Grandshelt Castle and Hell’s Rider
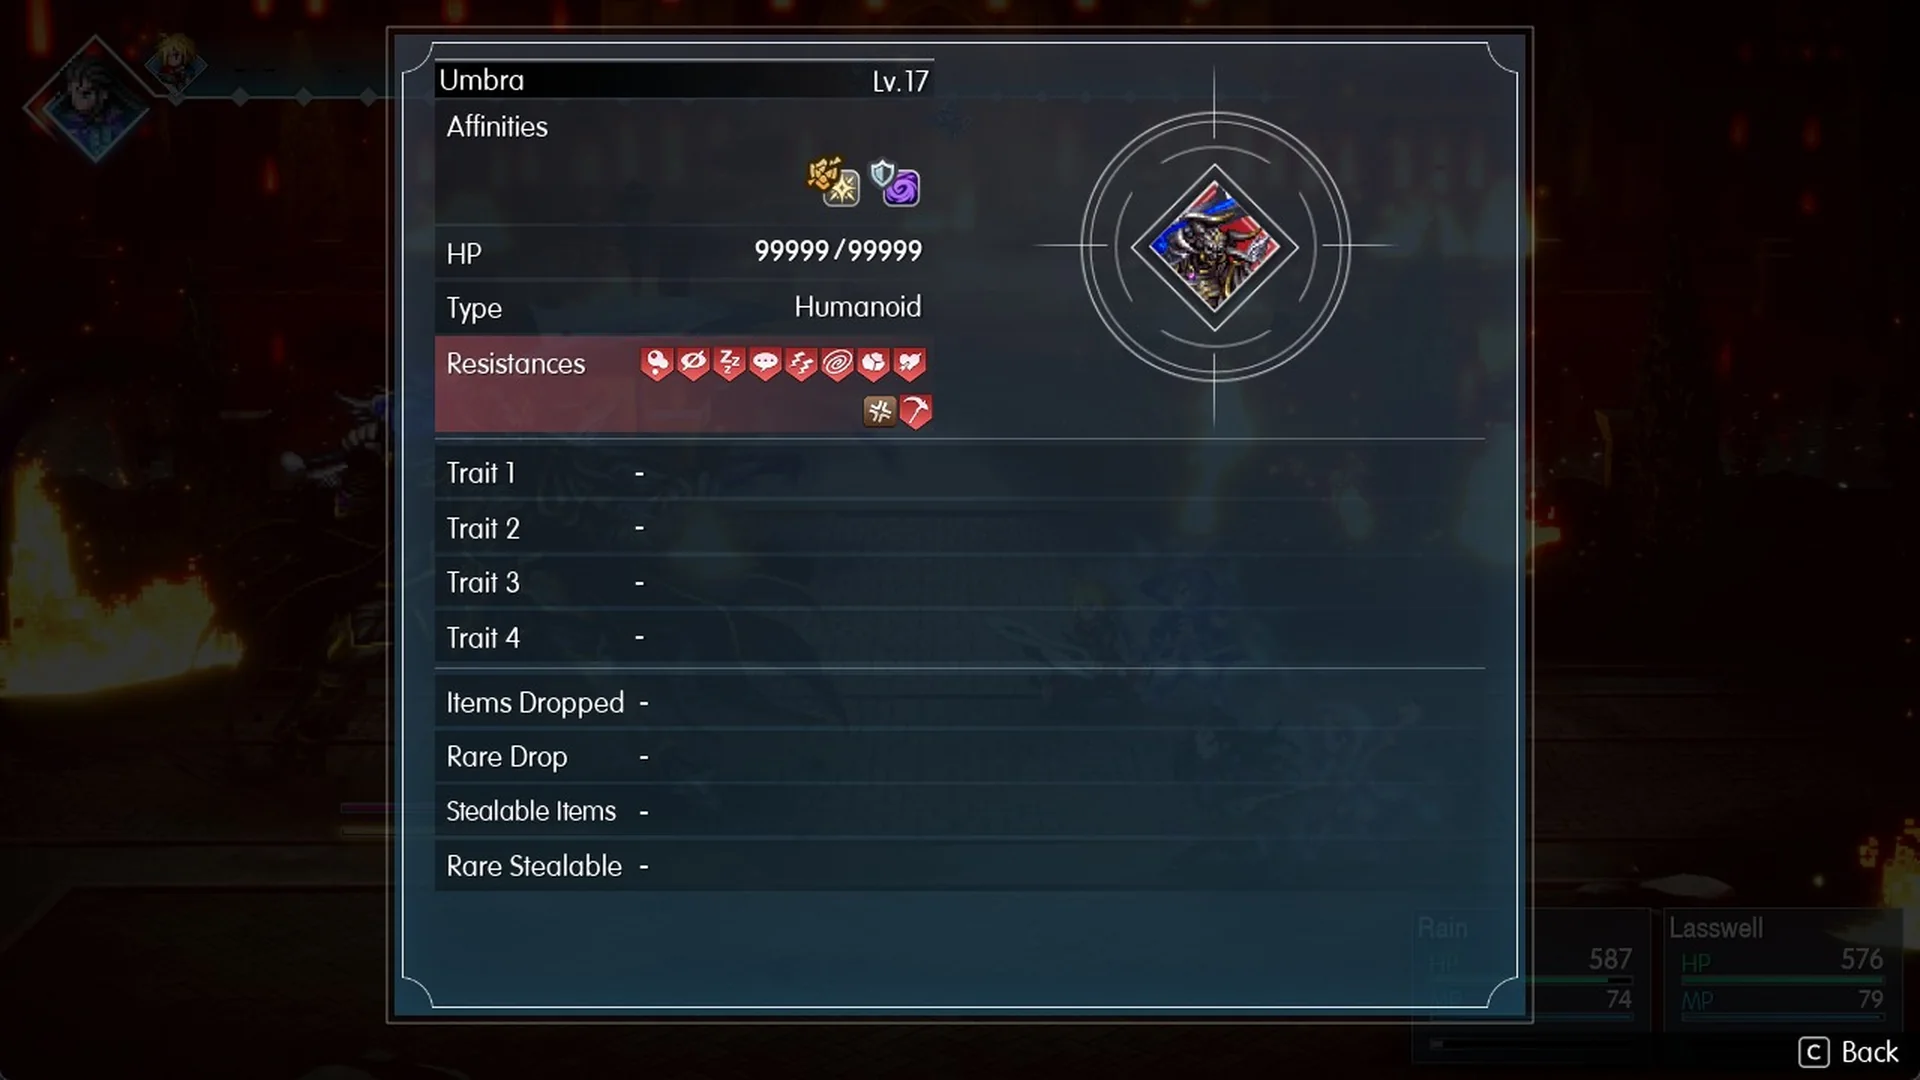
In the “Go to Grandshelt Castle” section (castle walkthrough), Charlotte joins your party upon entry. Flames seal off the grand staircase, so circle around via the lounges and walkways. At the staircase, fight Hell’s Rider (Lv.6) alongside Dark Skeletons; a Phoenix Down will take down one Dark Skeleton. After the battle, find Black Garb in the banquet hall.
Umbra outside the castle
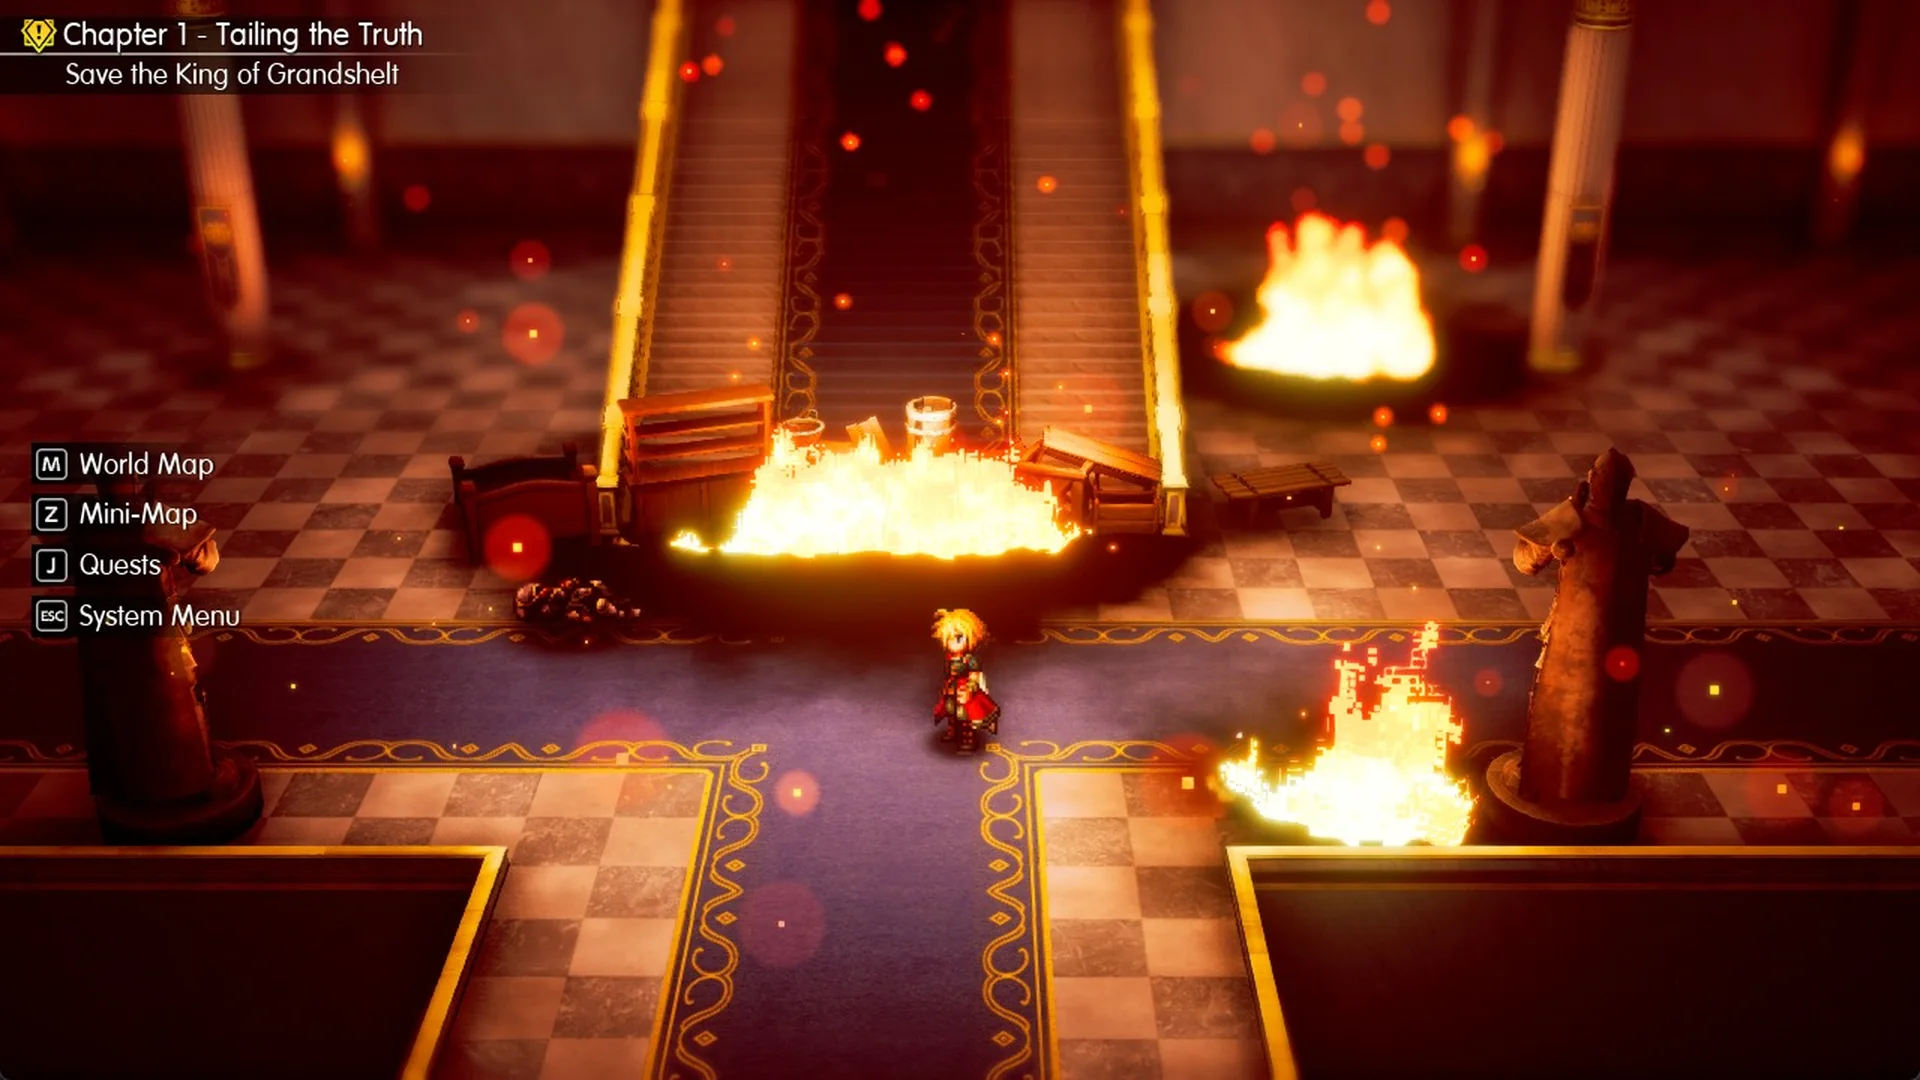
After you pass through the throne room, Umbra (Lv.17) attacks with 99999 HP, and you cannot use Escape. This forced story encounter concludes with a cutscene, followed by Fina’s appearance. Can you beat Umbra explains the fight.
Leaving the capital as Fina joins
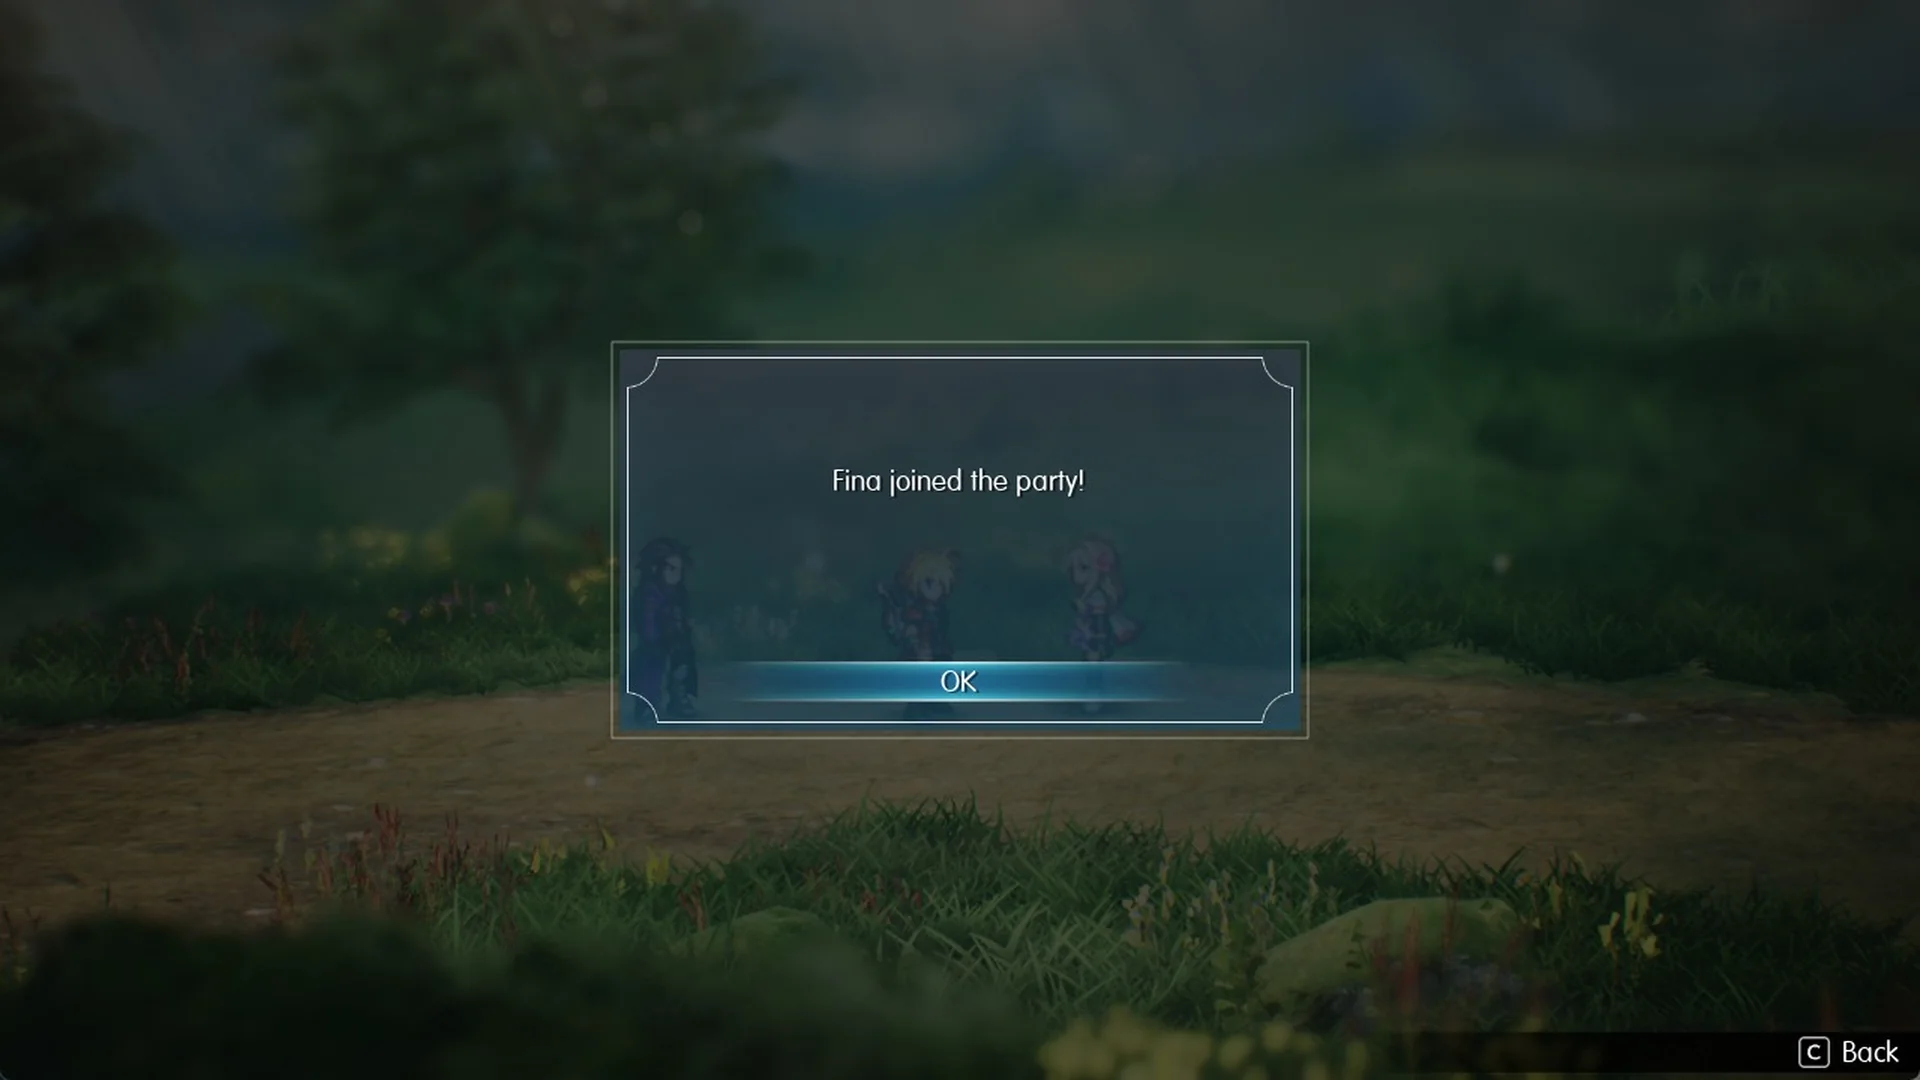
When “Go to the town of Felicitas” is displayed, exit through the Commercial District and reach the field on the capital’s west side. There, Fina asks to join you, and the game confirms “Fina joined the party!” The objective switches to “Go to the village of Kol” afterward.
Village of Kol and the free chocobo
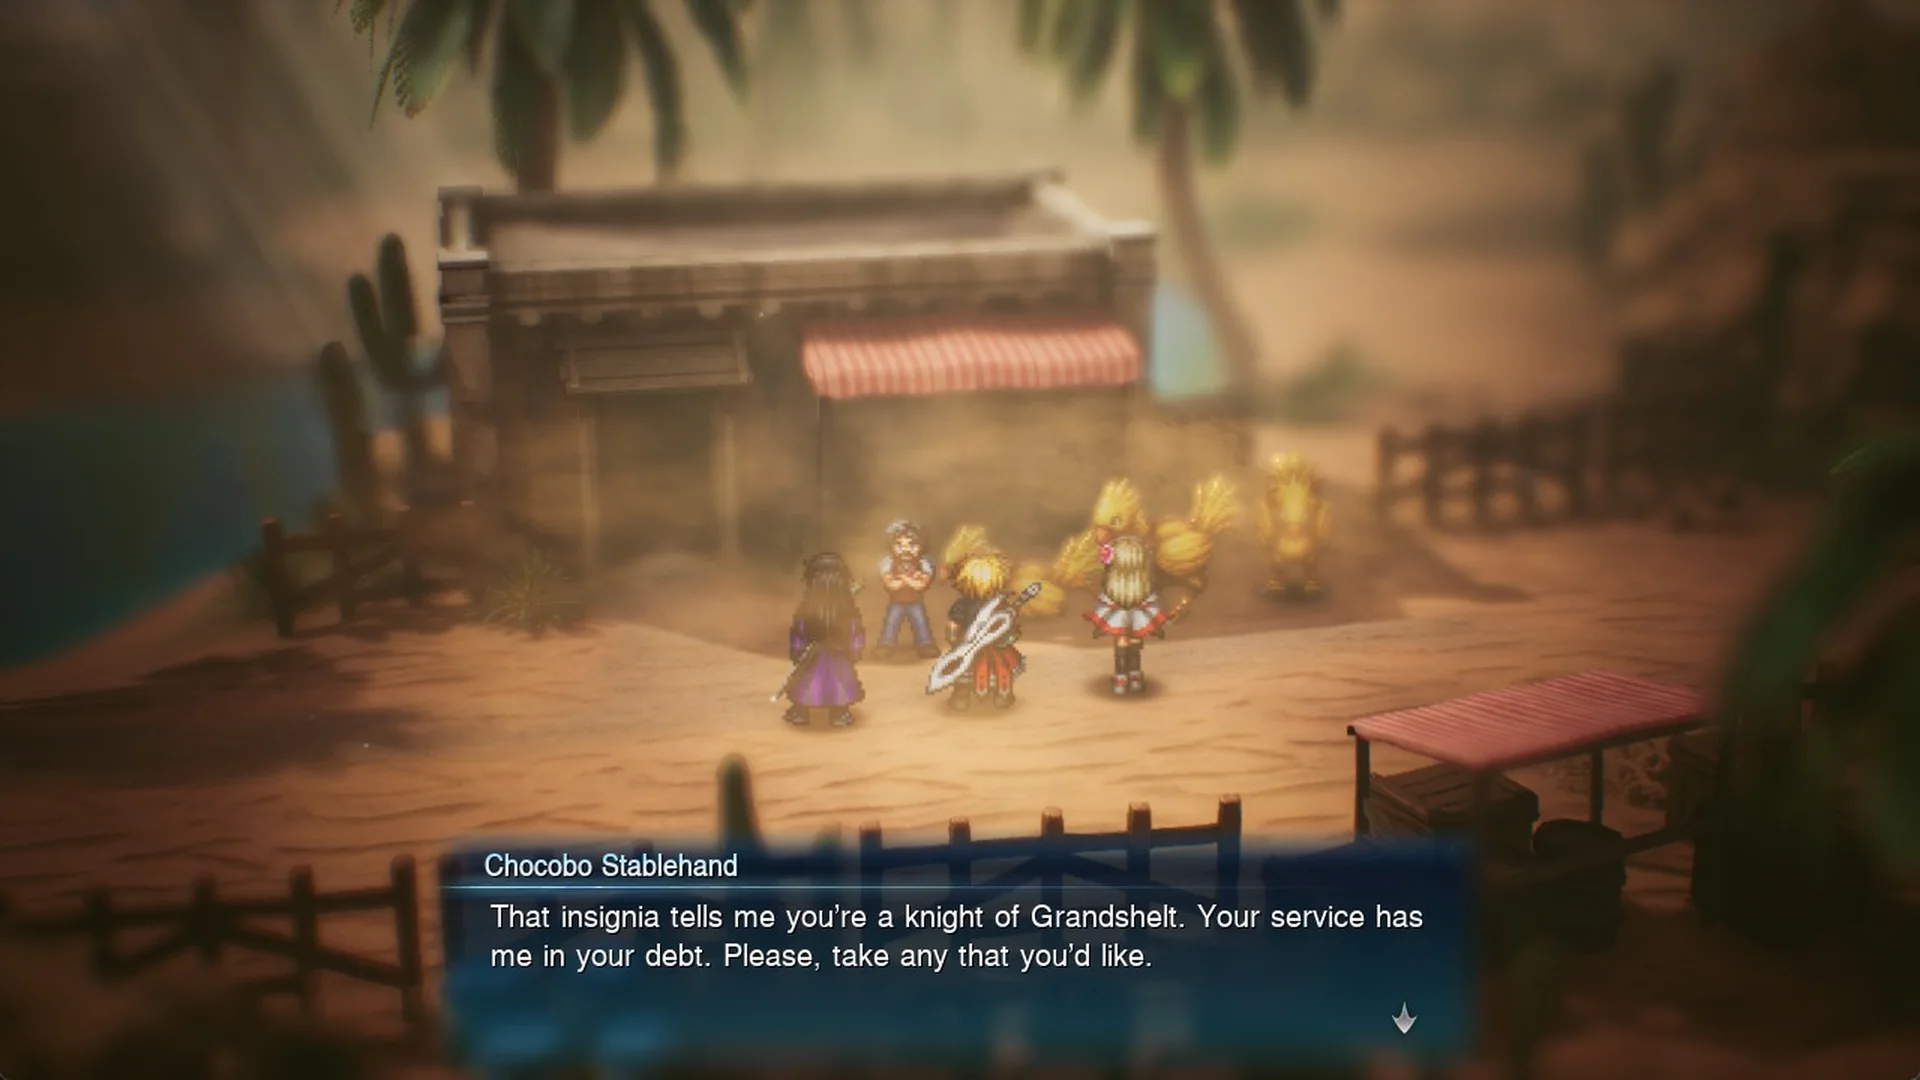
Cross the long rope bridge west of the capital, then the western desert, to reach the chasm bridge and the Village of Kol. Follow “Stay at the inn in the village of Kol”, and the next morning the Chocobo Stablehand gives you a chocobo for free; press R on the field map to ride it.
Town of Felicitas
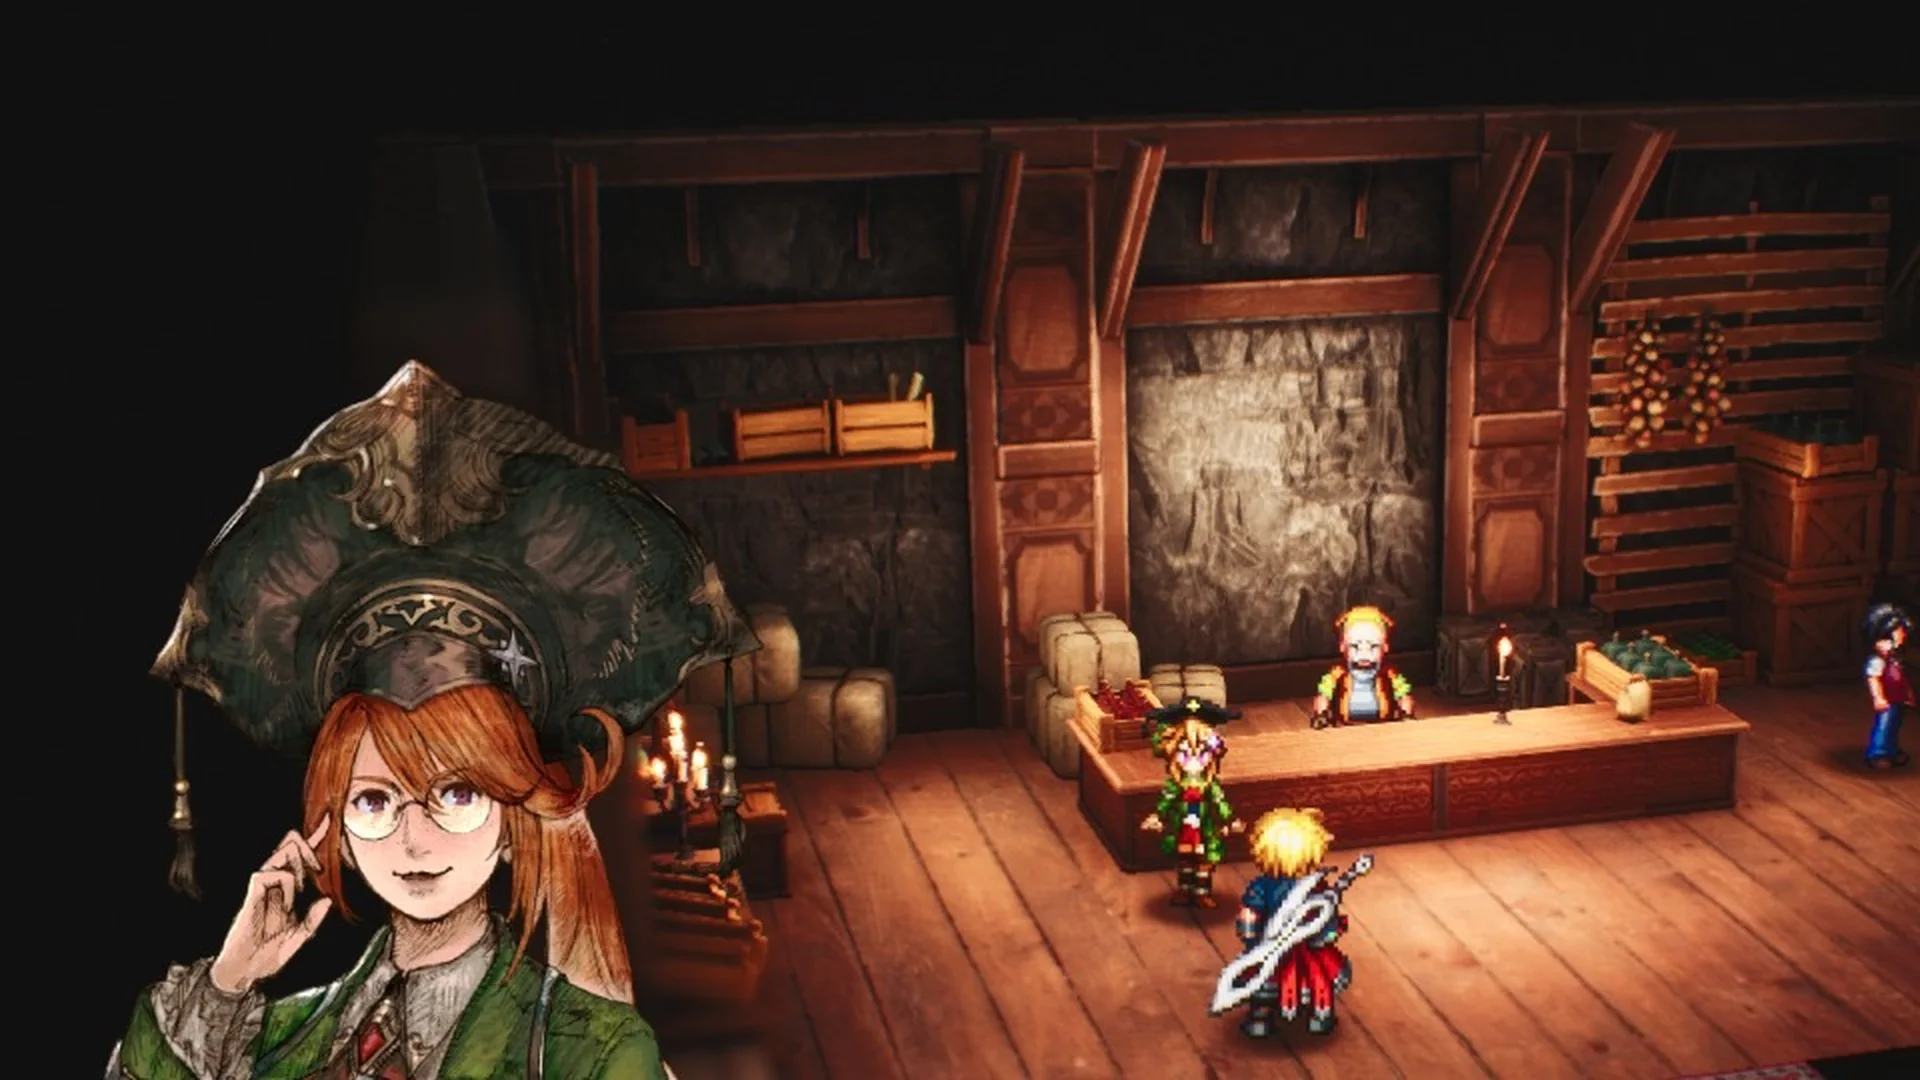
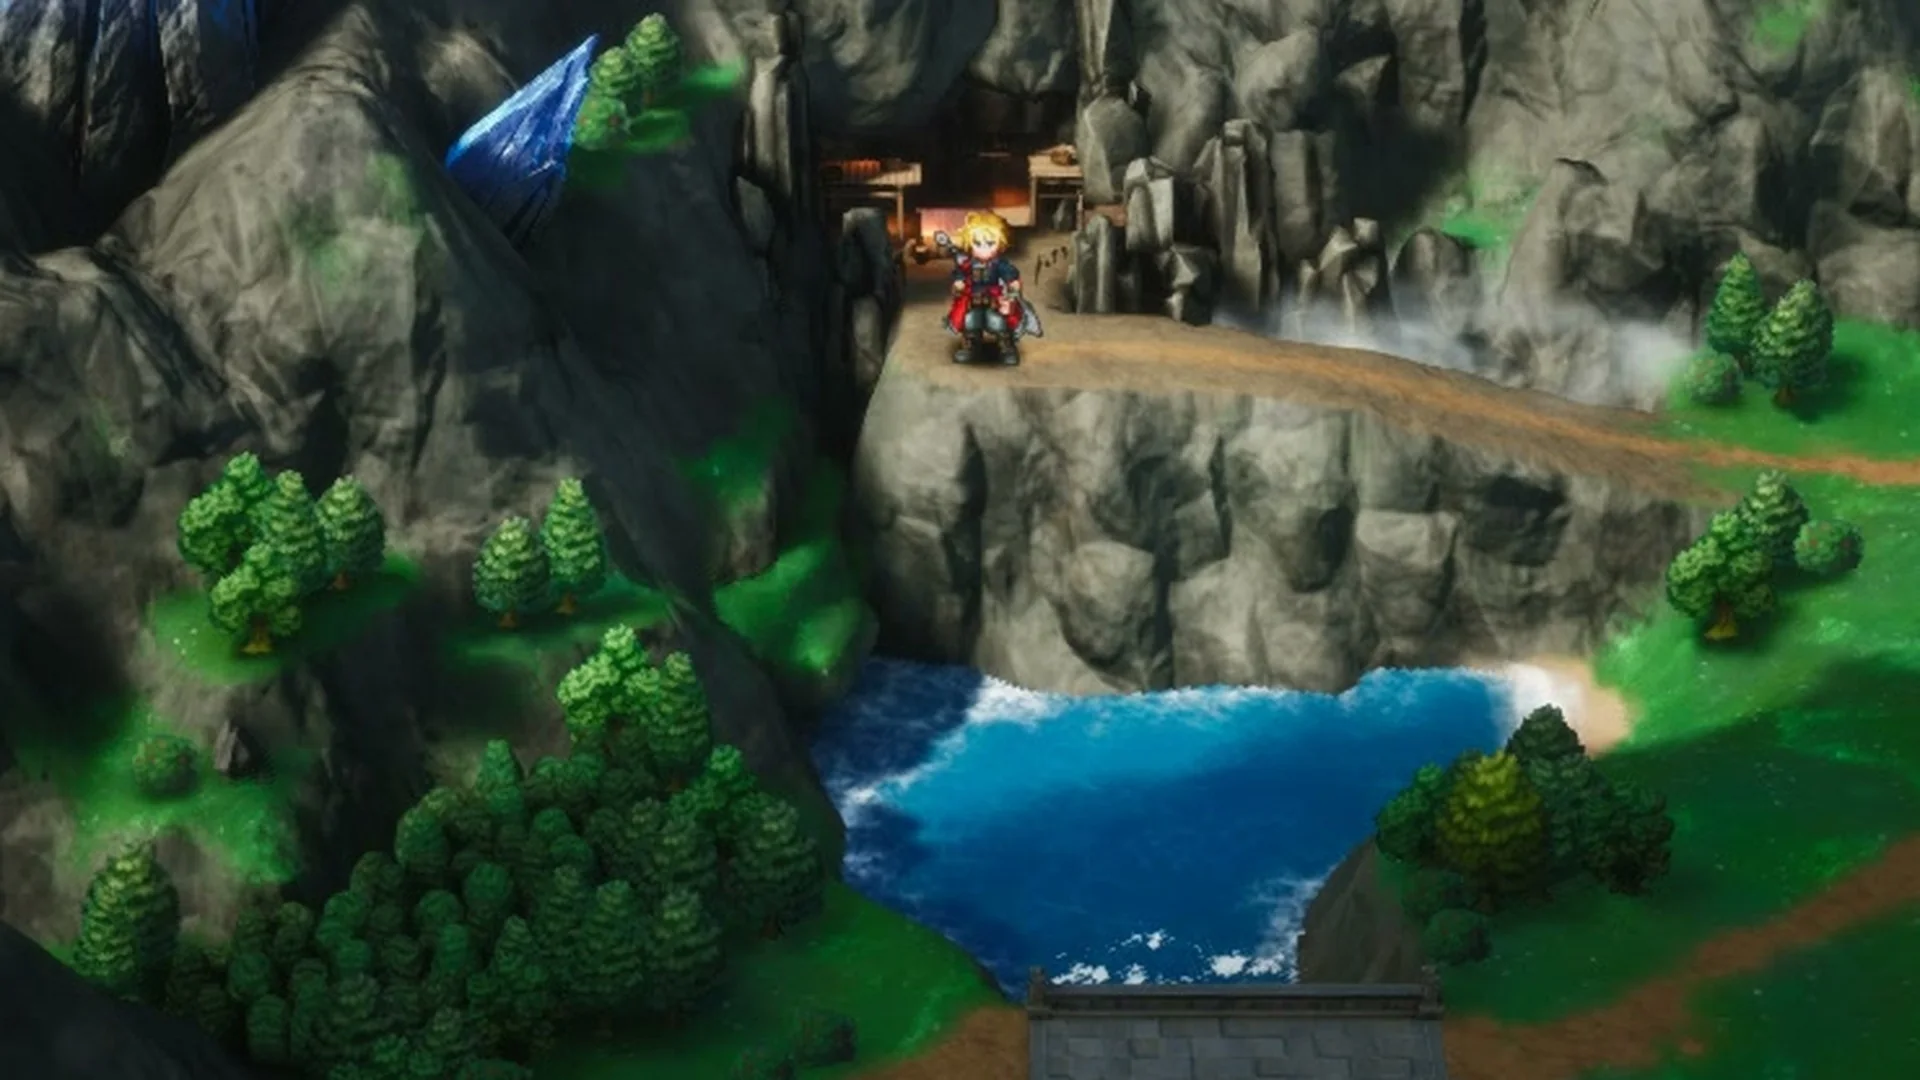
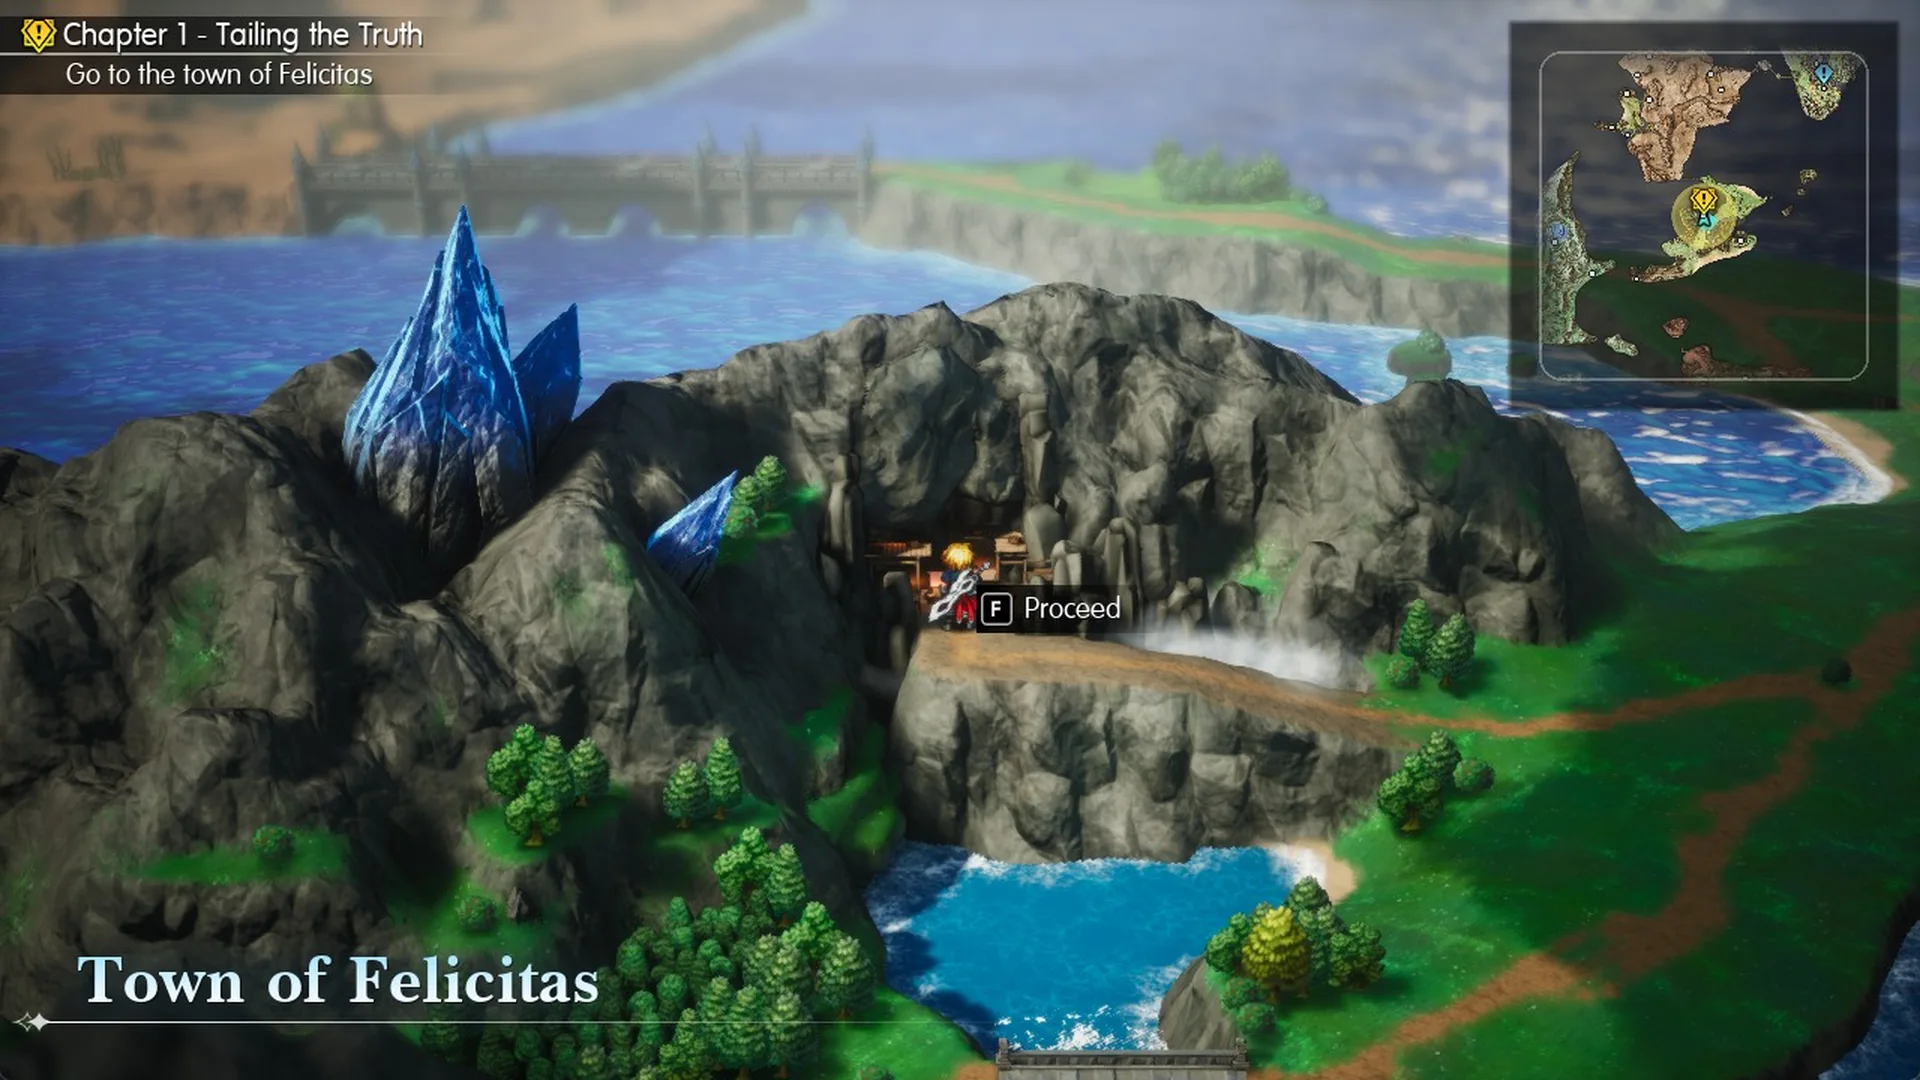
Ride south to the Felicitas island to meet Emma, then fend off a Goblin ambush. Enter town through the cave opening in the mountain using F Proceed. Emma’s aunt tells you the expedition to the ruins failed to return; Emma then runs off, changing your objective to “Go to the Kolobos Ruins”. The town’s shops include an inn and weapon, armor, and item stores; see Felicitas shops for details.
Road to the Kolobos Ruins
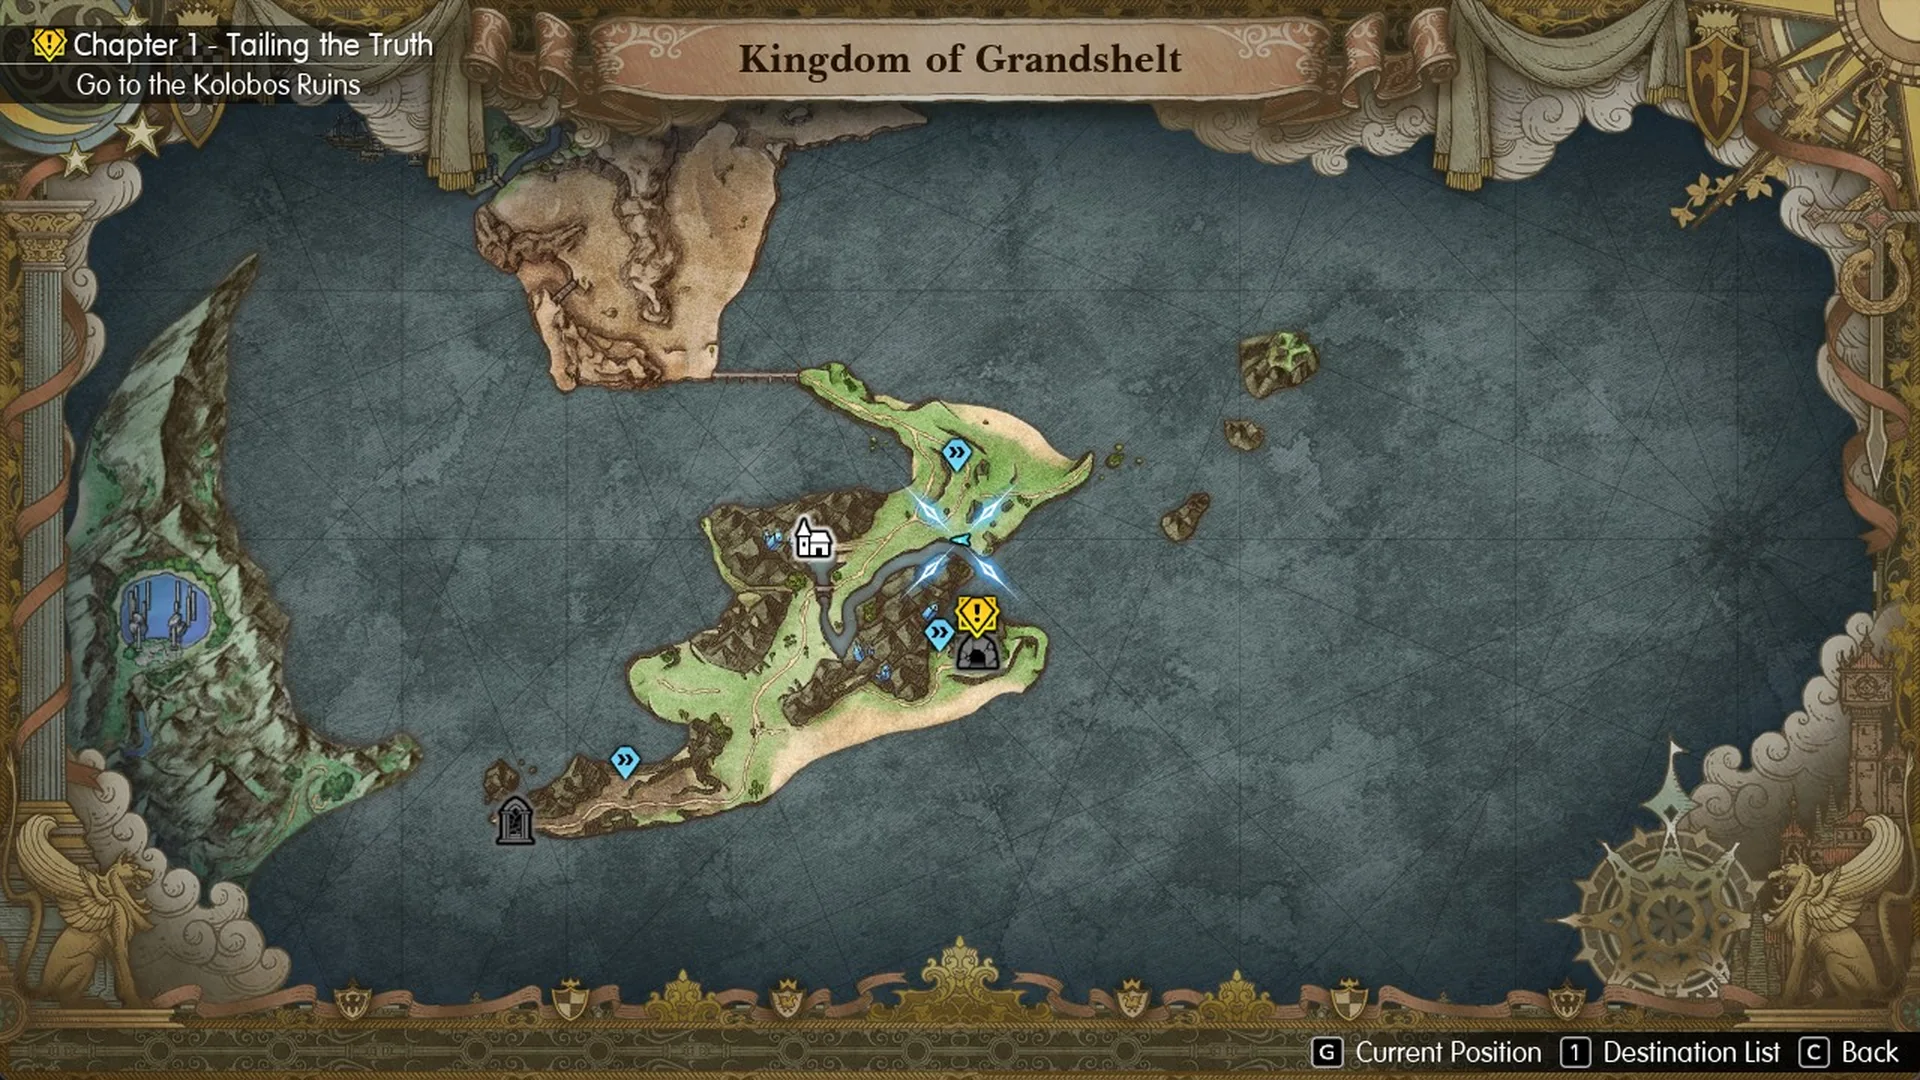
The objective circle won’t point you to the ruins, which lie south of the river gorge. Cross the stone bridge heading west, continue south to the signpost, take the beach road east, then go north into the rocky alcove. Chloe, who stands in the Felicitas item shop, offers the side quest “Secrets Unearthed”. The guide to reaching the Kolobos Ruins gives the full route.
Current objective
This guide pauses at “Go to the Kolobos Ruins” during Chapter 1 – Tailing the Truth; the ruins are the next destination. The chapter later takes you to Grandport Harbor before its finale at Siren’s Tower. For that final location, see How to get inside Siren’s Tower.