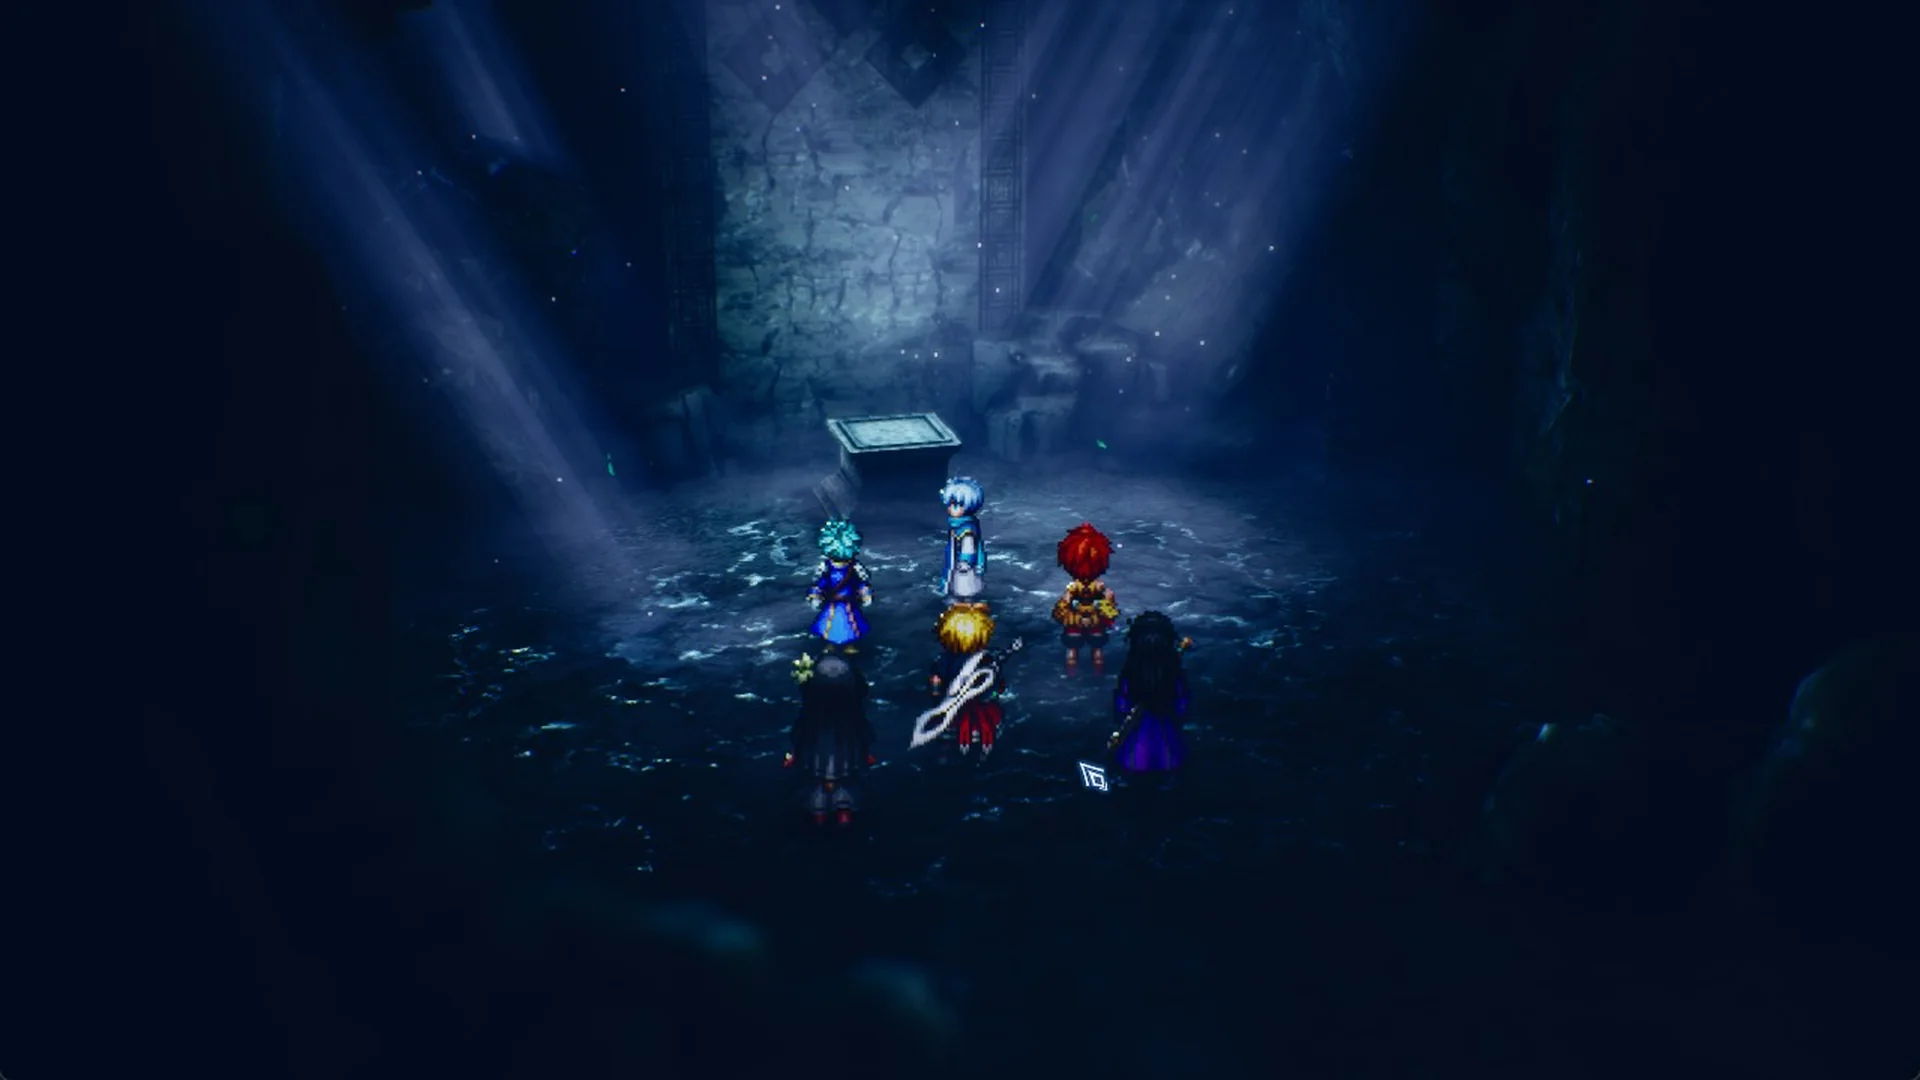
Waterfall Way is a Chapter 3 (“Wardens of the Aquapolis”) dungeon in the Olderion Federation, north-west of Olderion, the Aquapolis. It opens after the night at the Olderion inn, when your objective changes to “Go to Waterfall Way”. Inside, the objective becomes “Go to the Altar”, and the dungeon ends at the Altar of the Water Maiden with “Go to Warden’s Cape”. There is no boss. Everything below is on Normal difficulty, and the rest of the story is covered in the Final Fantasy Resonance walkthrough.
Quick answer: Leave Olderion by the south bridge, follow the road west, then turn north up the valley to Waterfall Way. Inside, climb Area 1 to 3F, cross west into Area 2, then follow Area 4 2F east to the altar.
The entrance banner reads “Recommended Level 24”. Waterfall Way holds five chests (Eye Drops x2, Aquatic Veil, Devout’s Armor, Phoenix Pinion and Guardian Sword), three Tablet Shards and two save points, one in the entrance hall and one in the north hall at the exit. The System Menu inside the dungeon has no Save option, so those two circles are the only places to save. Almost every enemy here is weak to Thunder.
| Area | What is there |
|---|---|
| Entrance hall (Area 5) | Save point (Save progress, Rest in a tent) |
| Area 1 1F | Chest: Eye Drops x2; side room with the Aquatic Veil chest; ramp up to 2F |
| Area 1 2F | Tablet Shard; ladder up to 3F |
| Area 1 3F | Gilgamesh (talk, no fight); ladder down to a ledge with the Devout’s Armor chest; west exit |
| Area 4 1F | Long gallery west to Area 2 |
| Area 2 1F | Tablet Shard; ladder up to 2F |
| Area 2 2F | Chest: Phoenix Pinion; Tablet Shard; side room with the Guardian Sword chest |
| Area 4 2F | Gallery east to the Altar of the Water Maiden |
| North hall (Area 3) | Save point (Save progress, Rest in a tent, Teleport); exit to the World Map and the Town of Amore |
How to get to Waterfall Way from Olderion
If you need supplies first, the Olderion shops are in the city you start from. The trip itself is short, but the obvious straight line does not work.
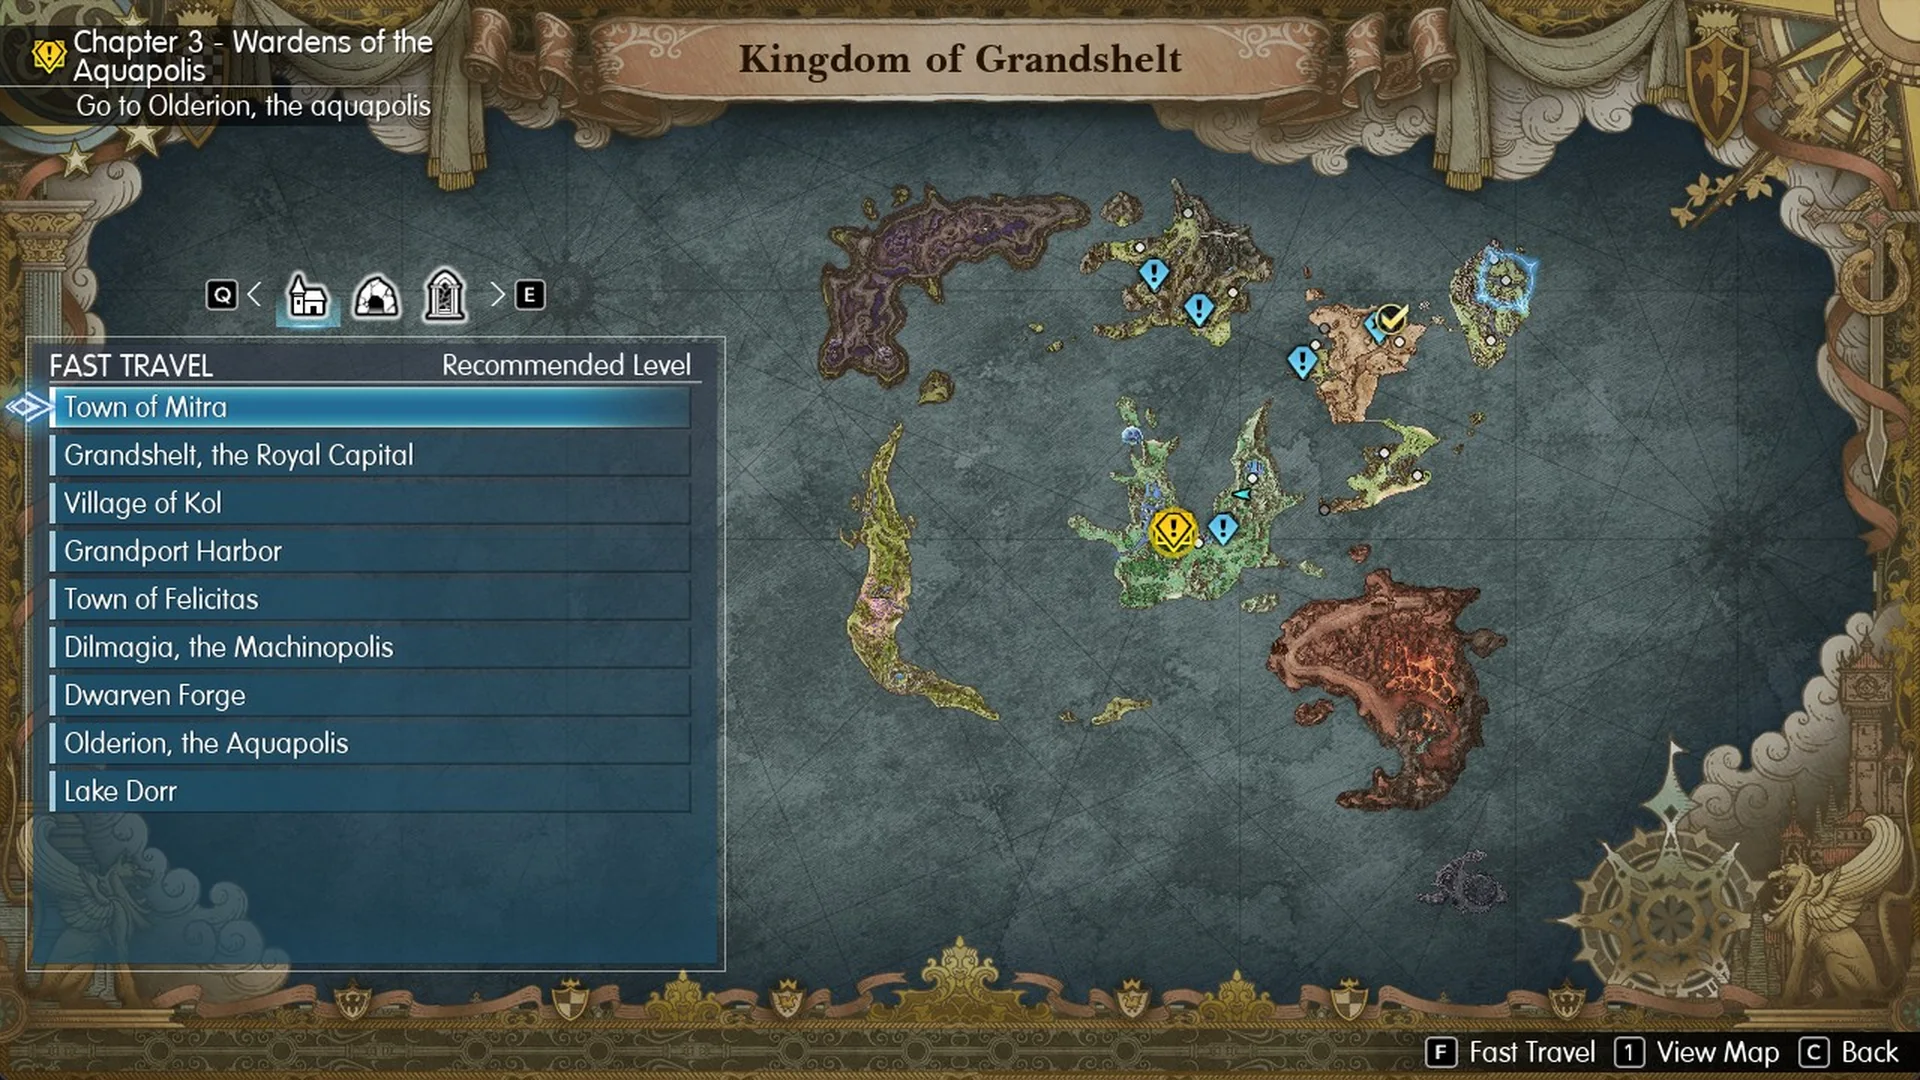
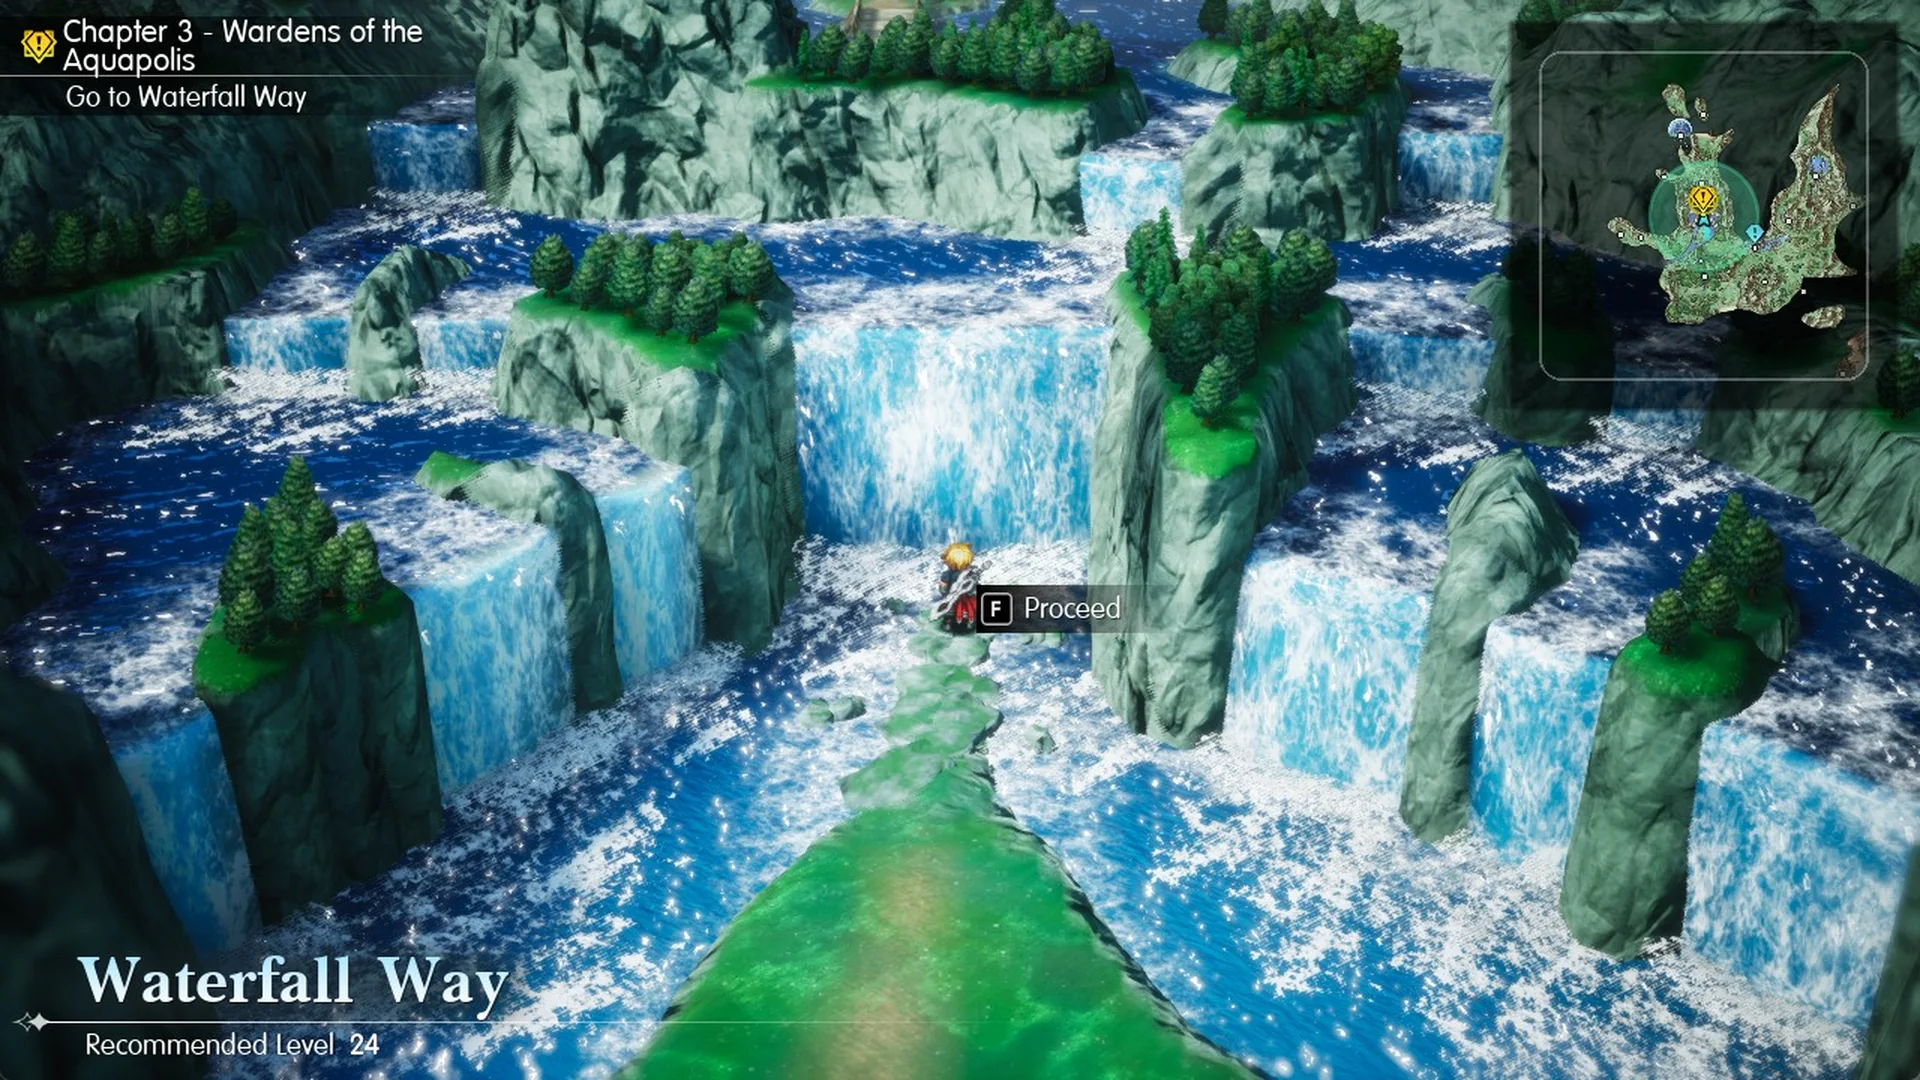
Random fights happen along the way, so expect a few battles before you reach the door.
Arriving at Waterfall Way
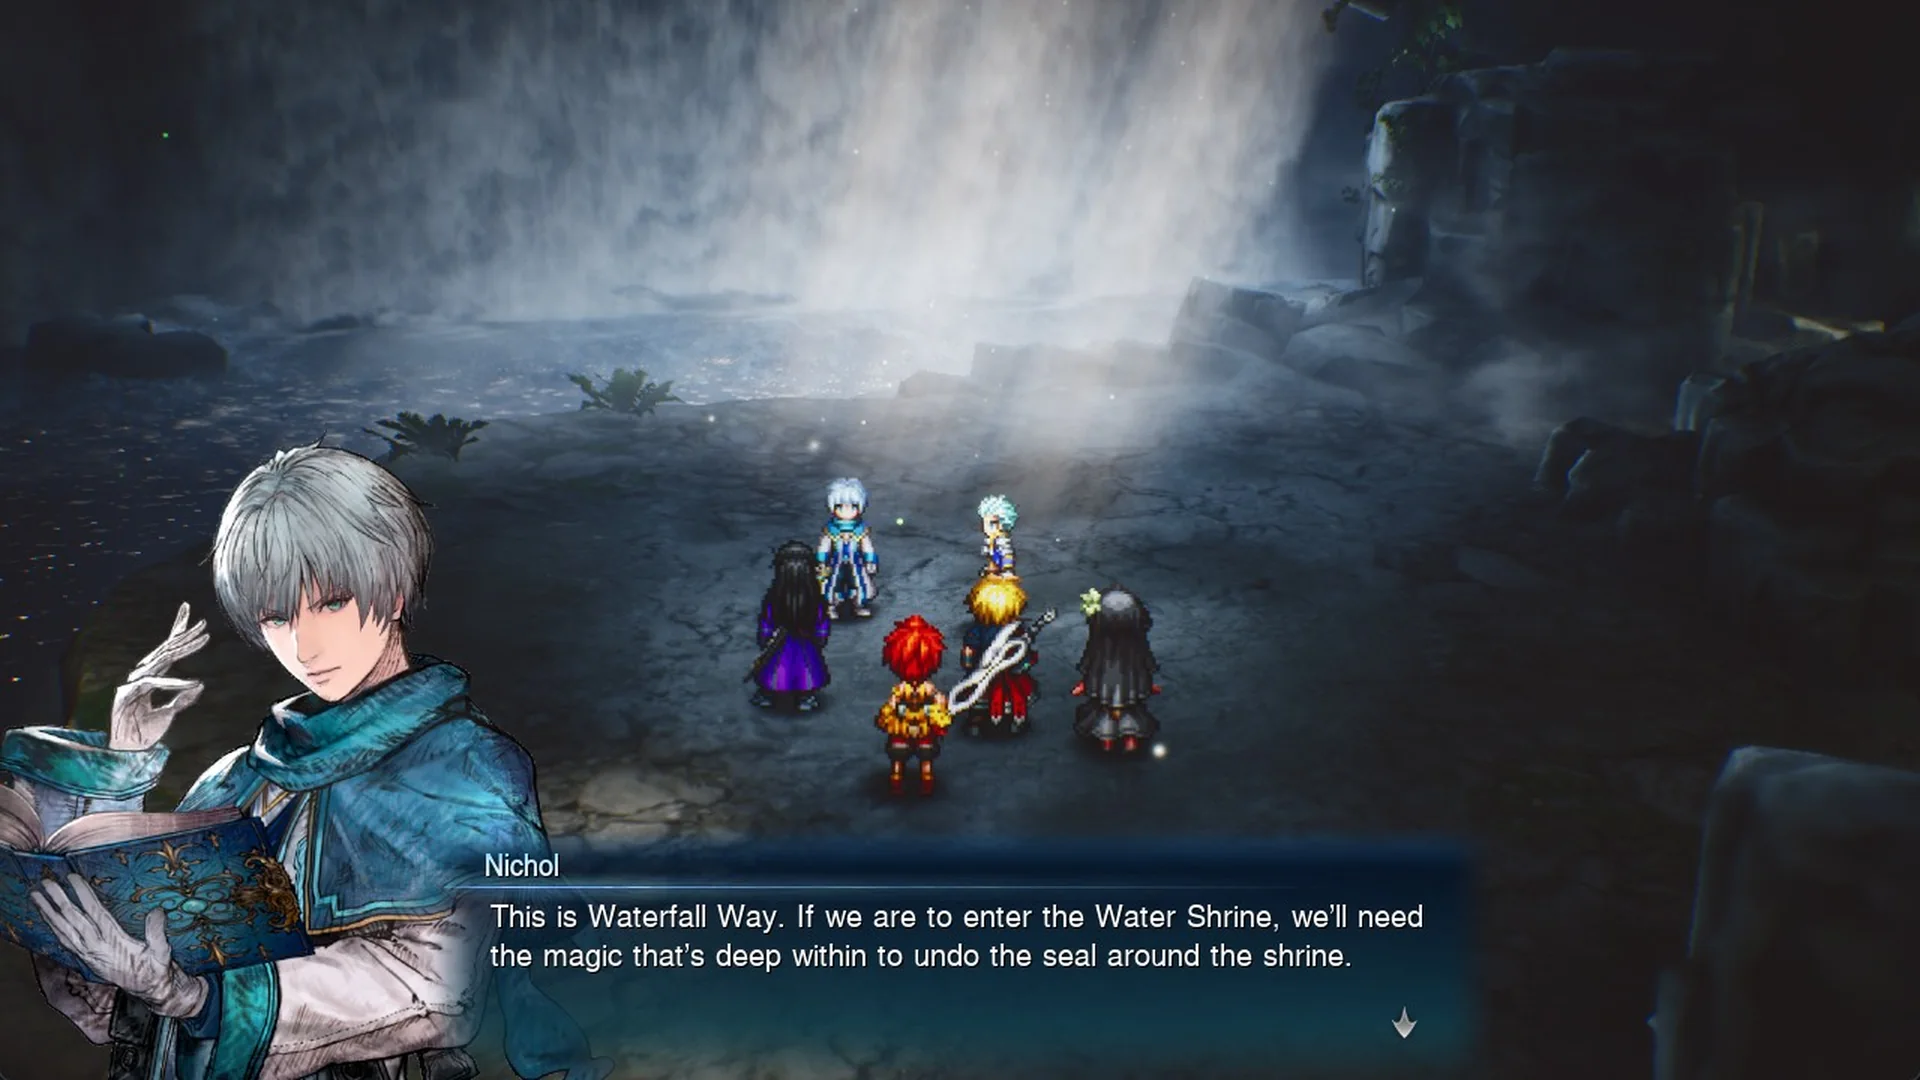
A scene plays as soon as you enter, and it has no choices. Nichol sets the goal: “This is Waterfall Way. If we are to enter the Water Shrine, we’ll need the magic that’s deep within to undo the seal around the shrine.” That magic waits “at the altar of the Water Maiden”.
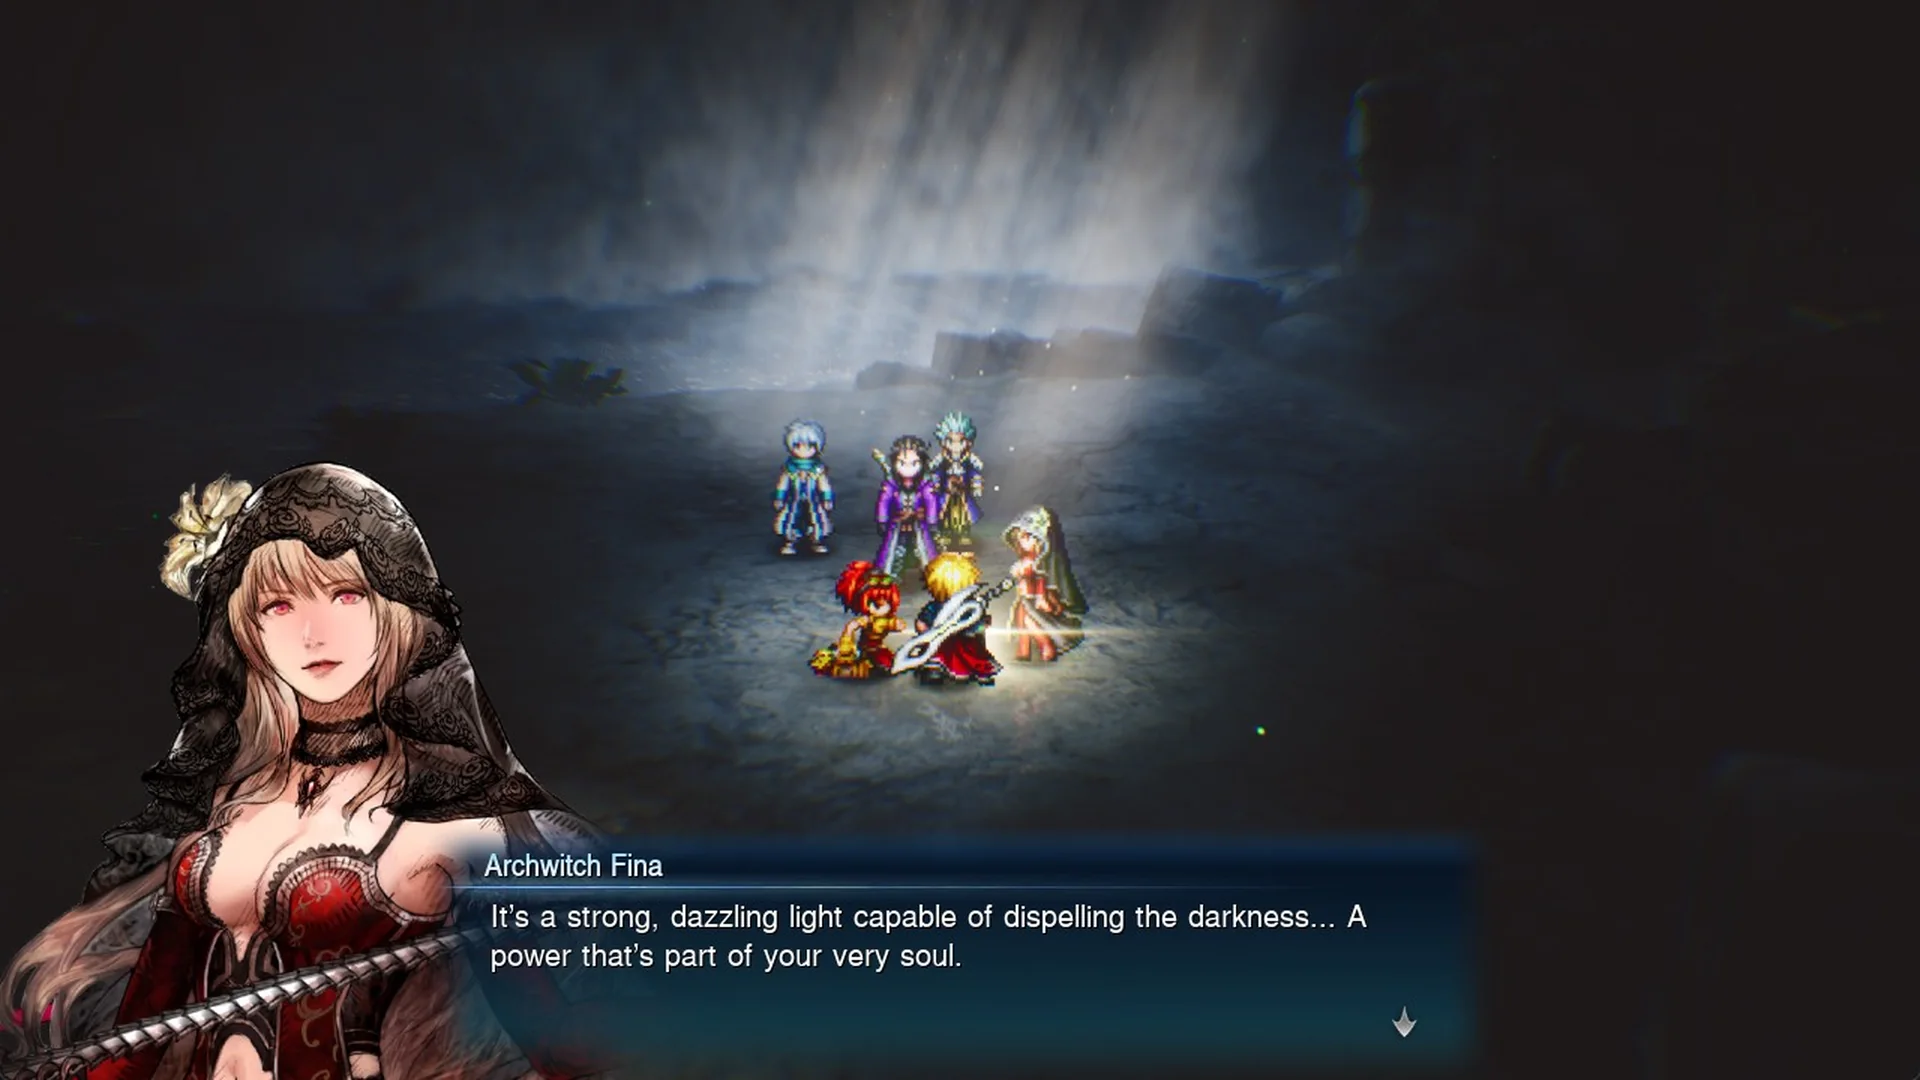
Rain then says “There’s something…wrong with my arm…” as his arm starts to glow. Archwitch Fina tells him the light is “a power that’s part of your very soul”, quells it for now and adds, “Do not be afraid… for that power is yours to command.” What that power actually is stays for the story to reveal.
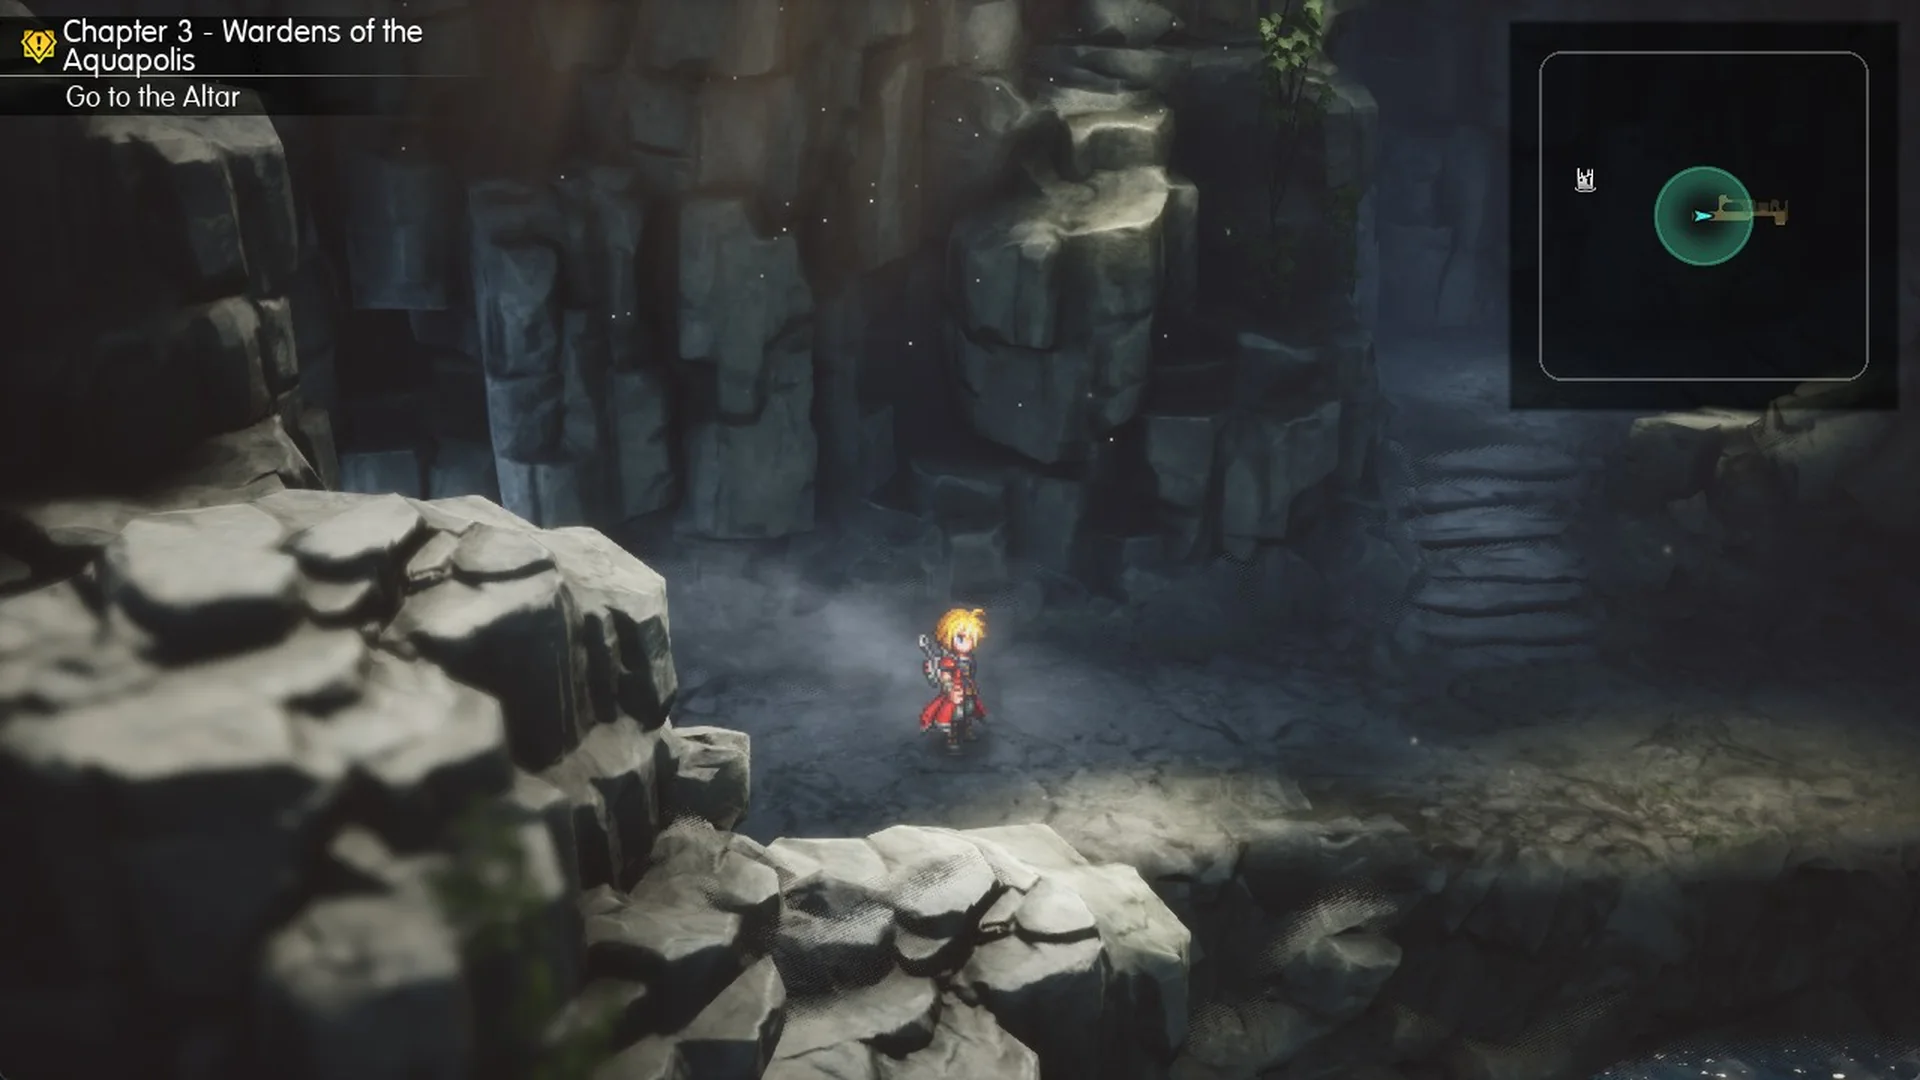
When the scene ends, the objective reads “Go to the Altar” and you are standing at the west end of Area 1 1F.
The entrance hall save point
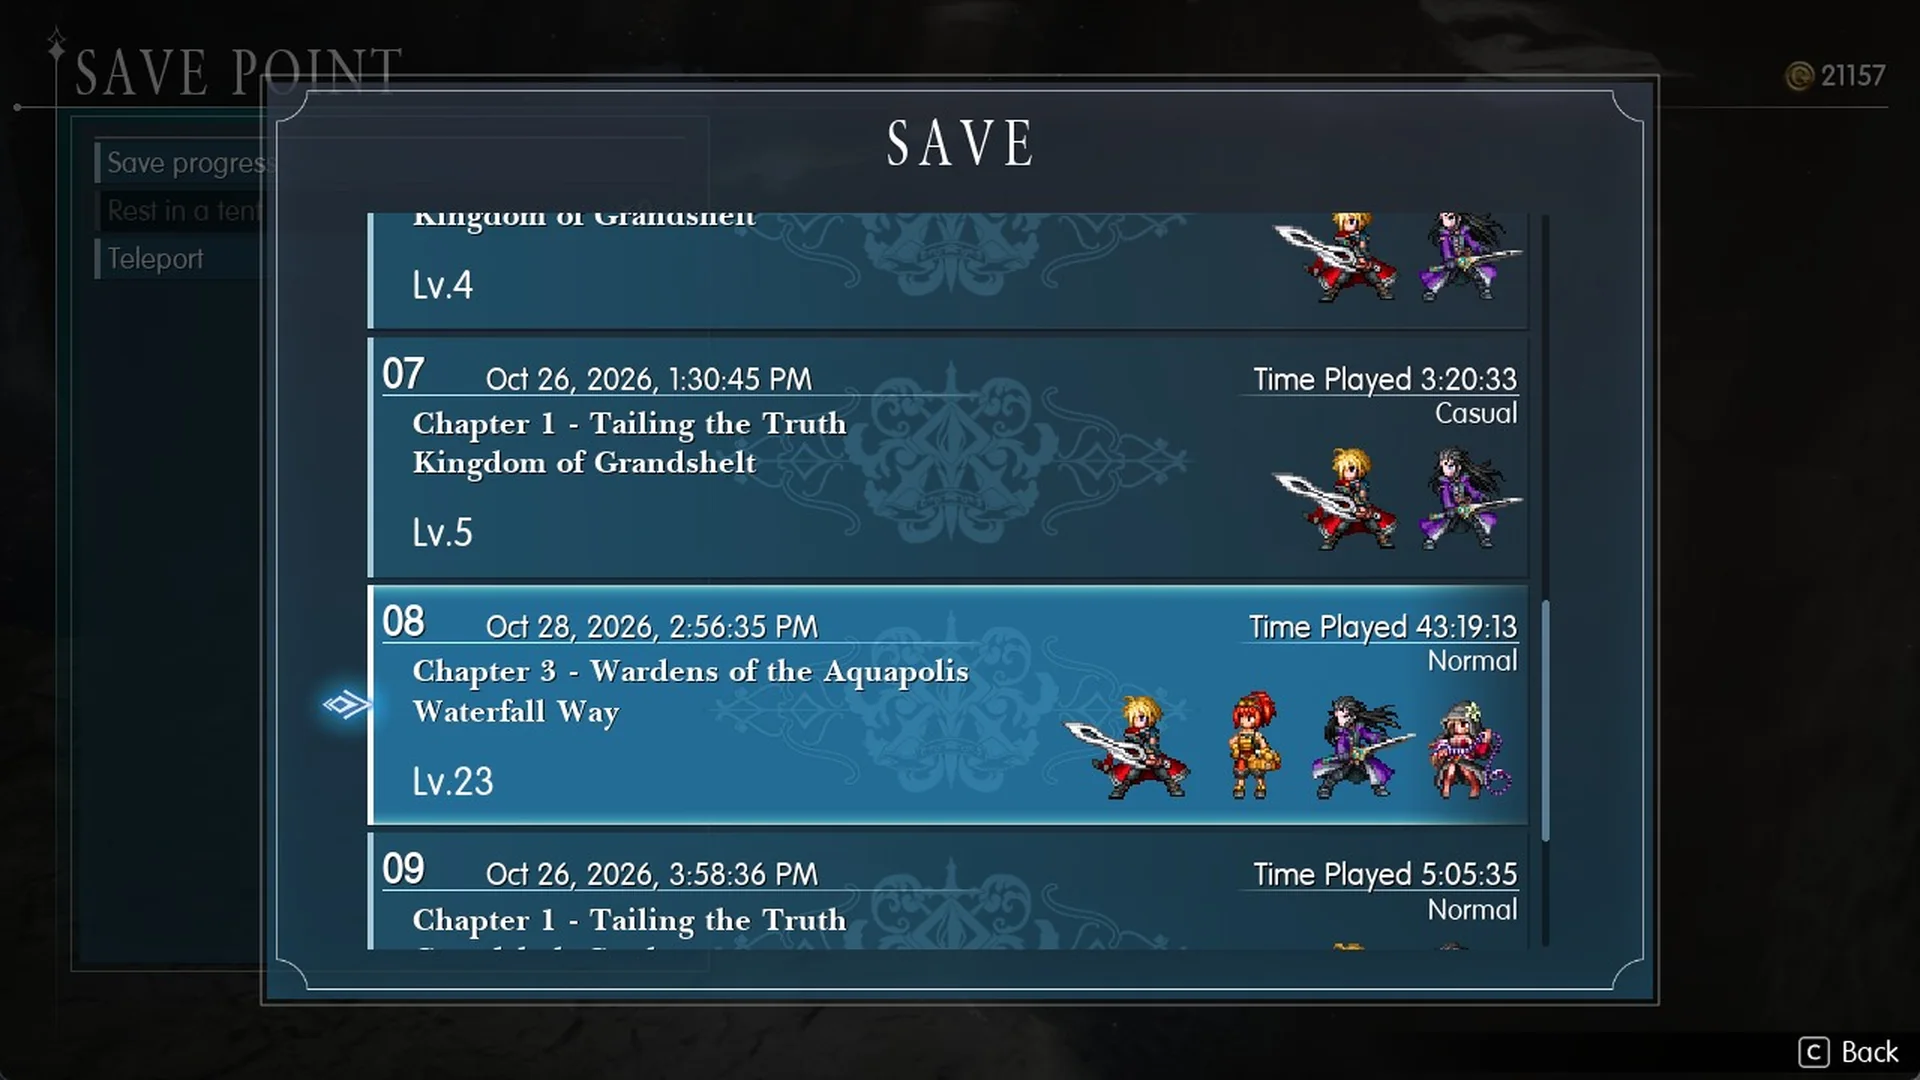
You have to backtrack for the first save point. From where you arrive, head west through the passage behind you to the entrance hall and its save circle. There, you can choose Save progress or Rest in a tent. Resting with a Tent restores all party members’ HP and MP and revives anyone who was knocked out.
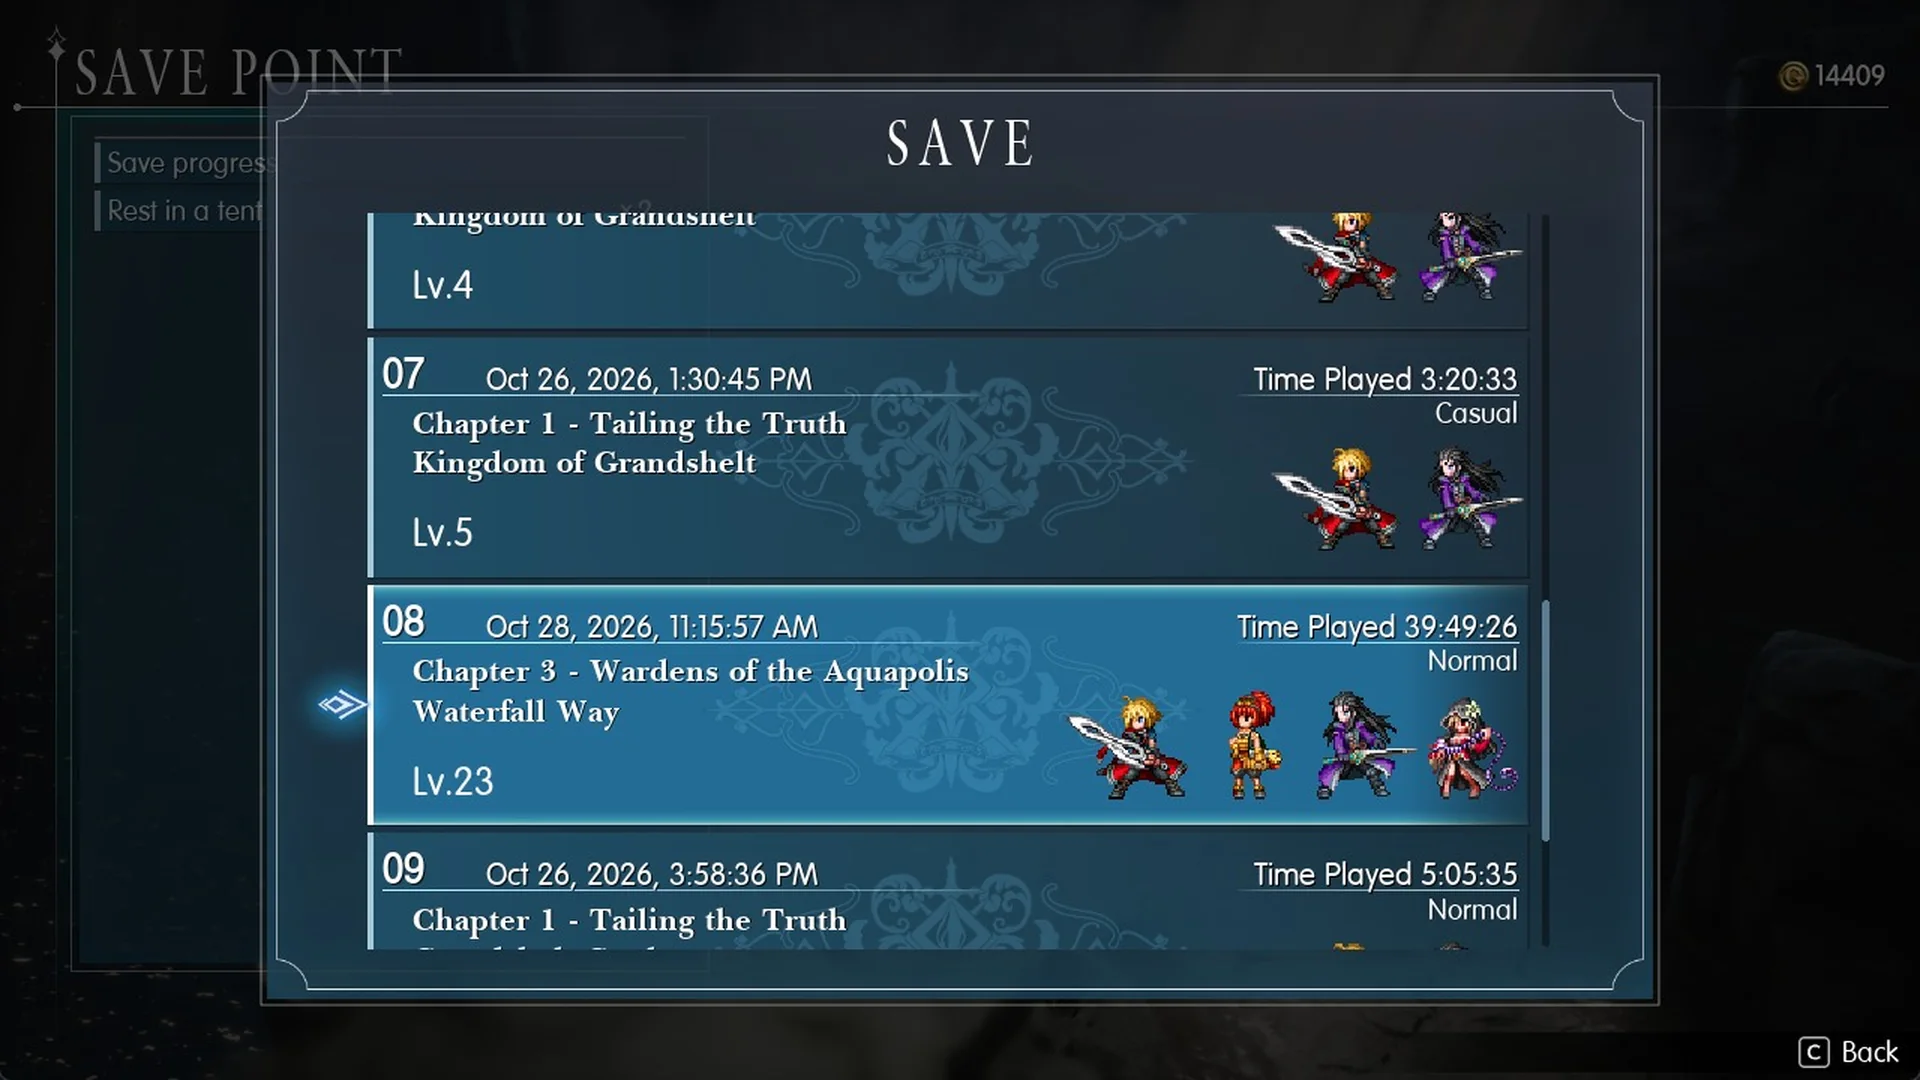
Save before you push deeper. The next save point is in the north hall at the far end, and the System Menu inside Waterfall Way only lists Load, Help, Options, Return to Title and Quit Game.
Area 1 1F: Eye Drops and the Aquatic Veil
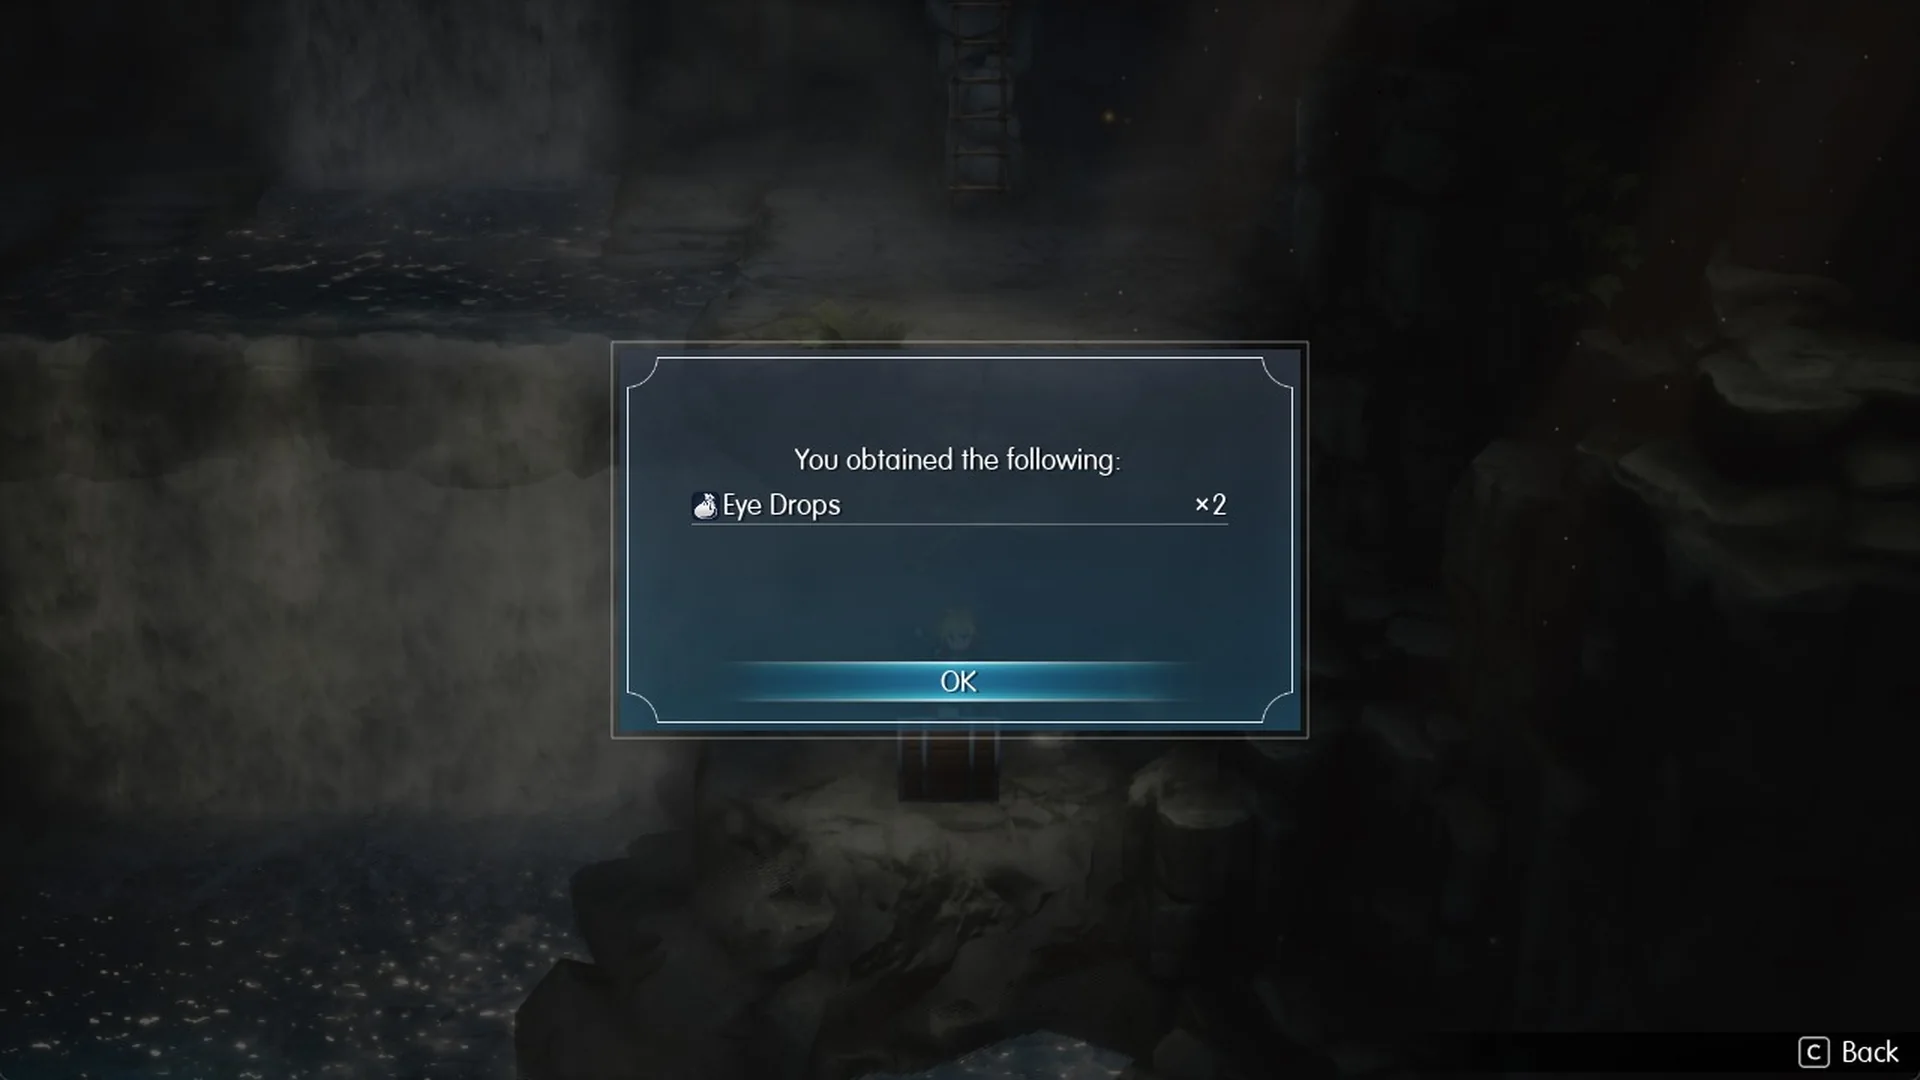
Proceed east through the lengthy corridor. A chest containing Eye Drops x2 is tucked into a short southern spur at the corridor’s far end.
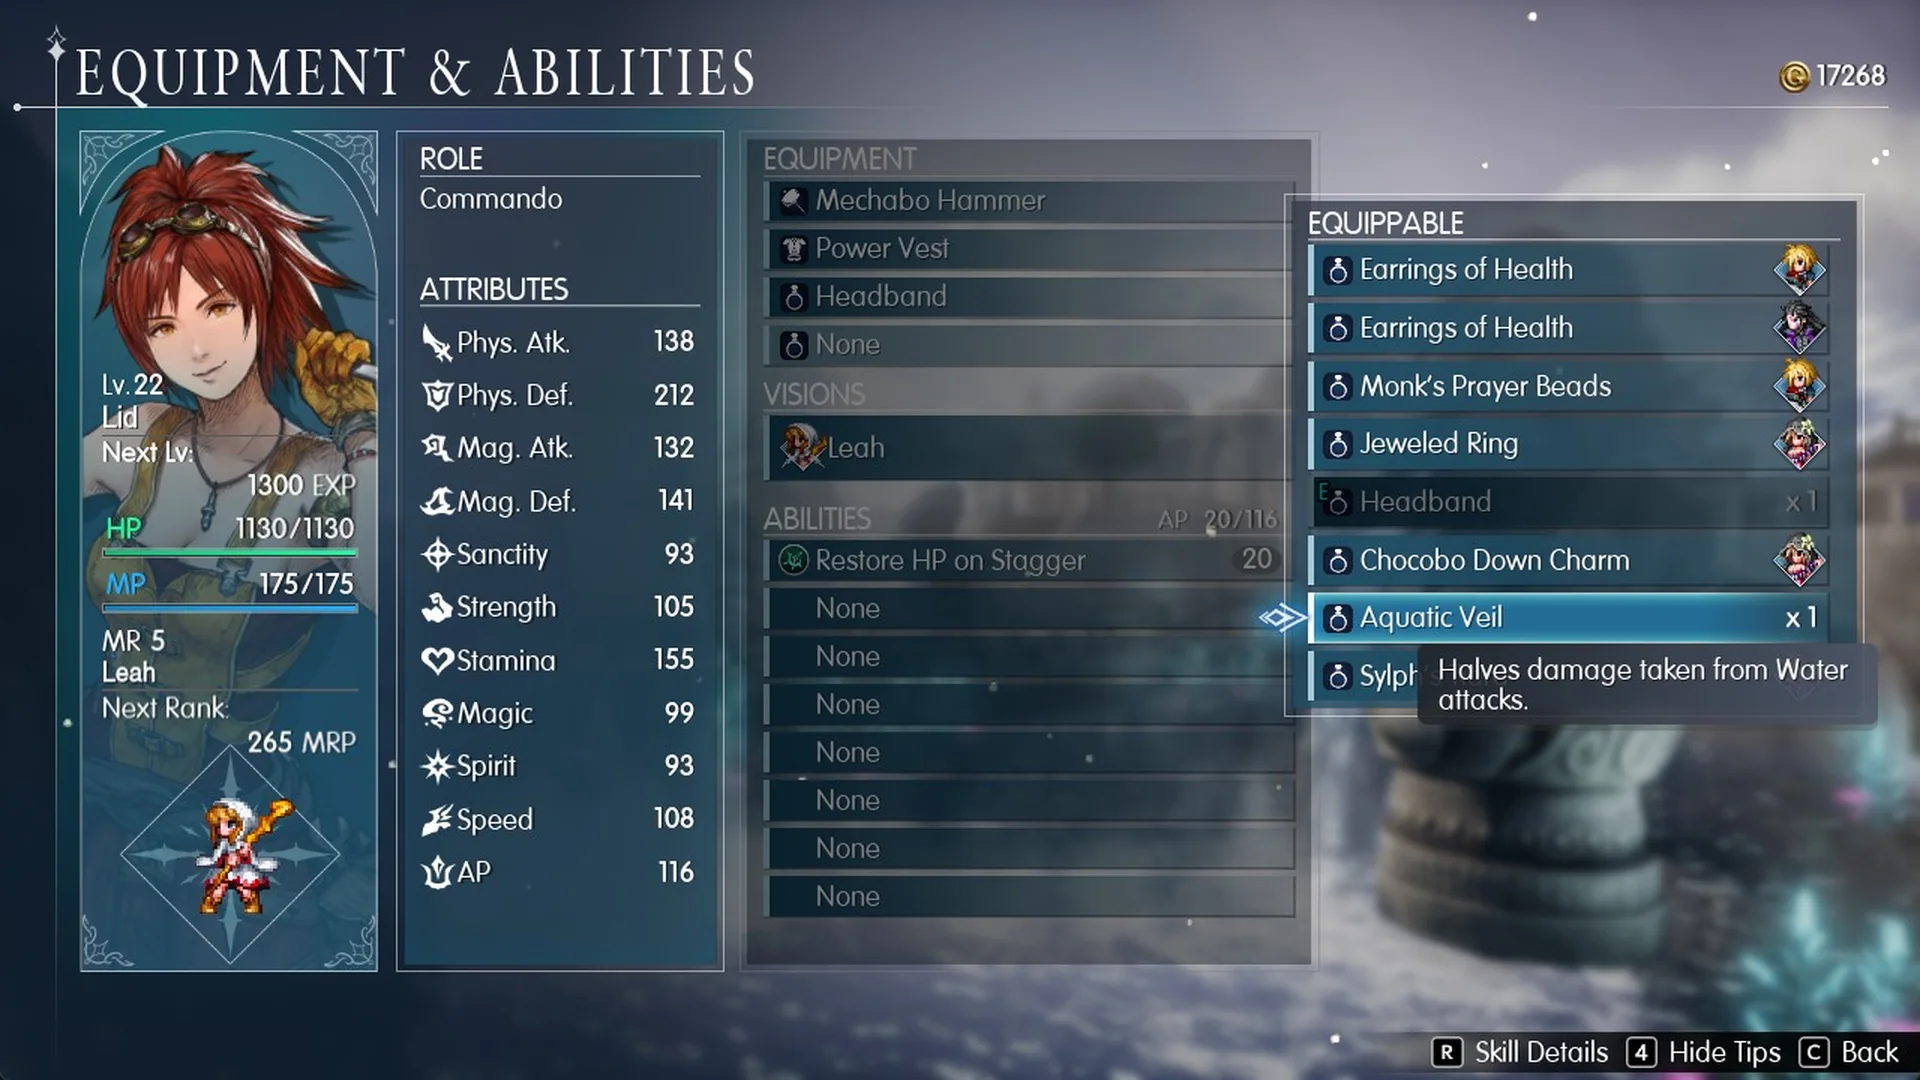
A door branching off the corridor leads to a small room with no exit beyond it and a chest containing the Aquatic Veil. This accessory “Halves damage taken from Water attacks.” Wearing it is useful for the upcoming Water Shrine. Find it alongside other gear in the accessories list. Exiting the room returns you directly to the entrance hall.
There is no ascent on 1F’s eastern side. Near the west end, take the ramp that begins a few steps east of your arrival point; it winds north and then east before reaching 2F.
Area 1 2F: the first Tablet Shard and the ladder
The route across 2F winds eastward. At the far end, look on the ground in the small pocket for the first Tablet Shard, then press F Examine to collect it. For the remaining shards, consult the Tablet Shard locations.
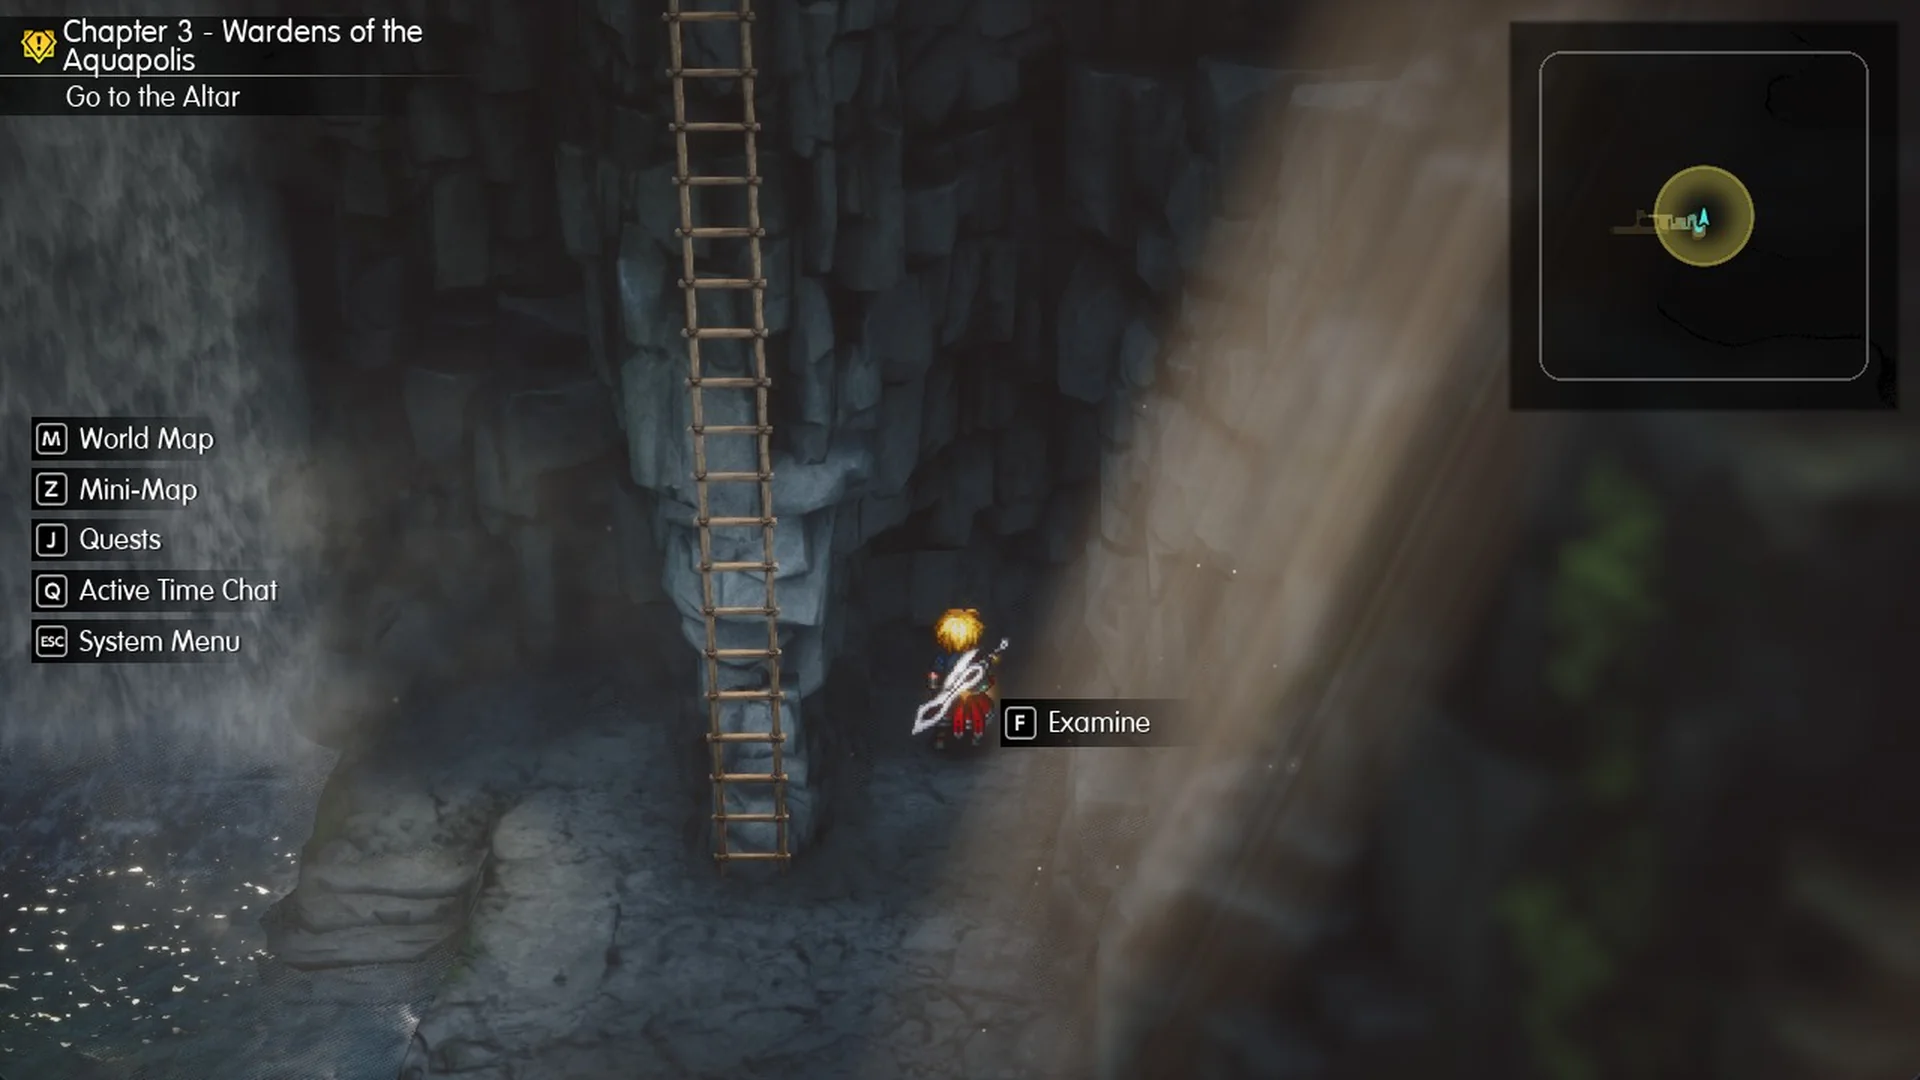
A ladder up to 3F stands right next to the shard. A gap by the waterfall stops you walking straight back west on 2F, so if you want the save point again, return the way you came.
Area 1 3F: Gilgamesh
On the 3F corridor, head west to find Gilgamesh in the middle, talking to himself. Press F Talk to start a conversation; you won’t battle him. His appearance here follows your meeting with him in Siren’s Tower during Chapter 1.
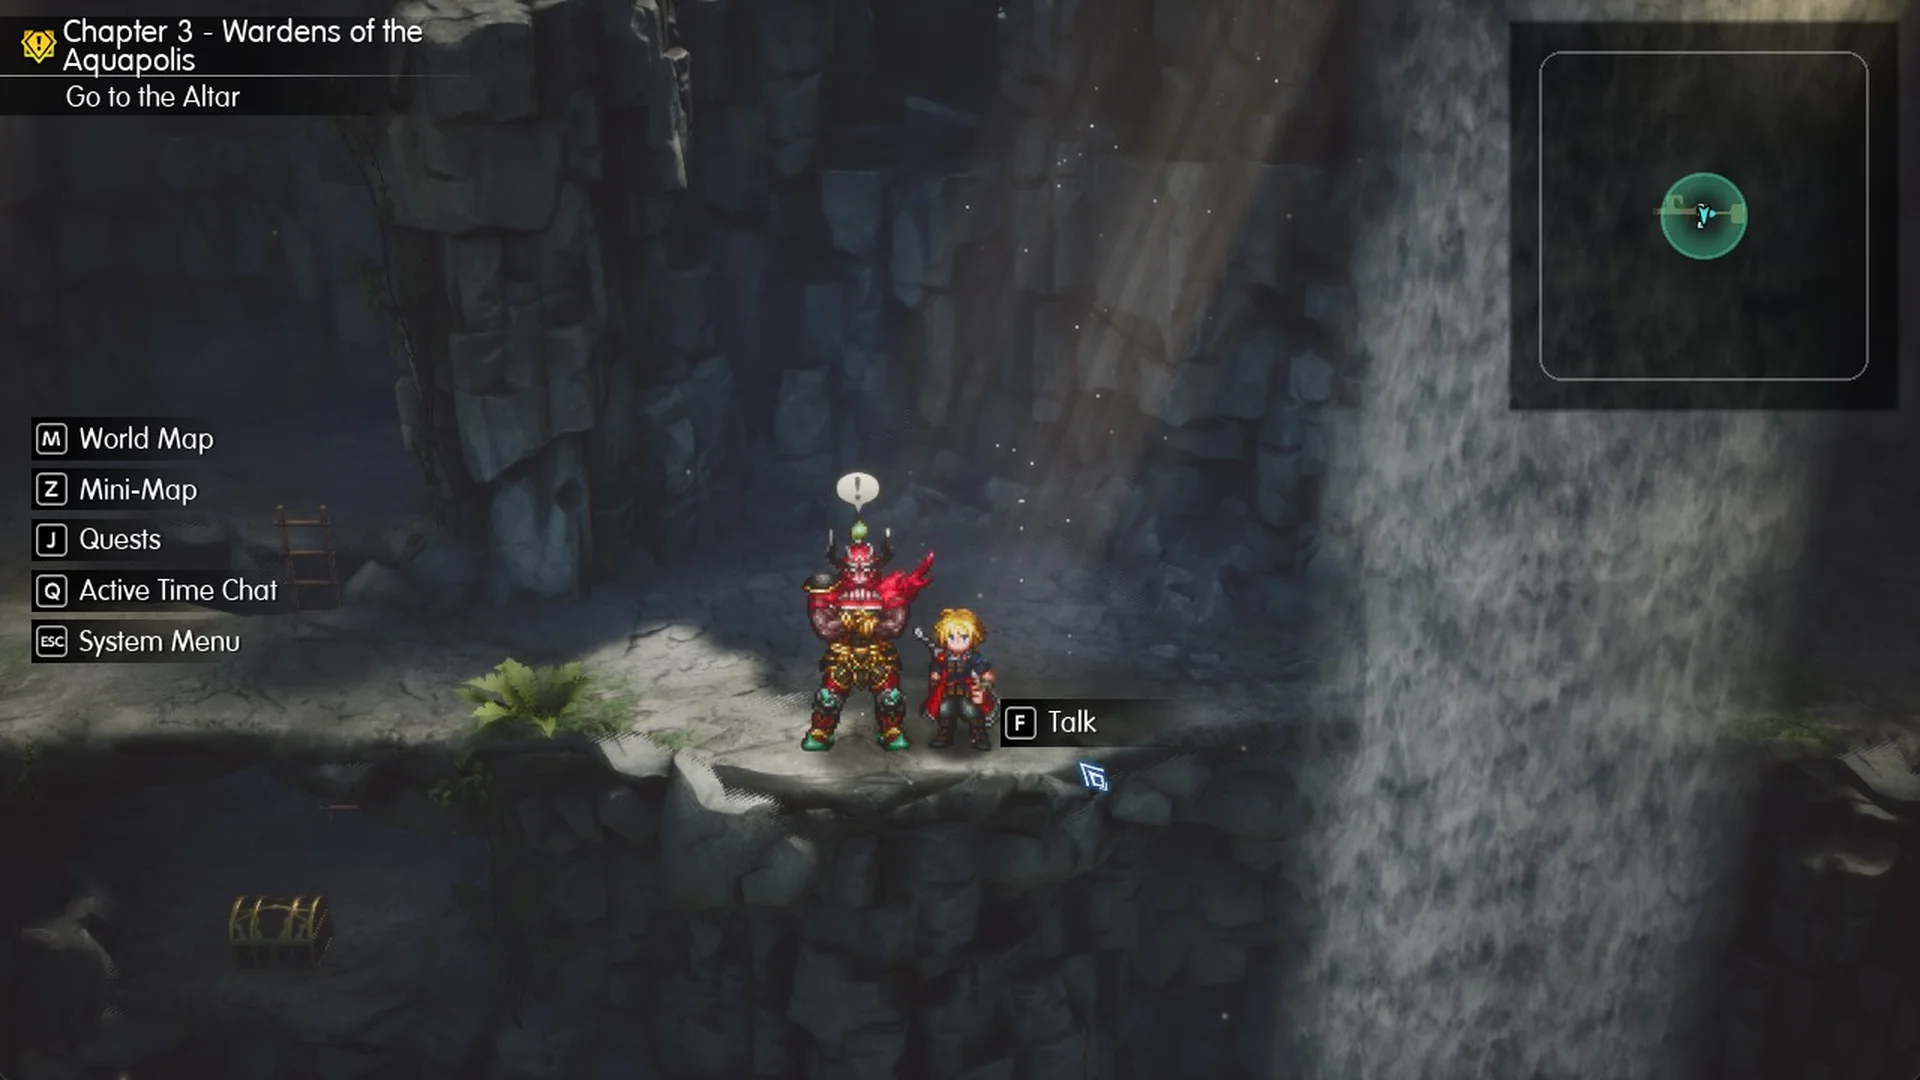
Gilgamesh opens with “Where is my place in this world… What do I do…?” and Lasswell cuts in: “Enough of this. Return to us the armament that you stole.” Gilgamesh refuses: “Those Genji Gloves are for warriors who are truly worthy. You are not—at least not yet. So, I’d like to keep them until you are.”
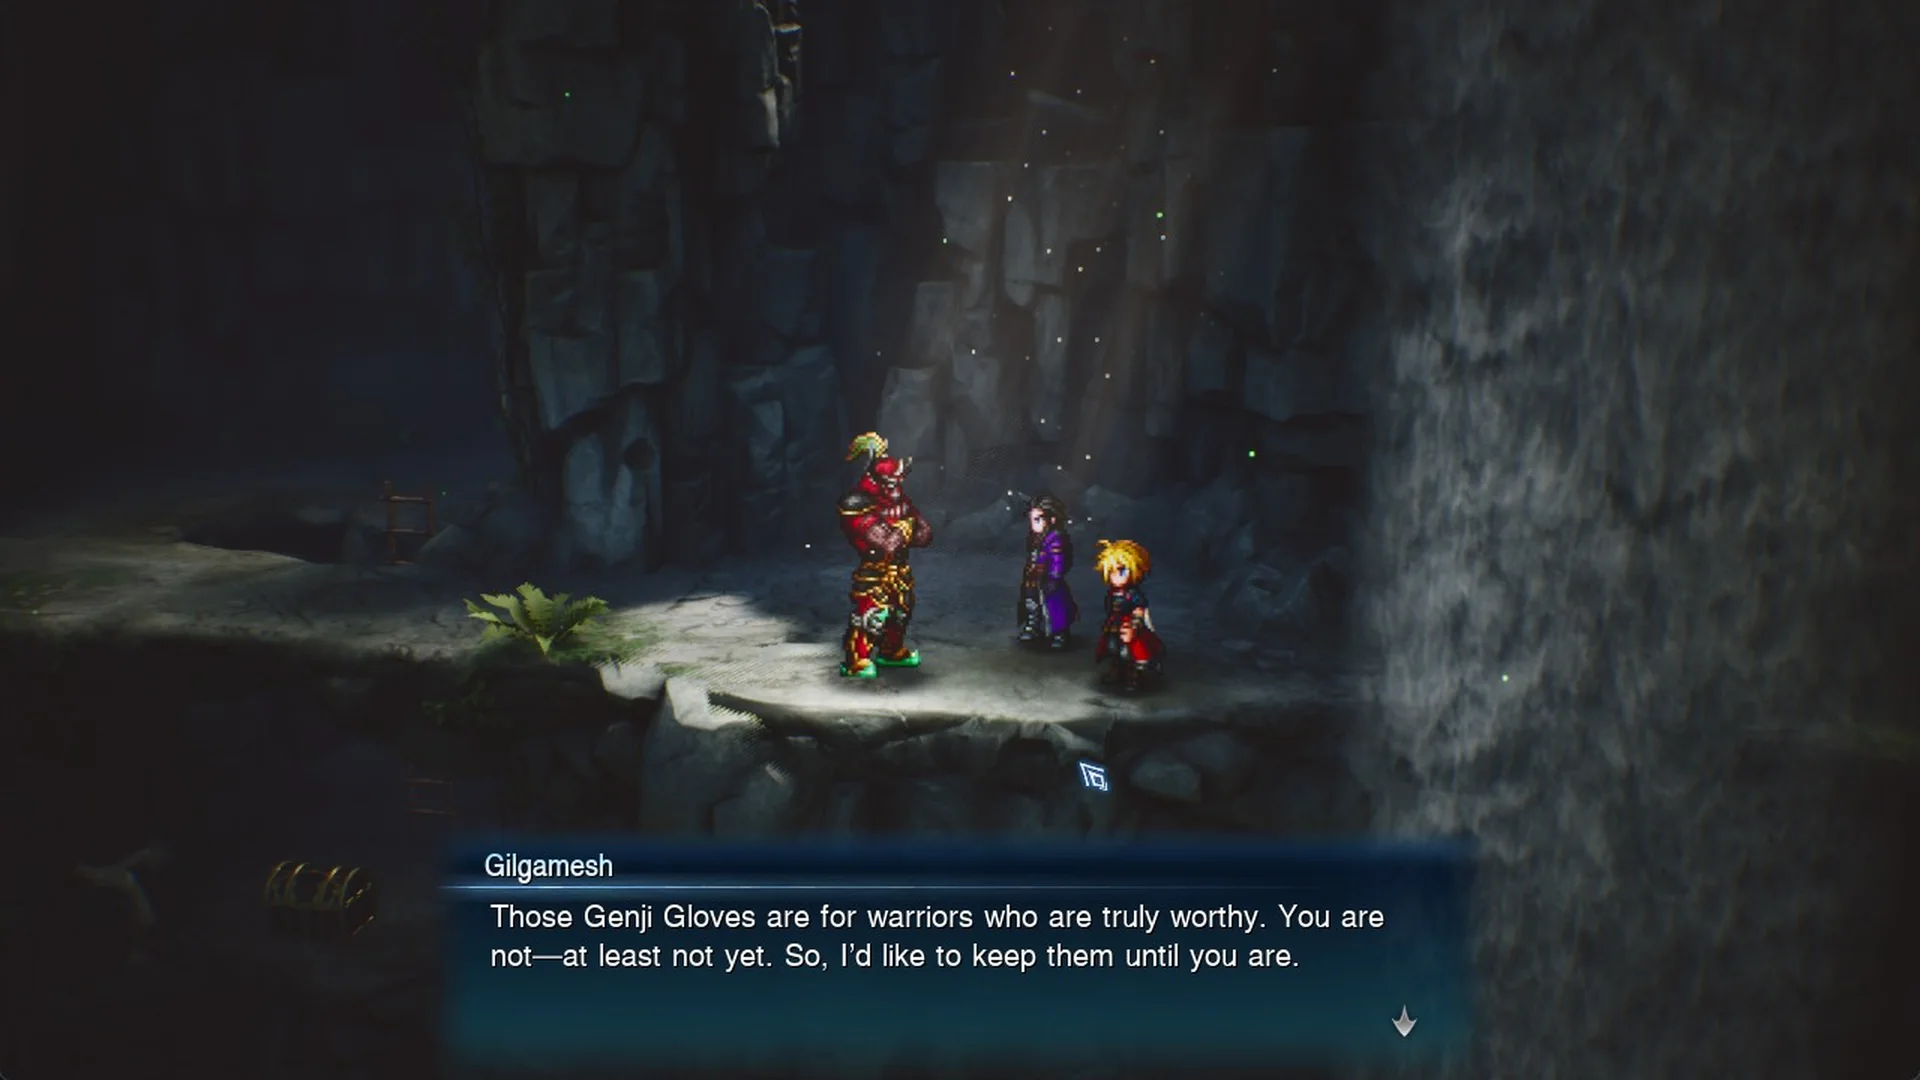
Rain asks, “So you’re saying you’ll give them back to us when we get stronger?” Gilgamesh replies, “Does a chocobo have feathers? Of course I will.” He then threatens his “ultimate attack”, shouts “Here goes! For Gilgamesh…it’s jumping time!” and jumps off the ledge.
Make sure to speak with him here. This encounter unlocks the later airship battle that lets you reclaim the Genji Gloves.
Area 1 3F: Devout’s Armor
A short circuit on 3F’s northern side reaches a ladder leading downward. Descend to the ledge and open the chest for Devout’s Armor, heavy armor with the effect “Increases MP by 25.” Its stats are Phys. Def. 63, Mag. Def. 109 and Speed -28.
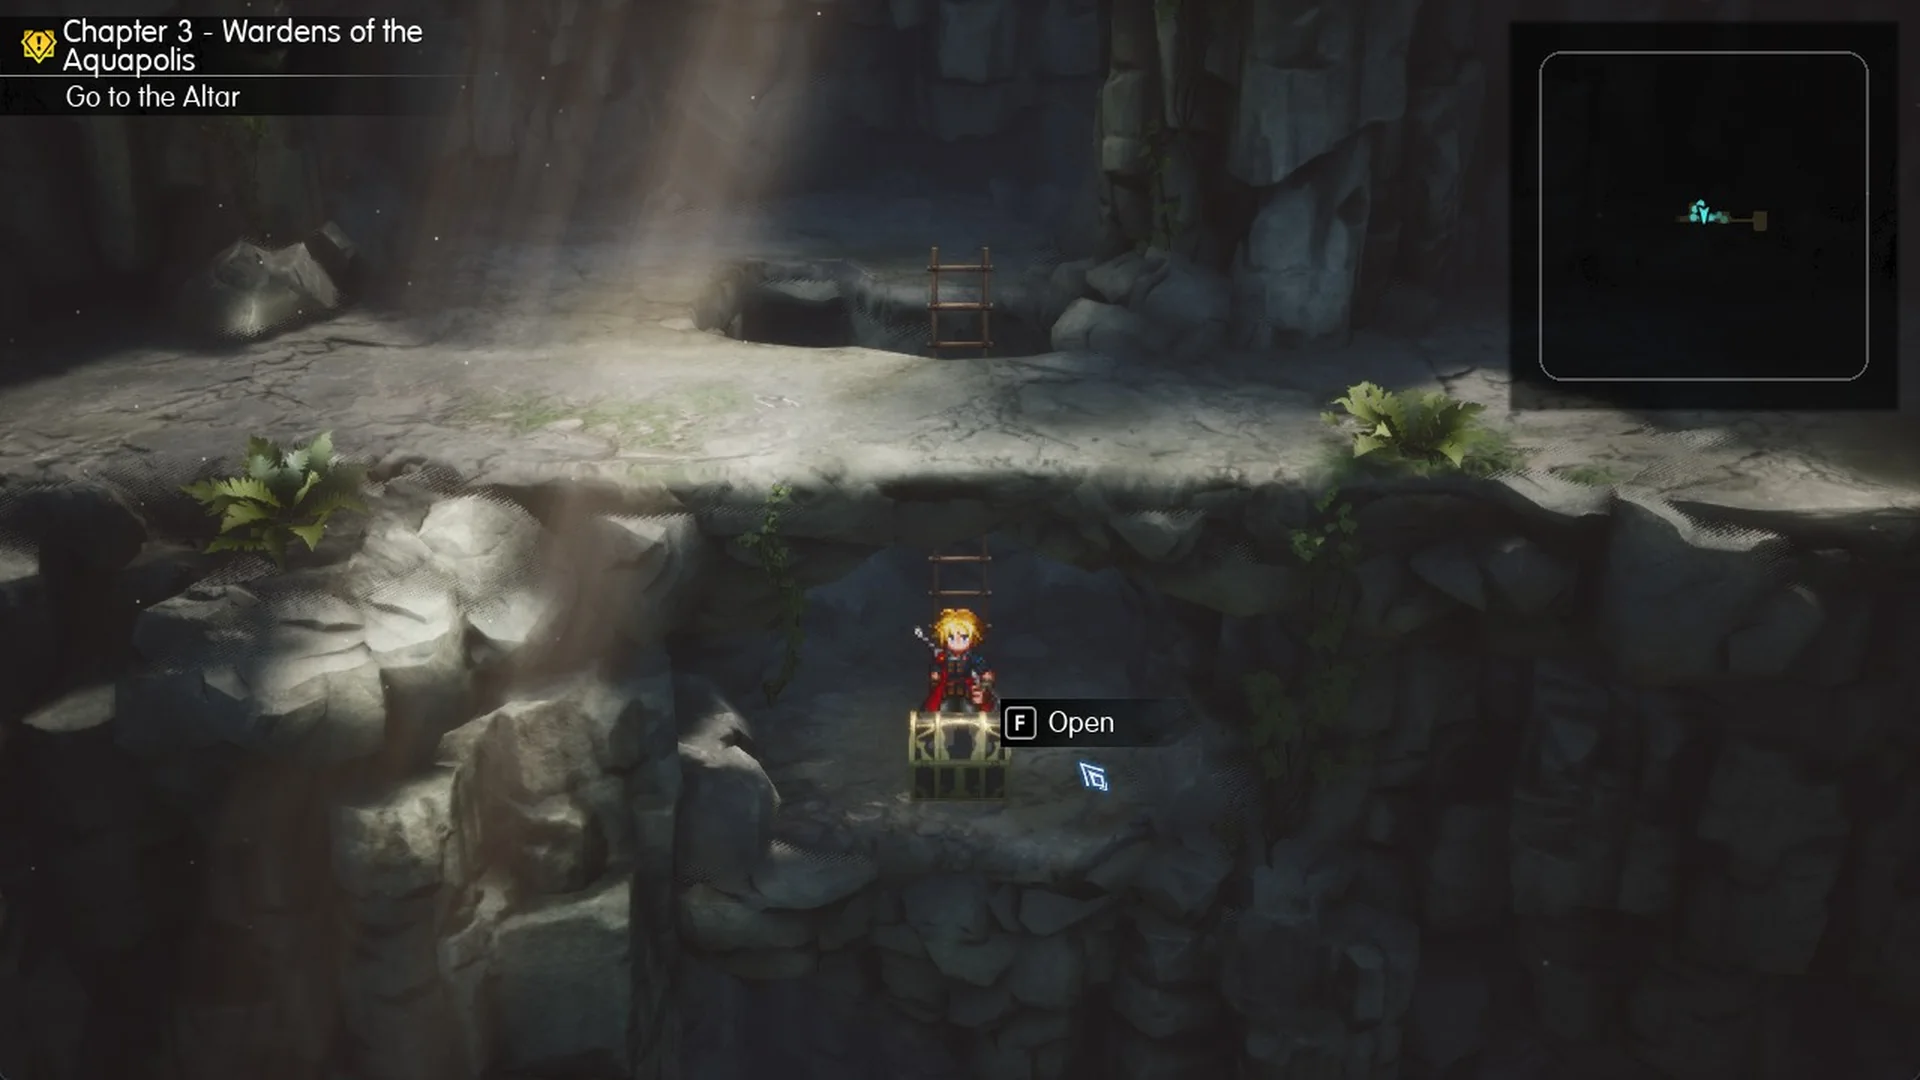
Ascend the ladder again, then use the doorway on 3F’s western side to enter Area 4 1F.
Area 4 1F and Area 2 1F: the second Tablet Shard
Area 4 1F consists of a single straight gallery. Continue west to its far end, where the passage connects to Area 2 1F.
The Area 2 1F passage runs west and has several small recesses along its southern side. Search the recess beside a waterfall for the second Tablet Shard, resting on a rock. A ladder at the corridor’s western tip leads to 2F.
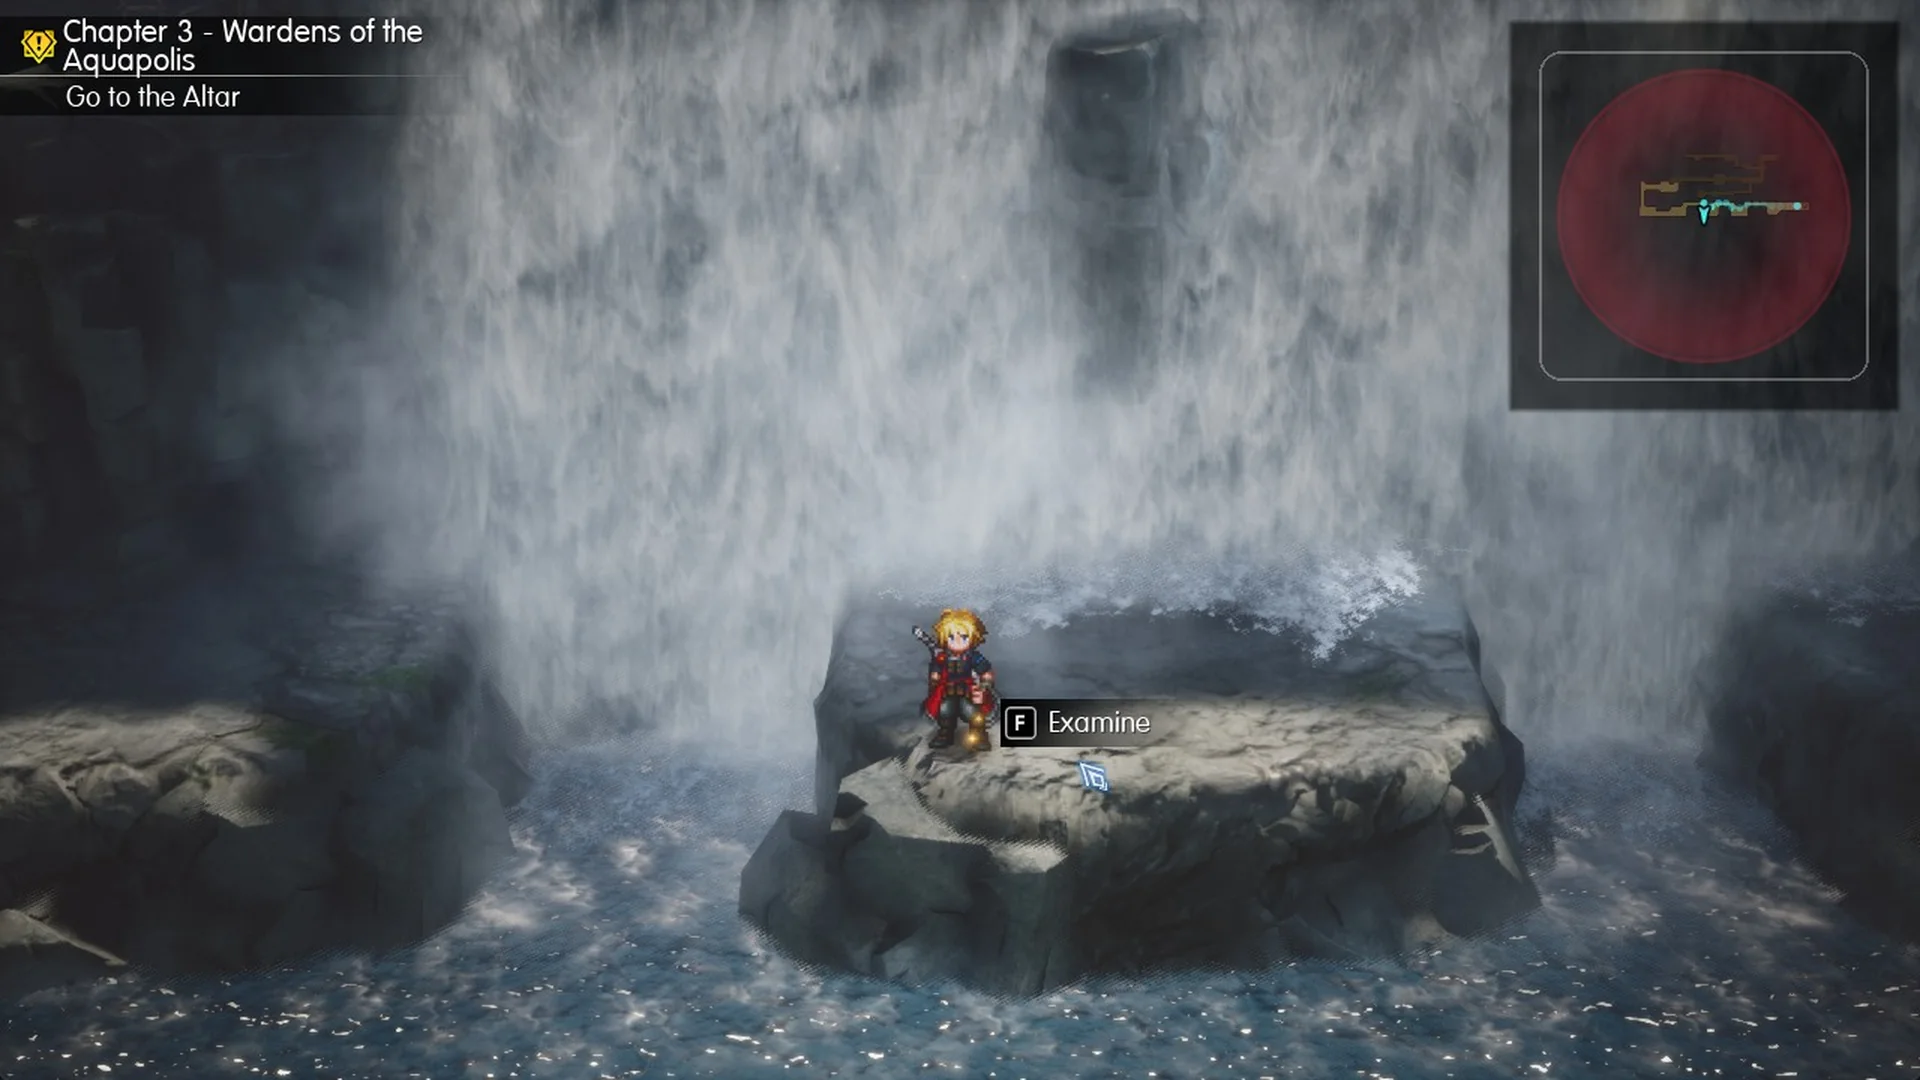
Area 2 2F: Phoenix Pinion, the third shard and the Guardian Sword
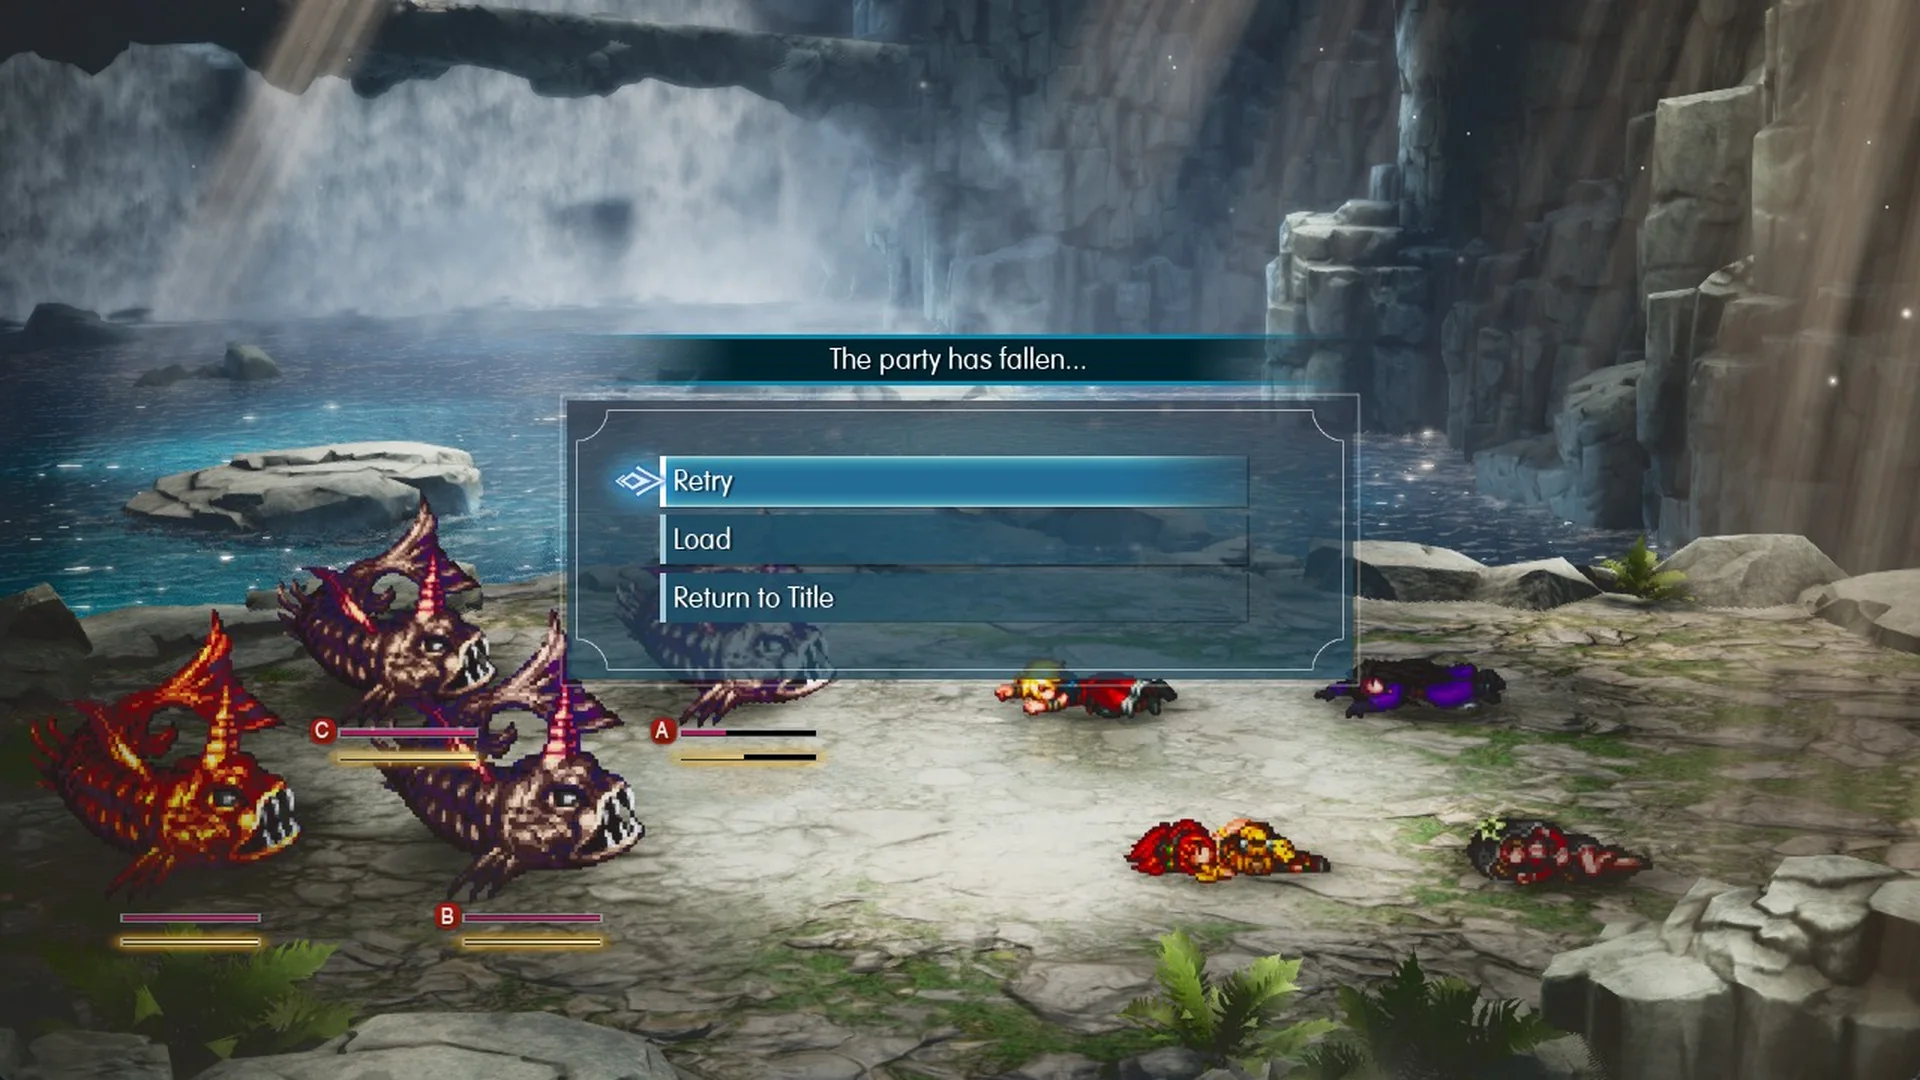
From the top of the ladder, go east. Black Sharks come in pairs on this floor, and a pair can wipe a level 23 party. If that happens, Retry restarts the fight, and the Resonance Hibernal Fury can turn it around. Every other Resonance is in the Resonance list.
Follow the southern branch to its end to find a chest with a Phoenix Pinion, which “Revives a KO’d ally with 50% HP.”
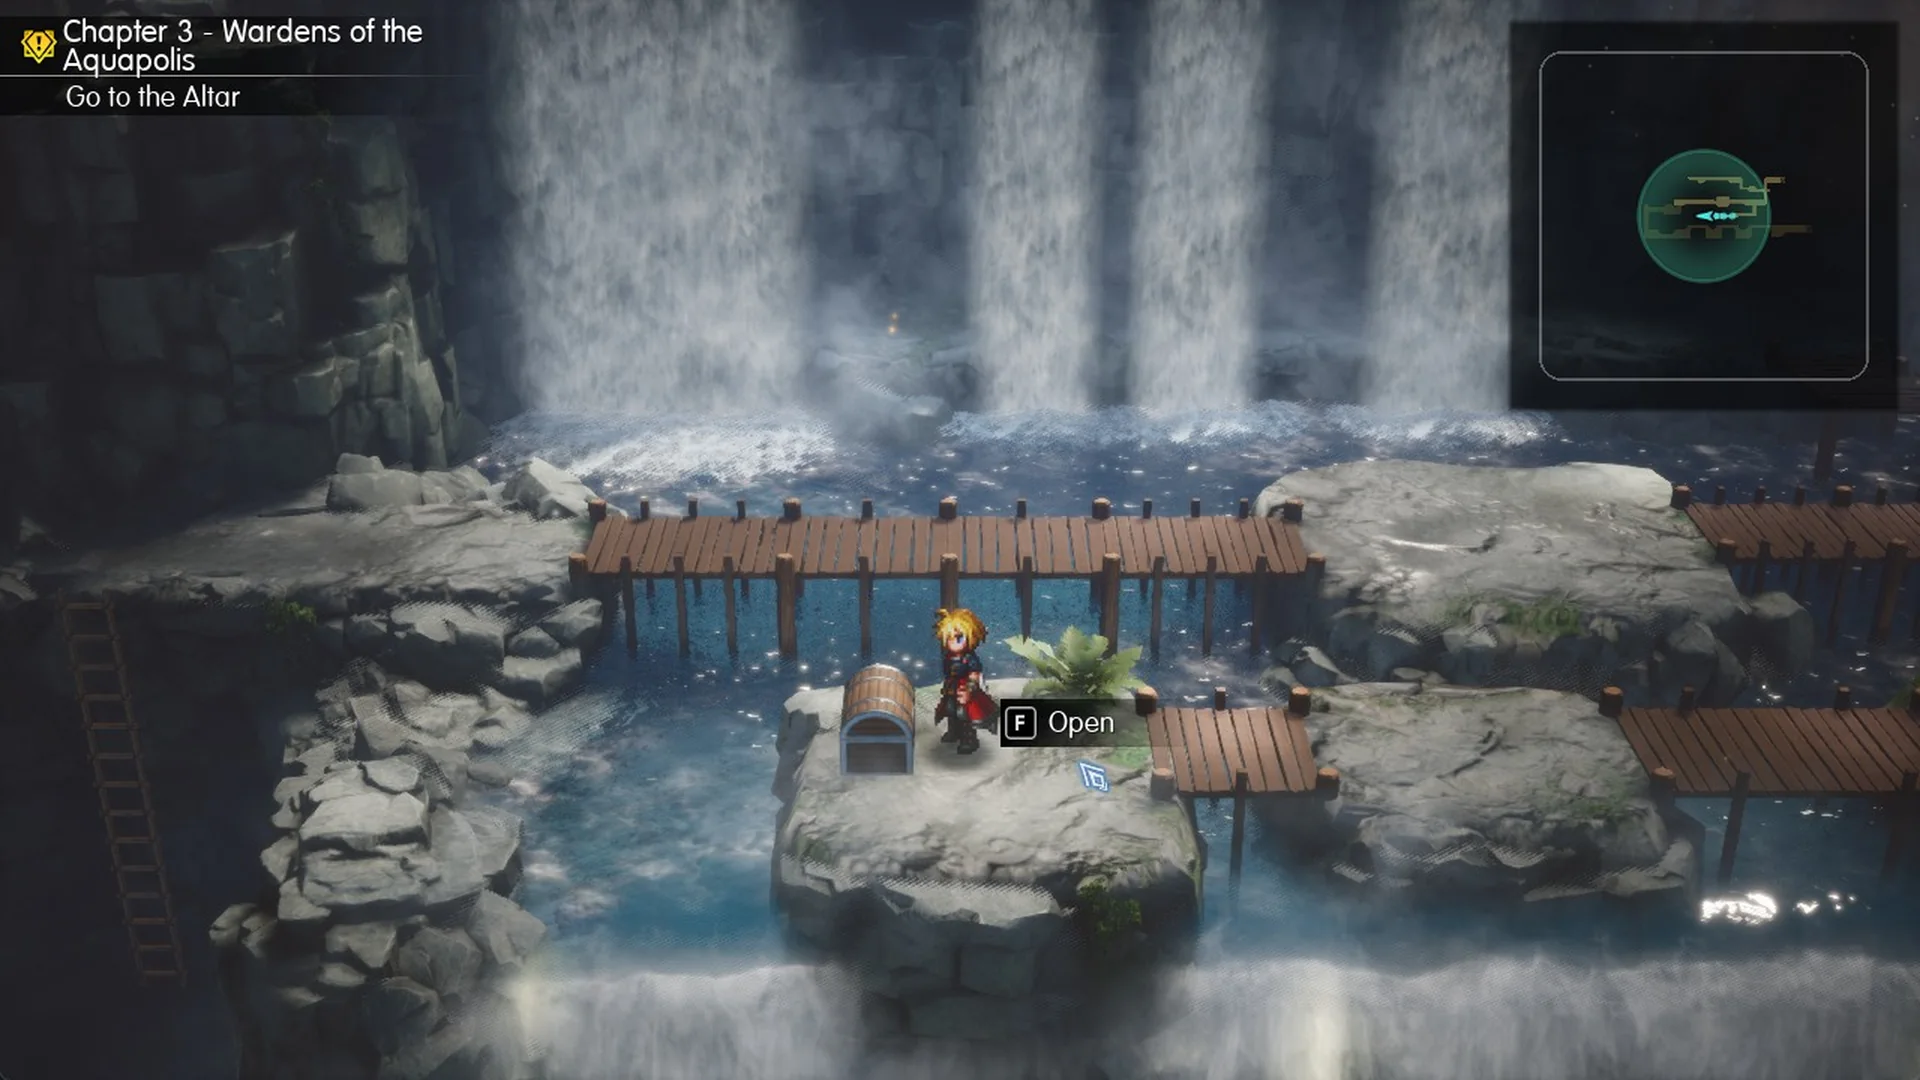
Pick up the third Tablet Shard in the north corridor. Then follow that corridor to its west end, which opens into a small side room with the Guardian Sword chest. The Guardian Sword is a greatsword with Phys. Atk 71, Mag. Atk 35 and Phys. Def. 36.
At the northern corridor’s eastern tip, take the exit into Area 4 2F.
The Altar of the Water Maiden
Area 4 2F is the upper gallery. Walk east to its end and a scene starts, again with no choices. Rain says, “El, you dropped something.” and El explains that Arsha gave him the amulet “to protect me while I’m on duty.”
At the altar, Nichol says, “Yes. A being known as Alluvion has flooded the city. If we don’t act quickly, all will be swept away.” A voice answers: “I will entrust you with my magic. Use it at Warden’s Cape, where you can see the Water Shrine.”
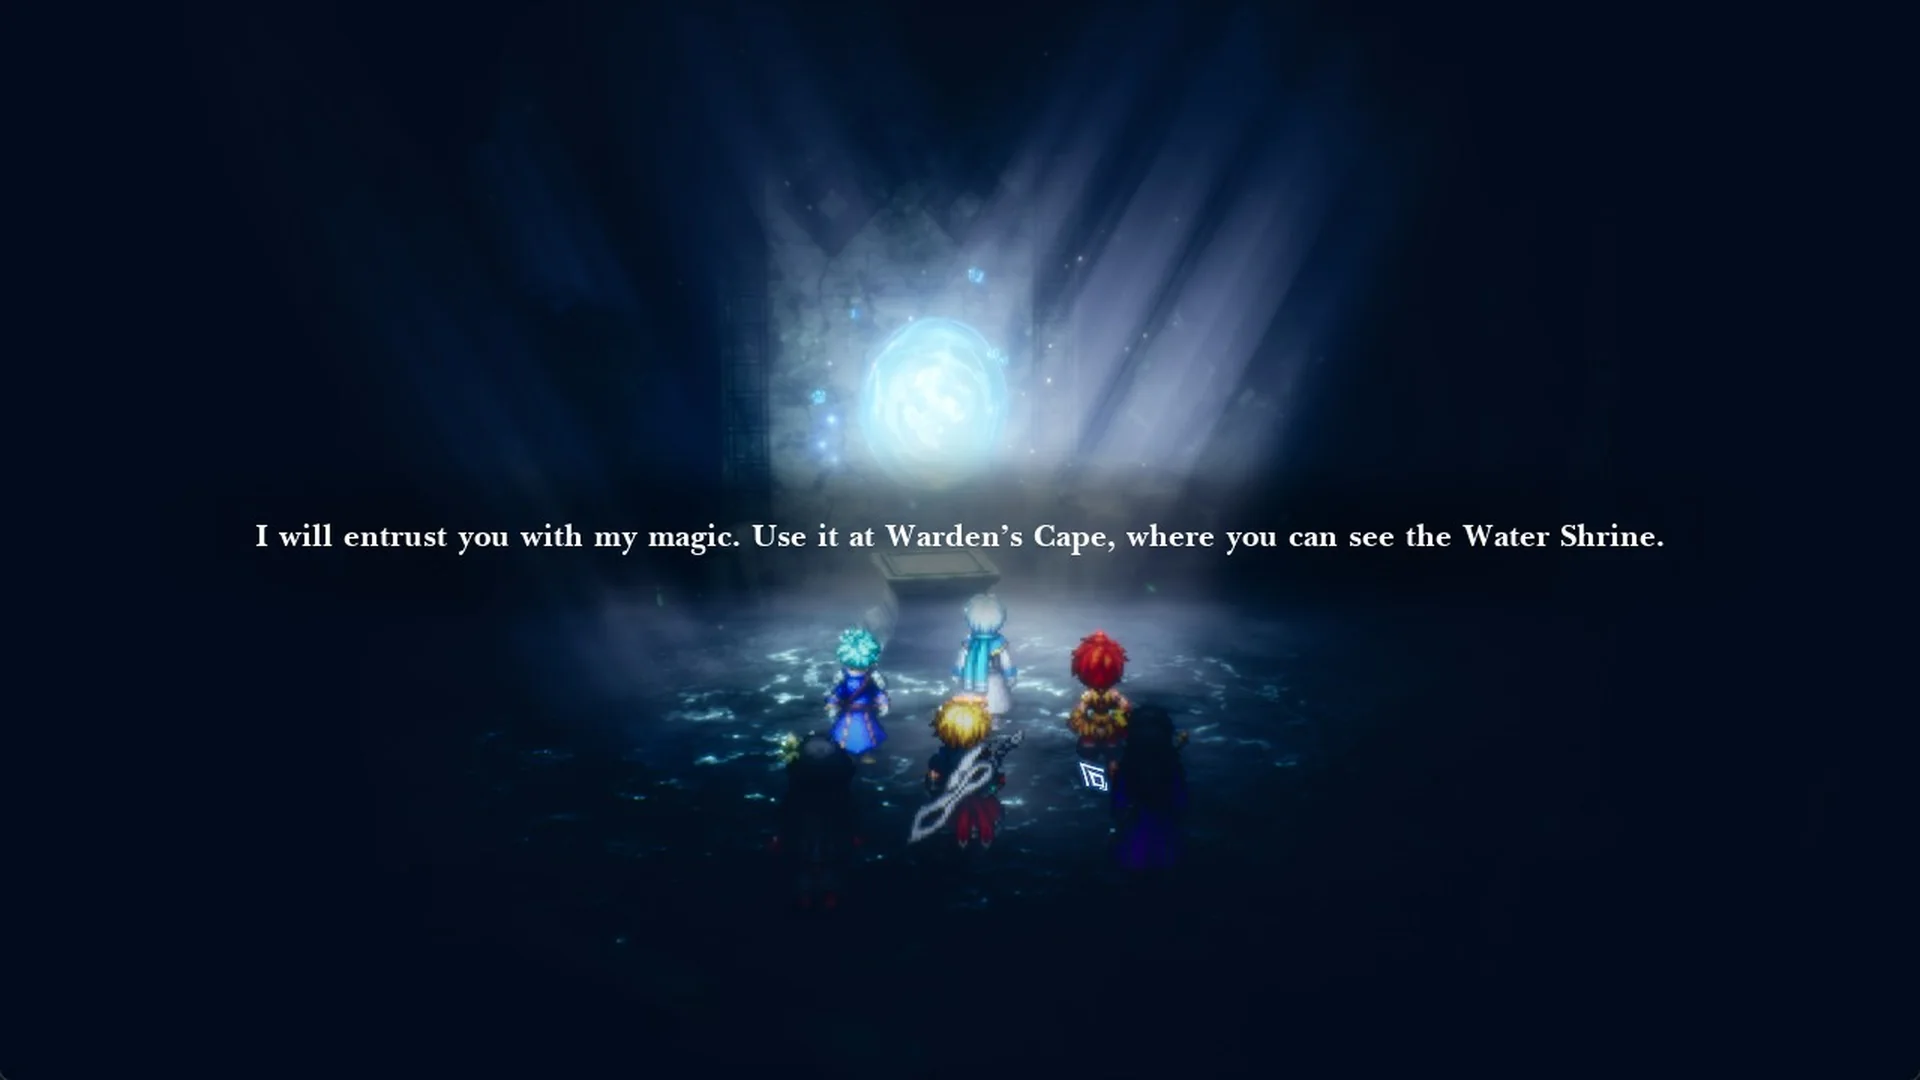
El then lays out the route: “In order to reach the cape, we must pass through the town of Amore. Let’s head there first.” You know the dungeon is done when Quest Updated shows “Go to Warden’s Cape” and the game autosaves.
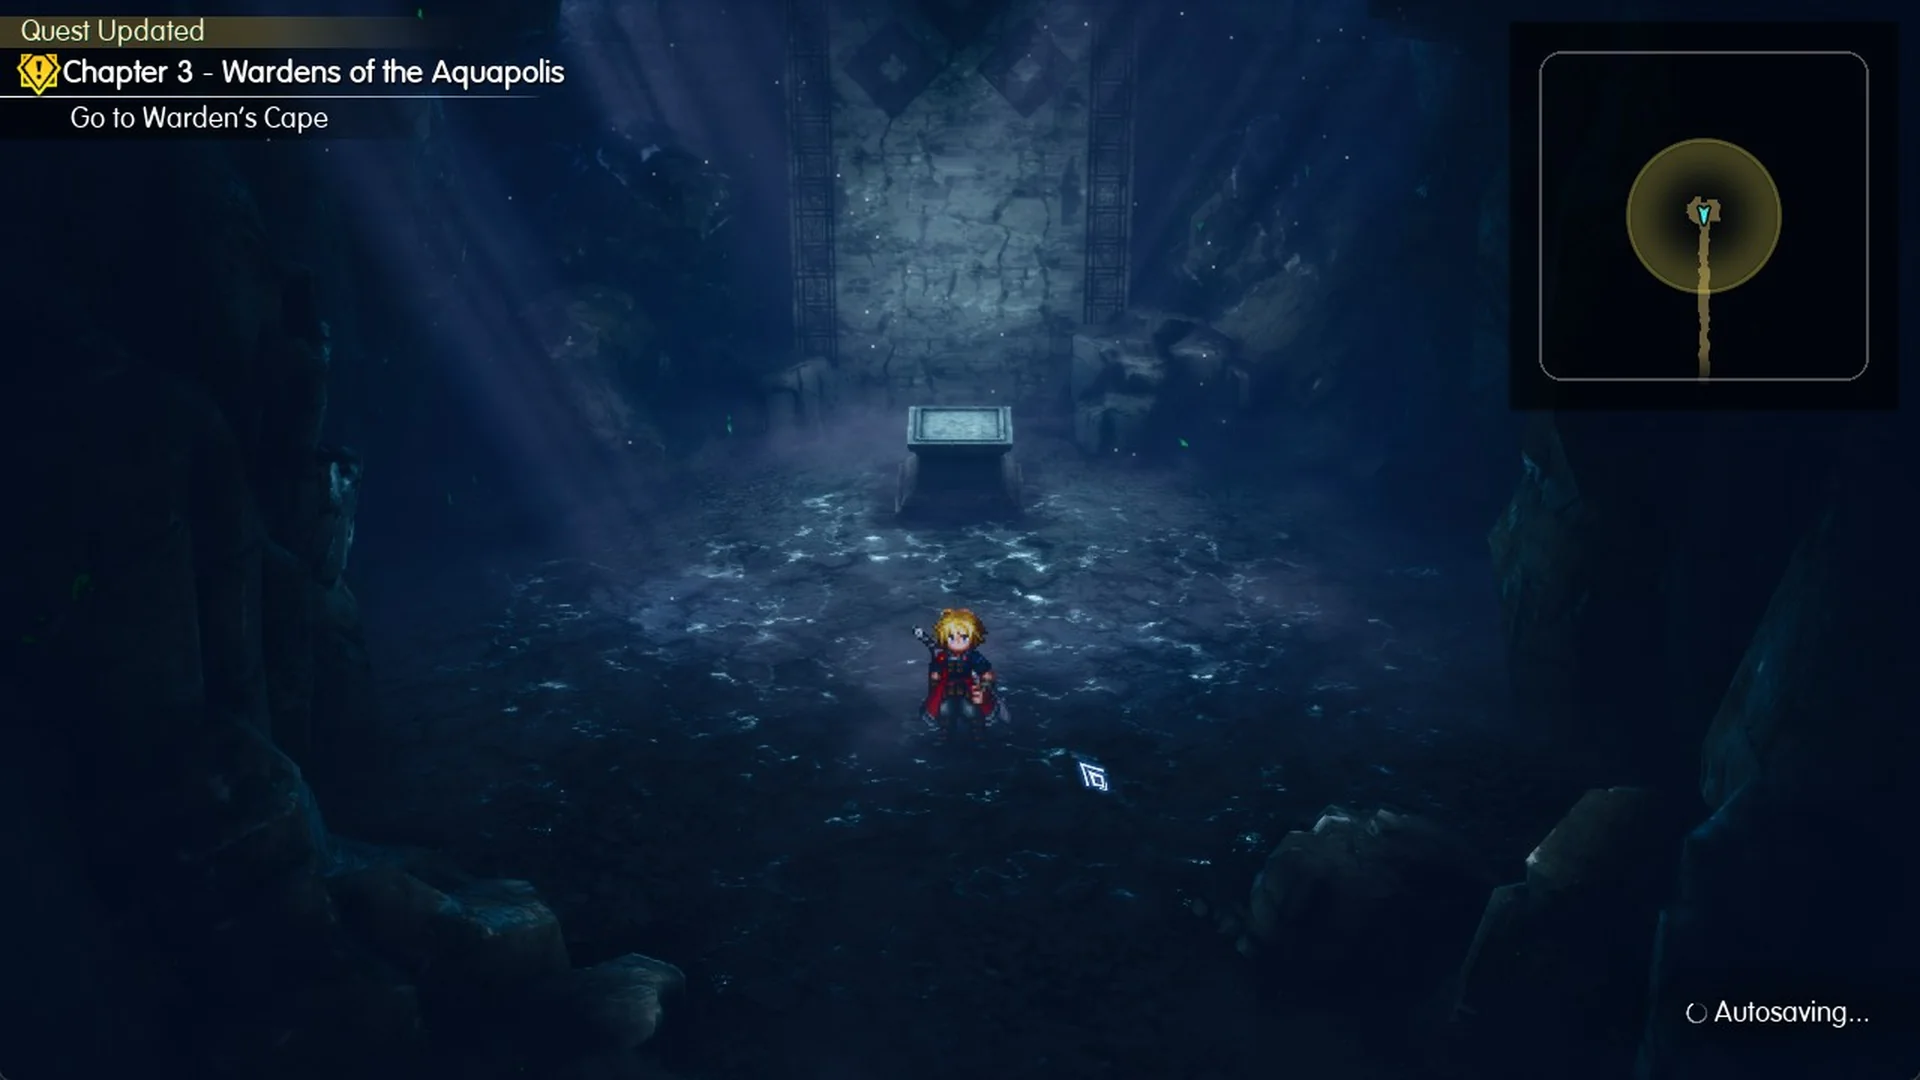
After the altar: the long path to the exit
The altar scene in Waterfall Way doesn’t drop you in the exit hall. You end up at the top of a long path that runs north to south, and the game writes its autosave there, with “Go to Warden’s Cape” as the objective. Head south down the path. It’s long, and random battles still trigger on it. If a fight goes wrong a short way below the altar, loading the Autosave puts you back at the altar, and every item you’ve picked up stays with you.
At the path’s lower end, you reach the north hall, where Waterfall Way’s second save point is located. The available choices are Save progress, Teleport, and Rest in a tent. Interacting with the point also enables teleporting back to the entrance save point.
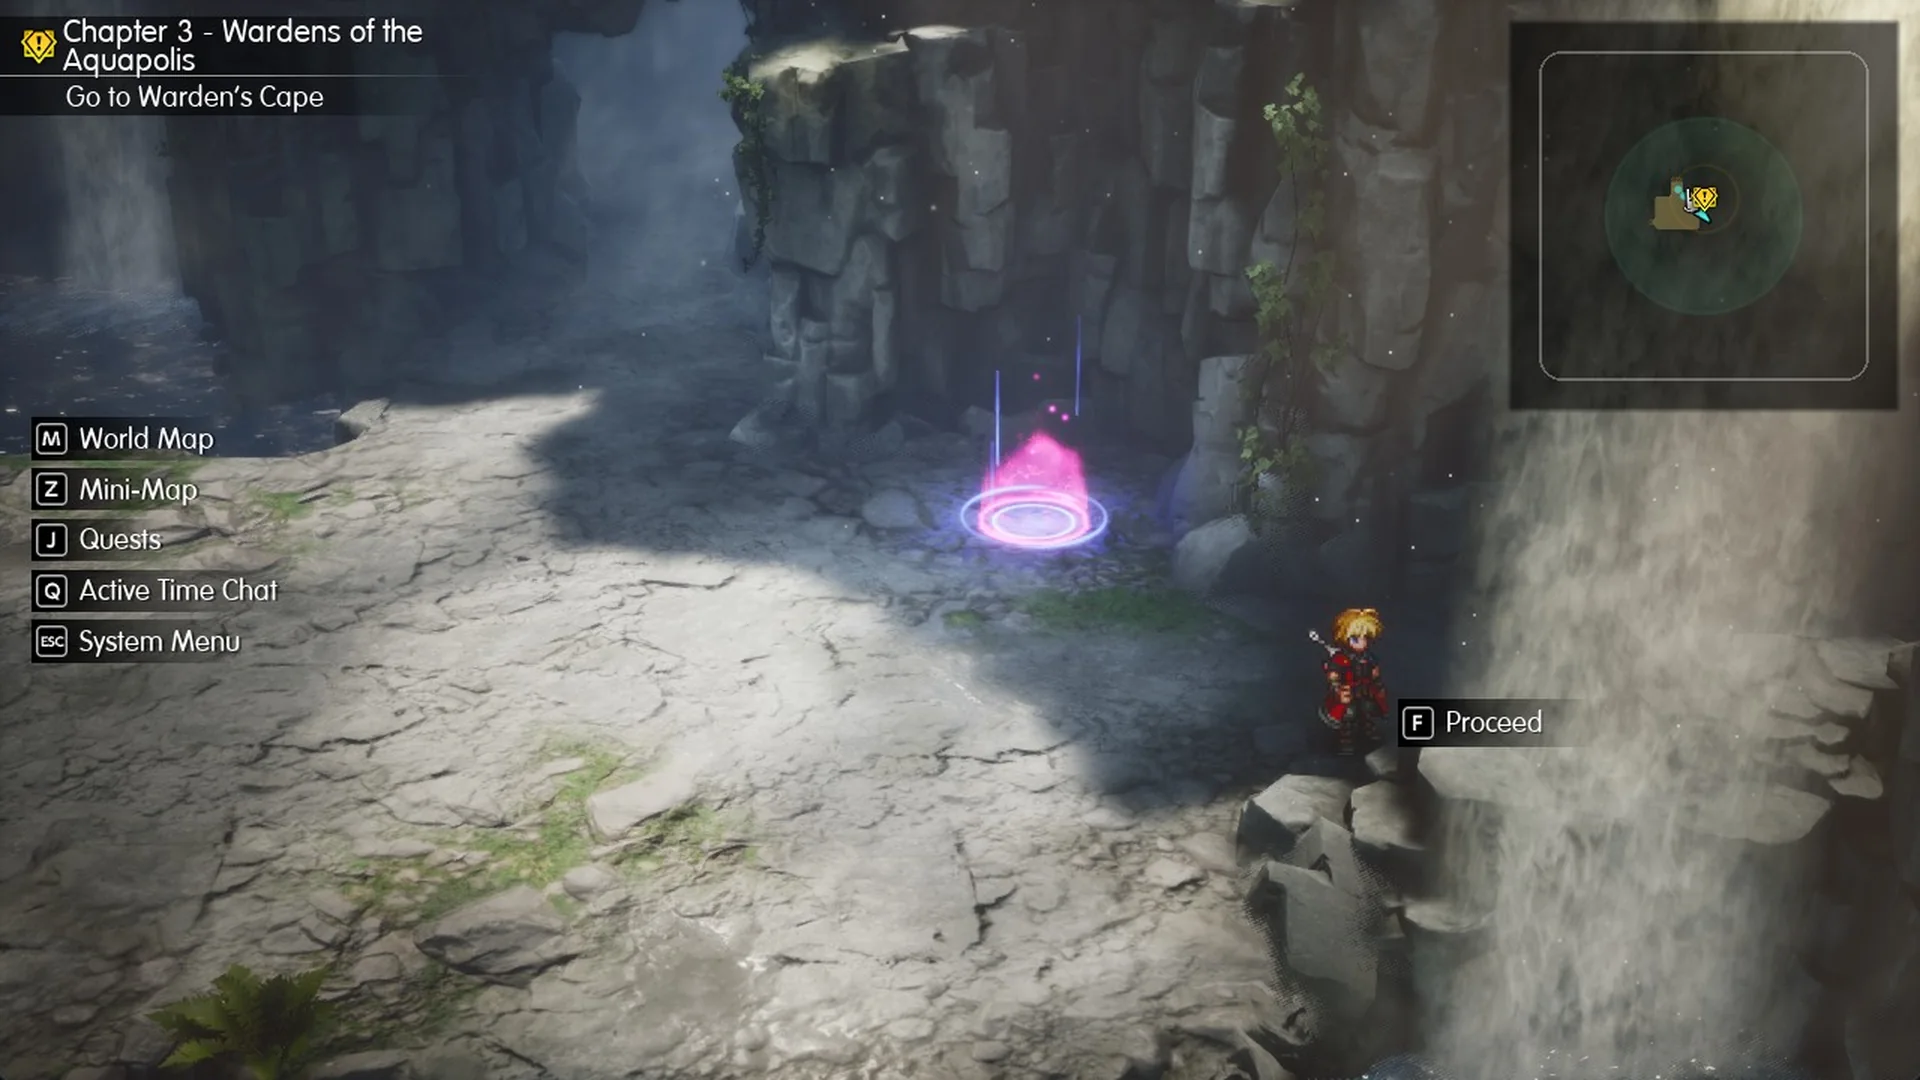
The exit to the World Map is beside the save point; press F when Proceed appears to leave. The Town of Amore lies about 9 m north. At the town, press F at Proceed to enter, and the arrival scene triggers an autosave. The Town of Amore shops guide covers what to buy there. If fights on the path keep turning against you, you can escape battles instead.
Fights in Waterfall Way
Most of Waterfall Way’s sea monsters take extra damage from Thunder, making Thunder and Thundara strong choices for the dungeon. Gigas Worms differ: their weaknesses are Ice and Water.
Avoid auto-battle here. Three Xiphactinus accompanied by a Maelspike can defeat a party relying only on Attack, ending in “The party has fallen…” Choosing Retry starts the battle over; fight manually with Rain’s Thundara and Archwitch Fina’s Cura to win. On the target screen, press Q to make Cura affect the whole party.
Between encounters, restore HP and MP from the Main Menu (Tab > Recovery). Each character’s command list places Escape on its bottom row. It can also be greyed out for one character but not another: in one fight, Lasswell’s Escape was greyed out while Archwitch Fina’s still worked.
These are the enemies you meet inside Waterfall Way, with full entries in the enemies list.
| Enemy | Lv | HP | Weak to | Halves | Status attacks | EXP |
|---|---|---|---|---|---|---|
 Black Shark | 24 | 2,600 |  Thunder | Water | Poison | 180 |
 Xiphactinus | 22 | 2,400 | Thunder | Water | – | 270 |
 Maelspike | 23 | 2,500 | Thunder | Water | – | 200 |
 Merman | 22 | 2,450 | Thunder | Water | – | 180 |
 Gigas Worm | 22 | 2,400 |  Ice,  Water | – | Poison, Paralysis | 225 |
 Gigas | 24 | 2,600 |  Dark, Ice | Wind | Blind | 270 |
 Destroyer | 24 | 6,390 | Dark,  Fire | Thunder | Paralysis | 1,800 |
Destroyer appears only in the deeper part of the dungeon (Area 2, Area 4 2F and the north hall), and its trait reads “Powerful and difficult to stagger, but rewards handsomely when defeated.”
Waterfall Way chests and Tablet Shards
All five chests and three Tablet Shards sit along or just off the main route, and the rest of the game’s loot is in the chest locations.
| Item | Where |
|---|---|
 Eye Drops x2 | Area 1 1F, south stub at the east end of the corridor |
 Aquatic Veil | Area 1 1F, side room off the corridor |
 Devout’s Armor | Area 1 3F, ledge at the bottom of the north ladder |
| Phoenix Pinion | Area 2 2F, end of the south branch |
 Guardian Sword | Area 2 2F, side room at the west end of the north corridor |
 Tablet Shard 1 | Area 1 2F, east pocket by the ladder |
| Tablet Shard 2 | Area 2 1F, south notch by a waterfall |
| Tablet Shard 3 | Area 2 2F, north corridor |