Quick answer: Pick up the six Memory Flowers, go to Dusk’s Refuge and defeat Dusk, collect the four Acolytes’ masks and the two Crystal Puppet Eyes, activate the Four Guardians’ Mirror, and place the eye in Puppet No. 99.
SECRETS AT THE HEART OF THE LAKE is a story quest in the Village of Lu, the Chapter 1 area of Phantom Blade Zero. It starts when you collect the petal from Firefly’s Memory Flower. Walk onto the flowers and press E when prompted.
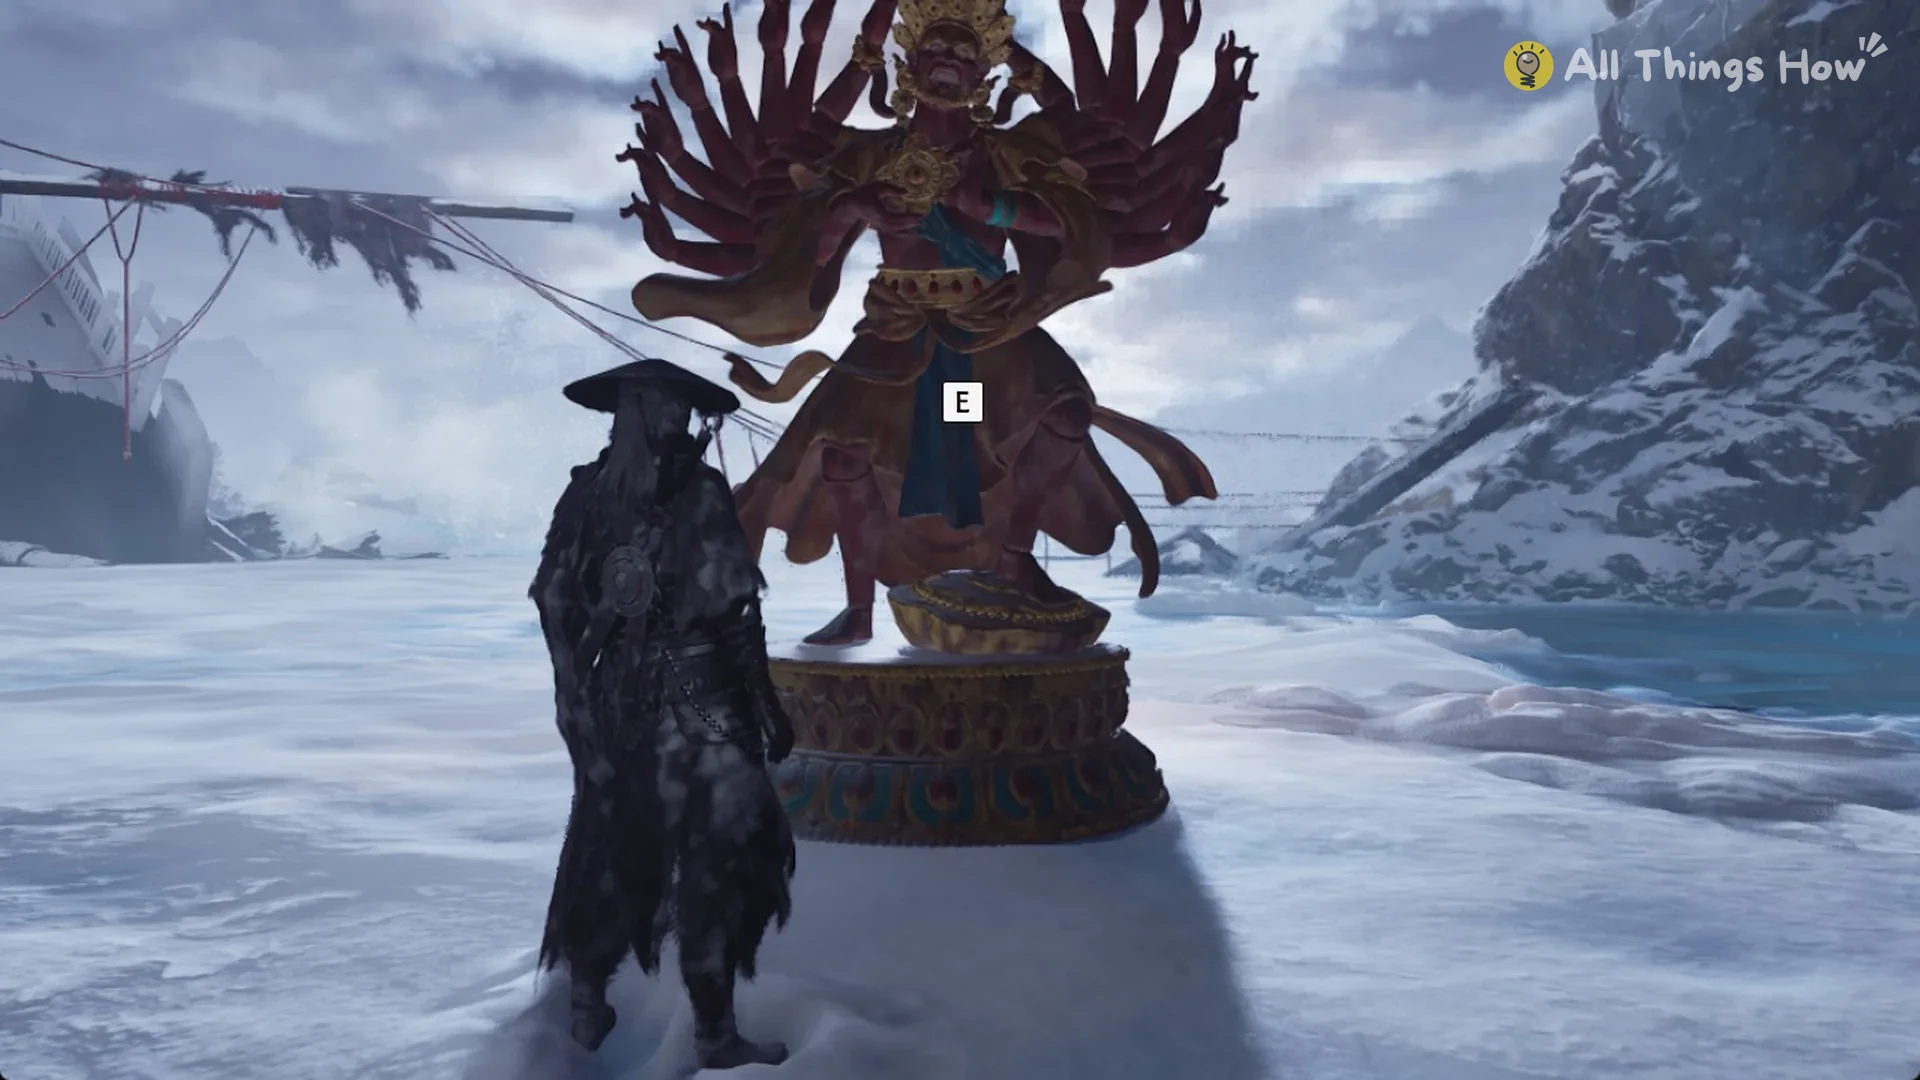
Pressing E on Puppet No. 99 starts the ritual confrontation with The High Elder. Two of the game’s three endings depend on it, so it is worth seeing through before you push the main path any further.
All steps in order
- “Find Firefly’s Memory Flowers”
- “Enter Dusk’s Refuge”
- “Explore the canyon to find Dusk”
- “Find a way to enter the Heart of the Lake”, which runs alongside “Find the scarecrows bearing a talisman and defeat the hidden Acolytes” and “Search the Crimson Manor for the Crystal Eyeball [Yang]”
- “Collect the four Acolytes’ masks and enter the Forbidden Ruins”
- “Socket the crystal eyeball into Puppet No. 99”
- “Destroy the ‘ritual’ at the Heart of the Lake!”
How Secrets at the Heart of the Lake starts
Collecting the petal triggers a brief vision: Firefly, a woman, tells Soul that the Rift within the Heart of the Lake must be destroyed. The card has six petals, and you need to collect every one for the HP +10% bonus. See the separate Memory Flowers and Firefly’s petals breakdown for more.
Tracking the quest and its markers
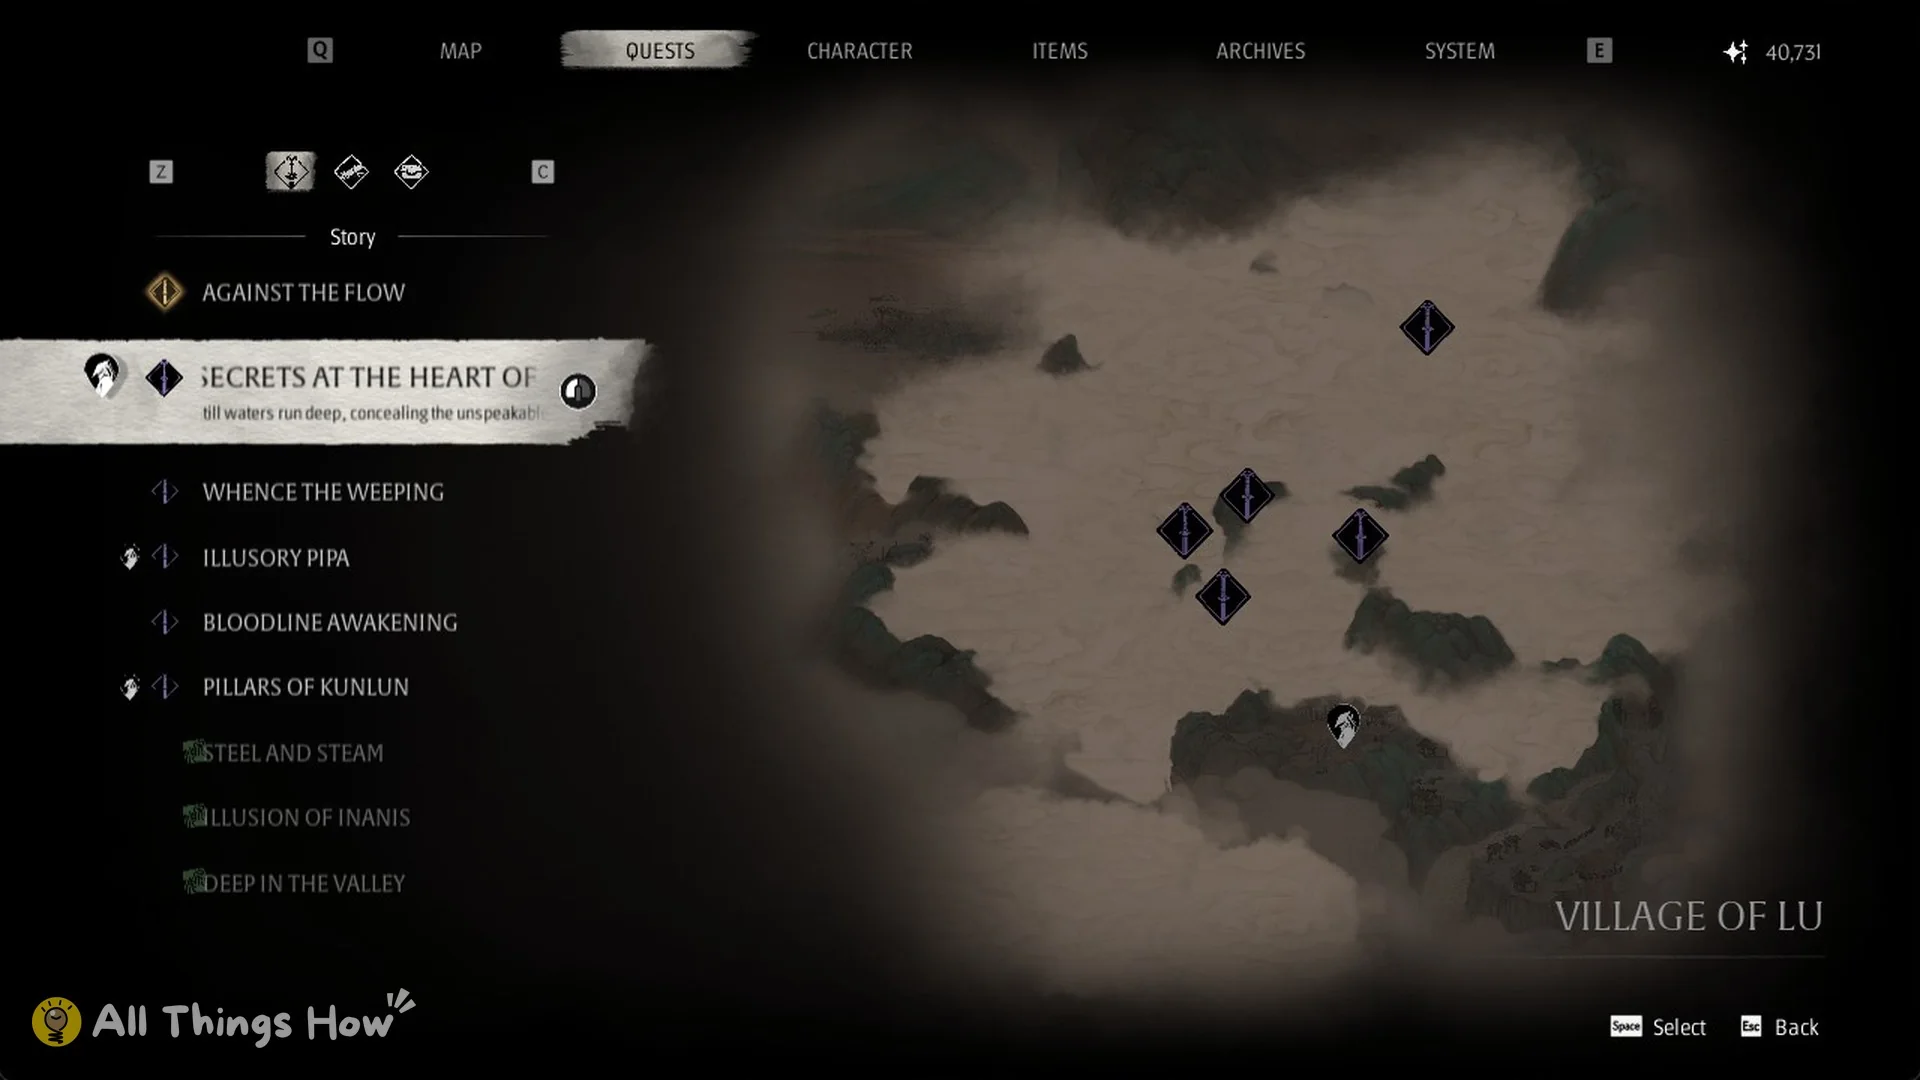
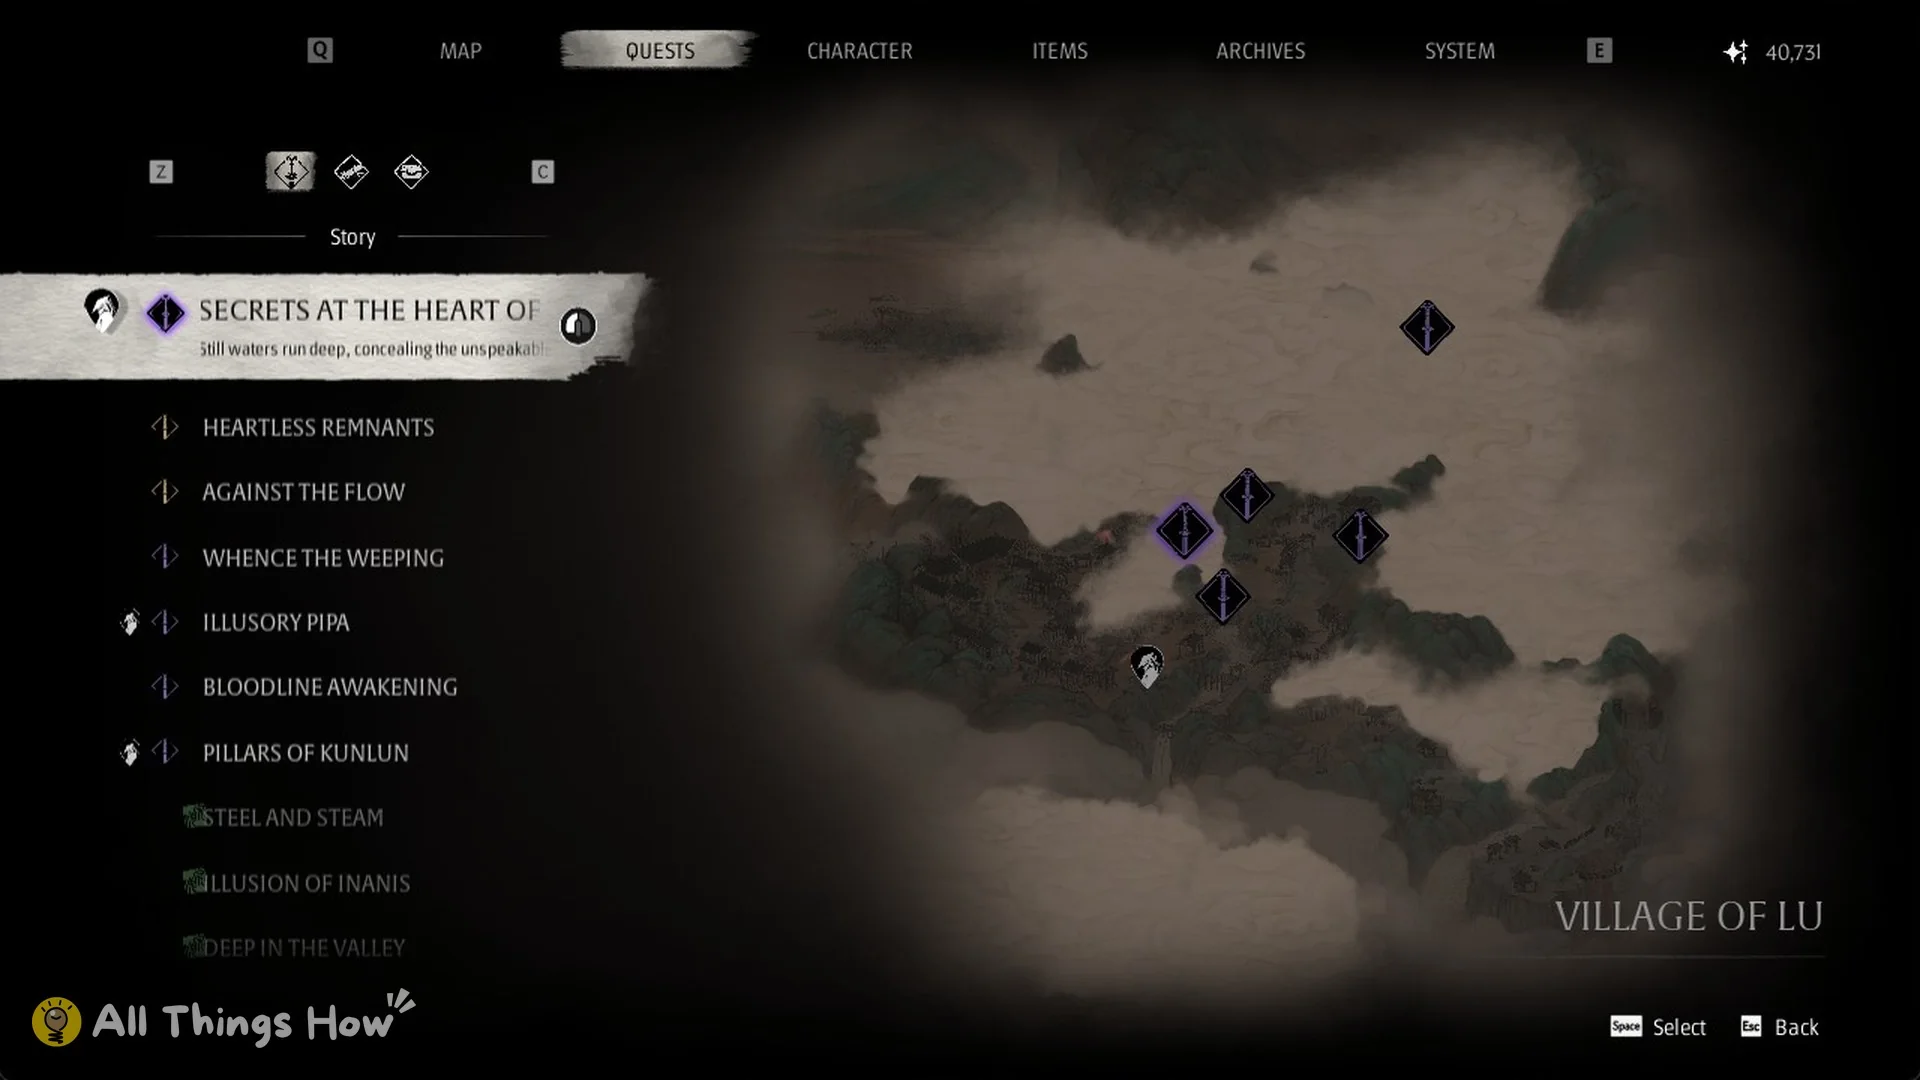
Highlight the quest in the Quests tab and the map beside the list shows the region VILLAGE OF LU, the objective “Find Firefly’s Memory Flowers,” and five quest markers spread across the lake. They sit well beyond the area around your player icon.
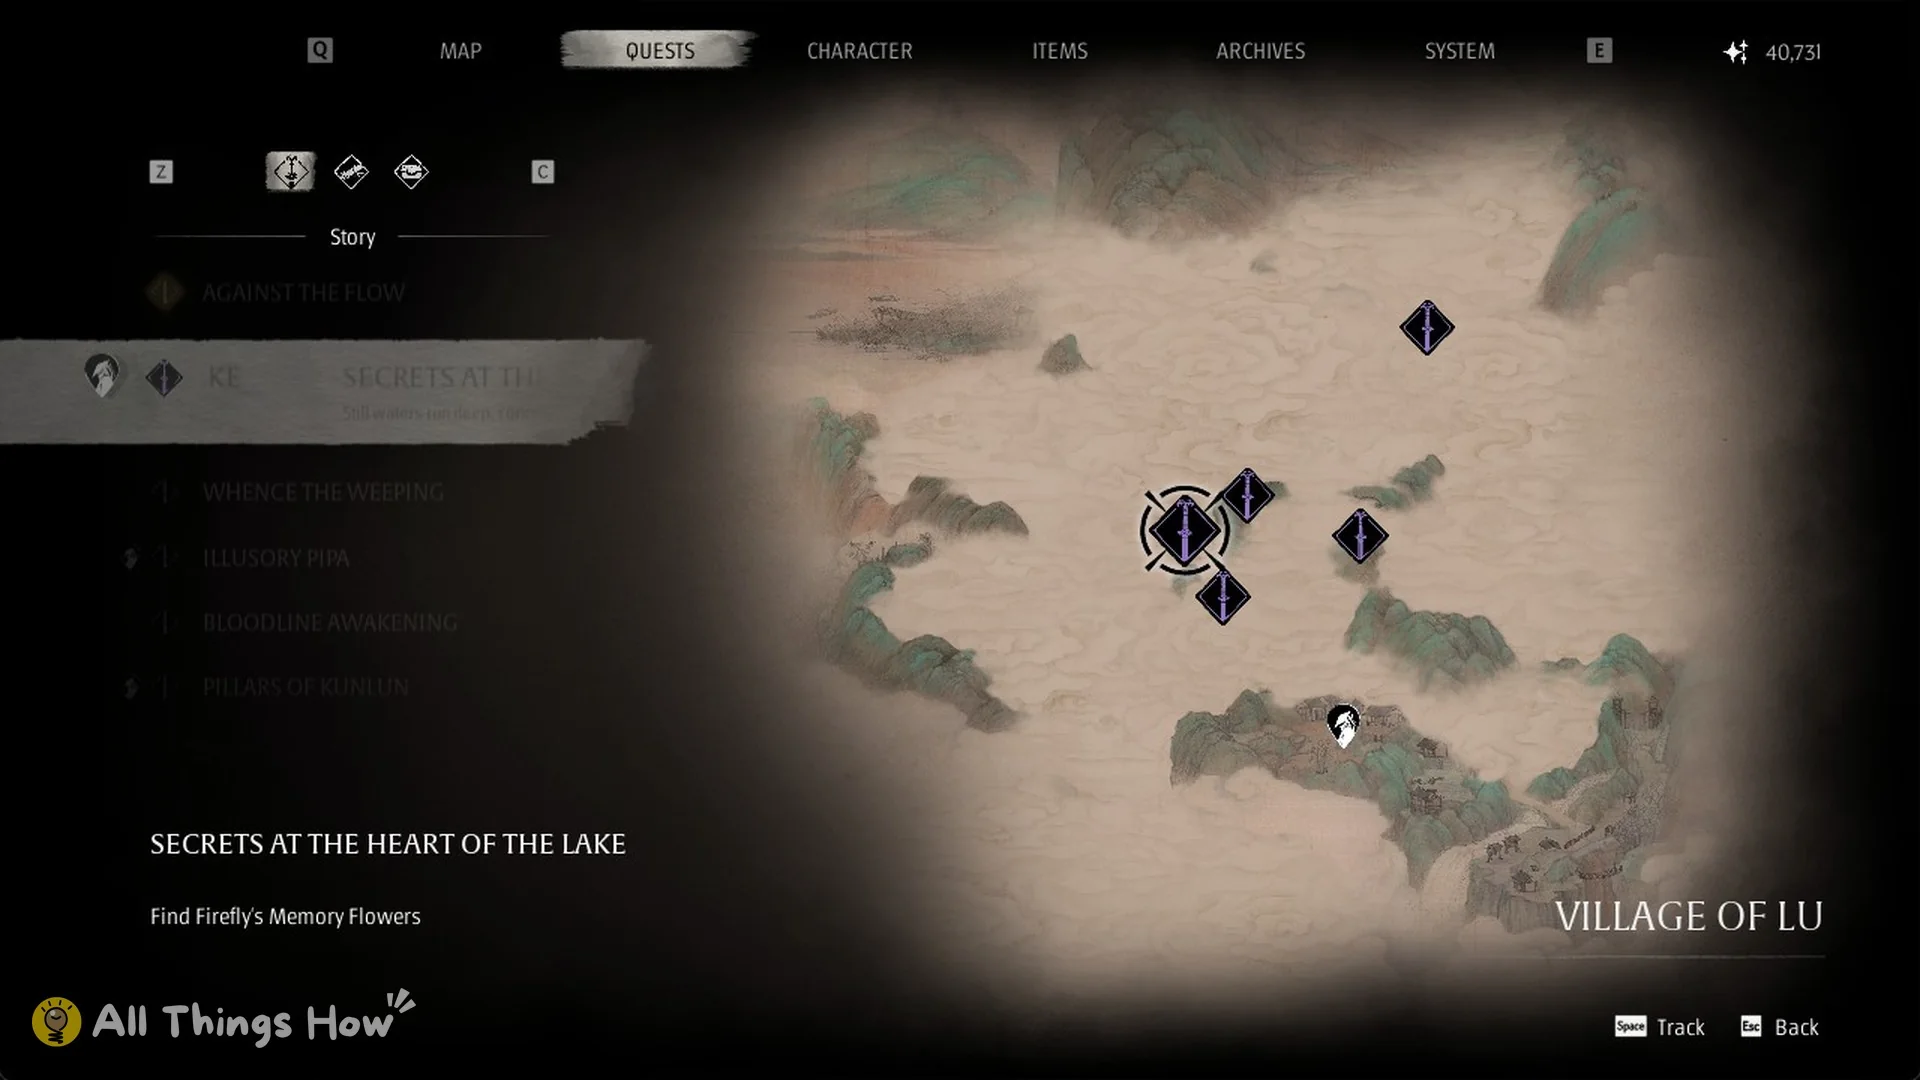
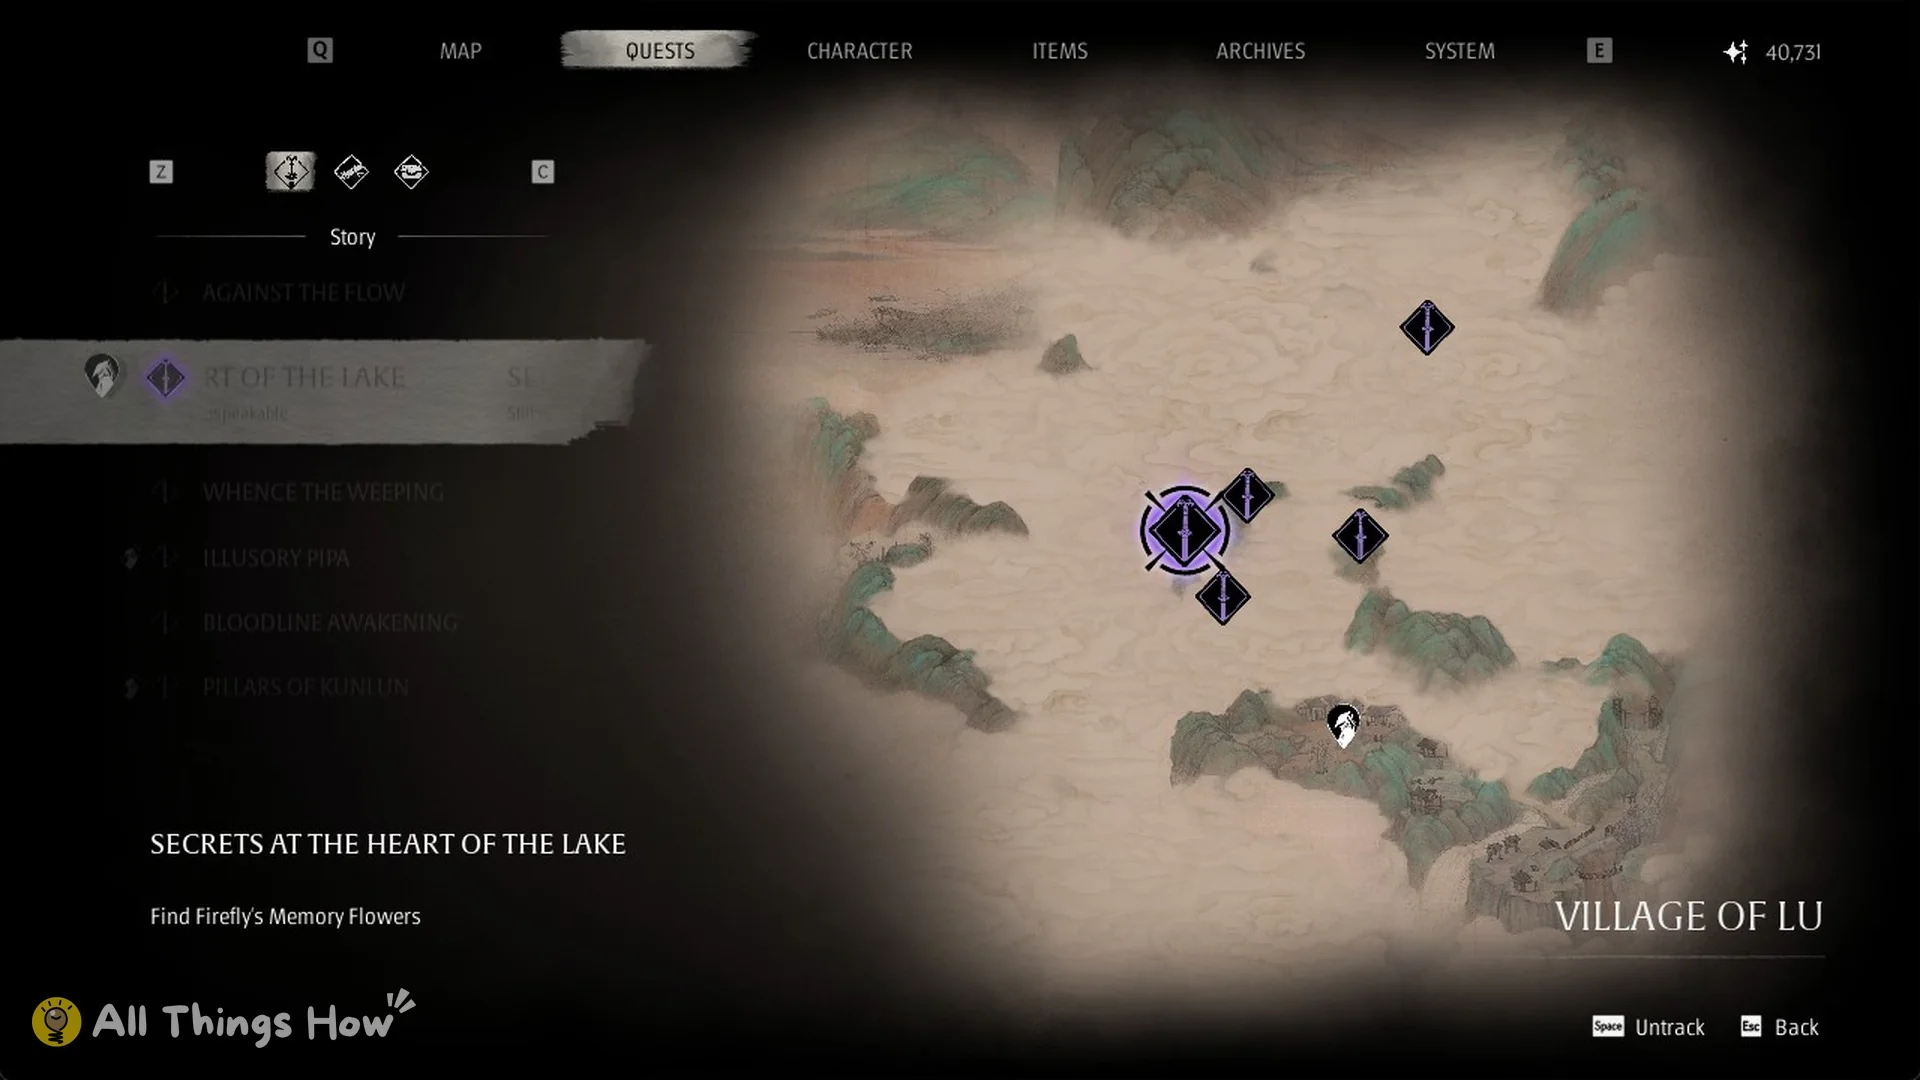
Press Space to track it. The button prompt switches from “Track” to “Untrack” once it is set.
Finding the markers with Mind’s Eye
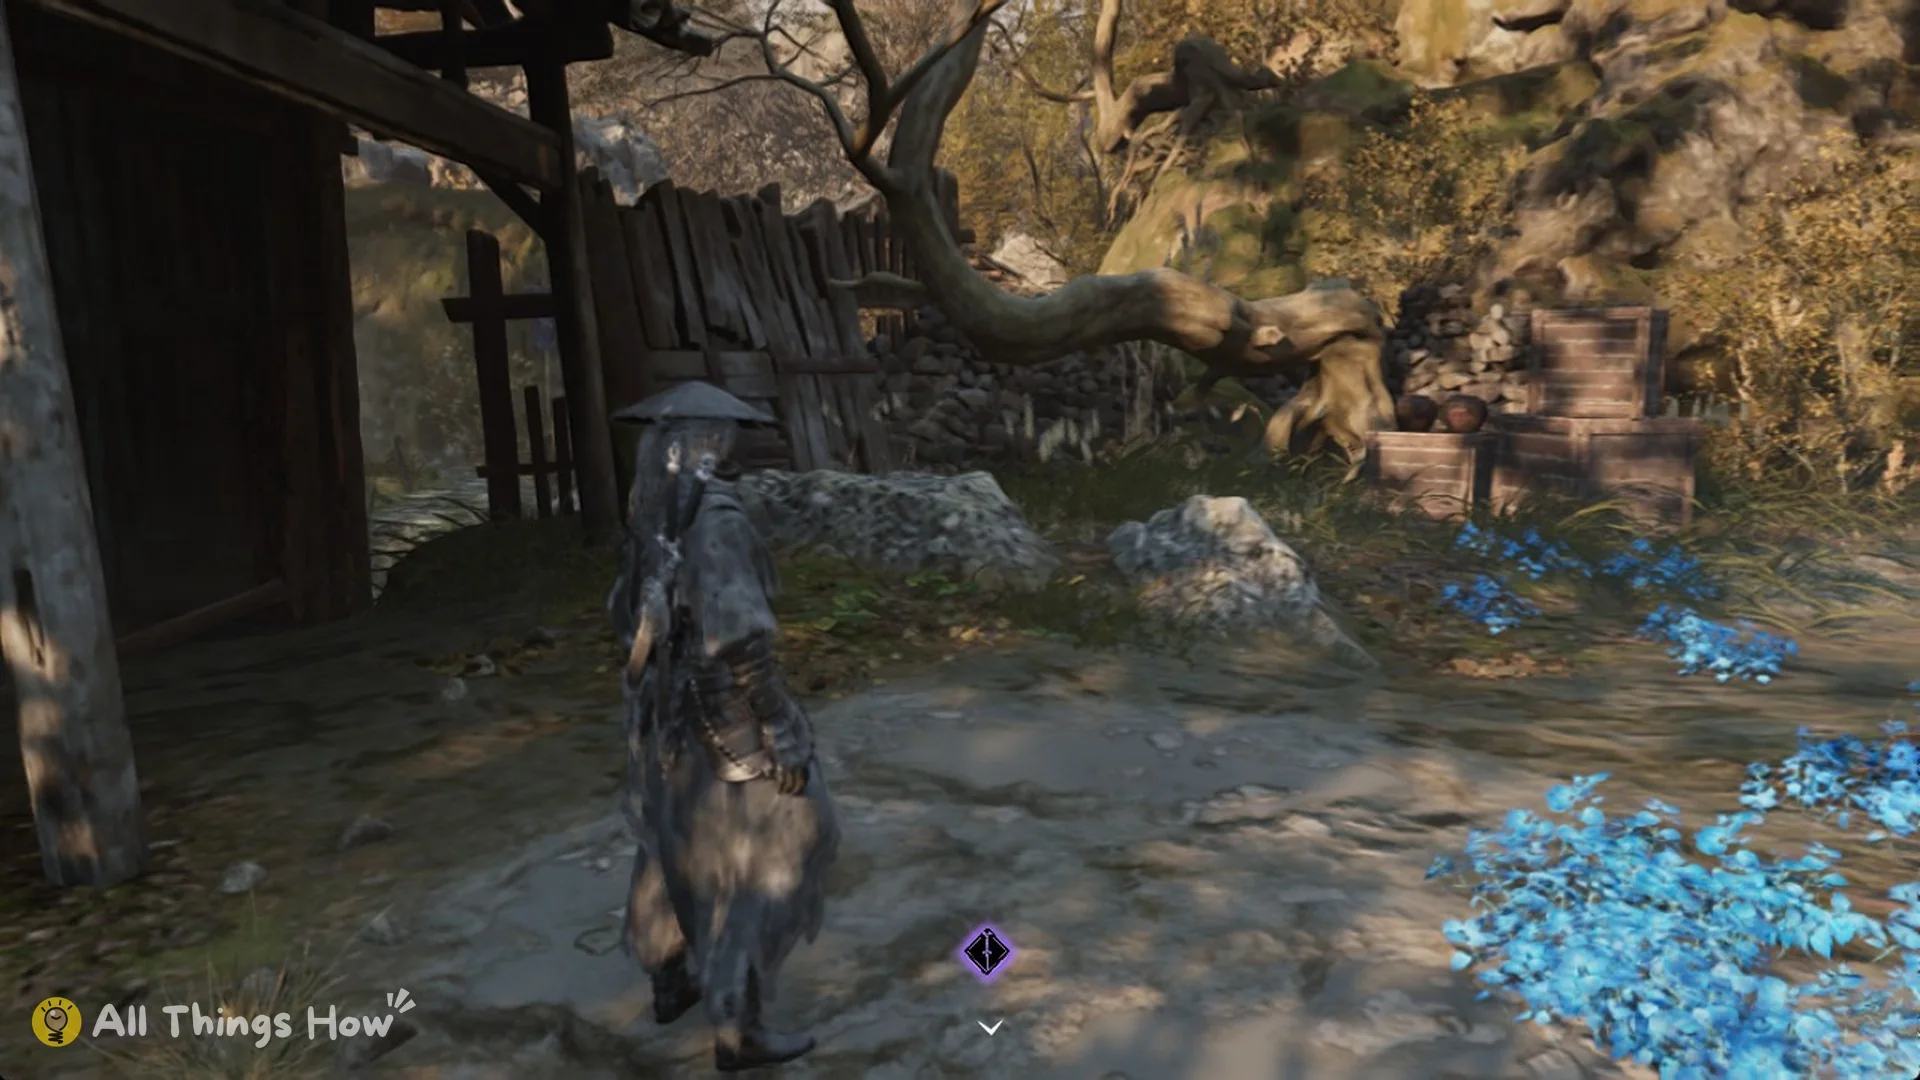
Hold V for Mind’s Eye (the full controls list covers the rest of the keys). A purple diamond marker with a distance readout appears in the world. From the flower bed, it points back through Zhuo Bi’s arena and out the far side.
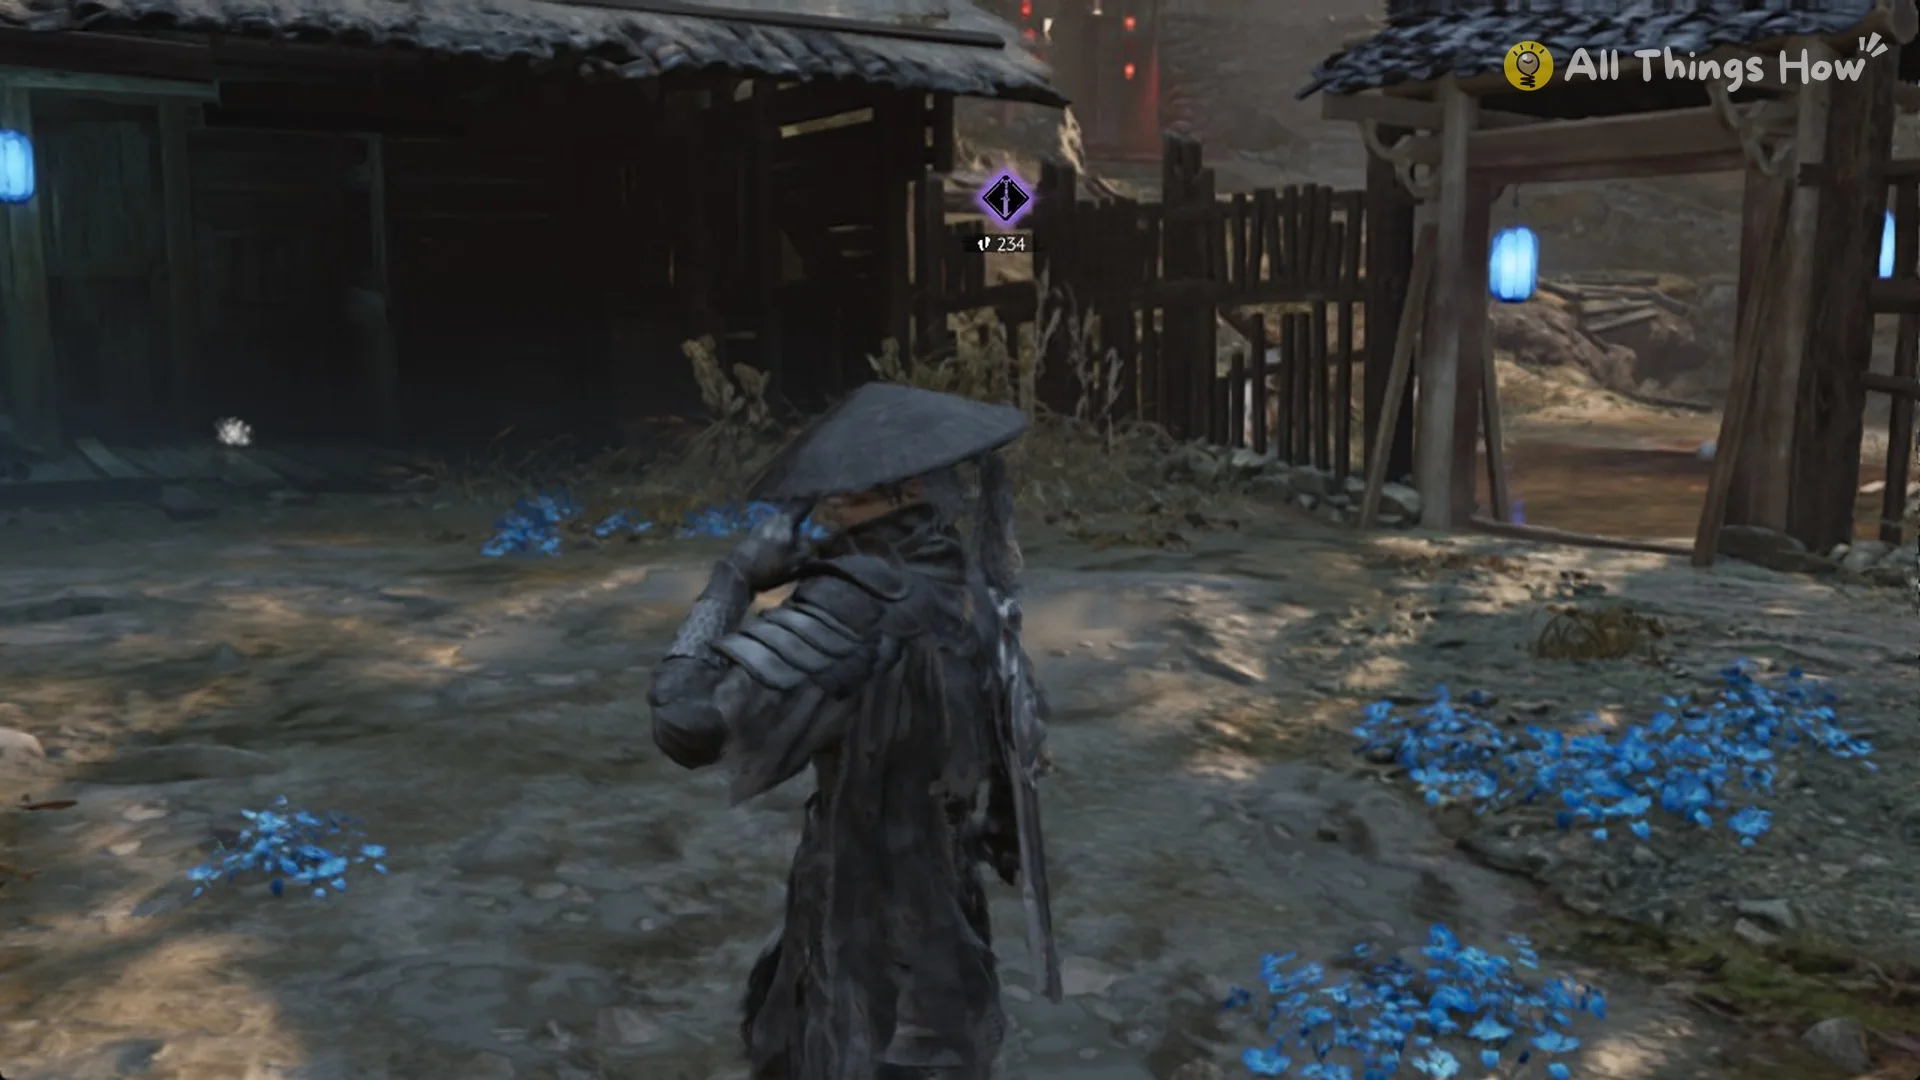
| Where you hold V | Distance to the marker |
|---|---|
| Firefly’s Memory Flower bed | About 234 m |
| Well of the Three Puppets bell | About 112 m |
| Temple of Blue Fireflies bell | About 95 m |
The marker’s route passes both bells. From the Temple of Blue Fireflies bell, it lies past the village houses. If its distance readout falls as you go by each bell, you’re moving in the correct direction.
Petal II: Phantom Art Illusionists’ Settlement
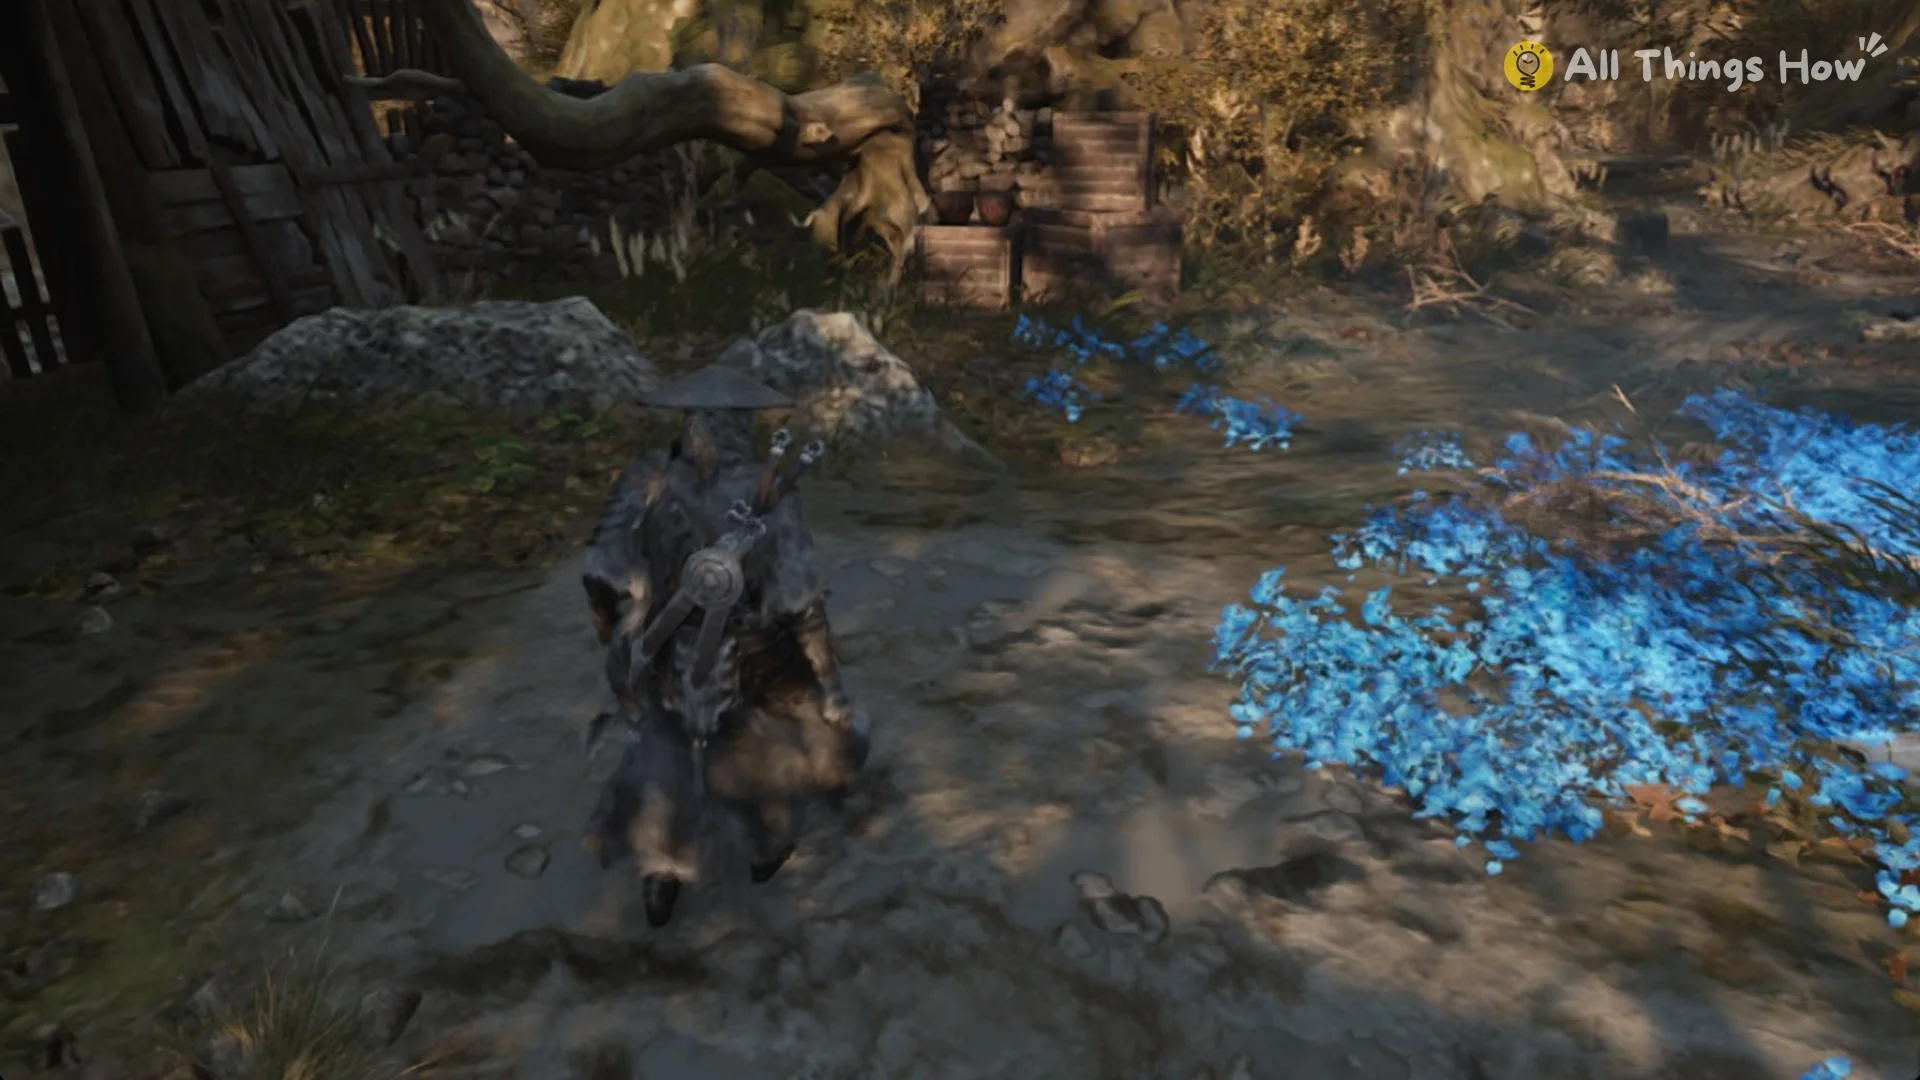
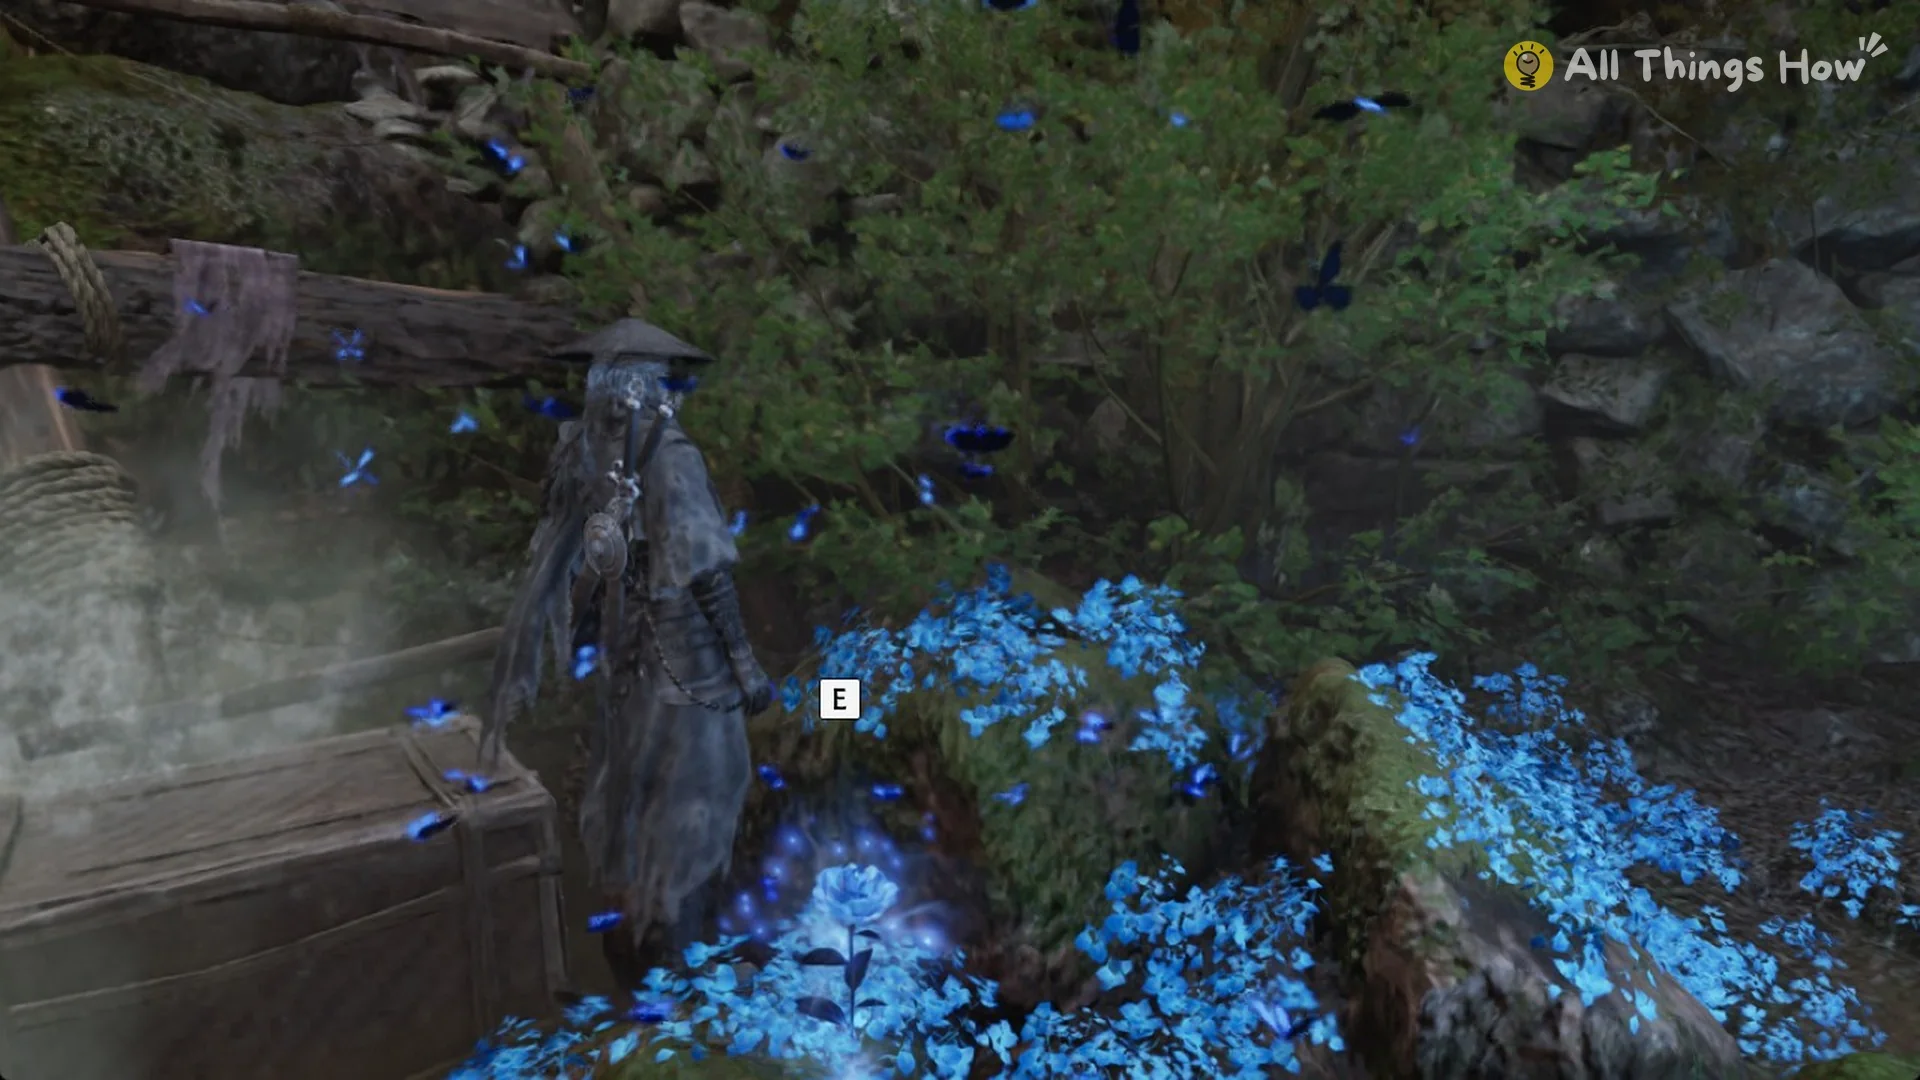
Petal “II. PHANTOM ART ILLUSIONISTS’ SETTLEMENT” is not out on the lake. Look for glowing blue flowers in the shallow stream below the stone bridge; the bridge spans the route from the Well of the Three Puppets bell to the Temple of Blue Fireflies bell. The flowers are a few metres from wooden crates. Drop from the bridge into the stream without taking damage, approach the flowers, and press E when the prompt appears.
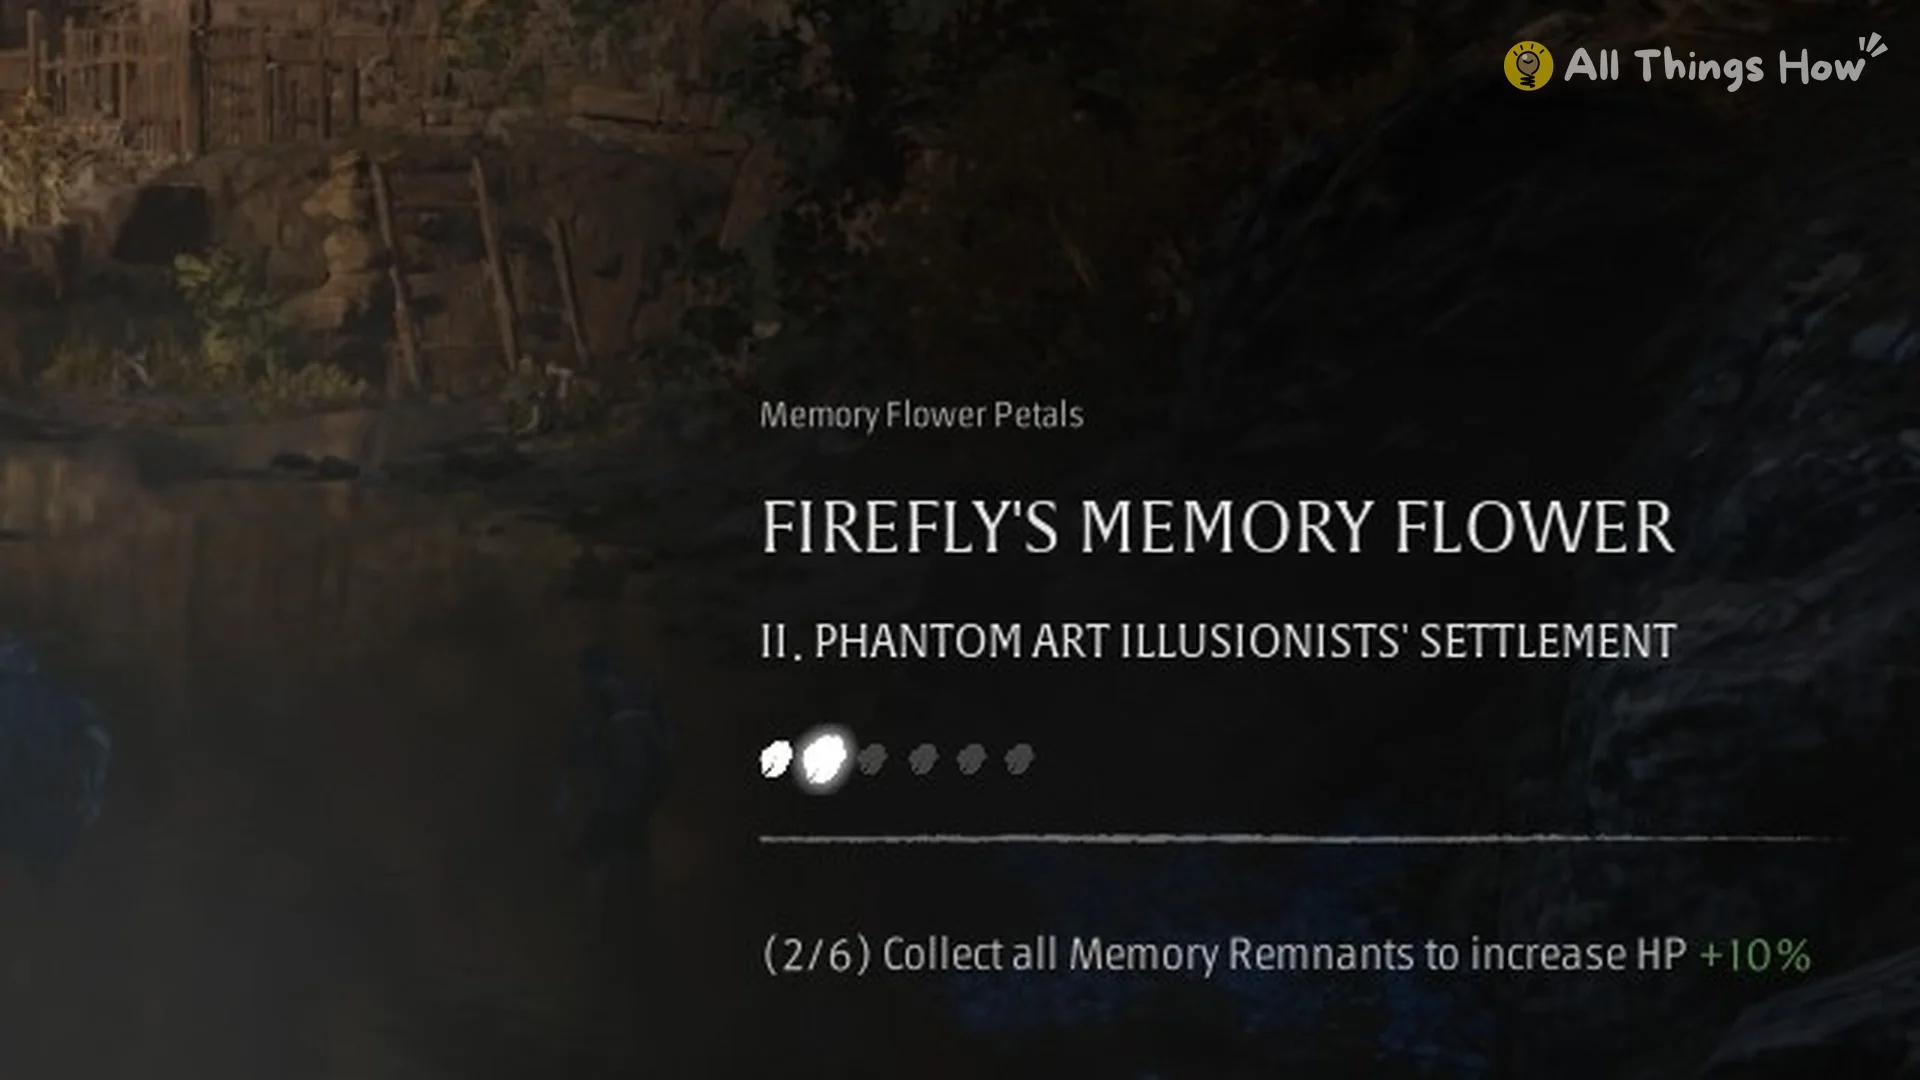
The card that opens reads “FIREFLY’S MEMORY FLOWER” with the petal “II. PHANTOM ART ILLUSIONISTS’ SETTLEMENT” and the line “(2/6) Collect all Memory Remnants to increase HP +10%”, and the quest objective moves on to (2/6). The memory shows Firefly telling her senior brother that she misses the settlement where they grew up, a hidden haven where the elders took them in without questioning their past and where the two of them trained in the Phantom Arts and cared for each other. She asks herself how things ended up this way, then agrees with him that when this is over they will settle somewhere warmer and plant a yard full of flowers.
Firefly’s Memory Flowers III to VI
The remaining four flowers are all in the Village of Lu, and you can pick them up in any order. Each one works the same way. You hold E, a memory plays, and you get a card. Once you have all six memory flowers, your HP rises by +10%.
VI. The Acolyte
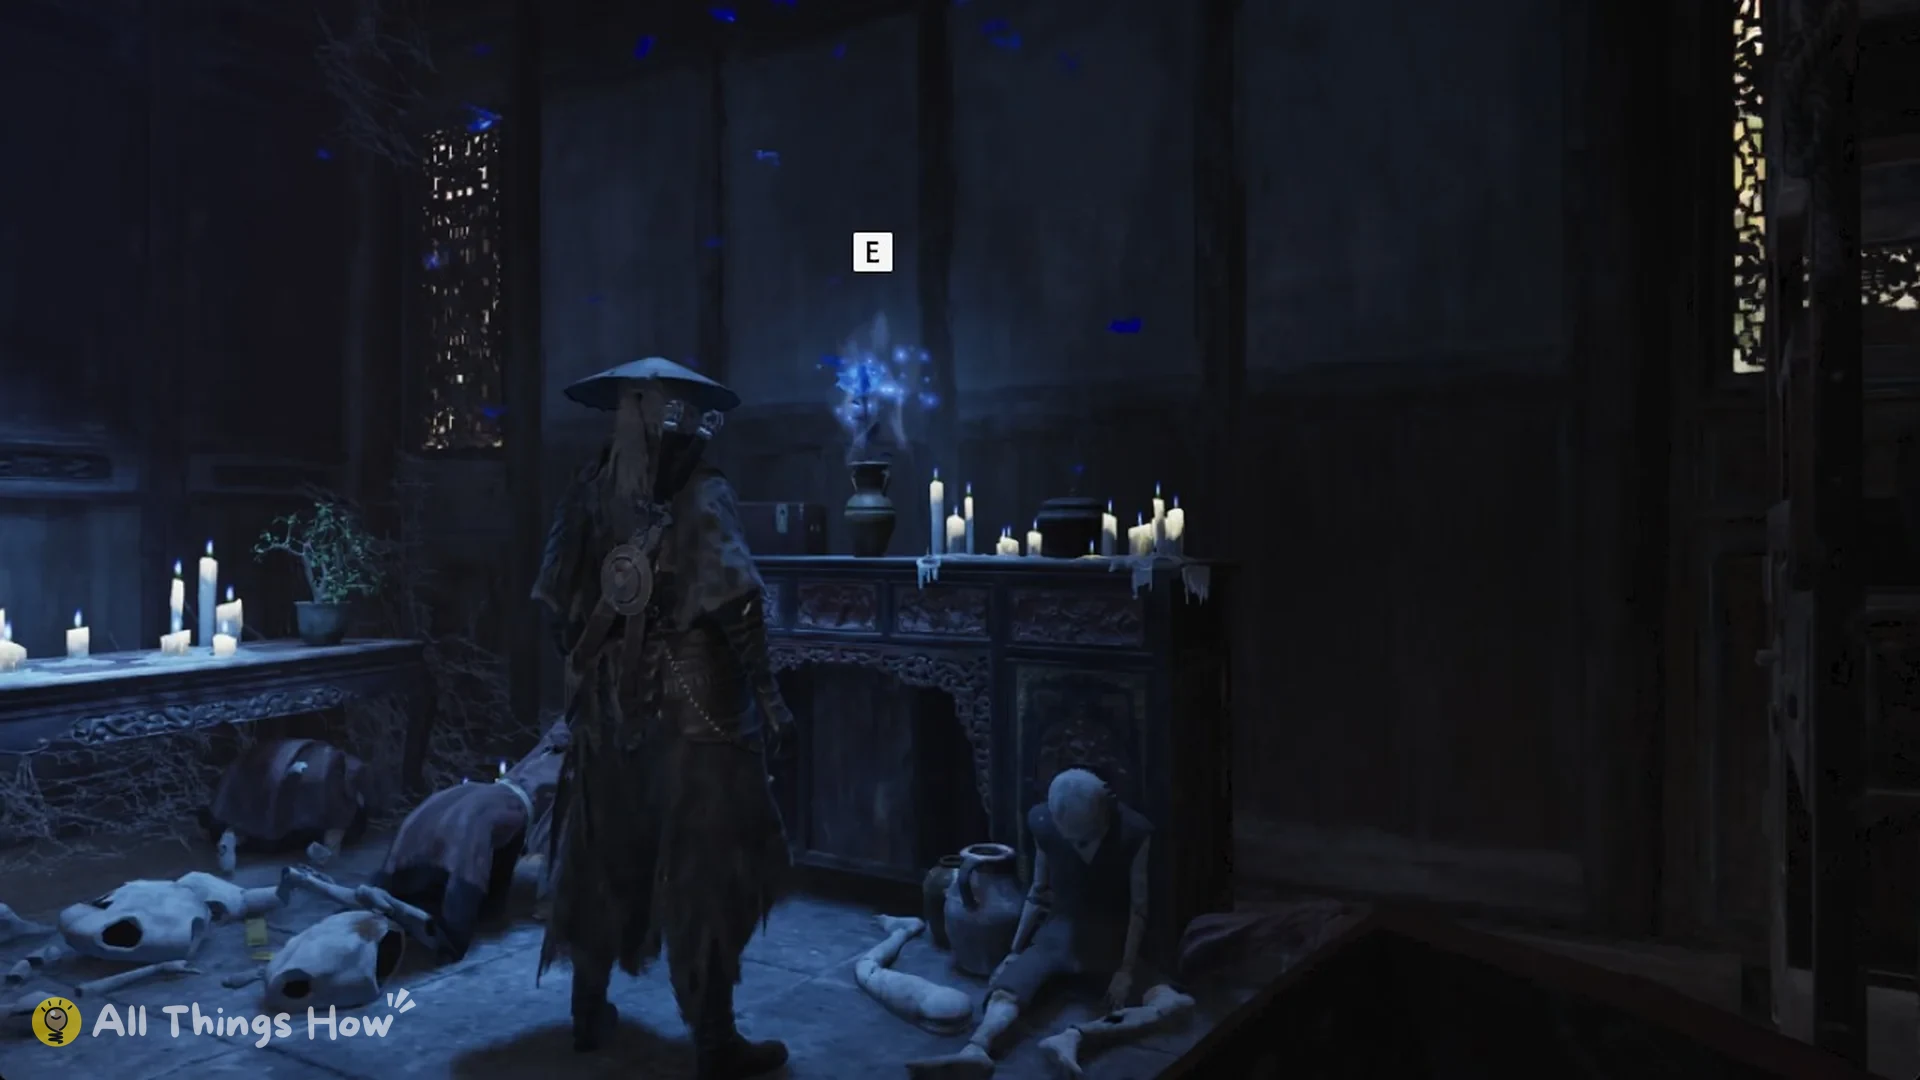
At the Temple of Blue Fireflies bell, ascend the temple stairs and enter the hall. The glowing flower sits atop a carved cabinet ringed by candles, while broken puppets lie scattered nearby on the floor. Hold E to pick it up.
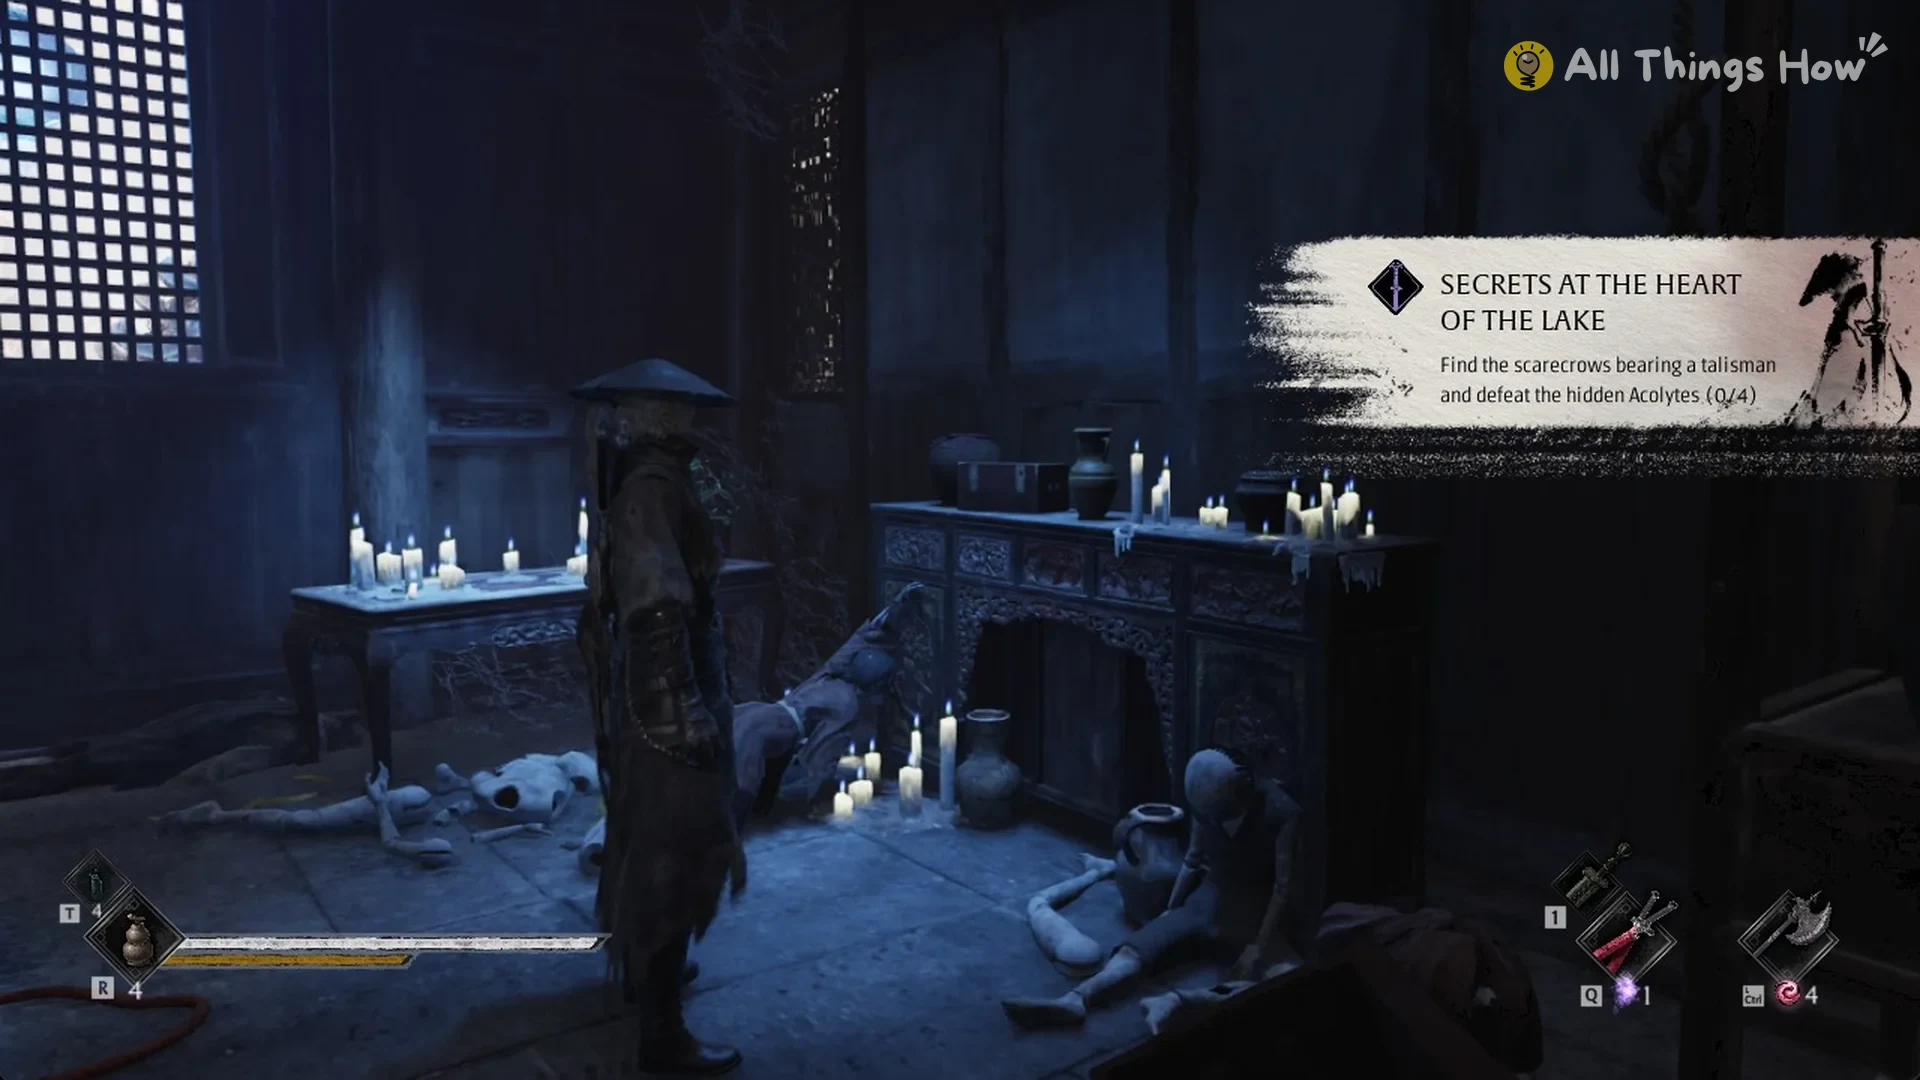
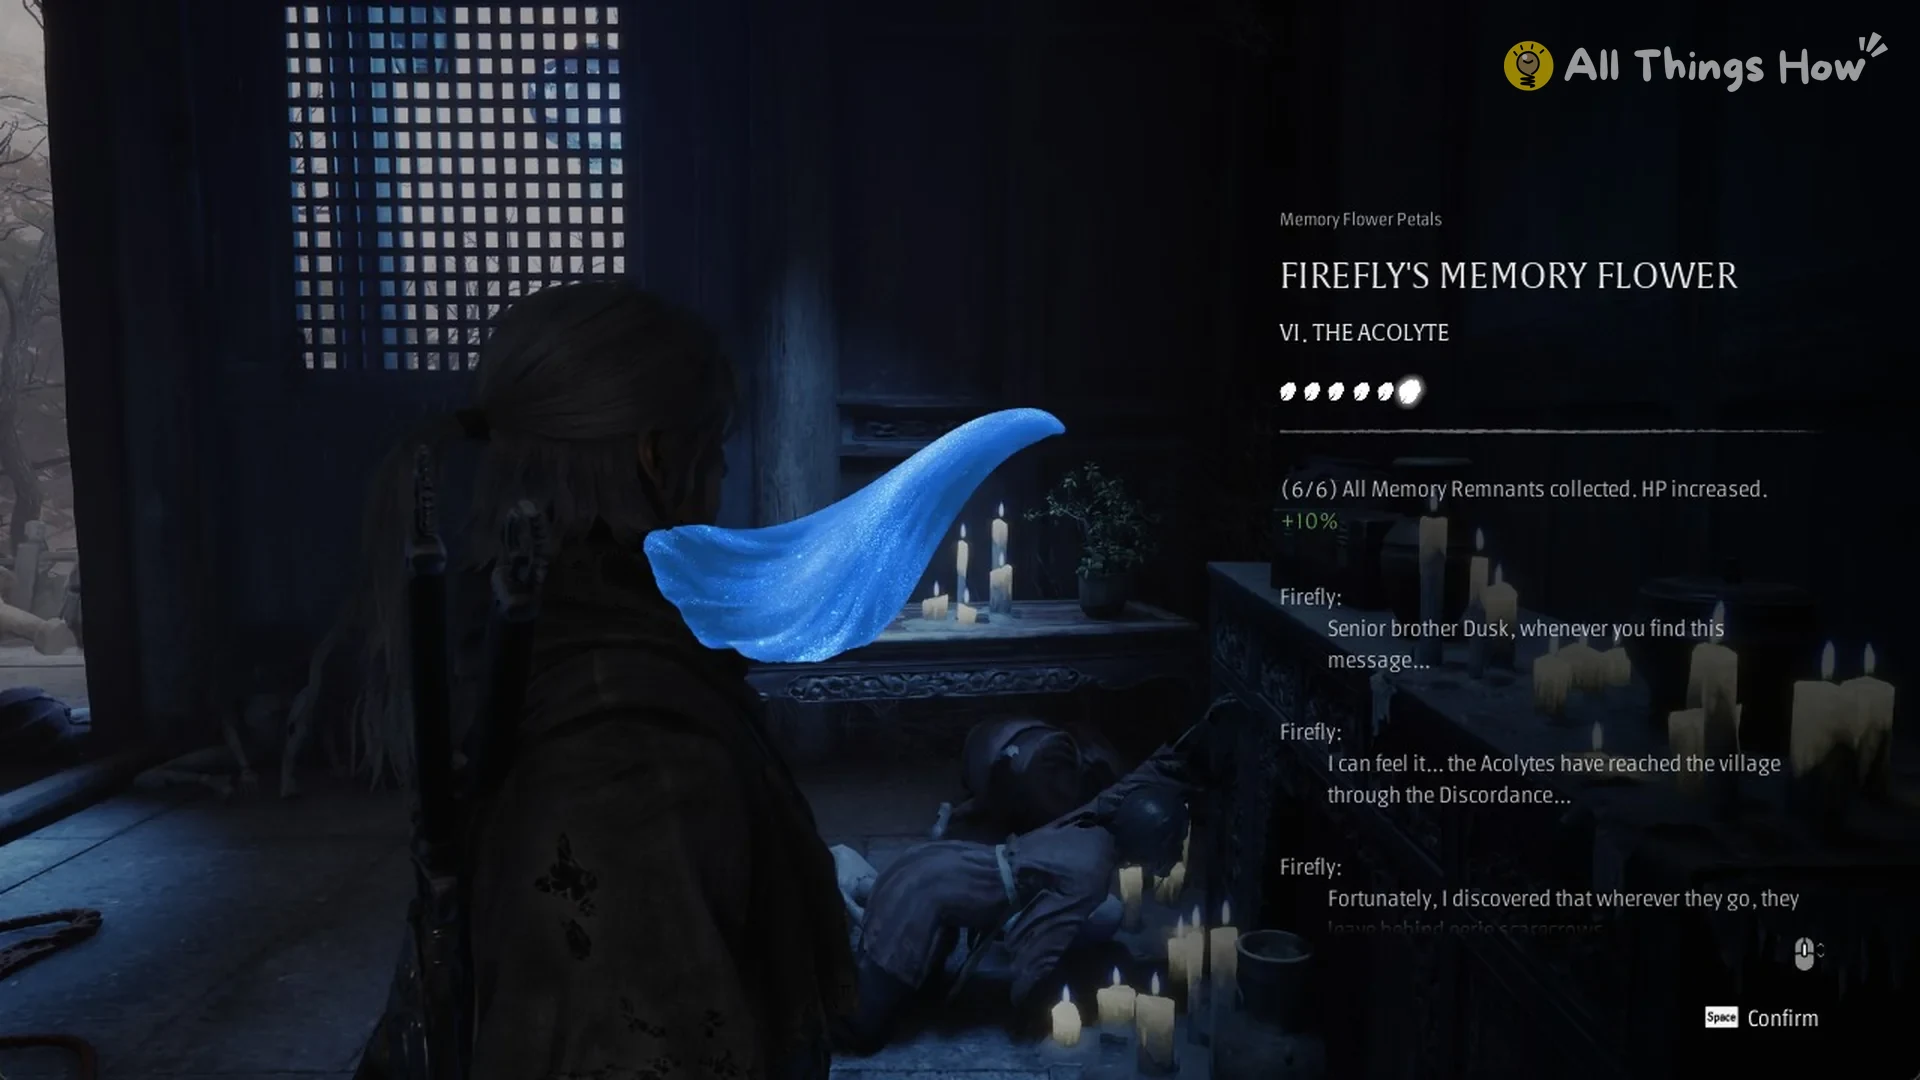
In this memory scene, Firefly leaves a message for her senior brother, Dusk. She senses that the Acolytes have come into the village through the Discordance, and she has noticed that they leave eerie scarecrows behind wherever they go. The scene lasts about 40 seconds. When it ends, the objective banner adds “Find the scarecrows bearing a talisman and defeat the hidden Acolytes (0/4)”.
III. The Herald
Starting at the Covered Bridge bell, walk downhill along the winding path for around 170 m. On the shrine deck, the flower lies amid blue petals and knotted red rope, with red candles and carved statues lining the area. The drop on the approach is one-way, but you can climb back up: face the deck’s edge above the yard and press Space.
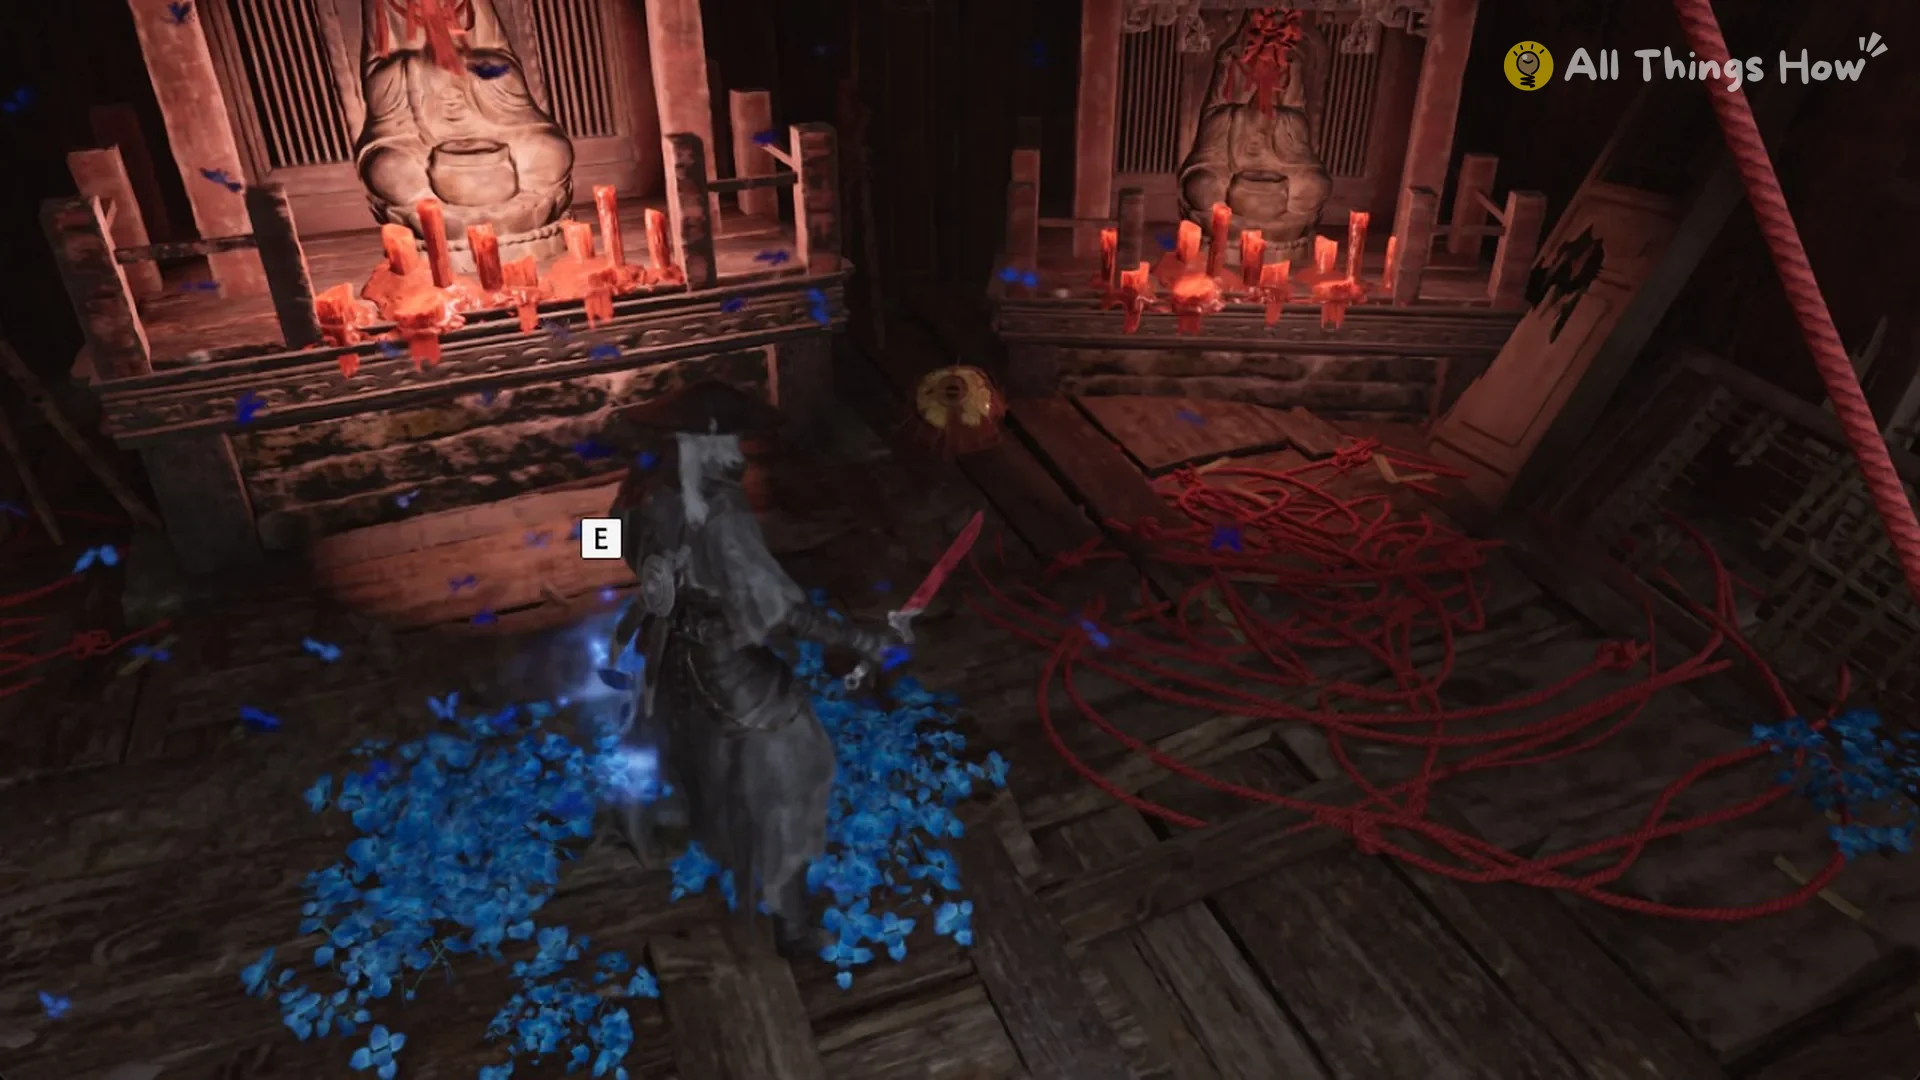
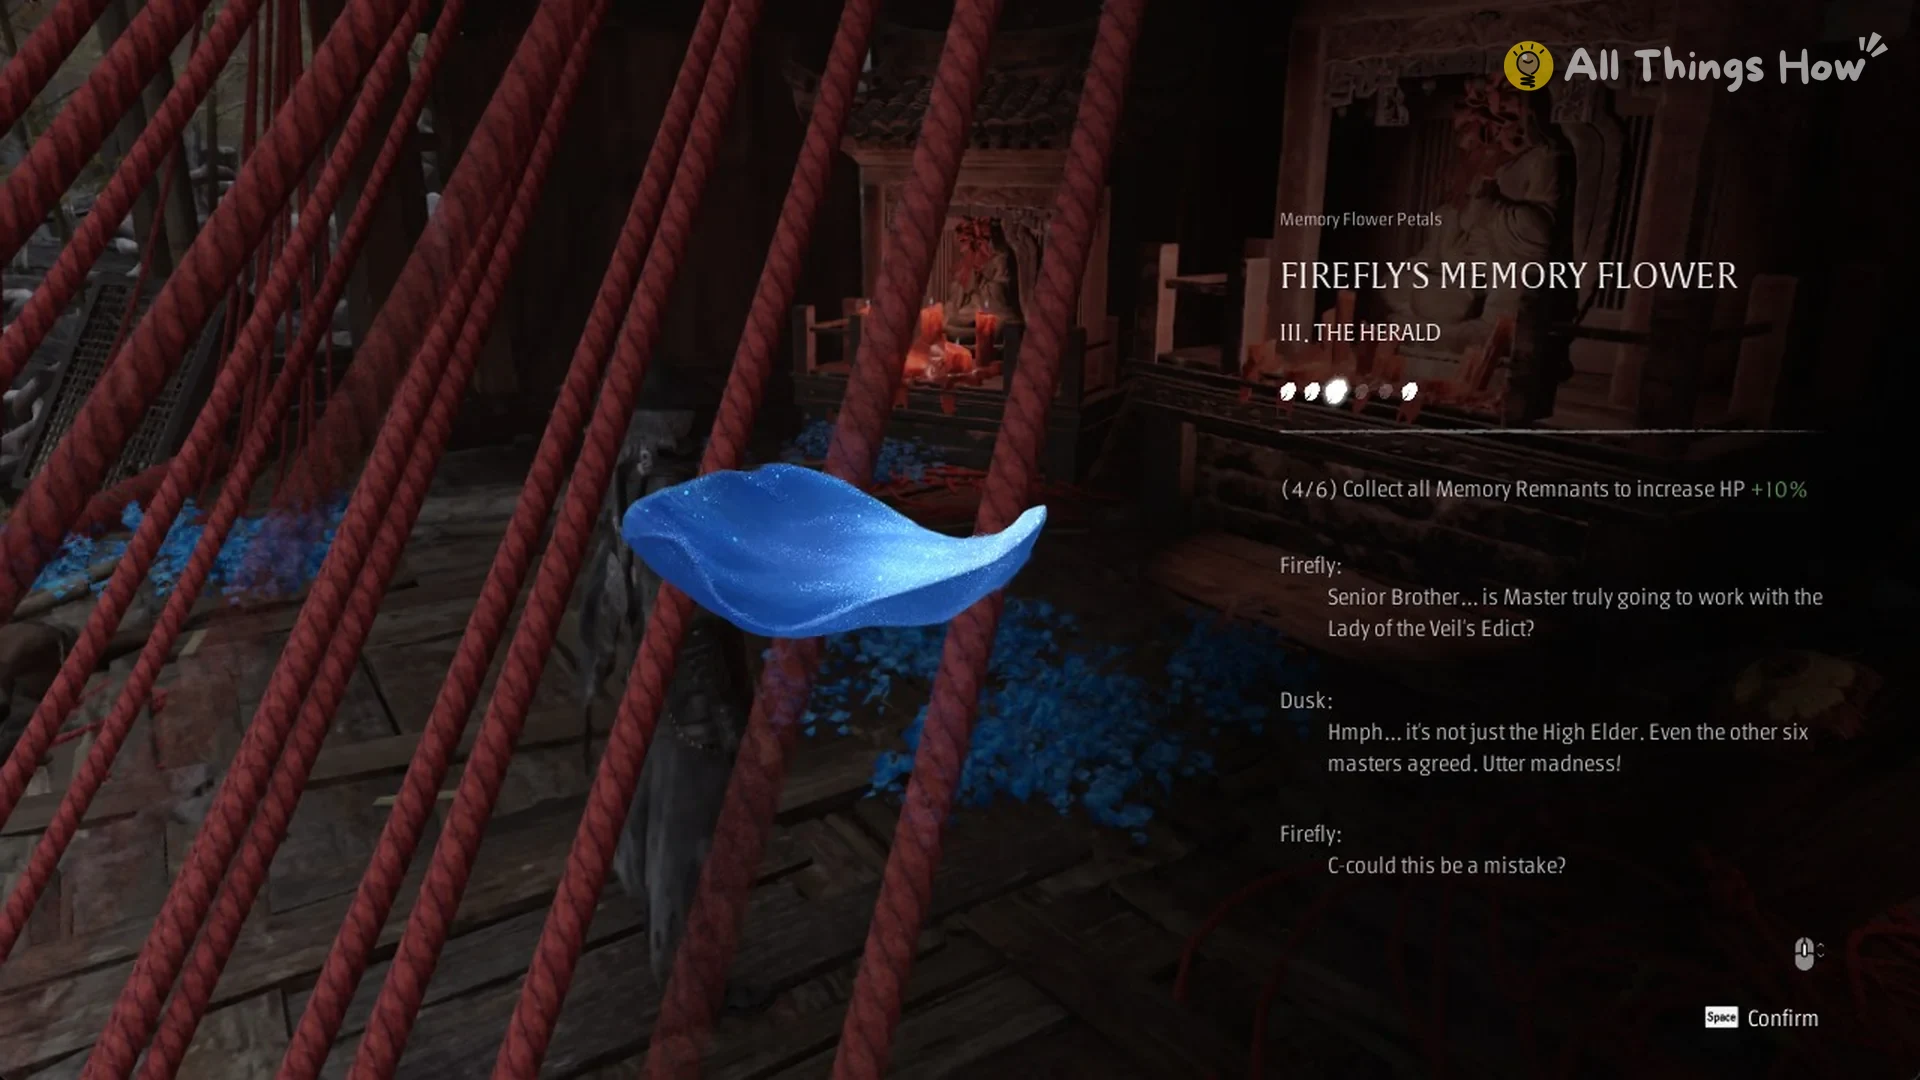
A pack of about a dozen Vessel villagers wakes around the flower, along with crows. On Wayfarer, clearing them can cost roughly 730 of 1,562 HP, so defeat the whole group before you press E. The memory shows Firefly asking whether their Master really intends to work with the Lady of the Veil’s Edict. Dusk replies that the High Elder is not alone in this, since even the other six masters agreed, and he calls the plan utter madness. Firefly wonders whether it could be a mistake.
V. No Word
Flower V looks close to the Temple of Blue Fireflies bell, but that floor doesn’t connect to it. Start at the Statue Grounds Entrance bell instead. Head down about 84 m to a ladder, press Space to climb down, then follow the lower floor until the flower glows under a gnarled tree ringed with blue flowers, with a chest beside it.
Just before that ladder stands a very large Vessel pack of about 17 enemies, including a Village Auntie, Little Rascals, and a Mad Scholar. On Wayfarer, at around 1,560 HP, it can take Soul from full to empty in under 30 seconds. Don’t sprint into it, don’t start the fight already hurt, and either bring your strongest weapon or come back later.
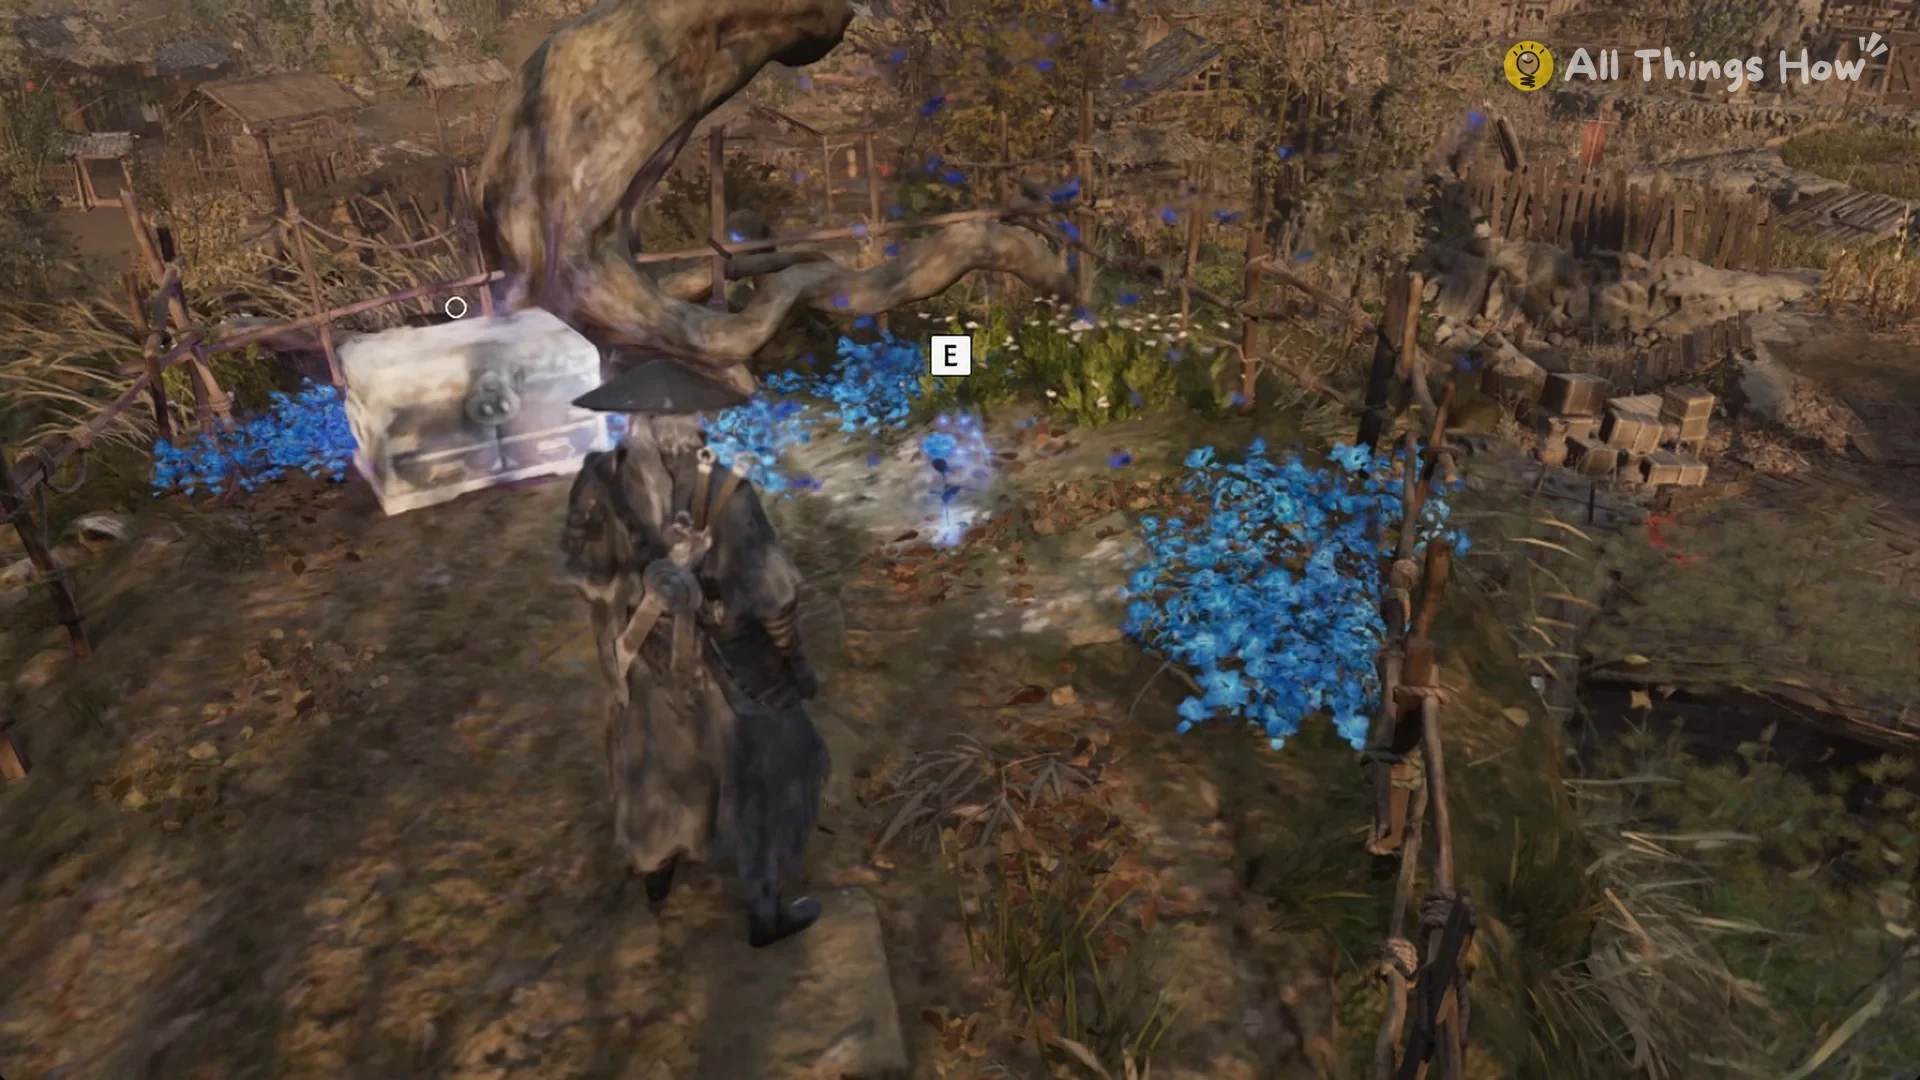
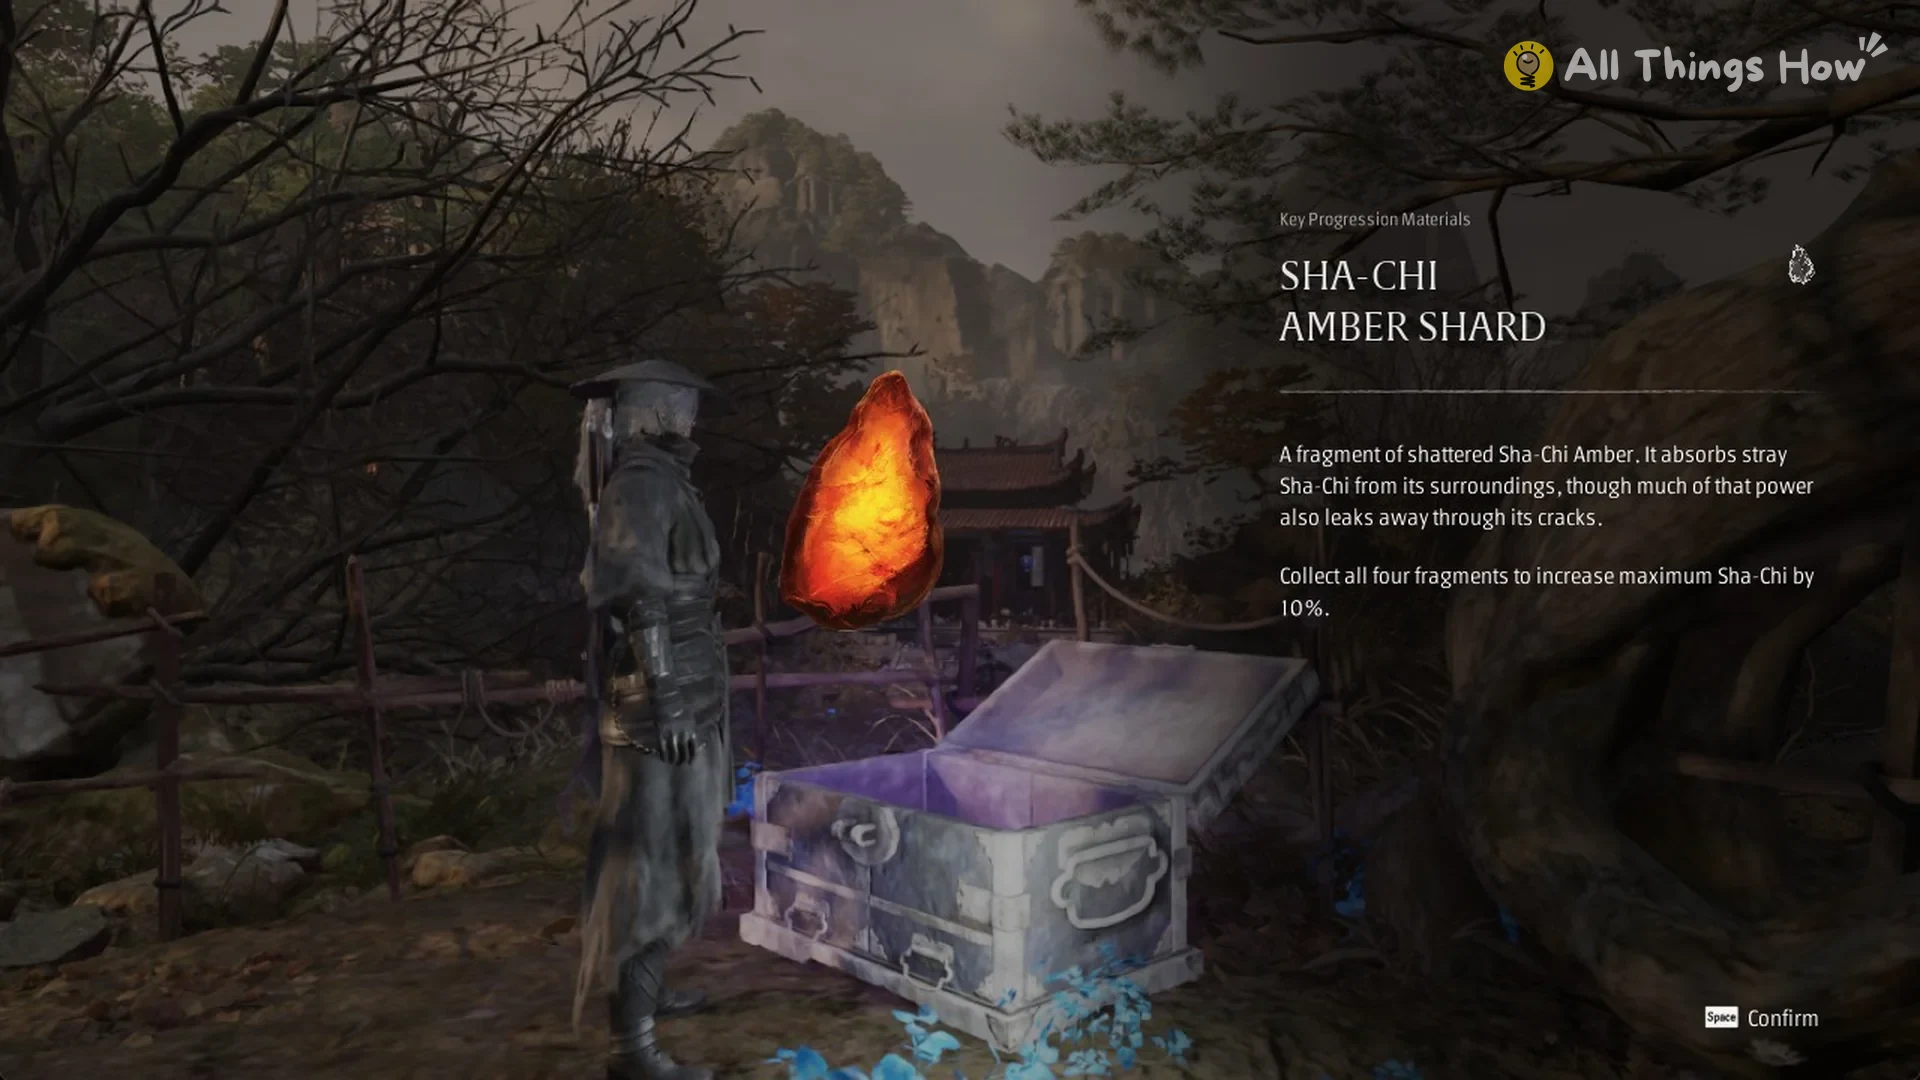
Hold E to collect the flower. The chest holds a SHA-CHI AMBER SHARD, and collecting all four fragments gives a SHA-CHI AMBER, which reads “Permanently increases maximum Sha-Chi by 10%”.
In this memory scene, Firefly says she has received no word from her senior brother for fifteen days. She points out that his skill in puppetcraft earned the Herald’s confidence and made him responsible for the puppetry ritual, then voices concern that the Herald may be growing suspicious of him.
IV. The Source of Calamity
Leave the Engine Giant Remains bell and enter the hall nearby, where red candles and red rope line the way. At the opposite end, press Space at the ledge to slide to the level below.
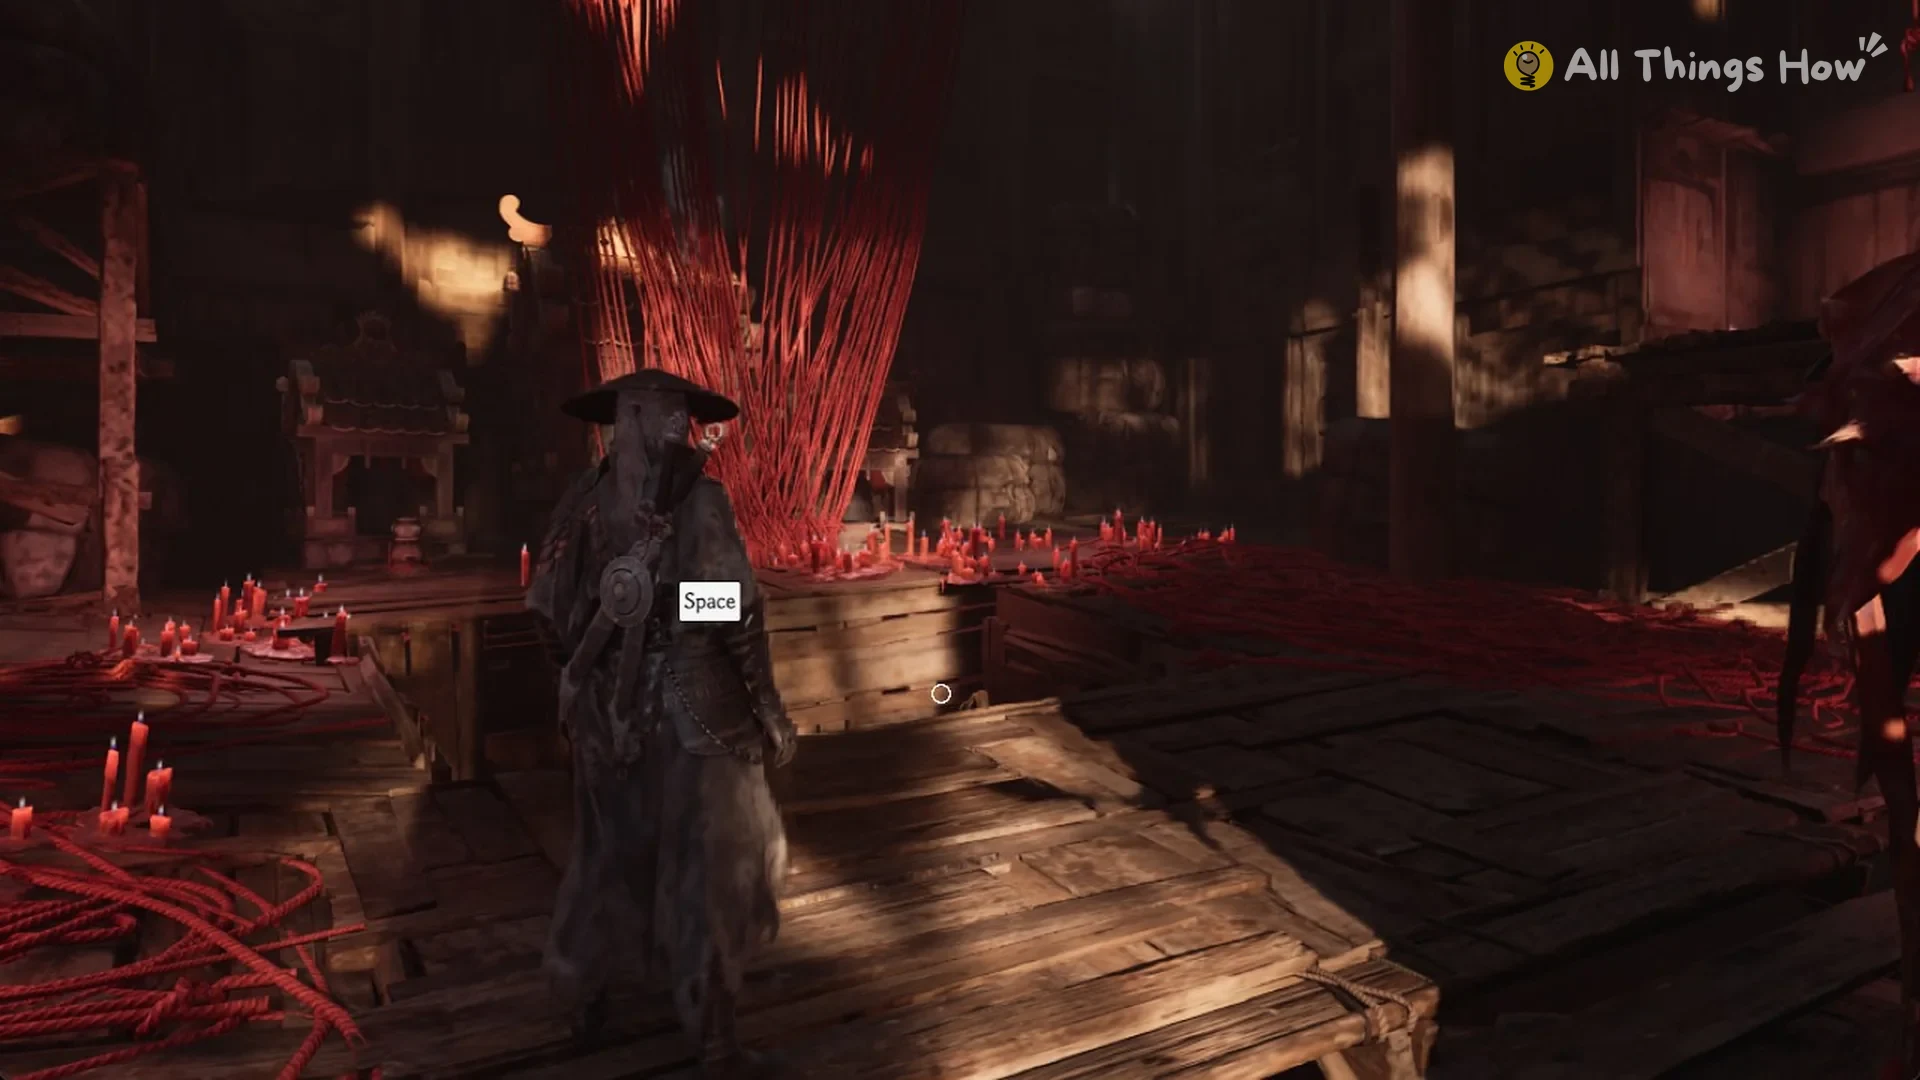
Continue along it to a plank deck covered with blue flowers and hold E to gather the flower. This path has no enemies.
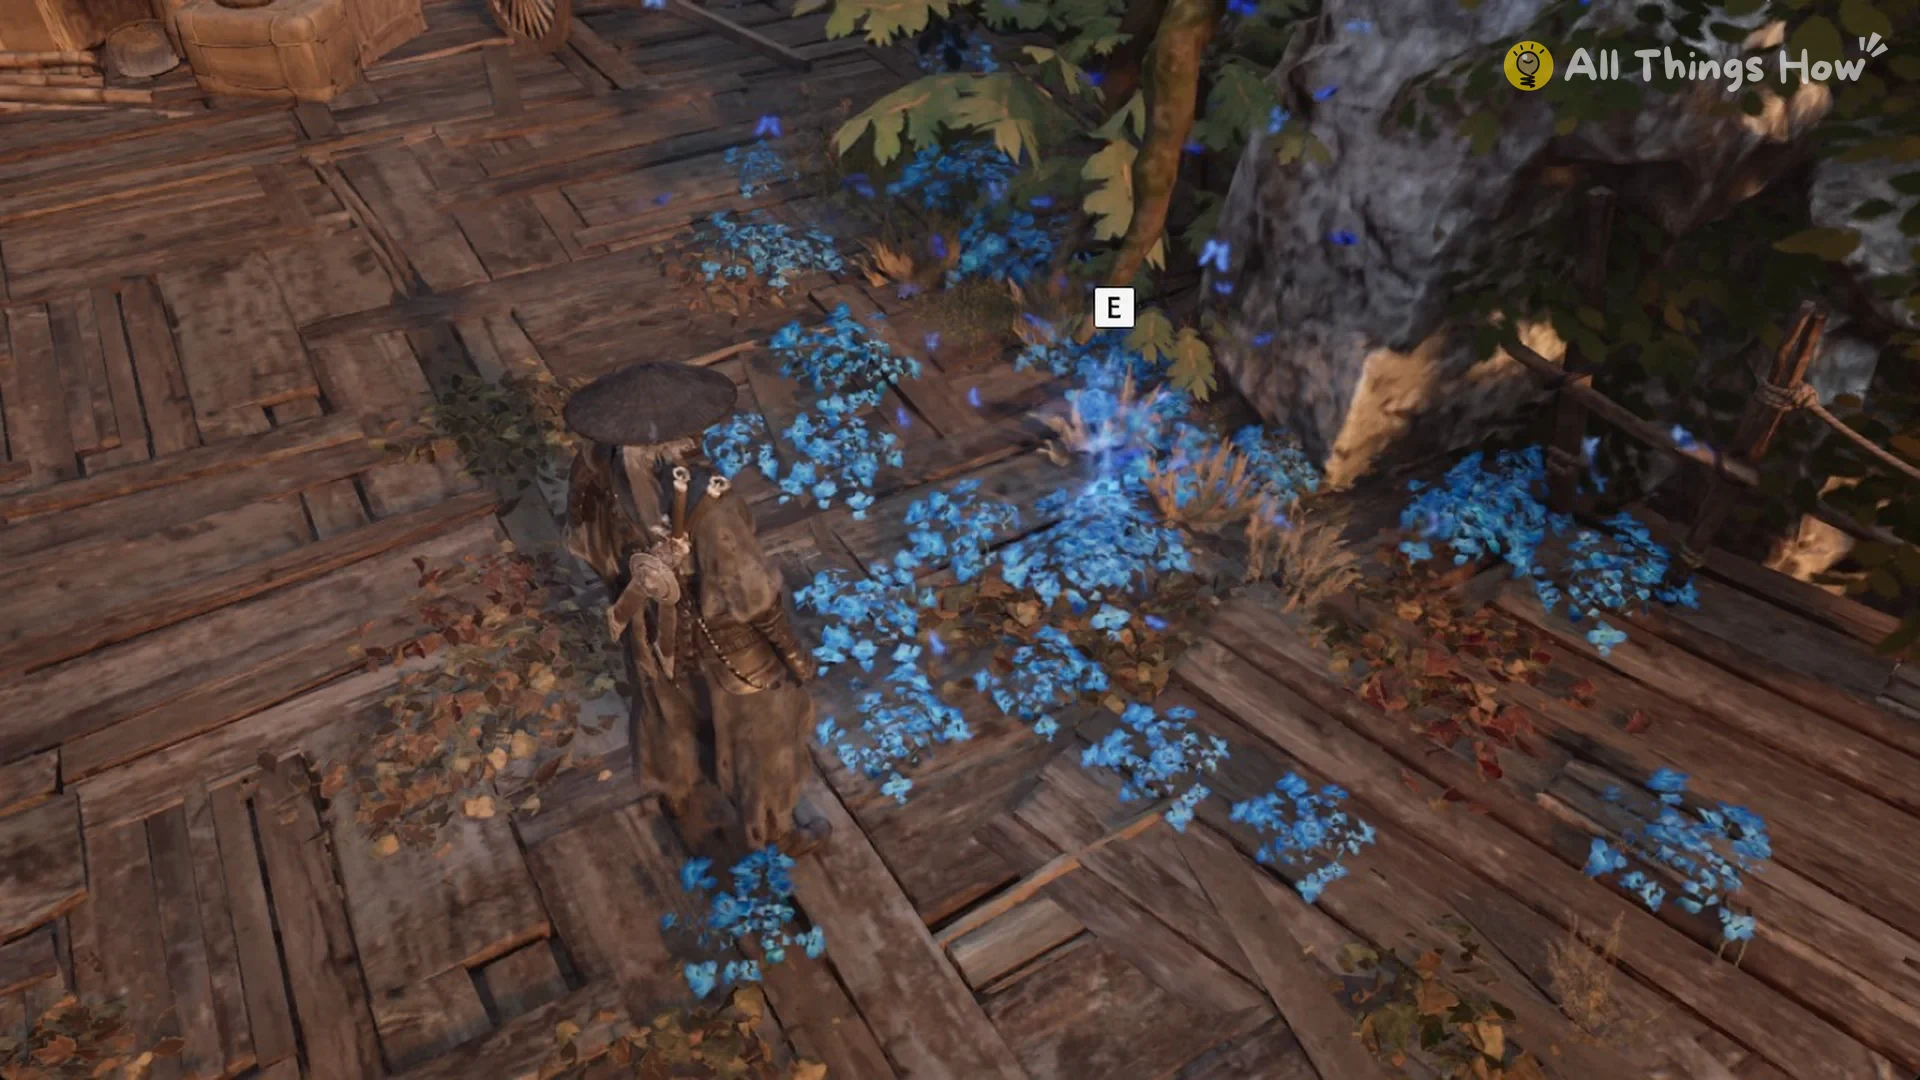
In this memory, Firefly reveals that the Elders have ordered the ruins sealed and anyone who opposes the Rift eliminated. Many of their junior brothers and sisters have already been killed. She admits she believed their Master still cared about them and would let them into the Heart of the Lake to destroy it.
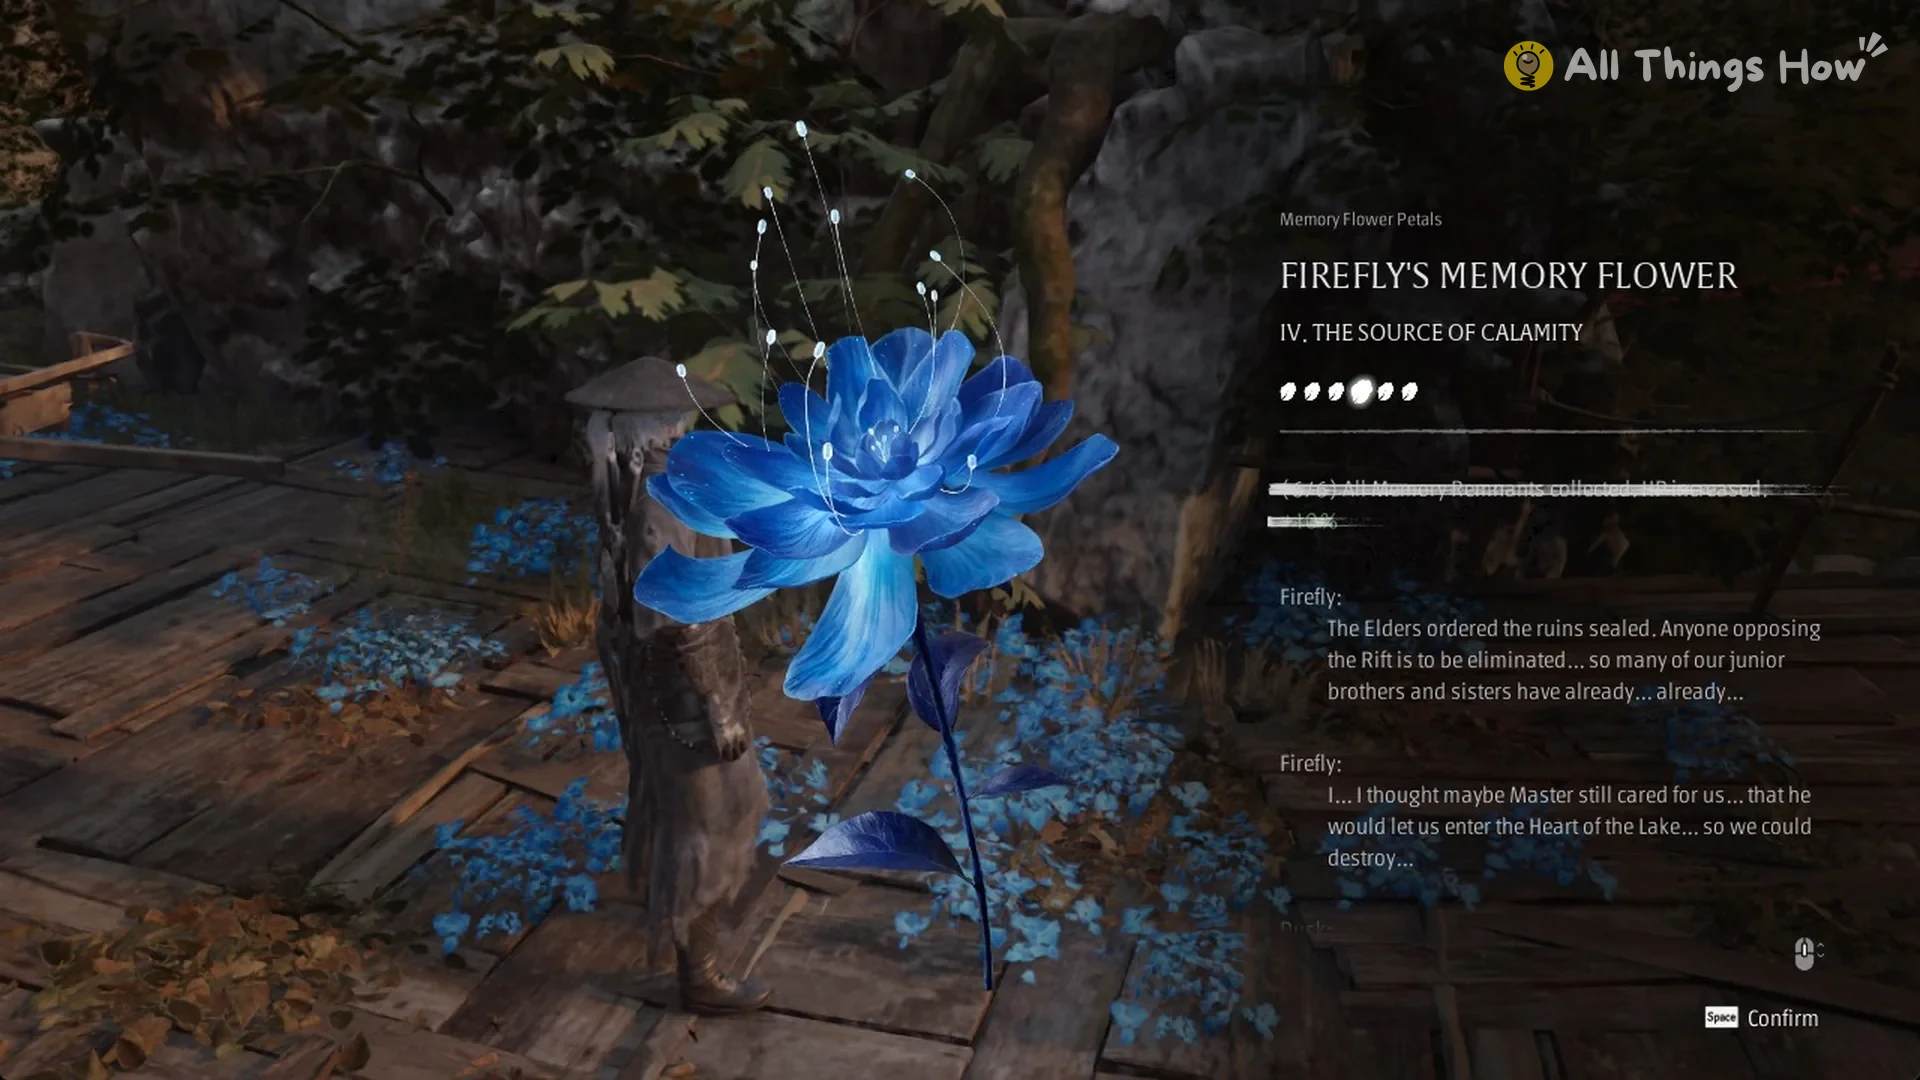
Whichever flower you pick up sixth completes the card and grants the +10% HP bonus. You’ll know it worked when the objective banner changes to “Enter Dusk’s Refuge”.
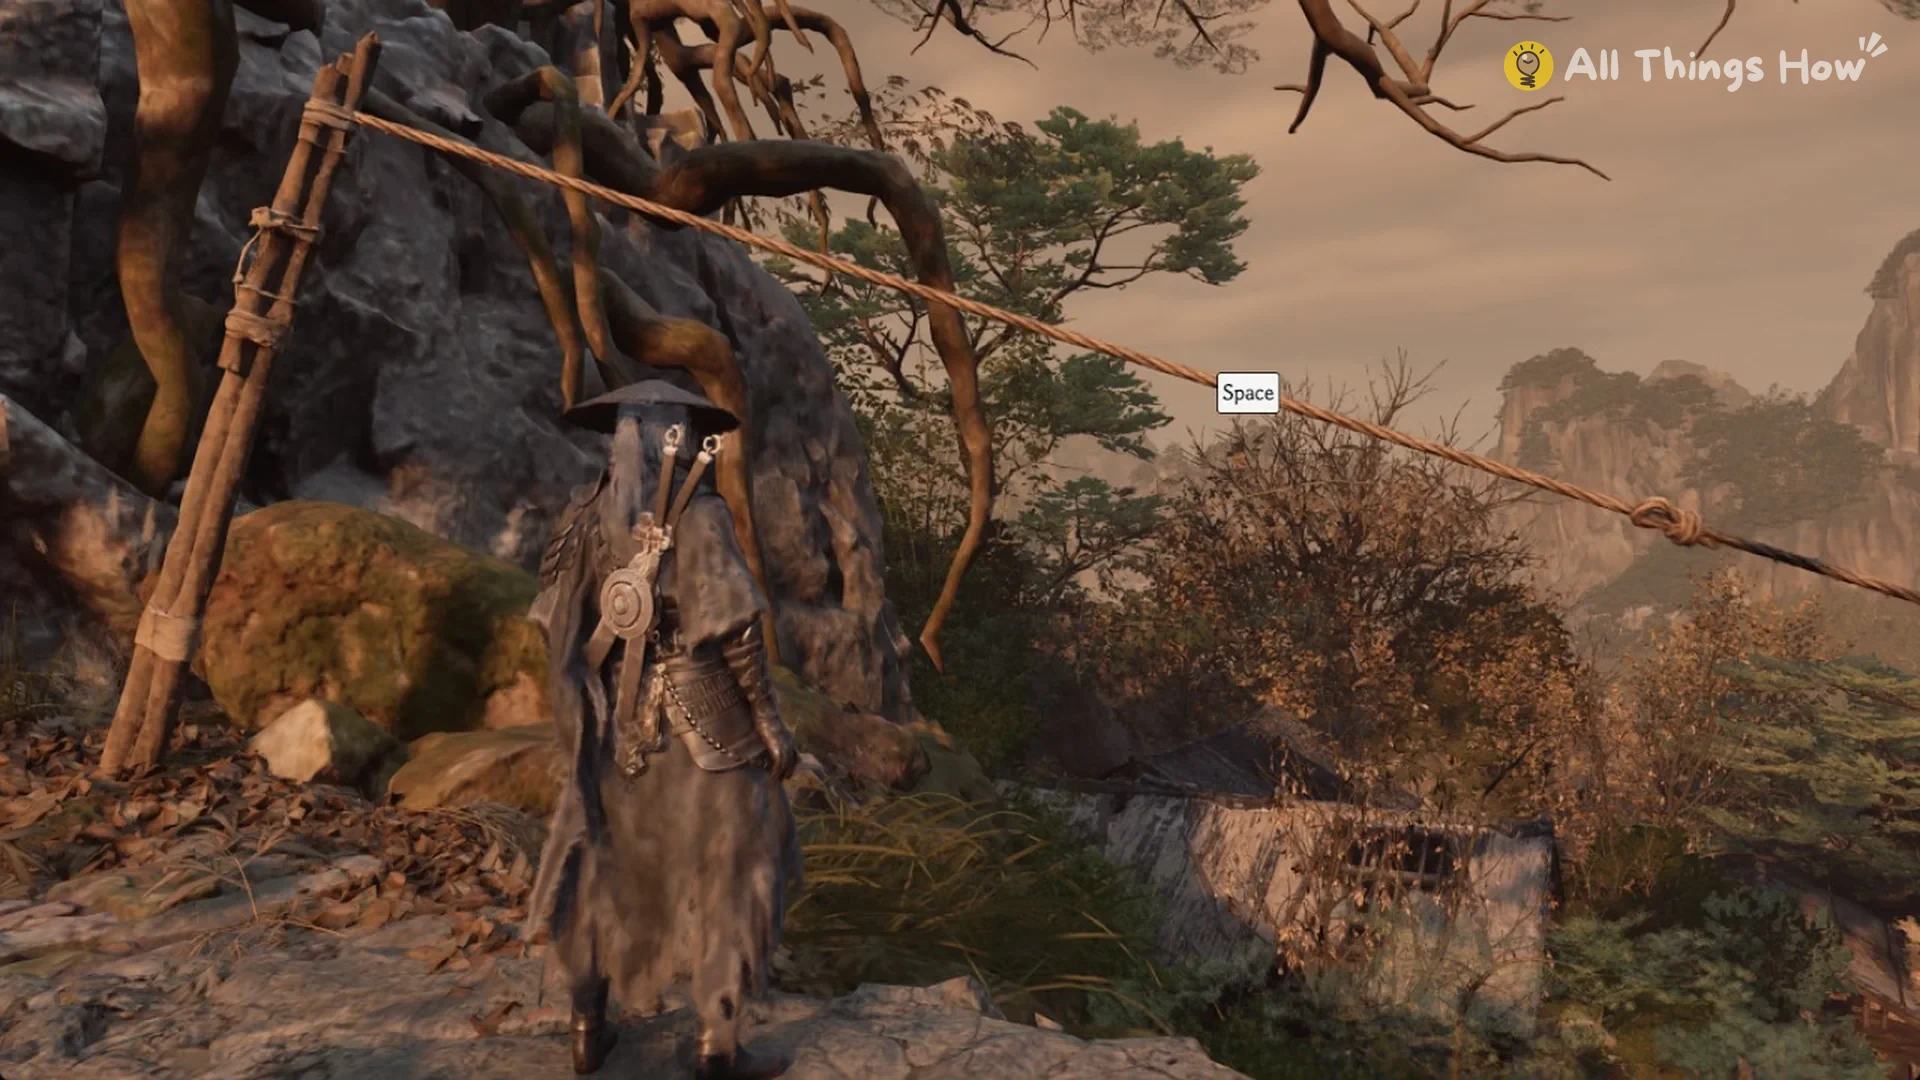
Once you collect Firefly’s Memory Flower IV, “The Source of Calamity”, look for a rope tied off to a wooden post by the rock face on that same plank deck floor. It runs out and down over the treetops. Press Space at the prompt to ride it, and it drops you about 28 m away on the Survivors’ Courtyard side of the Village of Lu. That spares you the walk back through the hall, and you don’t need to Traverse out.
Dusk’s Refuge and the canyon
The barrier to Dusk’s Refuge is a fog wall about 34 m from the Temple of Blue Fireflies bell. If you show up with fewer than six flowers, Soul only remarks that it’s a powerful barrier.
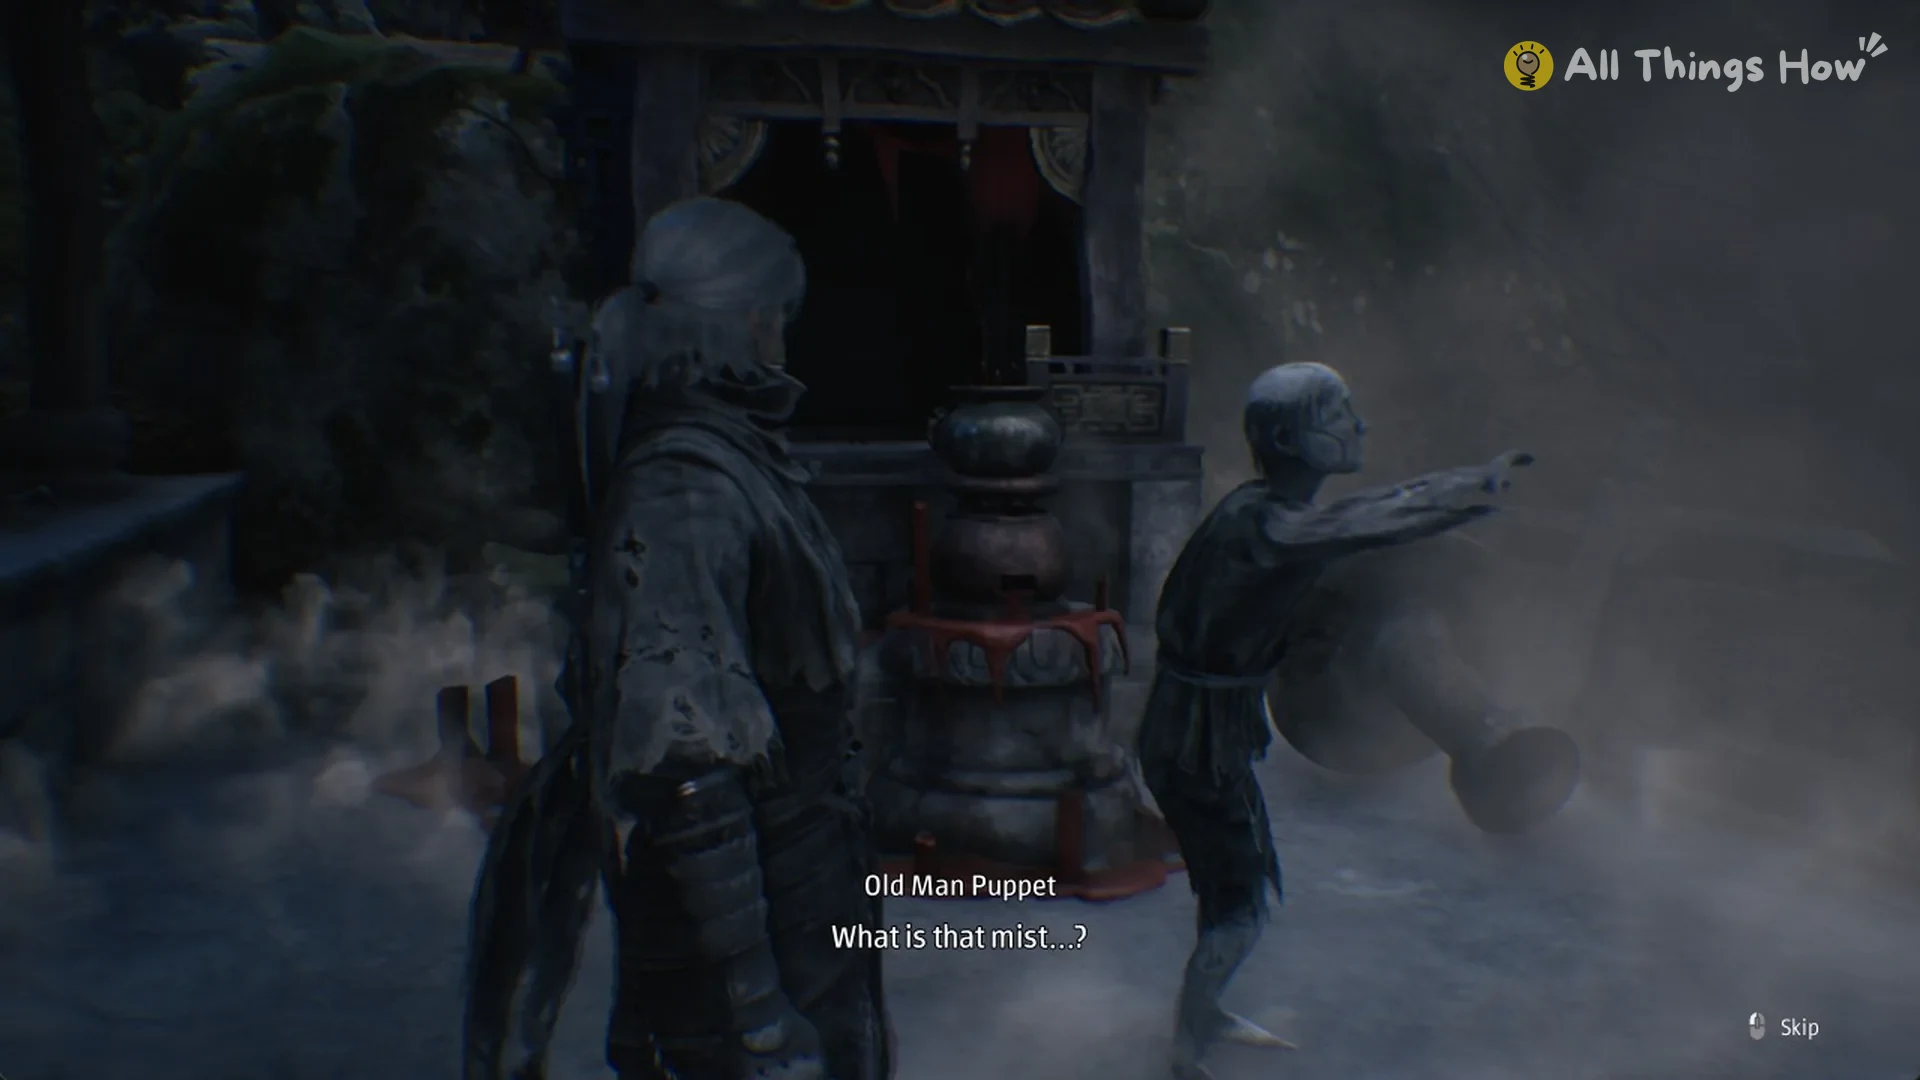
The Old Man Puppet stands beside the fog wall to Dusk’s Refuge, at a small shrine with a censer and red cloth, holding a bell or gong out in front of him. Press E and he says, “I need to get to the back hills… why can’t I get through..?” Pressing E again only repeats the line. You get no item from him, and he doesn’t open the barrier. That fog opens with the six flowers only.
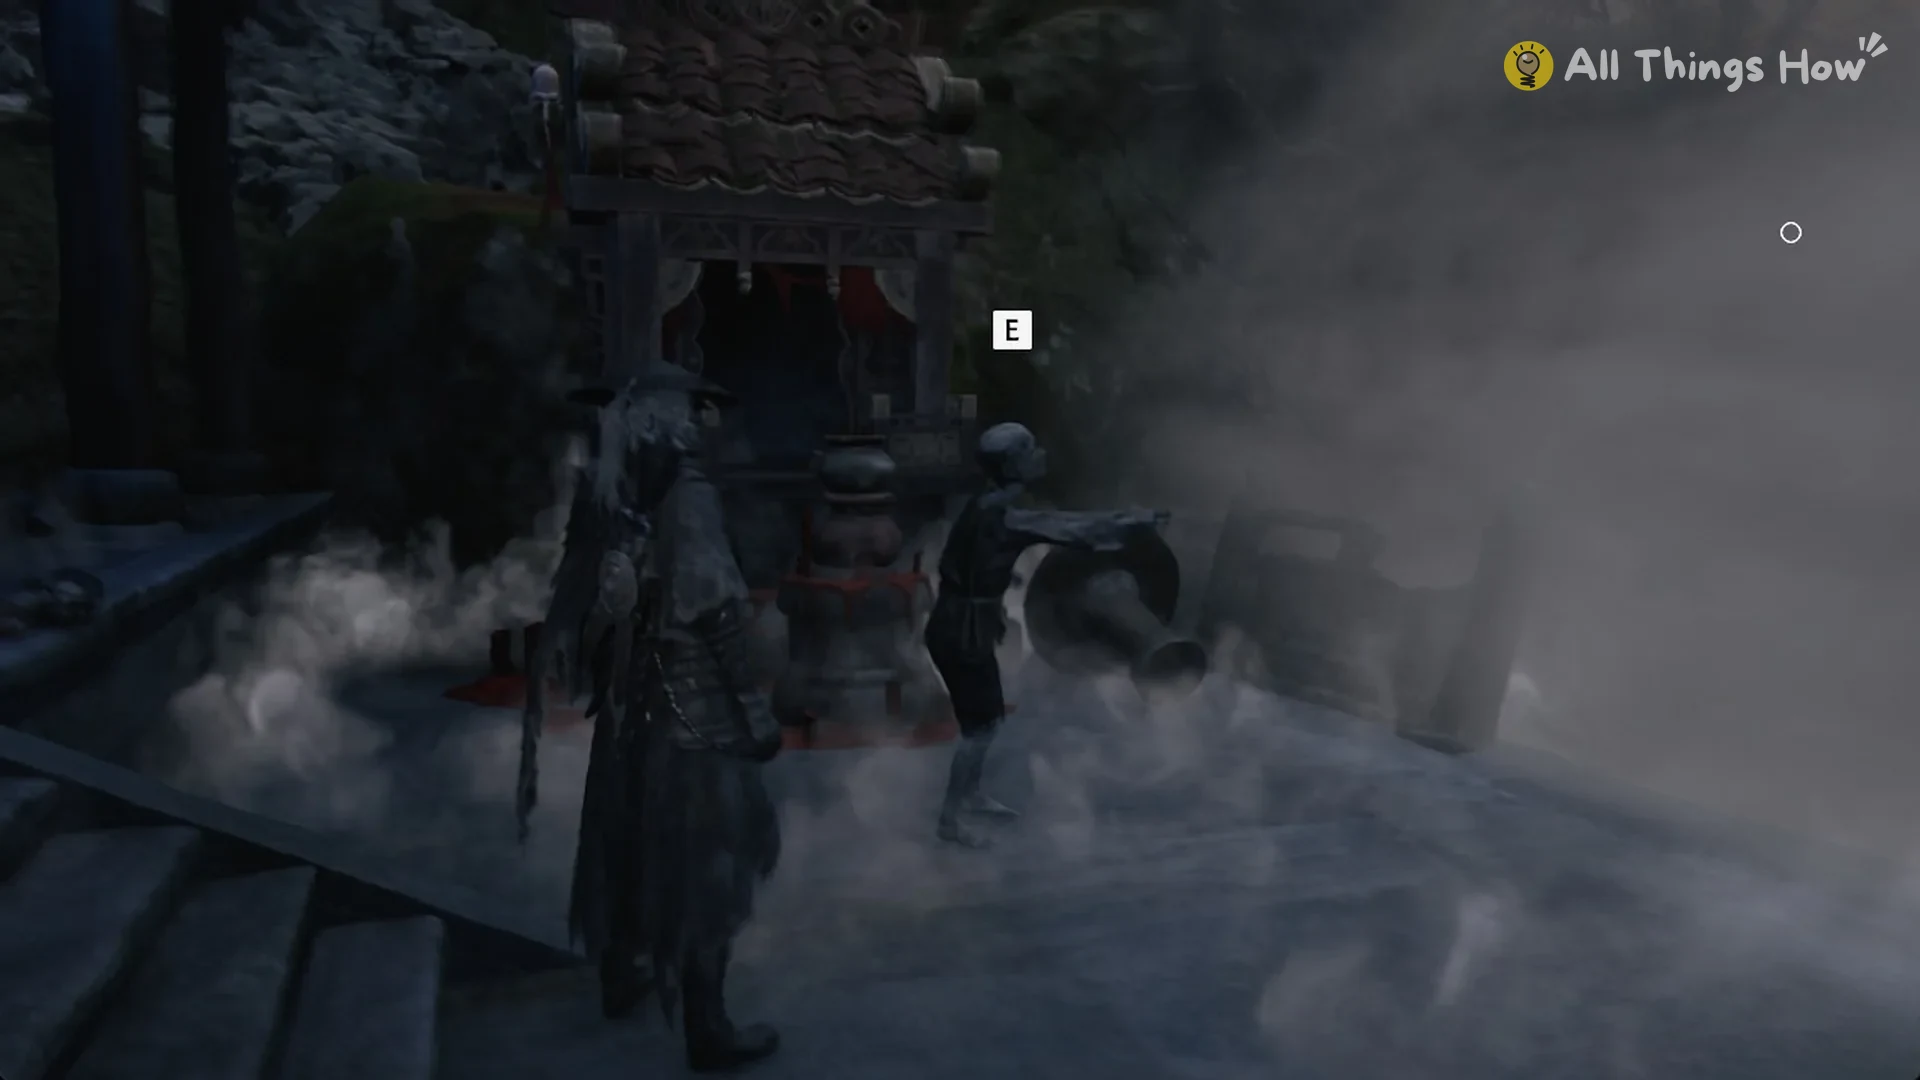
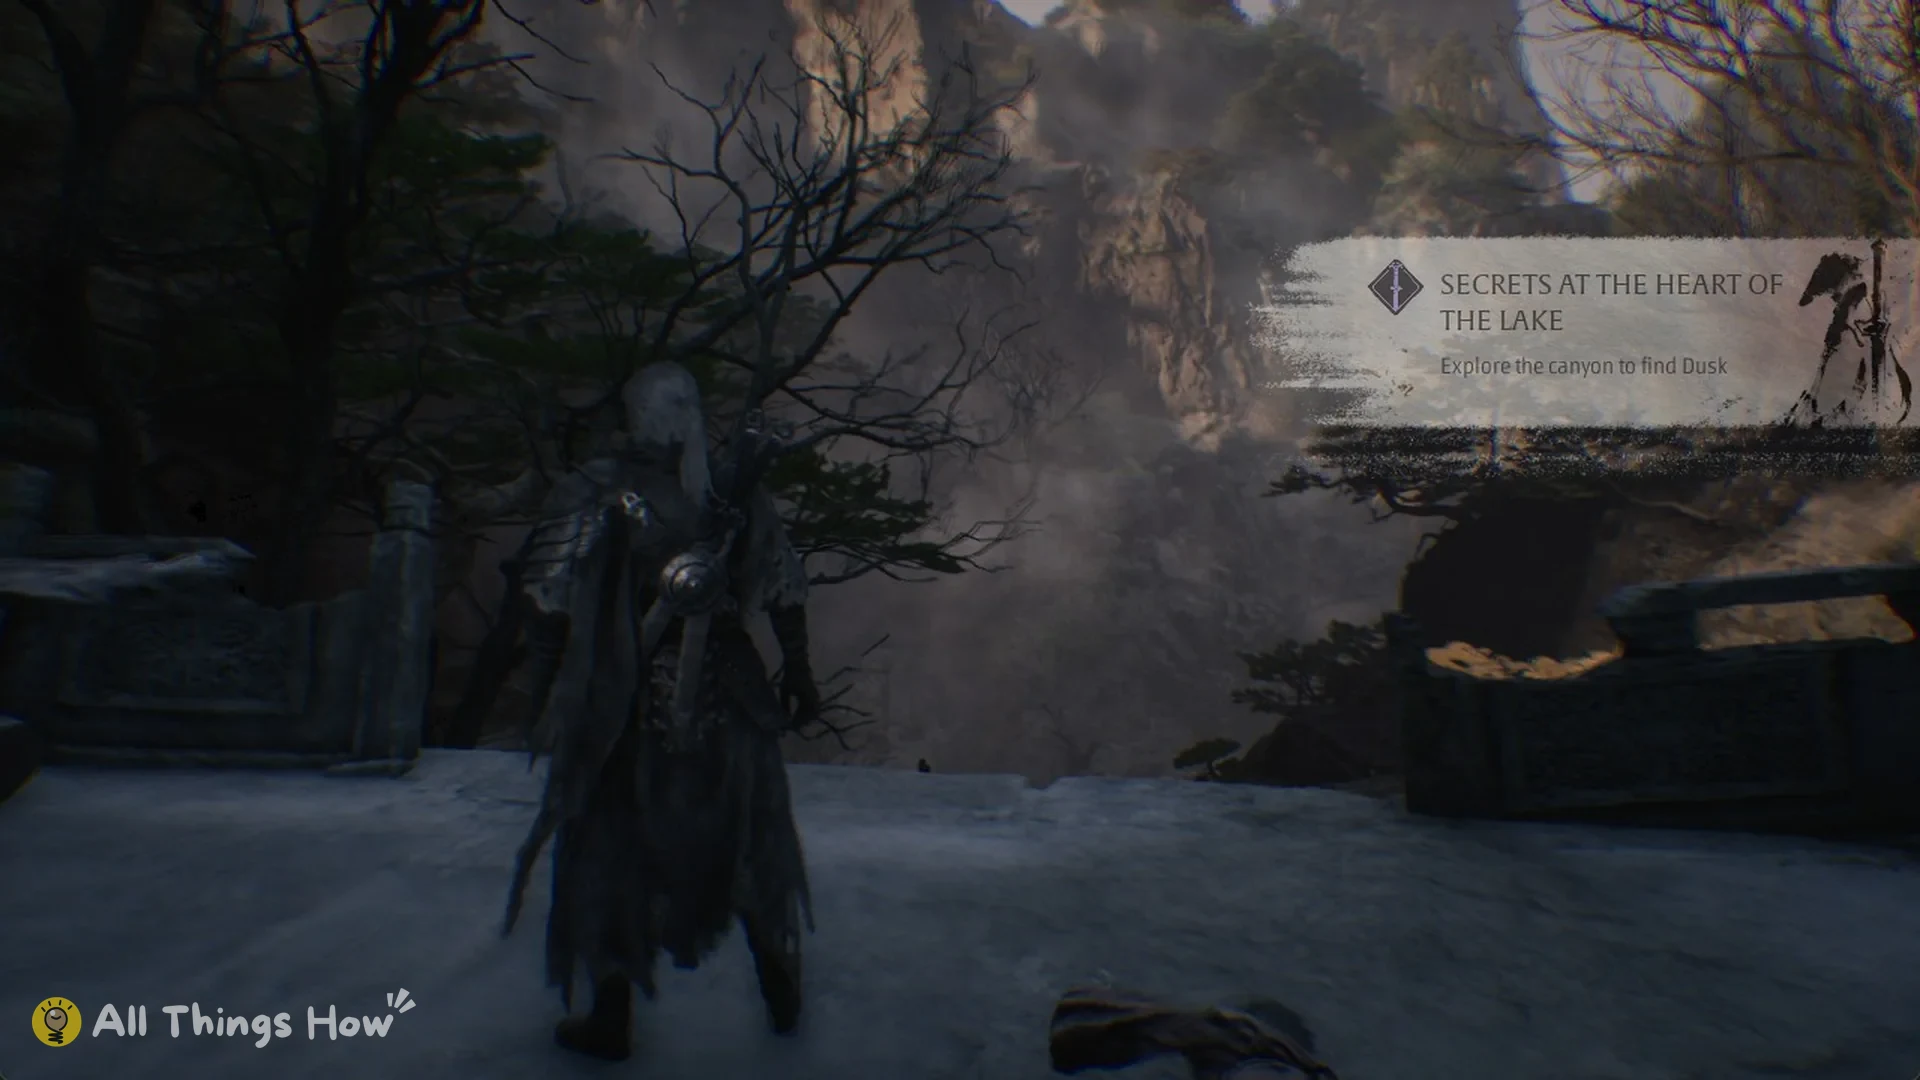
Once you have all six, press E at the wall and it fades, and the objective changes to “Explore the canyon to find Dusk”.
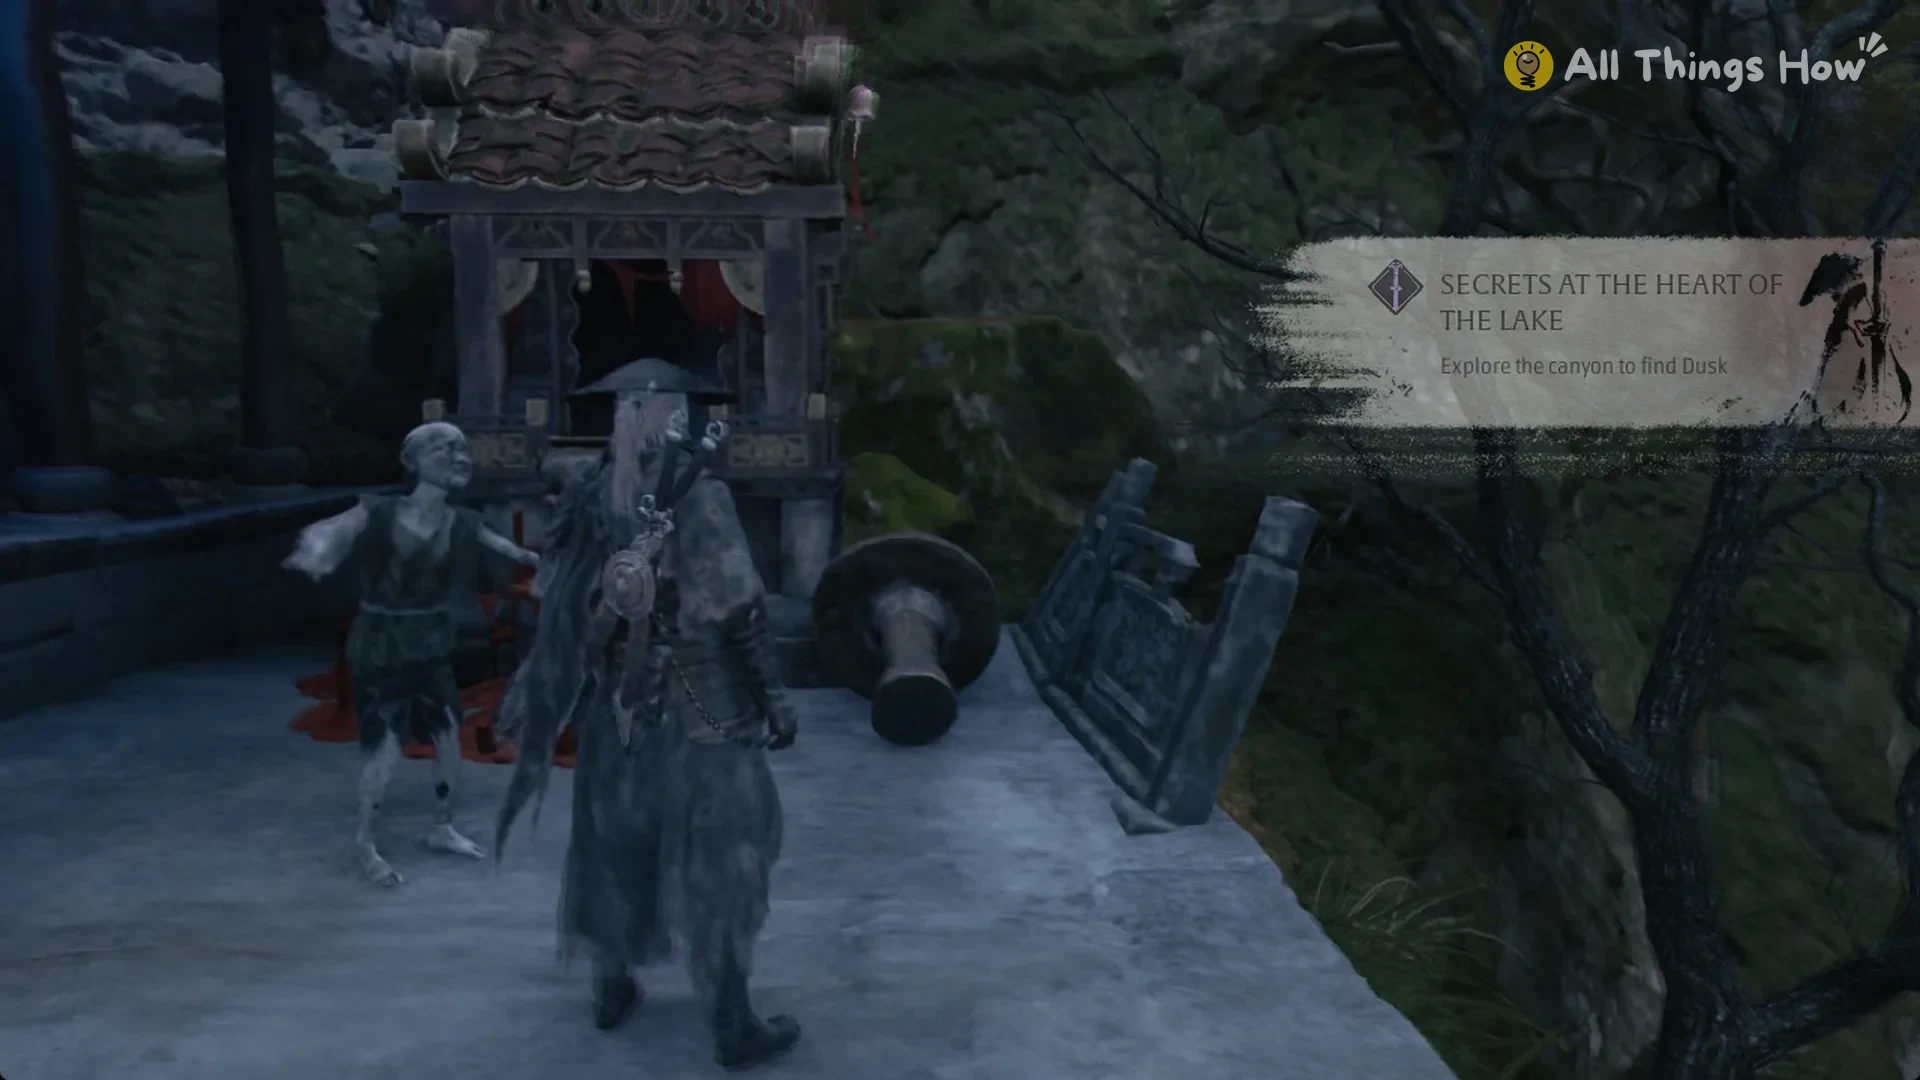
The canyon has deadly drops, so watch for prompts and do not jump off high ledges to save time. A jump of about 29 m from a ledge kills you, and so does walking off the edge of the planks. Stepping off the barrier ledge itself is safe because it is only about 7 m down, and it lands you at a camp with wagons. You can also take a long walk into the canyon from the temple side, following the rim to a plank deck with a Space prompt. That route has no fights until you reach Vessels on a ledge further down.
Use the deck beside the Broken Puppet Pit Entrance bell to access the shaft; the rim floor across it is not an entry route. First activate the bell with E at the post bound in red threads, beneath which sit small figures and red candles. The post is roughly 14 m from the required deck edge, making this bell your checkpoint for each try.
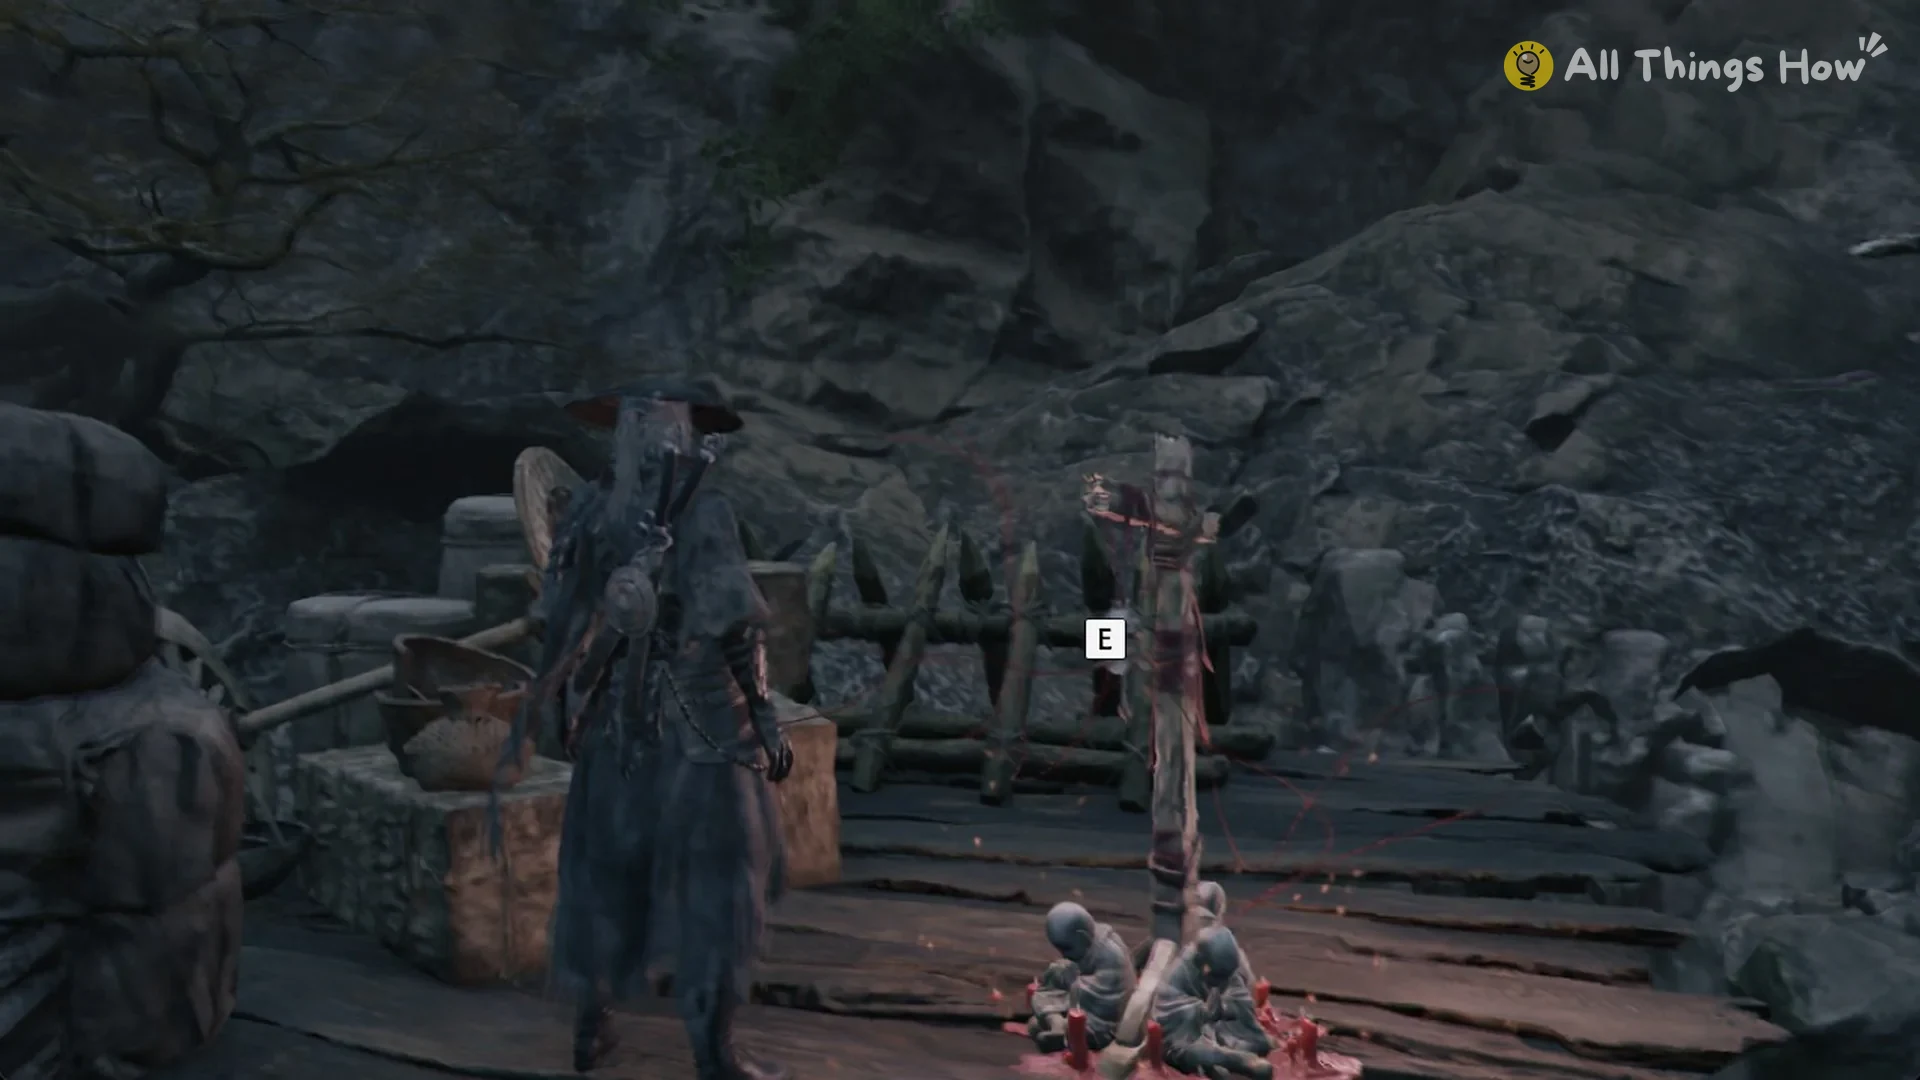
Head to that edge on the blue-lantern side, where the seated figures are, and simply step into the shaft. There is no interaction prompt or jump. The drop takes a while but is survivable; your first descent triggers a cutscene before you land in Dusk’s arena.
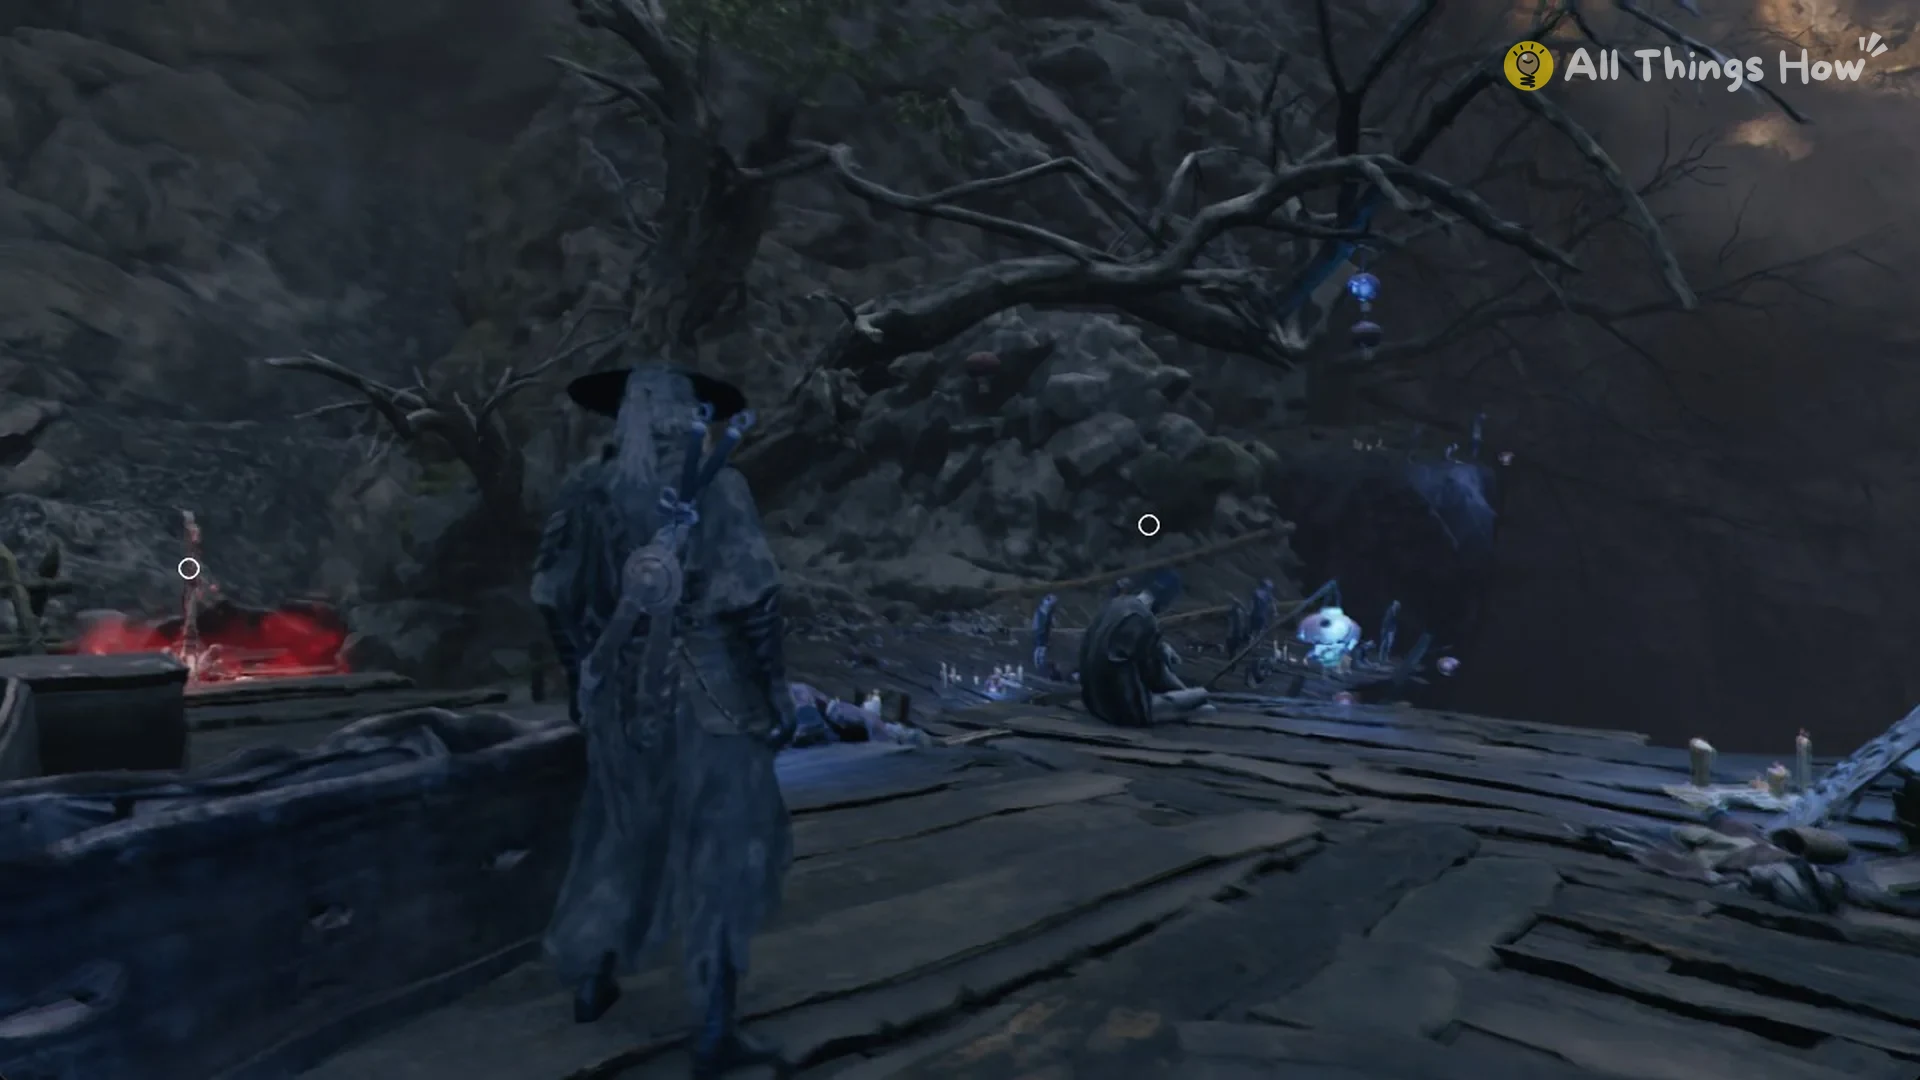
Avoid the rim floor on the far side: an unseen barrier prevents you from stepping over its edge. The higher ledges beyond that floor are lethal, so going over the ledge past the plank deck will kill you.
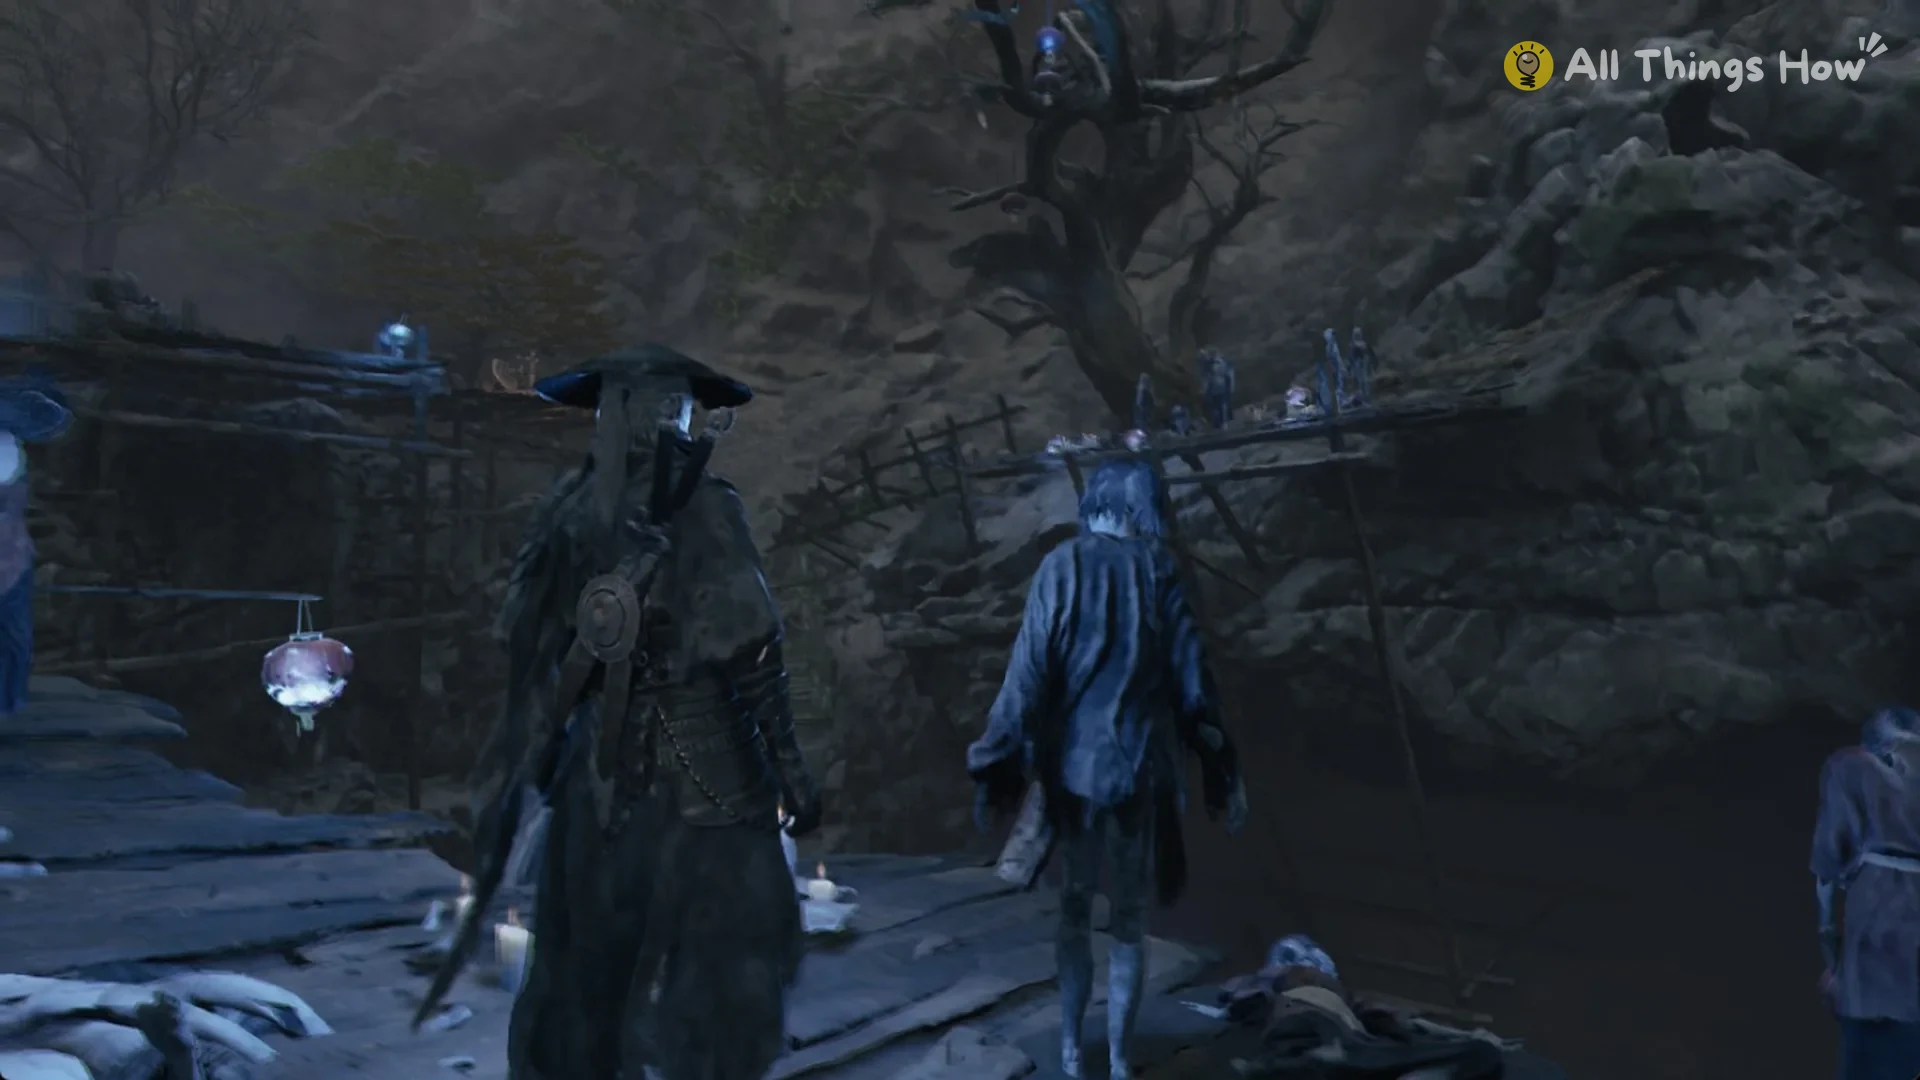
Dusk, the Puppeteer has 62,520 HP on both Wayfarer and Pathbreaker, and he fights alongside puppet adds. He asks whether Firefly has already been destroyed, body and soul. The Broken Puppet Pit Bottom bell stands inside the arena, about 18 seconds of sprinting from where you land, and Dusk’s summons chase you the entire way. On Wayfarer, that run costs about 1,100 of 1,668 HP if you don’t fight back, and the bell doesn’t respond from about 4 m away. If you die, you respawn at the Pit Entrance bell and can walk off the same deck edge to return. Defeating Dusk gives you the Puppeteer’s Bell Phantom Edge and the head of the Illusory Pipa.
Dusk says the Herald seized the pipa near Vessel Zero and meant to offer it to the High Elder, but Dusk took it. He admits he stole it despite knowing they would kill him, and says Firefly will not be spared. Soul realizes the Herald is allied with the High Elder and asks what they want. Dusk laughs: “Heheheh… see for yourself!” A memory scene starts right after.
After that, “Find a way to enter the Heart of the Lake” begins.
The four Acolytes’ masks
Each Acolyte hides behind one of the scarecrows bearing a talisman. Interacting with a scarecrow moves you into that Acolyte’s arena.
Acolyte Yanru
Acolyte Yanru can be found in the Village of Lu, behind a red-robed scarecrow in a shallow pond under a lantern tree. The scarecrow is roughly 56 m from the Terraces bell, though the floors don’t connect. Begin at the Engine Giant Remains bell and follow the route, which covers about 139 m and has a drop of roughly 7 m.
Acolyte Guhe (Guhe’s Venom Mask)
Acolyte Guhe is located on Meigu Lake. Its scarecrow is under a lantern tree on an island reached by boat, around 218 m from White Serpent House Dock or 262 m from Meigu Village East Dock.
Acolyte Lei Ting
Lei Ting is in the Pangzhen backstreet. The scarecrow is about 77 m from the Old Man Gen’s House bell and about 142 m from the Green Serpent House bell.
Acolyte Hansui
Use the quest-log marker for this mask to reach the Crimson Manor. Work through the manor, then check the mask count in your quest log.
The Crystal Puppet Eyes
| Eye | Where | Source |
|---|---|---|
 Crystal Puppet Eye [yang] | Near the Scavenger Pens bell, inside Crimson Manor | The Puppet Scavenger |
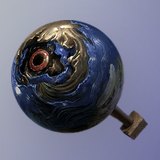 Crystal Puppet Eye [Yin] | The Three-Eyed Puppet’s room, after its three magic doors | The Three-Eyed Puppet |
The [Yang] eye is tied to the objective “Search the Crimson Manor for the Crystal Eyeball [Yang]”. The manor won’t let you leave until you have it. The [Yin] eye comes from the Three-Eyed Puppet, but only after you’ve opened its three magic doors, which the Crimson Manor guide walks through.
The Four Guardians’ Mirror
Ring the Four Guardians’ Mirror bell on Meigu Lake. The mirror is a simple 16 m walk away. If you’re still missing masks, you’ll see “The mirror is unresponsive. Something must be missing.”
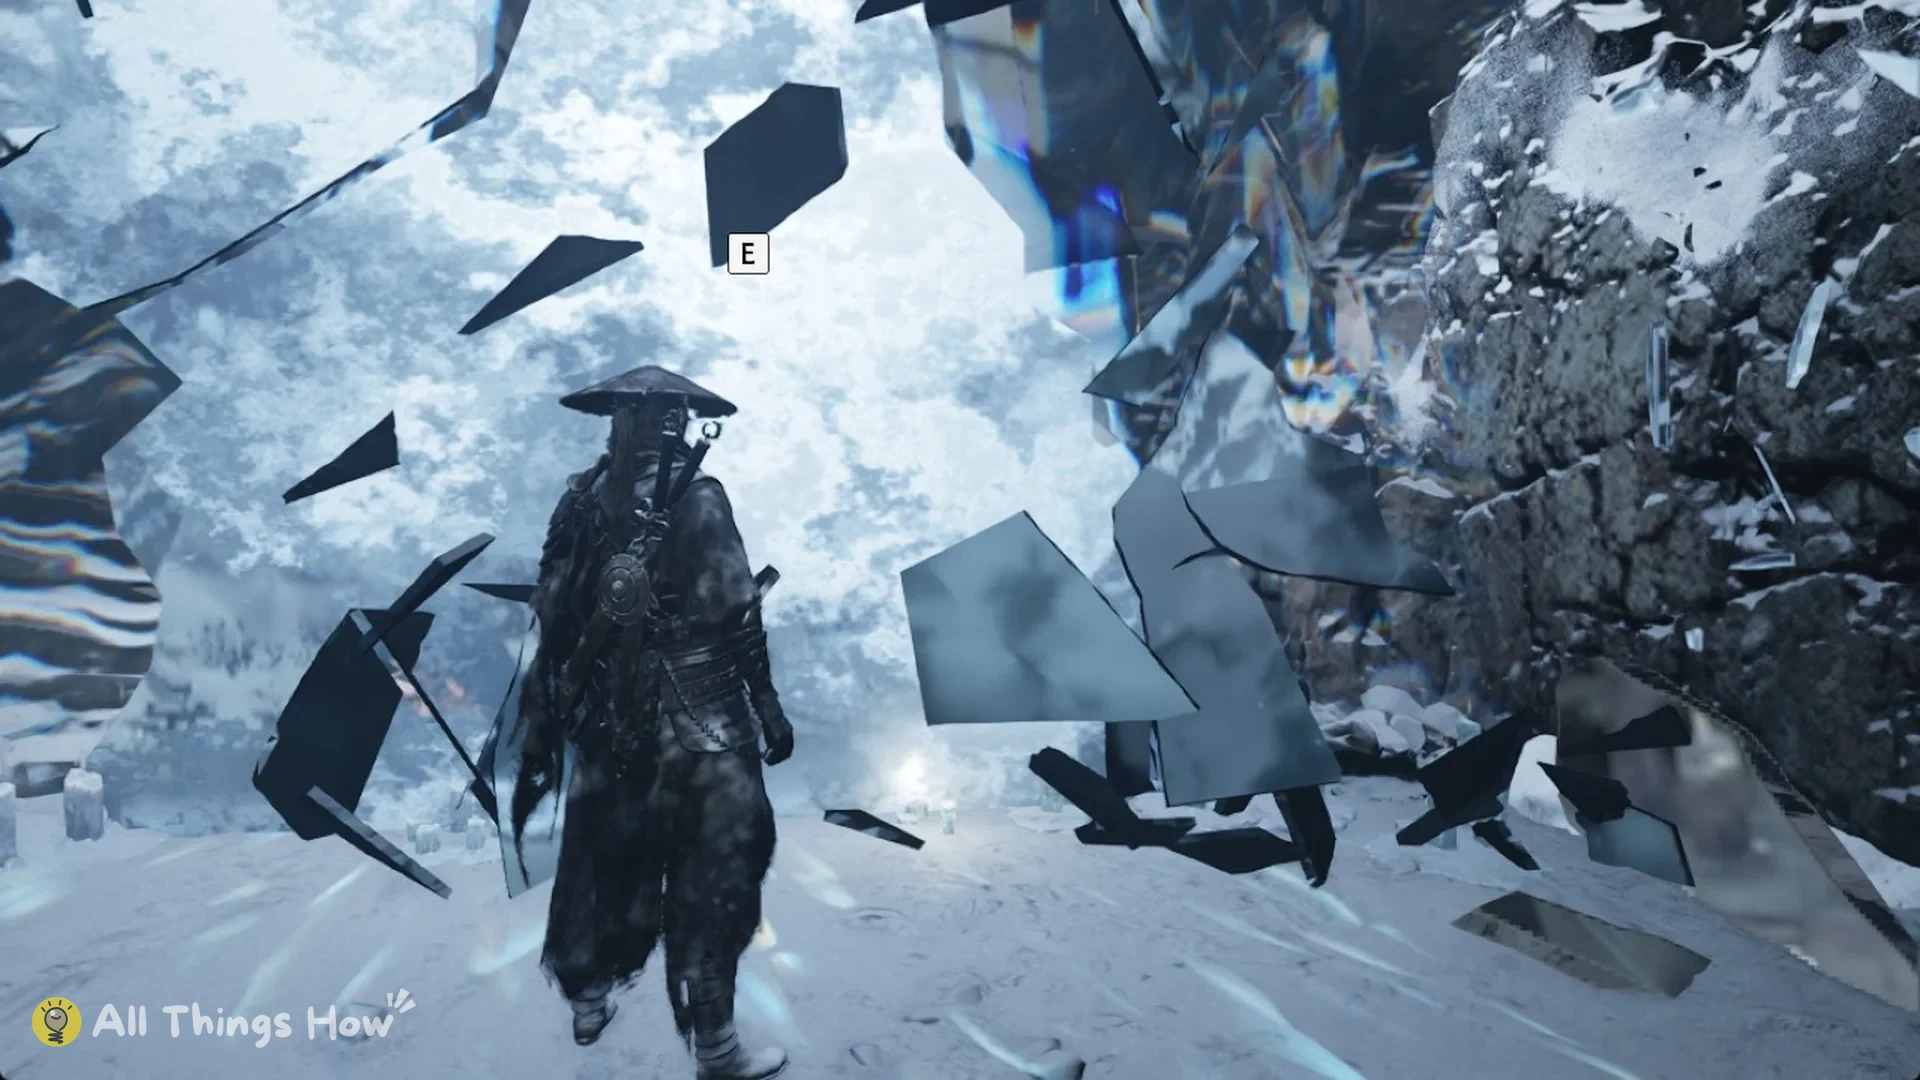
The village and the frozen route between Frozen Lake Dock and the Four Guardians’ Mirror are hazardous. On Wayfarer, a sickle-wielding Snowveil Lurker has 26,384 HP and can kill you in about 15 seconds. It crosses 20 m in seconds, so you can’t simply walk past it. A Frost Songstress is on the lake too, and a Grand Director of Music (26,384 HP) leads a pack with three more Songstresses (10,864 HP each) further along the shore.
Once you have all four masks, interact with the mirror to hand them over; this can happen only once. A cutscene then takes you to the Phantom Illusionist Ruins bell. Afterward, use that mirror as a travel menu for the ruins bells.
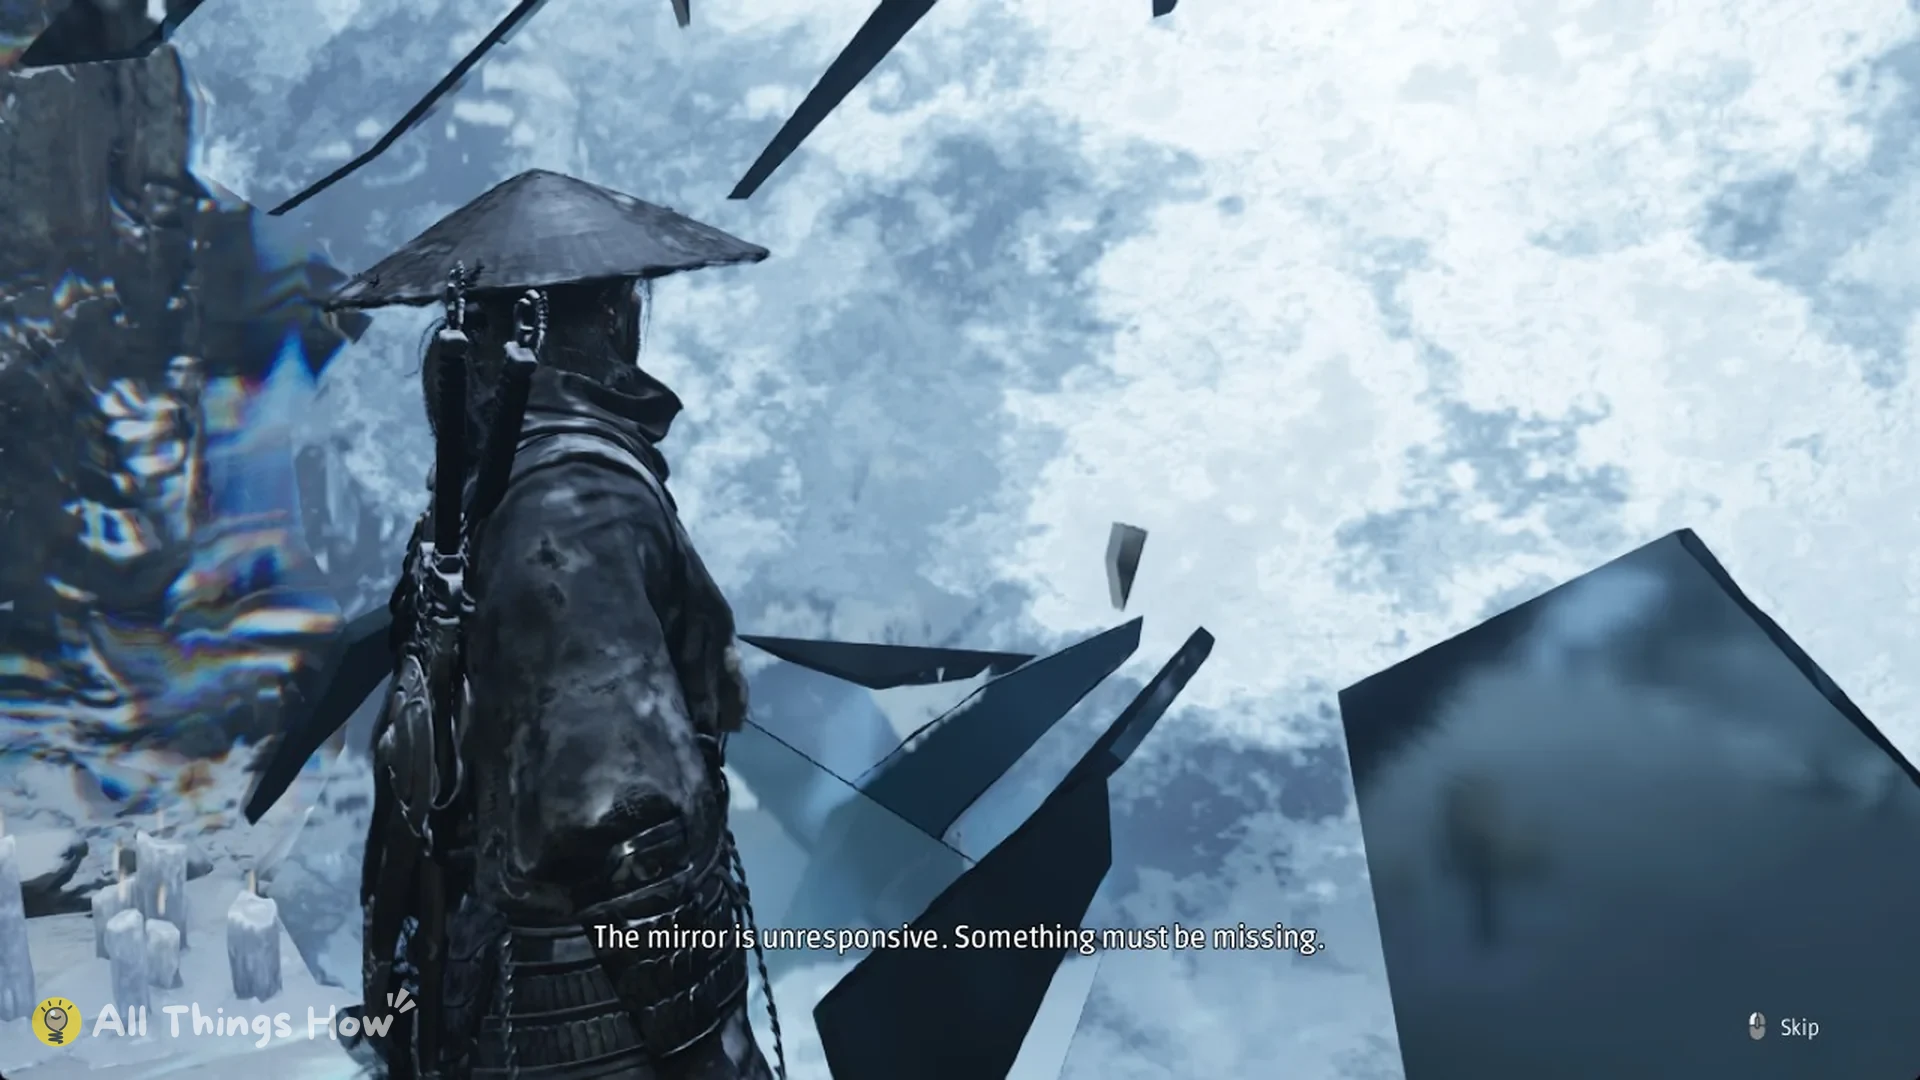
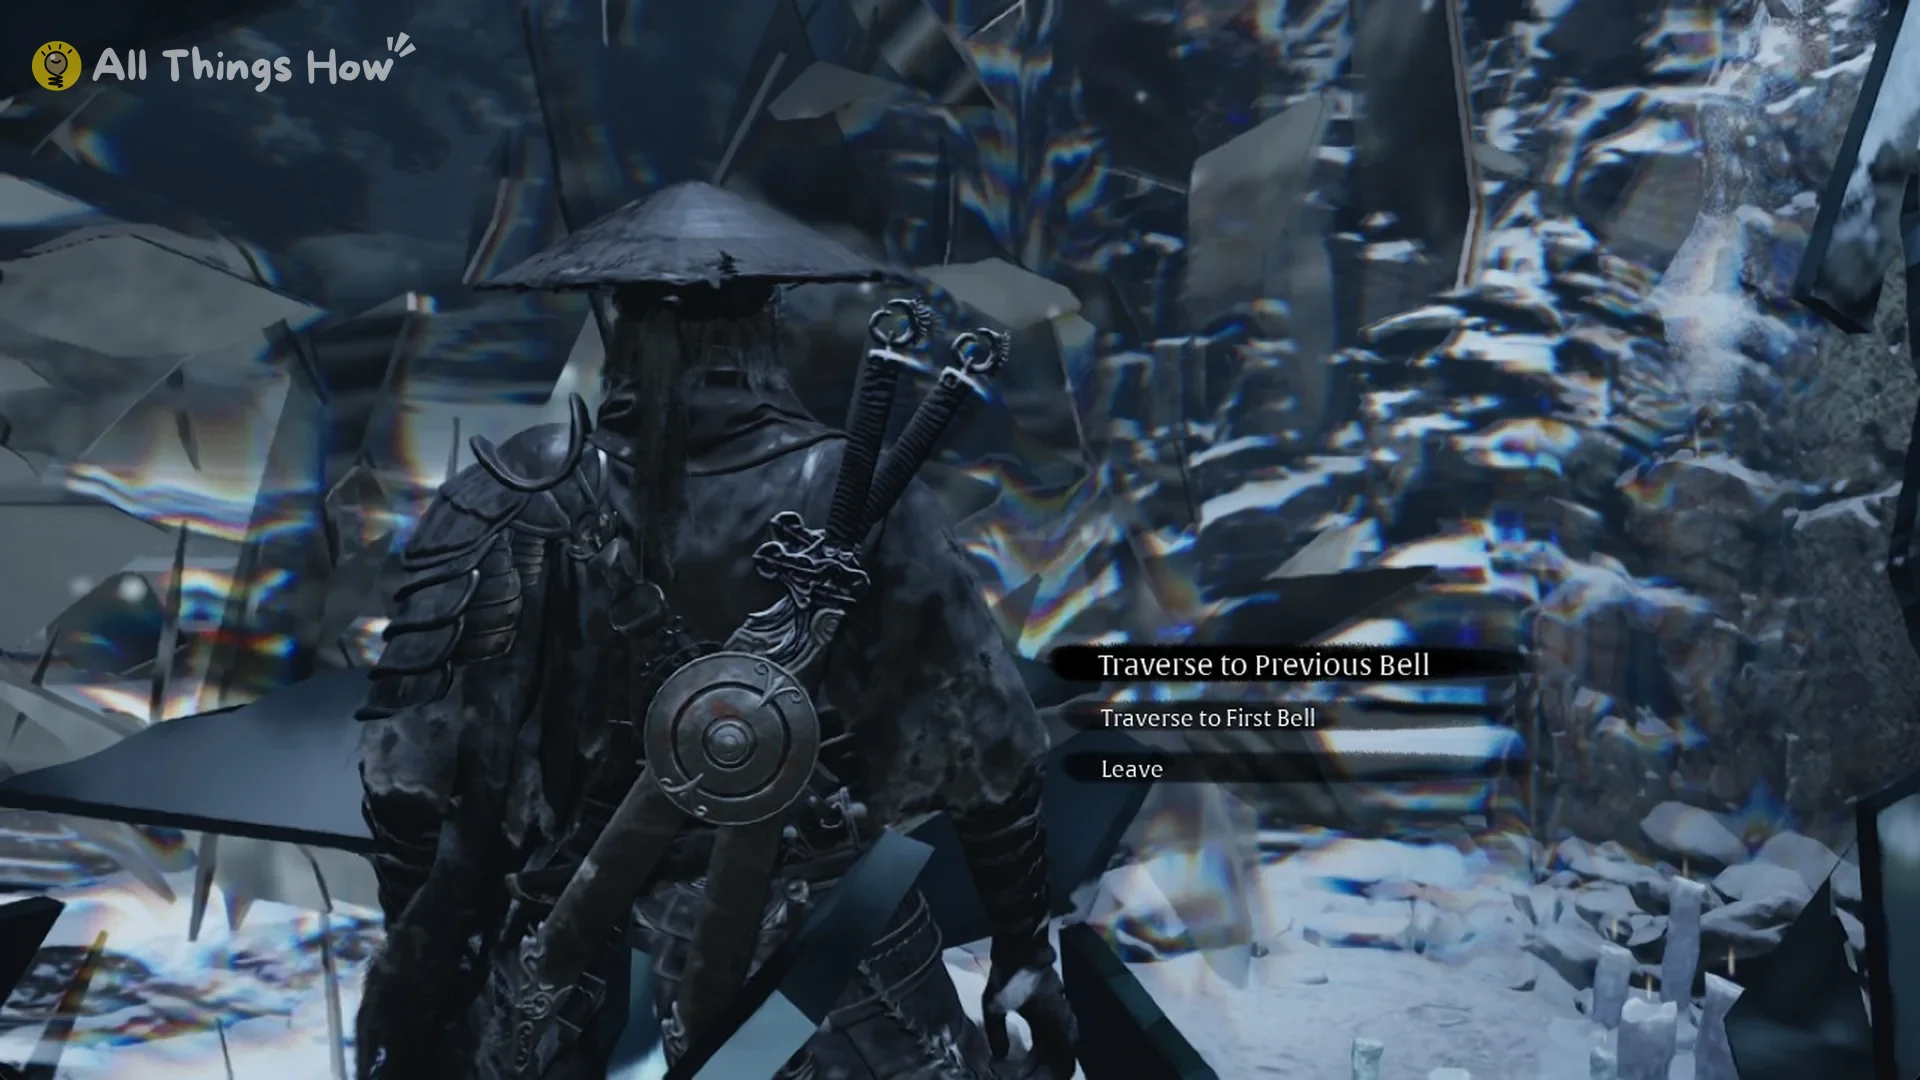
After the first trip, you press E at the mirror to open a short menu with “Traverse to Previous Bell”, “Traverse to First Bell” and “Leave”. Choosing “Traverse to Previous Bell” puts Soul at the Phantom Illusionist Ruins bell.
Climb the snowy log ramp from the Phantom Illusionist Ruins bell, then drop onto the plank deck. Since the fall drains health, heal before continuing. Go to the deck’s far end and press Space at the chain to slide down. At the bottom, collect the violet-lit Master Healer’s Memory beside a pile of red skeletons; this material upgrades Medicine from Lv. 4 to its maximum level.
How to return to the Phantom Illusionist Ruins
Phantom Illusionist Ruins bells don’t appear on Traverse’s world map, so you can’t travel to them from another bell. To enter again, use the Four Guardians’ Mirror at Meigu Lake.
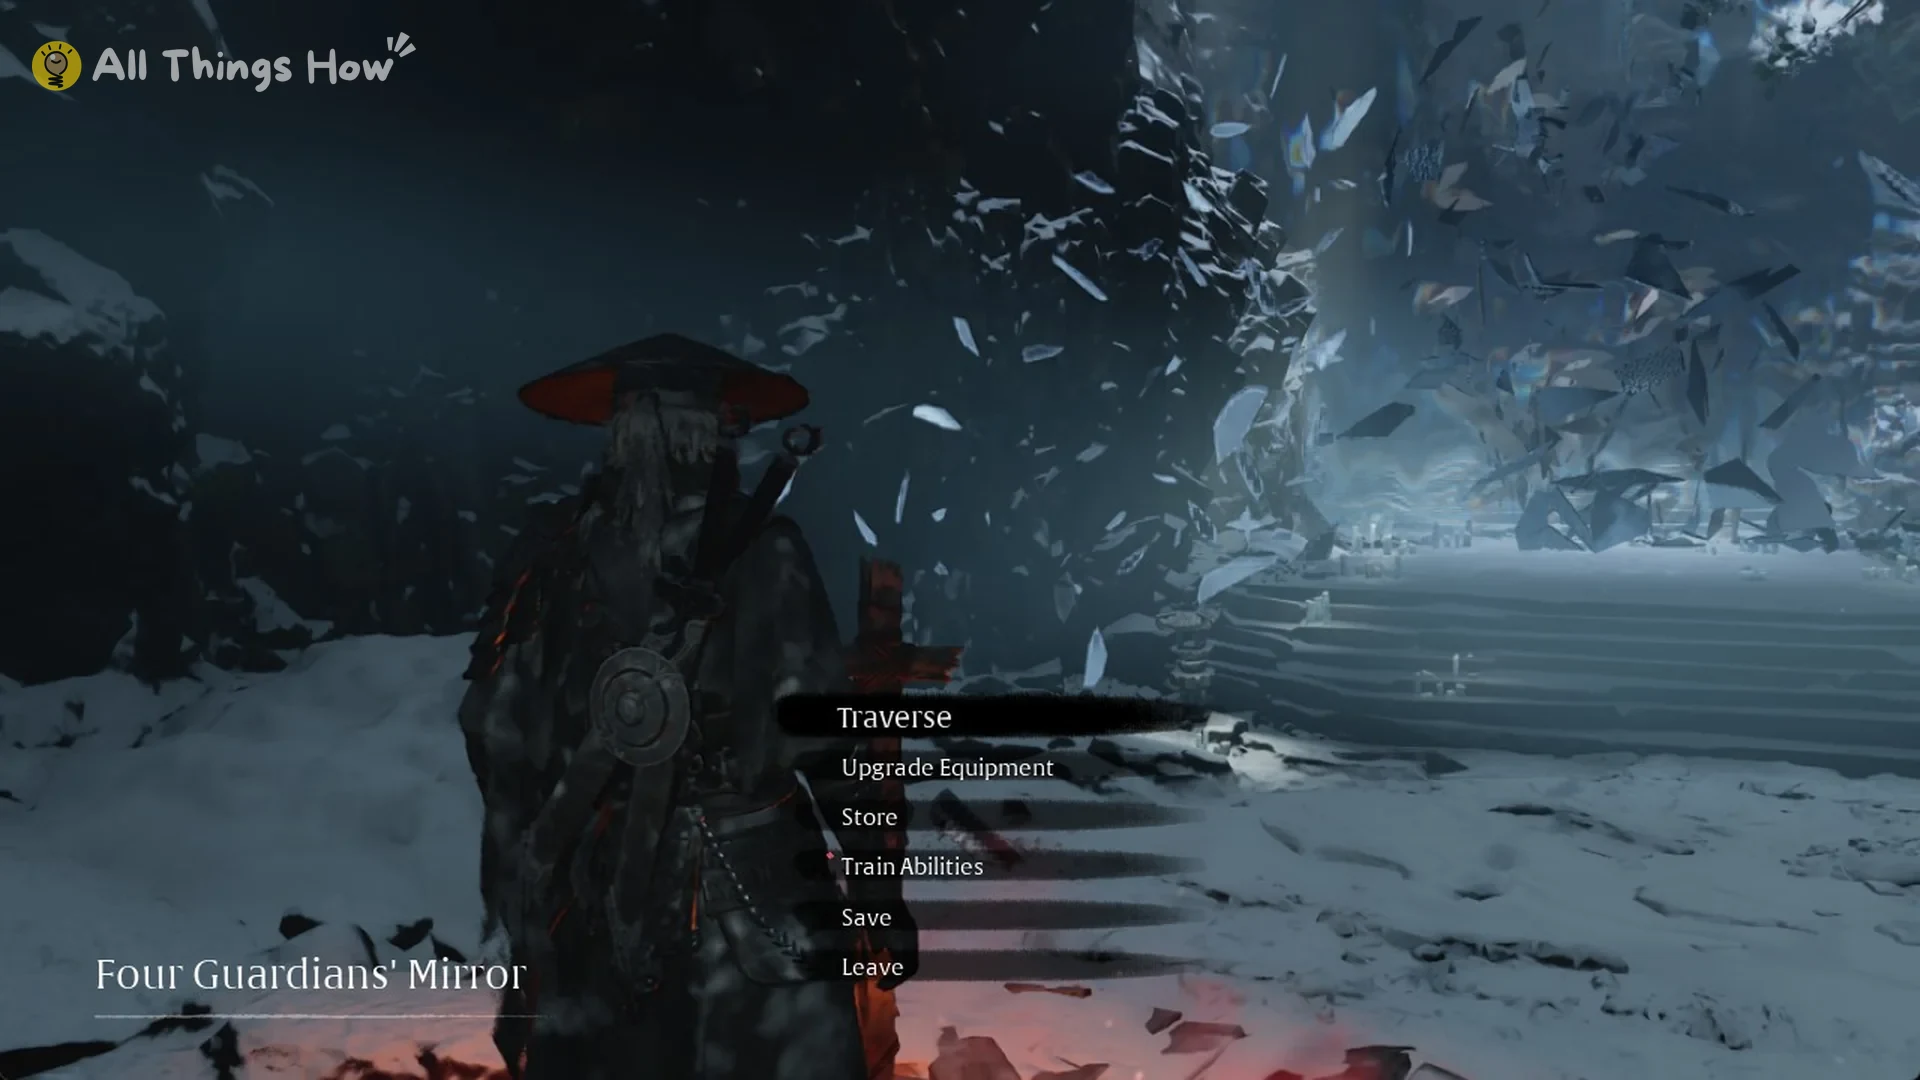
Start by traversing to the Four Guardians’ Mirror bell. From there, it’s a short walk to the mirror itself. Stand at the mirror and press E. The menu that opens has three rows: Traverse to Previous Bell, Traverse to First Bell, and Leave.
Traverse to Previous Bell sends you to the last Phantom Illusionist Ruins bell you rested at, which isn’t always the first one. If your last rest was at a Ruins bell deeper in the snow village, the mirror drops you back at that bell.
Selecting Traverse to First Bell sends you to the first bell in the Phantom Illusionist Ruins, high in the snowy ruins. Choose it if the area near your latest Ruins bell has no way forward. Some routes descending from these bells are one-way drops.
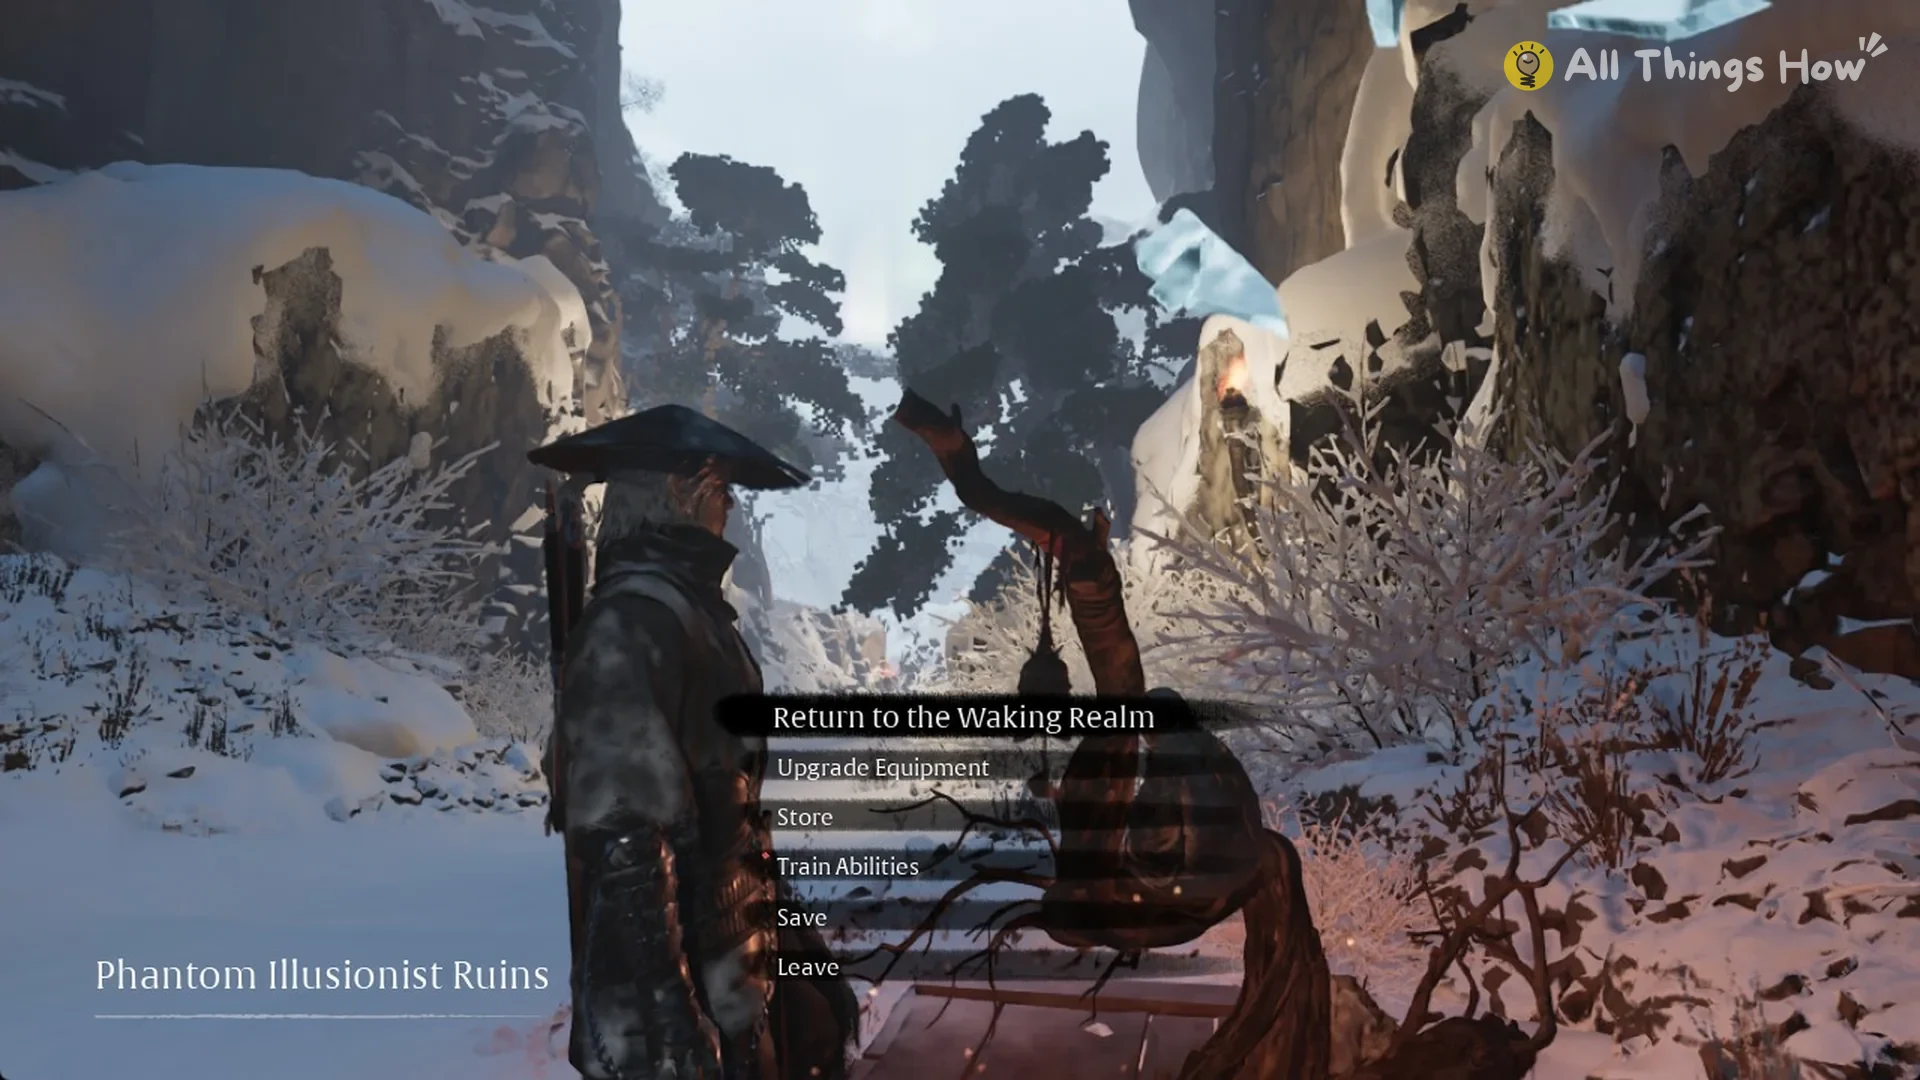
Inside the Phantom Illusionist Ruins, the bell menu has no Traverse row. Its first row is Return to the Waking Realm, which takes you back out to the Four Guardians’ Mirror on Meigu Lake. Resting at a Ruins bell still lets you upgrade equipment, use the Store, and train abilities as usual.
Puppet No. 99 and the ritual
After the ritual
Defeating The High Elder completes the quest, then a cutscene takes you to the Realm of Mirage. Talk with Inanis there and you’ll receive the Violet Blossom. The endings check whether you’ve had this conversation.
Don’t cross the bridge past Inanis’s warning in the Pangzhen backstreet until this quest is done. Crossing it early can lock you out.
Secrets at the Heart of the Lake and Heartless Remnants
By the time you reach the Well of the Three Puppets, a second story quest with a gold icon, HEARTLESS REMNANTS, appears in the same Quests list below SECRETS AT THE HEART OF THE LAKE. Its objective is “Find the Smuggler’s Tunnel in the Village of Lu”, the same tunnel Lan Shaodi wants reopened. The two quests sit side by side, so check the icon color to make sure the purple one is the one you are tracking.
Firefly’s Memory Flowers in Cycle 1
In Cycle 1, every FIREFLY’S MEMORY FLOWER in the Village of Lu has returned to its original spot, so collect all six once more. Choose any pickup order; each flower still plays its memory and displays its card.
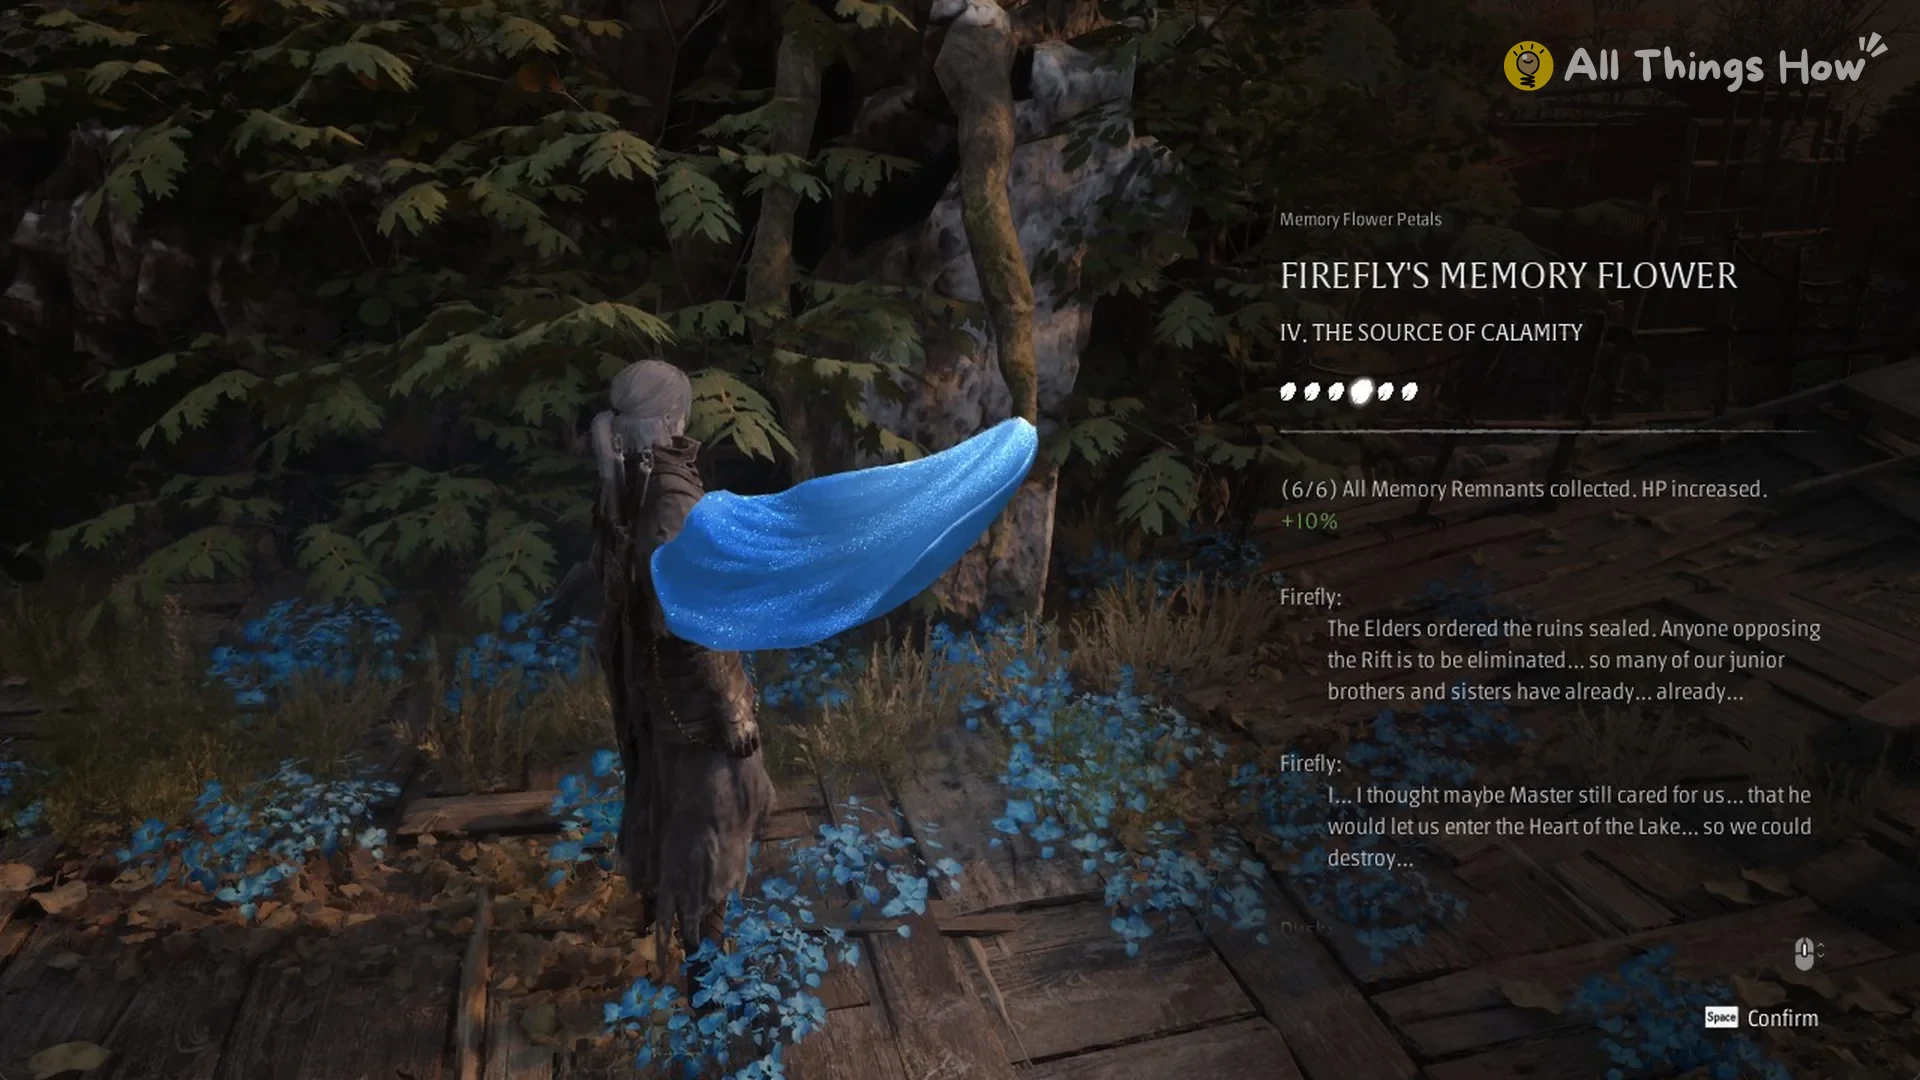
The card is not a reliable way to track your progress. The first flower you collect in Cycle 1 may already show “(6/6) All Memory Remnants collected. HP increased.”, so its count won’t reveal how many flowers remain in this cycle.
After reclaiming all six, head to the mist wall beside the Temple of Blue Fireflies bell. Use E on it once; a brief scene follows, and the Old Man Puppet says “What is that mist…?”
Press E at the wall a second time to clear the mist. You’ll know it worked when the quest card “SECRETS AT THE HEART OF THE LAKE” appears with the objective “Explore the canyon to find Dusk”.