
Quick answer: Find Xie Xiaorong at the Green Serpent House in Pangzhen and choose “Upgrade Medicine”. To gain each level, pay Remnant Dust and one Healer’s Memory.
Where to upgrade medicine: Xie Xiaorong
Medicine upgrades come from Xie Xiaorong, a healer who works from the Green Serpent House, one of the Order’s secret medicine halls on Pangzhen’s backstreet. He describes himself as a disciple of the renowned healer Xie Huichun and can improve the remedies you carry, making them more potent and longer-lasting.
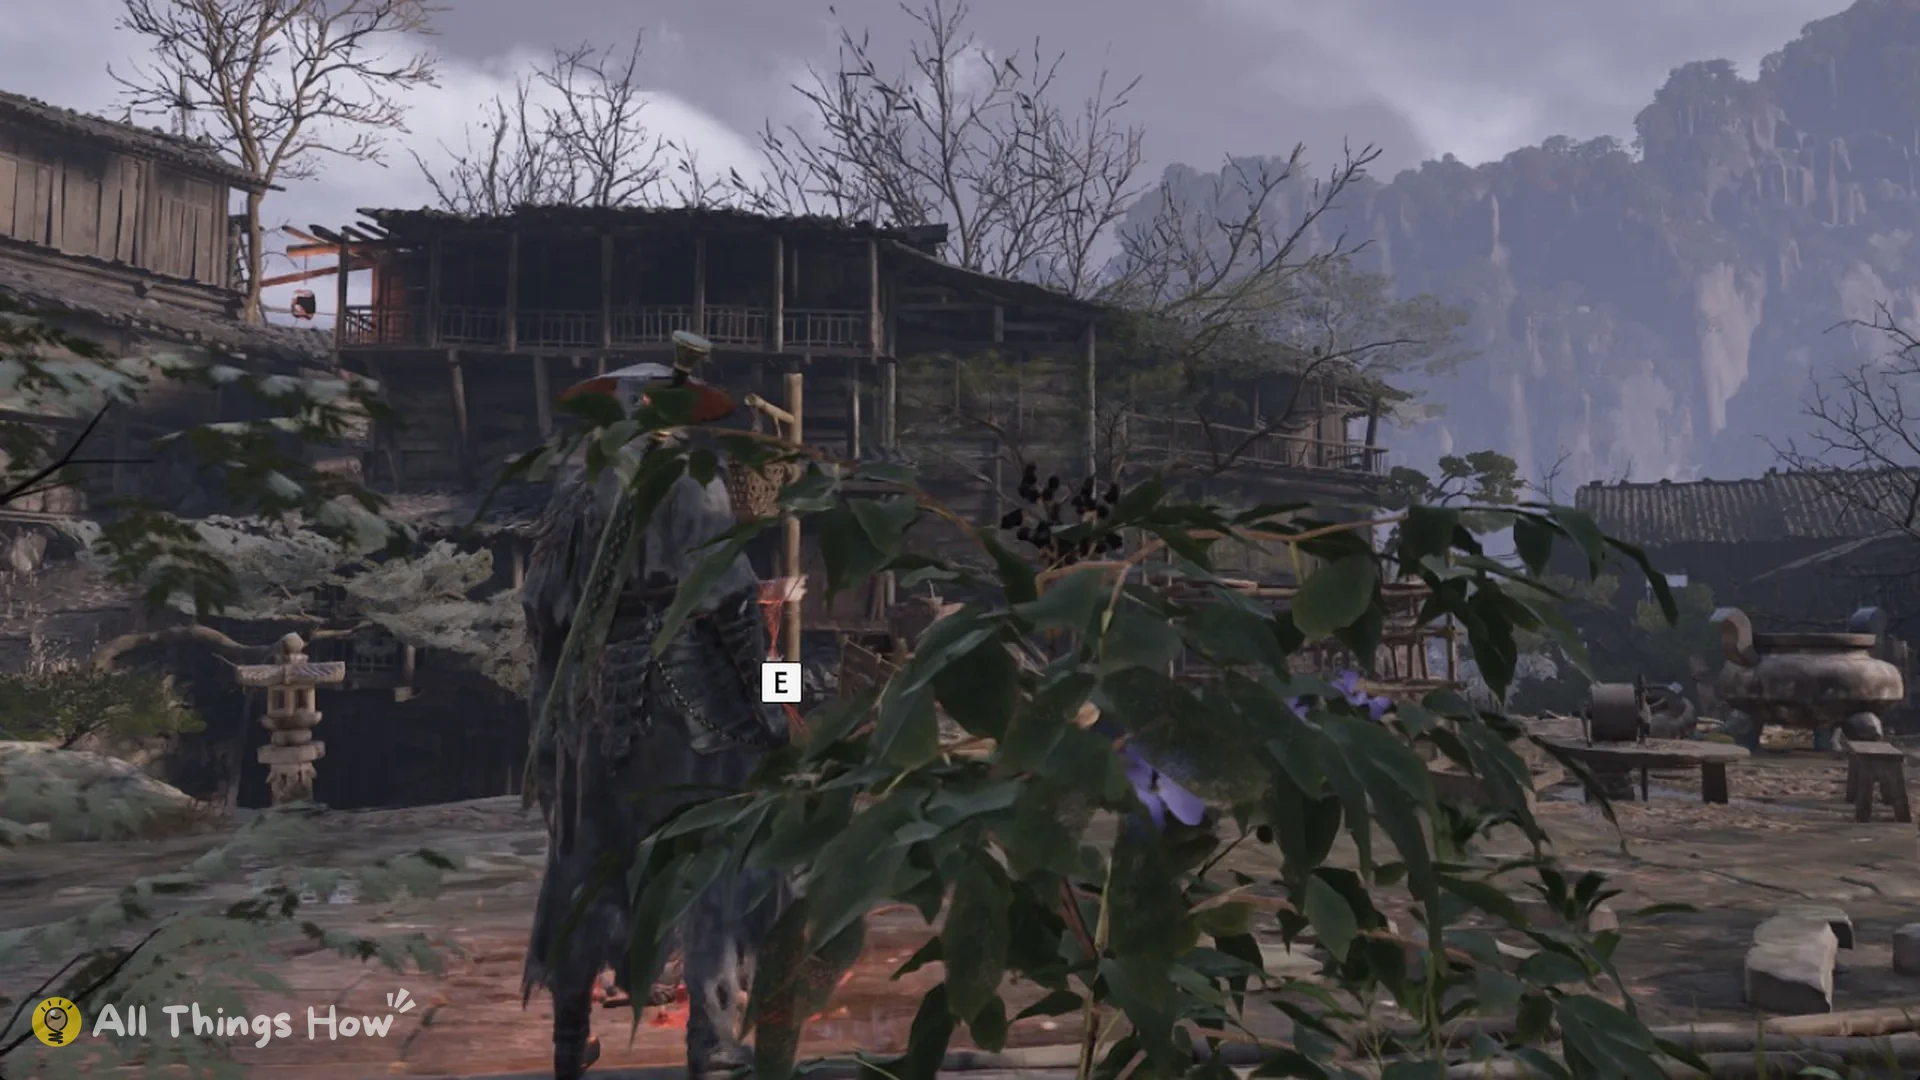
Each remedy levels separately, from Lv 1 to Lv 7. Upgrading the Healing Gourd does nothing for anything else in your two medicine slots. The Green Serpent House is also the most likely place you receive the Green Serpent Brew, since that remedy’s map pin sits on Xie Xiaorong’s spot.
What each medicine upgrade costs
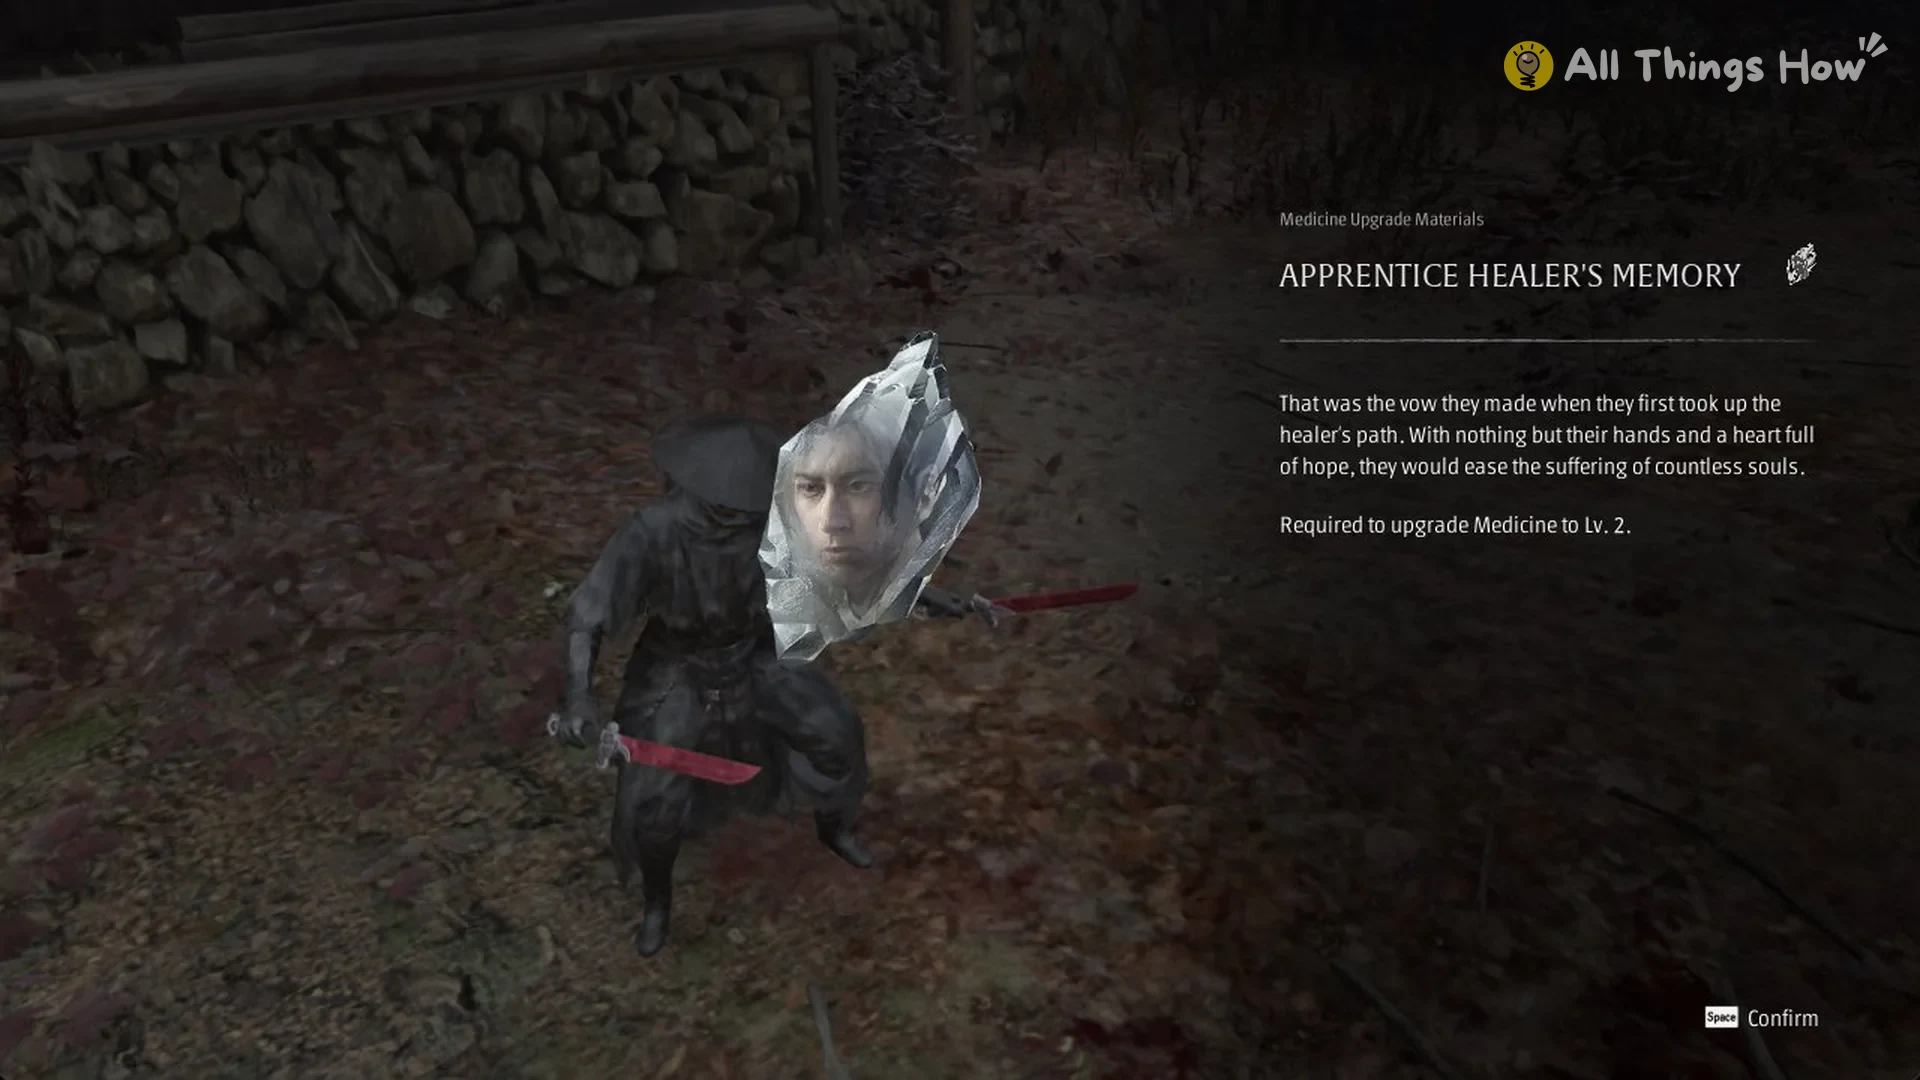
- Lv 2 and Lv 3: Apprentice Healer’s Memory
- Lv 4 and Lv 5: Skilled Healer’s Memory
- Lv 6 and Lv 7: Master Healer’s Memory
Healing Gourd upgrade costs by level
The Healing Gourd shows how a full climb plays out.
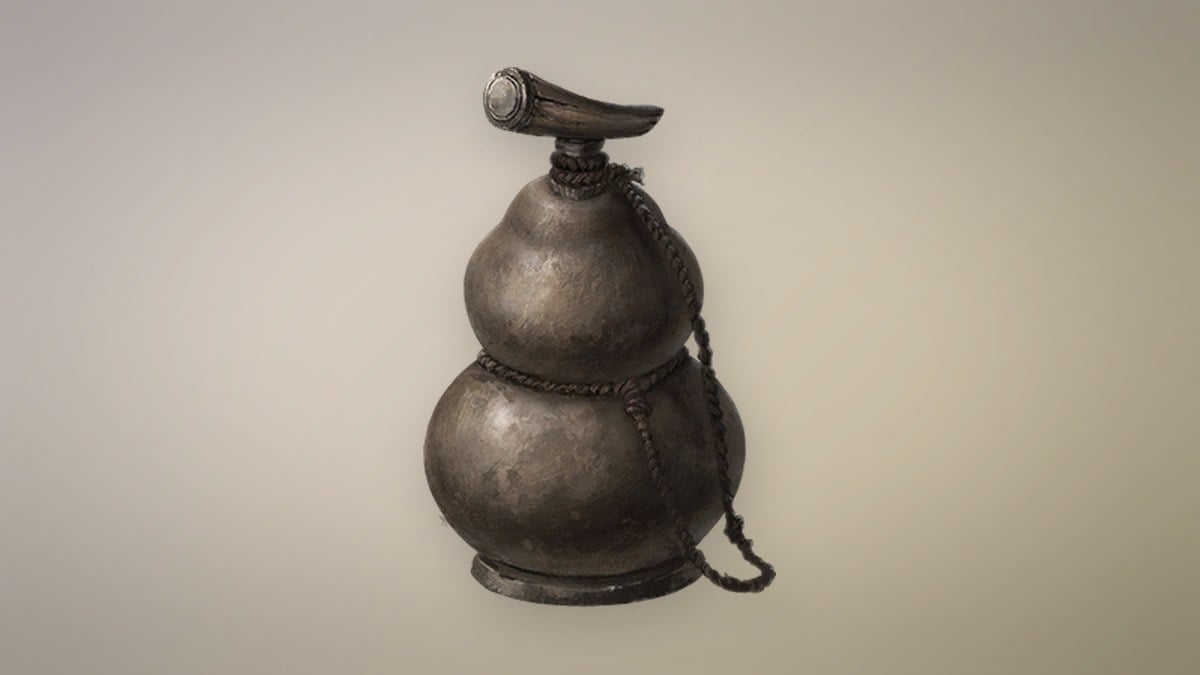
| Level | Effect | Healer’s Memory | Remnant Dust |
|---|---|---|---|
| Lv 2 | “Restores 45% HP.” | Apprentice | 2,000 |
| Lv 3 | “Restores 45% HP. Restores an additional 10% HP when HP is below 20%.” | Apprentice | 3,000 |
| Lv 4 | “Restores 45% HP. Restores an additional 10% HP when HP is below 20%.” | Skilled | 4,000 |
| Lv 5 | “Restores 50% HP. Restores an additional 10% HP when HP is below 20%.” | Skilled | 5,000 |
| Lv 6 | “Restores 50% HP. Restores an additional 15% HP when HP is below 20%.” | Master | 6,000 |
| Lv 7 | “Restores 50% HP. Restores an additional 15% HP when HP is below 20%.” | Master | 7,000 |
Lv 4 and Lv 7 keep the effect text of the level before them; each adds a use instead. The gourd gains one use at Lv 4, then one more at Lv 7.
The three Remnant Dust ladders
Remnant Dust prices aren’t the same for every remedy. Each one follows one of three cost ladders.
| Level | Cheapest ladder | Middle ladder | Top ladder |
|---|---|---|---|
| Lv 2 | 2,000 | 2,800 | 3,600 |
| Lv 3 | 3,000 | 4,200 | 5,400 |
| Lv 4 | 4,000 | 5,600 | 7,200 |
| Lv 5 | 5,000 | 7,000 | 9,000 |
| Lv 6 | 6,000 | 8,400 | 10,800 |
| Lv 7 | 7,000 | 9,800 | 12,600 |
| Total | 27,000 | 37,800 | 48,600 |
- Cheapest ladder: Healing Gourd, Merciful Dew
- Middle ladder: Everflow, Green Serpent Brew, Kuye Dew, Phantom Brew, Phantom Remedy, Sha-Chi Blood Catalyst, Simmering Brew, Spirit-Returning Broth, Vessel Restorative
- Top ladder: Focus Pill, Forbidden Concoction, Lament Draught, Longevity Tonic, Miracle Remedy, Ritual Wine
Where to get Healer’s Memories
You can buy all three Healer’s Memory tiers from Quick Hand Zhang, though not every hideout carries them. His Crimson Forest hideout doesn’t stock them.
| Item | Card text | Zhang price | Zhang hideouts |
|---|---|---|---|
 Apprentice Healer’s Memory | “Required to upgrade Medicine to Lv. 2.” | 7,440 | Pangzhen, Meigu Lake |
 Skilled Healer’s Memory | “Required to upgrade Medicine from Lv. 2-4.” | 9,920 | Pangzhen, Meigu Lake, Mirage Estate |
 Master Healer’s Memory | “Required to upgrade Medicine from Lv. 4 to max level.” | 16,000 | Meigu Lake, Mirage Estate |
Buying all six Memories for one remedy runs 66,720 Remnant Dust, which is more than the dust cost of the upgrades themselves on any ladder. Each tier also turns up in the world.
- Apprentice Healer’s Memory: Mandate Encampment, Meigu Lake, Mountain of Imprisonment, Pangzhen
- Skilled Healer’s Memory: Mandate Encampment, Meigu Lake, Mirage Estate, Mountain of Imprisonment, Pangzhen
- Master Healer’s Memory: Mandate Encampment, Meigu Lake, Mirage Estate, Mount Soulrend, Mountain of Imprisonment
In Crimson Forest, defeat the elite sword bandit attacking villagers along the stone-walled village path close to Zhang’s hideout to obtain an Apprentice Healer’s Memory.
Every remedy at Lv 1 and Lv 7
These are the effects each remedy starts with and the effects it has at max level.
| Remedy | Lv 1 effect | Lv 7 effect |
|---|---|---|
 Everflow | “Restores 20% HP. When no uses remain, defeating any enemy restores 1 use.” | “Restores 30% HP. When no uses remain, defeating any enemy restores 1 use. After successfully restoring a use, Sha-Chi Combo damage is increased by 25% for 5 seconds.” |
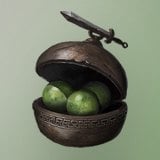 Focus Pill | “Reduces Sha-Chi consumption by 30% for 15 seconds and gradually restores 30% HP over the same duration.” | “Reduces Sha-Chi consumption by 40% for 20 seconds and gradually restores 50% HP over the same duration.” |
 Forbidden Concoction | “Increases Phantom Edge damage by 10% for 15 seconds and restores 20% HP.” | “Increases Phantom Edge damage by 20% for 15 seconds and restores 40% HP.” |
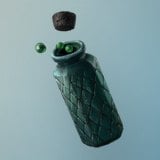 Green Serpent Brew | “Removes all status effects, increases status resistance by 75% for 15 seconds, and gradually restores 20% HP over the same duration.” | “Removes all status effects, increases status resistance by 80% for 25 seconds, and gradually restores 40% HP over the same duration.” |
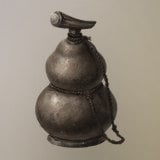 Healing Gourd | “Restores 40% HP.” | “Restores 50% HP. Restores an additional 15% HP when HP is below 20%.” |
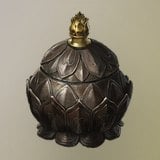 Kuye Dew | “Reduces damage taken by 20% for 15 seconds and restores 40% HP over 10 seconds.” | “Reduces damage taken by 40% for 25 seconds and restores 60% HP over 10 seconds.” |
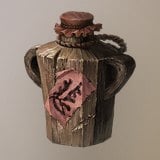 Lament Draught | “Increases damage dealt to enemies by 10% for 30 seconds and restores 20% HP.” | “Increases damage dealt to enemies by 20% for 40 seconds and restores 40% HP.” |
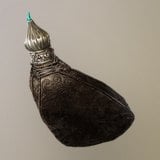 Longevity Tonic | “Restores all HP.” | “Restores all HP. For 20 seconds after use, increases damage dealt by 20% while HP remains full.” |
 Merciful Dew | “Restores 60% HP over 10 seconds.” | “Restores 80% HP over 10 seconds. Increases natural Sha-Chi recovery speed by 150% for 10 seconds.” |
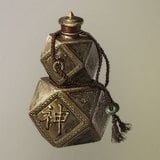 Miracle Remedy | “Restores 30% HP. Restores an additional 30% HP when HP is below 35%.” | “Restores 50% HP. Restores an additional 50% HP when HP is below 35%.” |
 Phantom Brew | “Restores 50% HP and grants Intangible for 1 second. While Intangible, you cannot be hit by any attack.” | “Restores 70% HP and grants Intangible for 3 seconds. While Intangible, you cannot be hit by any attack.” |
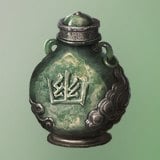 Phantom Remedy | “Restores roughly 60% HP and Sha-Chi over 6 seconds. Taking a hit interrupts recovery.” | “Restores roughly 80% HP and 80% Sha-Chi over 6 seconds. Taking a hit interrupts recovery.” |
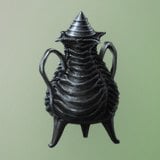 Ritual Wine | “Increases Burn, Paralysis, Freeze, and Bleed buildup rate by 50% for 15 seconds and restores 20% HP.” | “Increases Burn, Paralysis, Freeze, and Bleed buildup rate by 70% for 25 seconds and restores 40% HP.” |
 Sha-Chi Blood Catalyst | “Increases [Heavy Attack] Sha-Chi Combo damage by 20% for 15 seconds and restores 20% HP, but ignites you.” | “Increases [Heavy Attack] Sha-Chi Combo damage by 40% for 25 seconds and restores 30% HP, but ignites you.” |
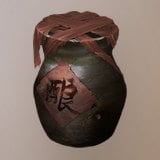 Simmering Brew | “Continuously generates Sha-Chi for 15 seconds and gradually restores 30% HP over the same duration.” | “Generates Sha-Chi continuously for 25 seconds, increases Sha-Chi recovery speed by 100%, and gradually restores 50% HP over the same duration.” |
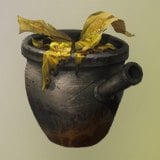 Spirit-Returning Broth | “Increases Guard Break by 10% for 30 seconds and restores 20% HP.” | “Increases Guard Break by 15% for 40 seconds and restores 40% HP.” |
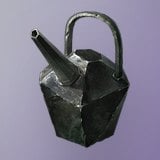 Vessel Restorative | “Restores 70% HP and increases natural Sha-Chi recovery speed by 50% for 5 seconds.” | “Restores 100% HP and increases natural Sha-Chi recovery speed by 200% for 10 seconds.” |
By Lv 7, every remedy except Vessel Restorative has gained two extra uses.
Which medicine to upgrade first
Healing Gourd is the easiest first pick. You always carry it, and it sits on the cheapest Remnant Dust ladder, so its upgrades cost the least of any remedy.
When choosing a second slot, account for the number of uses. Merciful Dew and Phantom Remedy have the highest starting counts; since all remedies other than Vessel Restorative gain two uses by Lv 7, those two remain in front. Vessel Restorative is the exception: upgrades improve its lone drink, reaching “Restores 100% HP” at Lv 6.
Upgrades aren’t the only way to get more uses. The Healing Art ability (“Increases Medicine uses by 1.”) costs 5,000 Remnant Dust at Train Abilities and adds a use on top of whatever upgrades you’ve bought. It’s in the full abilities list. If you’re still choosing remedies, the all 17 remedies list shows where each one is found, and how to heal explains the healing keys and how uses refill at bells.