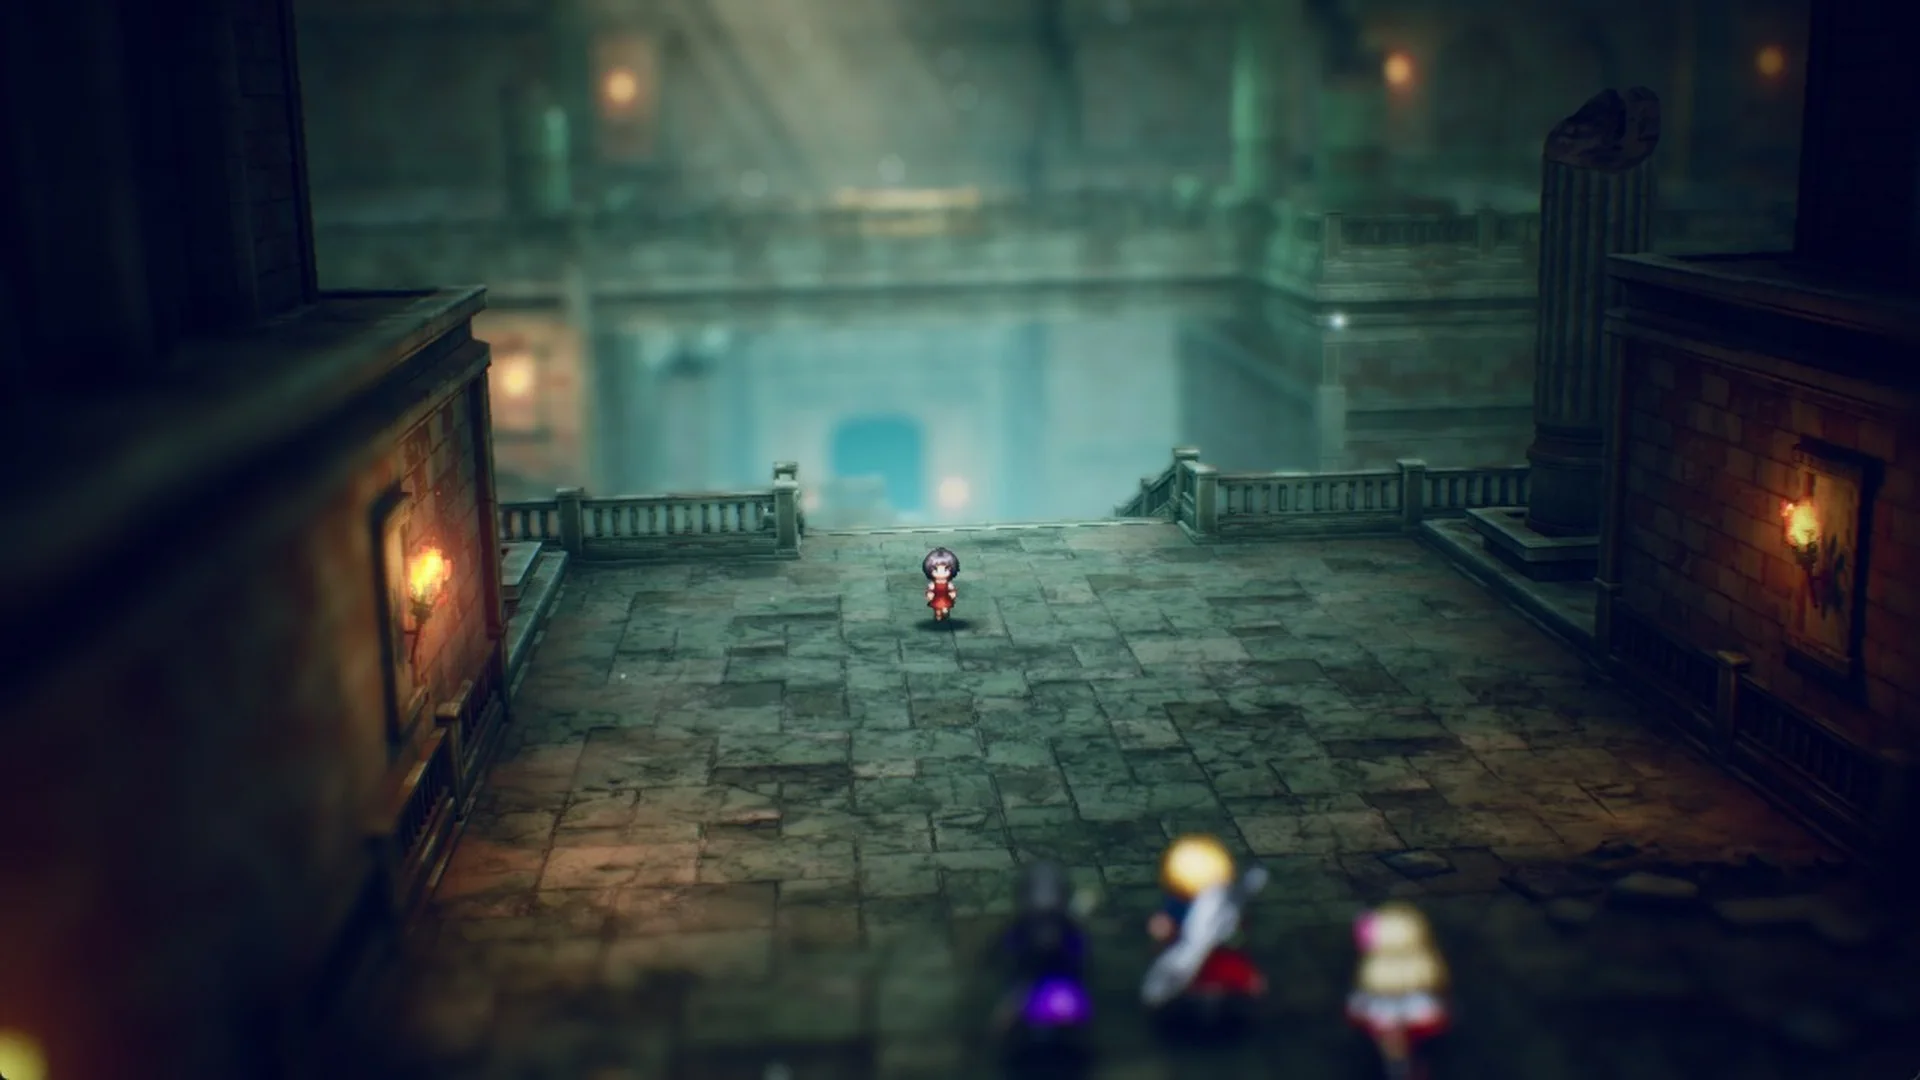
Final Fantasy Resonance hands you Rain, Lasswell and Fina in Chapter 1, “Tailing the Truth”, and a lot of tutorials you can easily skip past. These systems decide how smoothly the opening hours go, so here is what each one means for your first fights and dungeons.
Quick answer: Save at pink save points and use Tents there, cast Libra on every new enemy, hit weaknesses to stagger foes and stop devastating attacks, end fights with a stagger or follow-up for bonus MRP and gil, and sell drops you do not need.
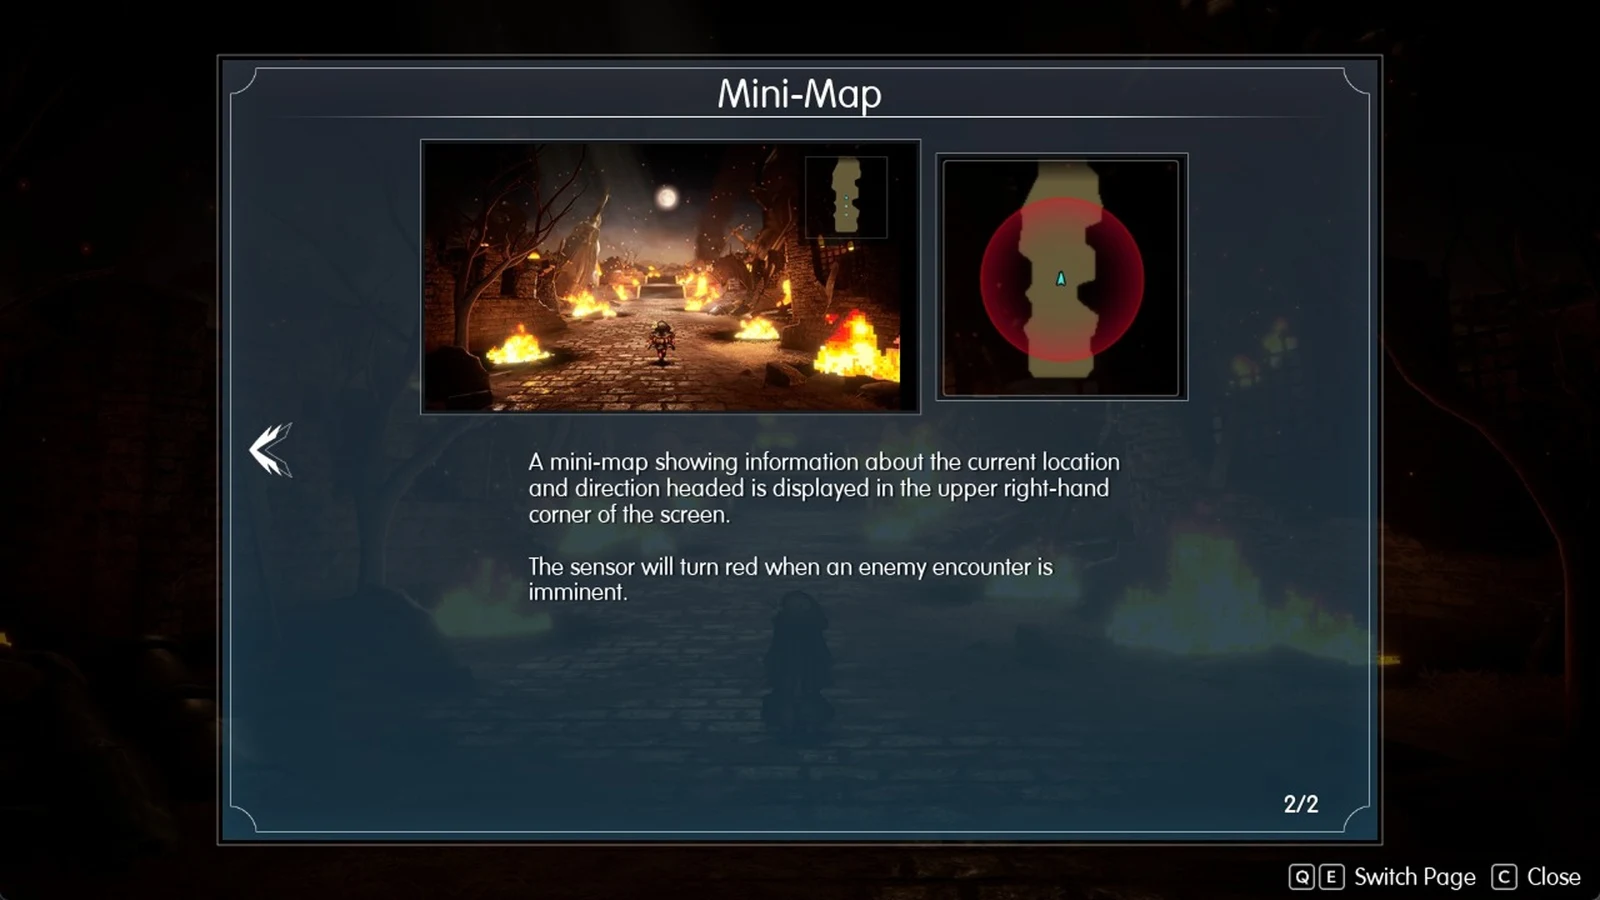
1. Watch the encounter sensor on the mini-map
The mini-map in the upper-right corner has an encounter sensor, and the tutorial puts it plainly: “The sensor will turn red when an enemy encounter is imminent.” When it changes color, a fight is about to start. If you would rather not see it, switch it off under Options > Gameplay > Display Encounter Sensor, alongside the rest of the PC settings.
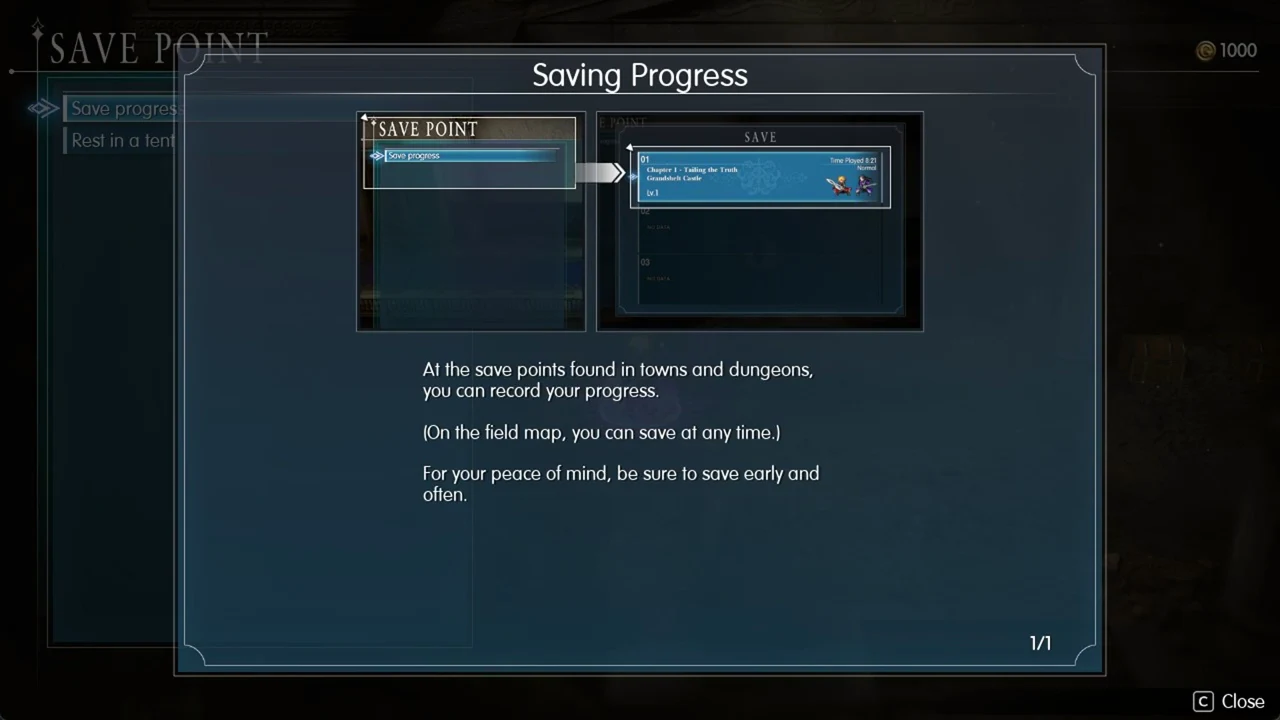
2. Save at every pink save point (and on the field map)
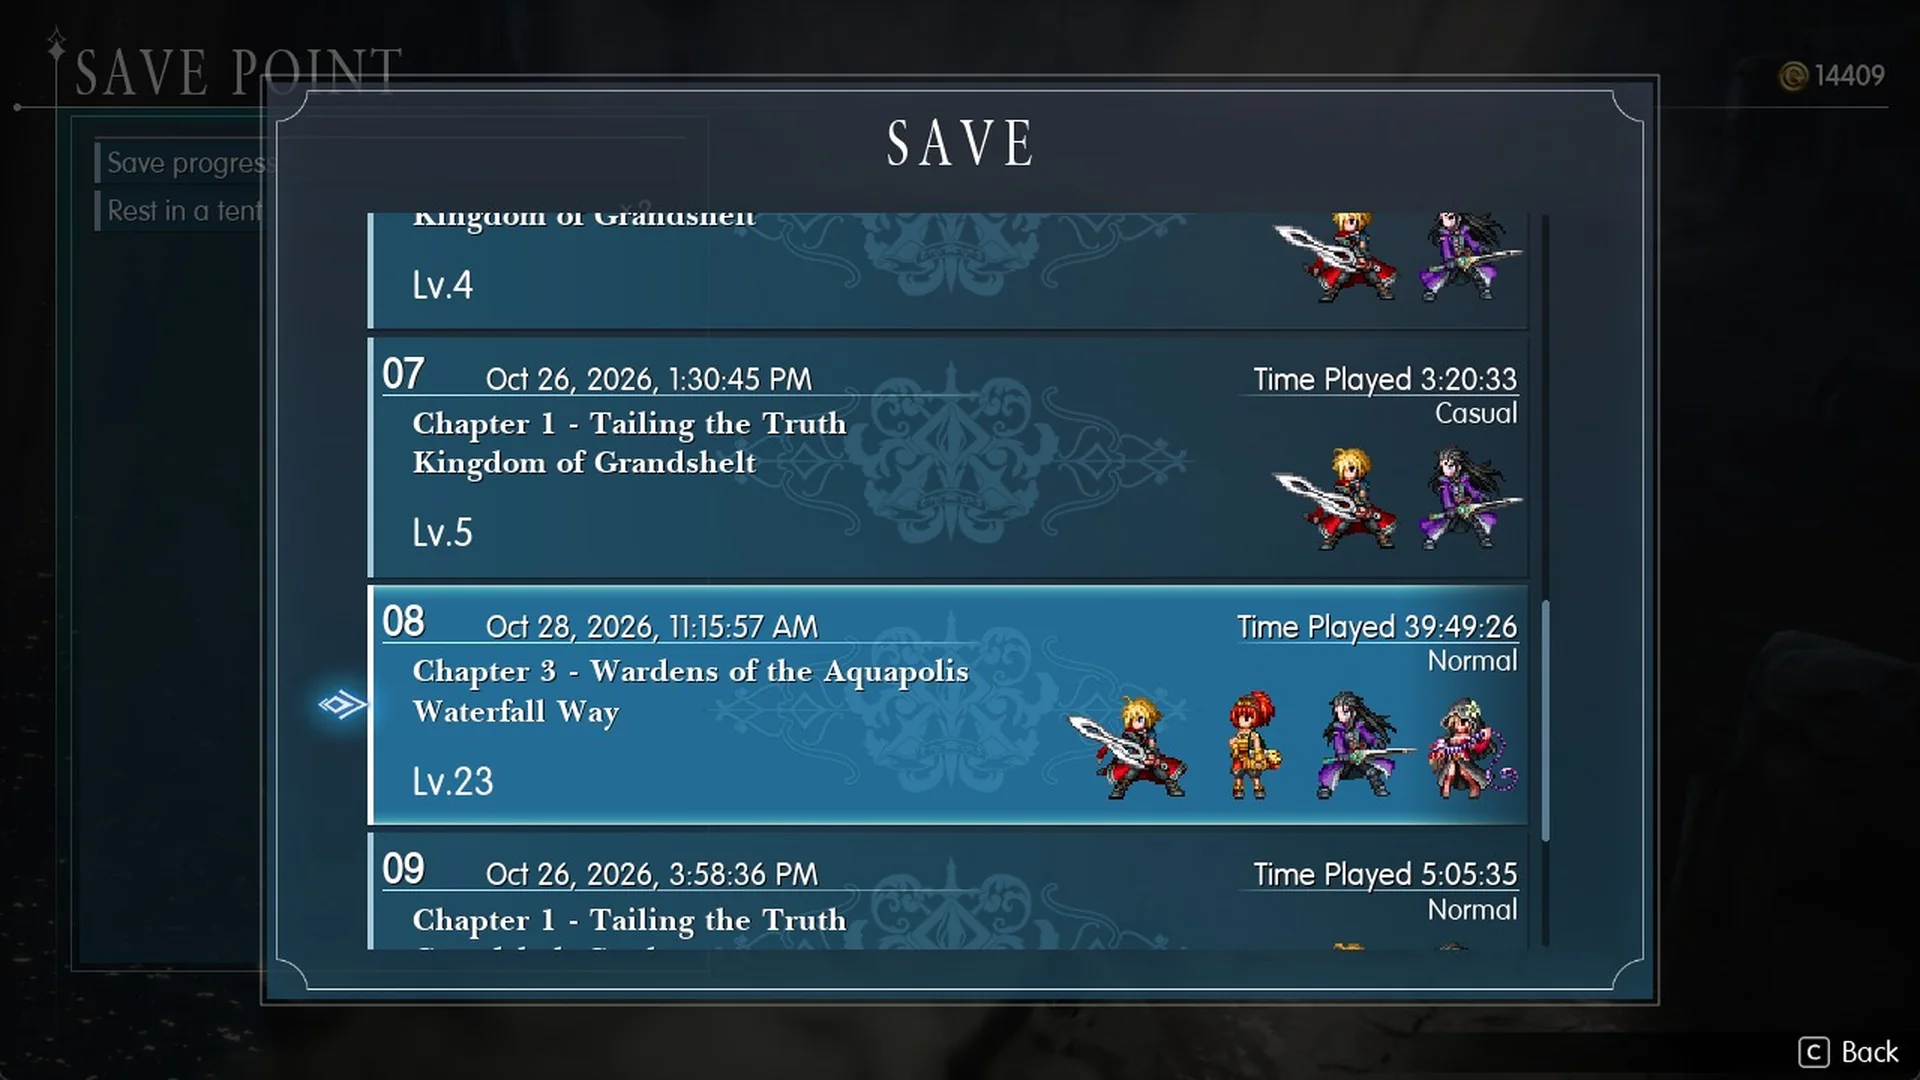
Save points are pink glowing circles in towns and dungeons, and the game is explicit about how saving works: “At the save points found in towns and dungeons, you can record your progress.” “(On the field map, you can save at any time.)” Autosaves also happen, for example when you enter a new area, but inside a dungeon there is no Save row in the menu unless you are standing at a save point. The tutorial’s advice holds: “For your peace of mind, be sure to save early and often.”
Escape appears at the bottom of the battle command menu and is described as “Attempt to escape from battle.” It works in most random encounters, but may fail; boss and story battles disable it by greying it out. When every party member is defeated, “The party has fallen…” gives you the Retry option. Choosing it starts that battle over from its opening rather than returning you to your most recent save.
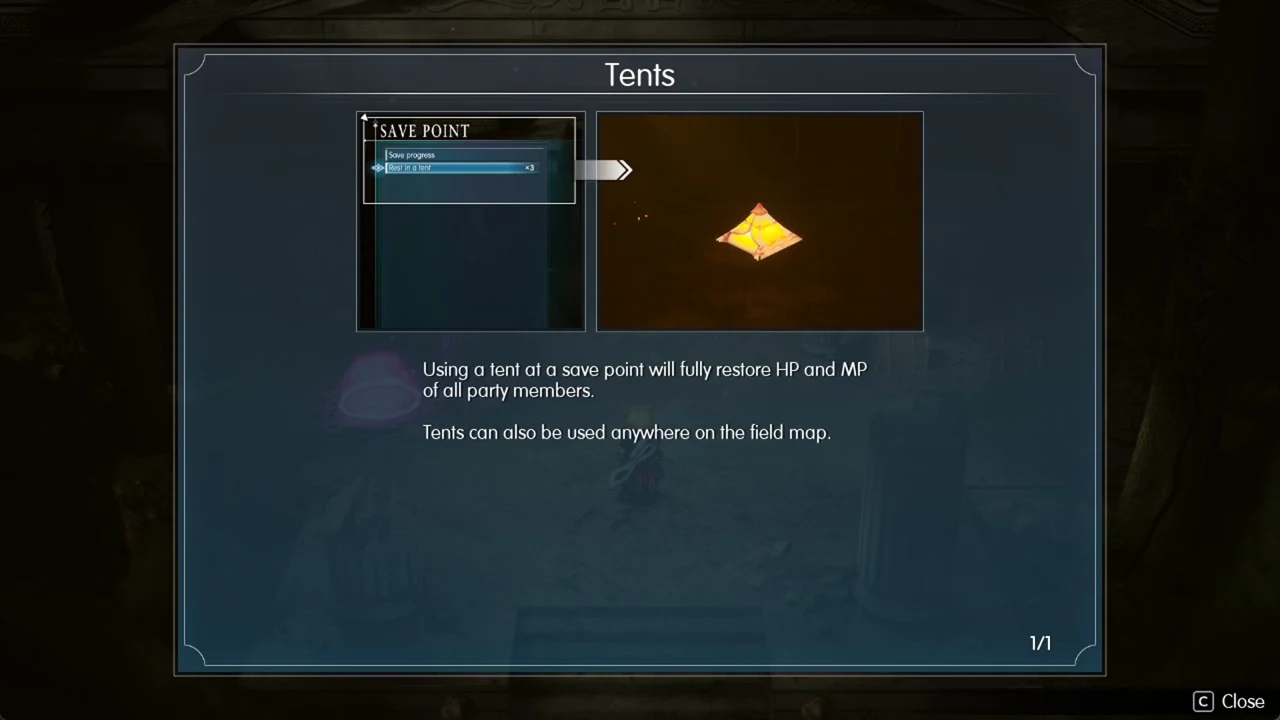
3. Use Tents at save points
“Using a tent at a save point will fully restore HP and MP of all party members.” “Tents can also be used anywhere on the field map.” Pitch one before a boss: the Earth Shrine has a save point right before its boss. Tents cost 300 Gil in the Felicitas item shop.
4. Unlock Teleport in dungeons
“Teleport can be used at certain save points.” “When used, you can instantaneously travel between a save point at a dungeon’s entrance and one at its deepest point.” Reach the deep save point and touch it, and the game confirms it with “You can now return to the save point at the entrance.” That saves you the walk back out once a dungeon is done.
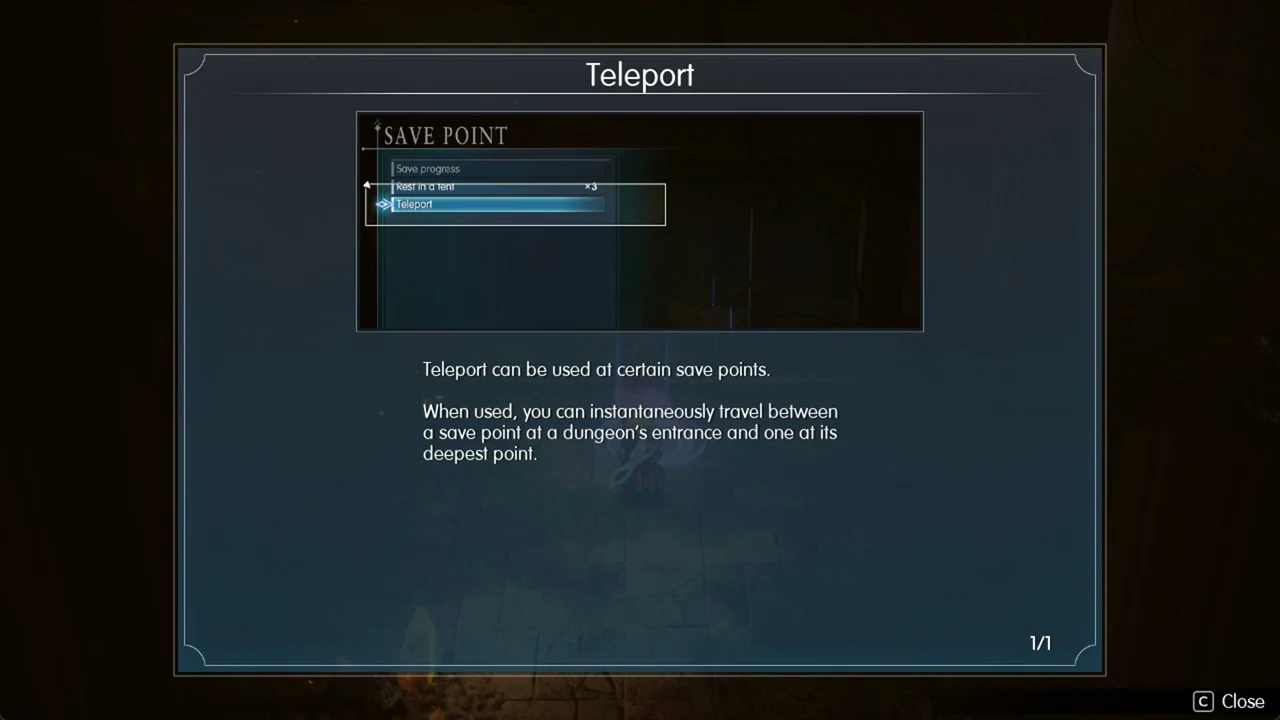
To revisit a dungeon, use Fast Travel from the World Map to arrive at its entrance save point, then Teleport from there to the deeper save point you’ve already reached.
5. Hit weaknesses (they are hidden until you find them)
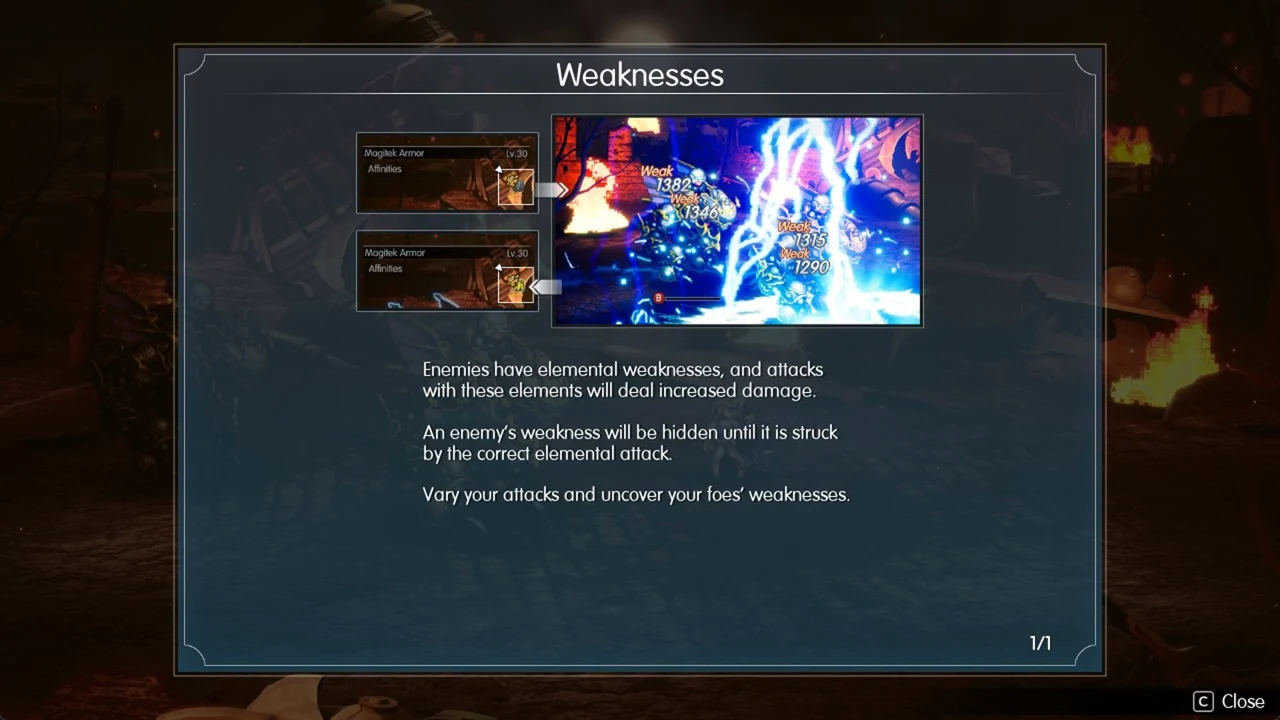
“Enemies have elemental weaknesses, and attacks with these elements will deal increased damage.” The catch is that “An enemy’s weakness will be hidden until it is struck by the correct elemental attack.” So mix up your elements early in each new fight, exactly as the tutorial suggests: “Vary your attacks and uncover your foes’ weaknesses.”
6. Cast Libra on every new enemy
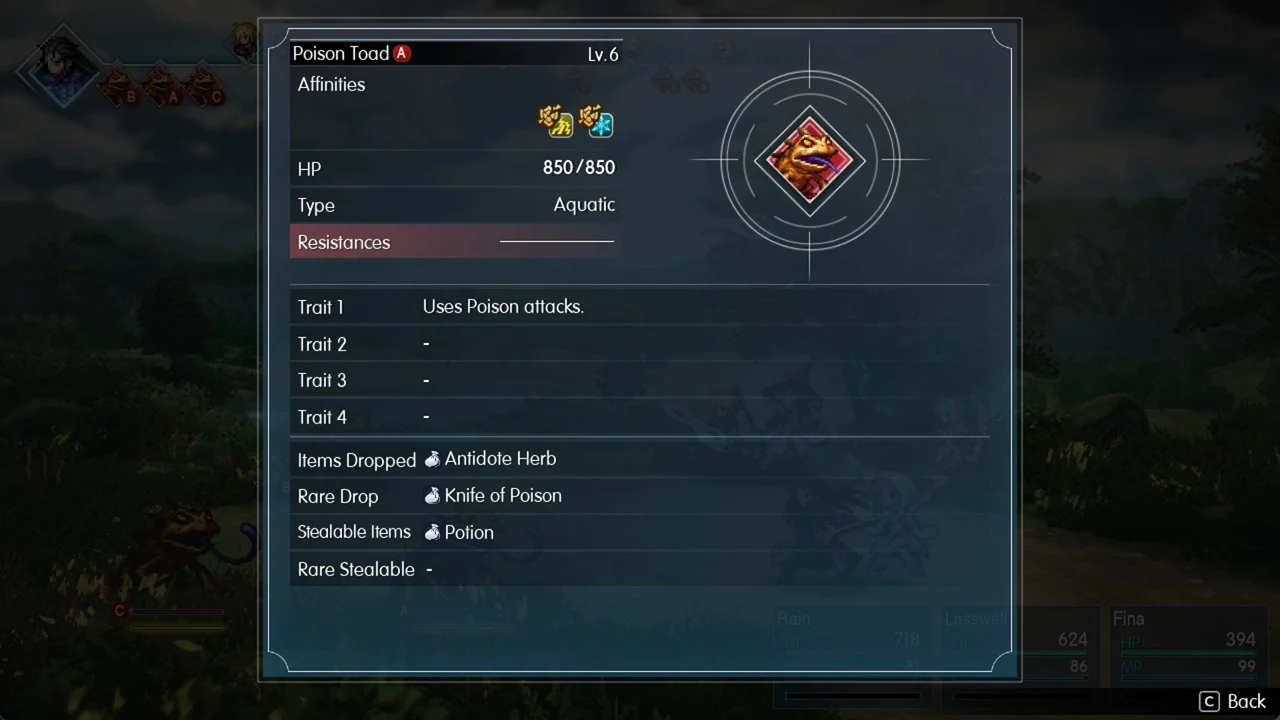
Libra is one of Leah’s skills, costing 1 MP once the Vision Leah is equipped. It reveals an enemy’s HP, type, weaknesses, traits, Items Dropped, Rare Drop and Stealable Items. On a Poison Toad Lv.6, for example, it shows 850 HP, Type Aquatic, the trait “Uses Poison attacks.”, an Antidote Herb drop, a Knife of Poison rare drop and a stealable Potion. The same details for the whole roster are collected in the Chapter 1 enemies list.
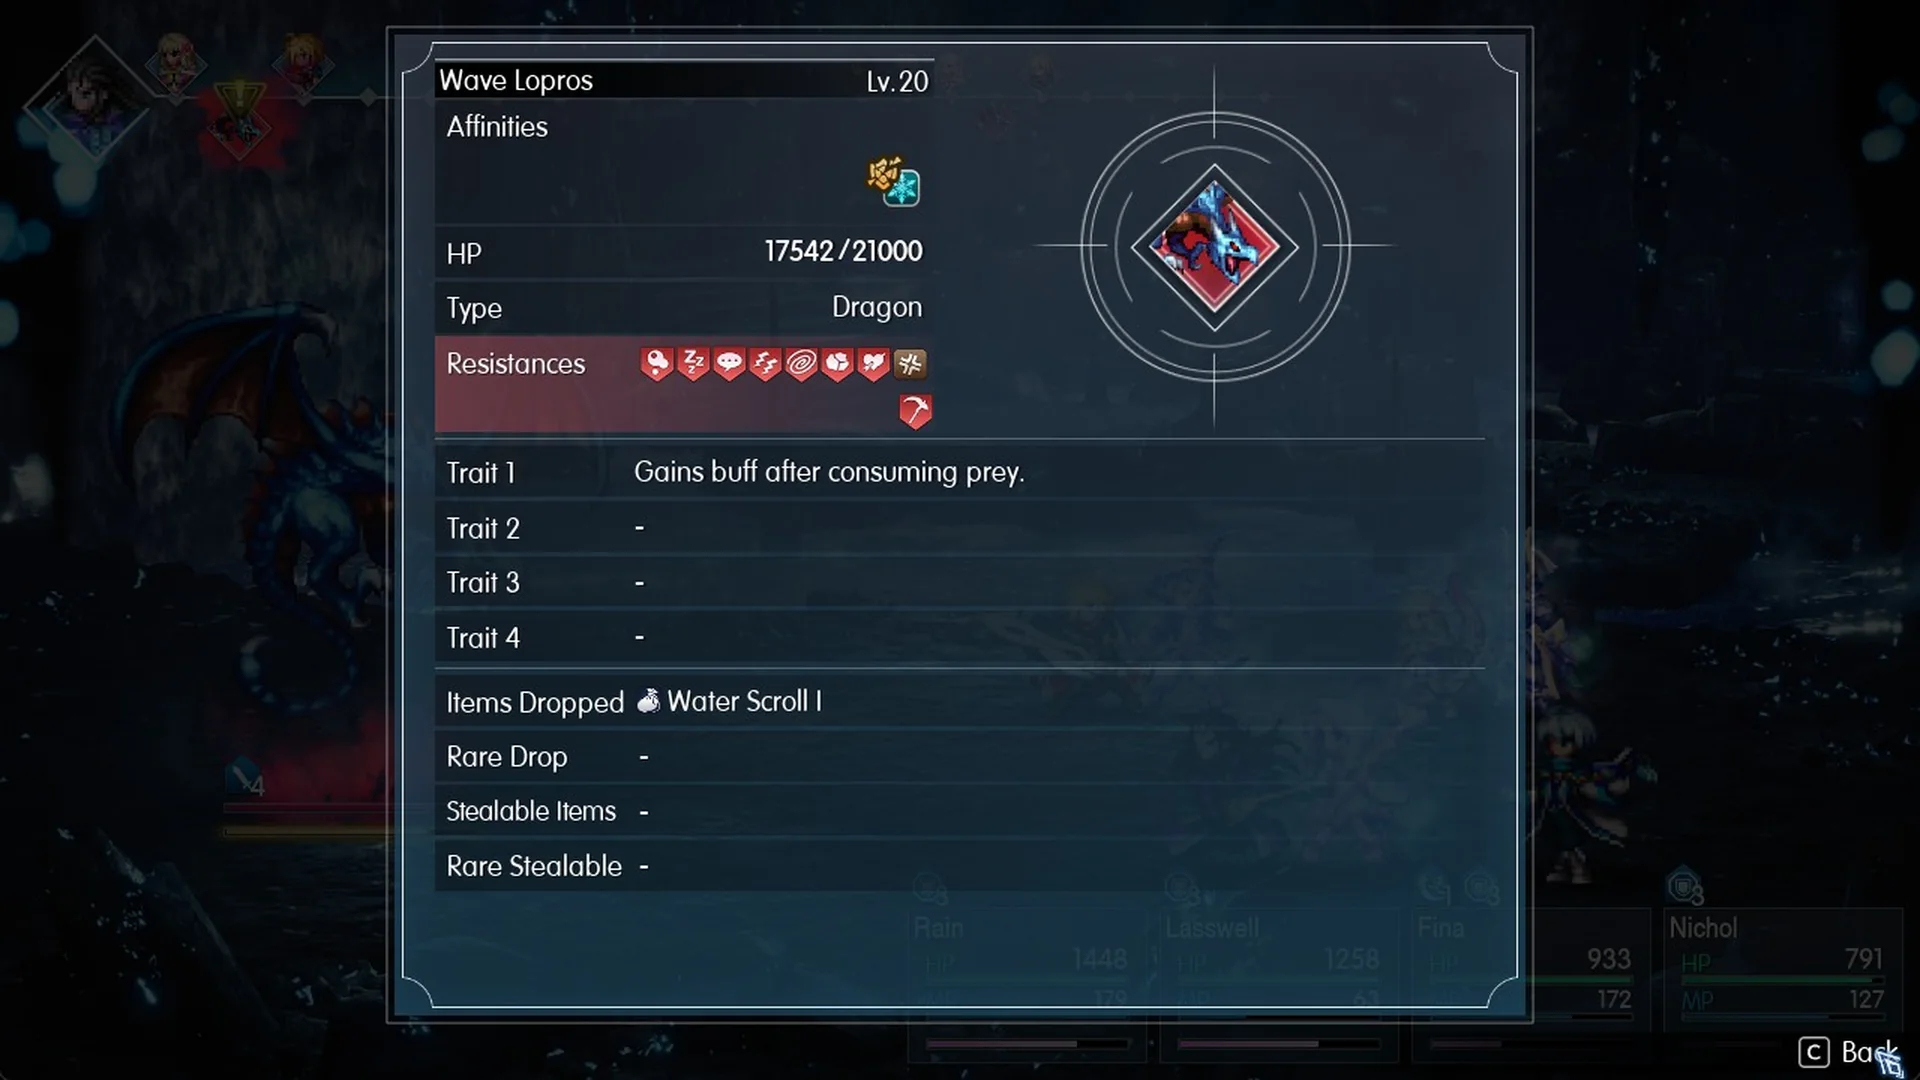
Libra sits in the last row of Leah’s Skills, Nichol also learns it at Lv 2, and its description reads “[White Magic] Analyze an enemy for information.” It is worth the 1 MP on a boss, since on Wave Lopros in the Cave of Waters it reveals 21,000 HP, an Ice weakness, a full row of status resistances and the trait “Gains buff after consuming prey.”
7. Stagger enemies to stop devastating attacks
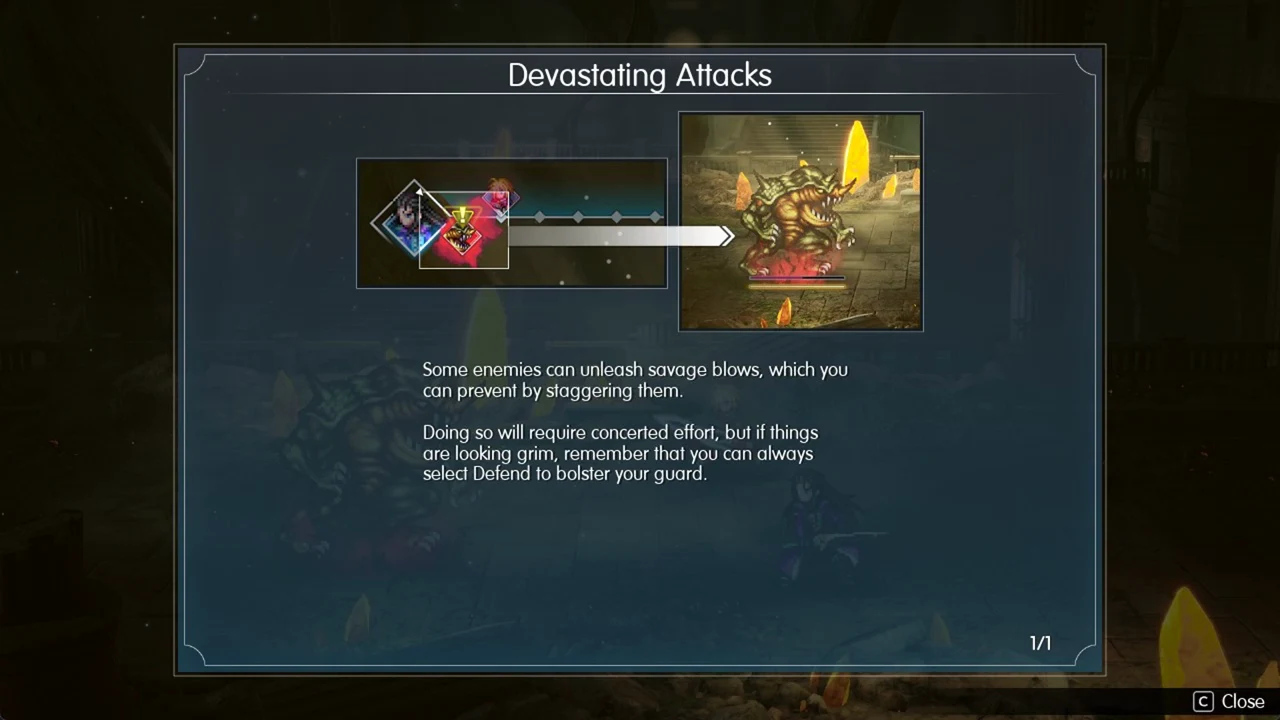
An enemy that glows red while its turn-bar icon flares with a “!” is about to use a devastating attack. “Some enemies can unleash savage blows, which you can prevent by staggering them.” Hitting weaknesses fills the stagger gauge fastest, which is why stagger and elemental play go together. If you cannot break it in time, “…remember that you can always select Defend to bolster your guard.”
8. Go for battle result bonuses
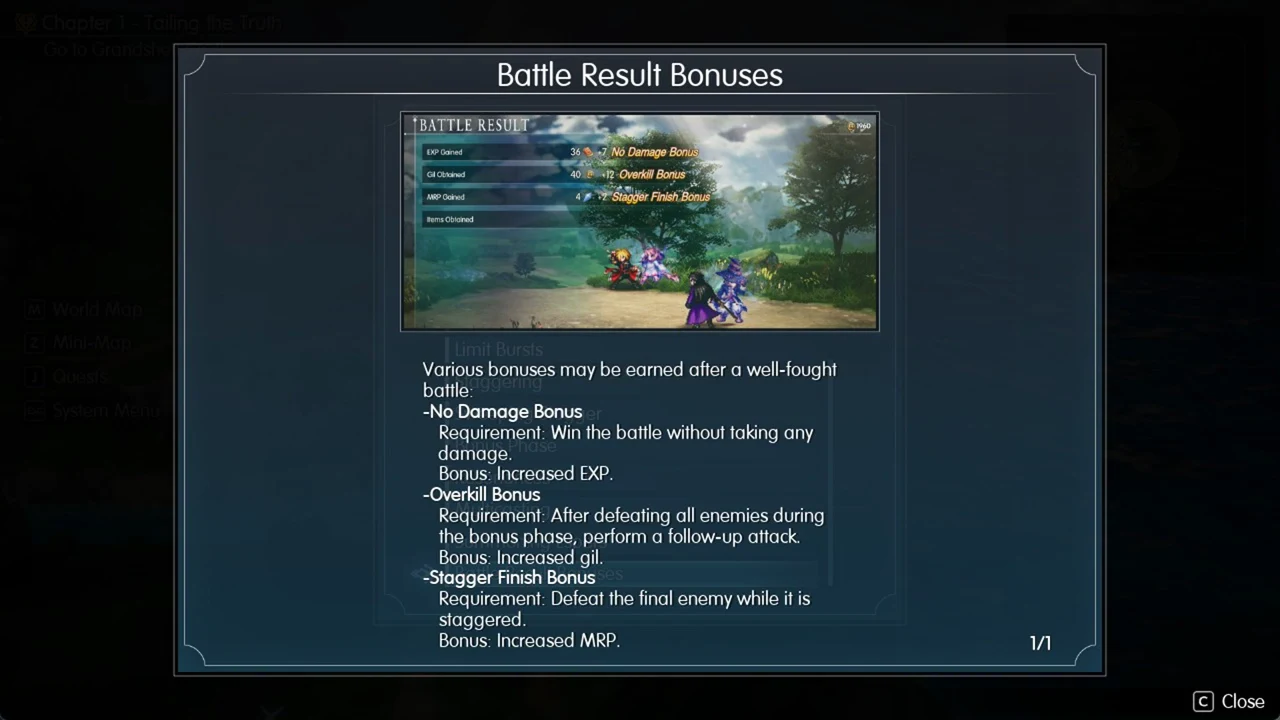
Three bonuses reward how you finish a fight, not just whether you win. A fight that pays 60 Gil pays 78 with the Overkill Bonus.
| Bonus | Condition | Reward |
|---|---|---|
| No Damage Bonus | Win without taking any damage | Increased EXP |
| Overkill Bonus | Follow-up attack after all enemies fall during the bonus phase | Increased gil |
| Stagger Finish Bonus | Land the finishing blow on the last enemy during its stagger. | Increased MRP |
9. Healing items hurt the undead
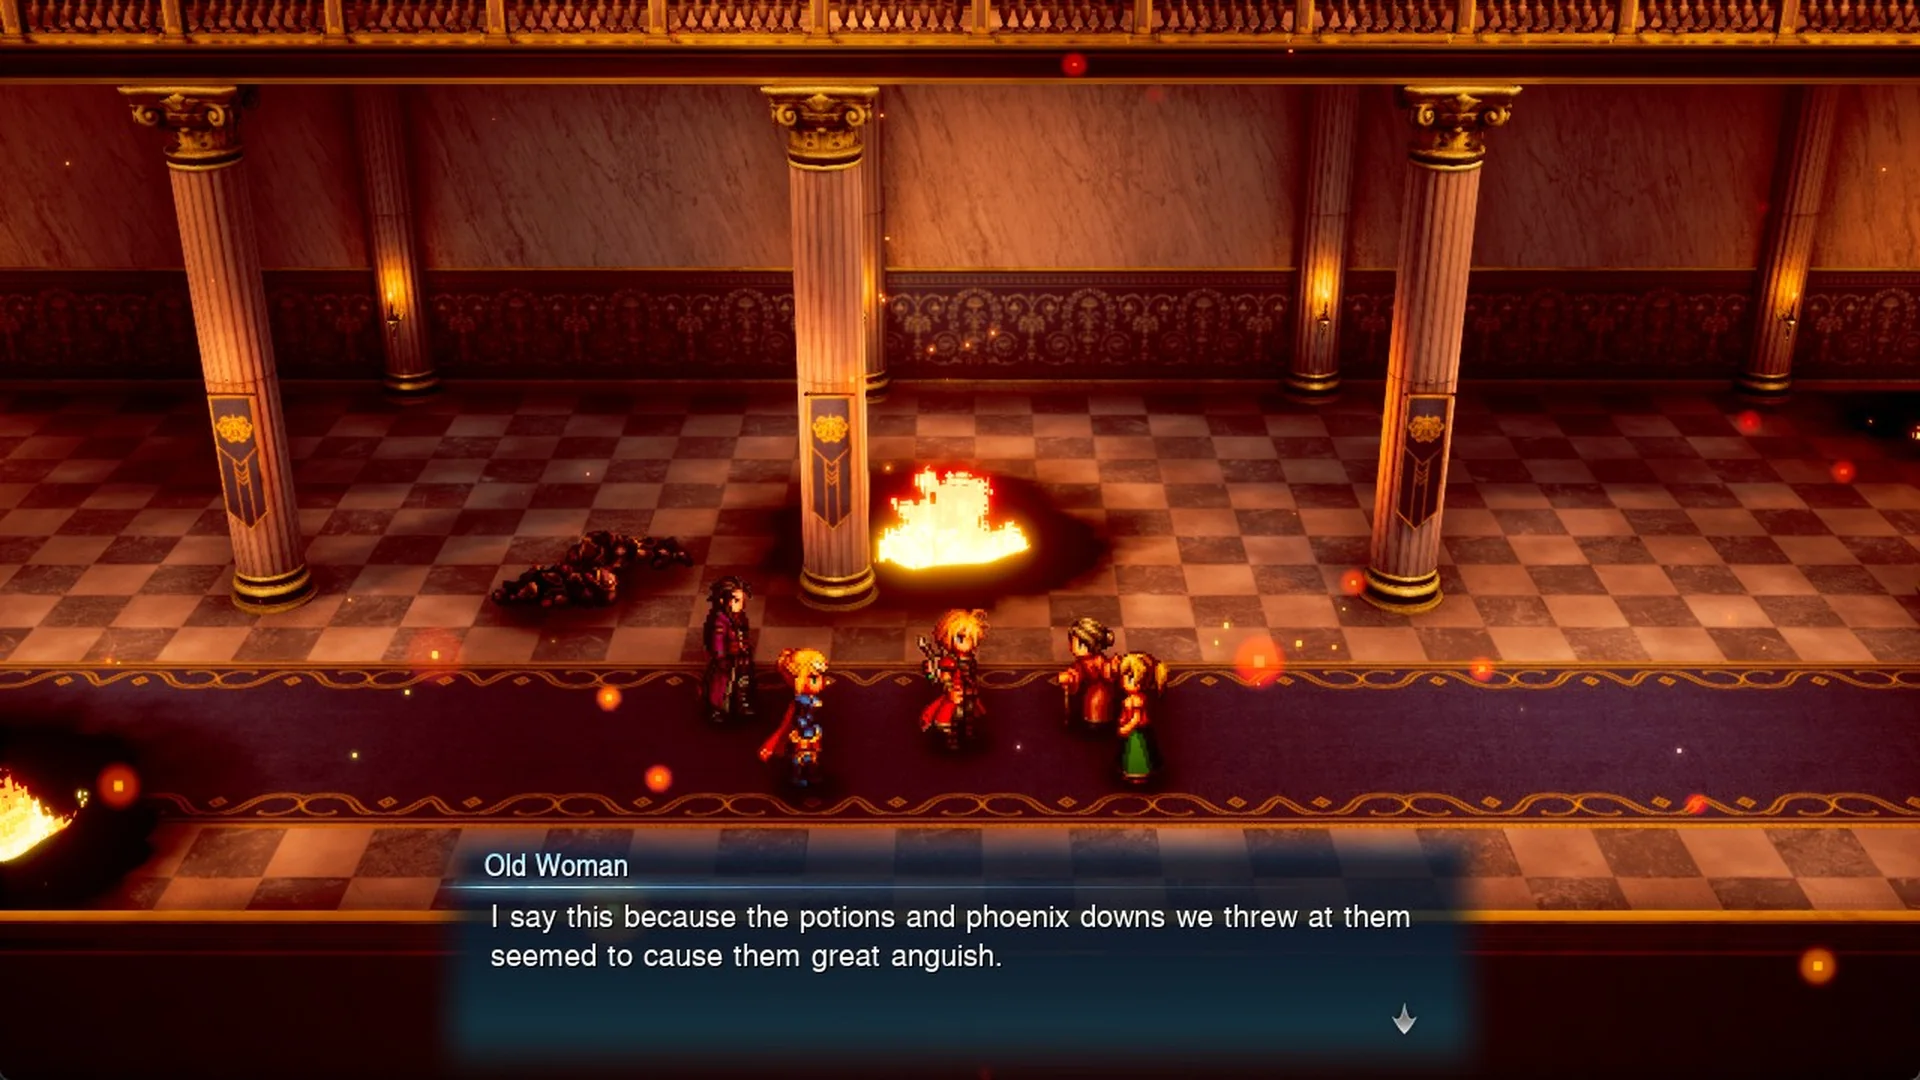
In Grandshelt Castle, an old woman says the potions and phoenix downs thrown at the undead soldiers “seemed to cause them great anguish”. On Normal, a single Phoenix Down defeats a Dark Skeleton.
Do not throw healing items at the Hell’s Rider boss, because a Potion heals it.
10. Rest at inns
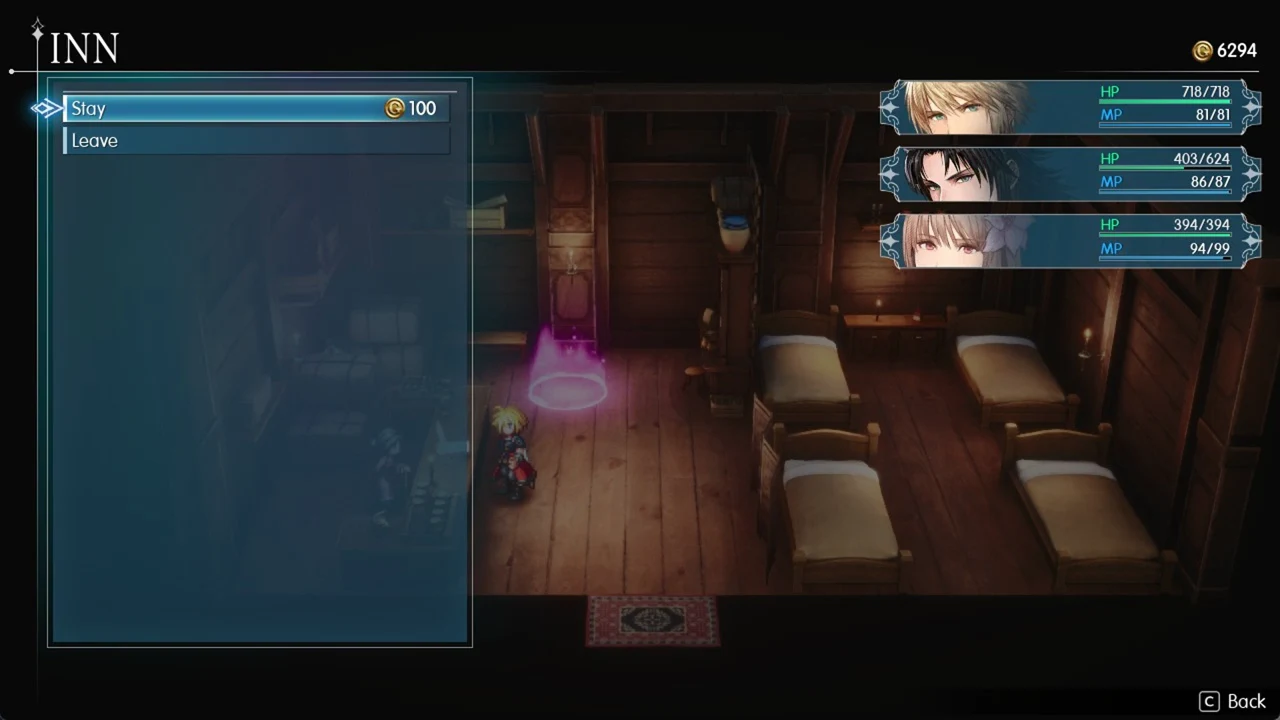
Inns have a save point inside, so a stay doubles as a safe place to record progress. The inn in Felicitas charges 100 Gil a night, which is cheap next to the town’s shops.
Heal outside battle from the Main Menu
Open the Main Menu with Tab and choose Recovery. The menu shows healing items—Potion, Hi-Potion, Ether, Mist Potion, Mist Ether and Phoenix Down—as well as healing spells known by your characters, including Cure and Cura. Press Q on the target screen to apply Cura to the entire party. Each Ether restores 50 MP.
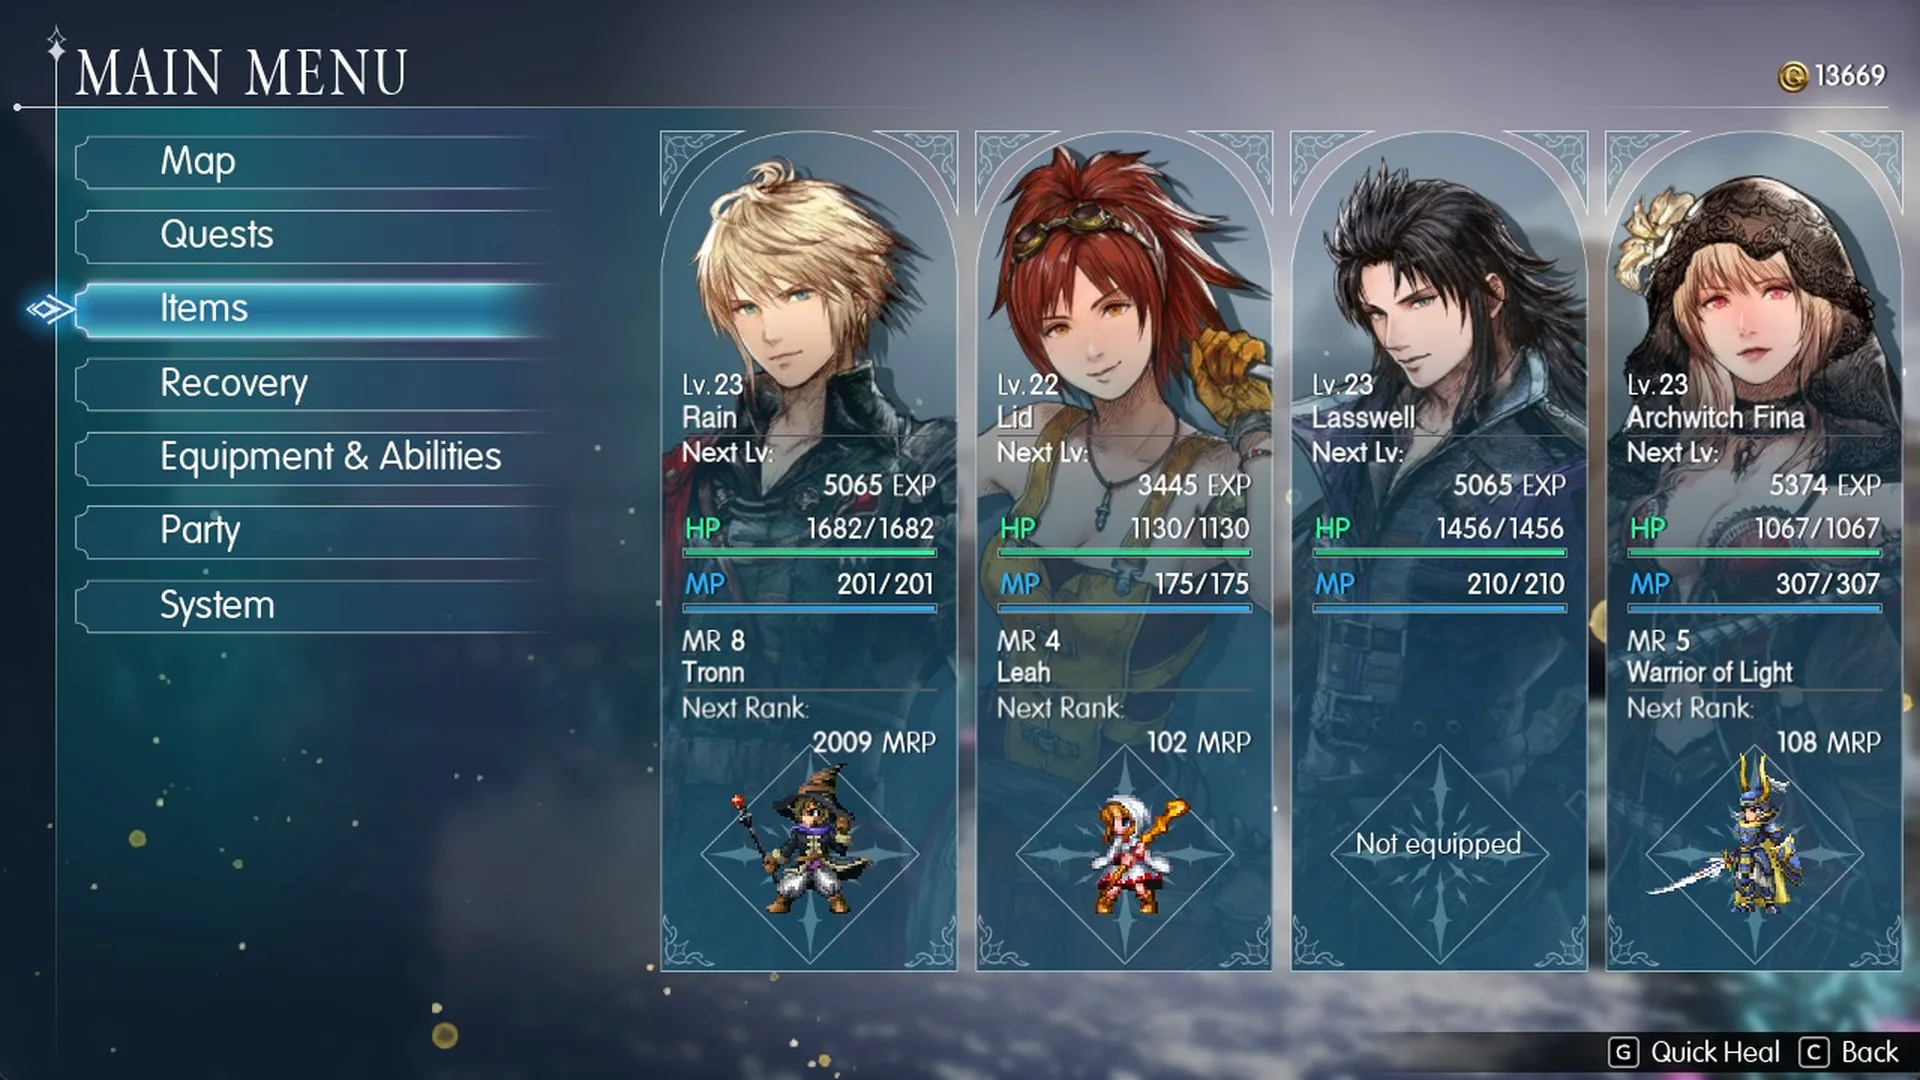
Find Quick Heal in the Main Menu and press G to activate it. The “Use Quick Heal?” prompt initially highlights No; switch to Yes, then confirm.
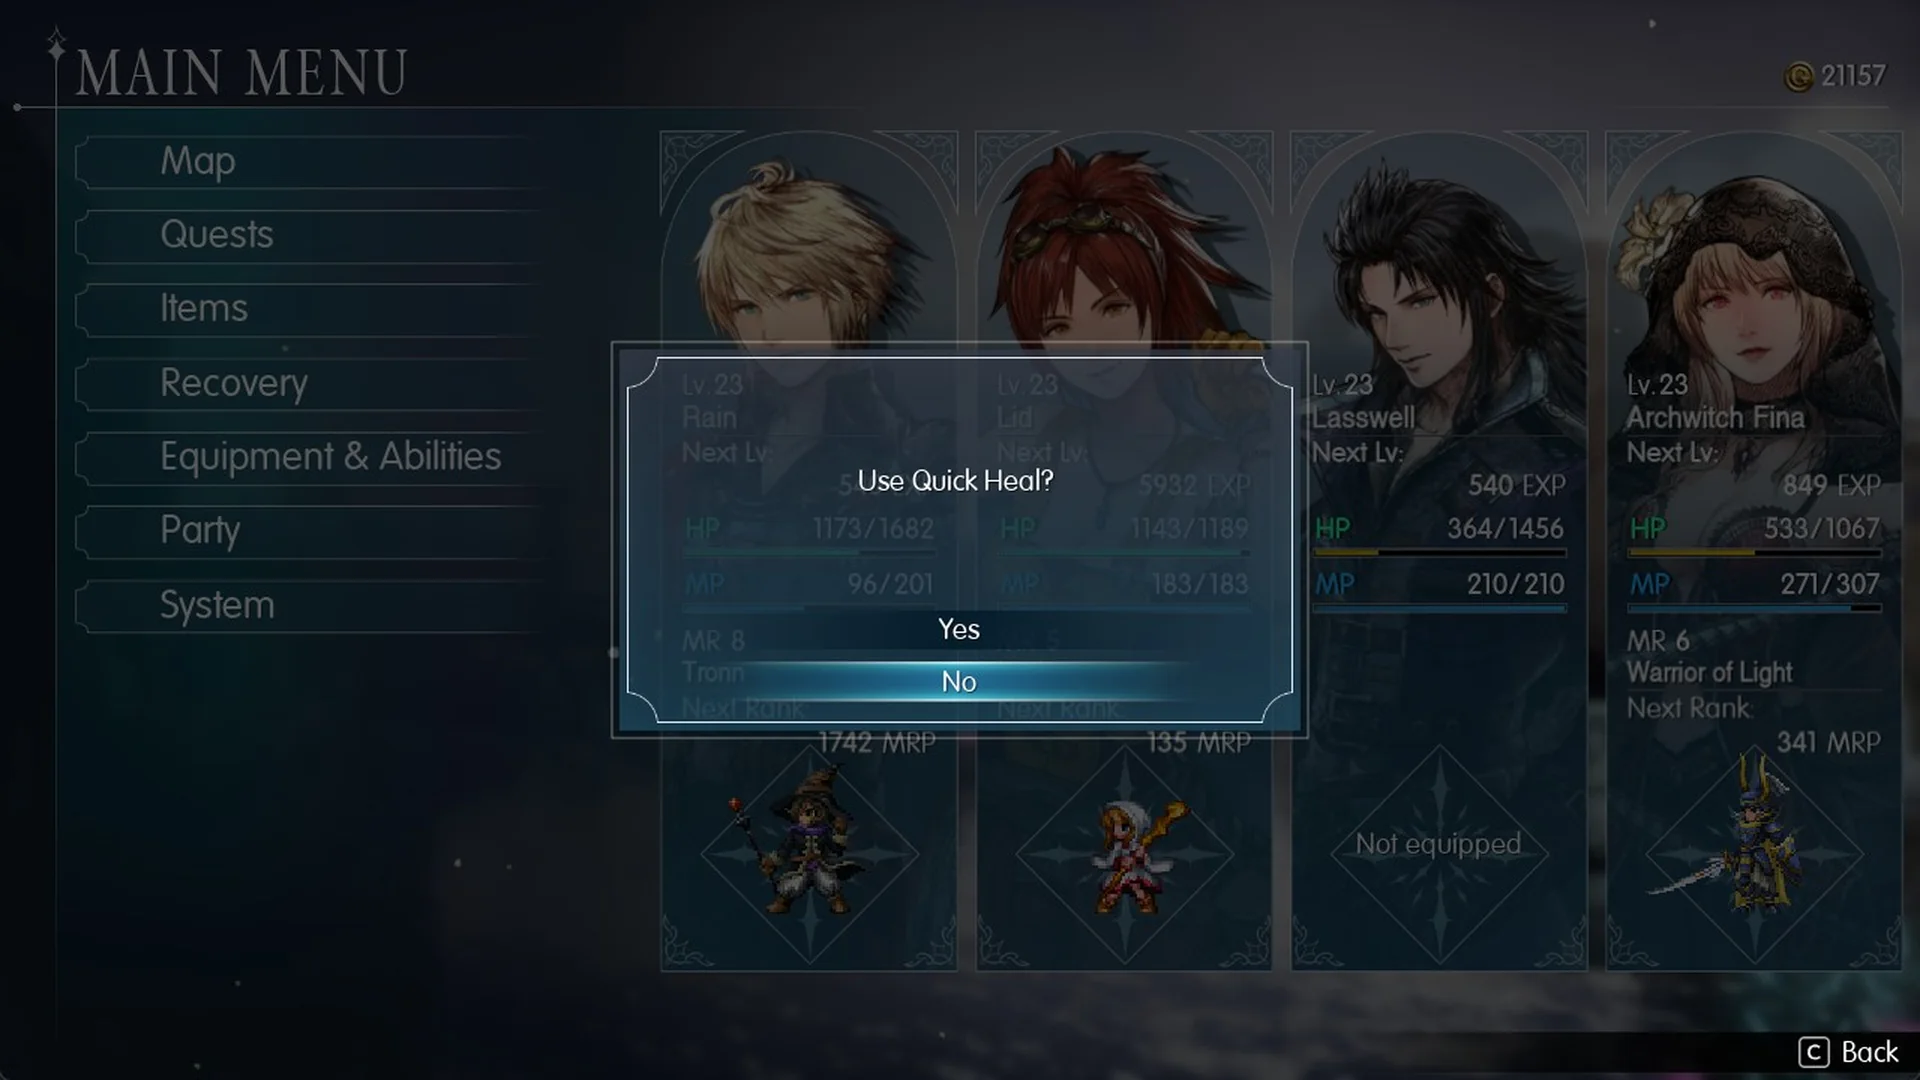
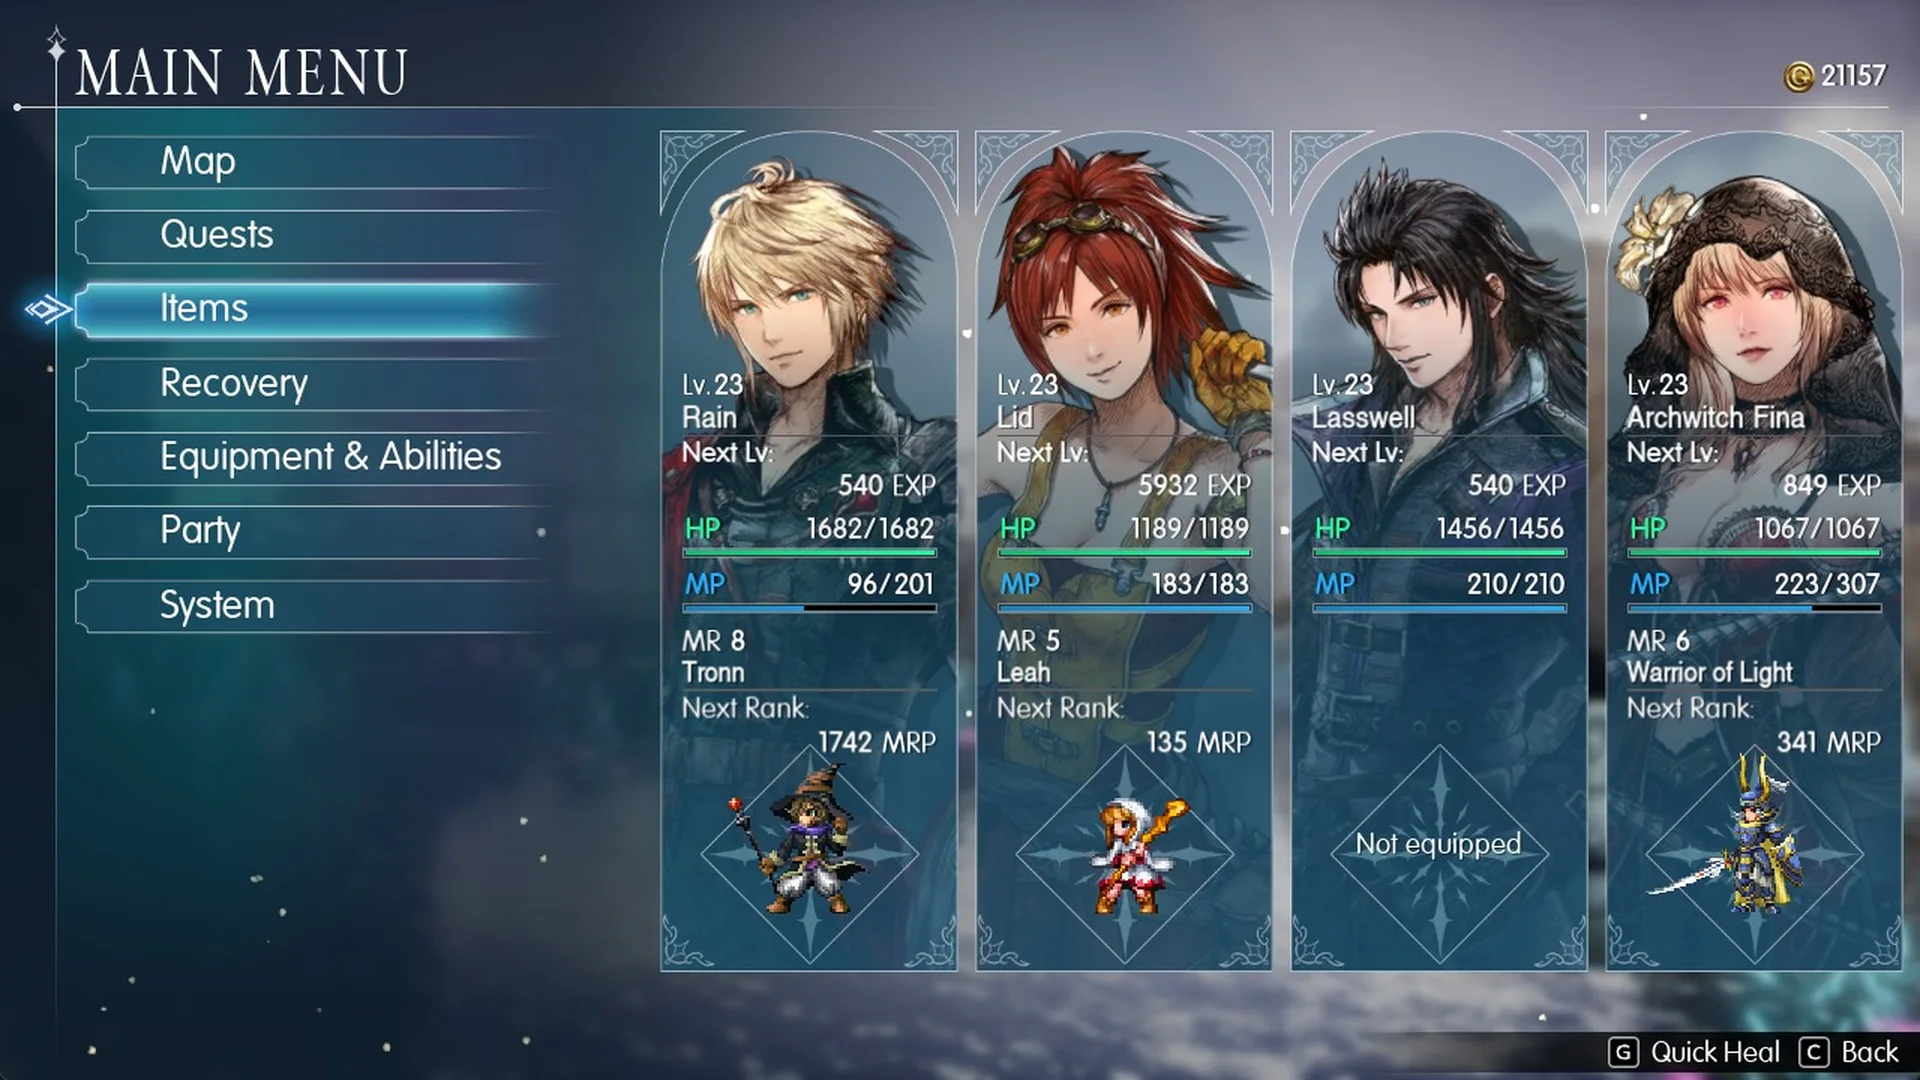
This ability restores HP for all party members in a single use and consumes MP. In our Chapter 3 party, all four members reached full HP at a cost of 48 MP from Archwitch Fina. Quick Heal affects only living members, so it cannot revive a KO’d ally. To revive one, use a Phoenix Down to restore them at 25% HP, or a Phoenix Pinion to restore them at 50% HP. Both are listed in the items list.
At a save point, choose Rest in a tent to restore all party members’ HP and MP and revive anyone KO’d. Shops sell tents for 300 Gil.
11. Sell enemy drops you do not need
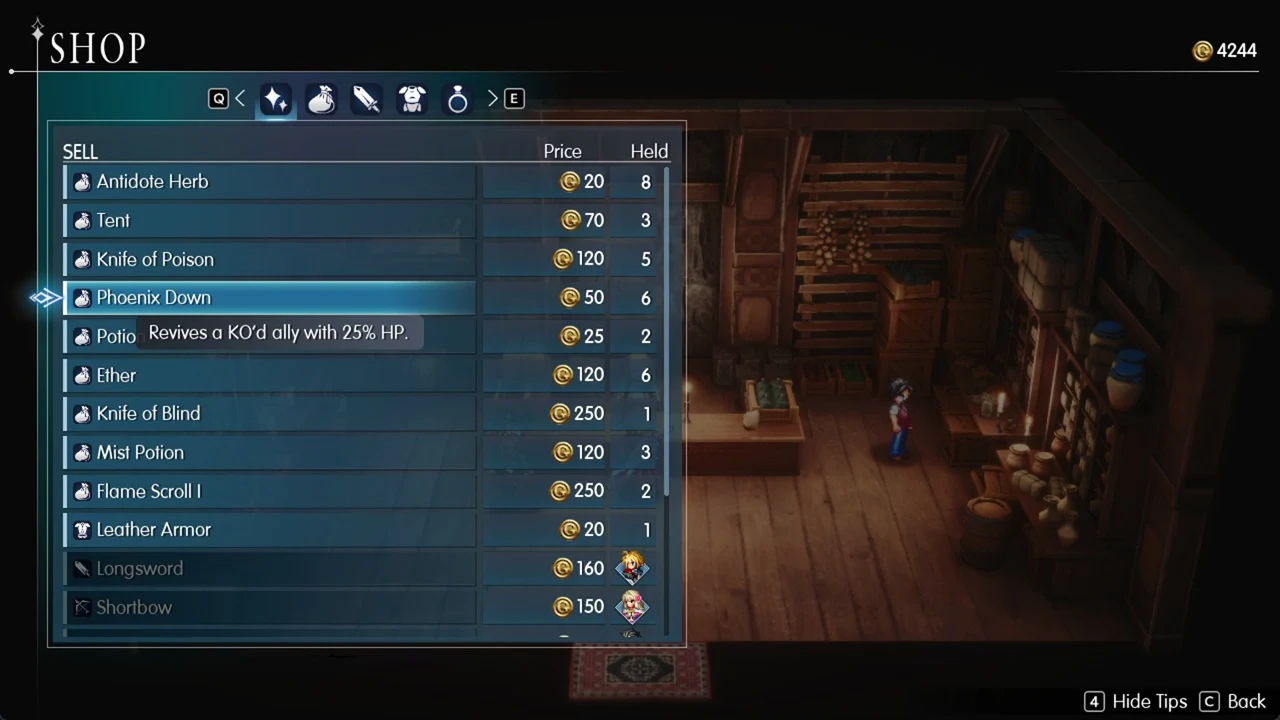
Every shop has a Sell tab, and some drops are worth far more than basic consumables. That gil goes straight back into weapons and Tents.
| Item | Sell price |
|---|---|
 Knife of Blind | 250 Gil |
| Knife of Poison | 120 Gil |
| Ether | 120 Gil |
| Phoenix Down | 50 Gil |
| Potion | 25 Gil |
12. Keep a Vision equipped to earn MRP
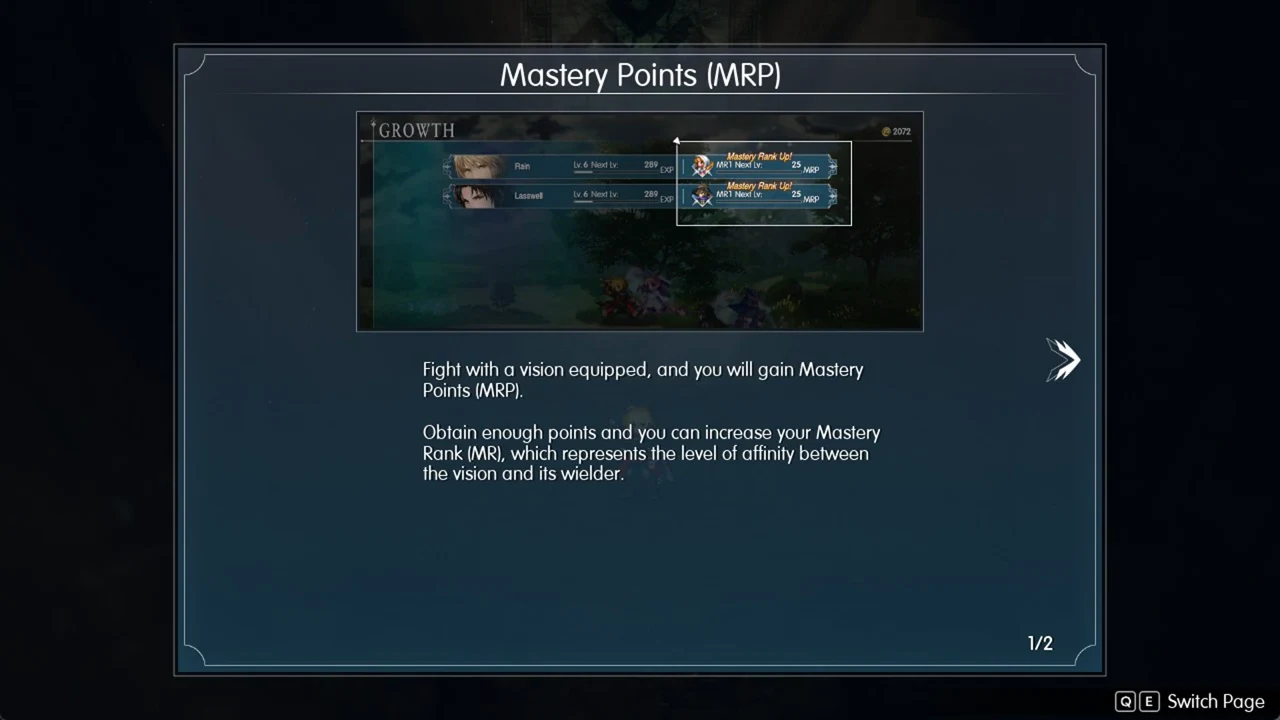
“Fight with a vision equipped, and you will gain Mastery Points (MRP).” “Obtain enough points and you can increase your Mastery Rank (MR), which represents the level of affinity between the vision and its wielder.” Check how to equip Visions before you leave town; the Sanctum of Light guide shows where more Visions come from.
13. Change the difficulty any time
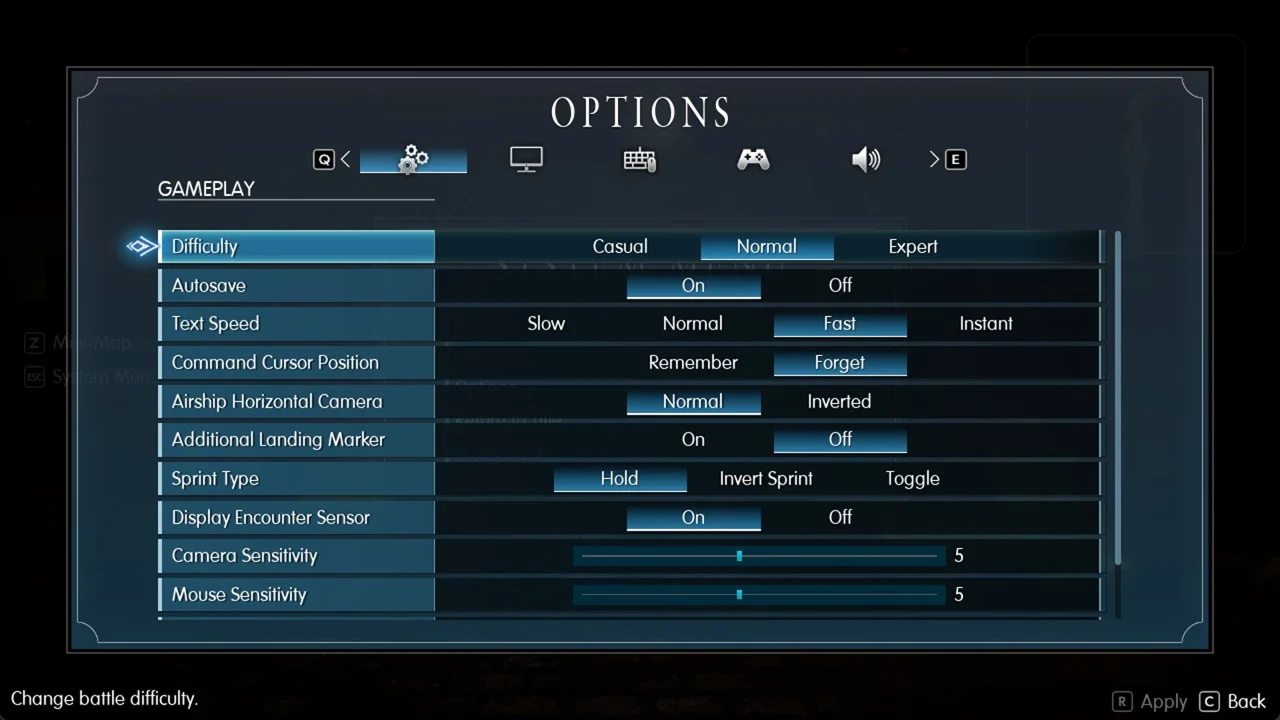
You pick Casual, Normal or Expert at New Game, but the choice is not locked. Go to System Menu > Options > Gameplay > Difficulty (“Change battle difficulty.”) to switch whenever you like. Expert trades comfort for progress: “Battles are harder and award more MRP.” The full comparison is in the difficulty breakdown.
There is no battle speed row on that tab. To make fights faster, press Tab during a battle (Y on a controller) to cycle three speeds, up to three filled arrows; the setting stays for later battles. Setting Text Speed to Instant on the same tab helps too, and the guide to speeding up battles has the rest.
14. Ride a chocobo on the World Map
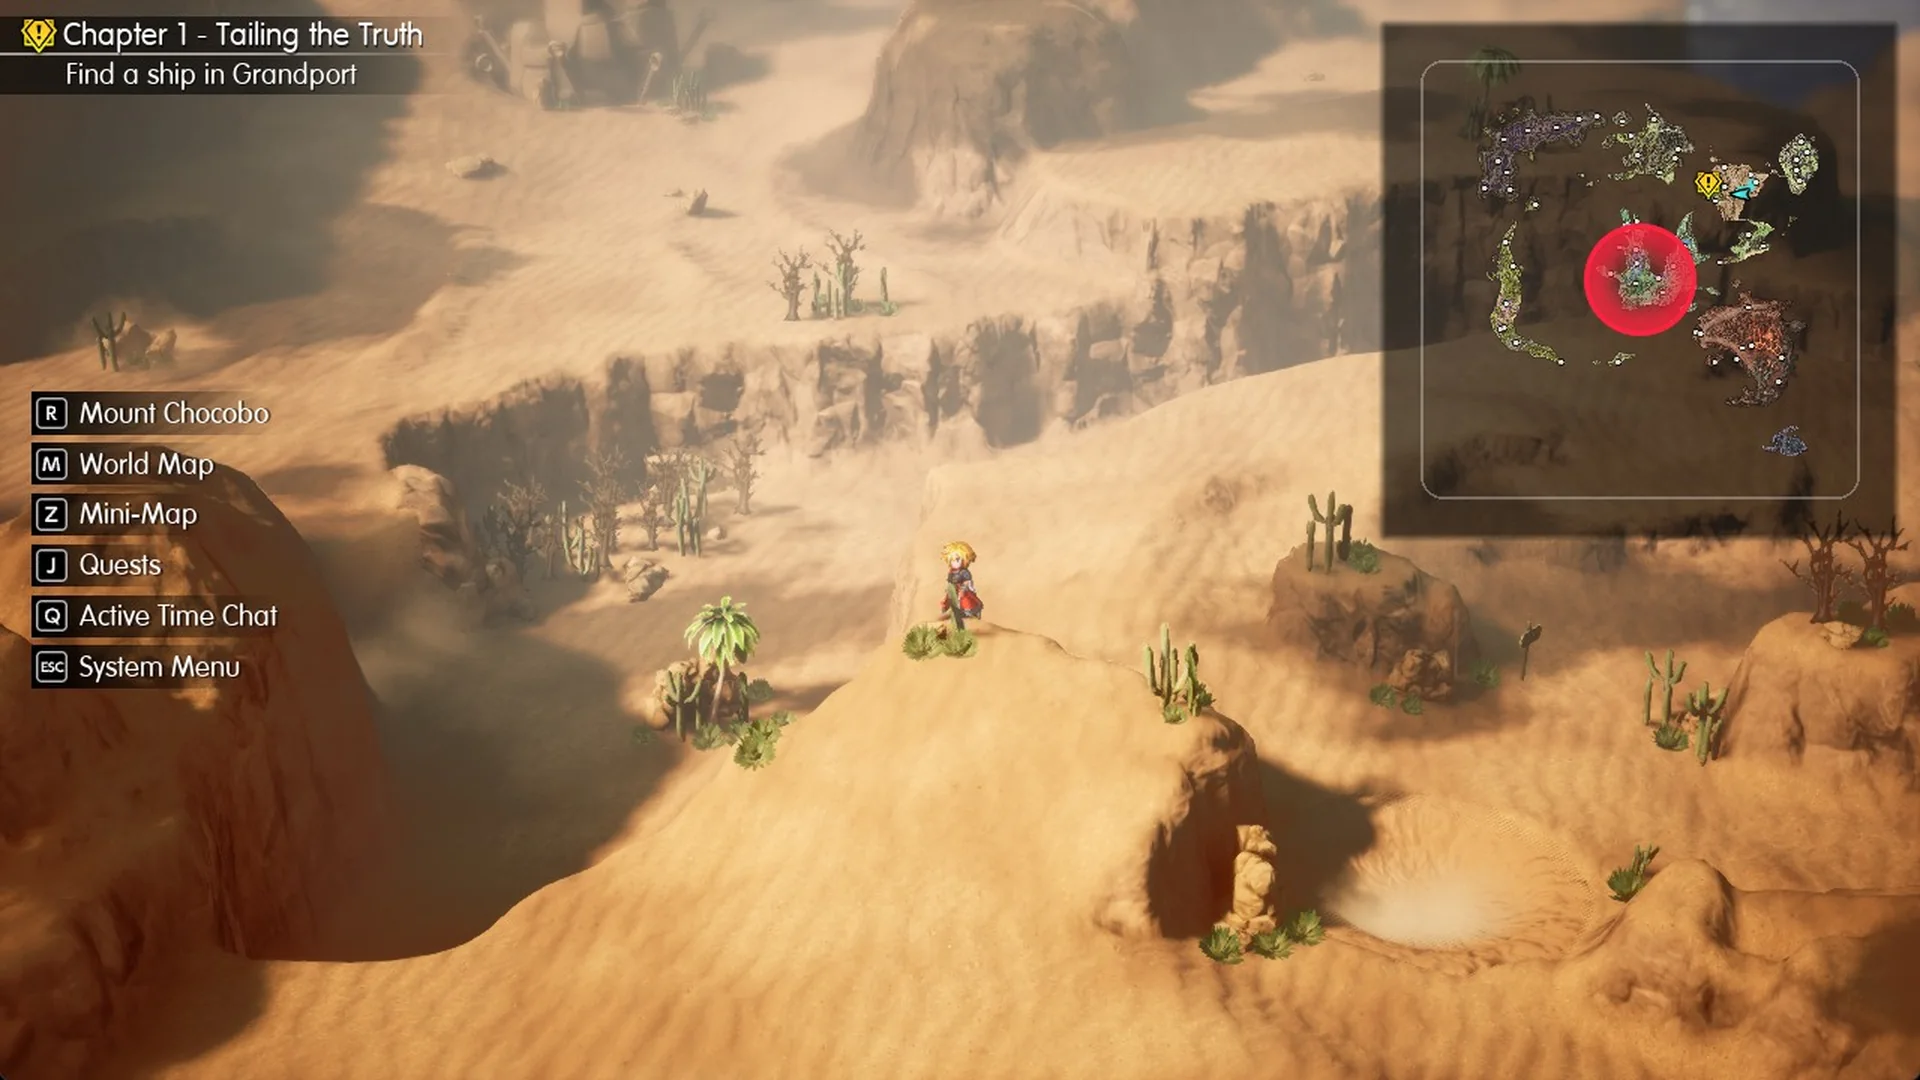
After the party sleeps at the inn in Chapter 1, speak with the Chocobo Stablehand in the Village of Kol to receive a chocobo at no cost. The World Map HUD then displays “R Mount Chocobo”; press R to mount and press it again to get off (“Dismount Chocobo”). A chocobo gets you across the desert much faster than walking, though you can still run into battles while riding. The chocobo guide covers all the steps.
One more thing to watch for as you explore: Tablet Shards lying on the ground in towns and dungeons. There are 99 of them, the collector at the Oblivion Palace hands out a reward at each shard total, and every spot is in our Tablet Shard locations guide.