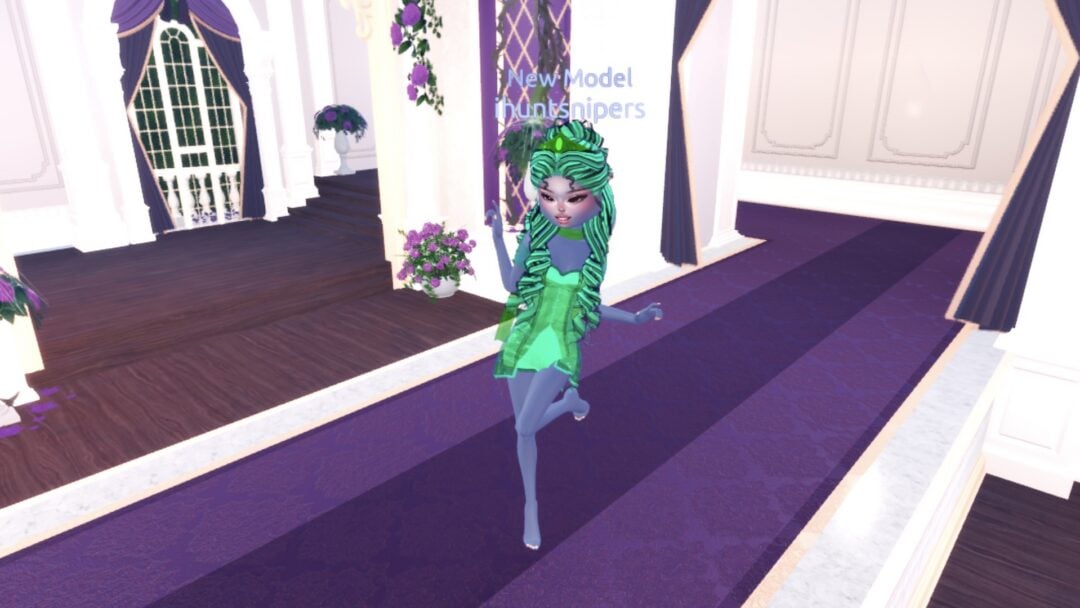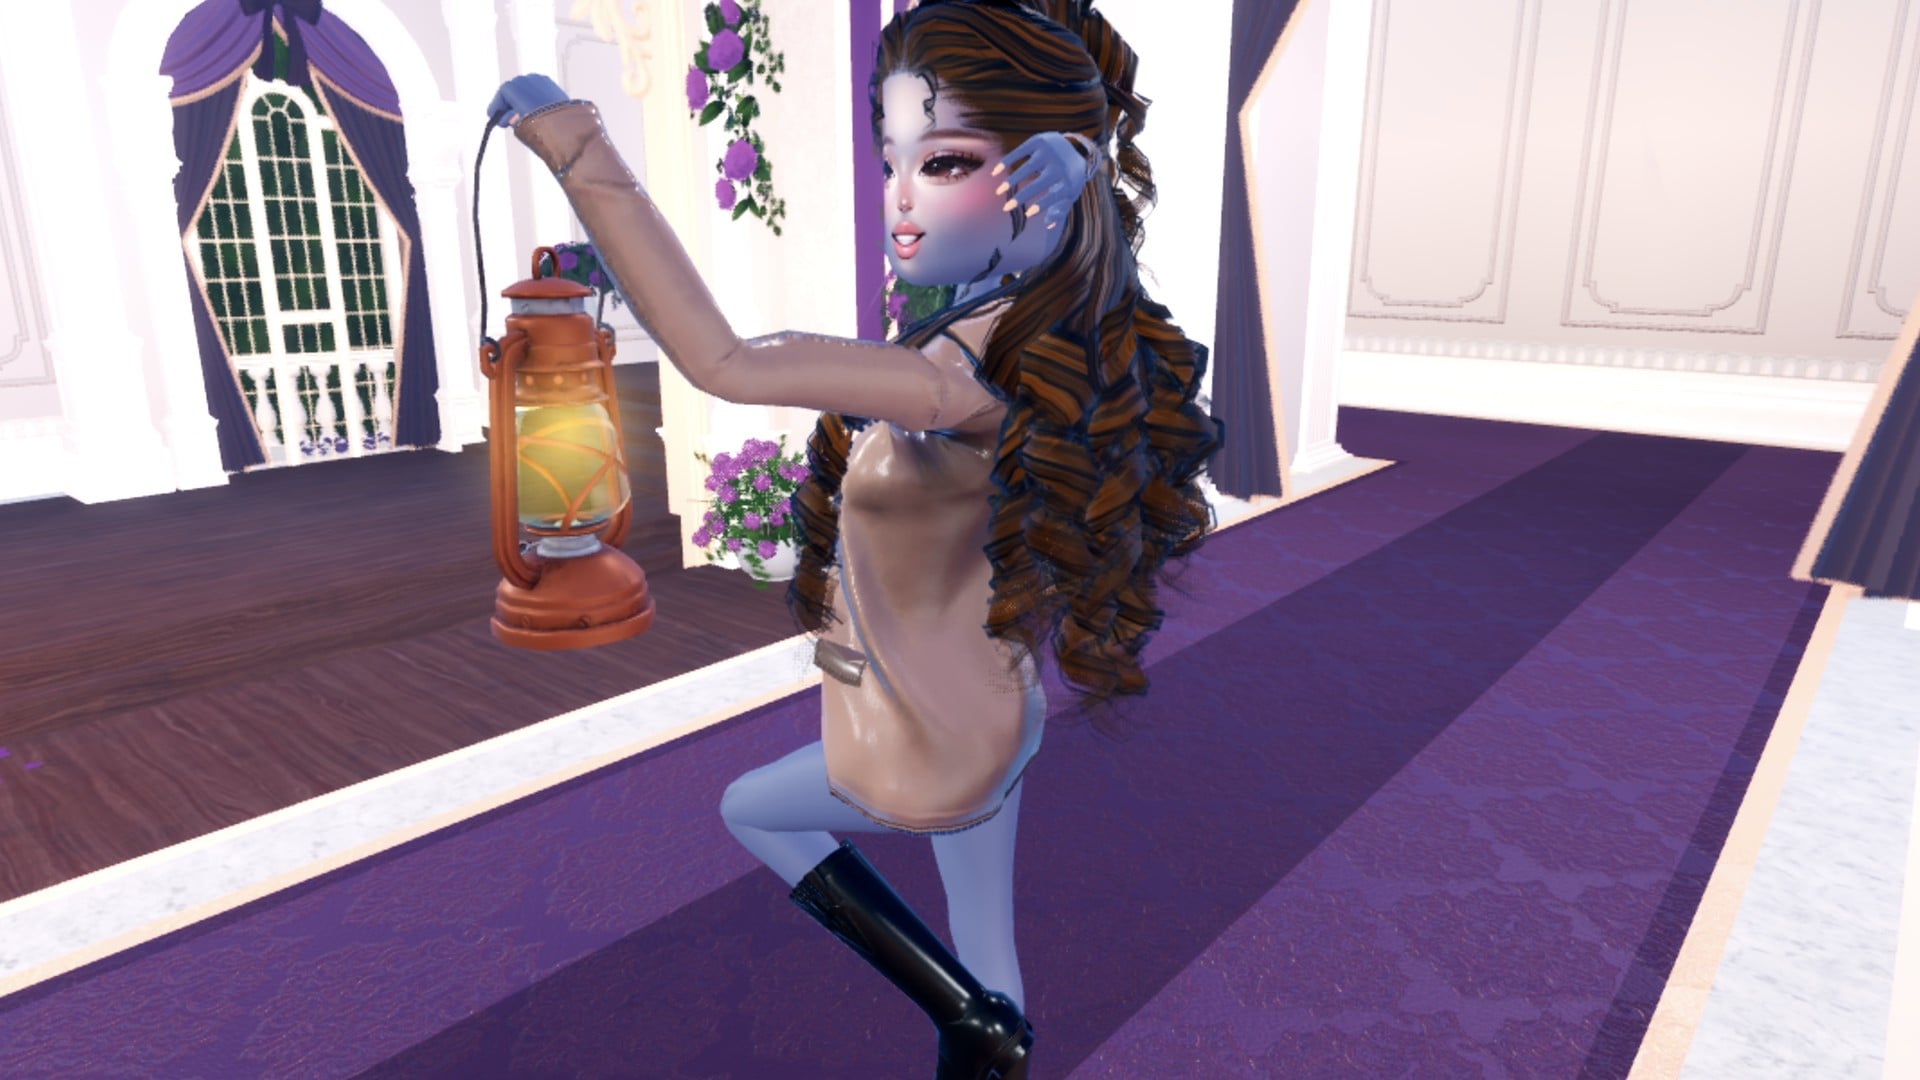
Trip To London is one of the round themes in Dress To Impress on Roblox, and the banner gives you only the name: no hint about what to wear. We have not had it as a round yet, so the reading here is ours: London street style, which means a tailored coat, plaid and check, a top hat, and a rainy-day raincoat with wellies. Below are two complete looks we built in Freeplay Mode, a plaid-trimmed denim dress under a tan ruffled coat with a black top hat, and a glossy red raincoat with a royal blue rain hat and black boots, with our own picture for each step. Every piece, hairstyle and material used is free, so both work without VIP. For the other themes, see every Dress To Impress theme we have built.
Quick answer: Wear a plaid-trimmed denim dress under a tan ruffled coat with a black top hat, or a glossy red raincoat with a royal blue rain hat and black wellies. Most pieces sit on the Halloween display circle in the Dressing Room.
Trip To London outfit ideas in Dress To Impress
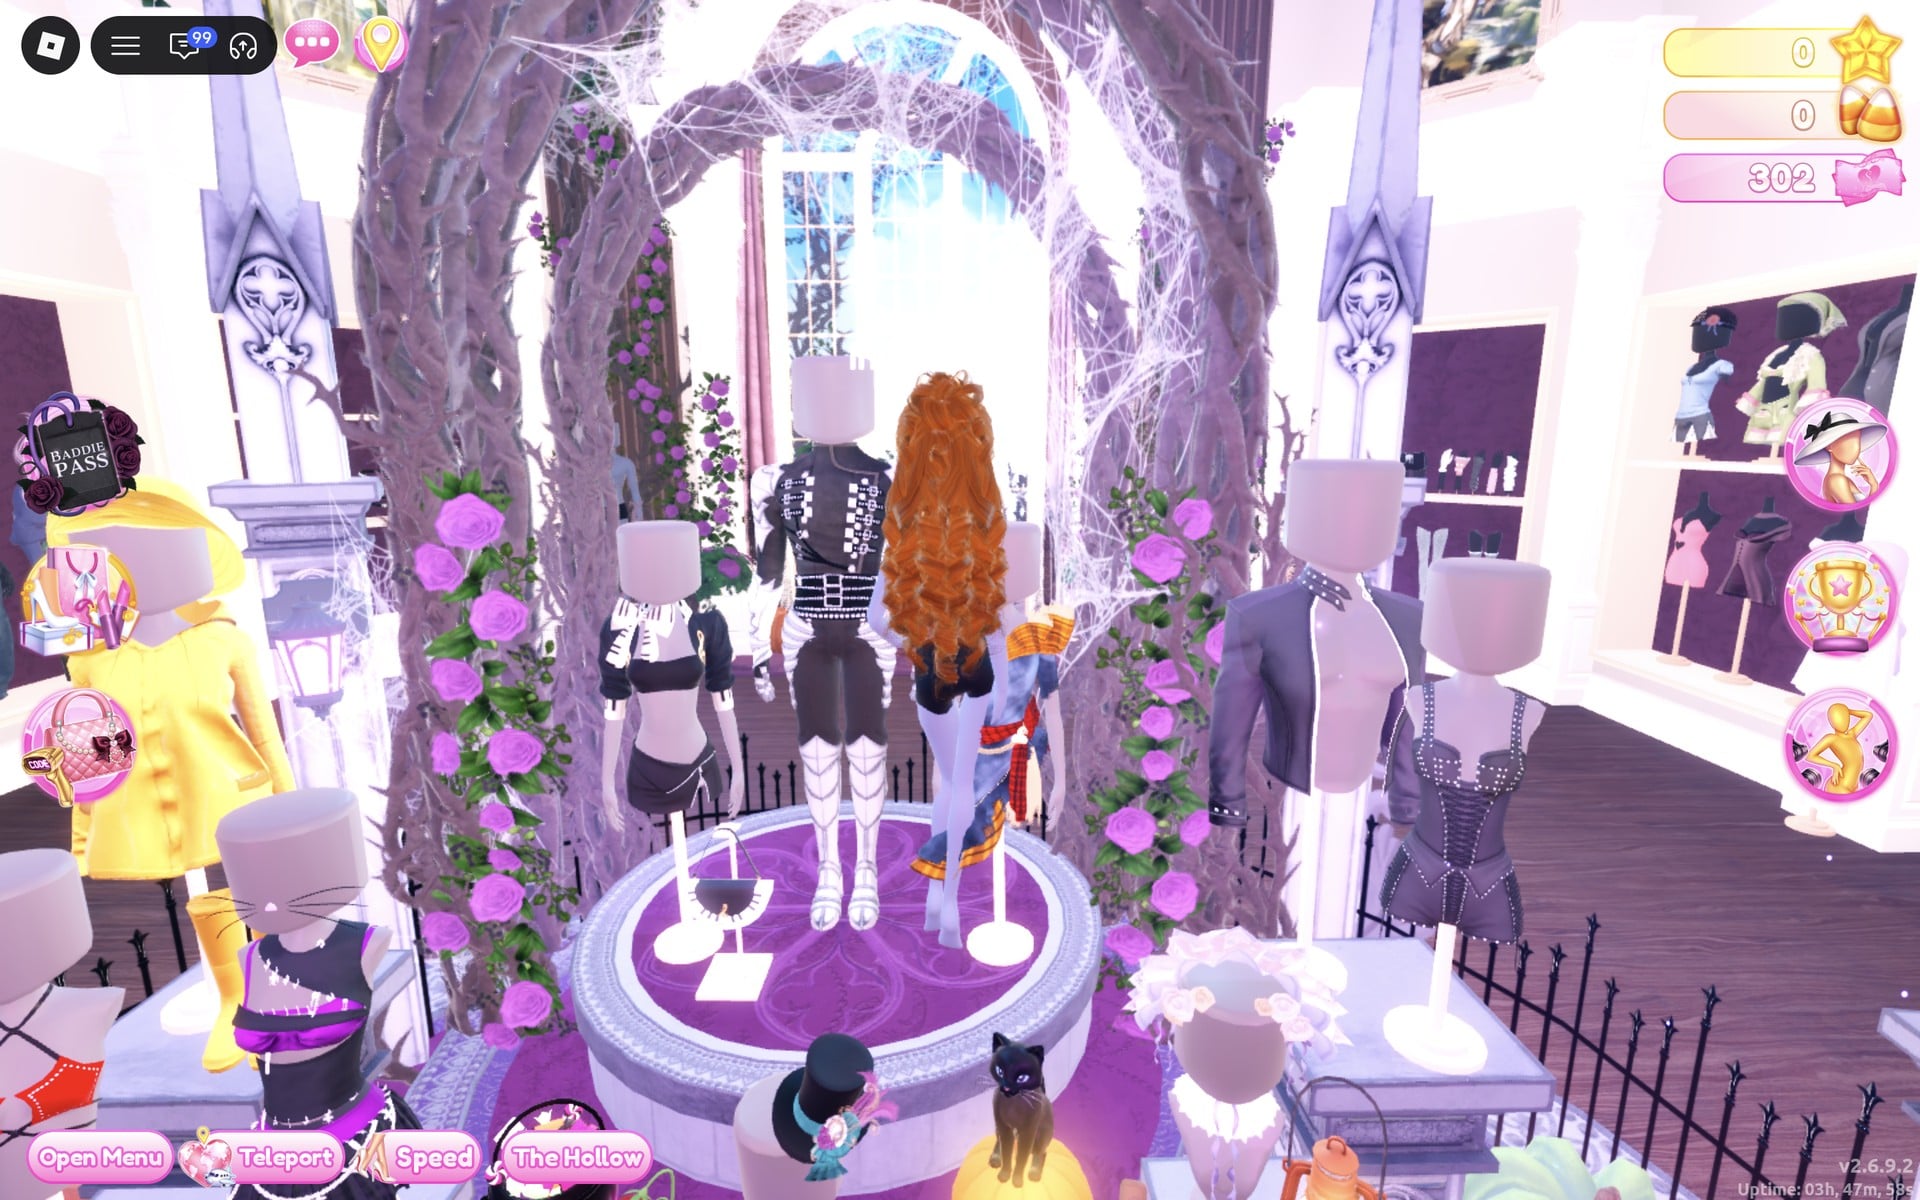
Dress To Impress shows no item names, so every piece here is described by where it sits in the Dressing Room, what it looks like and the exact spot we used on the Default palette. Most of both looks comes from one place: the Halloween display circle in the middle of the Dressing Room hall, whose podium holds the plaid dress and the top hat, with a yellow raincoat set on a mannequin beside the arch. Both looks keep the same long curls with a crown part from the hair-dryer chairs in Lana’s Salon, which we already had on; the crown and its gem are parts of the hairstyle, so you recolour them in the hair’s own panel.
Look 1: Plaid denim dress, tan coat and top hat
Our idea: a short denim dress trimmed in plaid, a tailored tan coat worn open over it and a small black top hat, a smart city look with a check pattern that reads British at a glance.
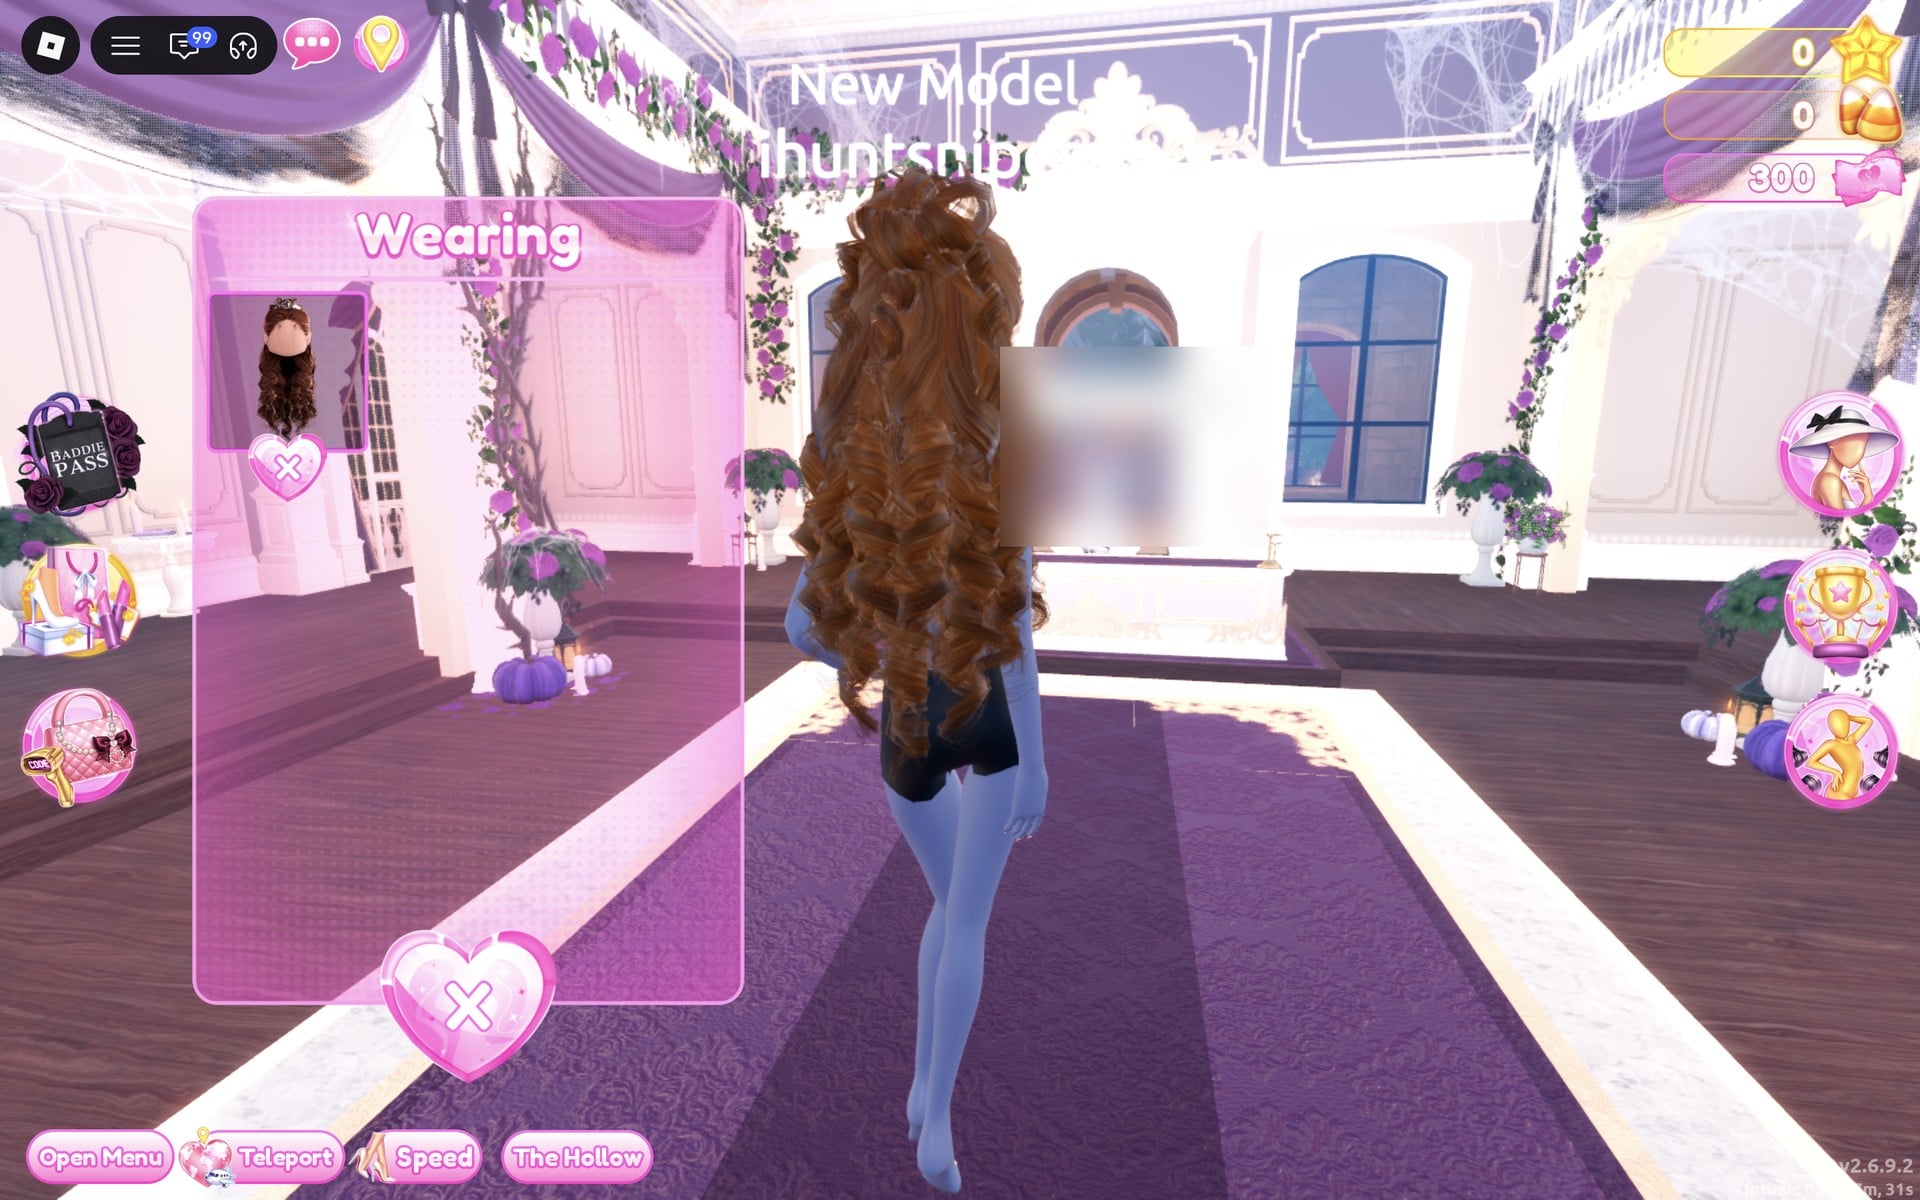
The black top and black shorts that show now are the base body, not a piece. They cannot be taken off, only covered.
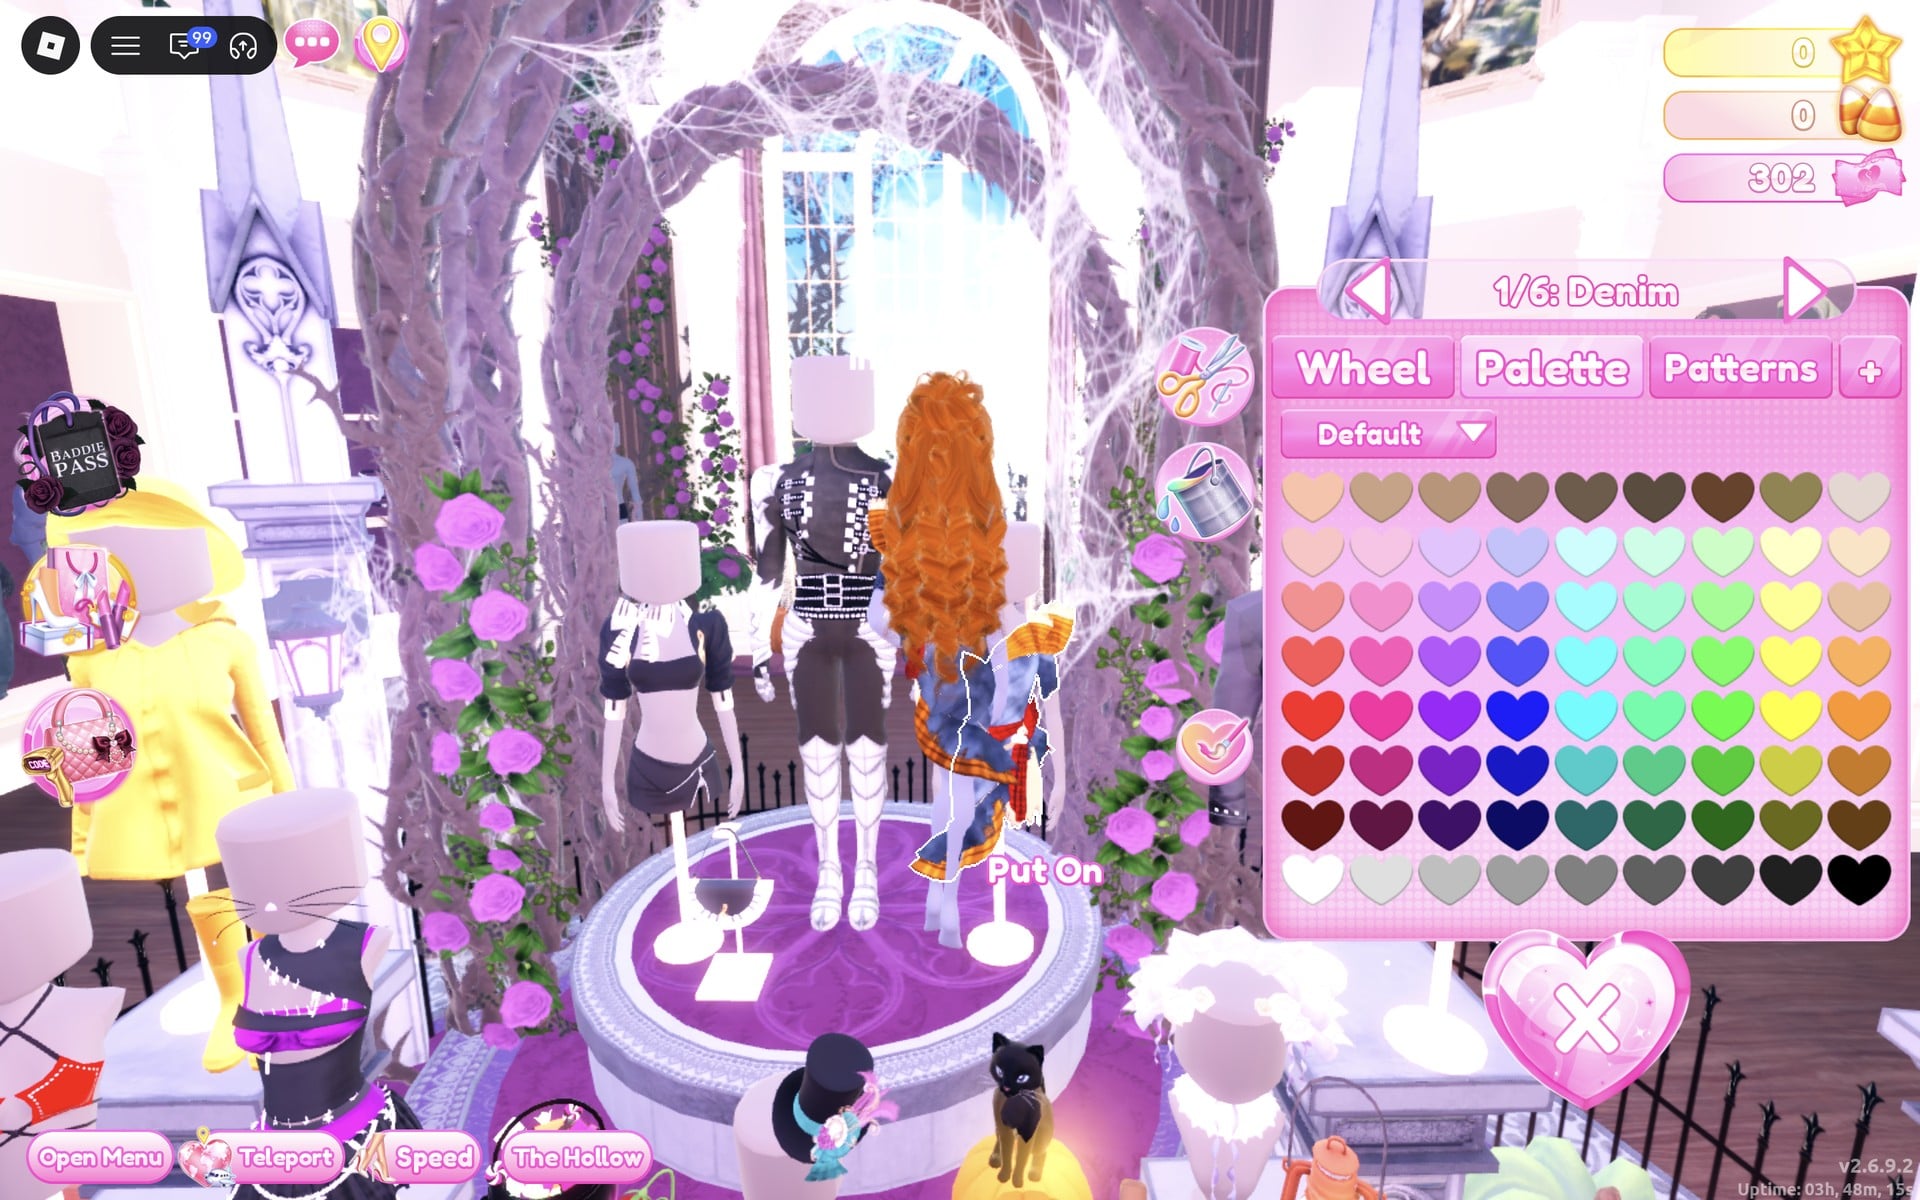
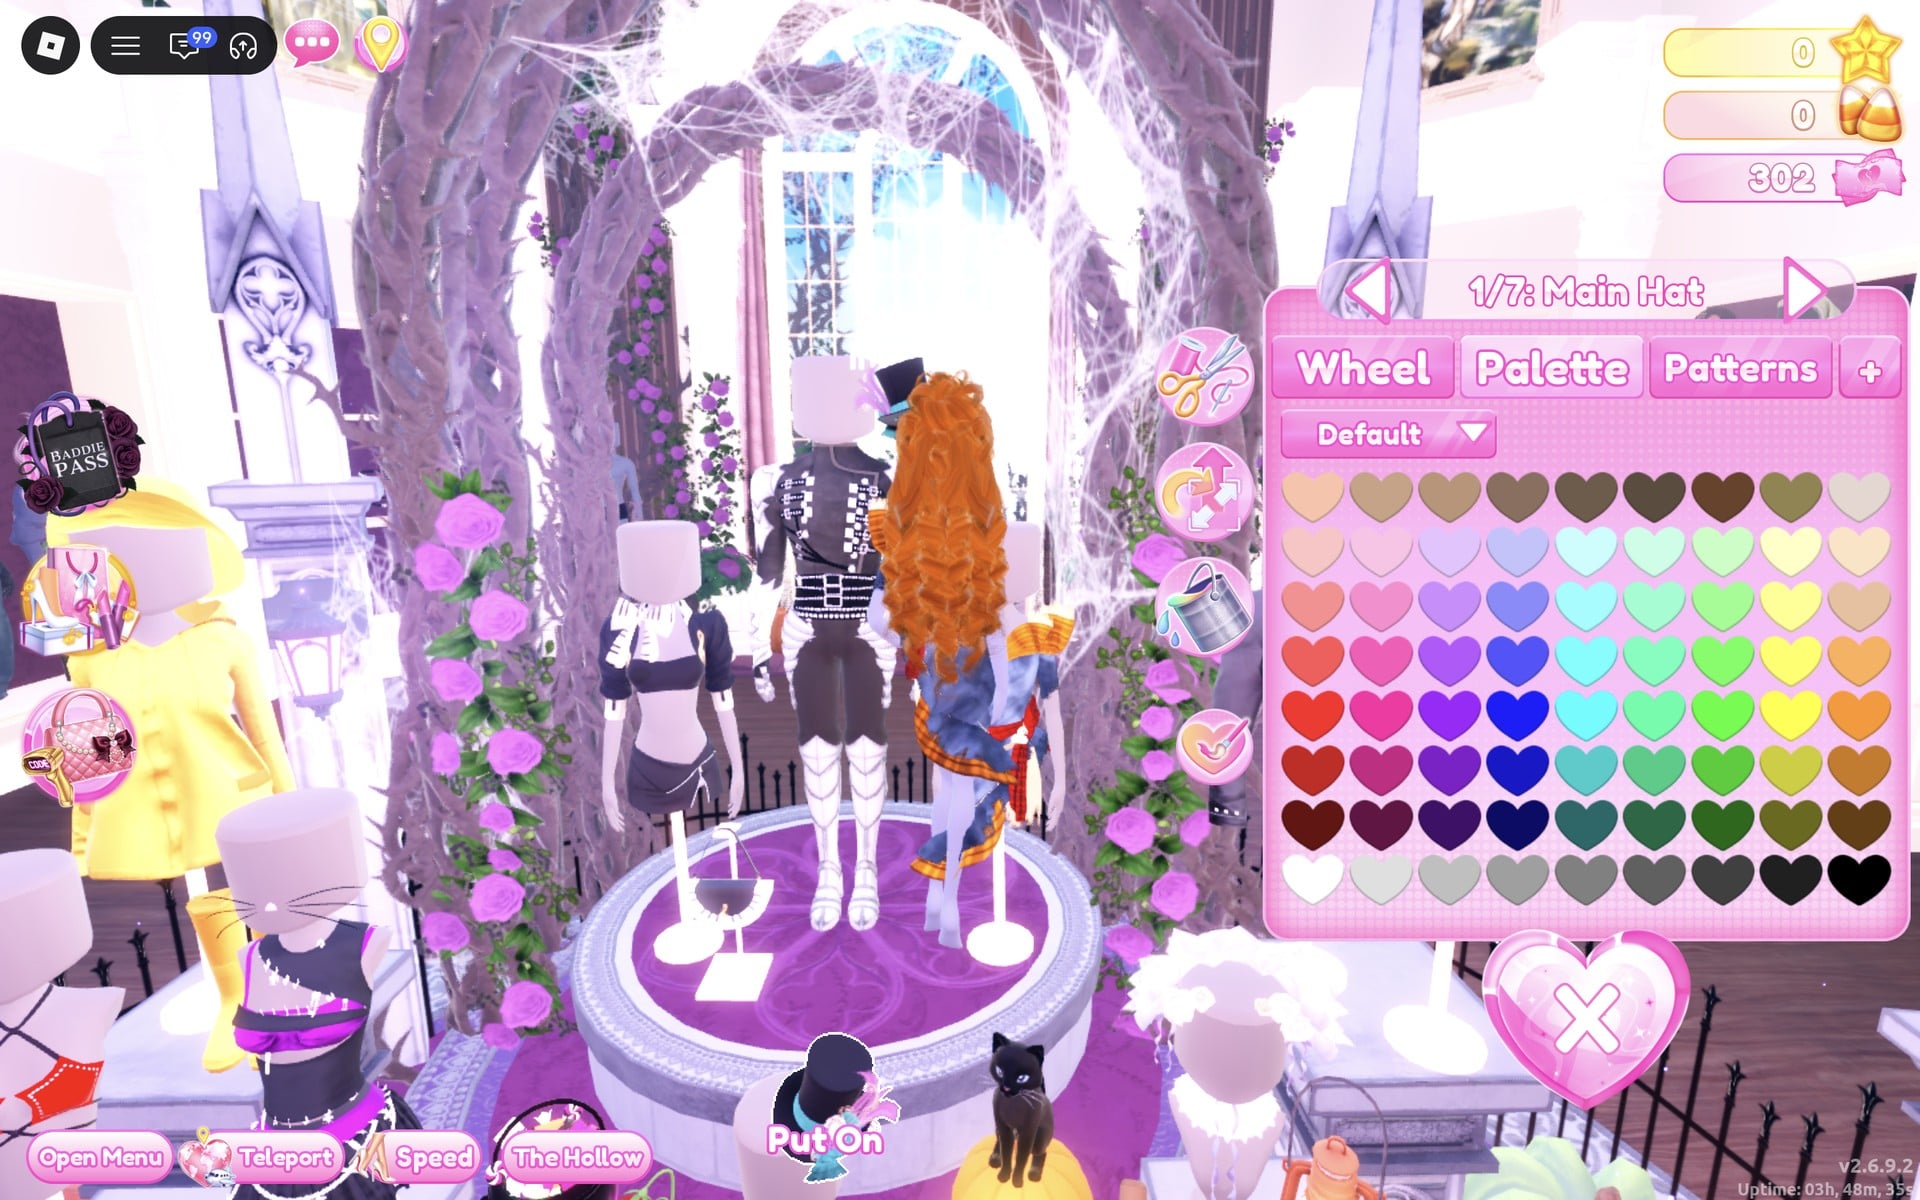
The Wearing panel now shows three pictures: the hair, the plaid denim dress and the top hat.
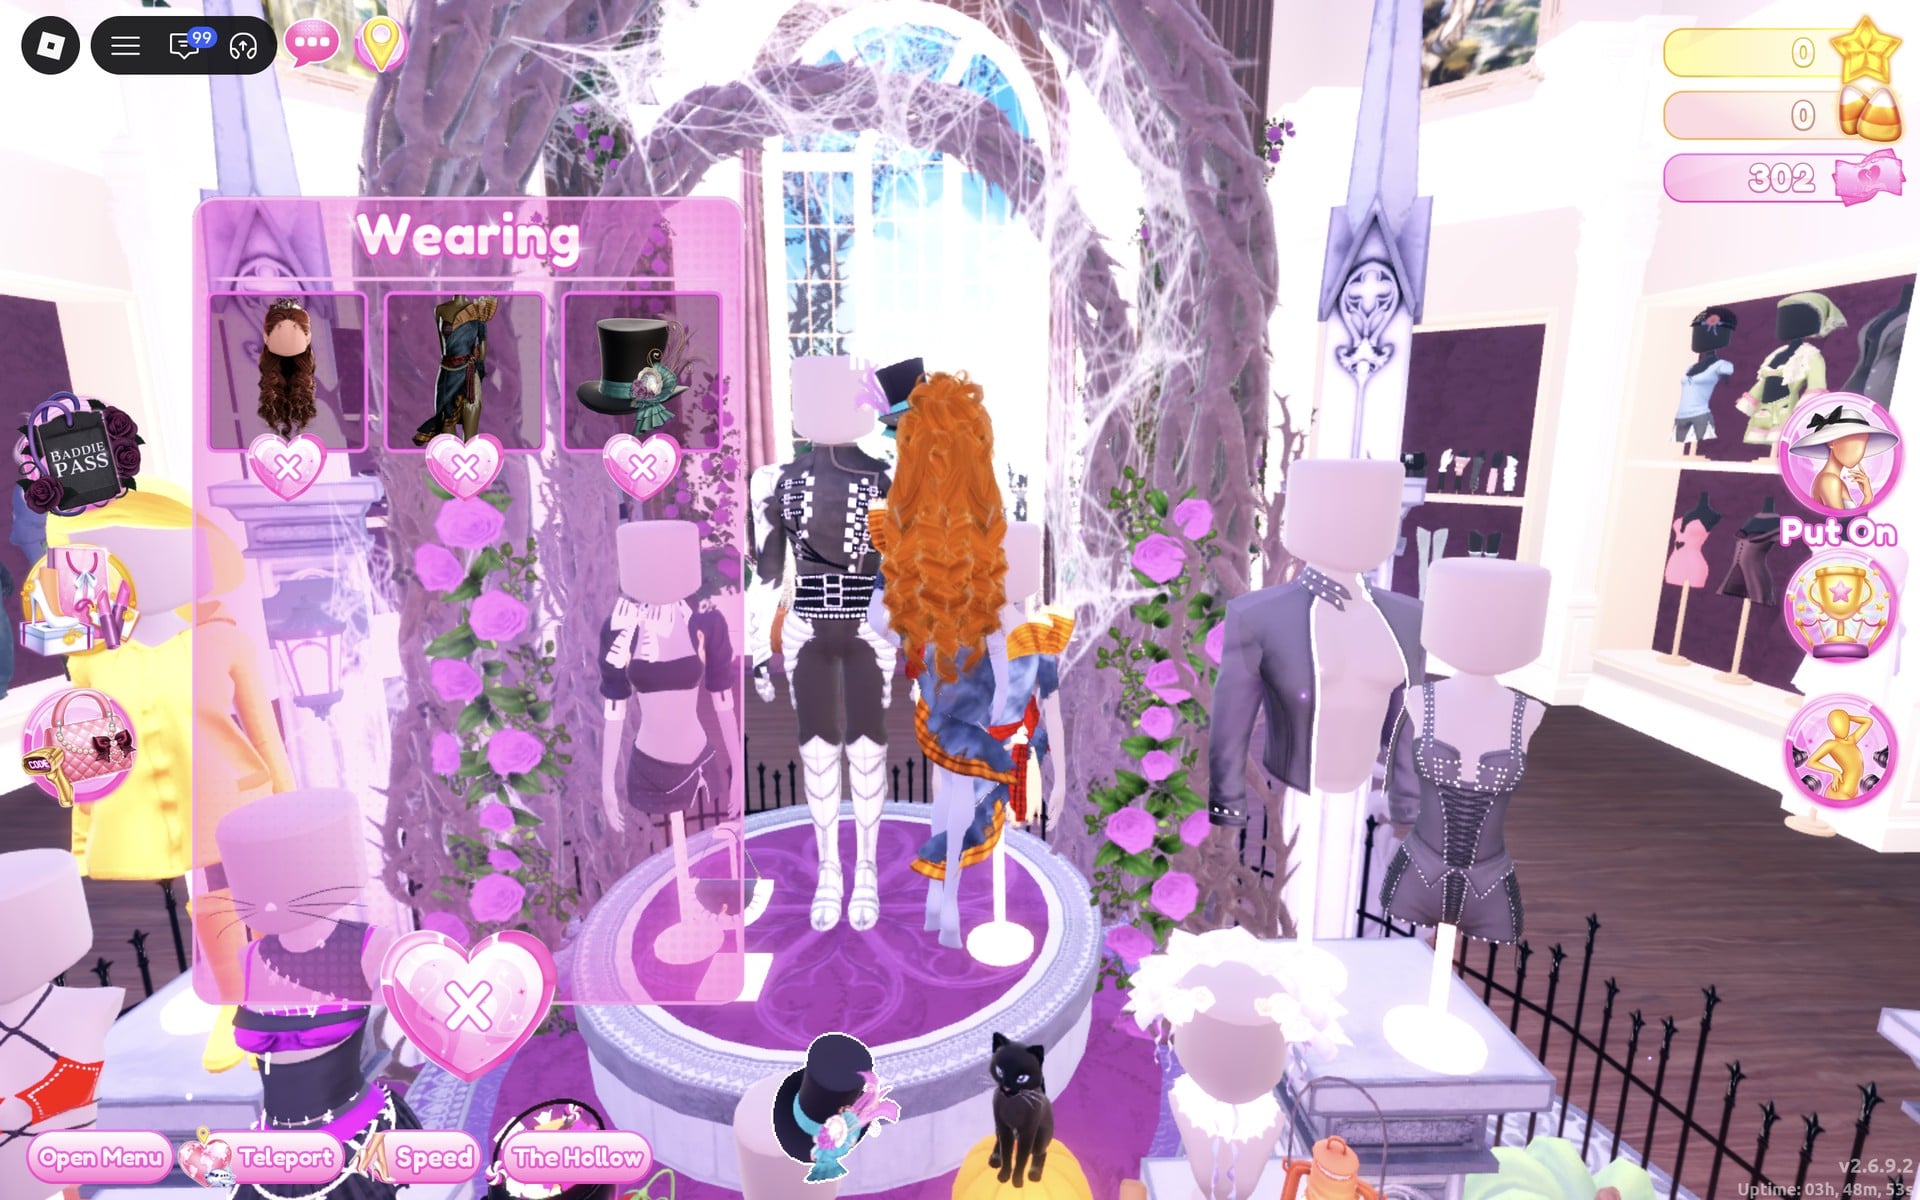
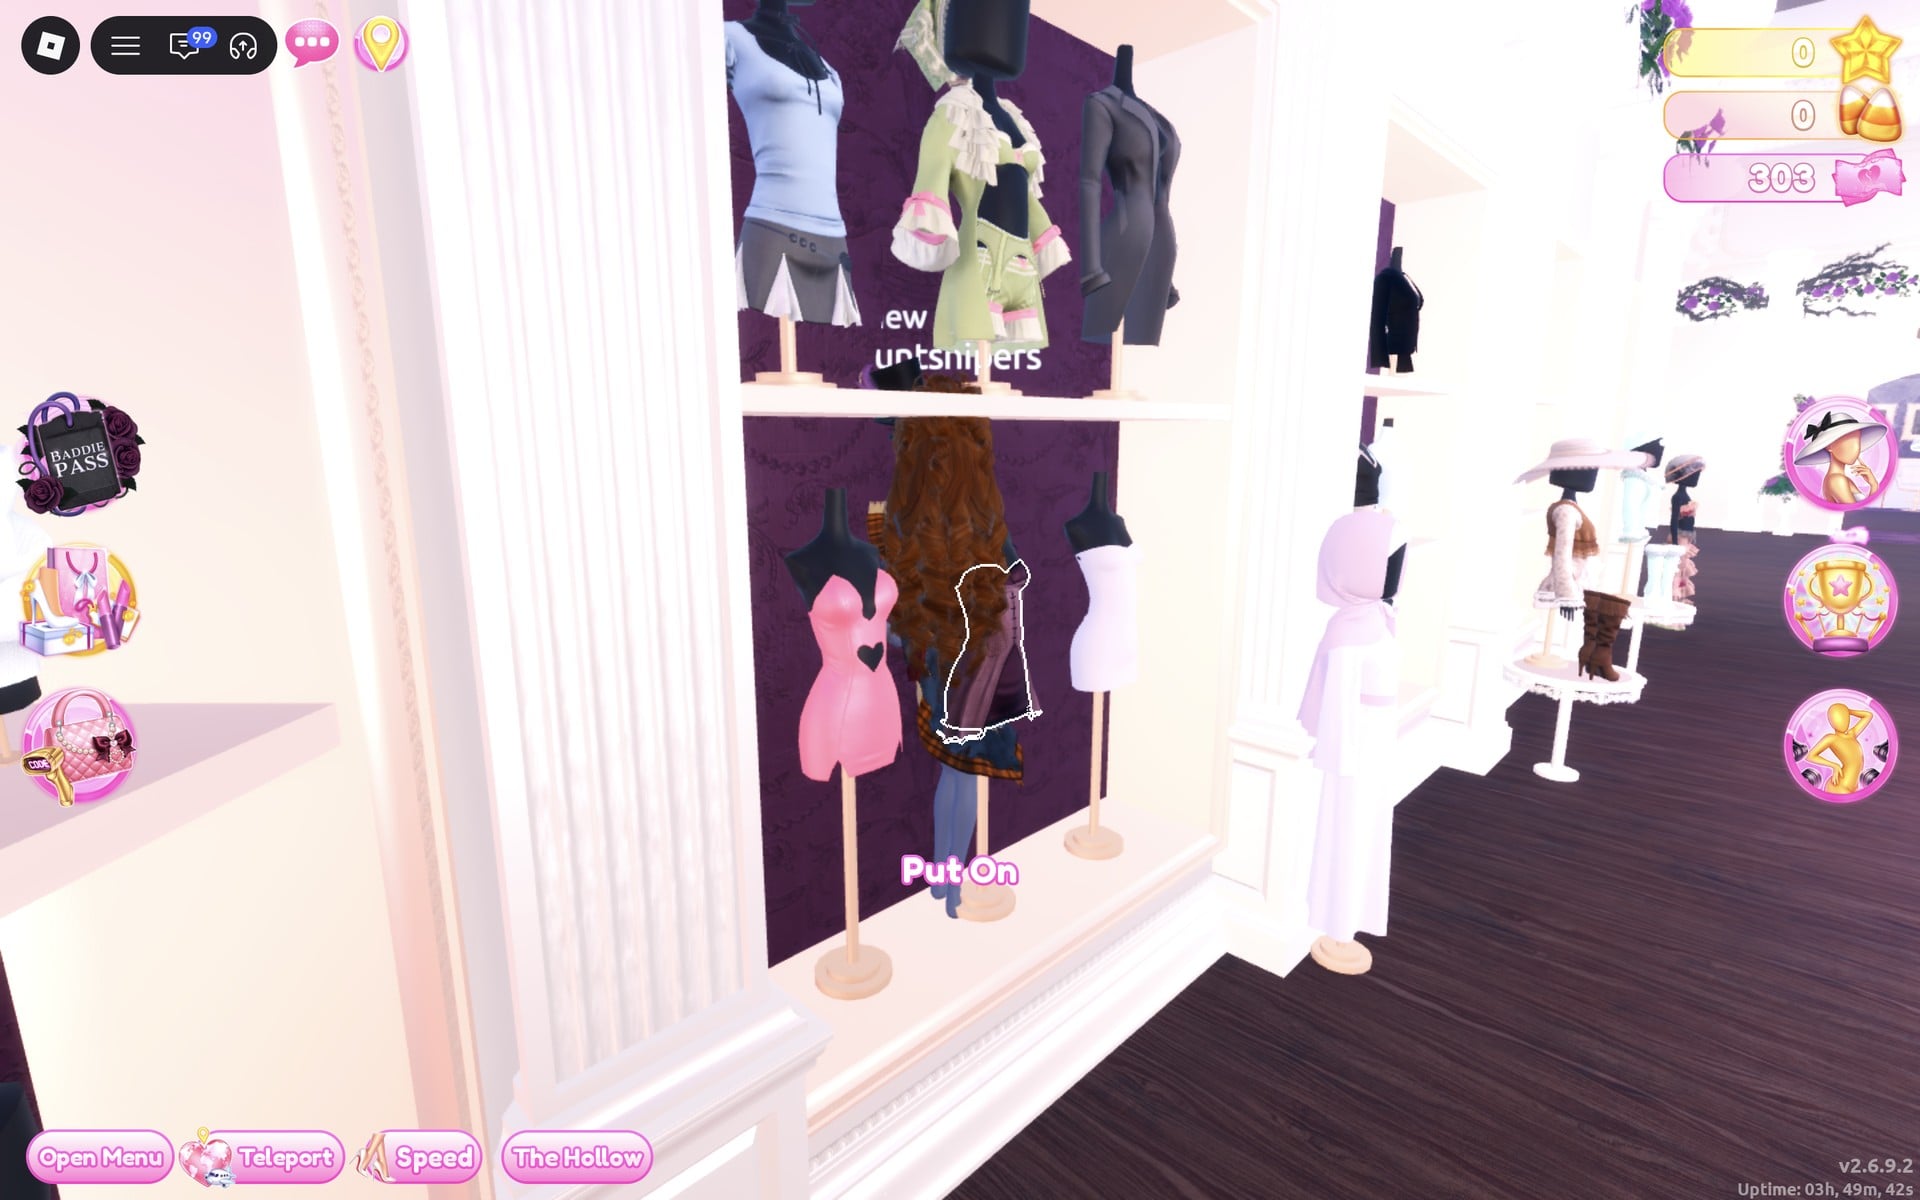
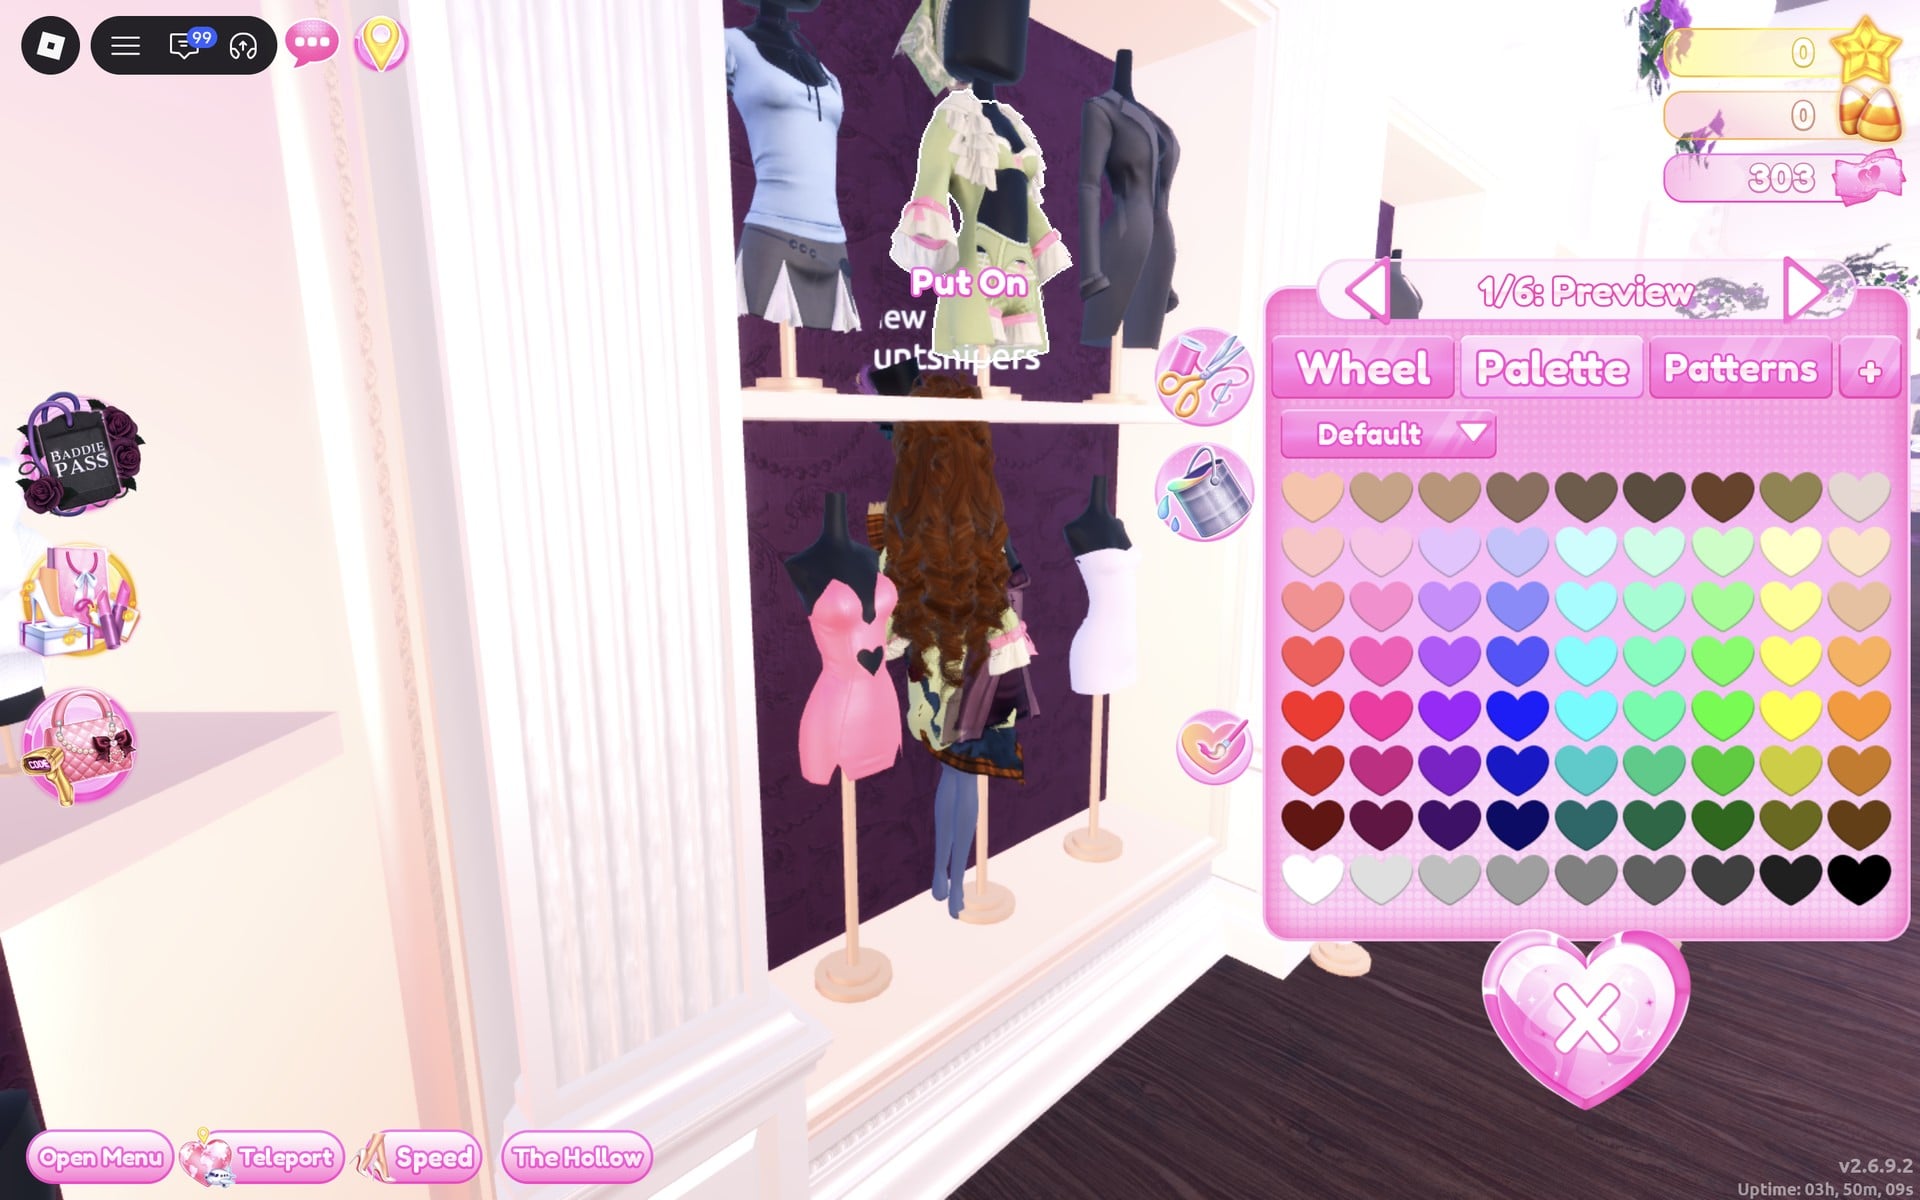
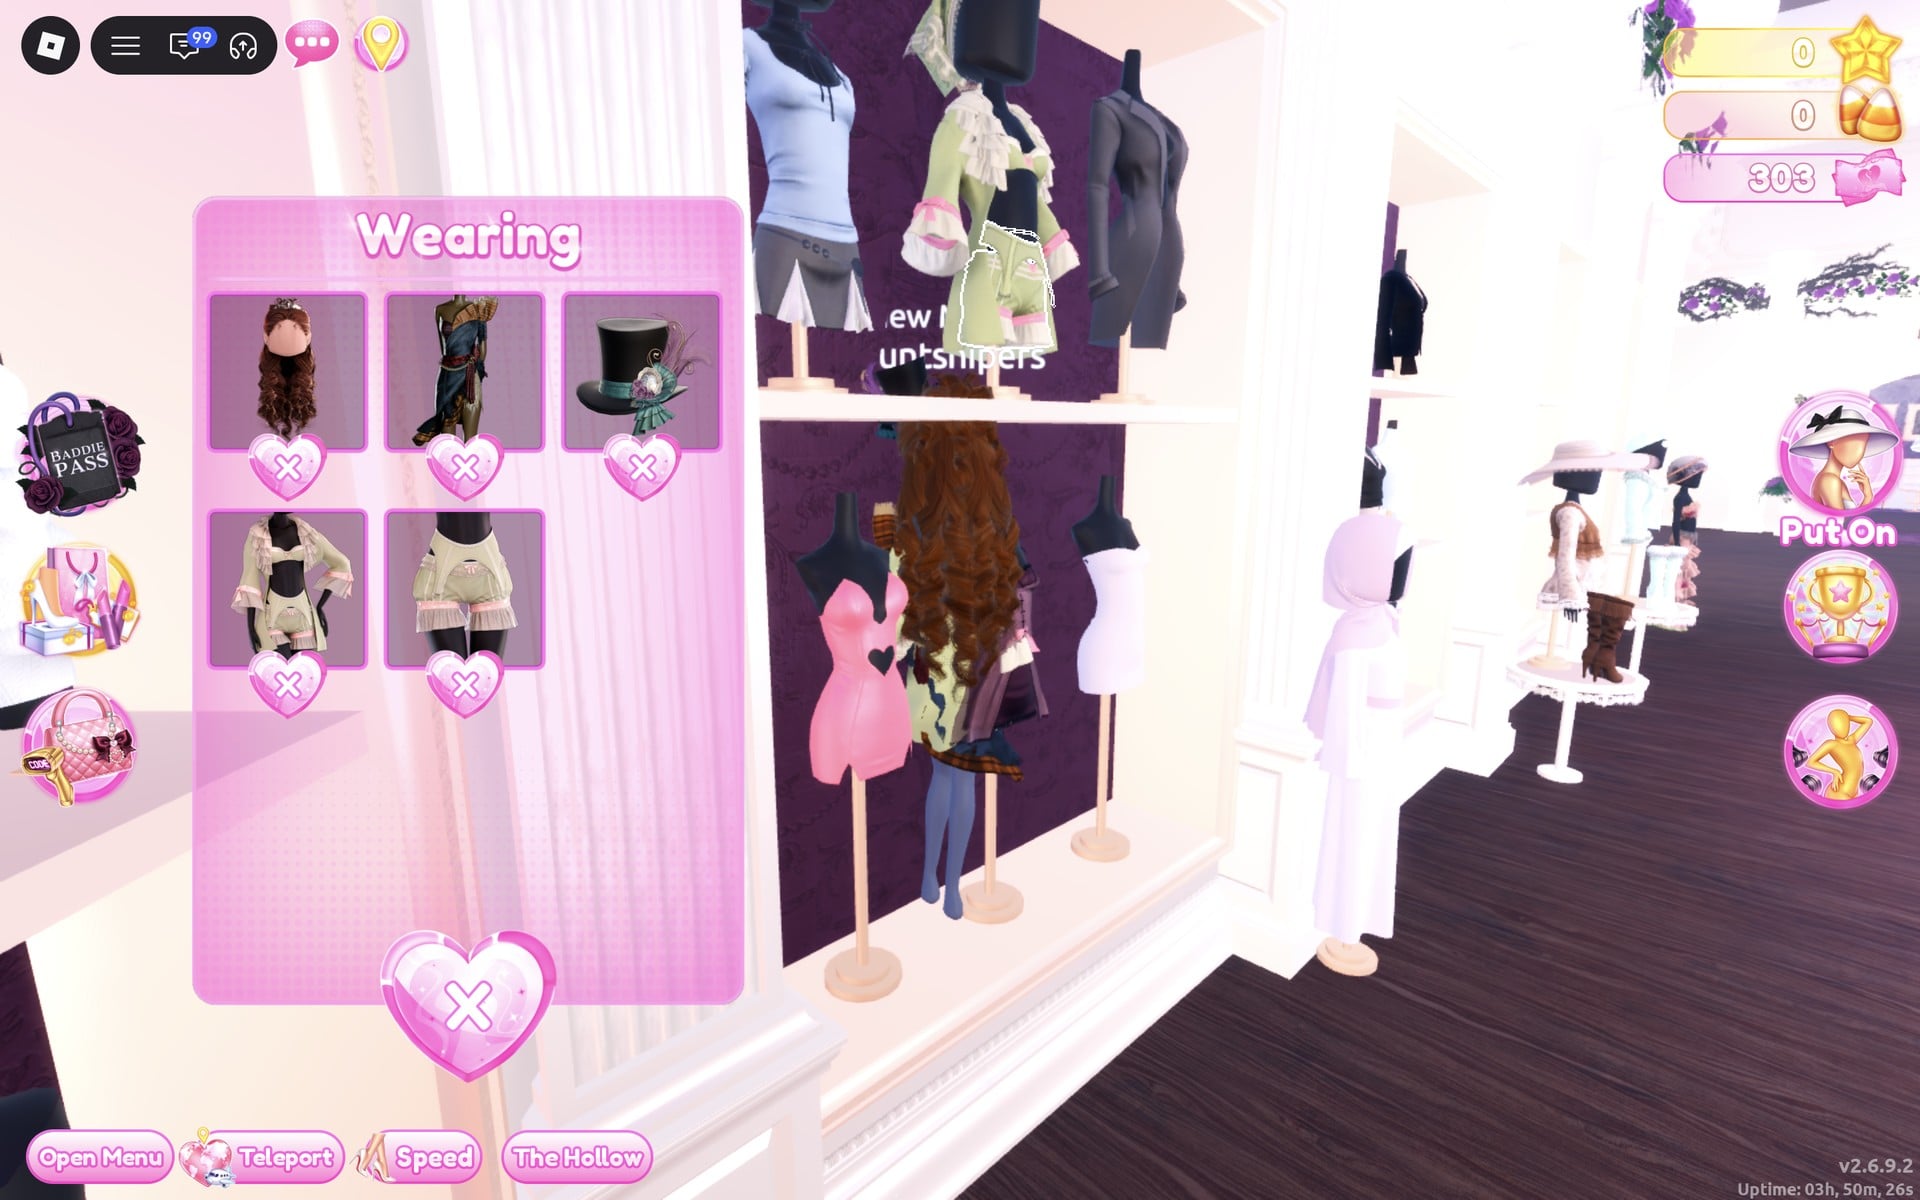
That one Put On adds the coat and its matching bloomers: the Wearing panel shows both.
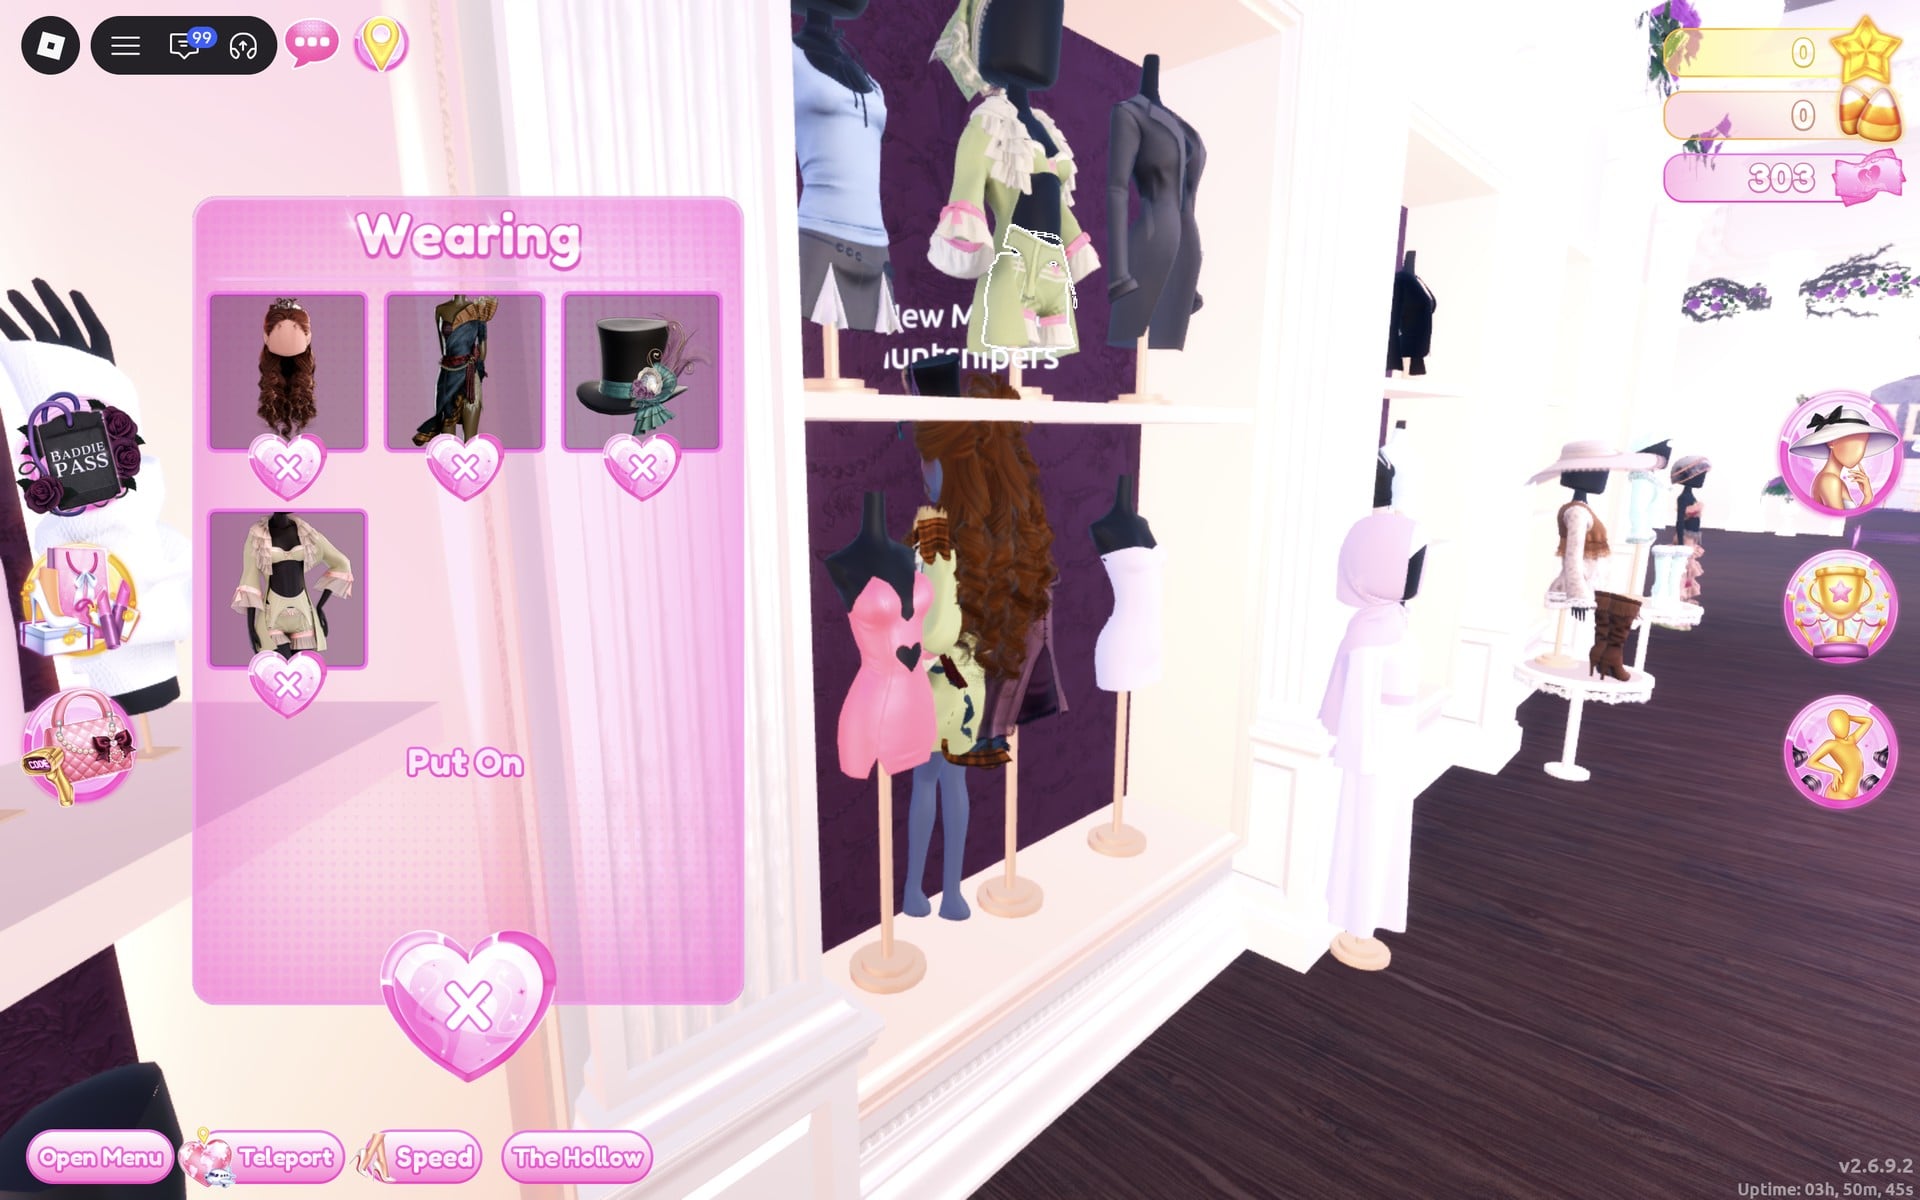
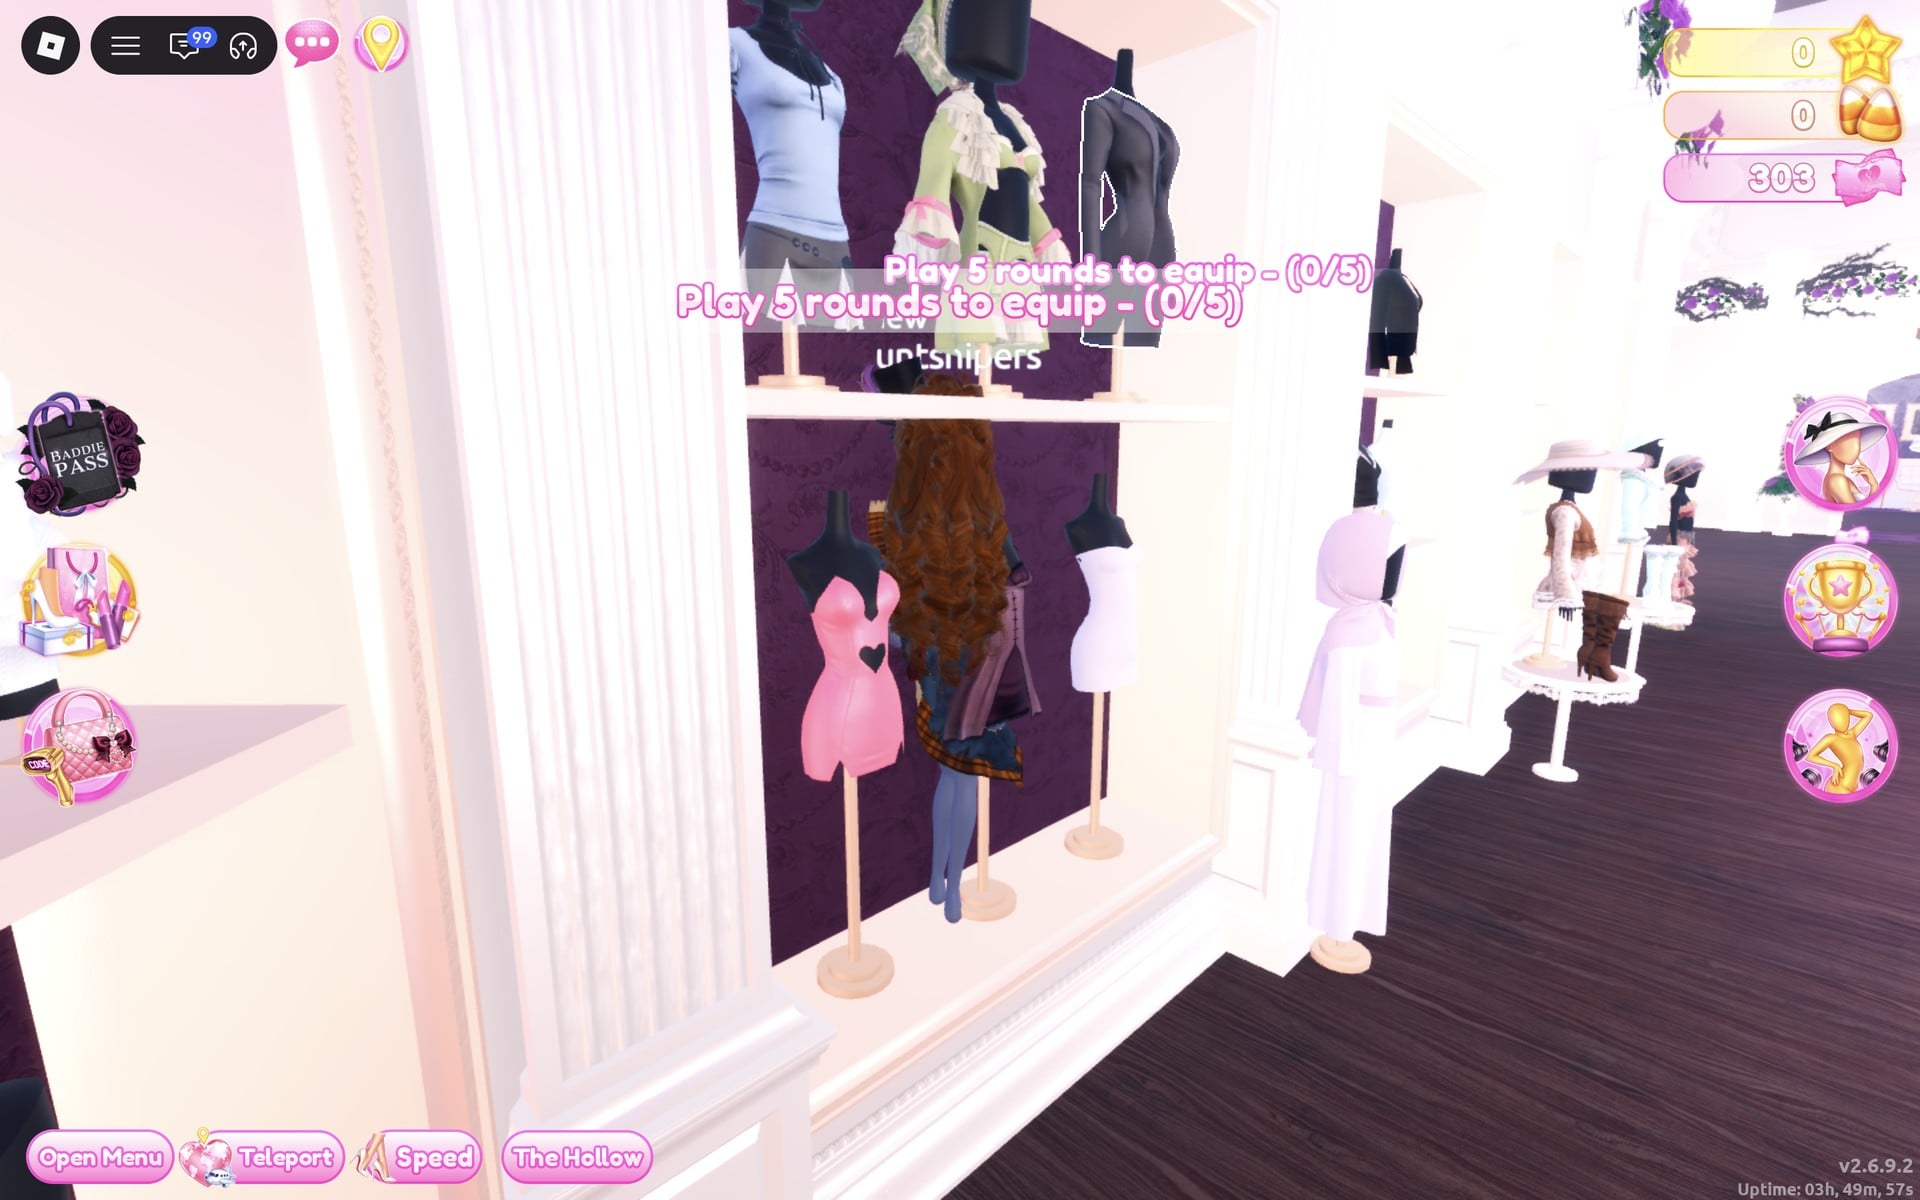
The dark grey jacket on the same top row, to the right of the coat, would suit this theme too, but clicking it showed “Play 5 rounds to equip – (0/5)” on our account, so we did not use it.
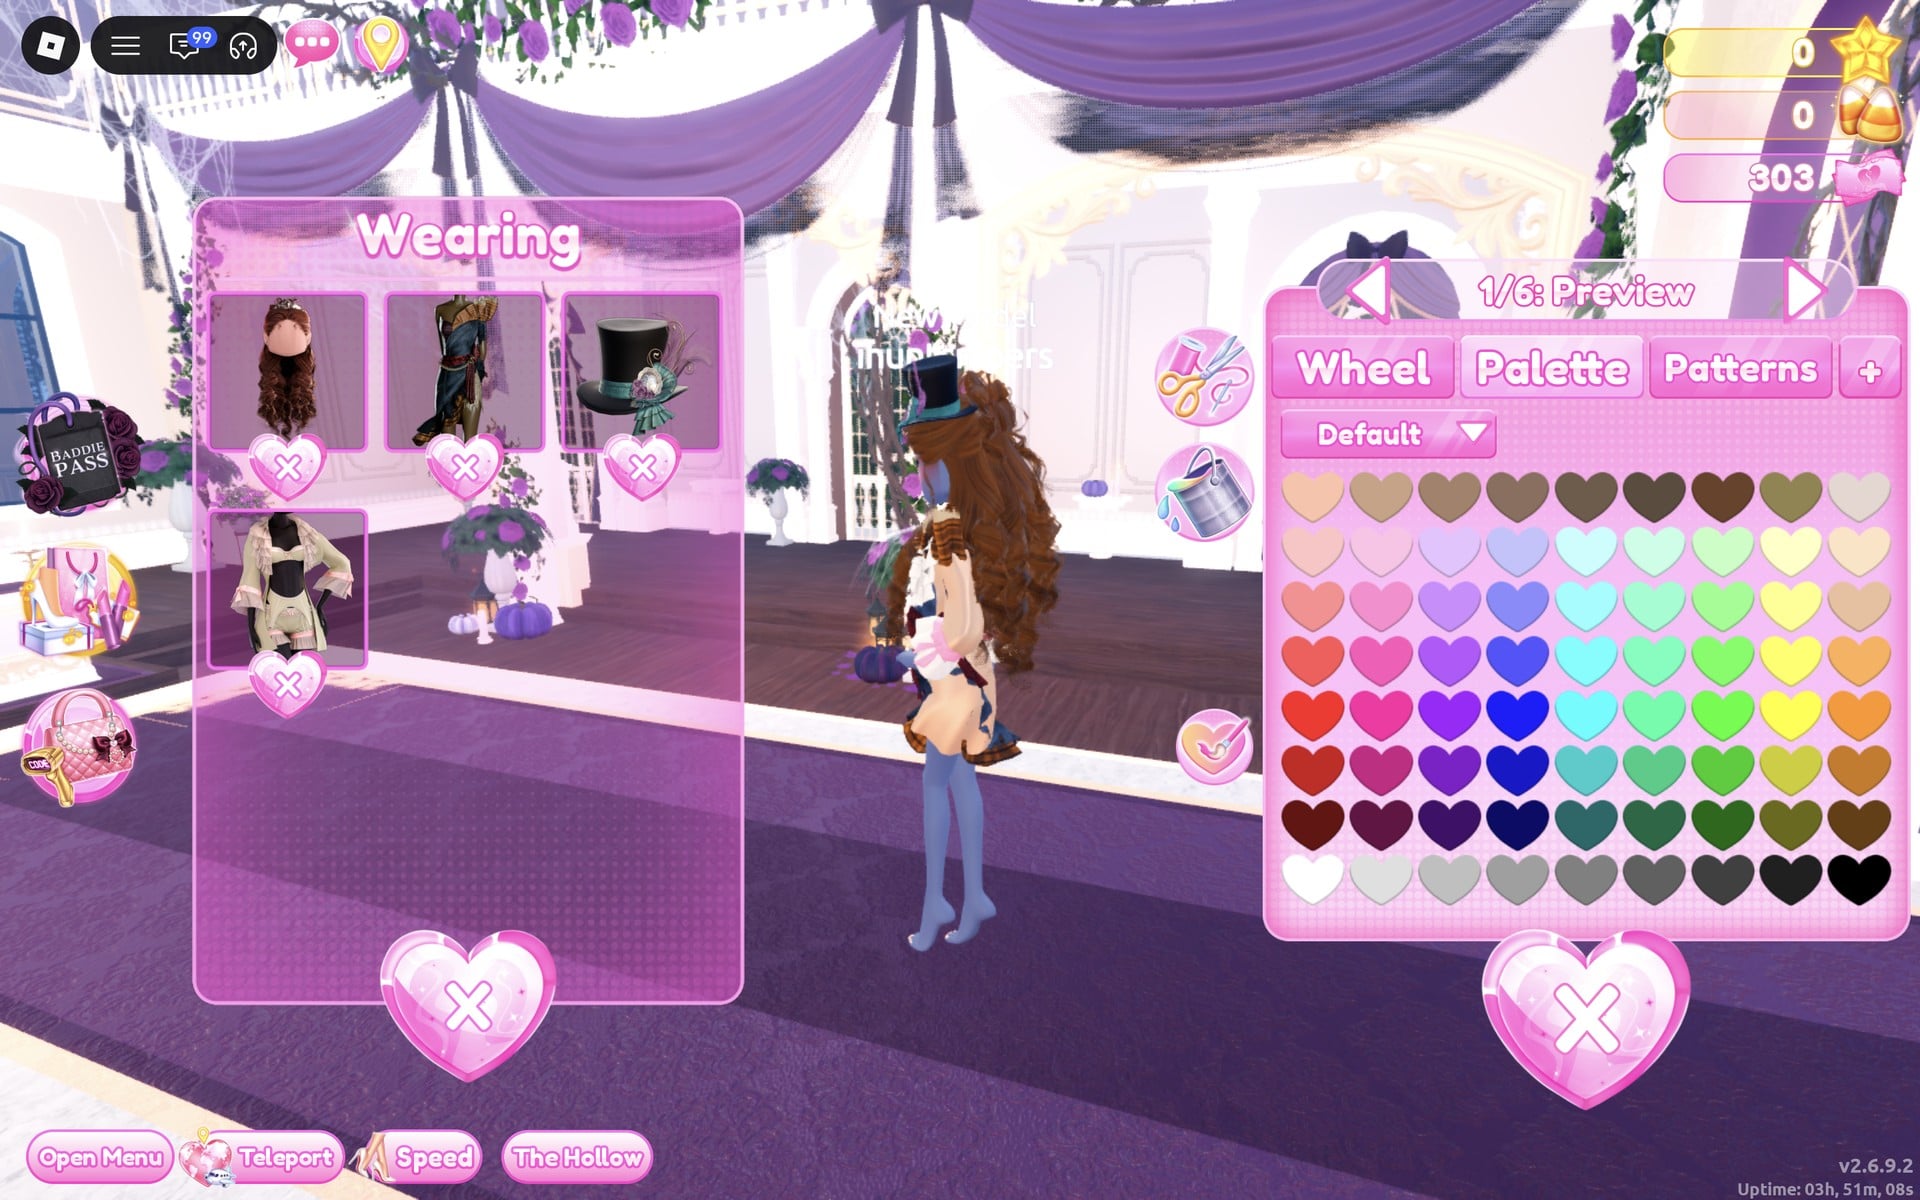
For the hair we kept the chestnut curls from Look 2 (its step 9 shows the recolour). The hair’s blue crown with its red gem shows under the brim of the top hat.
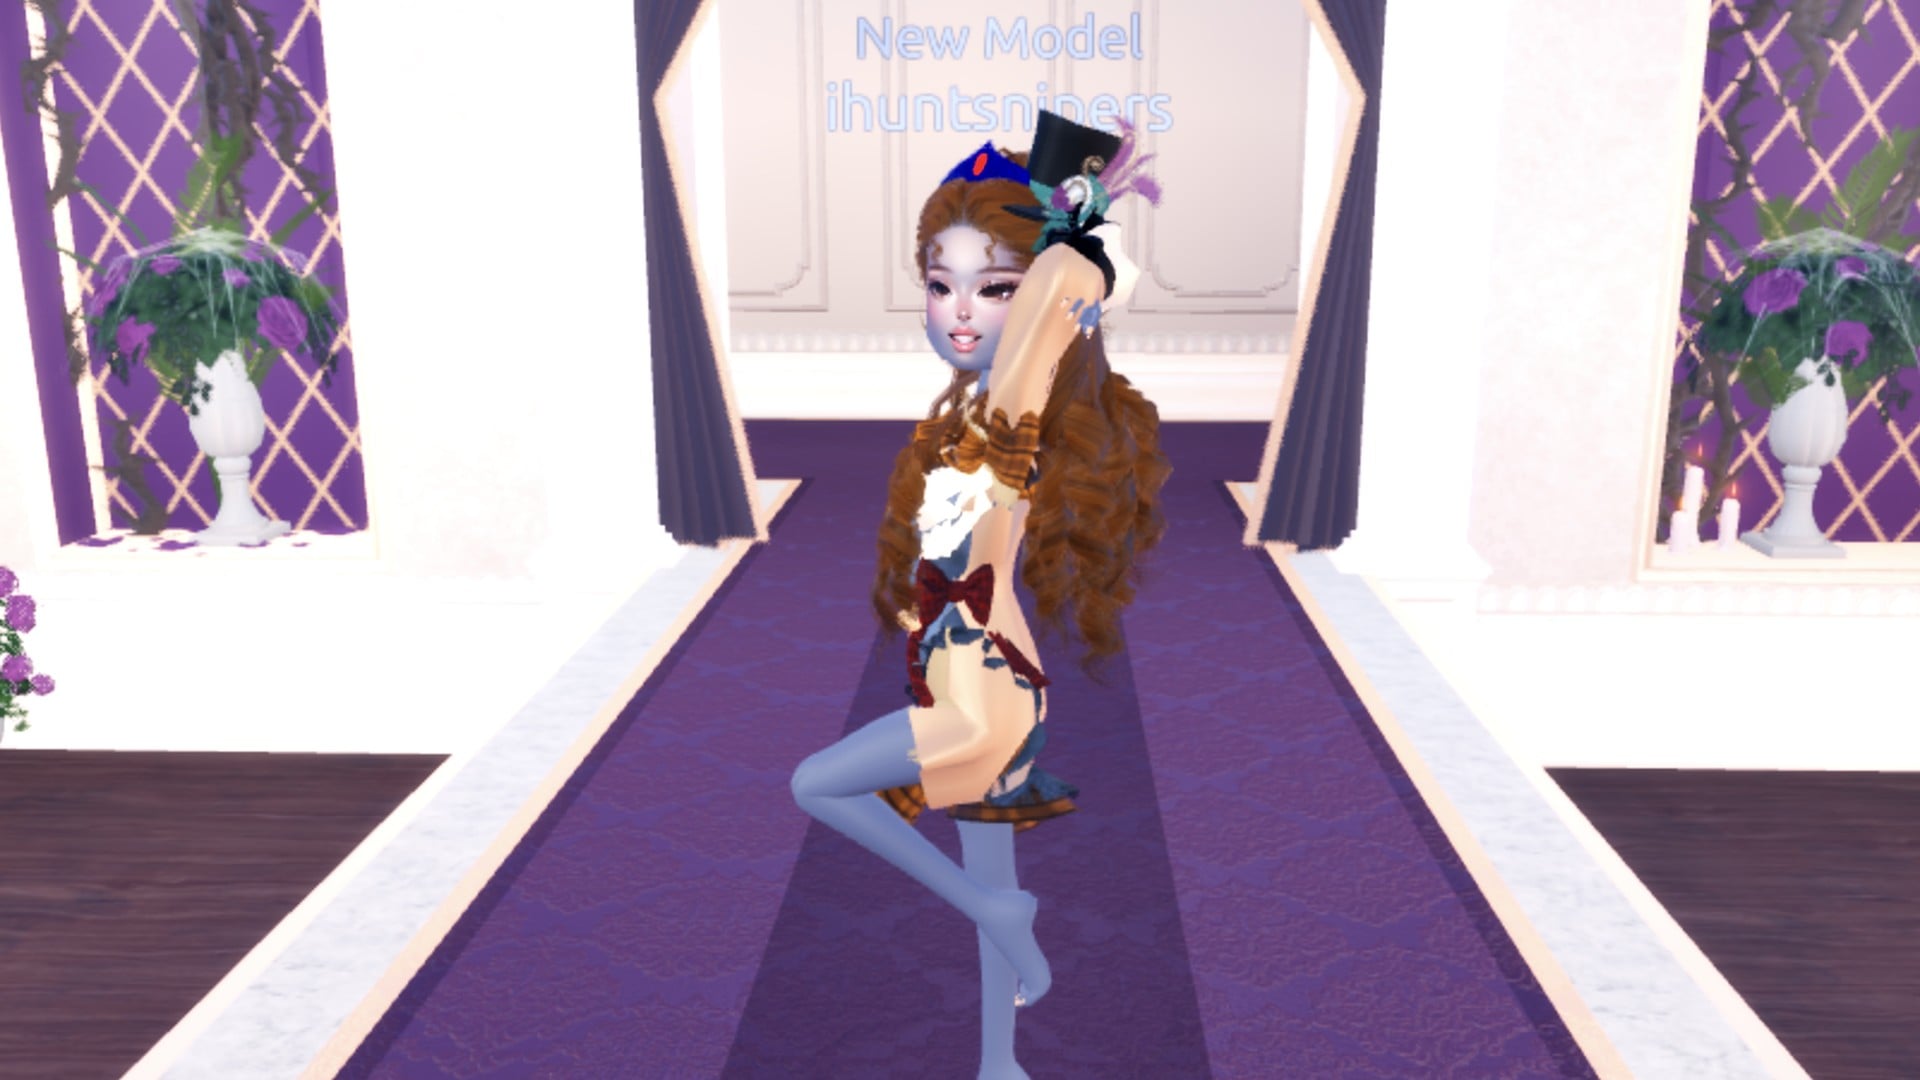
The finished look is a blue denim dress with an orange-brown plaid sash and hem, a red plaid bow and belt with a gold chain, a tan coat open over it with cream cuffs and black bows, and a black top hat with a teal band and bow and purple feathers. We wore no shoes.
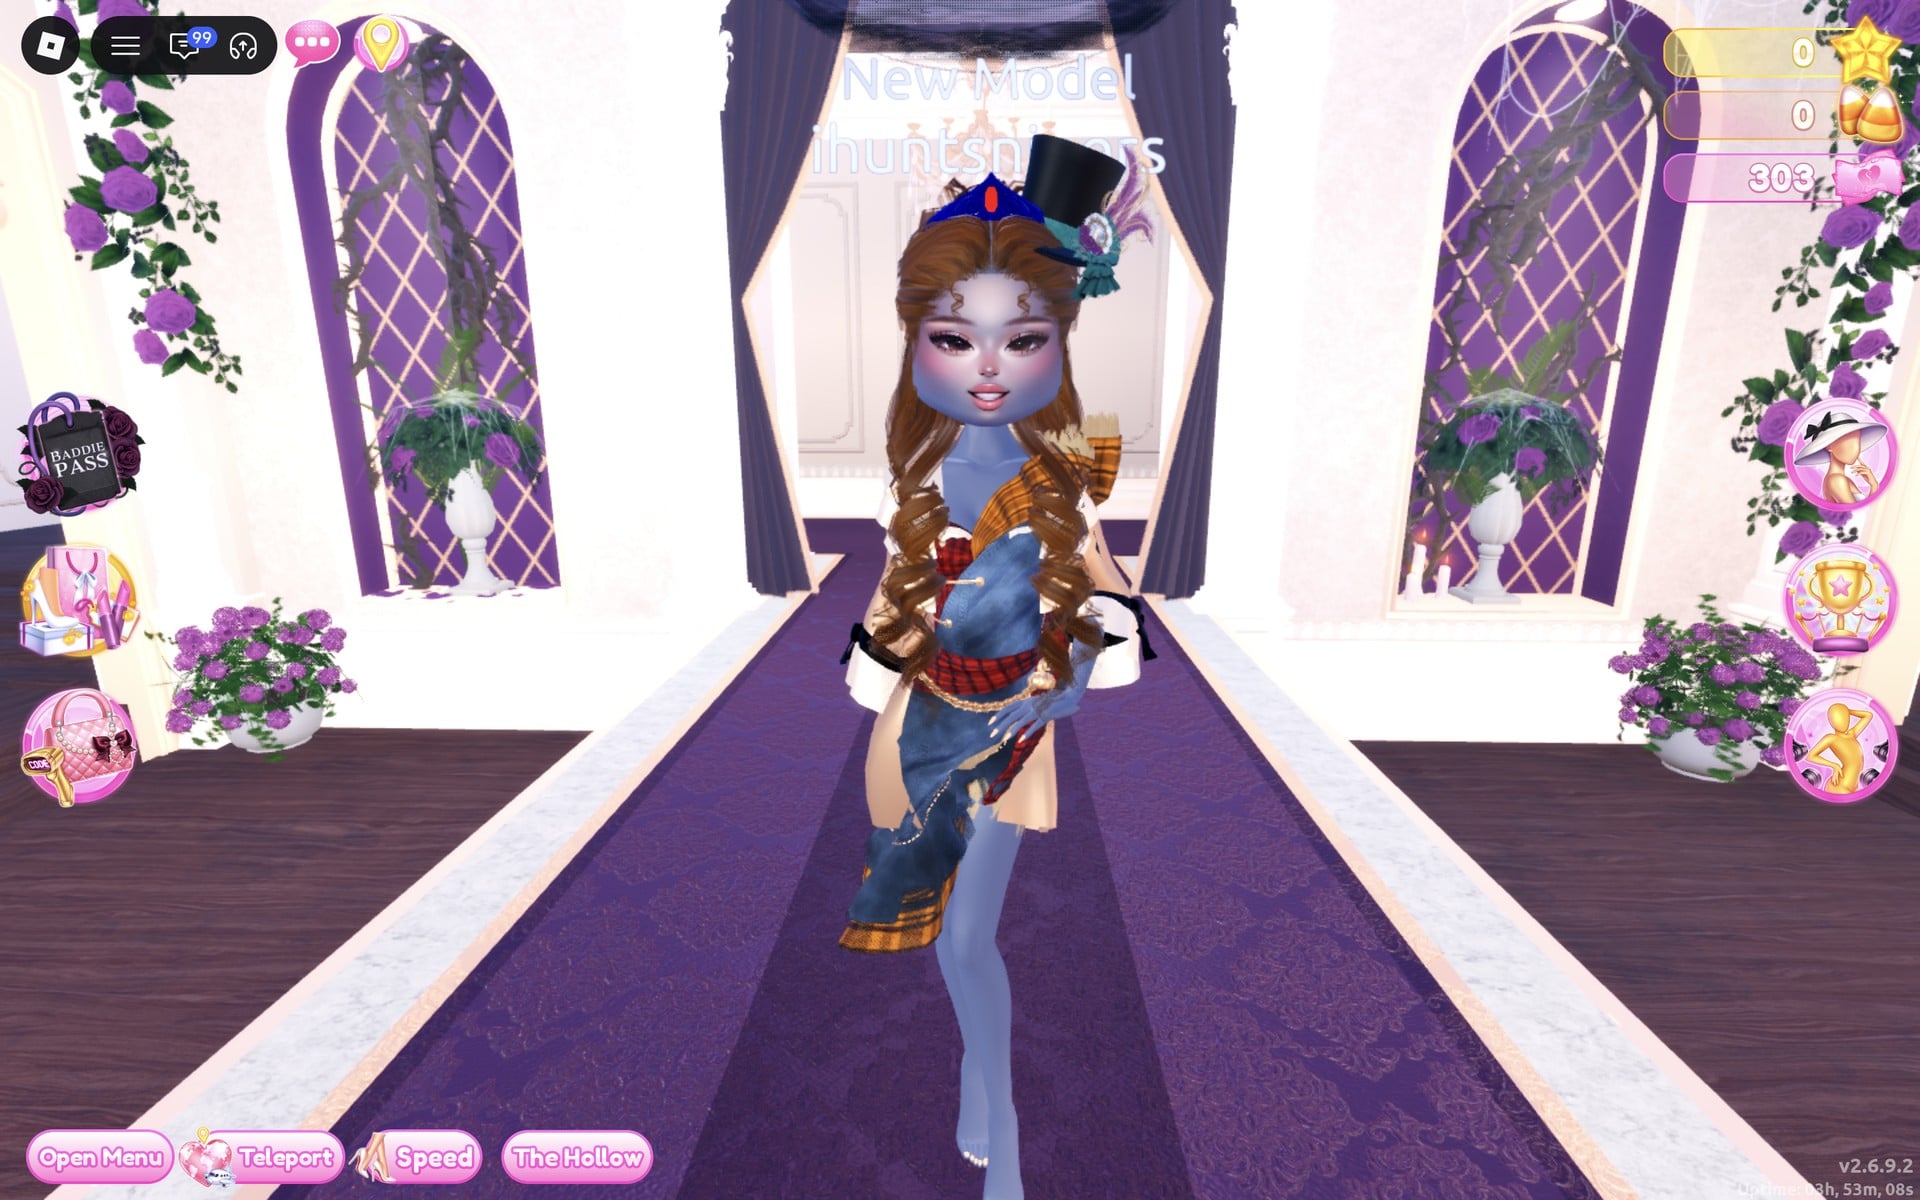
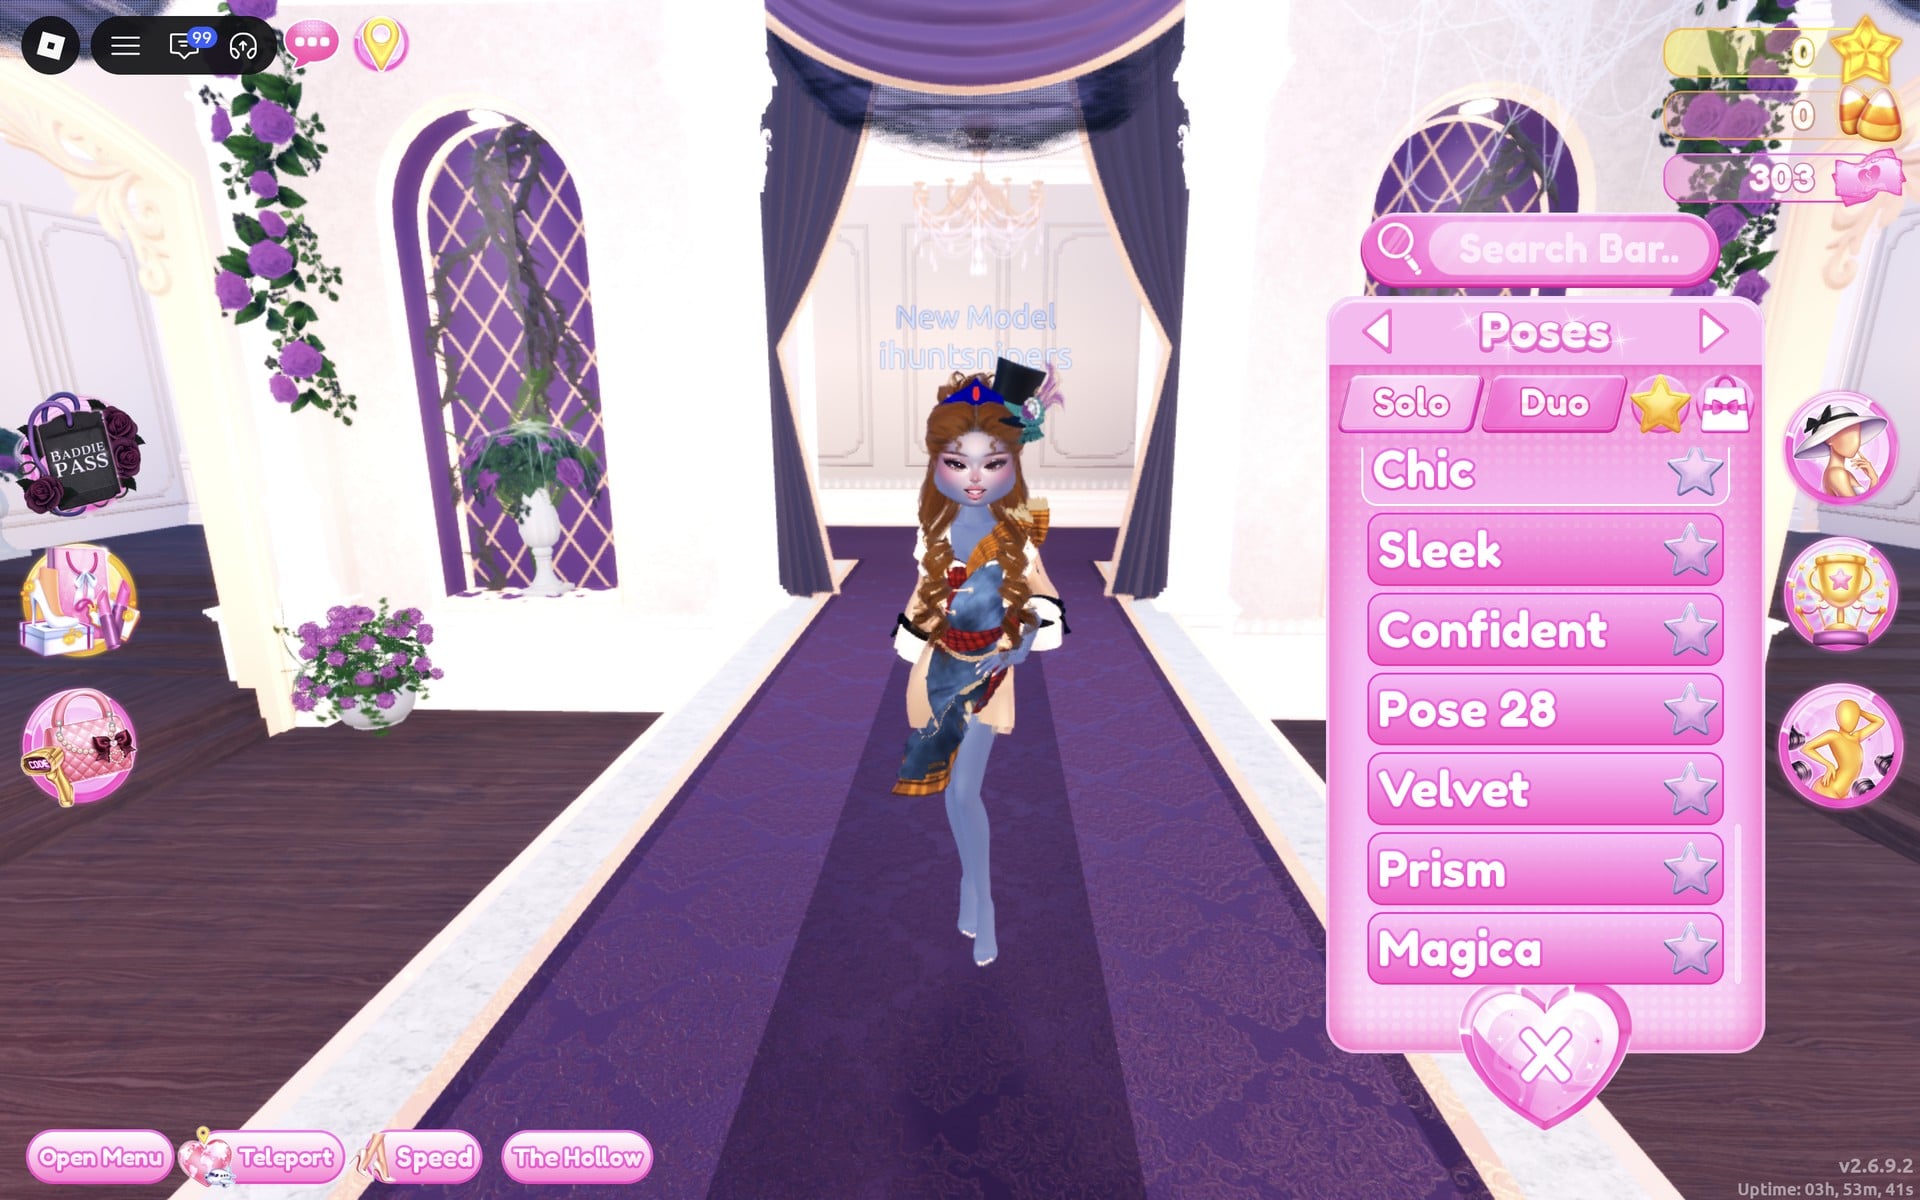
Confident puts one hand behind the head and lifts one knee, which shows the top hat, the plaid bow and the coat’s sleeve at once.
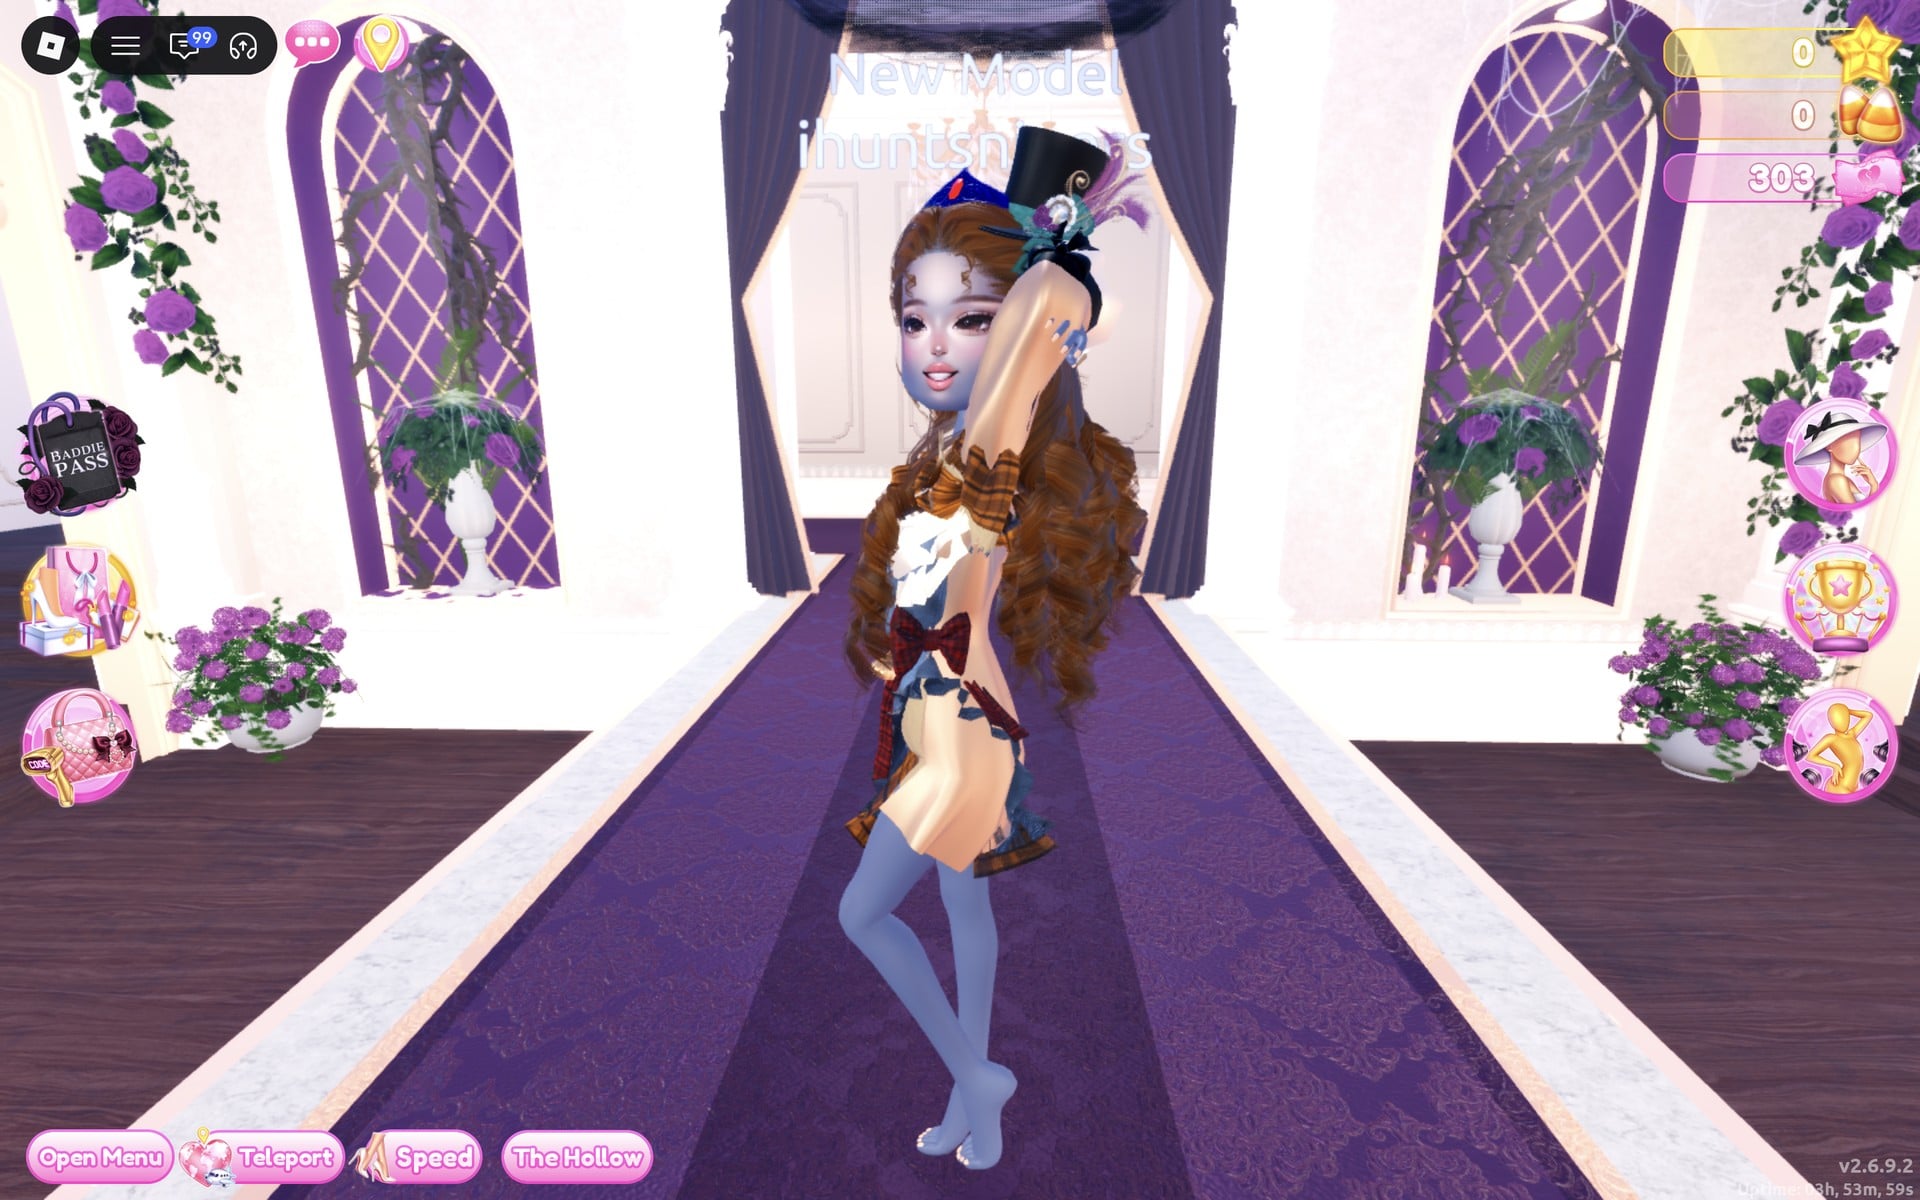
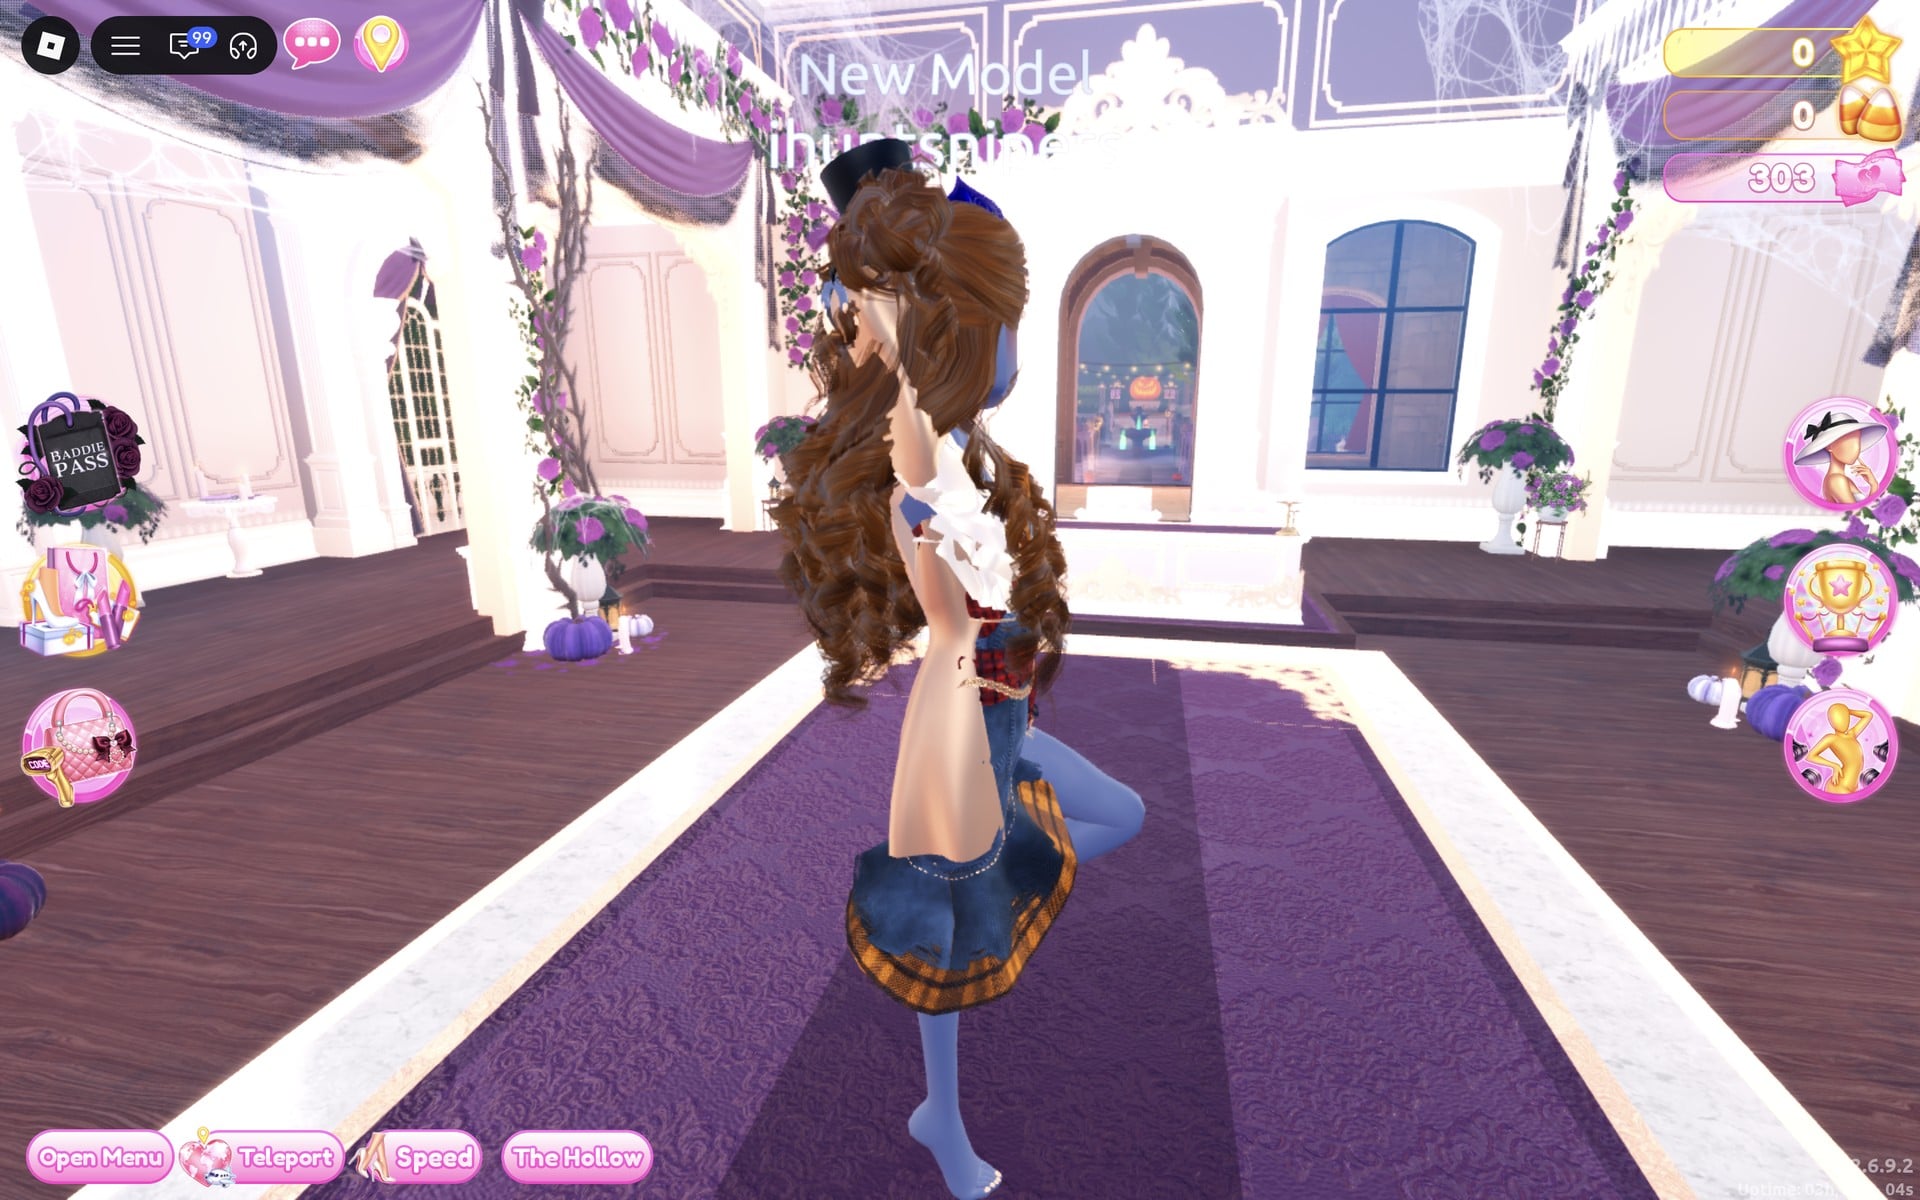
From the back, the chestnut curls fall to the waist and the orange-brown plaid hem of the dress shows below them.
Look 2: Red raincoat, rain hat and black wellies
Our idea: a rainy London day. A glossy red raincoat, a royal blue rain hat and shiny black wellies, built from one yellow raincoat set that you recolour.
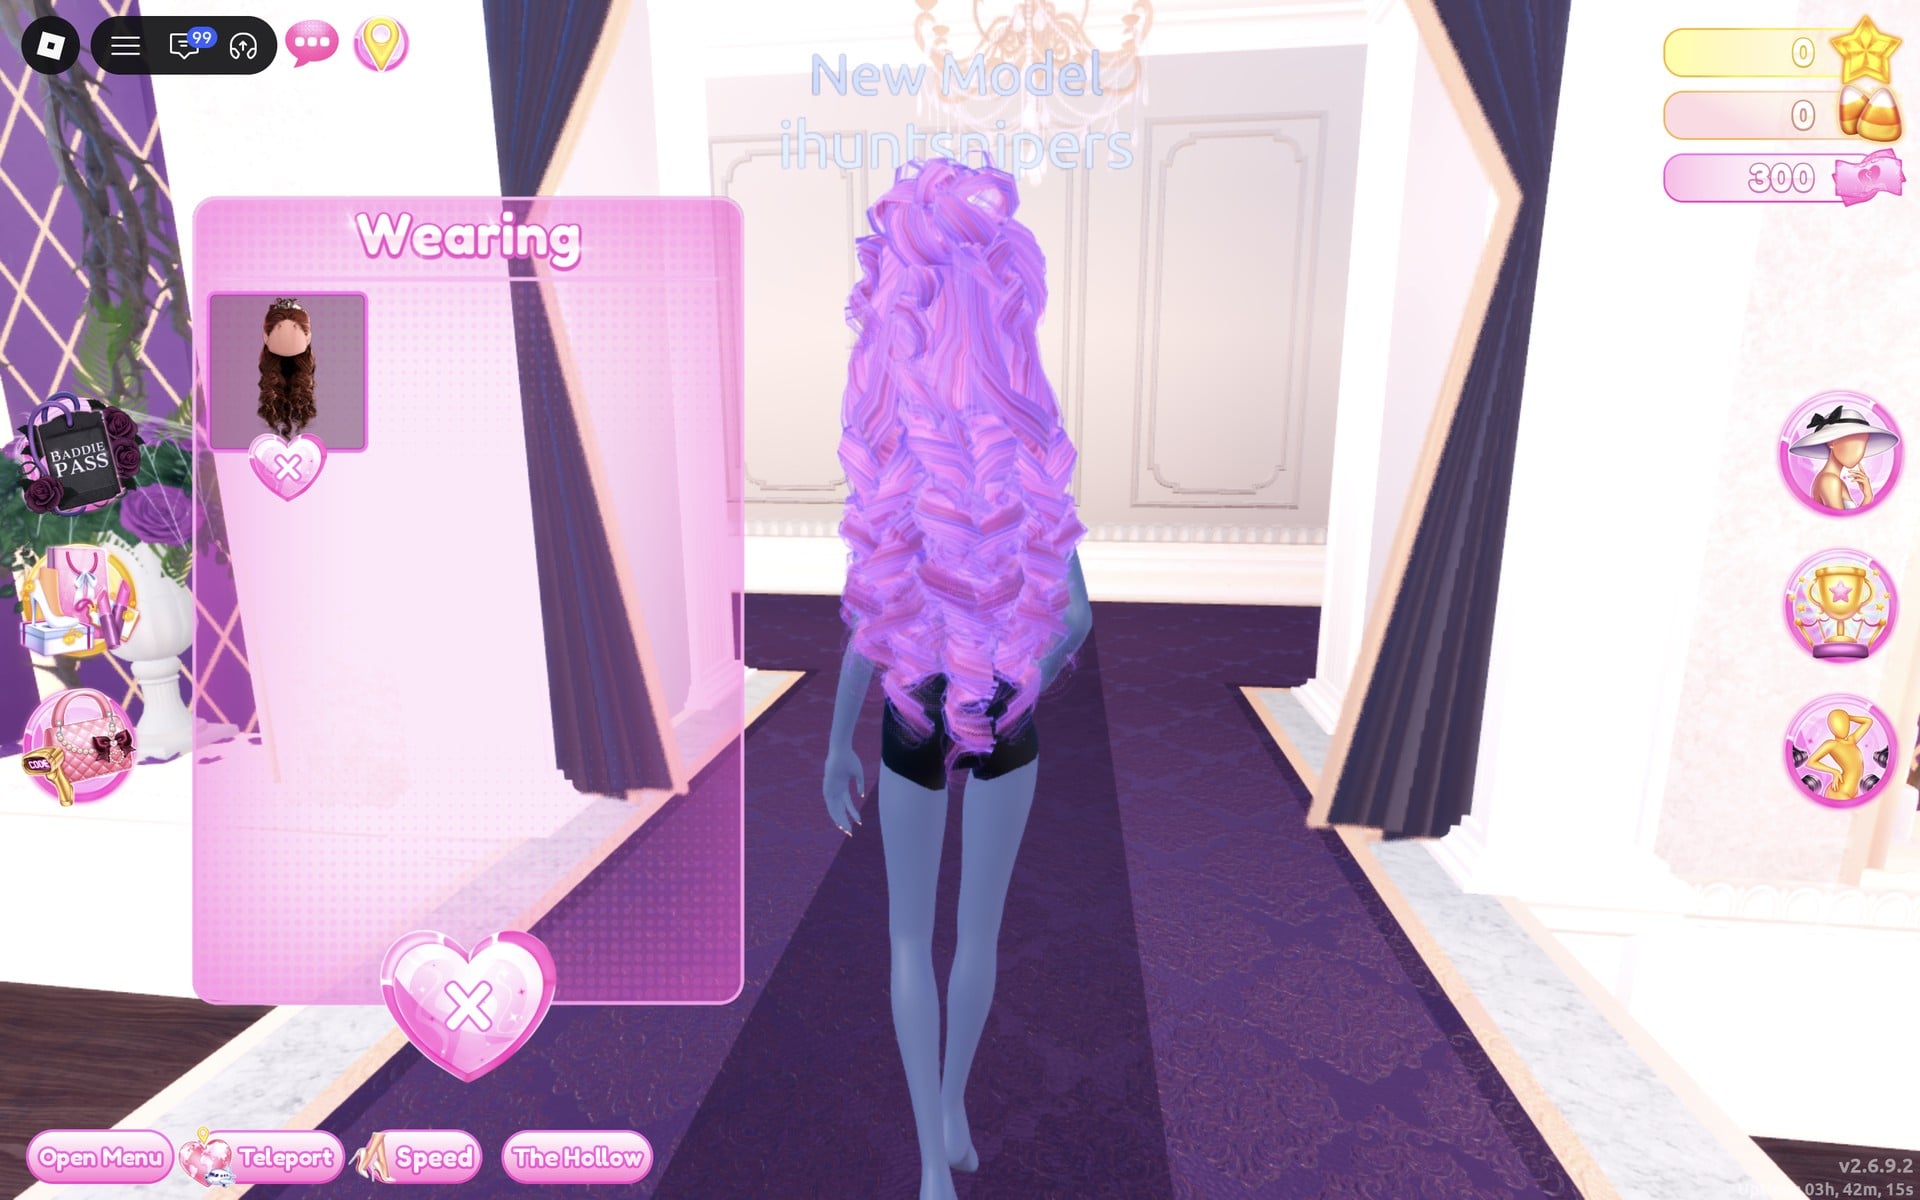
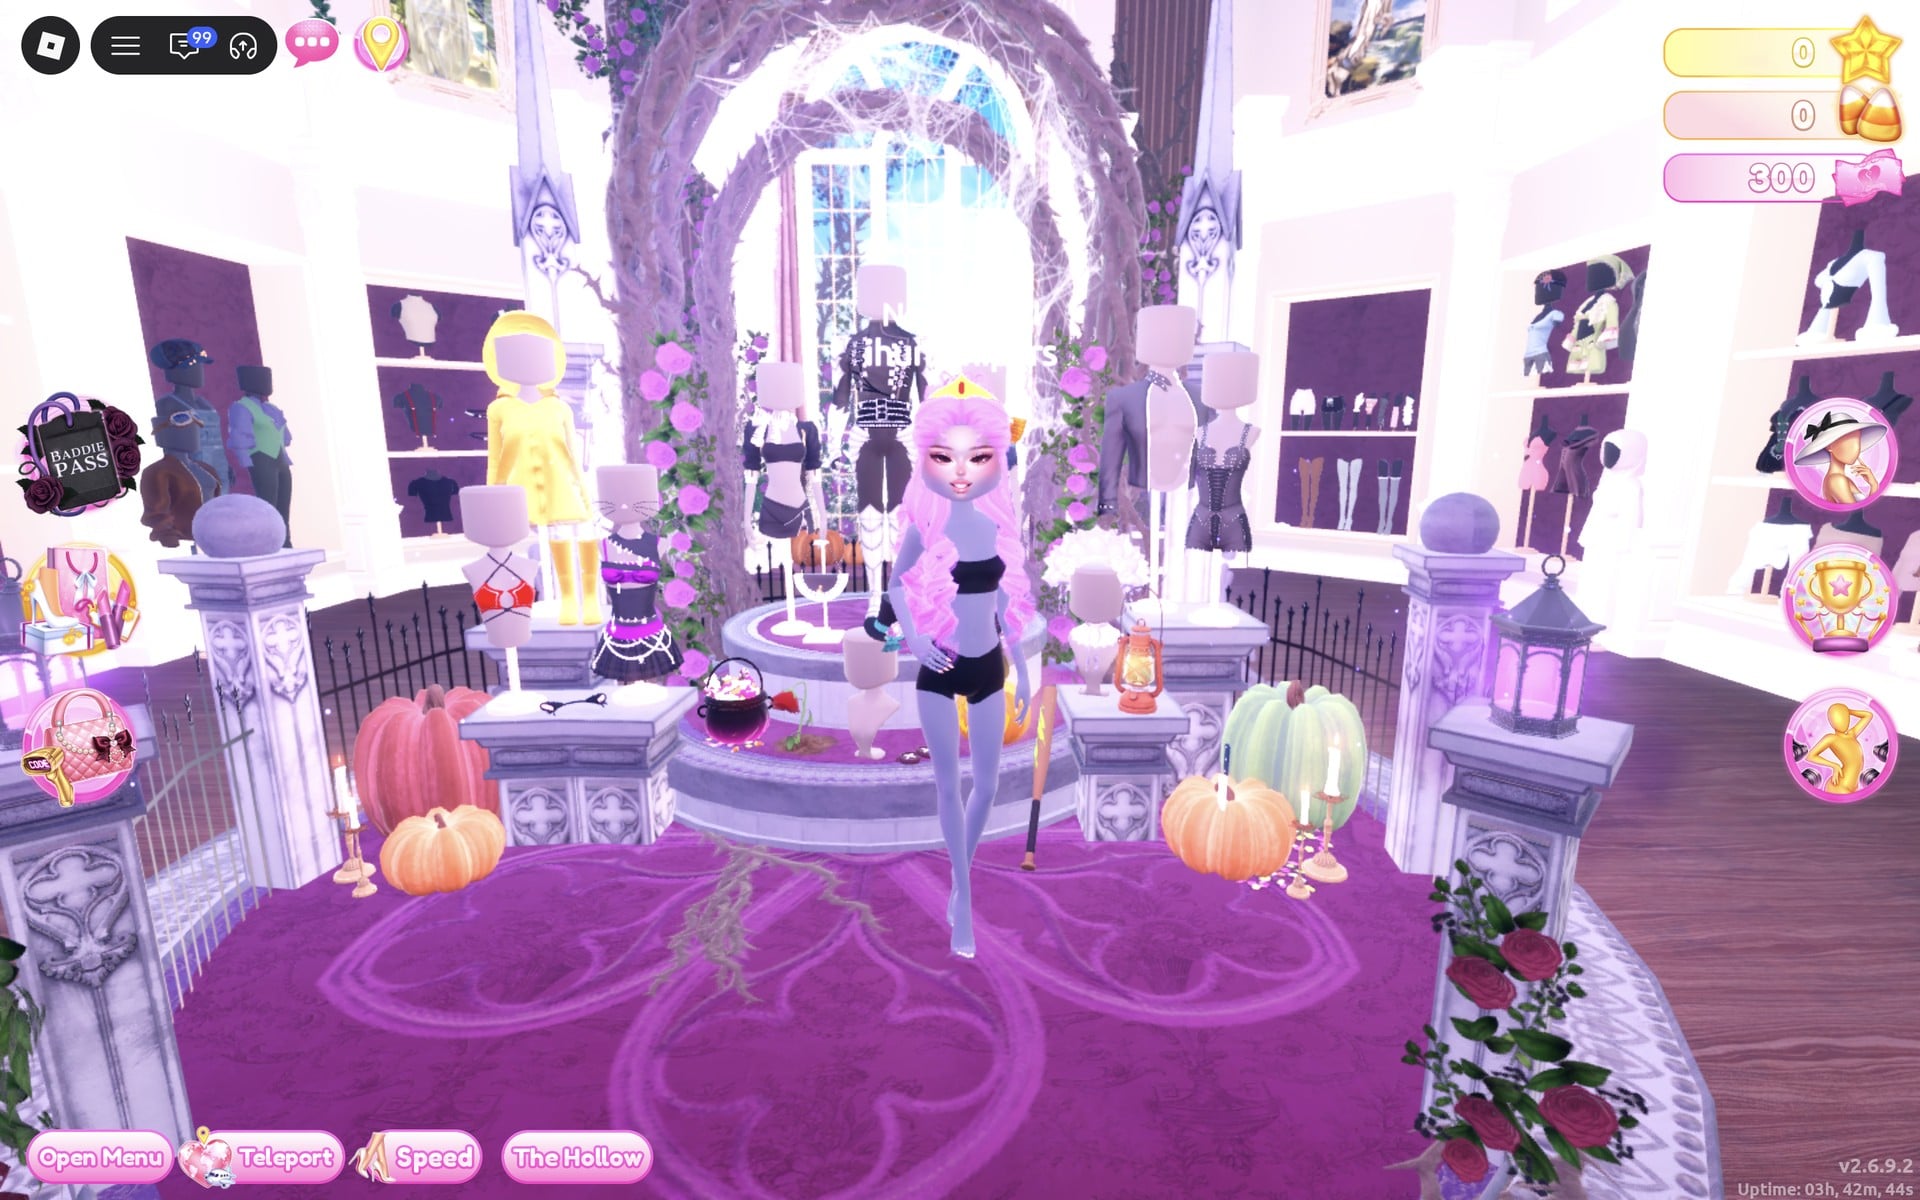
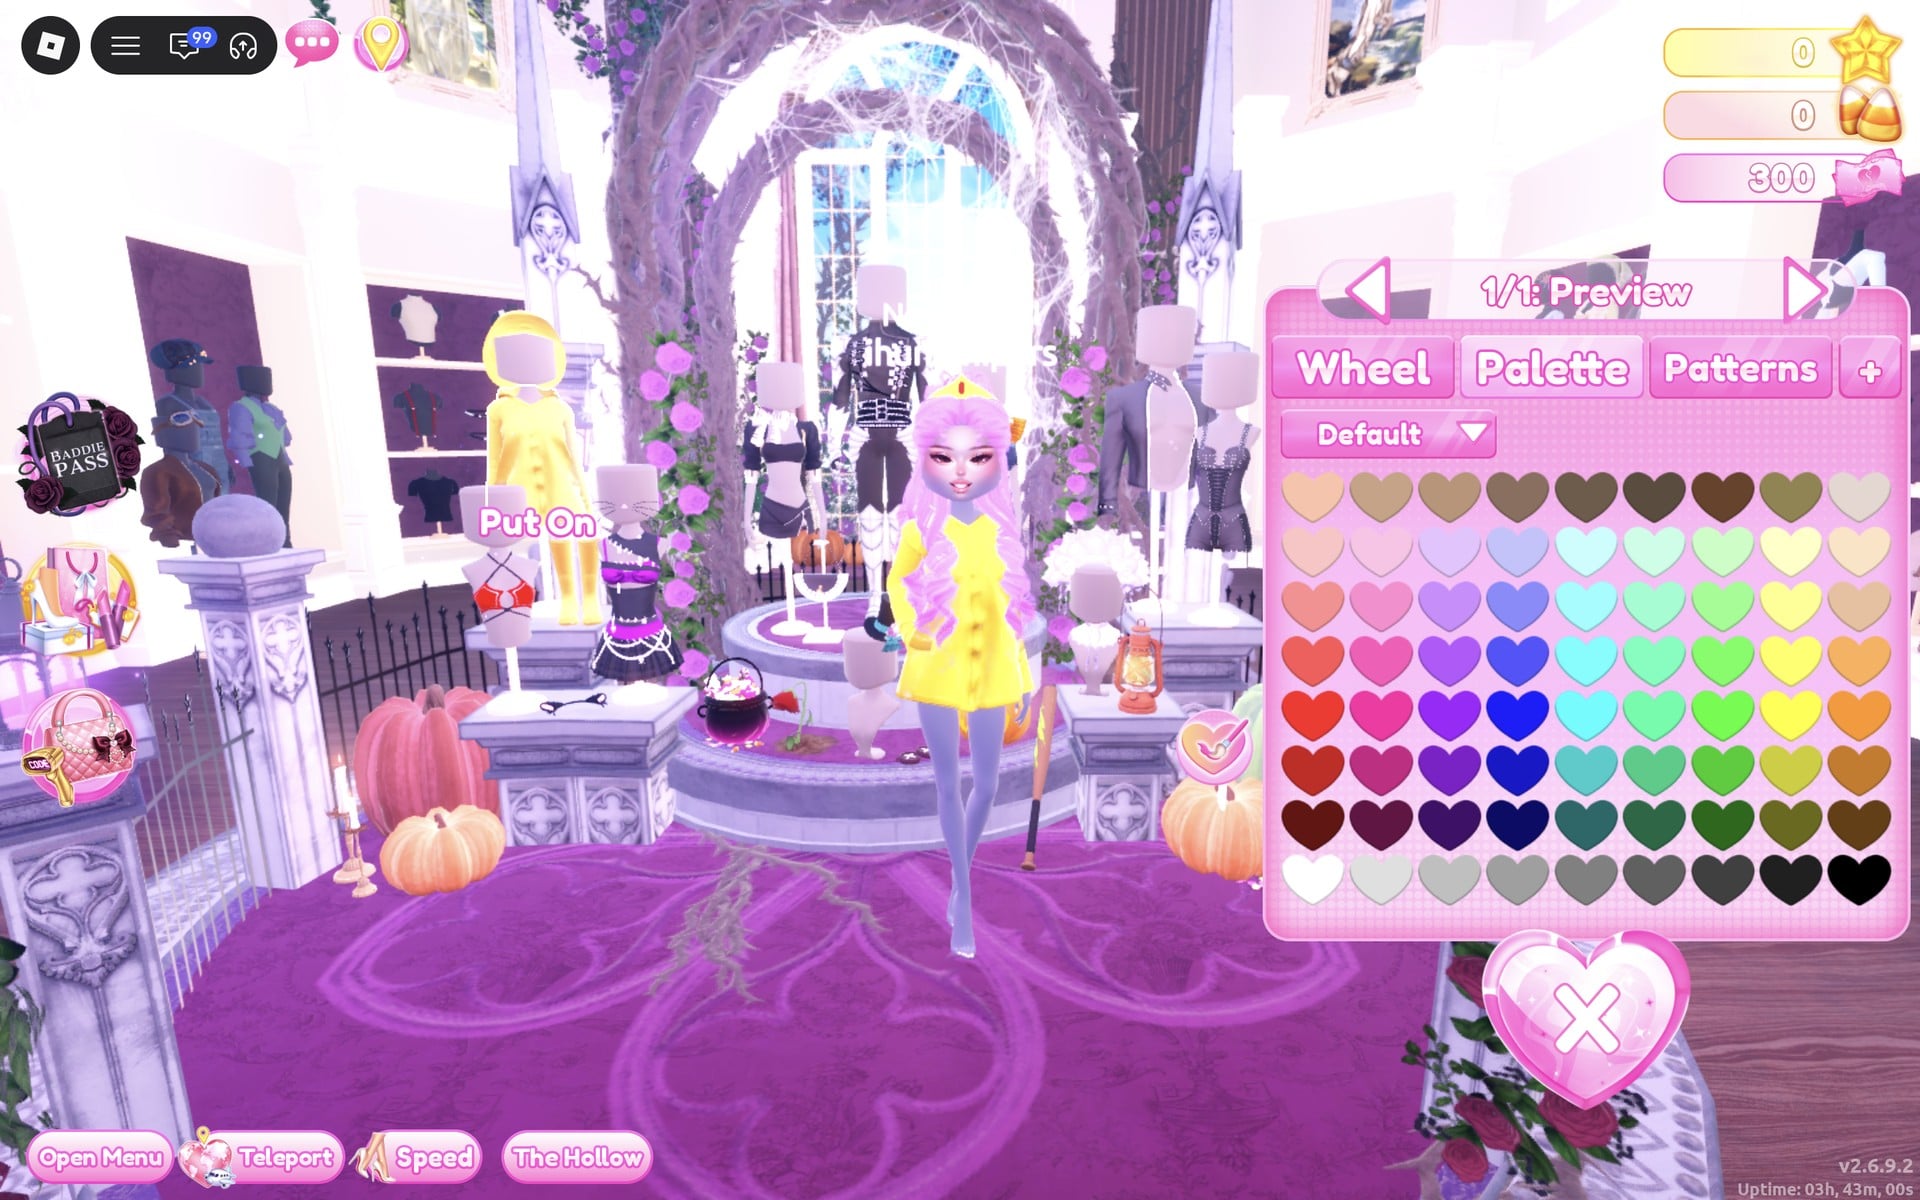
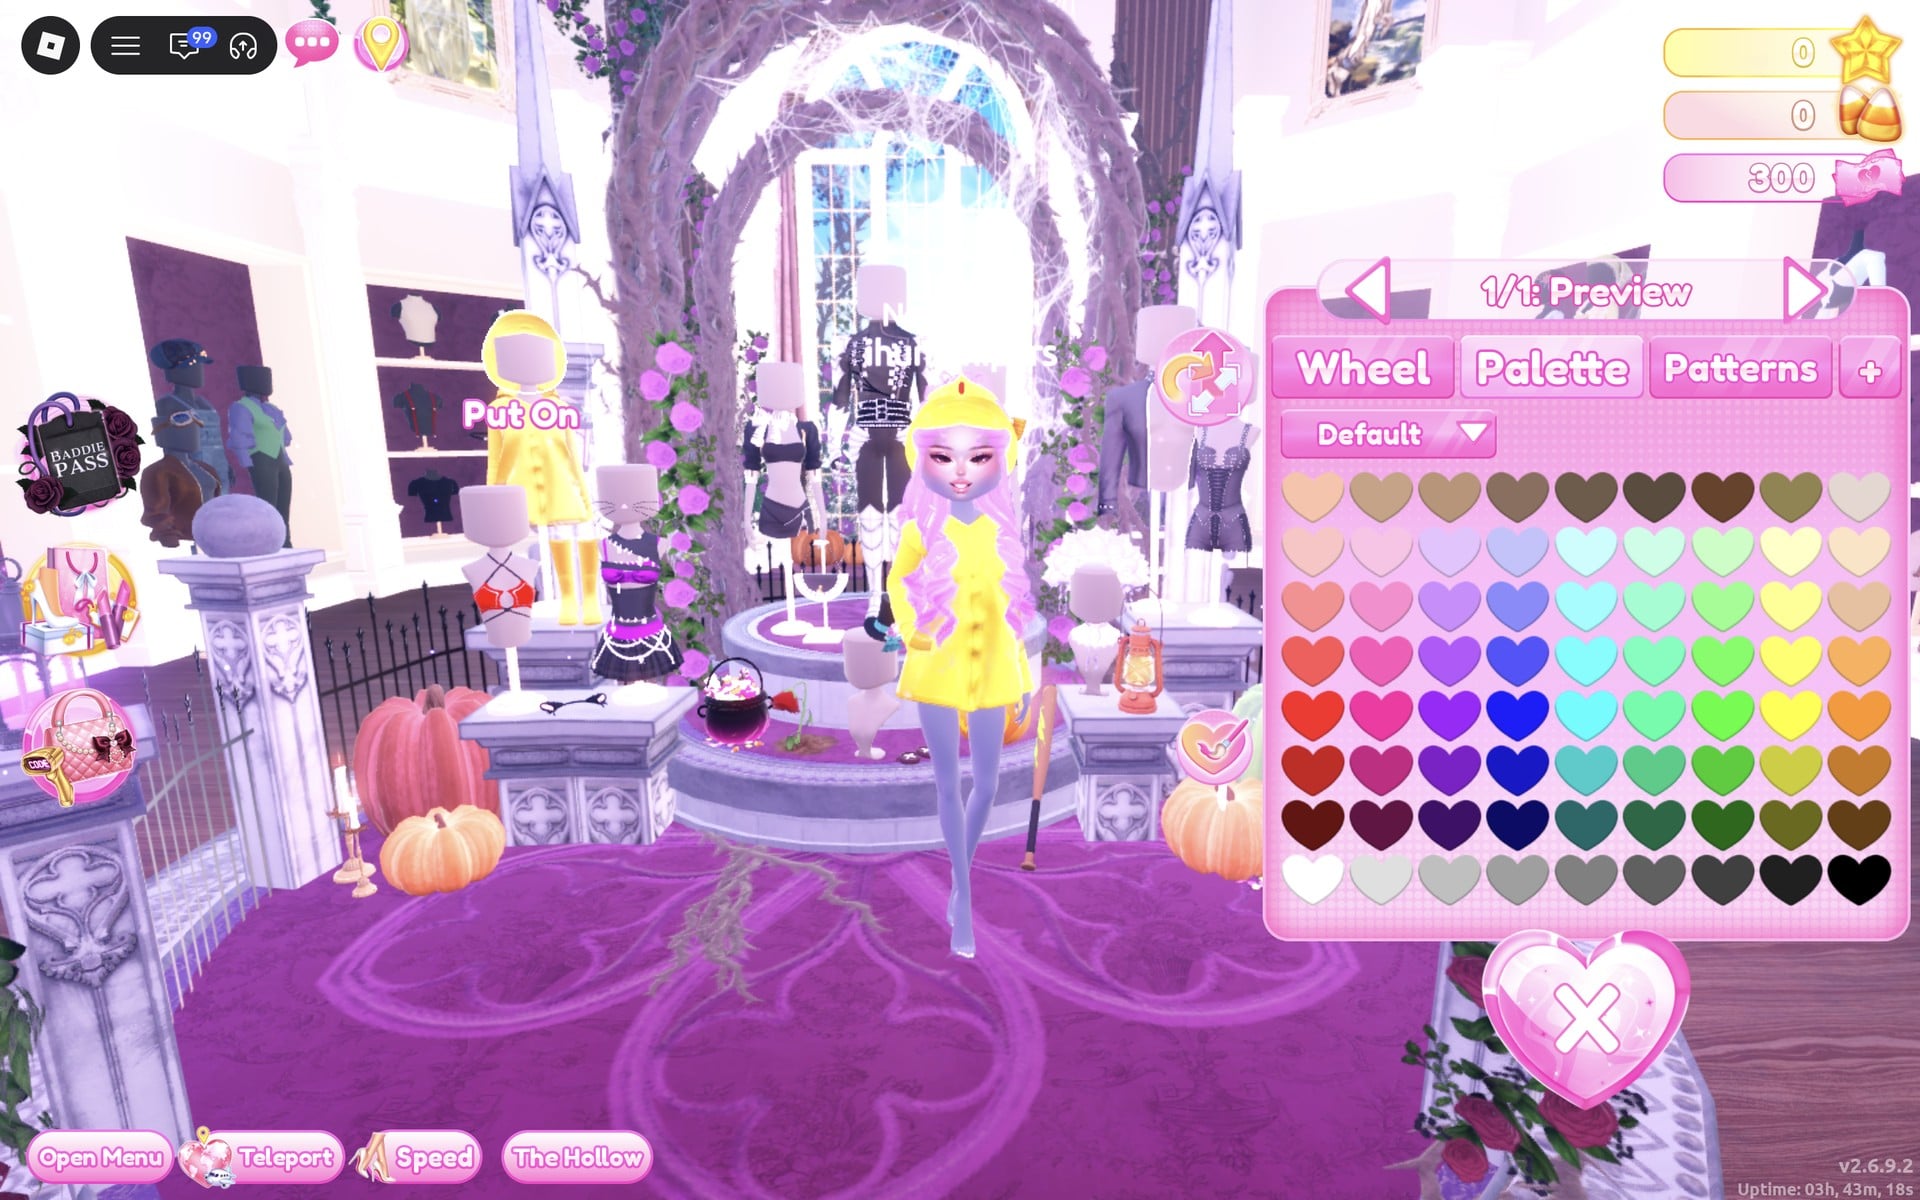
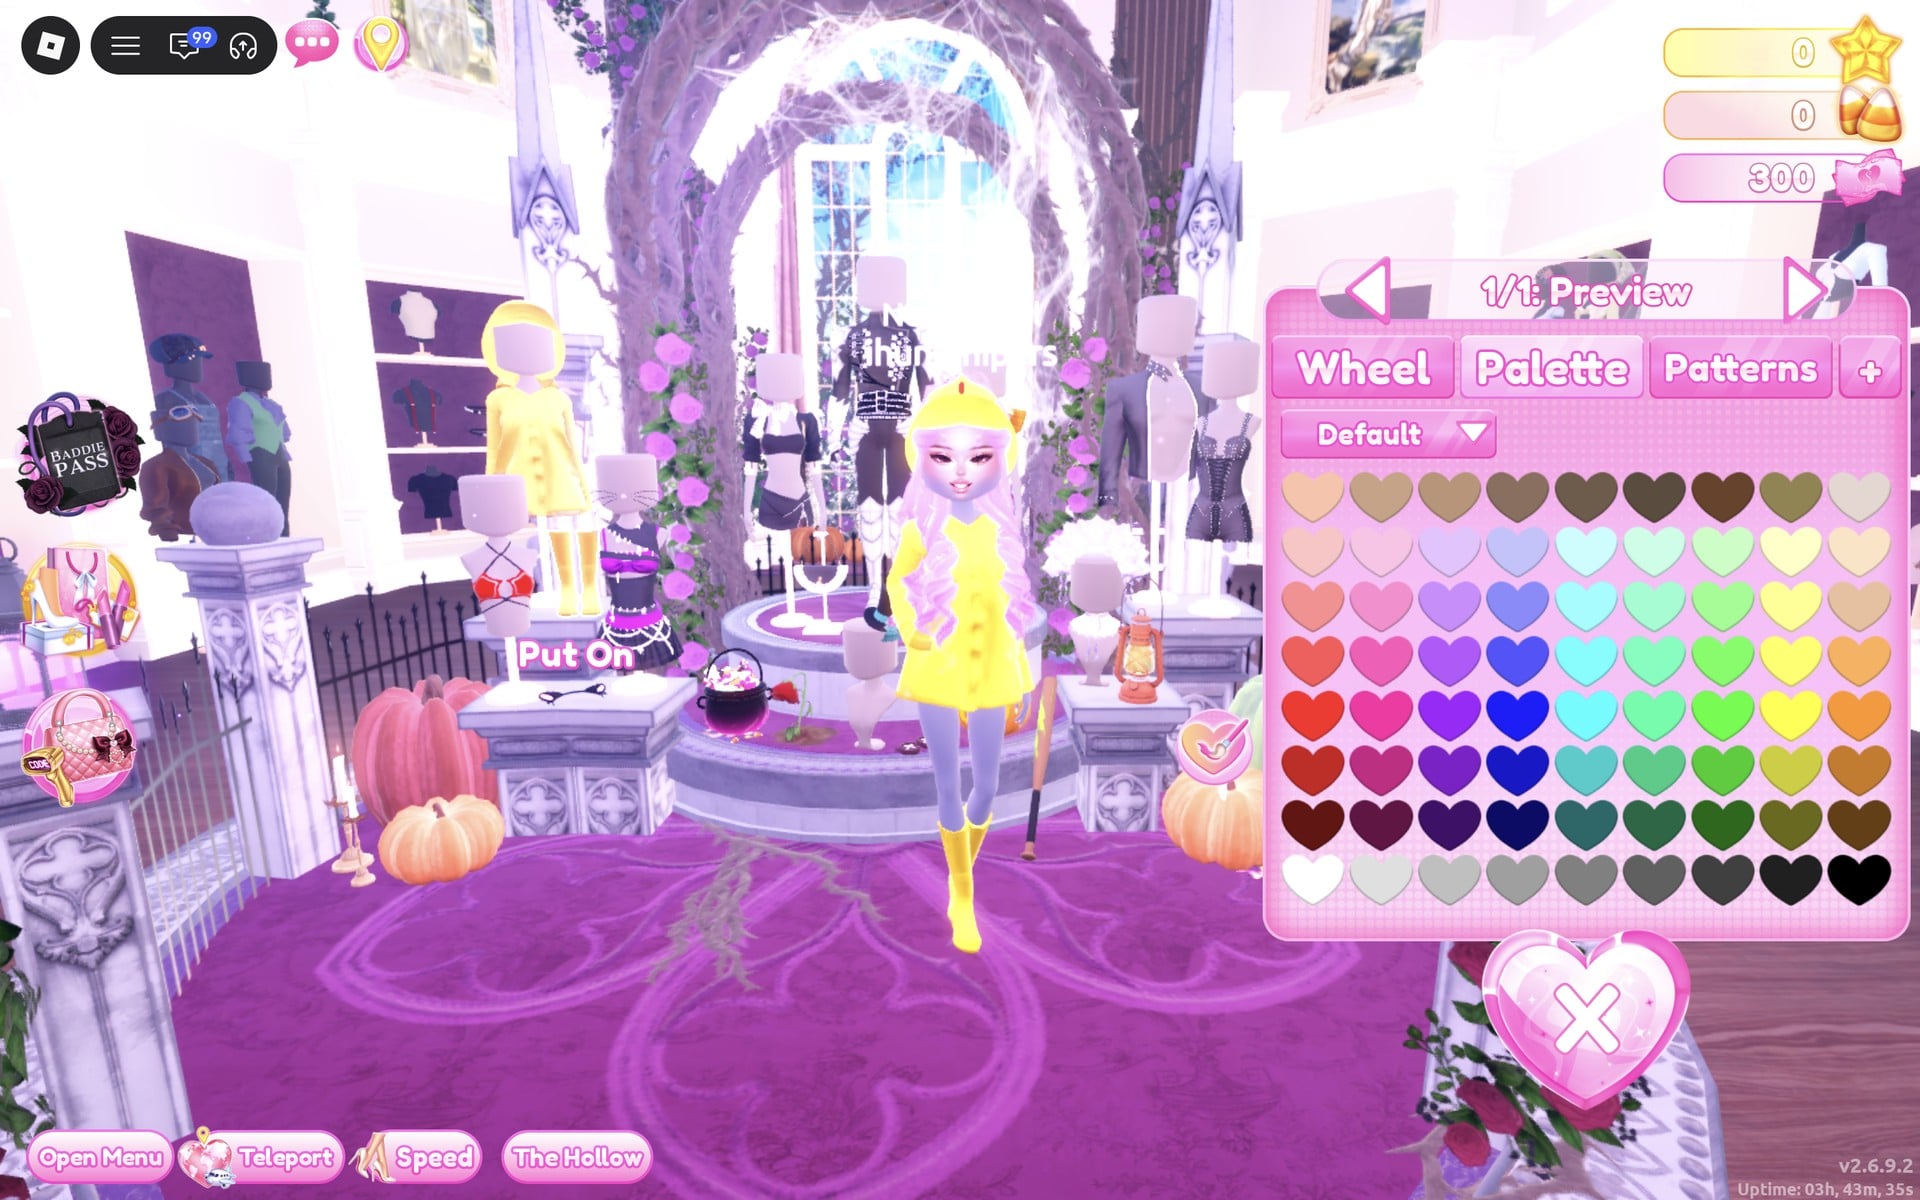
The Wearing panel now shows four pictures: the hair, the raincoat, the rain hat and the rain boots. Each of the three pieces has only one part, so each takes one colour.
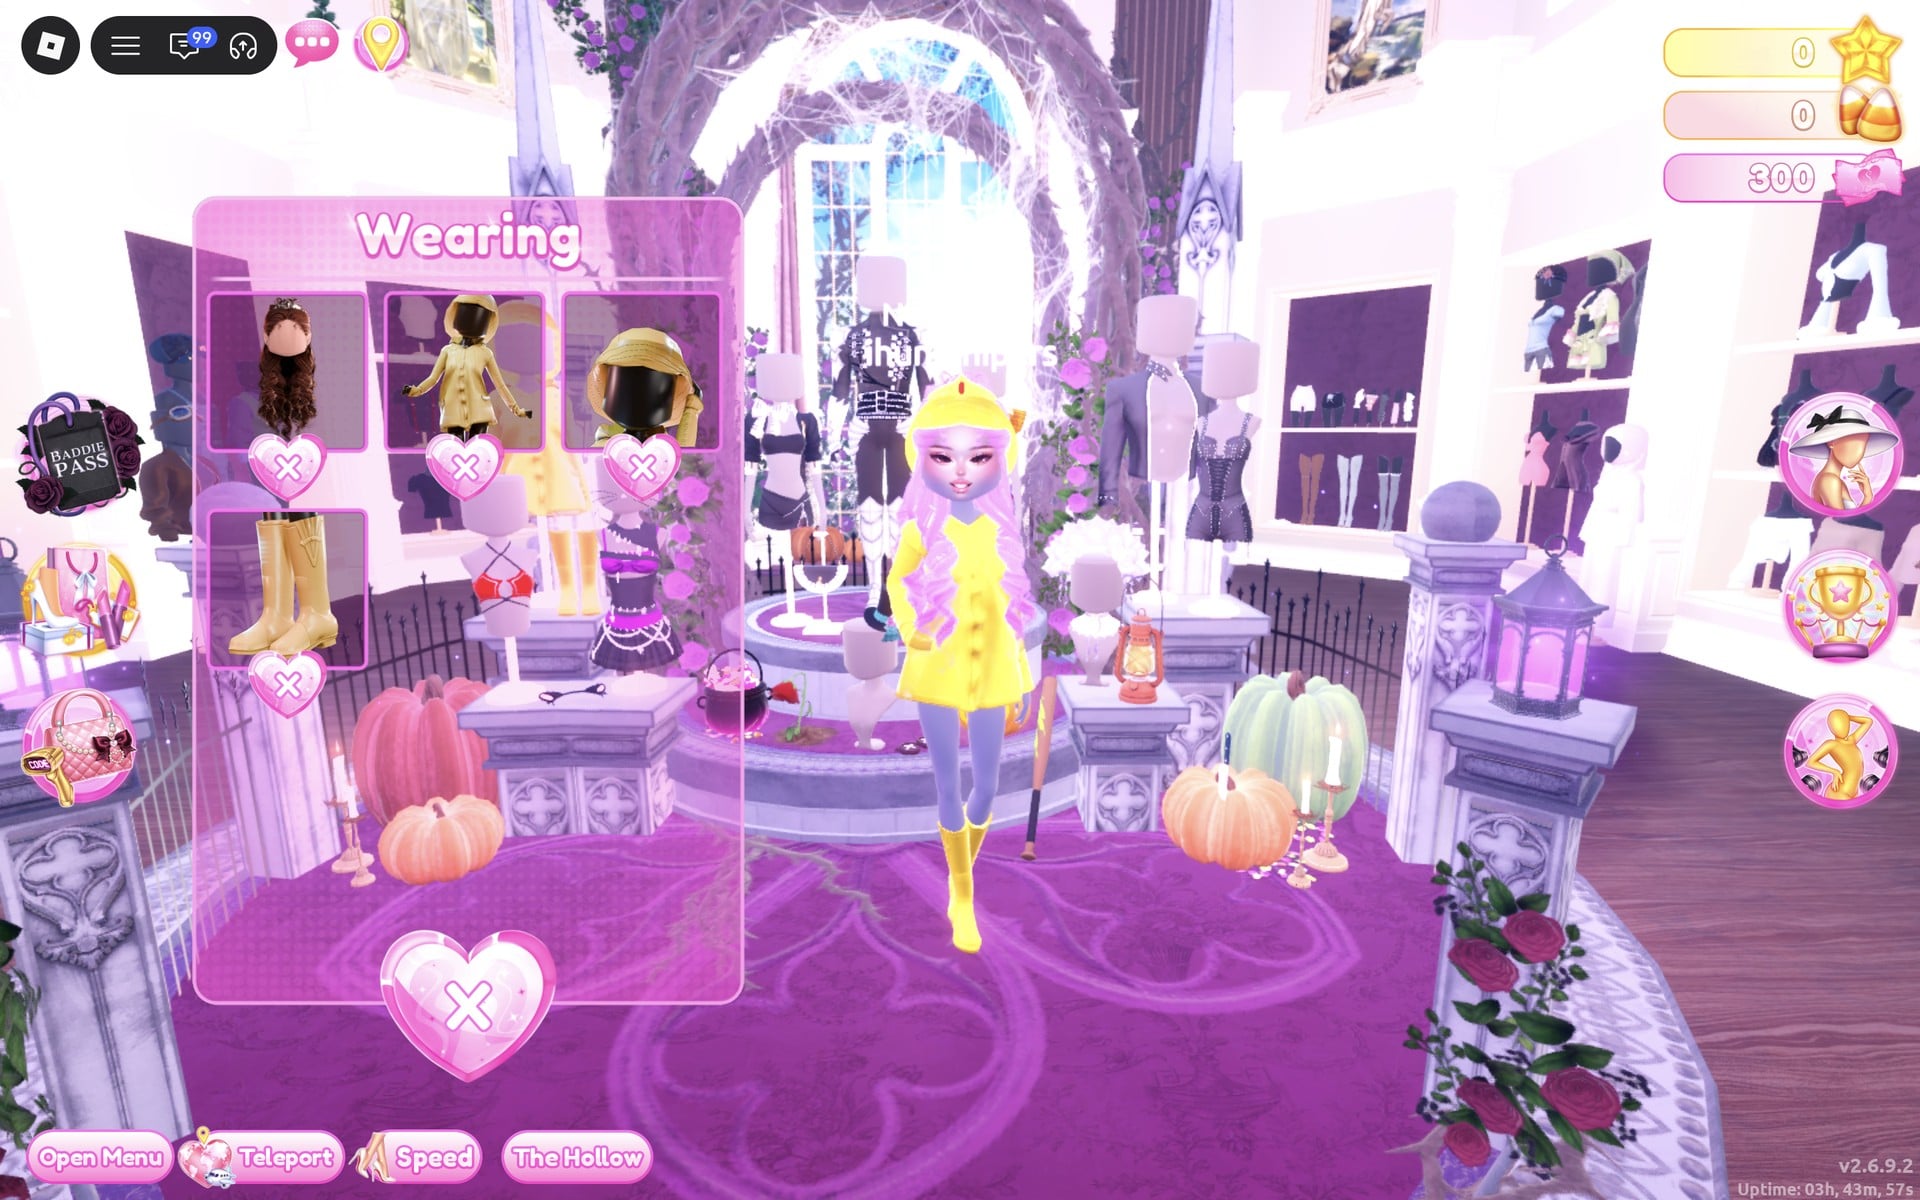
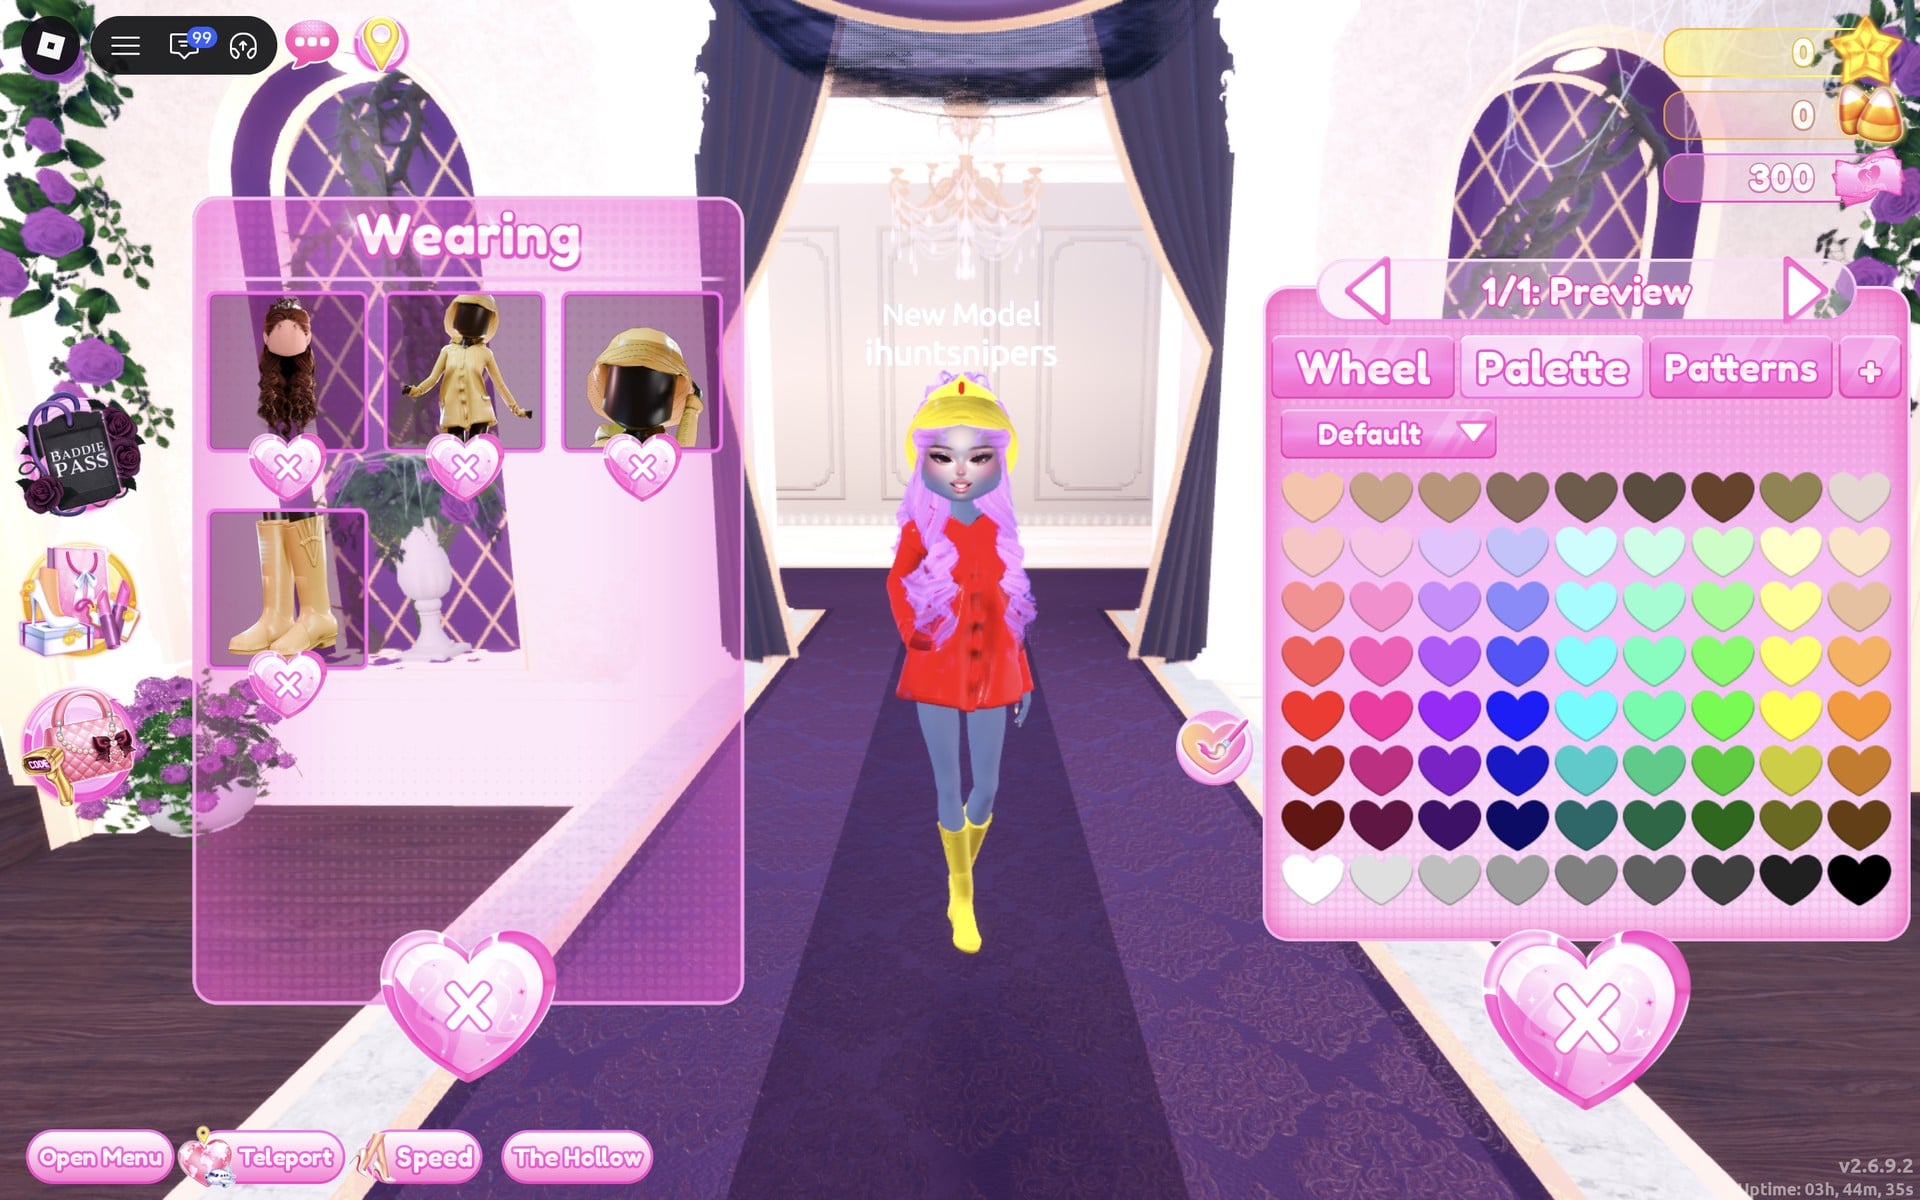
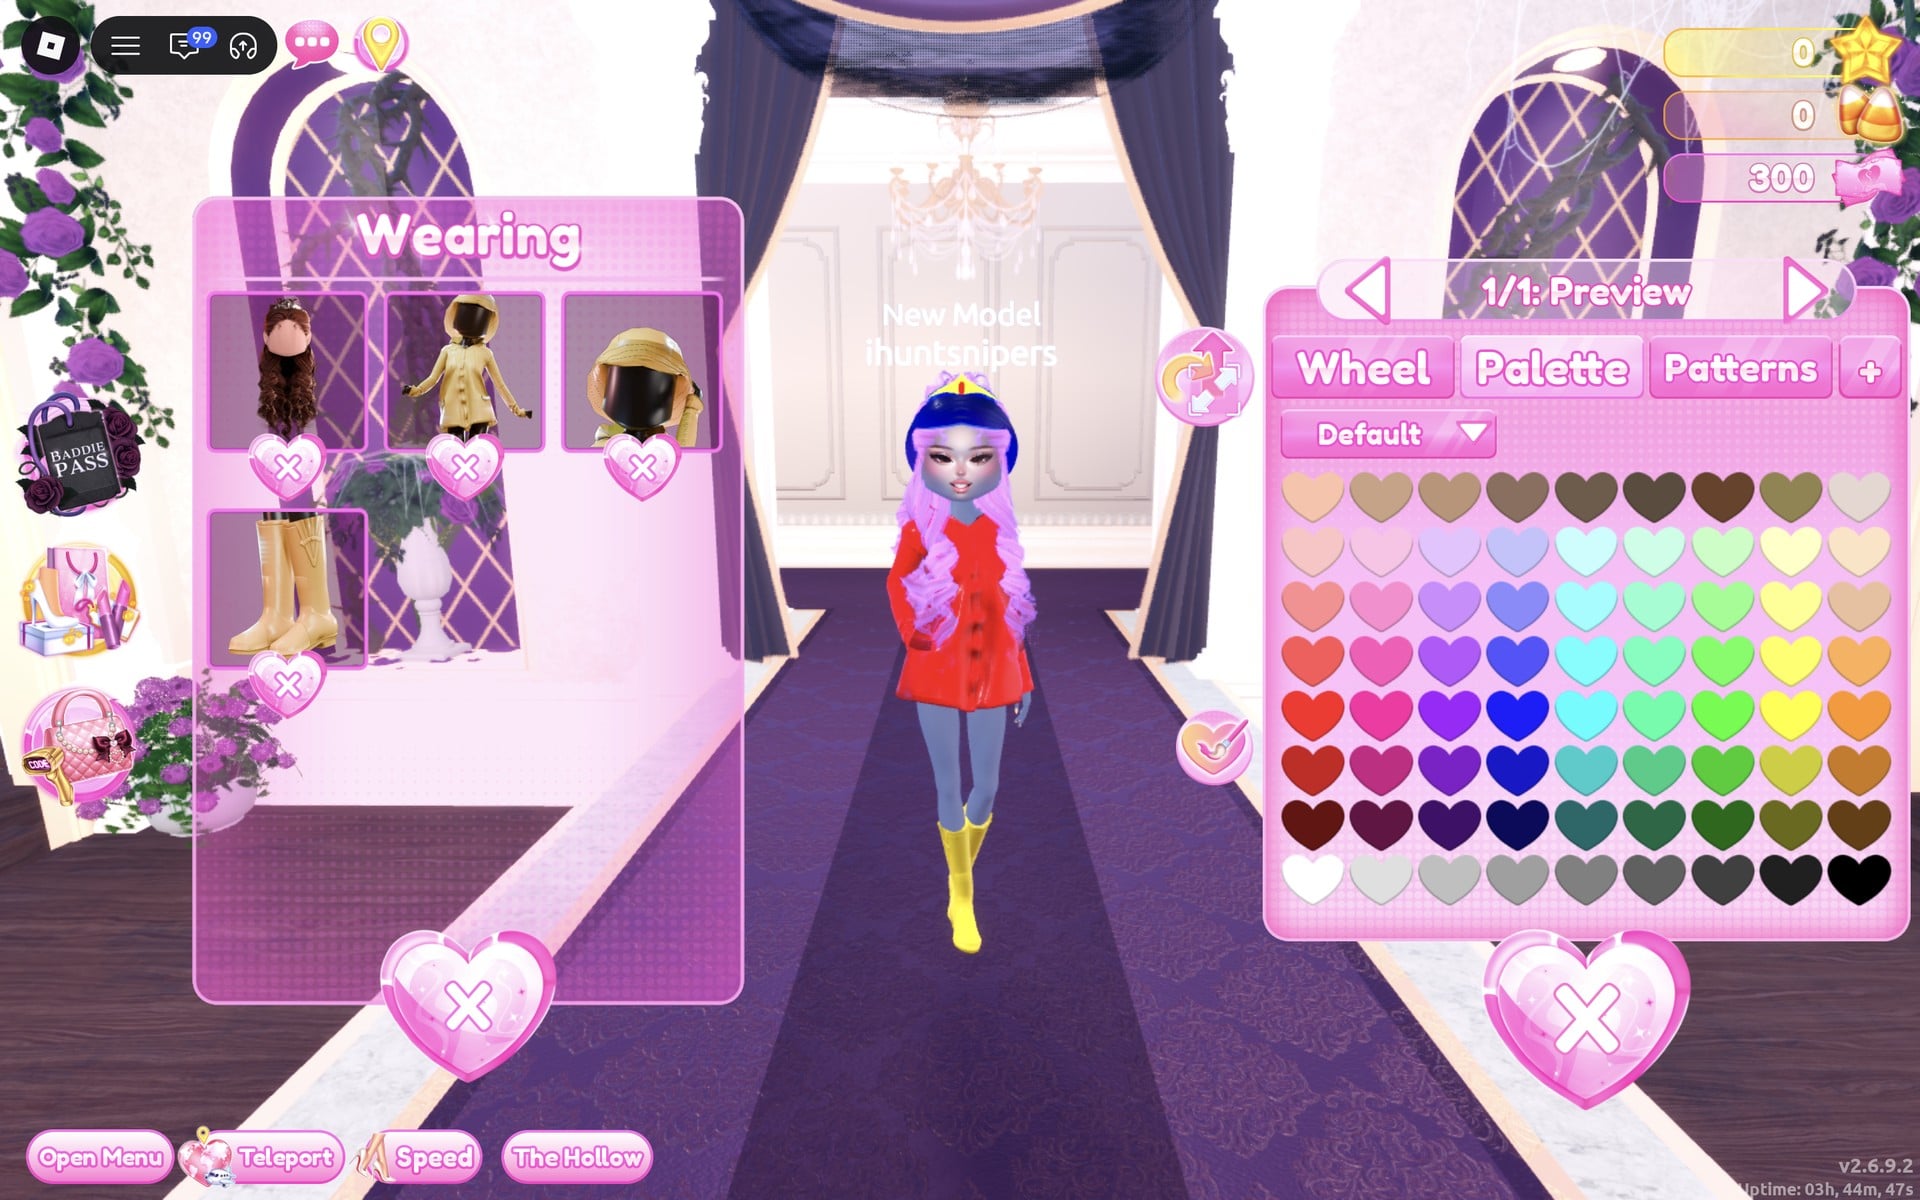
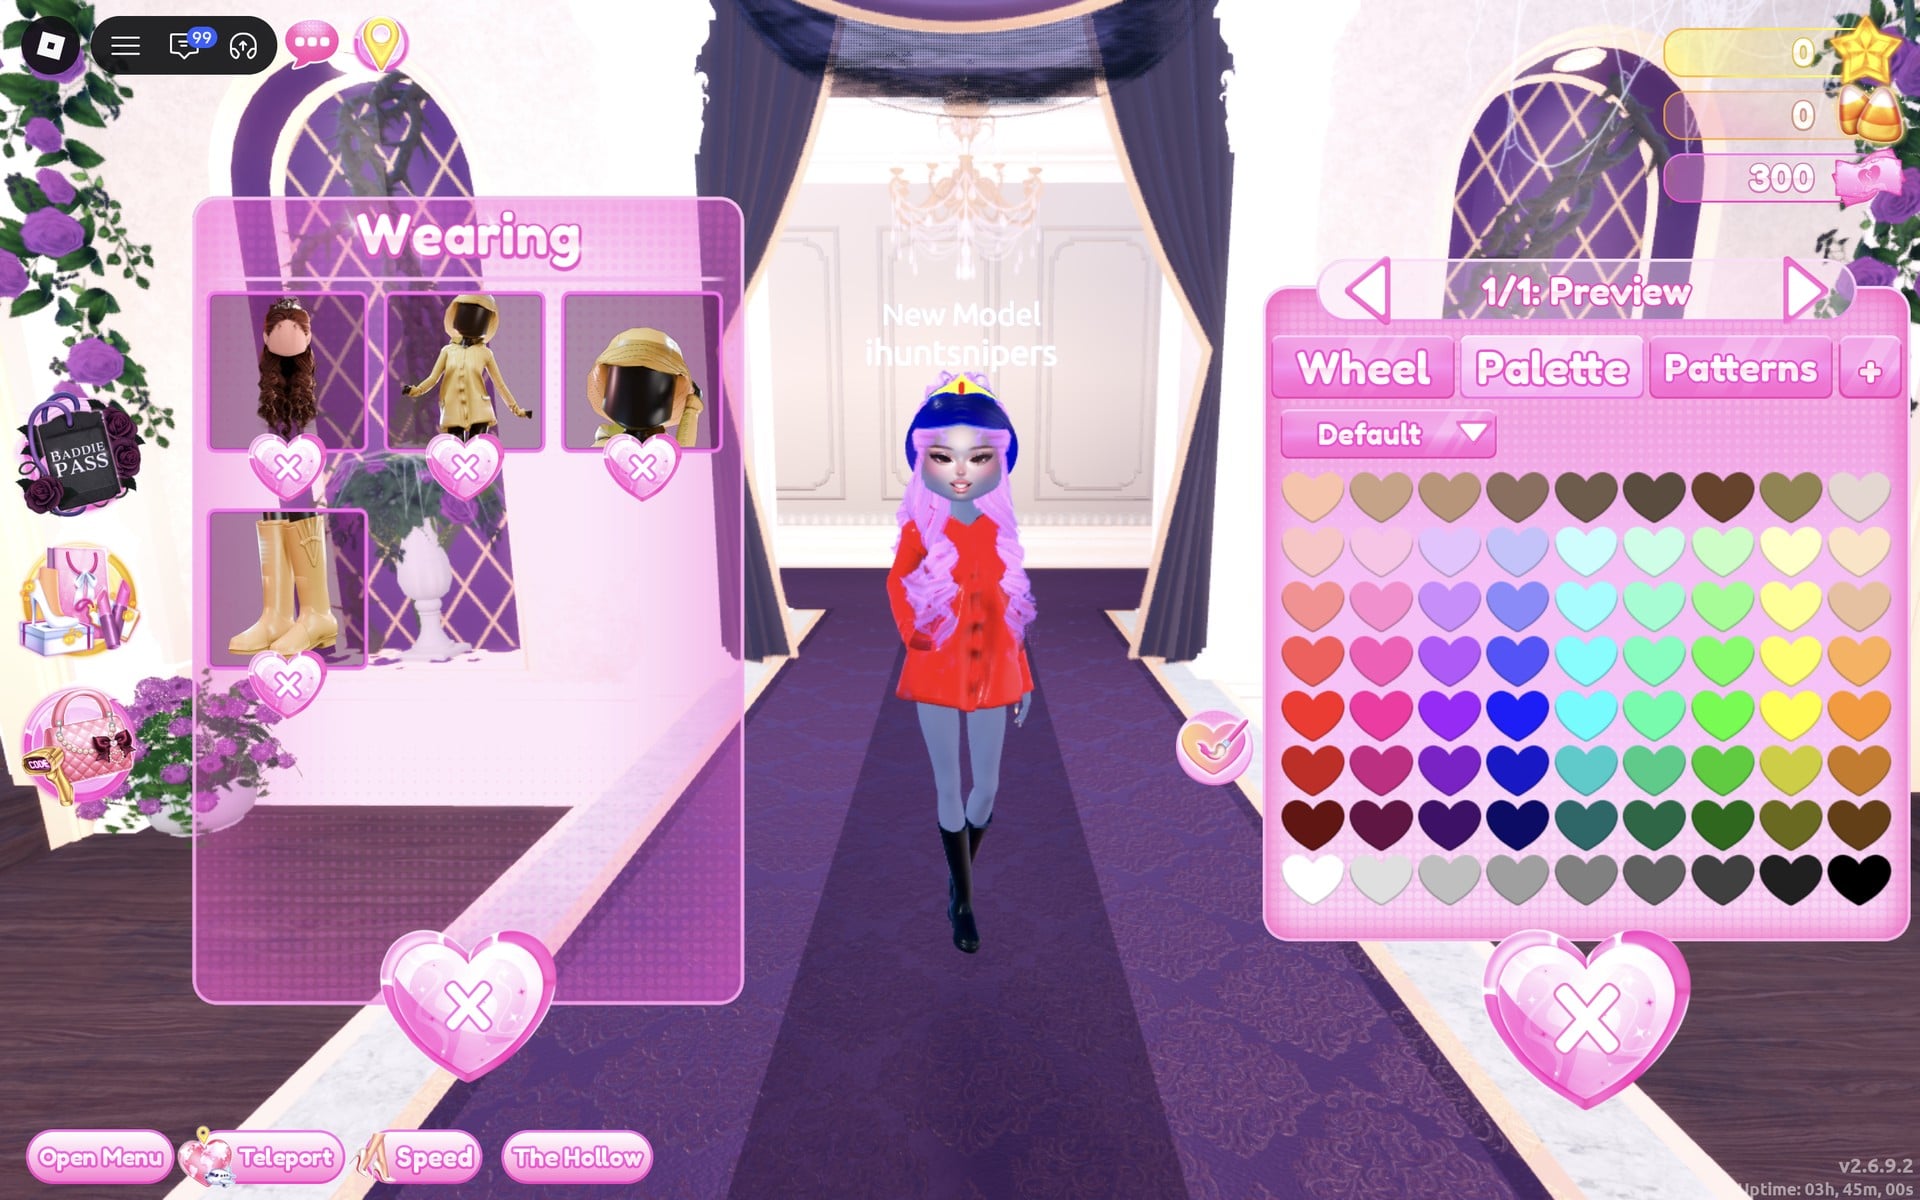
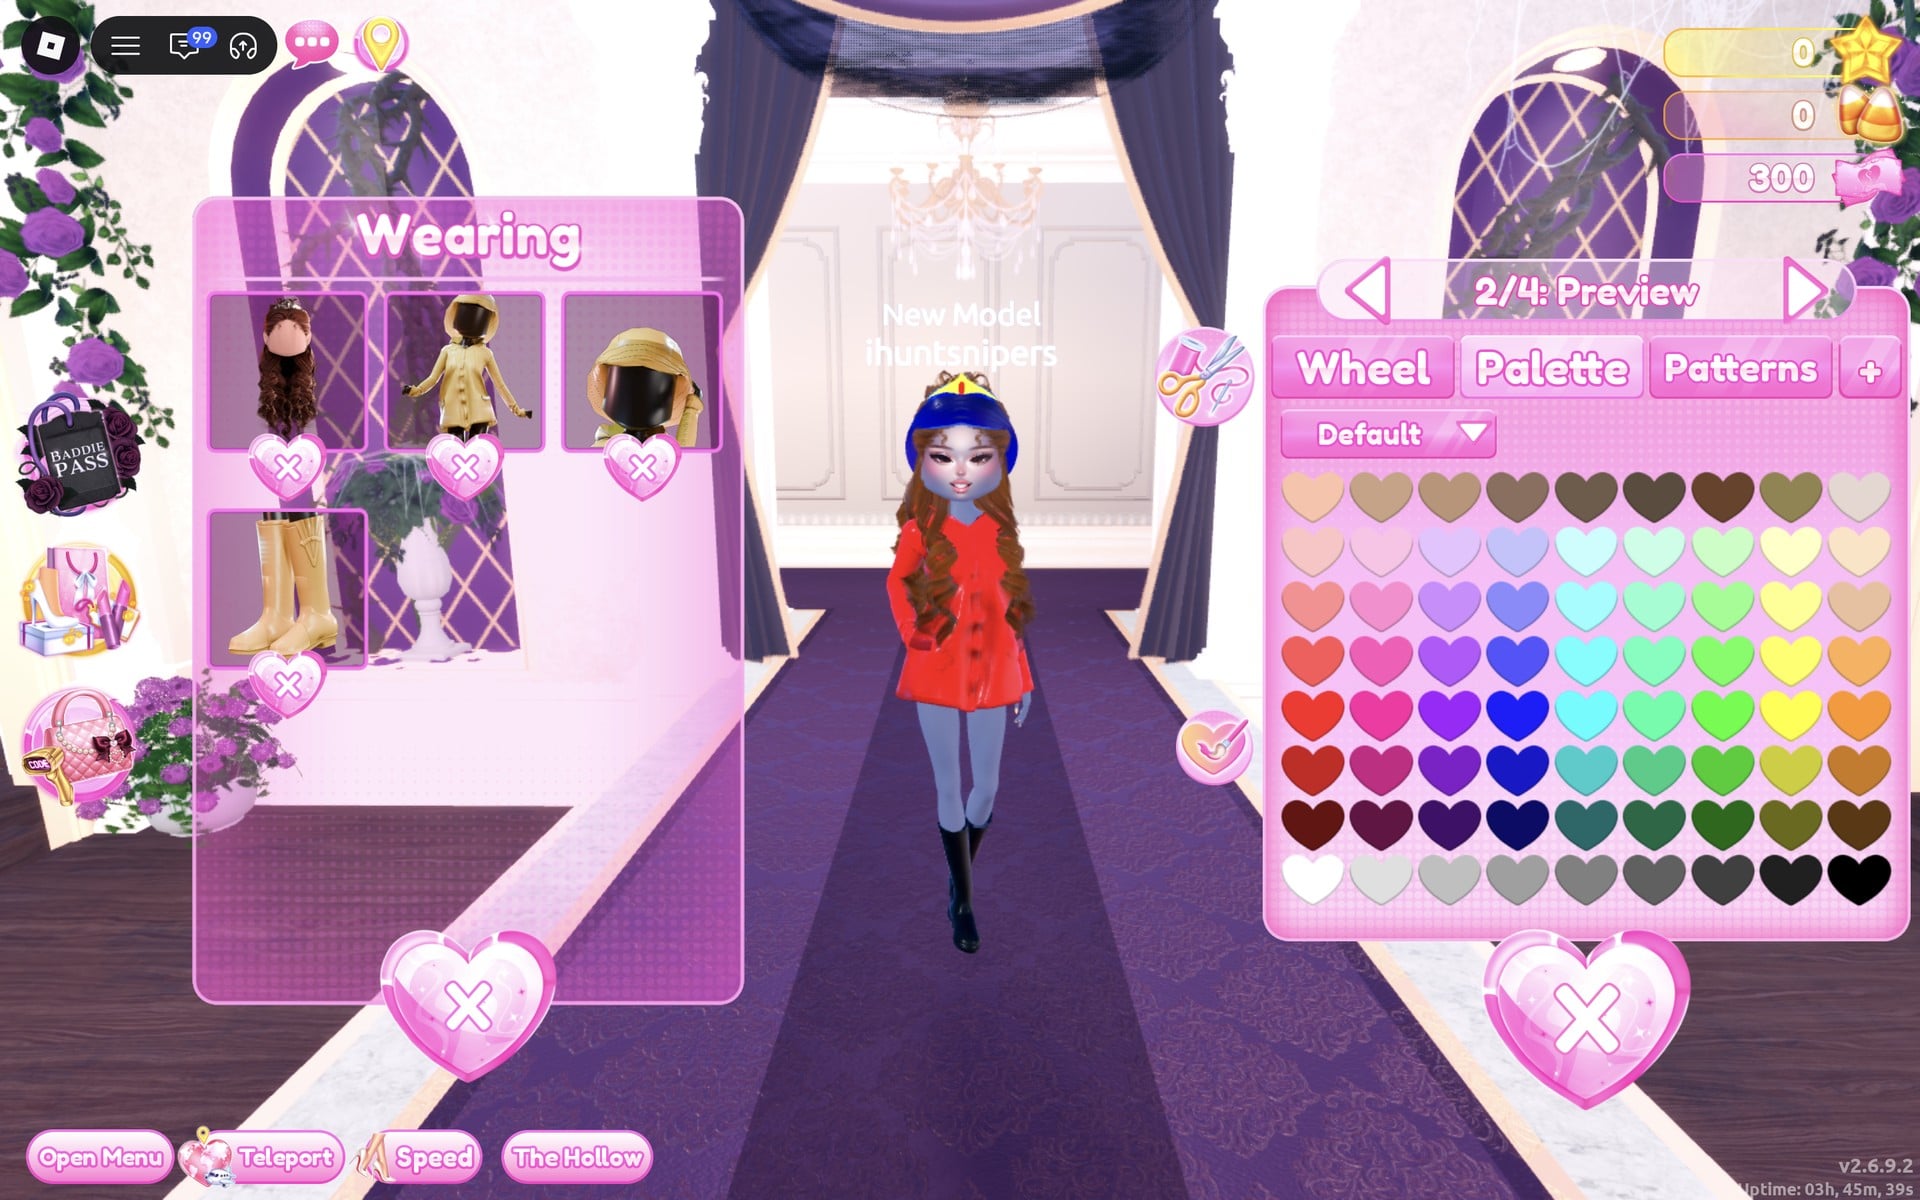
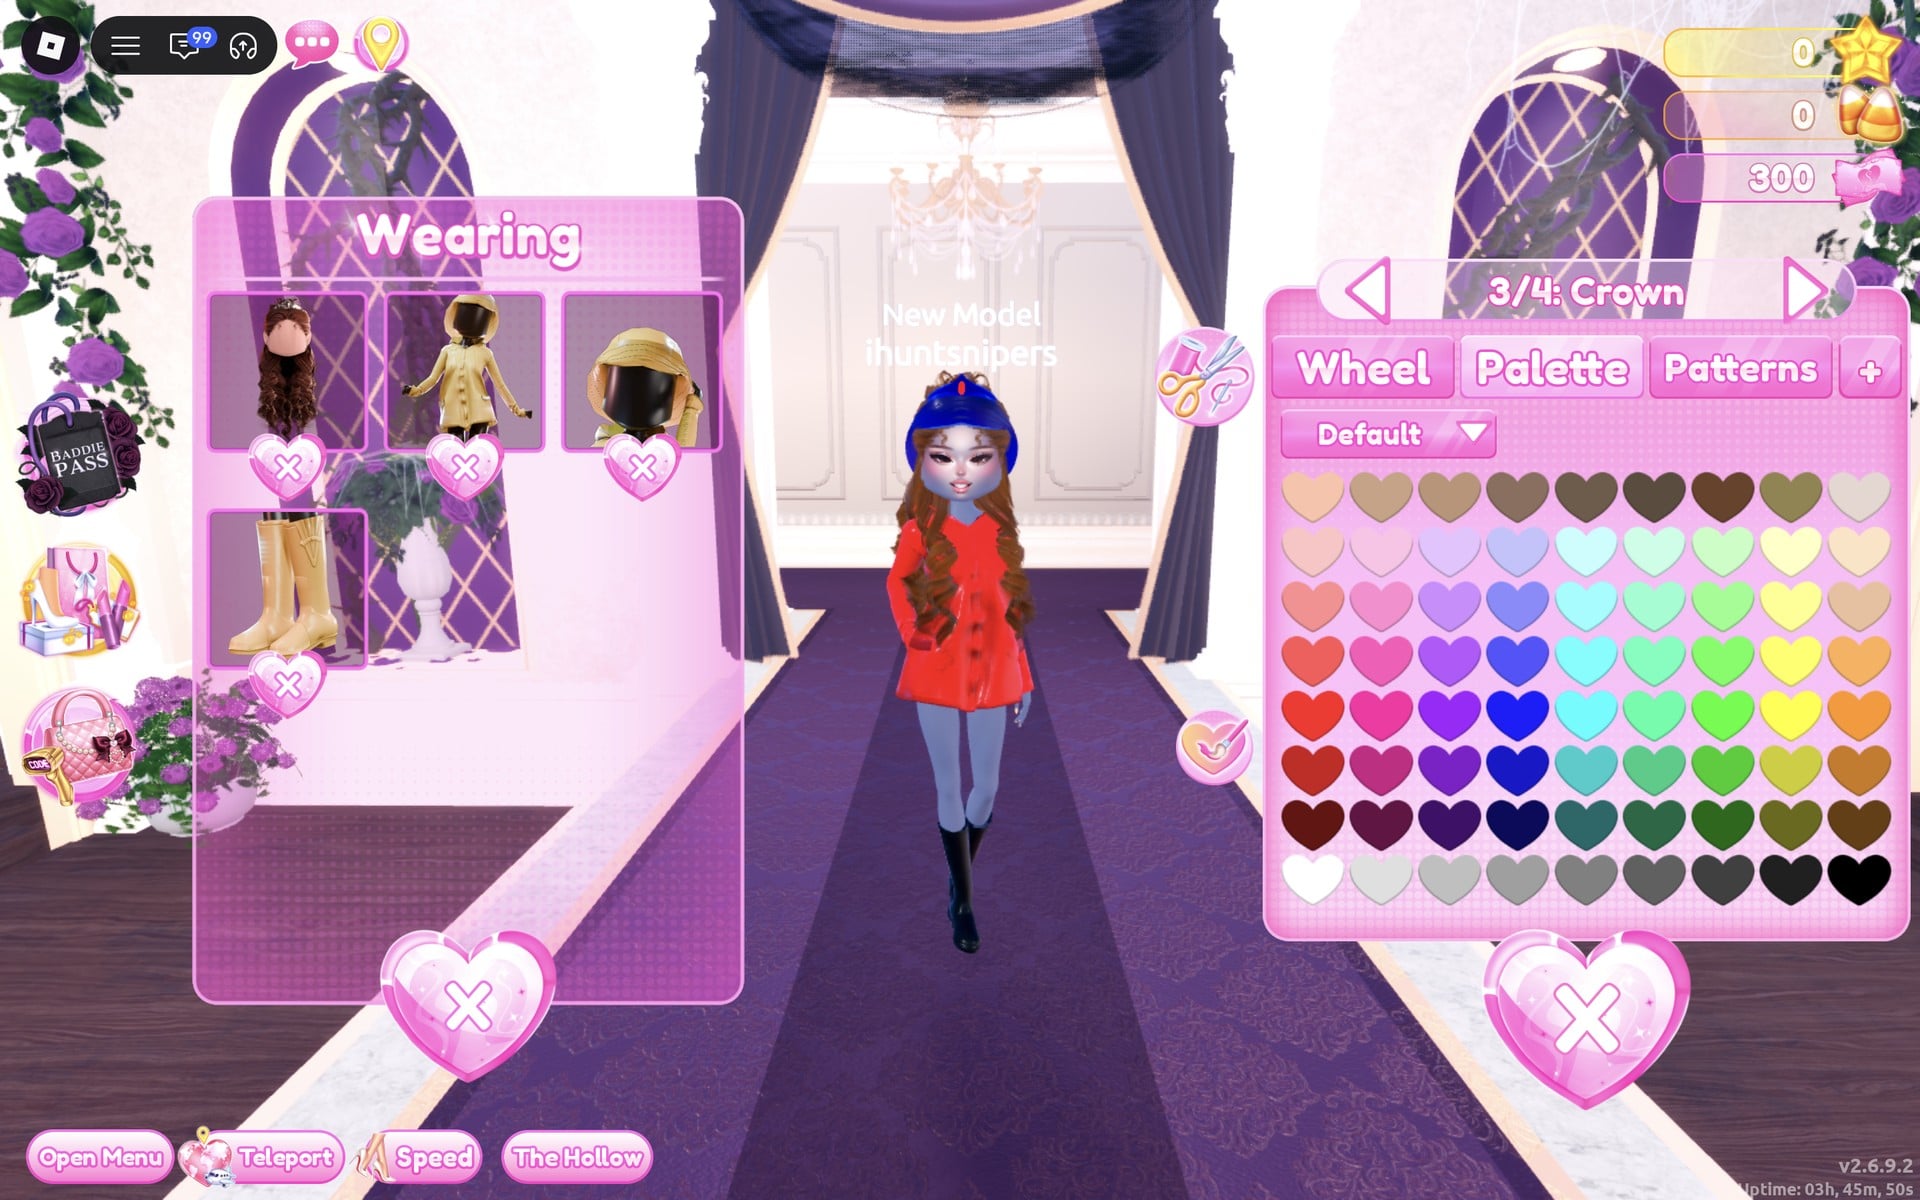
Then set “3/4: Crown” to blue (column 4, row 7) with Matte. The curls turn brown under the hat, and the red gem still shows at the top.
The finished look is a glossy red raincoat to mid-thigh, a royal blue rain hat, long chestnut curls and shiny black knee-high boots.
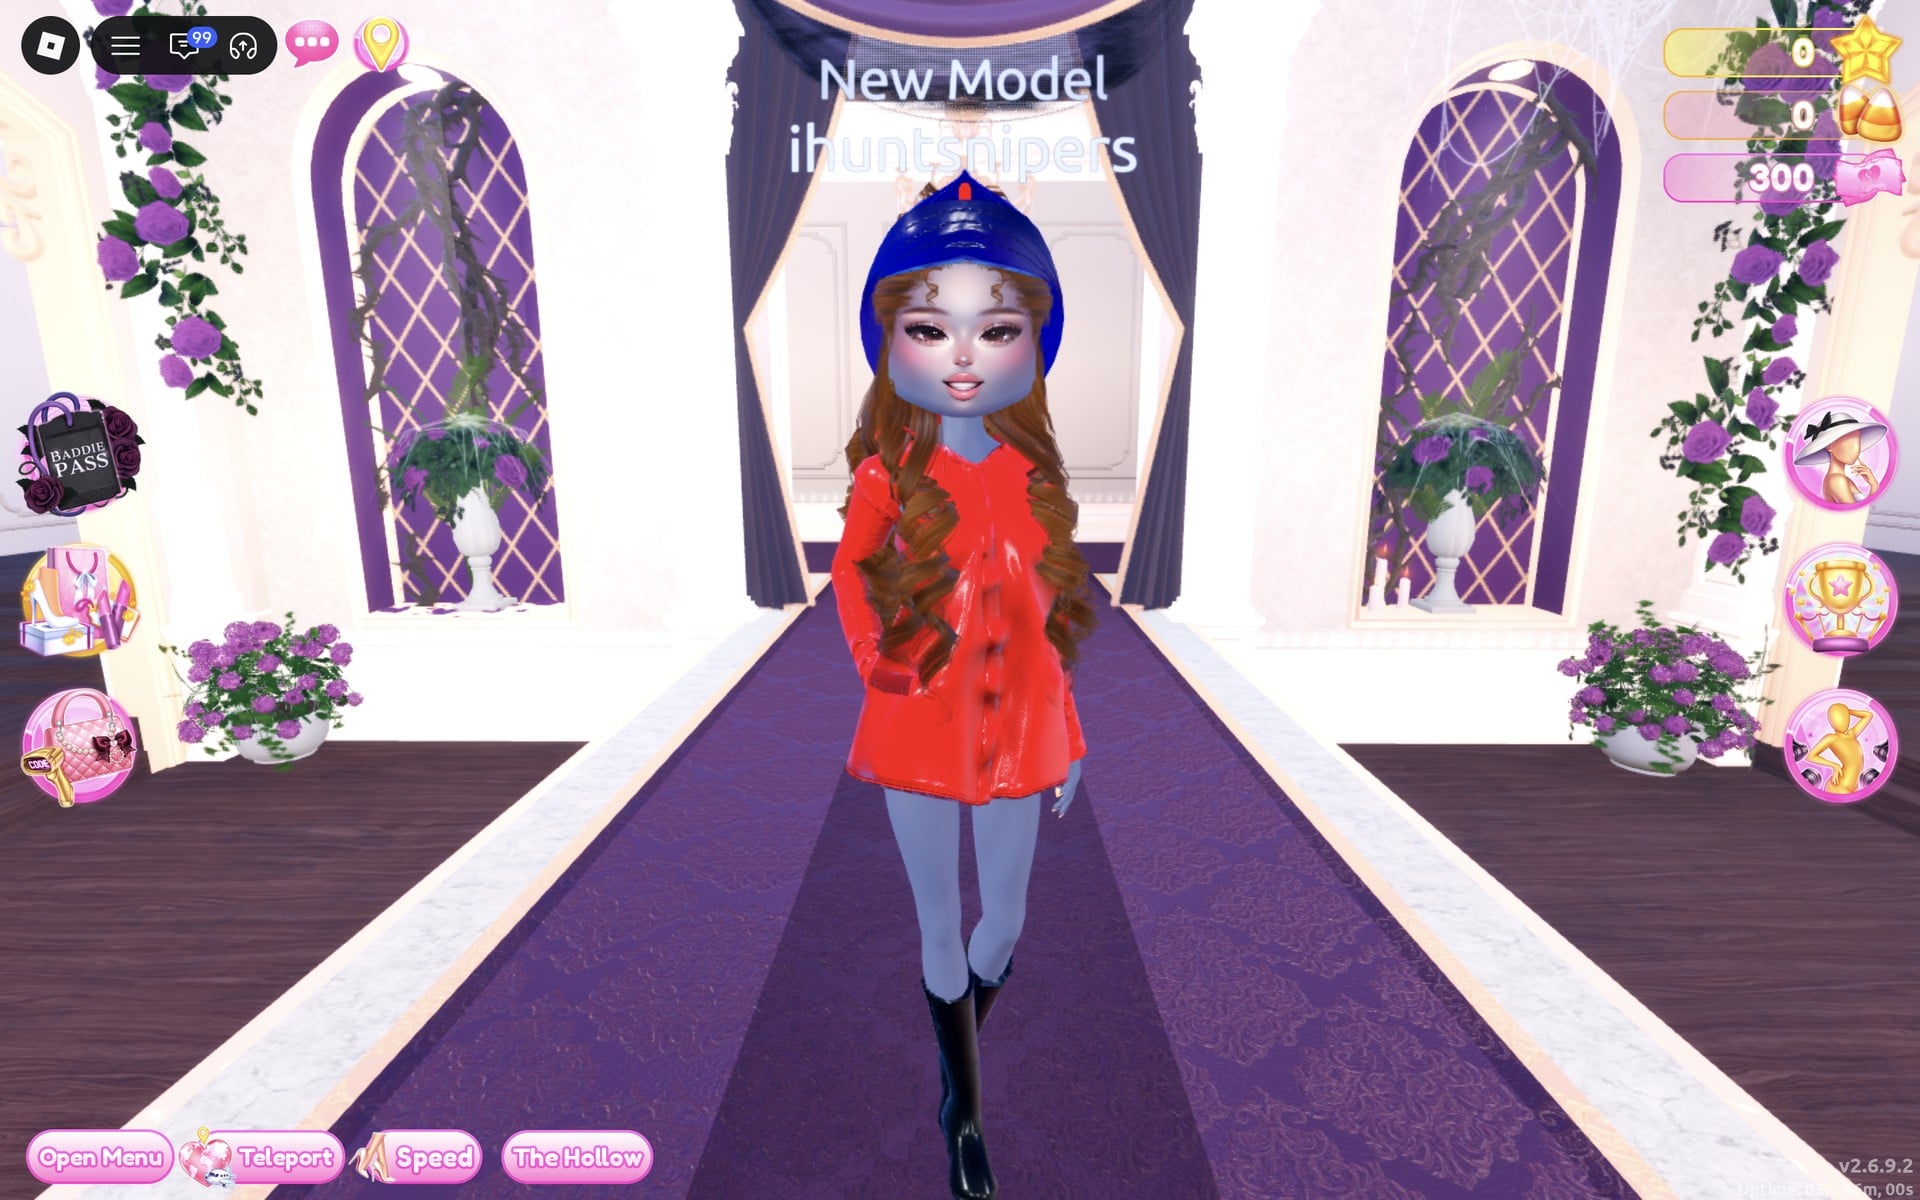
At full length the red coat sits between the blue hat and the black boots, the three colours that make this look read as a rainy day at a distance.
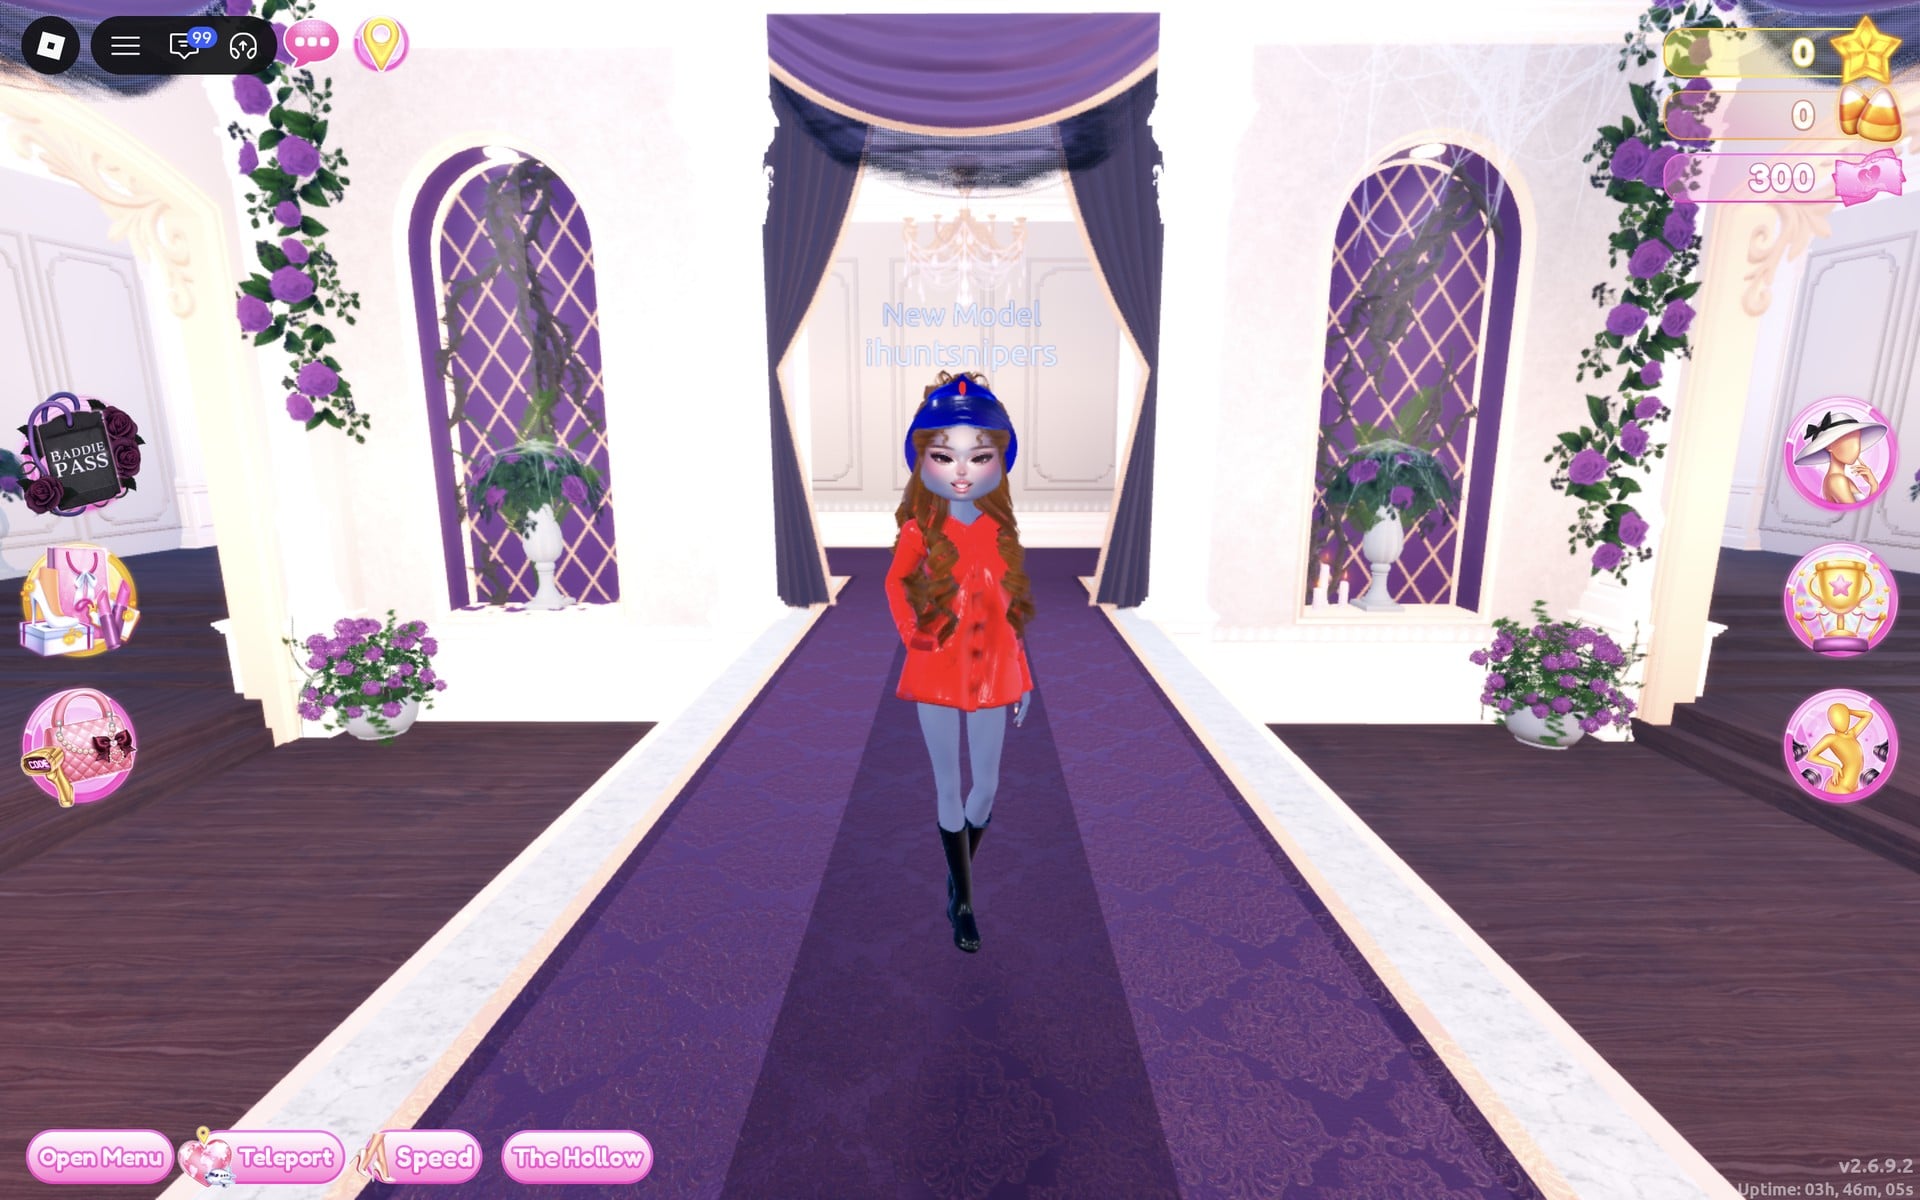
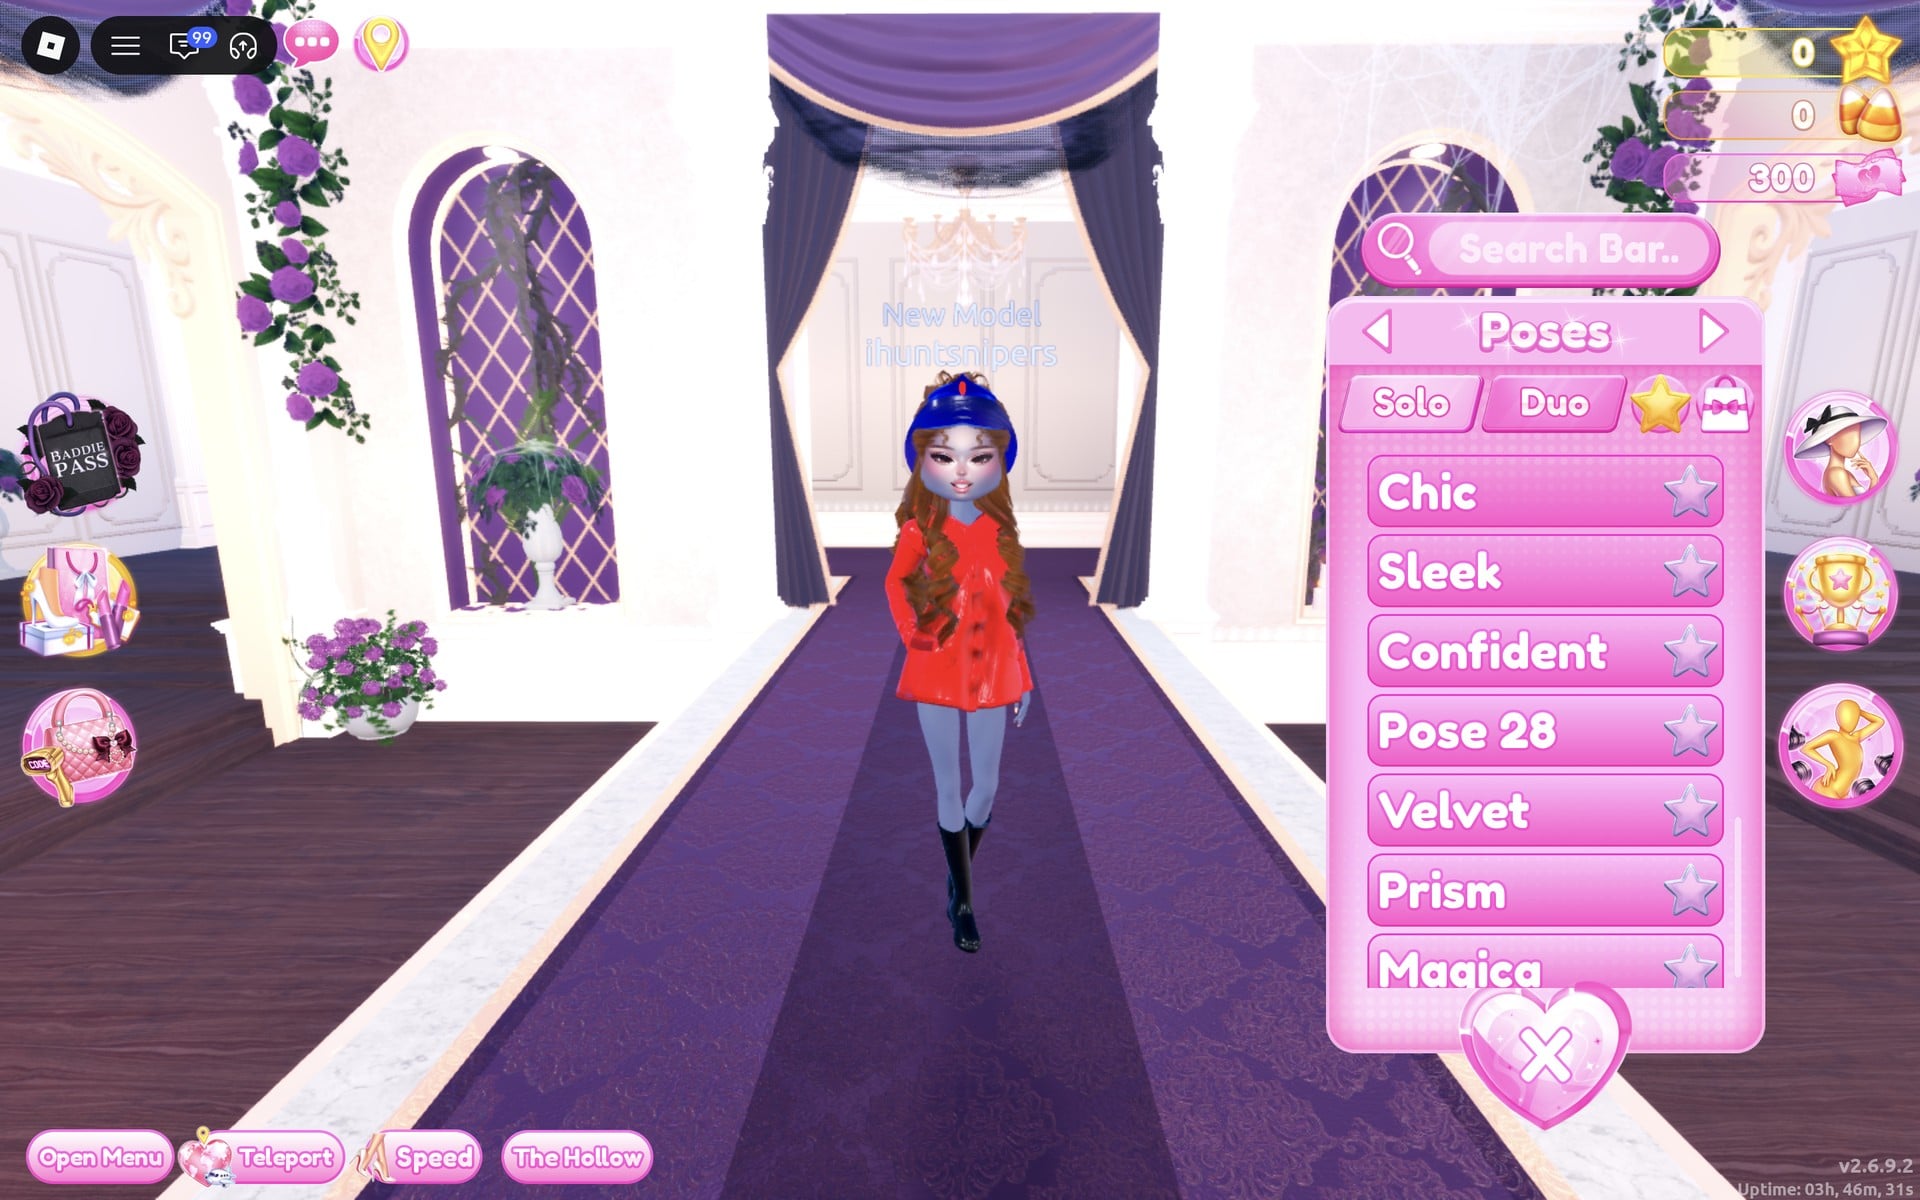
Chic rests one hand on the hip, a relaxed walking pose that keeps the whole coat in view.
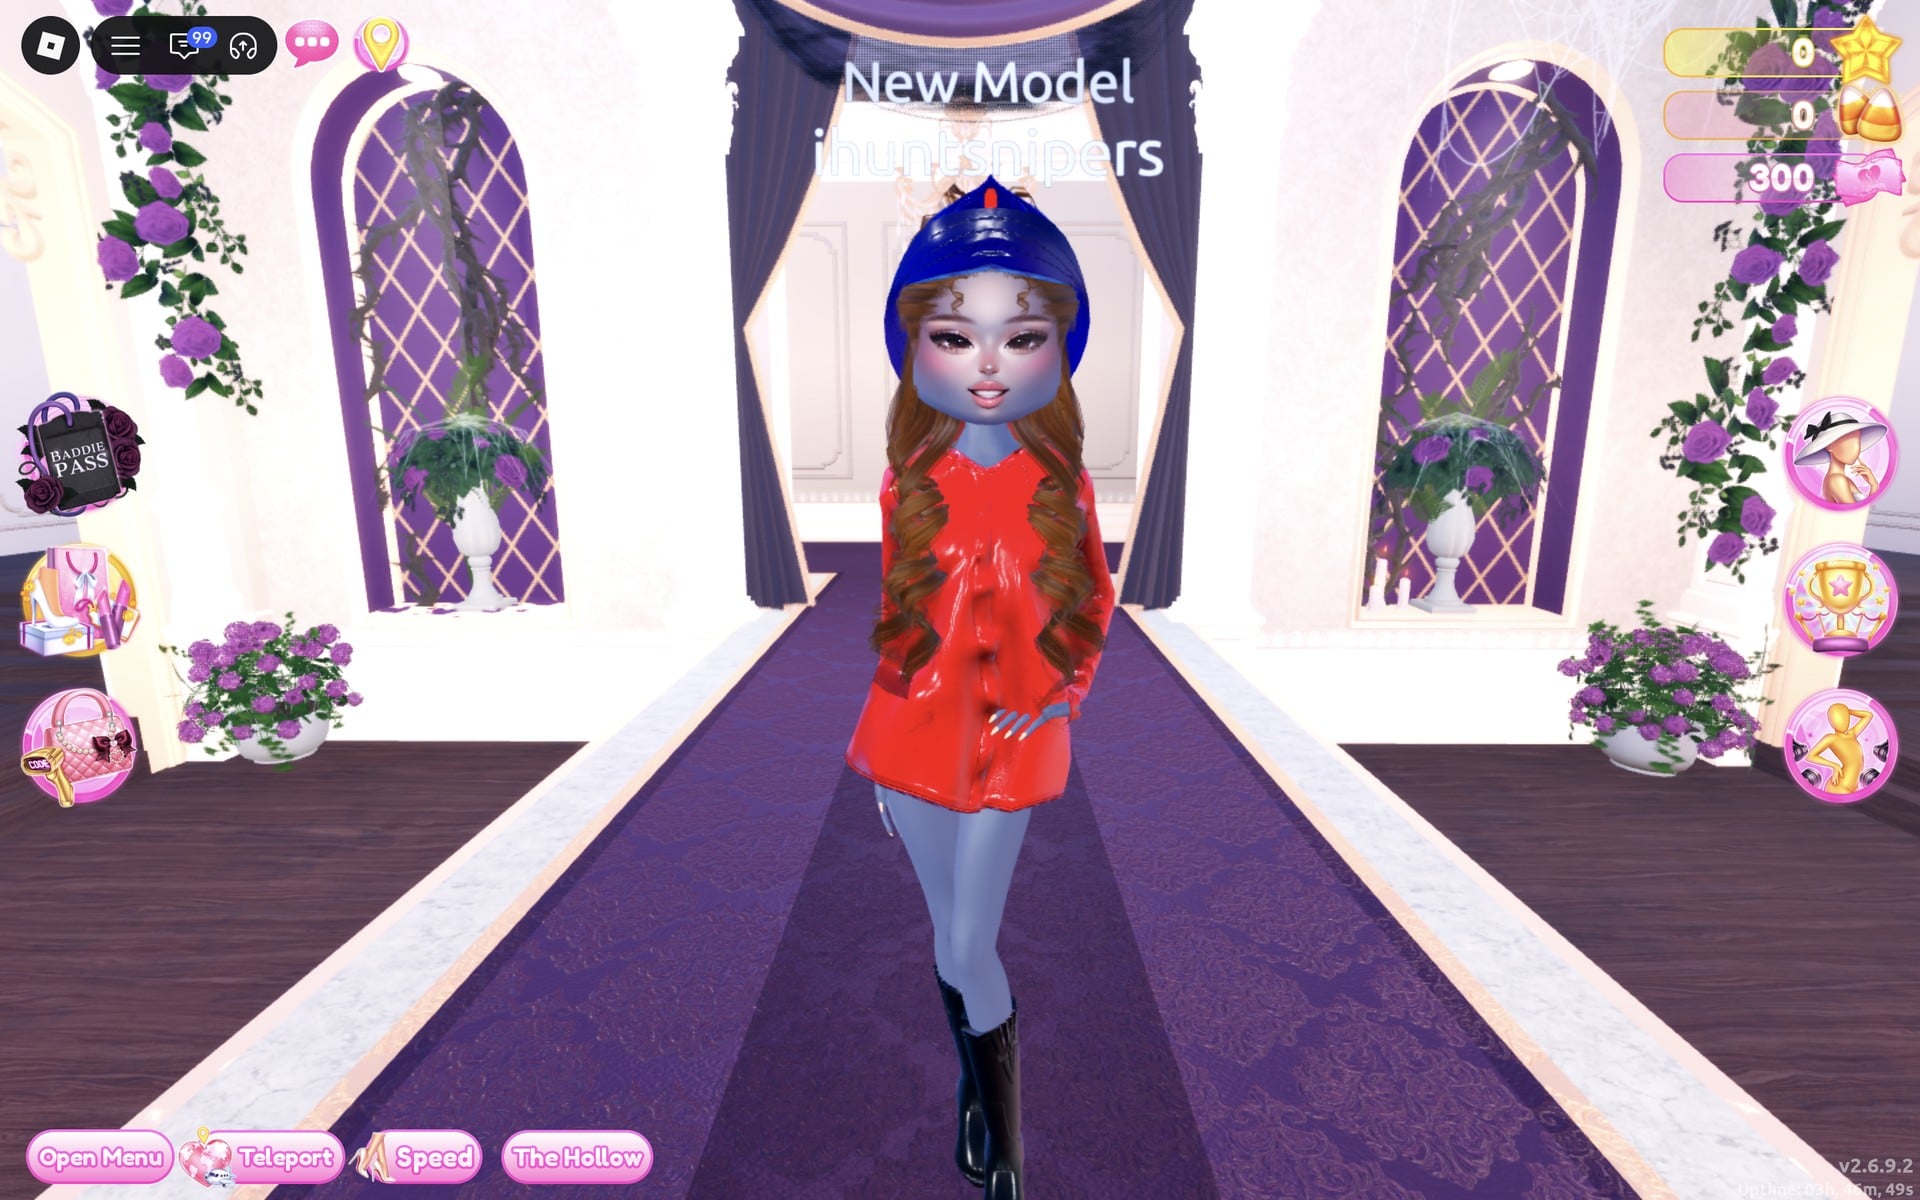
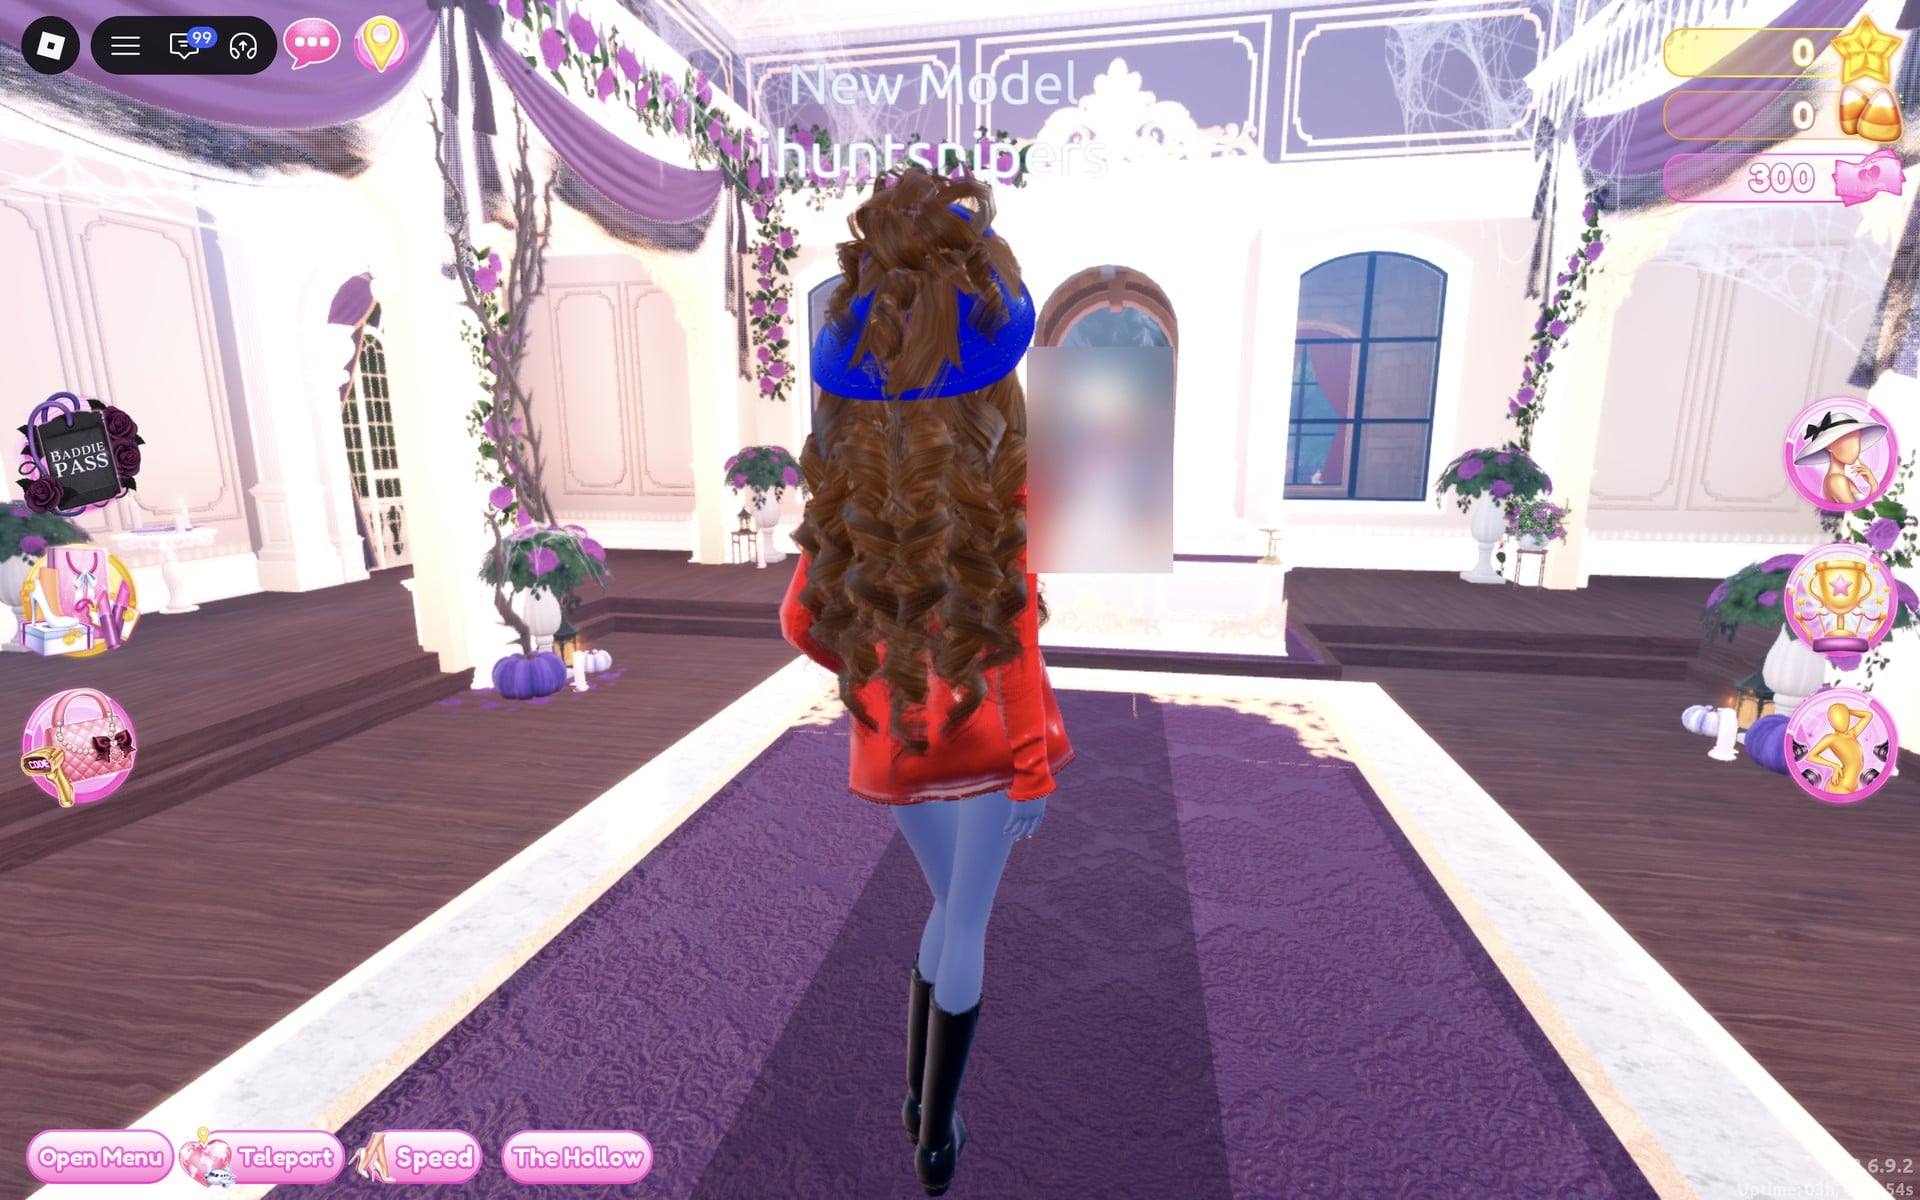
From the back, the chestnut curls fall over the red coat under the brim of the blue hat.
Why these looks read as Trip To London
A London look works best when the voters recognise it from the stands in a few seconds, so each look leans on one clear idea. Look 1 is the smart city side: plaid is the pattern most people link with Britain, and a tailored coat with a top hat adds the old-fashioned polish. Look 2 is the weather: a red raincoat, a blue hat and black wellies are an instant rainy-day silhouette, and the red, blue and black also echo classic British colours. This is plain styling advice; we have not seen how either look scores in a real round.
Tips for Trip To London
The Halloween display circle holds a whole London kit in one spot: the plaid denim dress and the top hat on the podium, and the raincoat, rain hat and rain boots on the mannequin by the arch. The raincoat set comes only in yellow, but each of its pieces has a single part, so a full recolour takes three clicks.
The sage coat’s Put On also adds its bloomers; remove them in the Wearing panel when you want the coat over a dress. And some pieces need rounds played before you can wear them: the dark grey jacket showed “Play 5 rounds to equip – (0/5)”, so click a piece before you plan a look around it.
How to recolour a piece and set its material
- Click the piece on its shelf, podium or mannequin; when a “Put On” label shows, click it. Once you wear the piece, click its picture in the Wearing panel to open its colour panel again.
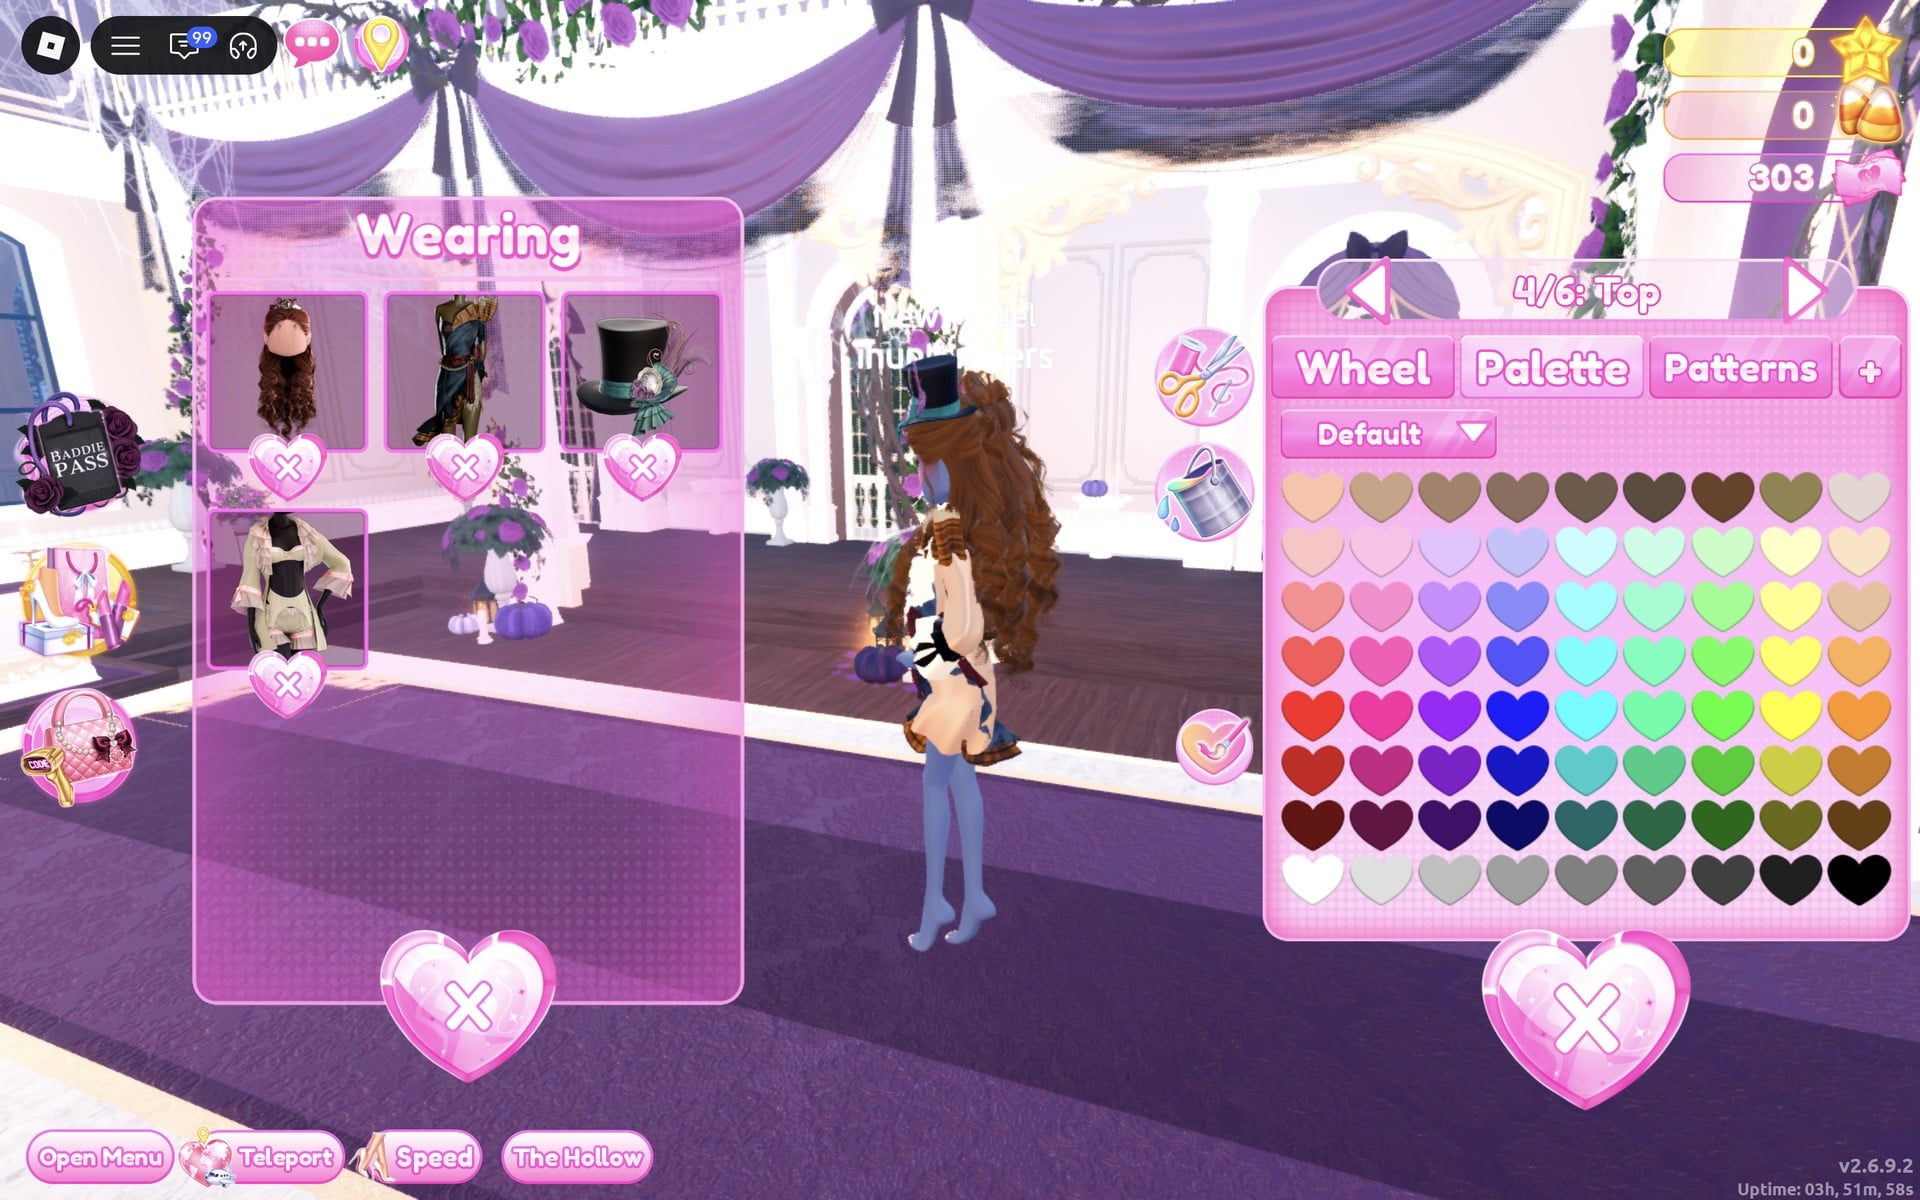
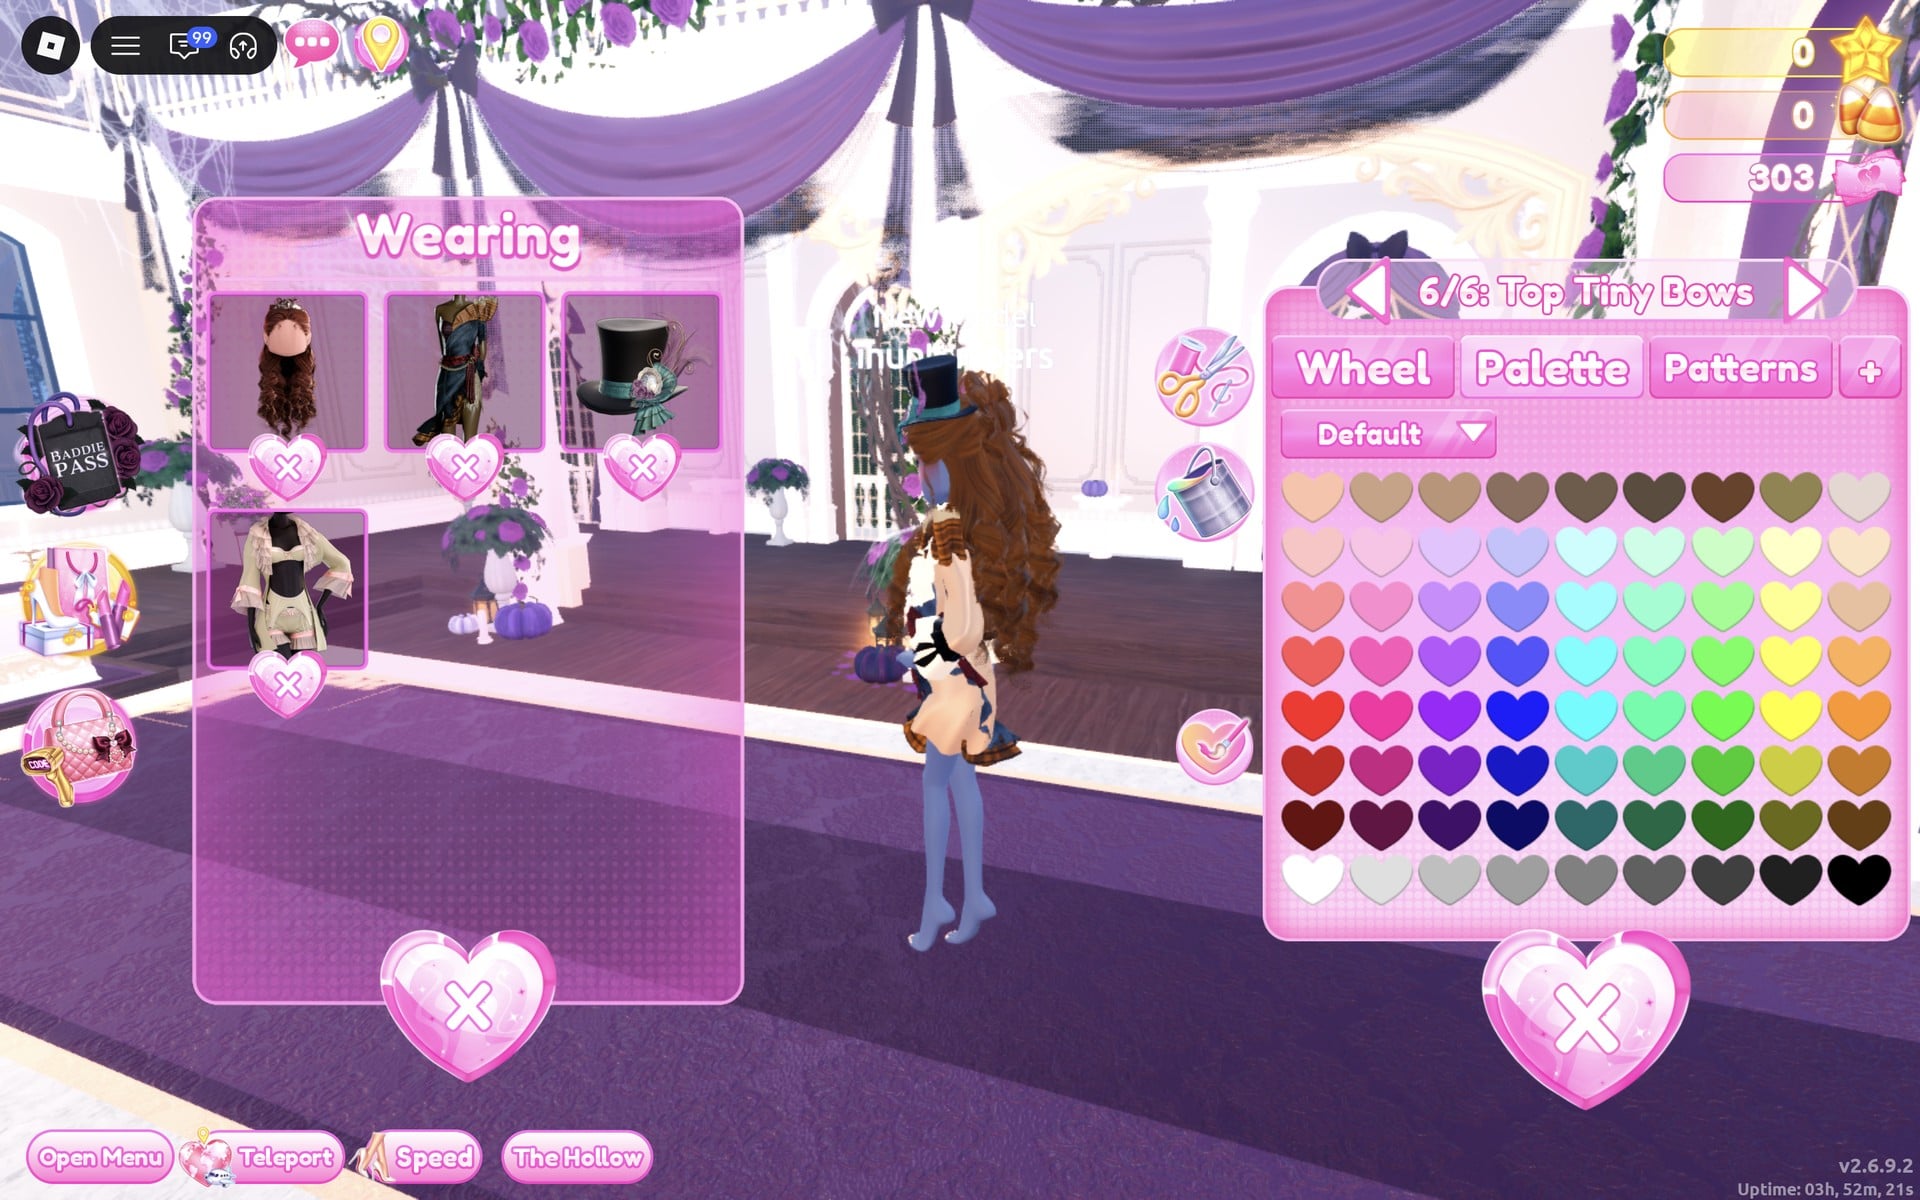
- Pick the part with the arrows beside the part name (“1/6: Preview”, “2/6: Sleeve Bows” and so on).
- Open the “+” tab and click the material, such as Silk, Matte or Leather.
- Choose the colour on the Palette tab (the Default palette; columns are hues, rows run light to dark, and row 8 runs from white to black).
- Repeat for every part. The colours stay on the piece after you close the panel.
To take a piece off, click the heart X under its picture in the Wearing panel. Material tiles with a star badge are star-locked, so leave them alone if you have no stars. The Patterns tab sits next to Palette; we did not use it for these looks.
Trip To London colours on the Default palette
Look 1 keeps the dress’s own plaid and builds the coat around it in tan, cream and black; Look 2 is three strong colours, one per piece. Check each colour on the runway before you move on, because the lights change how dark swatches read.
| Colour | Column | Row | Used for |
|---|---|---|---|
| Tan (reads warm tan) | 3 | 1 | Look 1 coat body and top (Silk) |
| Cream | 9 | 2 | Look 1 coat ruffles (Silk) |
| Black | 9 | 8 | Look 1 coat bows (Silk); Look 2 rain boots (Leather) |
| Red (reads glossy red) | 1 | 6 | Look 2 raincoat (Silk) |
| Blue (reads royal blue) | 4 | 7 | Look 2 rain hat (Silk); the hair’s crown in both looks (Matte) |
| Chestnut (dark orange-brown) | 9 | 7 | The curls in both looks (Matte) |
Trip To London pieces to look for
None of these pieces has a name in the game, so look for them by place and shape. All of them are free and worked on our account with no VIP and 0 stars.
| Piece | Where in the Dressing Room | Colours and materials we used |
|---|---|---|
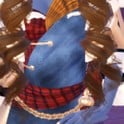 Denim dress with plaid trim (six parts, starting at “1/6: Denim”) | Halloween display circle in the middle of the hall: on the podium, the mannequin to the right of the centre | Its own colours: blue denim, an orange-brown plaid sash and hem, a red plaid bow and belt (Look 1) |
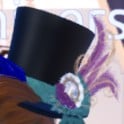 Top hat (seven parts, starting at “1/7: Main Hat”) | The same podium, on its front edge | Its own colours: black with a teal band and bow and purple feathers (Look 1) |
 Ruffled coat (six parts) | Short-dress shelf, top row, middle stand: a sage green ruffled coat set | “1/6: Preview” and “4/6: Top” tan (column 3, row 1); “3/6: Ruffles” and “5/6: Top Ruffles” cream (column 9, row 2); “2/6: Sleeve Bows” and “6/6: Top Tiny Bows” black (column 9, row 8); all Silk. Reads warm tan with cream cuffs and black bows (Look 1) |
 Long curls with a crown and gem (four parts) | Lana’s Salon, hair-dryer chairs; we already had them on from an earlier look | “1/4: Preview” and “2/4: Preview” chestnut (column 9, row 7) + Matte; “3/4: Crown” blue (column 4, row 7) + Matte; the gem stayed red (both looks) |
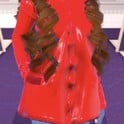 Raincoat (one part, “1/1: Preview”) | Halloween display circle, far side: the mannequin left of the arch, all in yellow | Red (column 1, row 6) + Silk, reads glossy red (Look 2) |
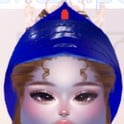 Rain hat (one part) | The same mannequin’s head | Blue (column 4, row 7) + Silk, reads royal blue (Look 2) |
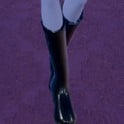 Rain boots (one part) | The same mannequin’s feet | Black (column 9, row 8) + Leather, reads shiny black knee-high wellies (Look 2) |
Poses for Trip To London
We used Confident for the plaid and top hat look and Chic for the red raincoat, both free under Solo in the Poses menu. For the full list with a picture of each, see every free pose in Dress To Impress.
Building it in Freeplay Mode first
Freeplay Mode has no timer, so it is the place to recolour a coat part by part, check how a colour reads under the runway lights and look at the outfit from the front and back. Once a look works, you know which shelf, which palette spots and which materials to go to when Trip To London comes up in a real round. For more themes built the same way, see our Boho, Robot Takeover, Album Cover, Potion Maker, Monochrome Mood, Divine Beings, Drag, Sweet 16, Camouflage, Deserted Island, Summer Cruise, Favorite Show, Fairytale, Cotton Candy Couture, Cyberpunk, Birth Stones, Y2K Popstar, Video Game Character, Top Model, Fast Food Mascot, DJ, Award Show, Drama Queen, Instagram Model, Day of the Dead, Malibu Dream, Stained Glass, Summer Camp, Modern Royalty, Trad Goth, Wonderland, Pop Art Princess, Sugar And Spice, Paranormal Investigator, Cursed Lagoon, Complementary Colors, Galactic Glam and Dancer outfit ideas.
How a theme round works
We have not had Trip To London as a round yet; this is from ordinary server rounds on other themes. On the main lobby, the theme shows in a banner at the top with a timer under it. After dressing, each player walks the runway in turn, about 7 seconds each, while the others vote with five stars along the bottom of the screen, with a “Voting complete!” banner between players. A “Results” card then ranks the players, followed by an “Intermission” countdown.
The “Pick Theme” button next to the intermission timer lets you choose the theme, but only with Theme Props. The panel reads “You have: 0 Theme Props” and offers a “Buy More” button priced at 75 Robux. We bought none and saw no free ones, so without Robux you wait for Trip To London to roll.
What we have not checked
No round we joined rolled Trip To London, so these looks have not walked a real round: there is no score, star count or vote for them. We saw no umbrella, Union Jack print or trench coat piece while building, though we did not search every shelf for them, and we did not use the Patterns tab. The dark grey jacket stayed locked behind its rounds count. Both looks were built with 0 stars, and nothing was bought.
FAQ
What is the Trip To London theme in Dress To Impress?
The game gives only the name. We read it as London style: a tailored coat, plaid or check, a top hat, and a rainy-day raincoat with wellies in red, blue and black.
Can I do Trip To London without VIP?
Yes. Both looks were built on an account with no VIP and 0 stars, and every piece, hairstyle, colour, material and pose used here worked on it, with no lock or price on any of them. Silk, Matte and Leather are free materials; tiles with a star badge are star-locked.
Where are the raincoat, top hat and plaid dress?
All three are on the Halloween display circle in the middle of the Dressing Room. The plaid denim dress is on the podium, to the right of the centre, and the top hat sits on the podium’s front edge. The raincoat, rain hat and rain boots are on the yellow mannequin to the left of the arch.
Where is the tan coat?
It starts out sage green, on the top row of the short-dress shelf, middle stand. Put it on, take off the bloomers that come with it, and recolour it tan, cream and black with Silk.
Which colours work for Trip To London?
We used red (column 1, row 6), royal blue (column 4, row 7) and black (column 9, row 8) for the raincoat look, and tan (column 3, row 1), cream (column 9, row 2) and black for the coat, all on the Default palette.
Which pose fits Trip To London?
Confident, with one hand behind the head and one knee raised, for the plaid and top hat look, and Chic, with a hand on the hip, for the red raincoat. Both are free under Solo.