Dystopia (searched most as “dystopia dti”) is one of the round themes in Dress To Impress on Roblox. The game gives only the name, so the reading here is ours: a broken future world, where people wear whatever they could salvage, in rust, grey and black, with goggles and a grimy face. We built three looks in Freeplay Mode, a studded rebel in black with mustard lacing, a wasteland survivor and a quick regime-grey variation, and took our own pictures of each step. Every piece, colour, material, face, hairstyle and pose used worked on our account with no VIP, so all three are free to copy. For the other themes, see every Dress To Impress theme we have built.
Quick answer: Wear a black corset top with mustard lacing under a cropped charcoal studded-collar jacket, add black knee boots with a rust fringe, and finish with short messy black hair from the salon’s Masculine tab. Every piece is free.
Dystopia outfit ideas in Dress To Impress
Dress To Impress shows no item names, so every piece here is described by where it sits, what it looks like and the exact spot we used on the Default palette (columns from the left, rows from the top), with the material we set. Joining Freeplay Mode puts you in the bald base body with a black top and black shorts; those cannot be taken off, only covered. The studded rebel has a hairstyle and boots; the wasteland survivor and the regime-grey variation have neither, so they are bald and barefoot.
Look 1: Studded rebel
Our idea: the resistance in a broken city. Hard black pieces with studs and lacing, one sharp mustard accent and a flash of rust at the boots. It is our most complete Dystopia look, with hair, a top, a jacket and boots.
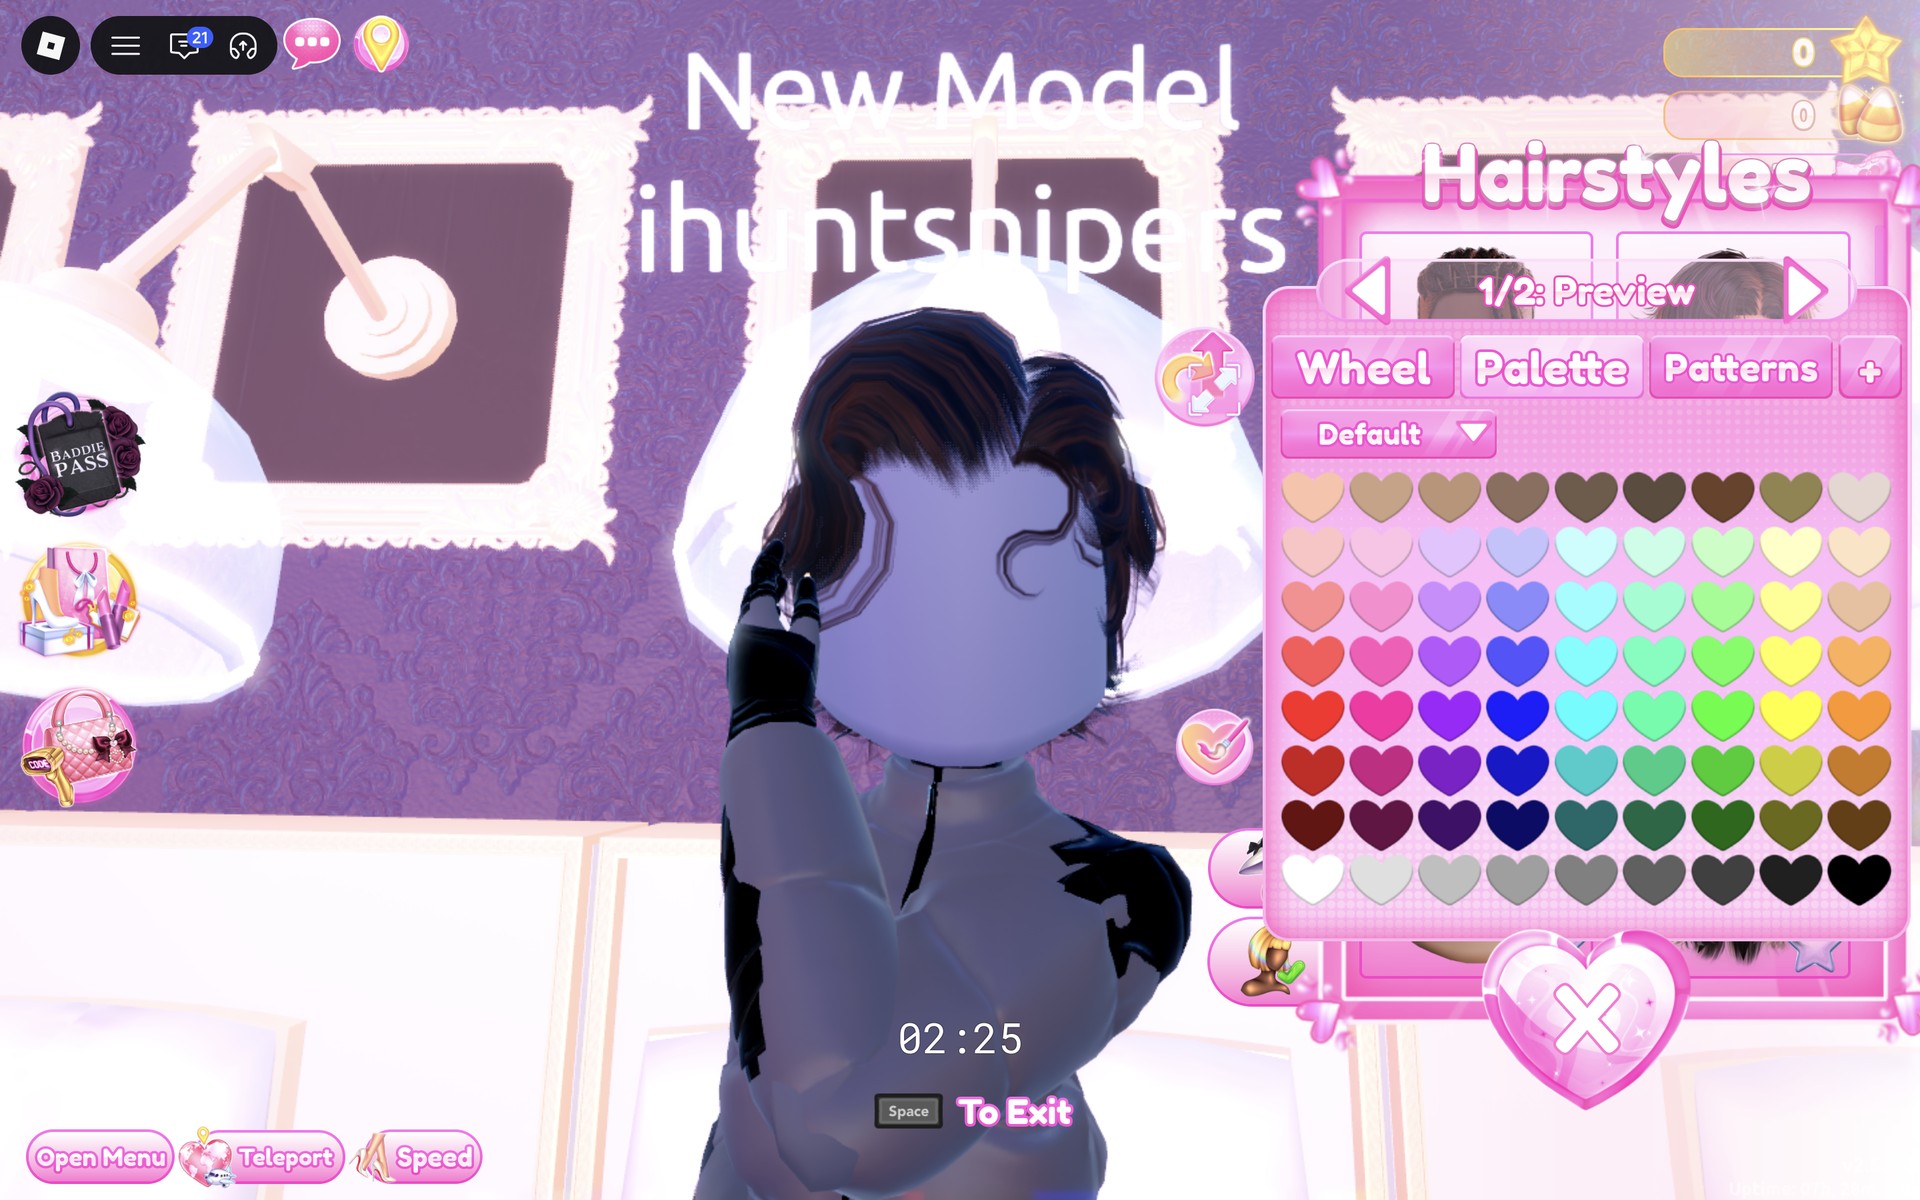
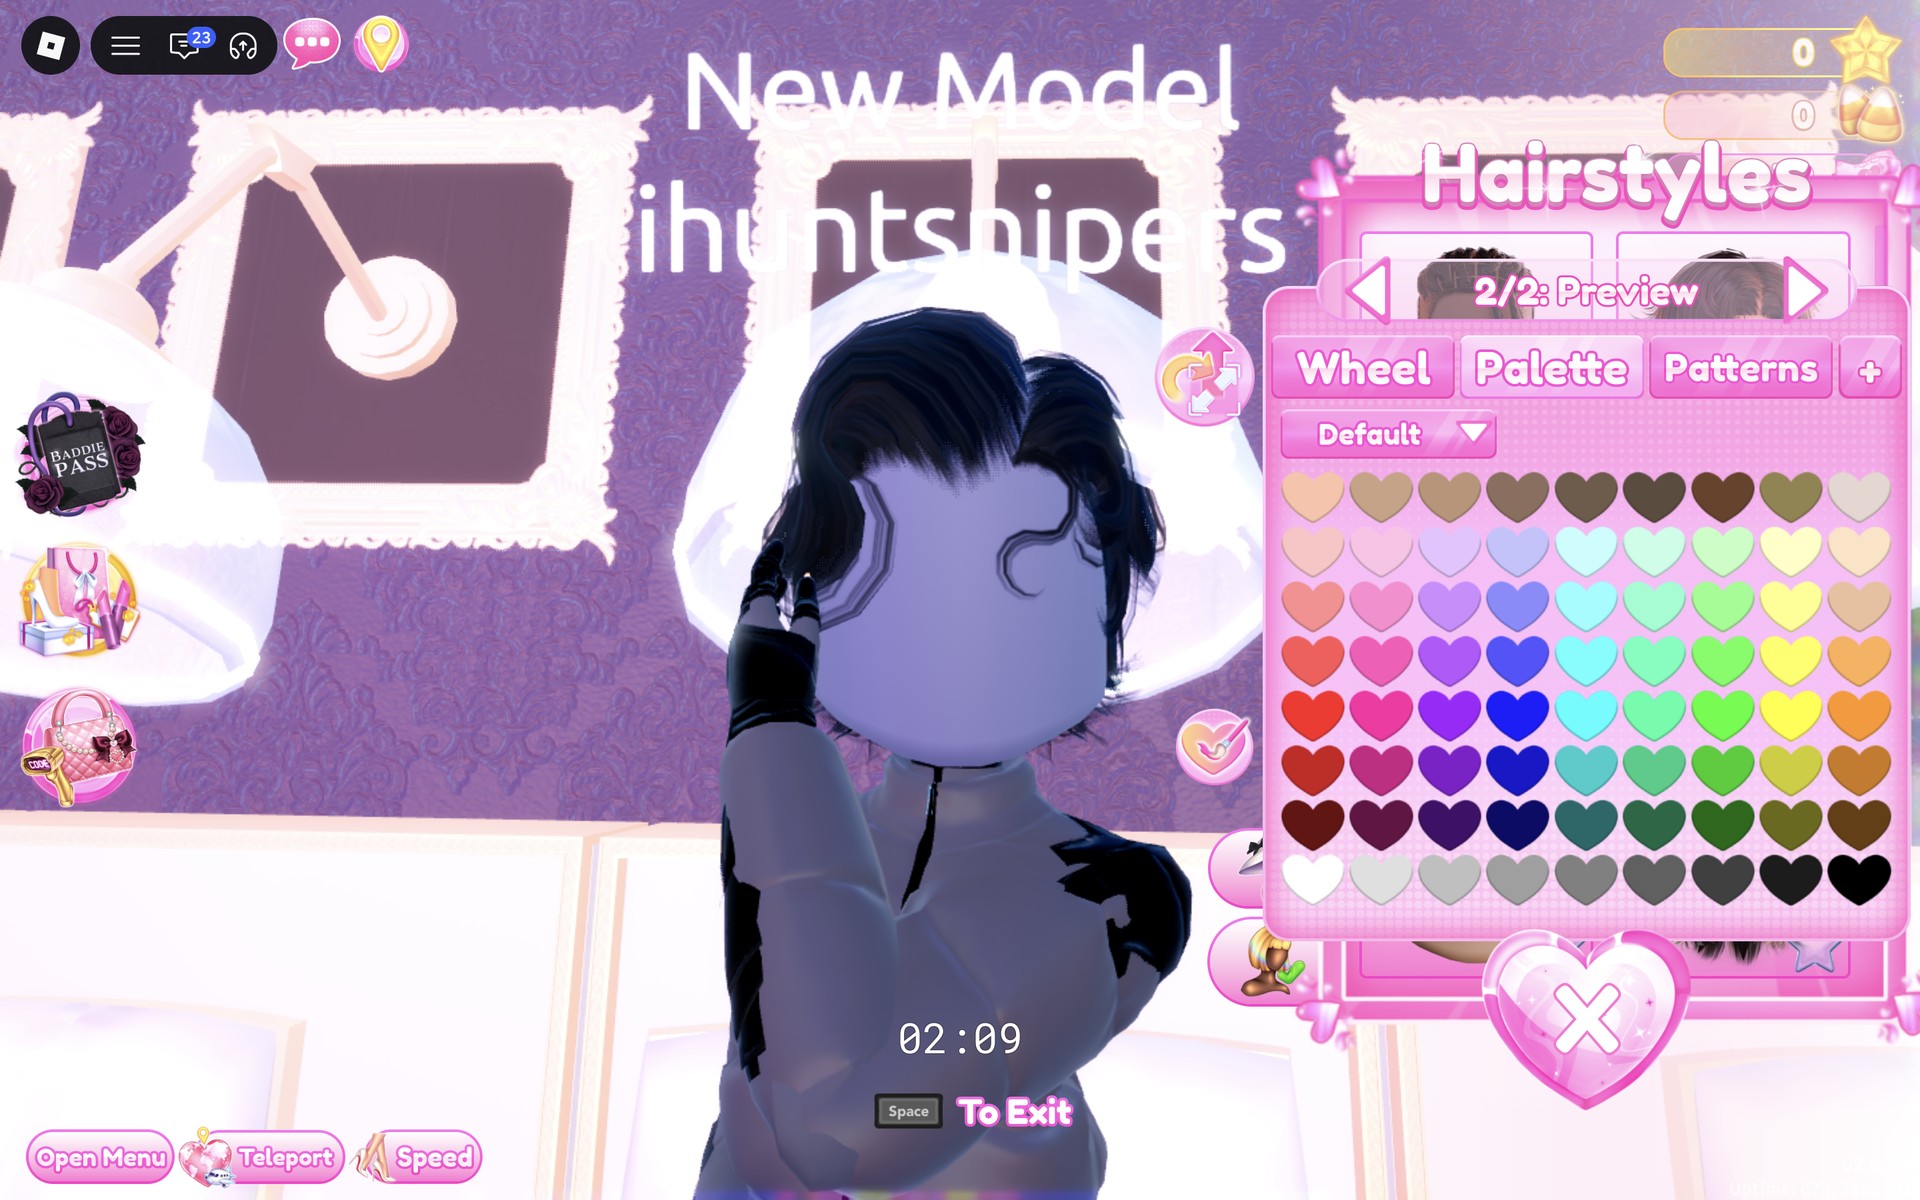
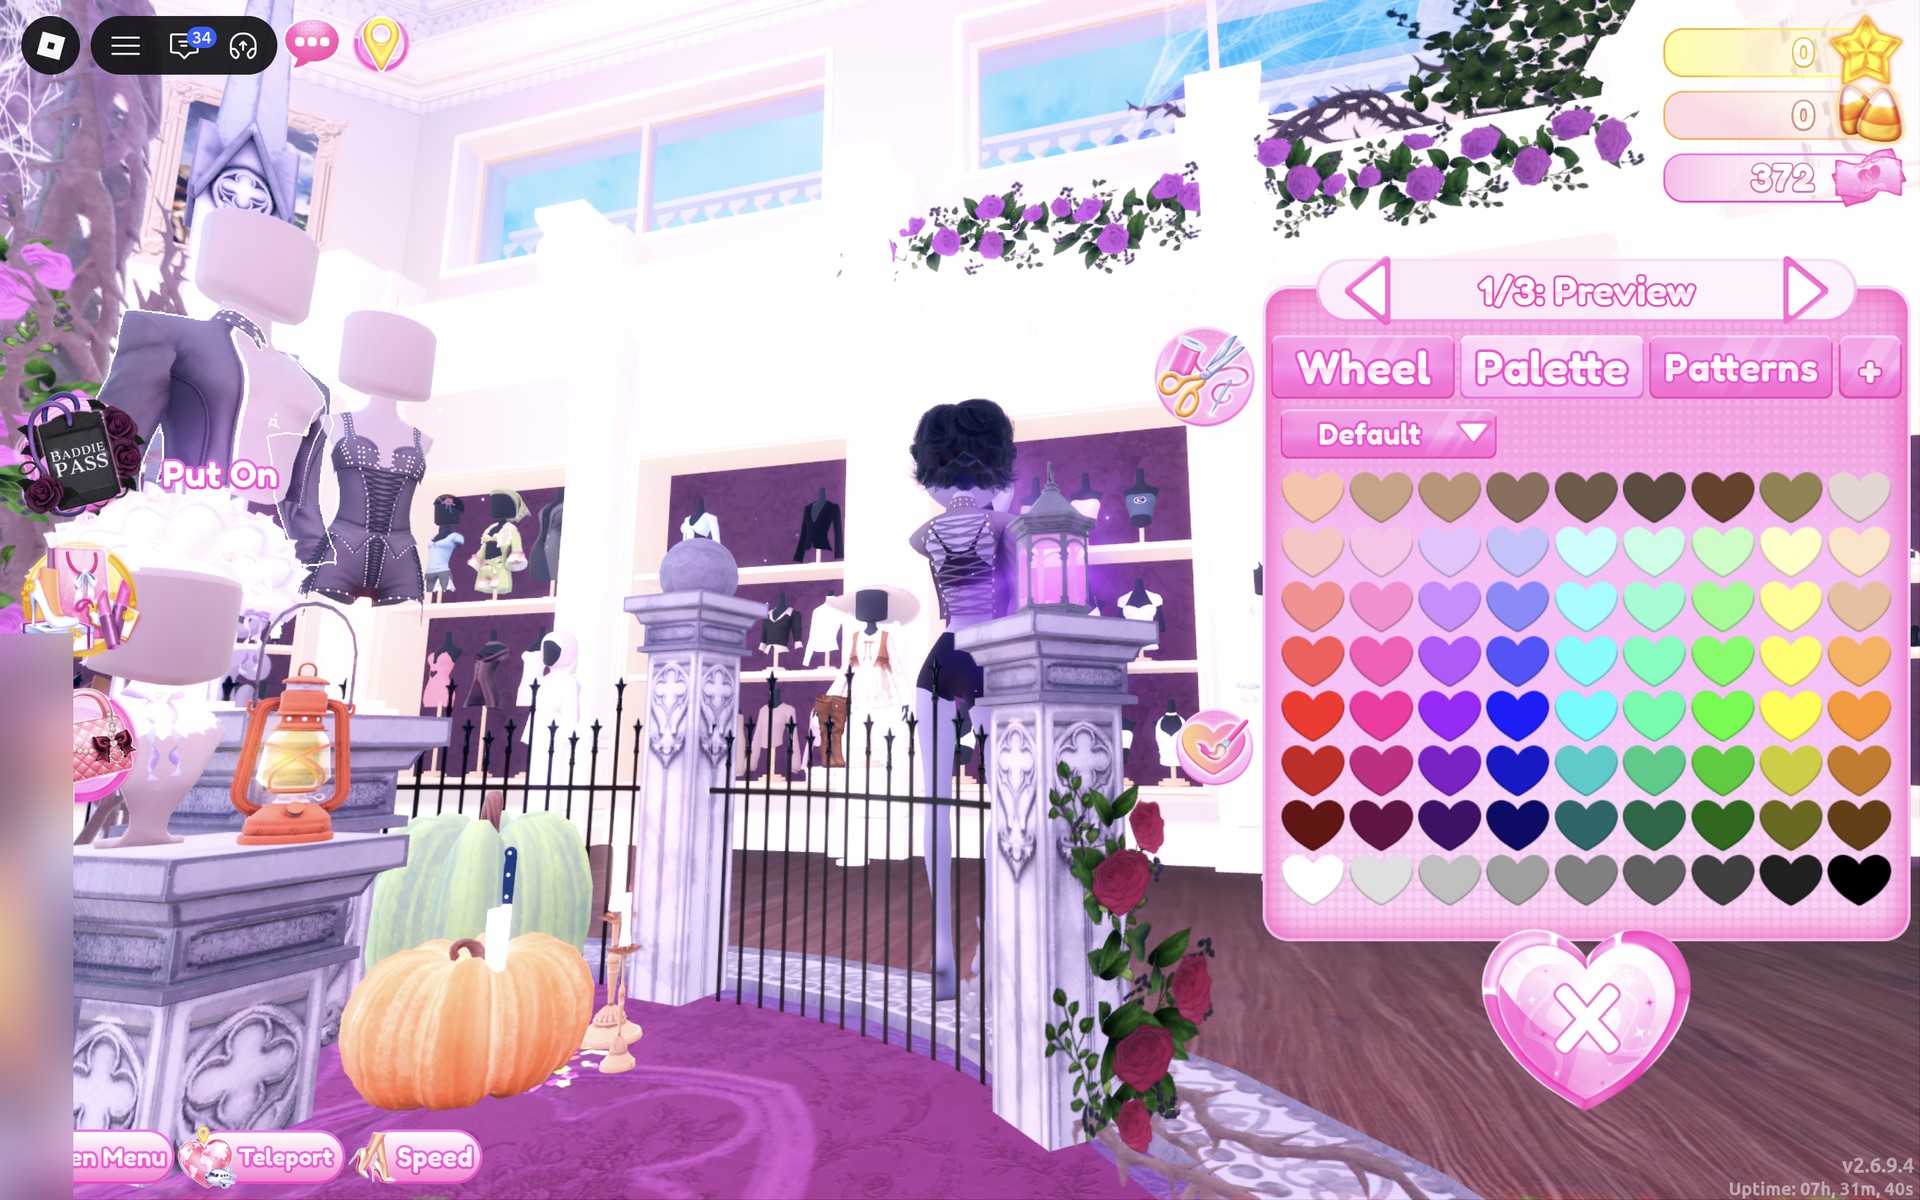
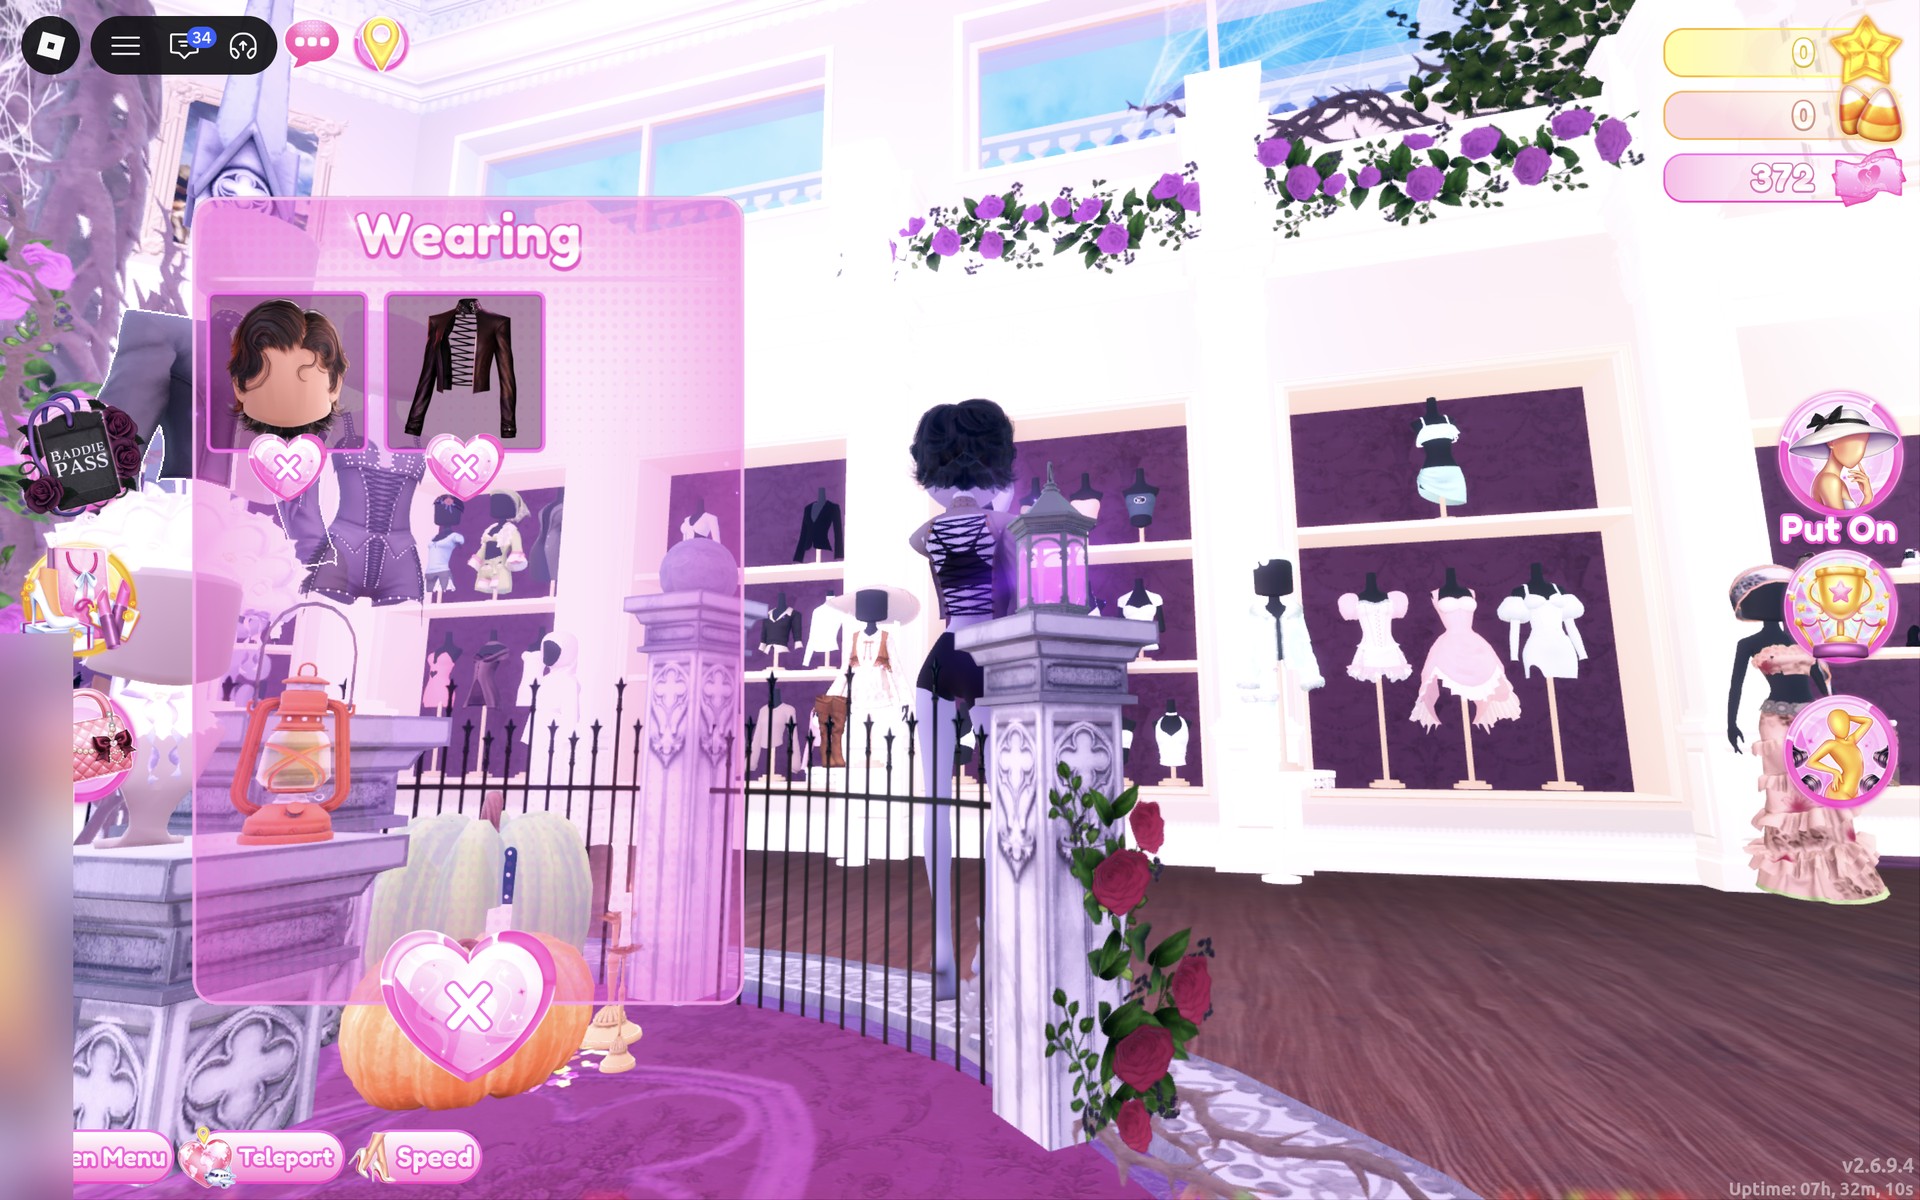
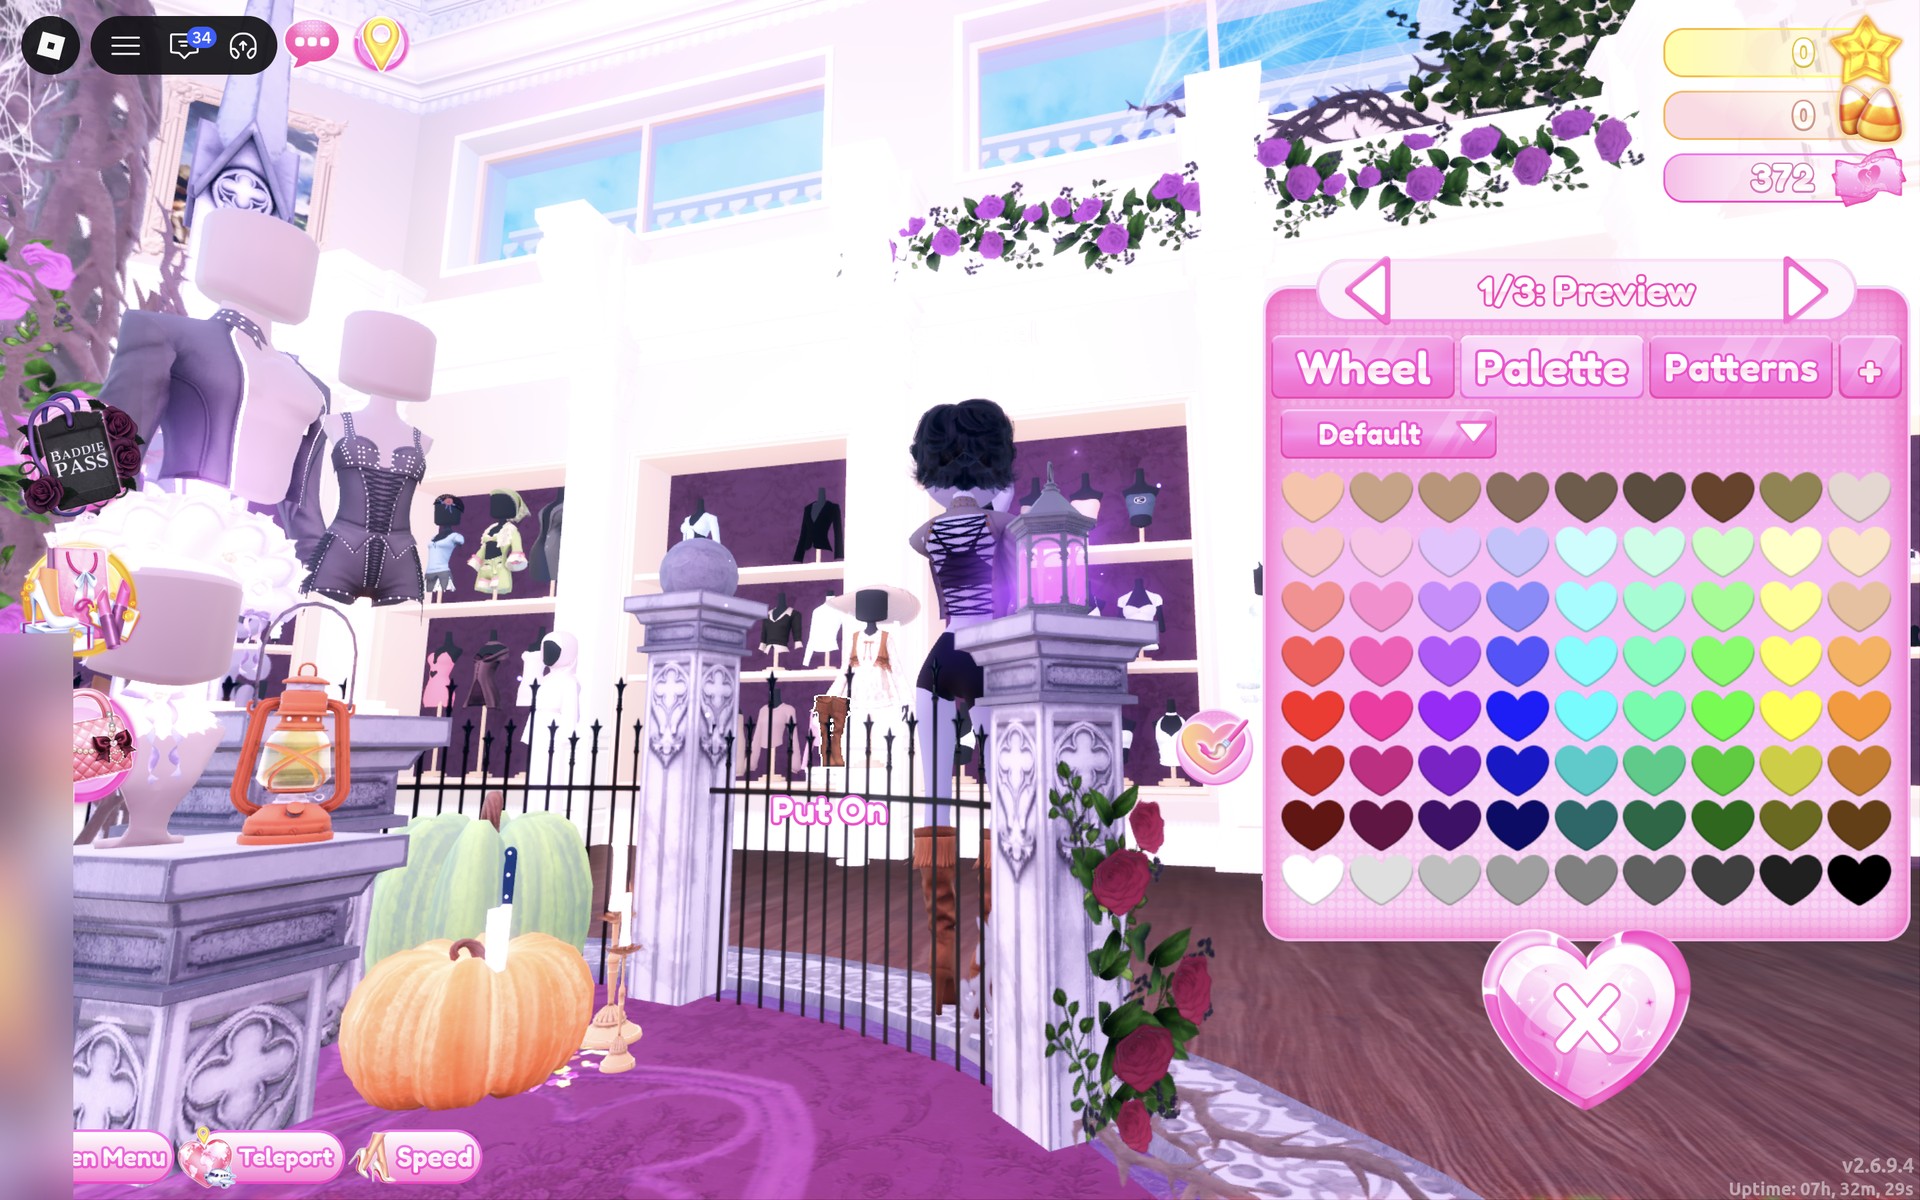
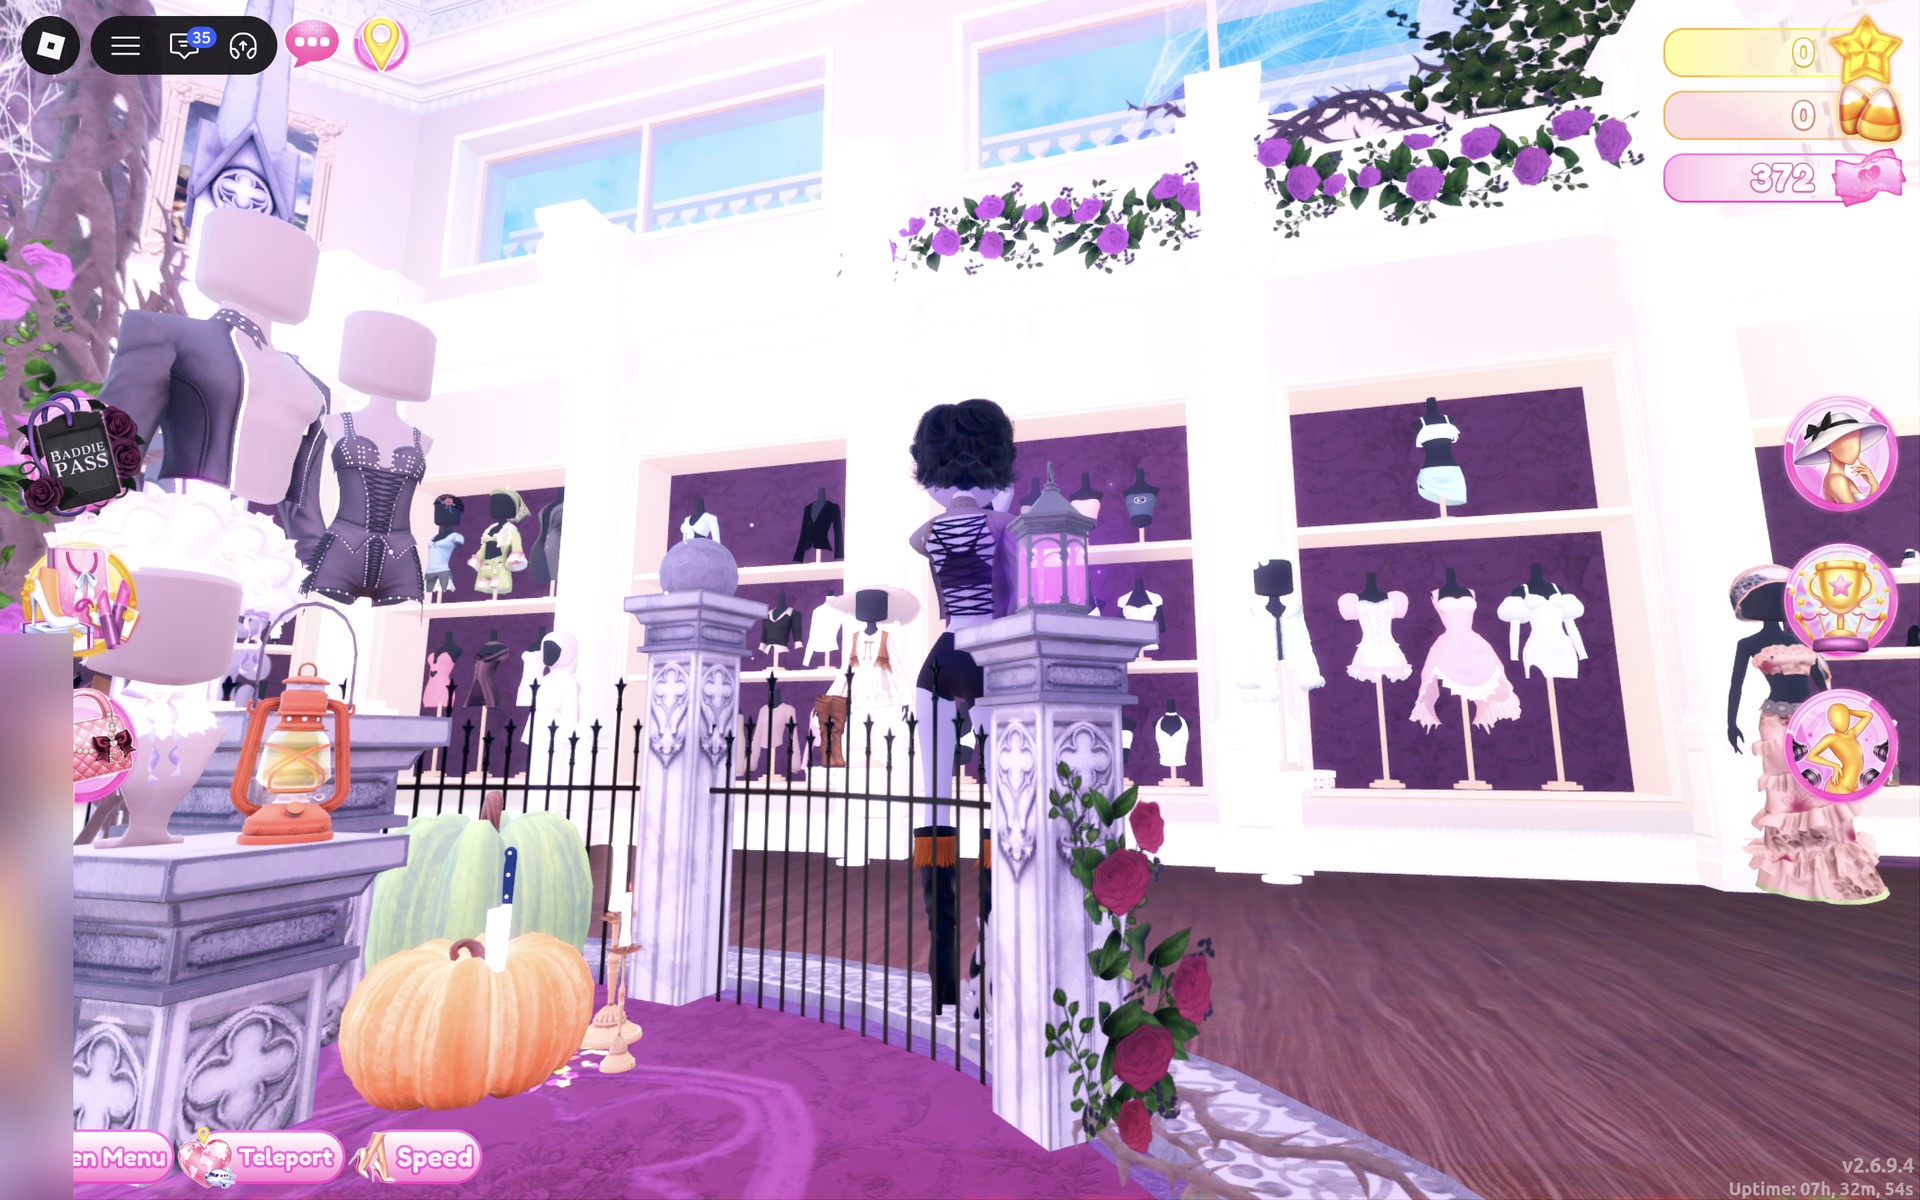
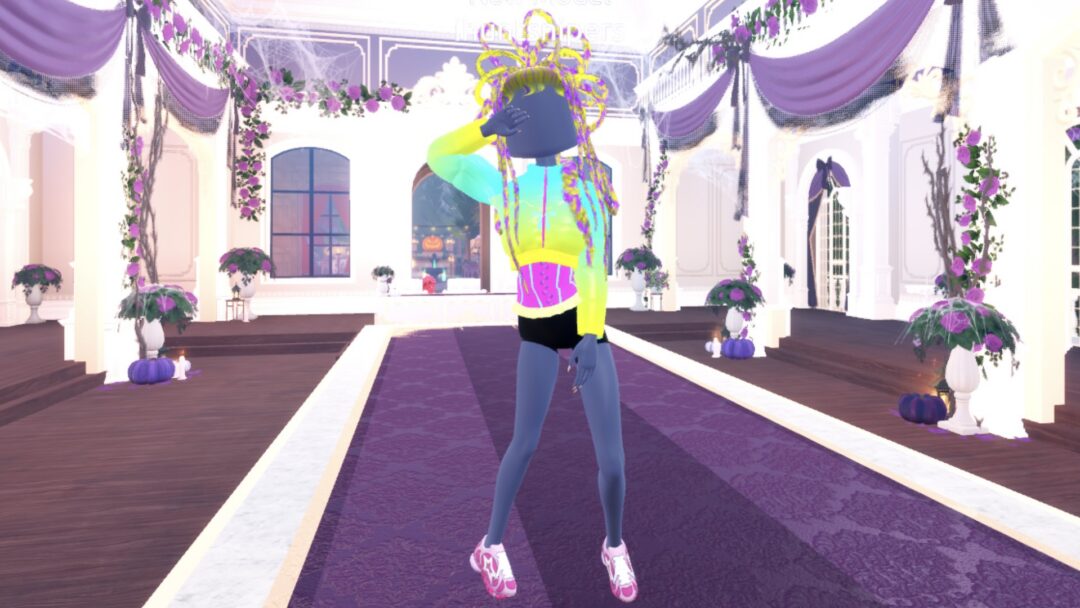
We found no trousers that would go on for this look, so the black base shorts still show between the top and the boots. With the black boots, they read as part of the outfit.
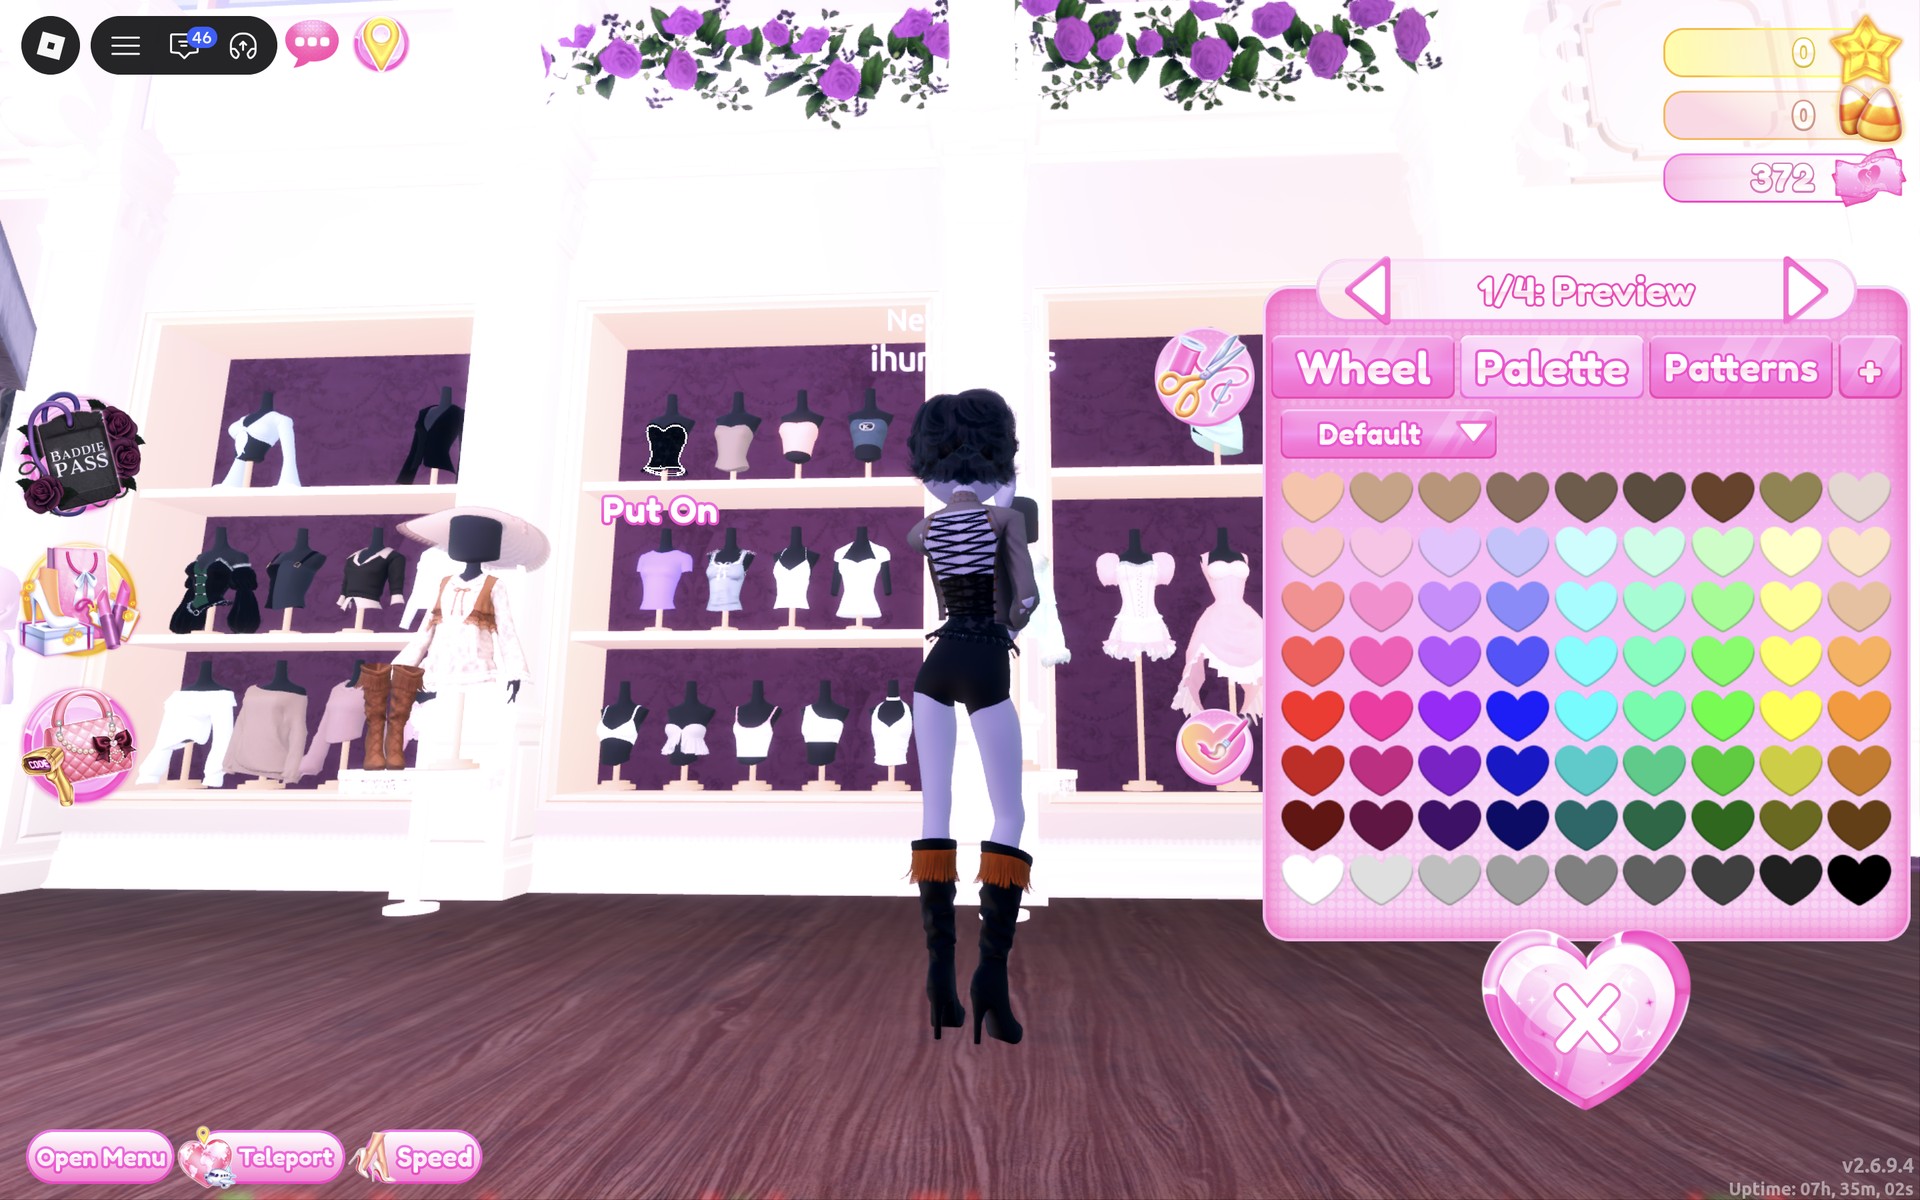
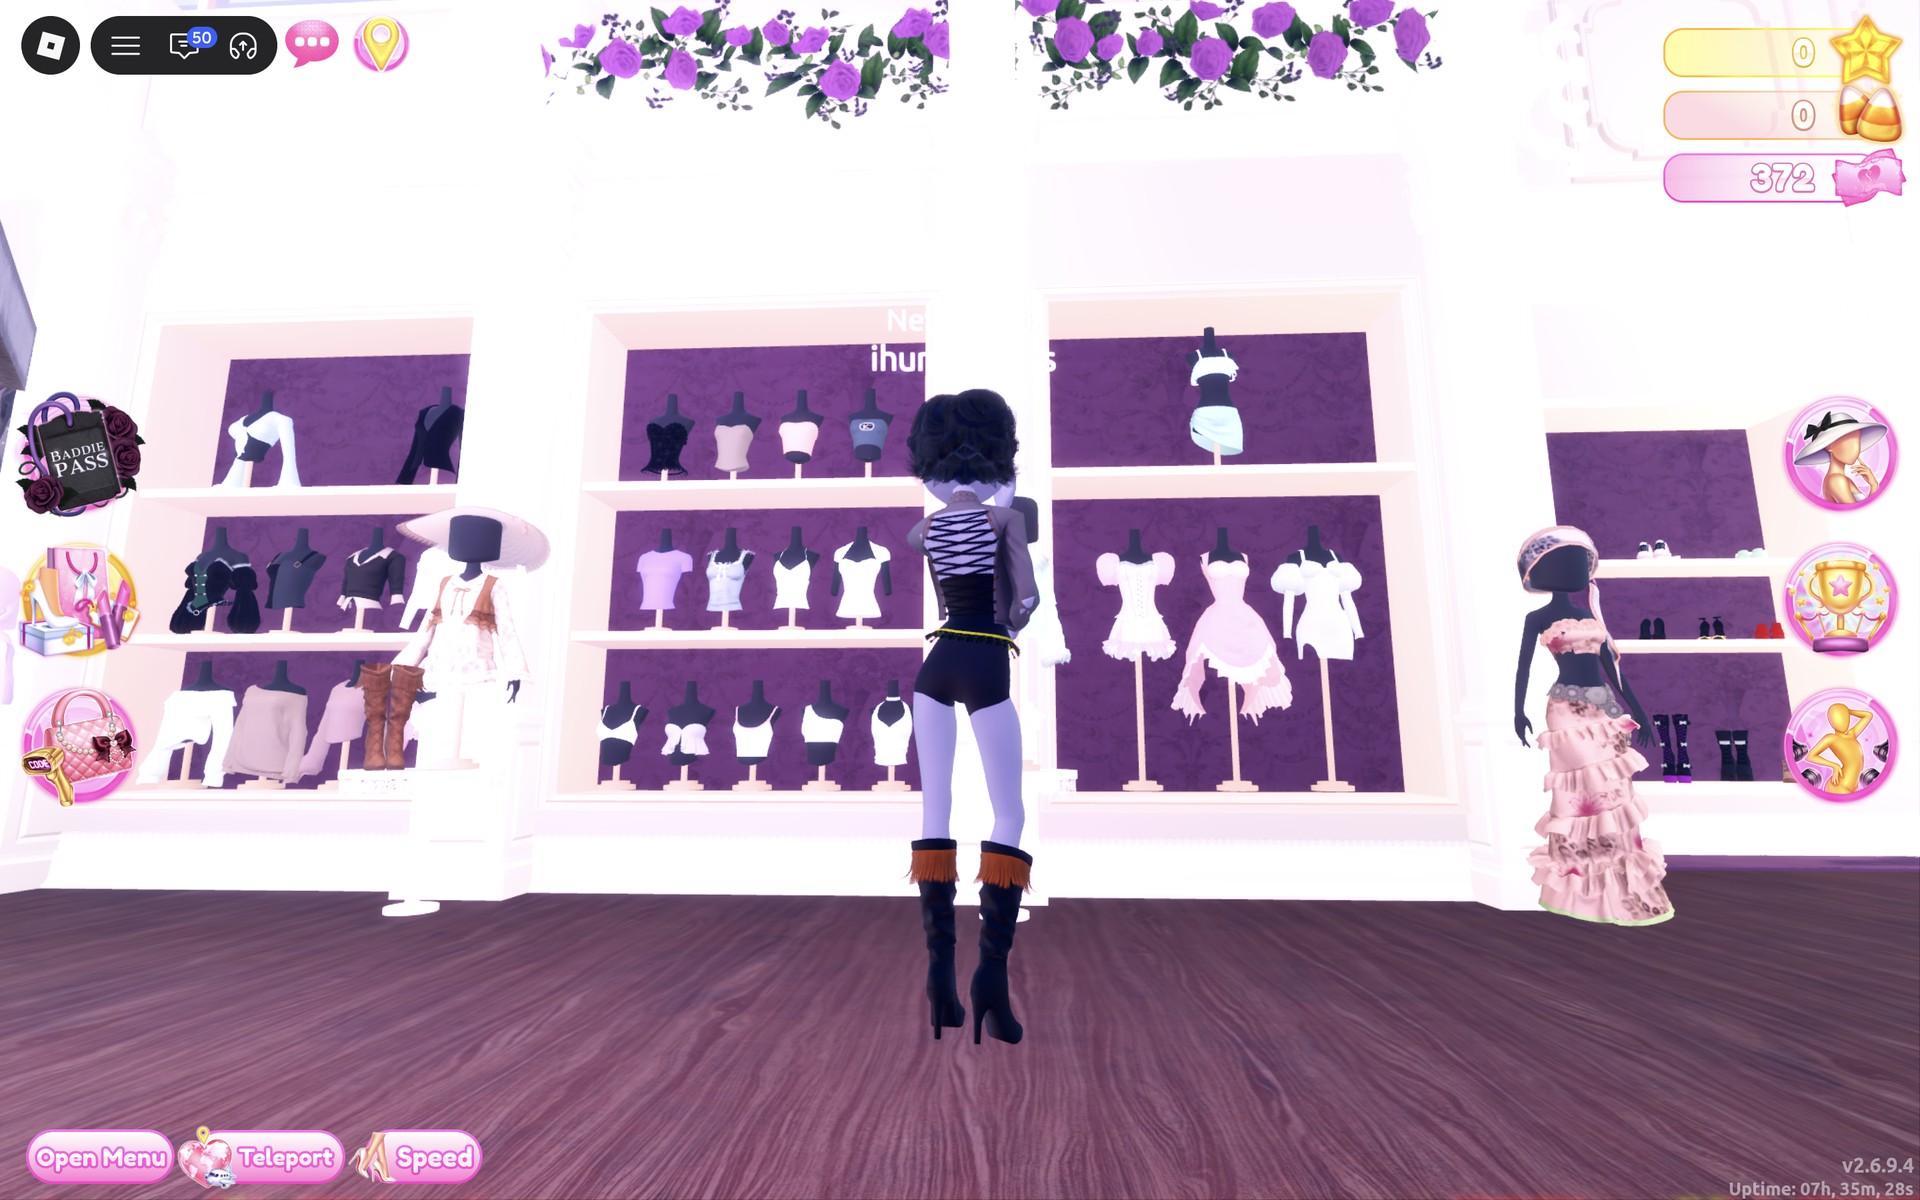
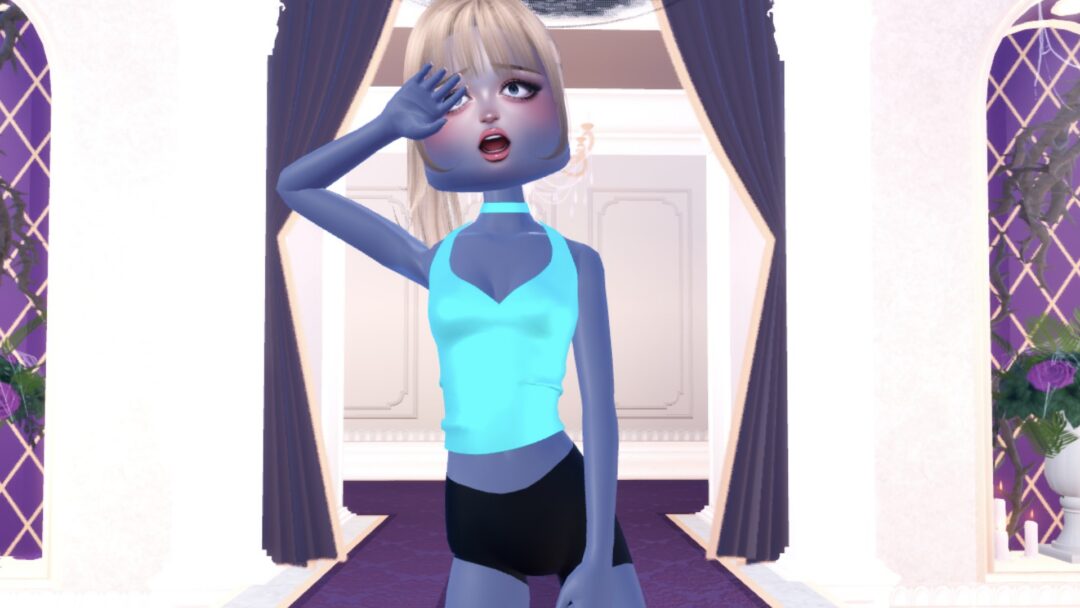
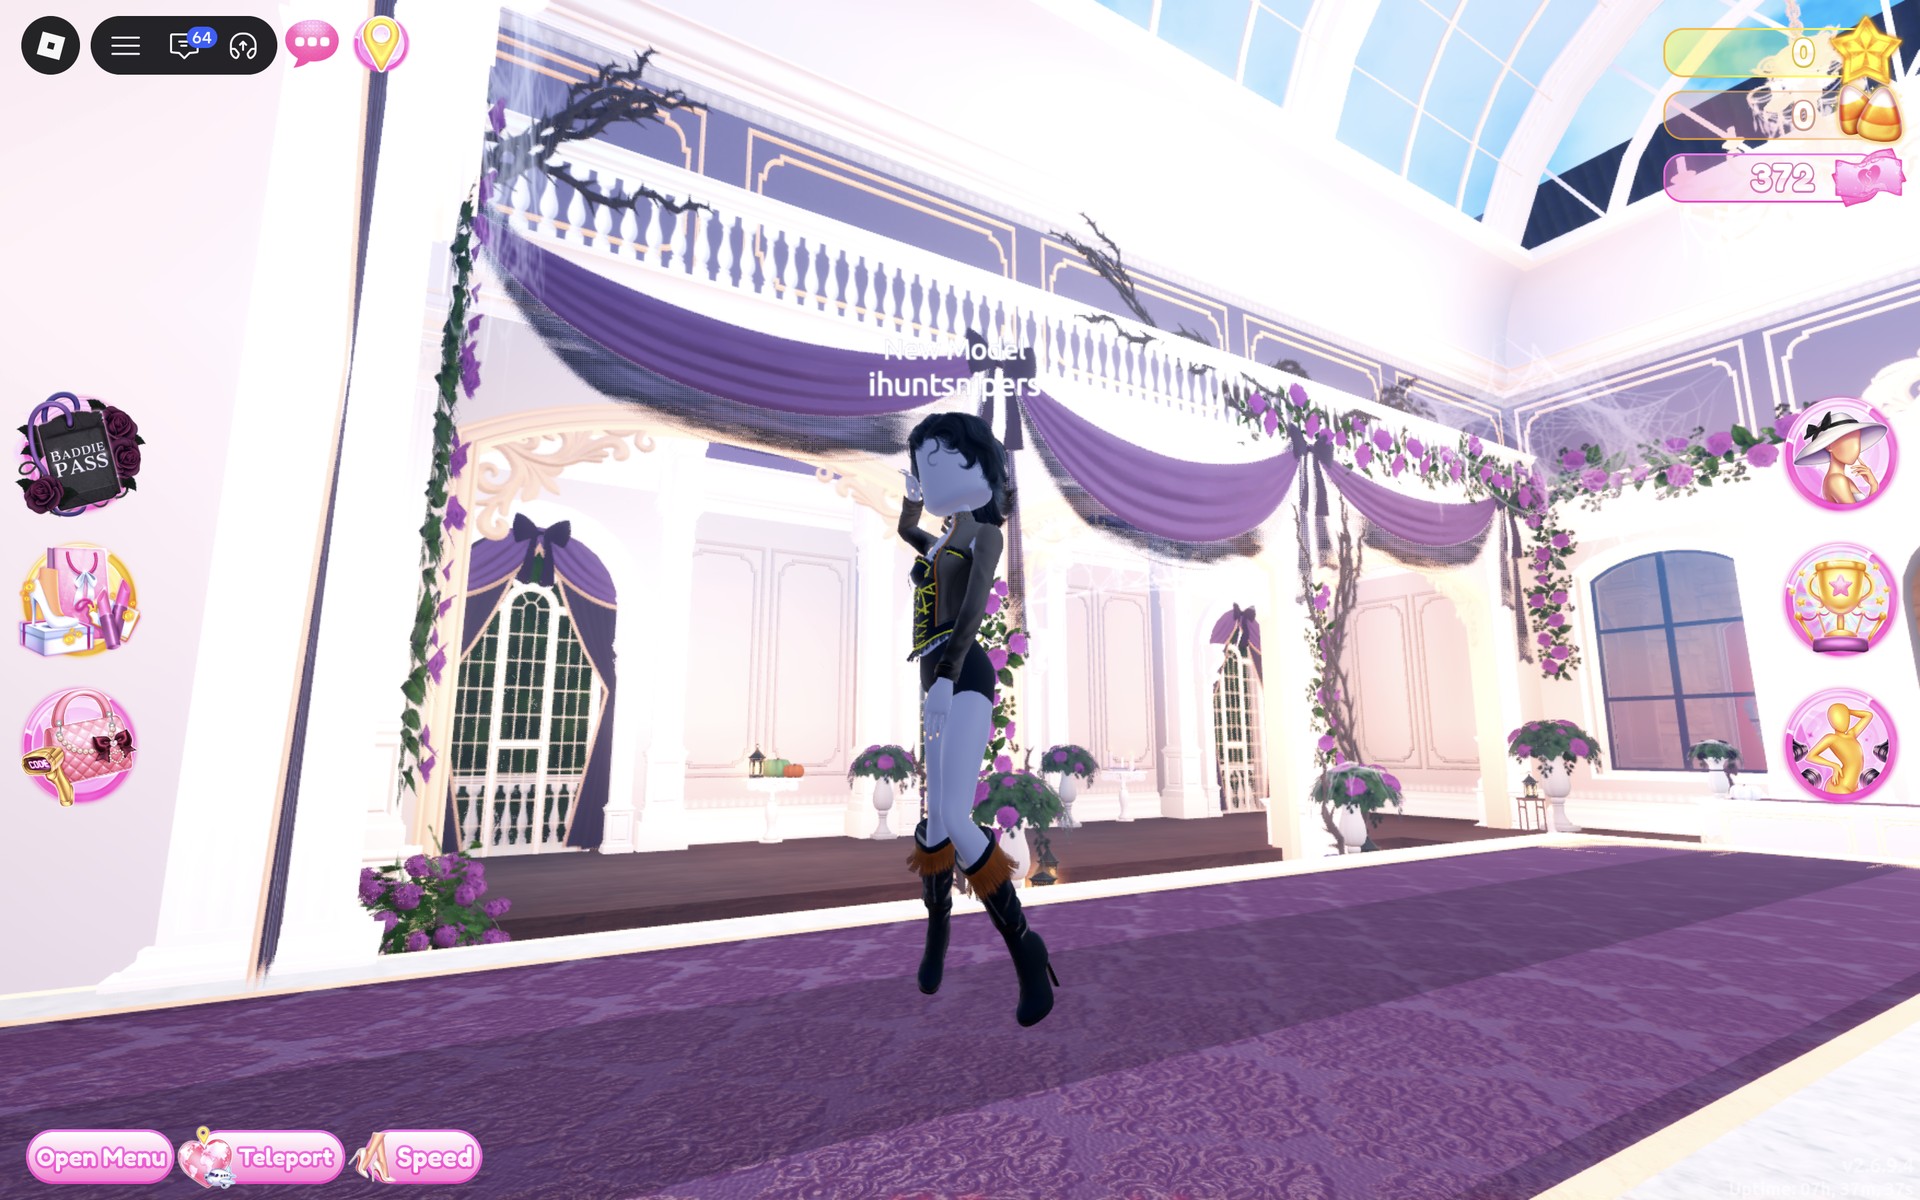
The finished look from the front: short, messy jet black hair, the cropped charcoal jacket open over the black corset, the base shorts and the black knee boots with their rust fringe at the top. We added no face preset this time, so the face is plain.
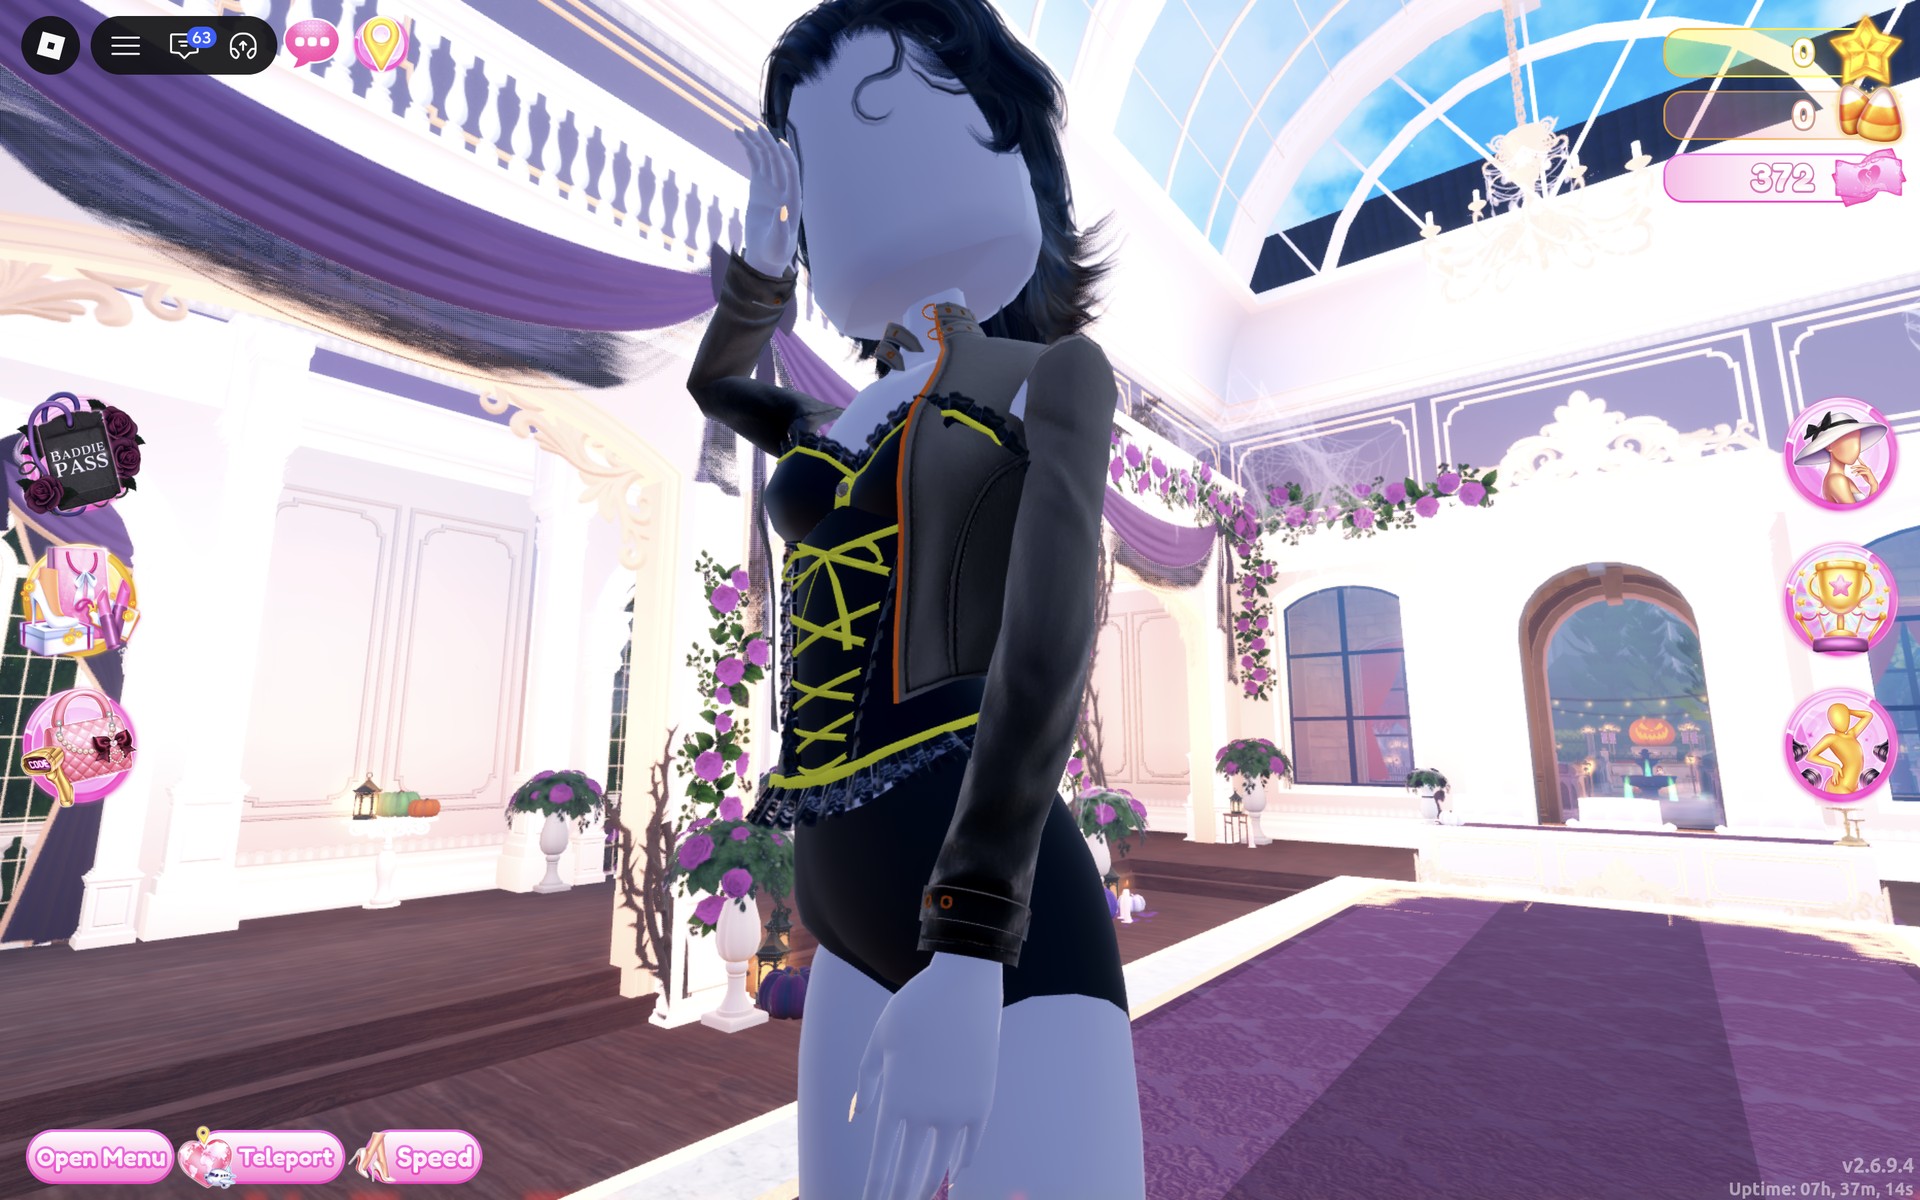
Up close, the mustard lacing criss-crosses the front of the corset and runs along its hem above a black lace frill. The jacket has a thin orange trim down the zip, orange studs on the collar and orange buttons on the cuffs.
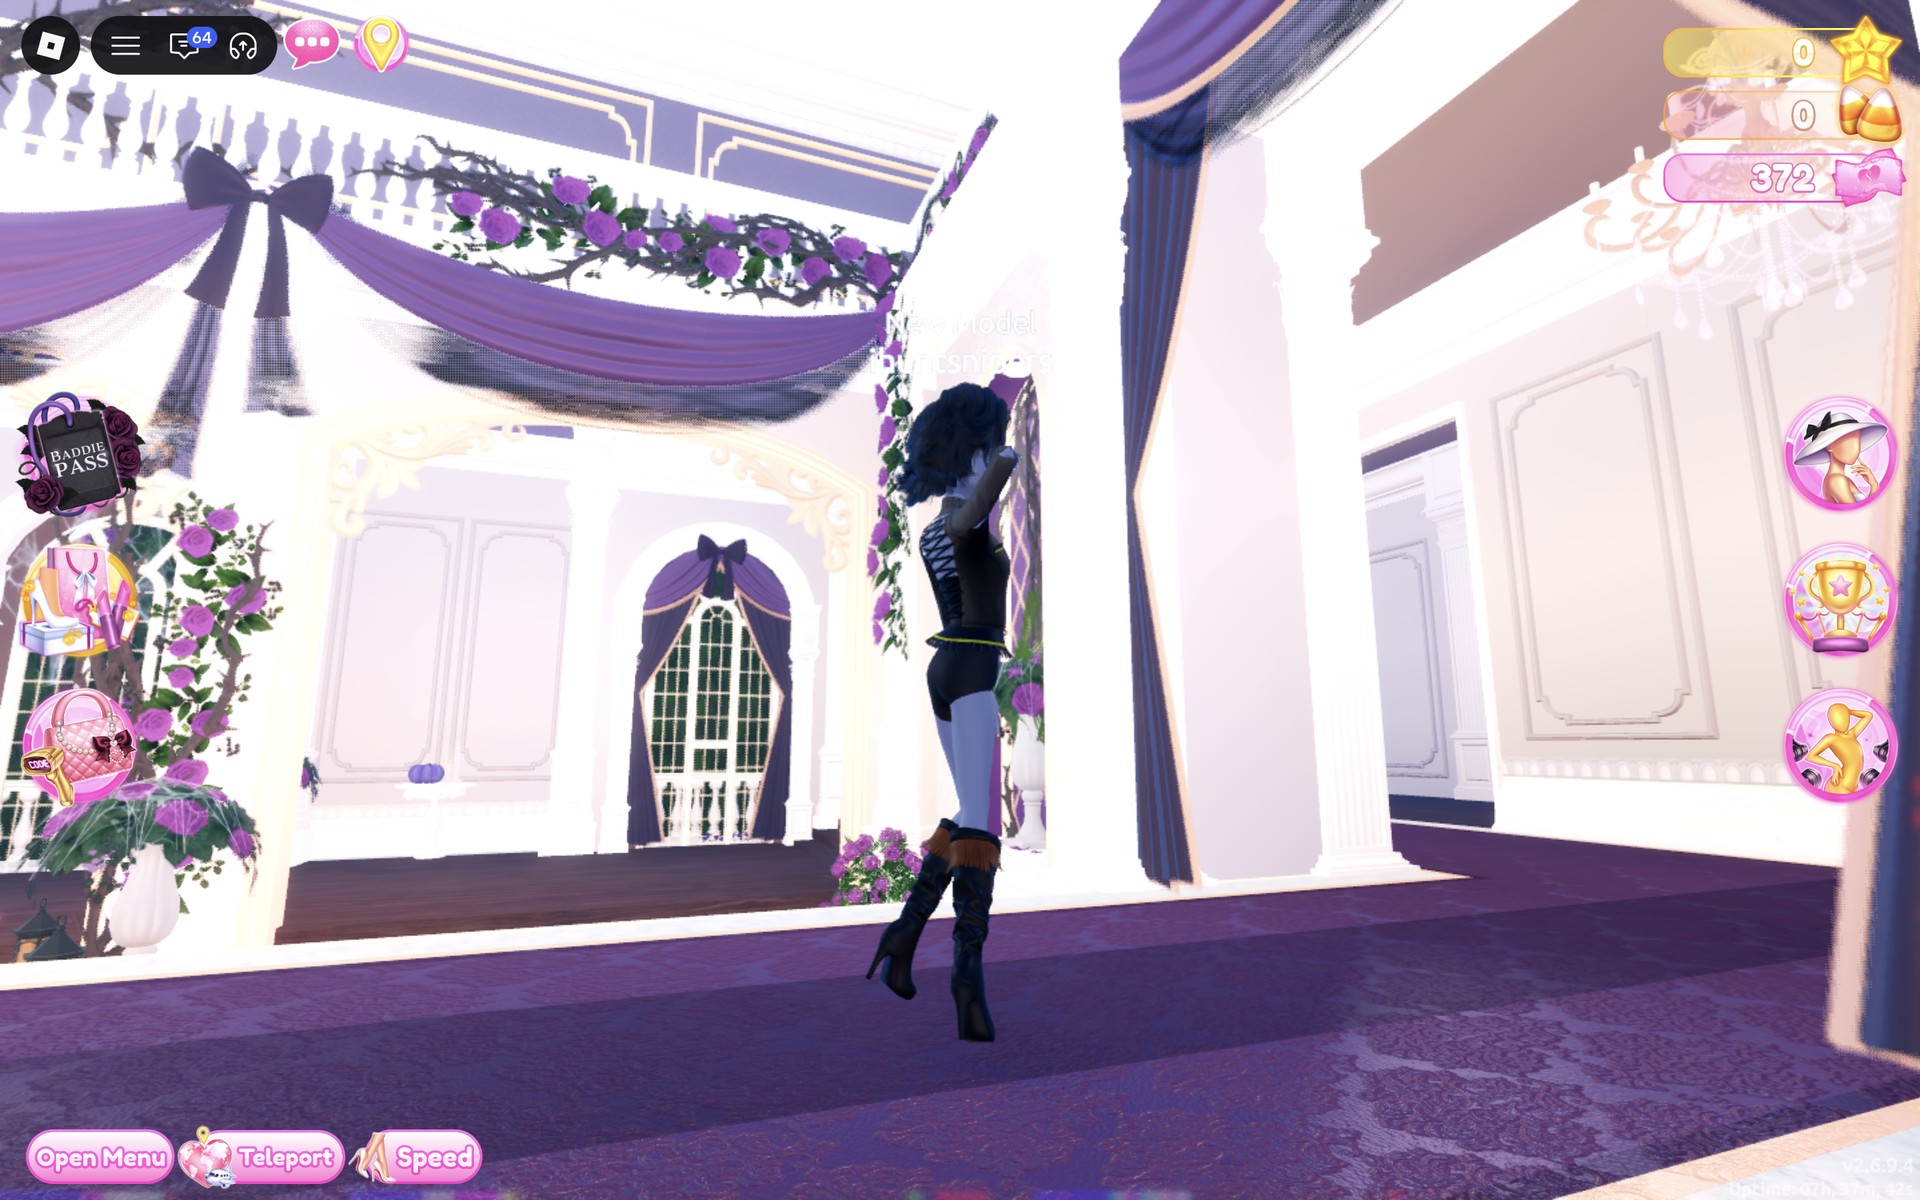
From behind, the cropped jacket and the mustard hem trim show above the base shorts, with the boots’ fringe at the knees.
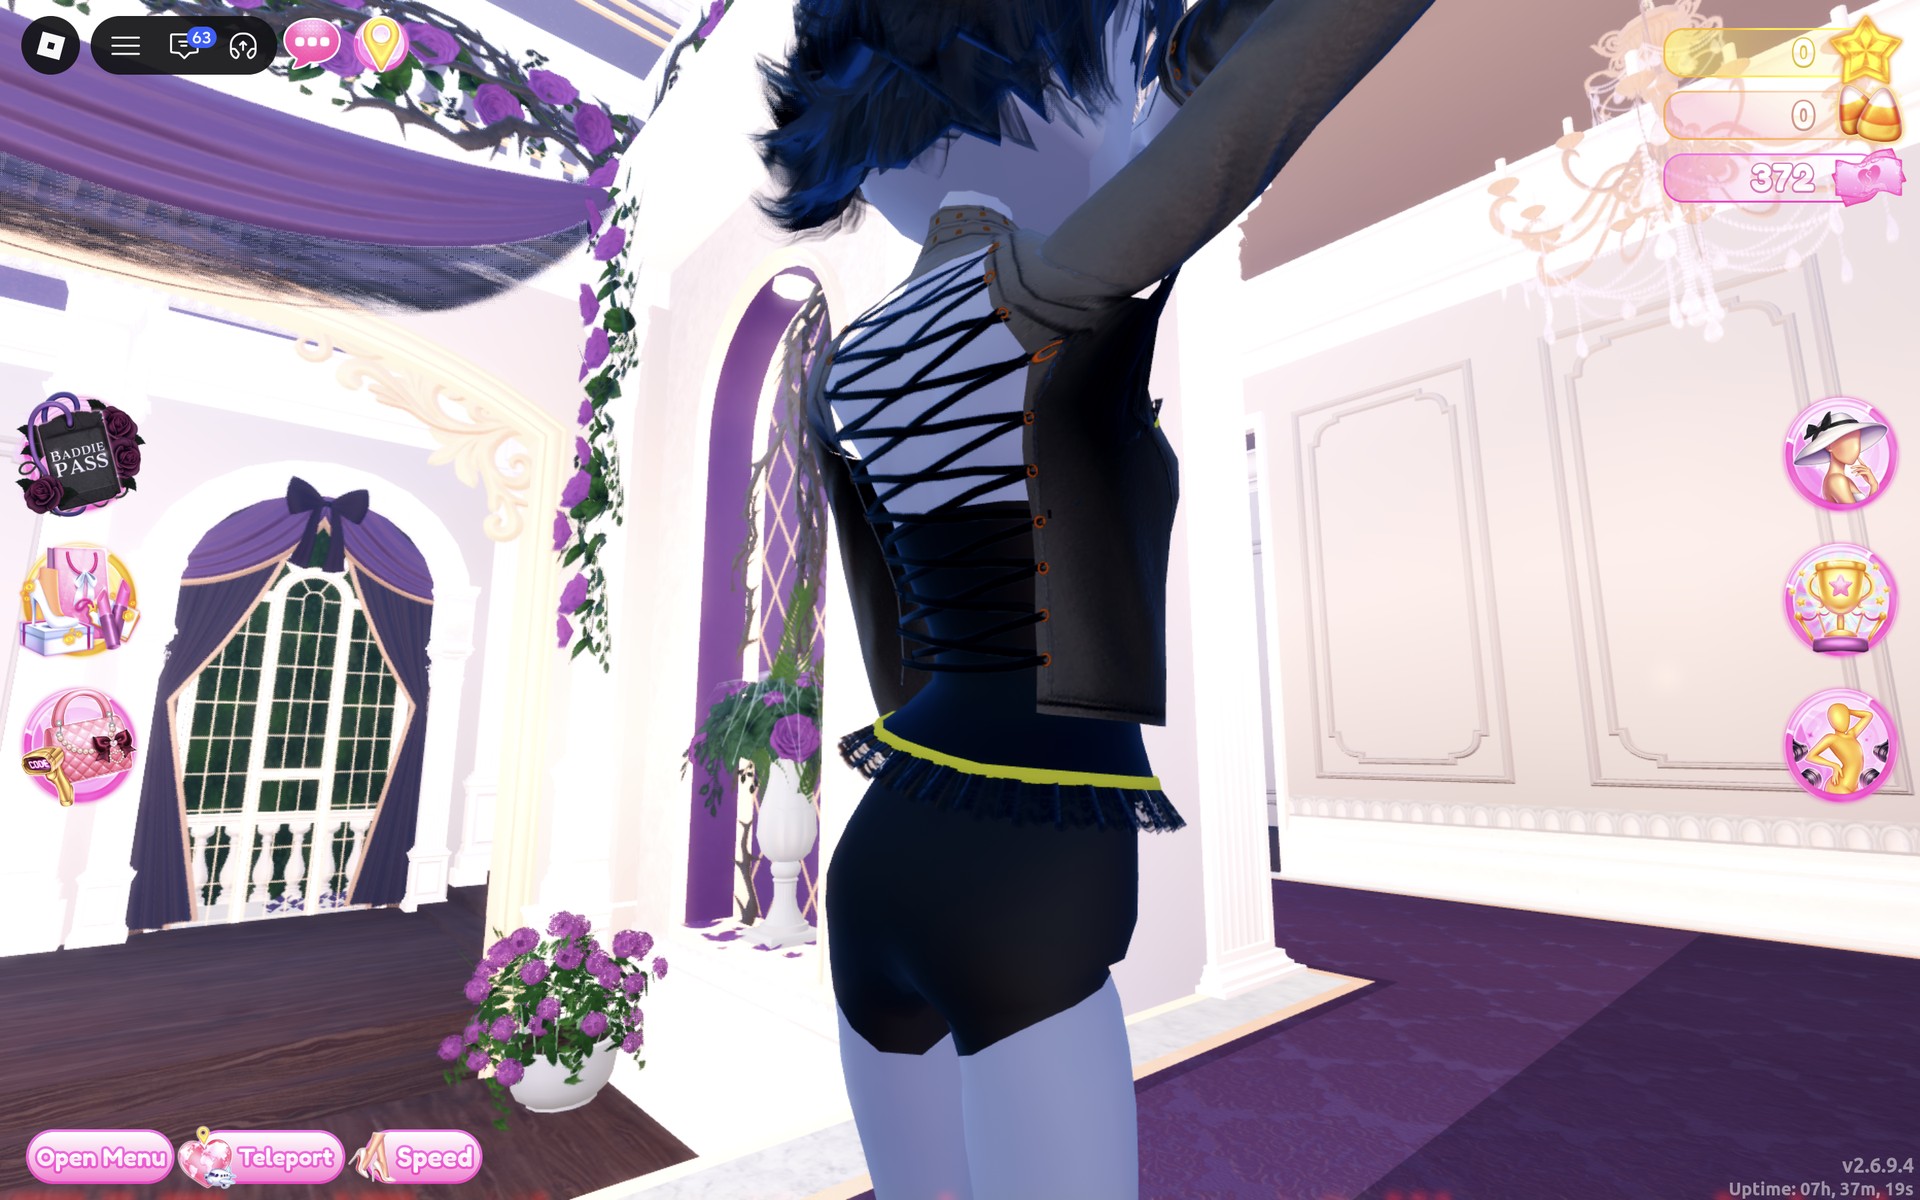
Close up from behind, the jacket is laced up the back with black cord in a criss-cross, with small orange studs along each edge.
Look 2: Wasteland survivor
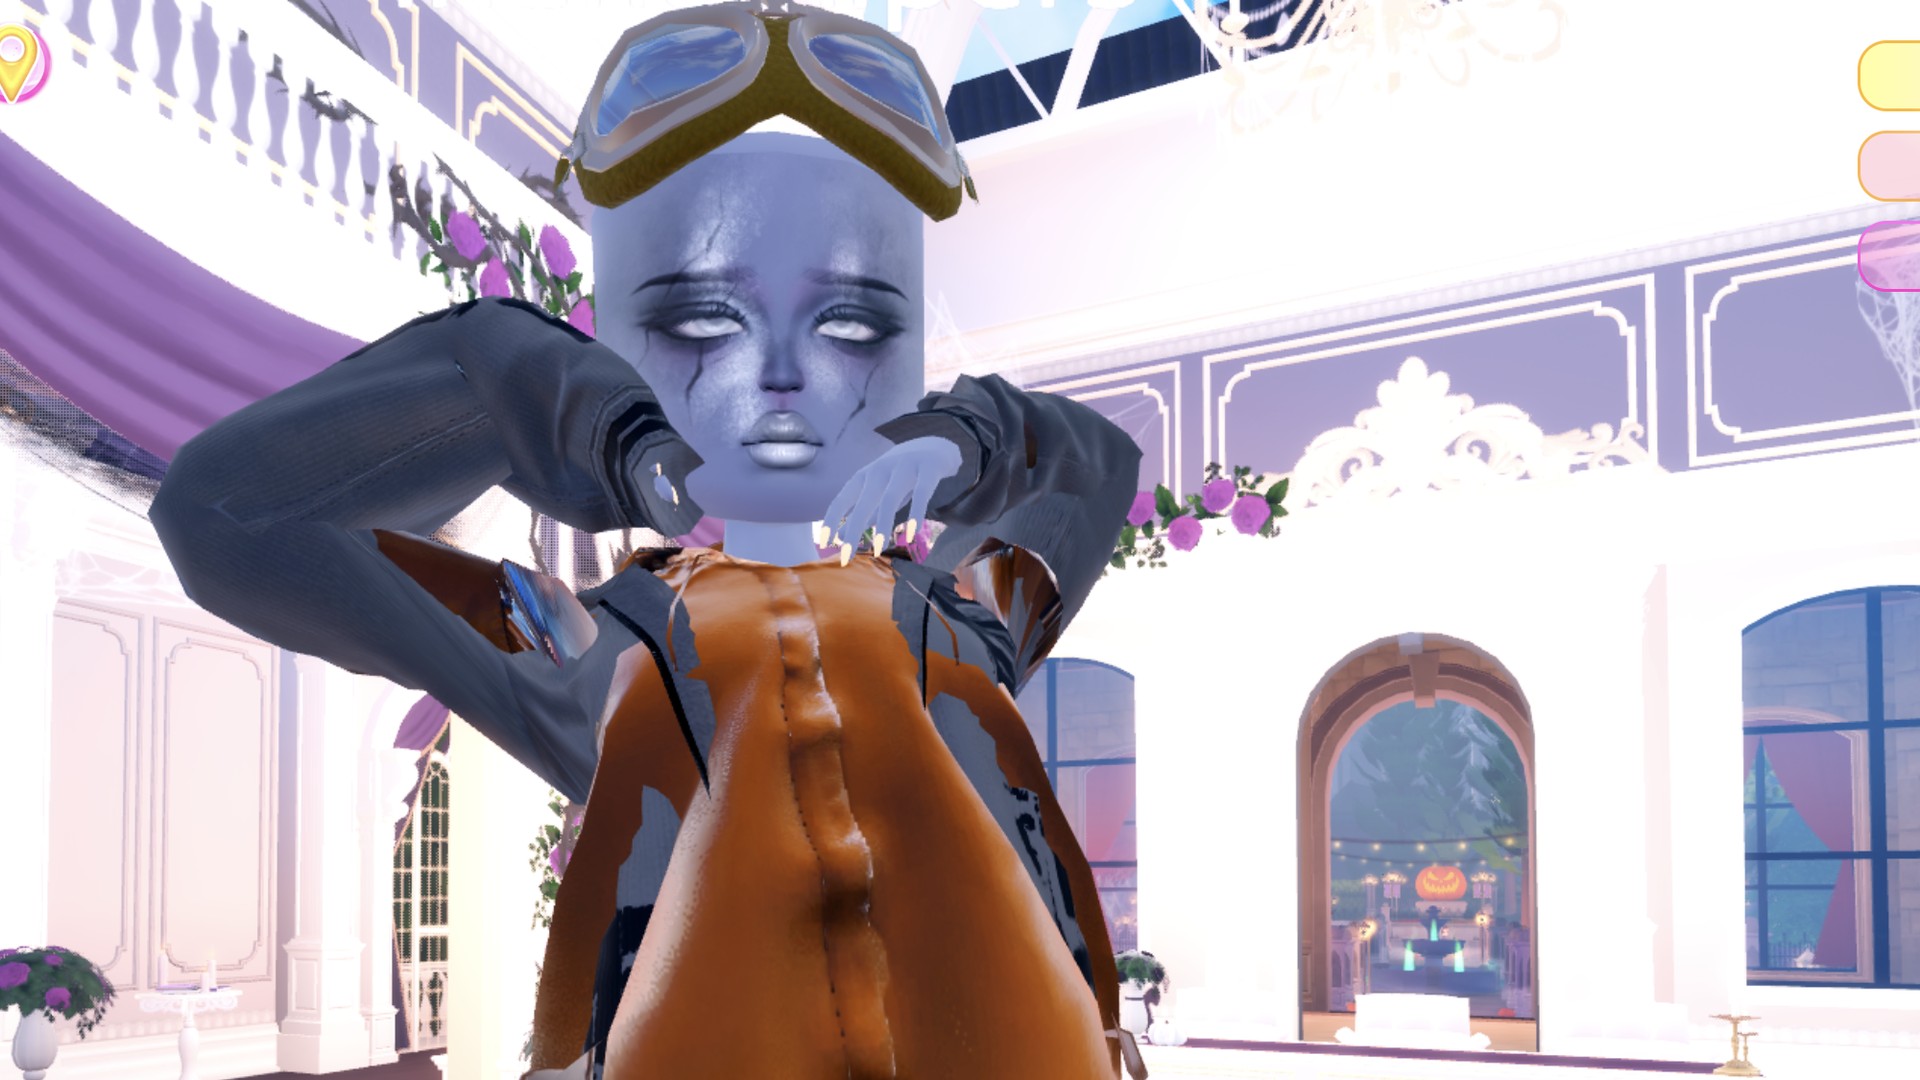
Our idea: someone who has lived through the end of things. A worn leather raincoat over a printed hoodie, goggles pushed up on the forehead, and a face that looks cracked and tired.
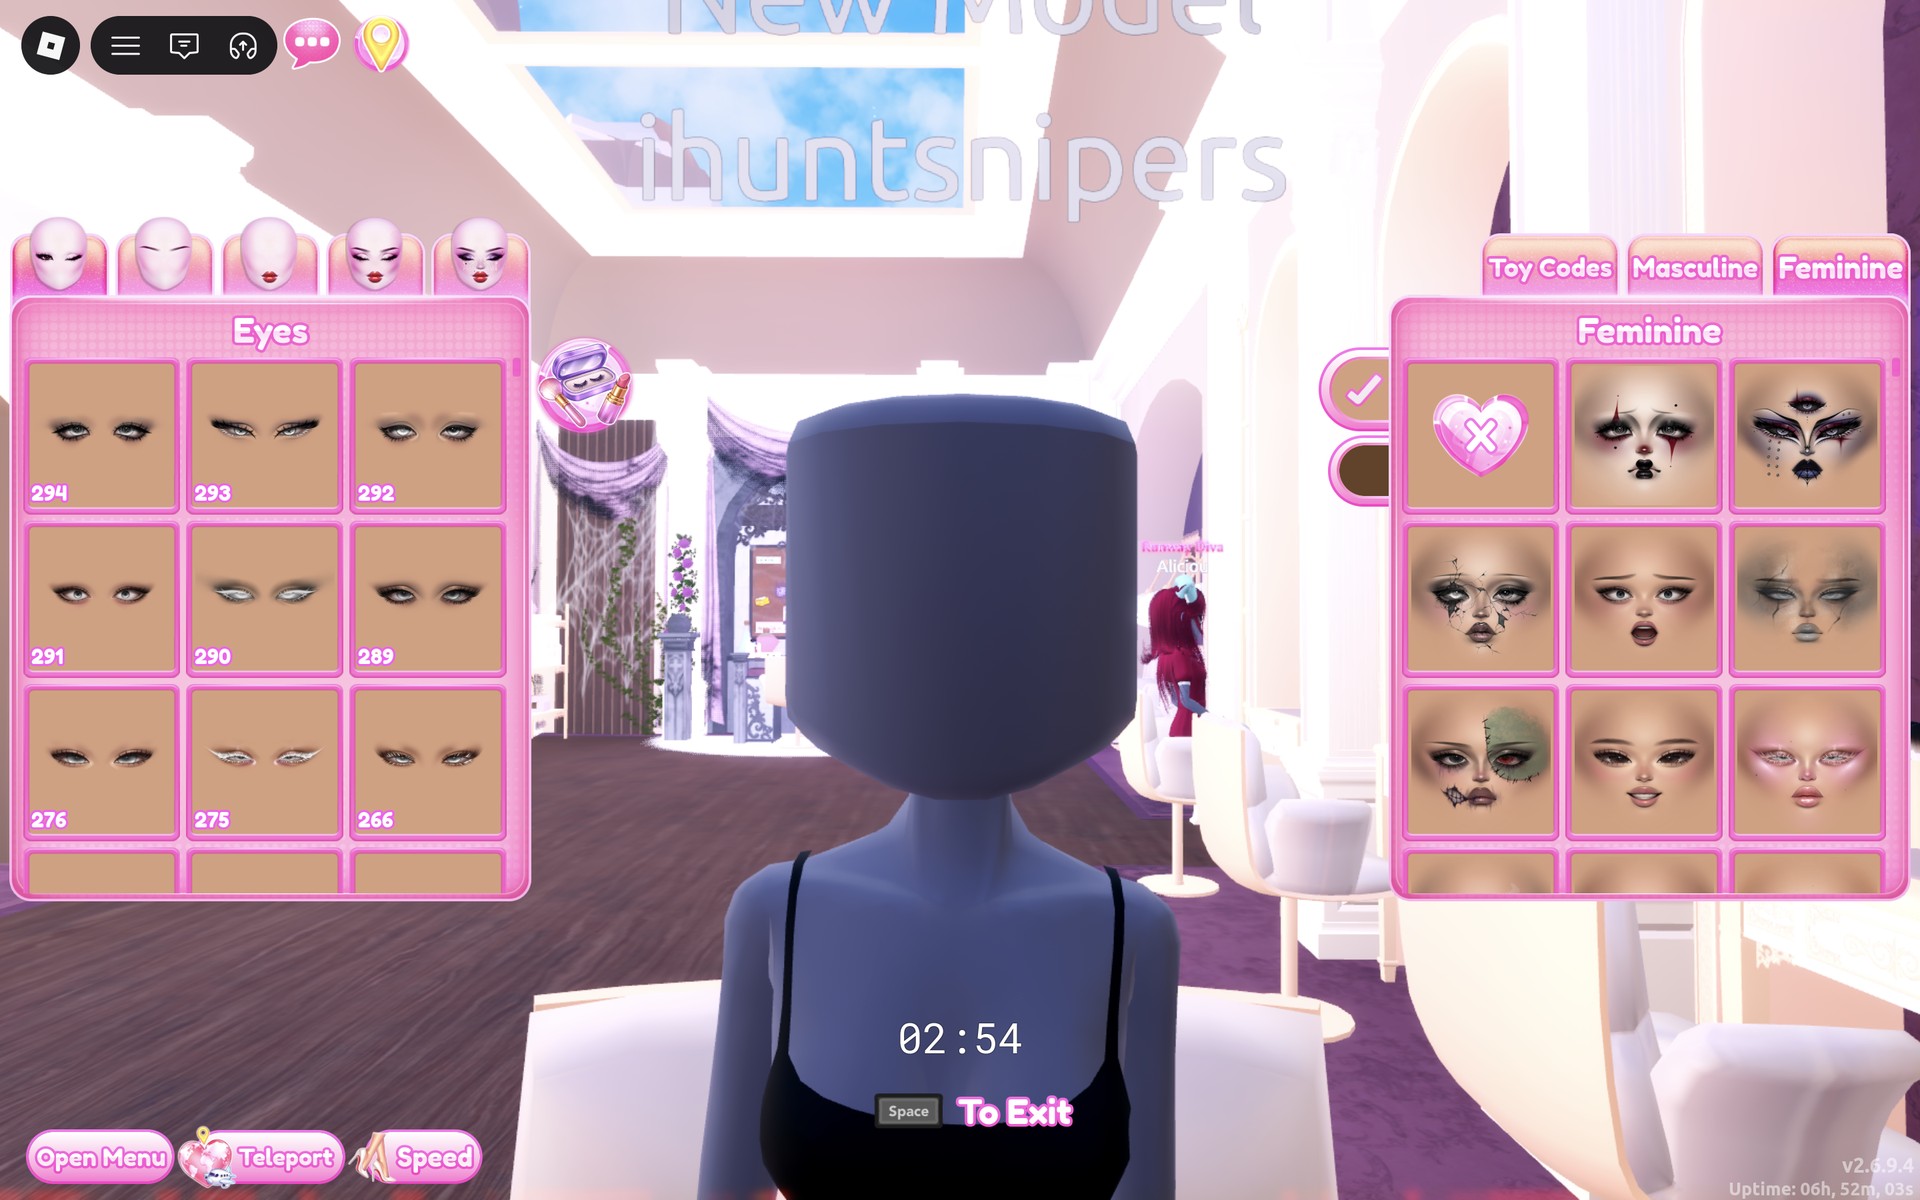
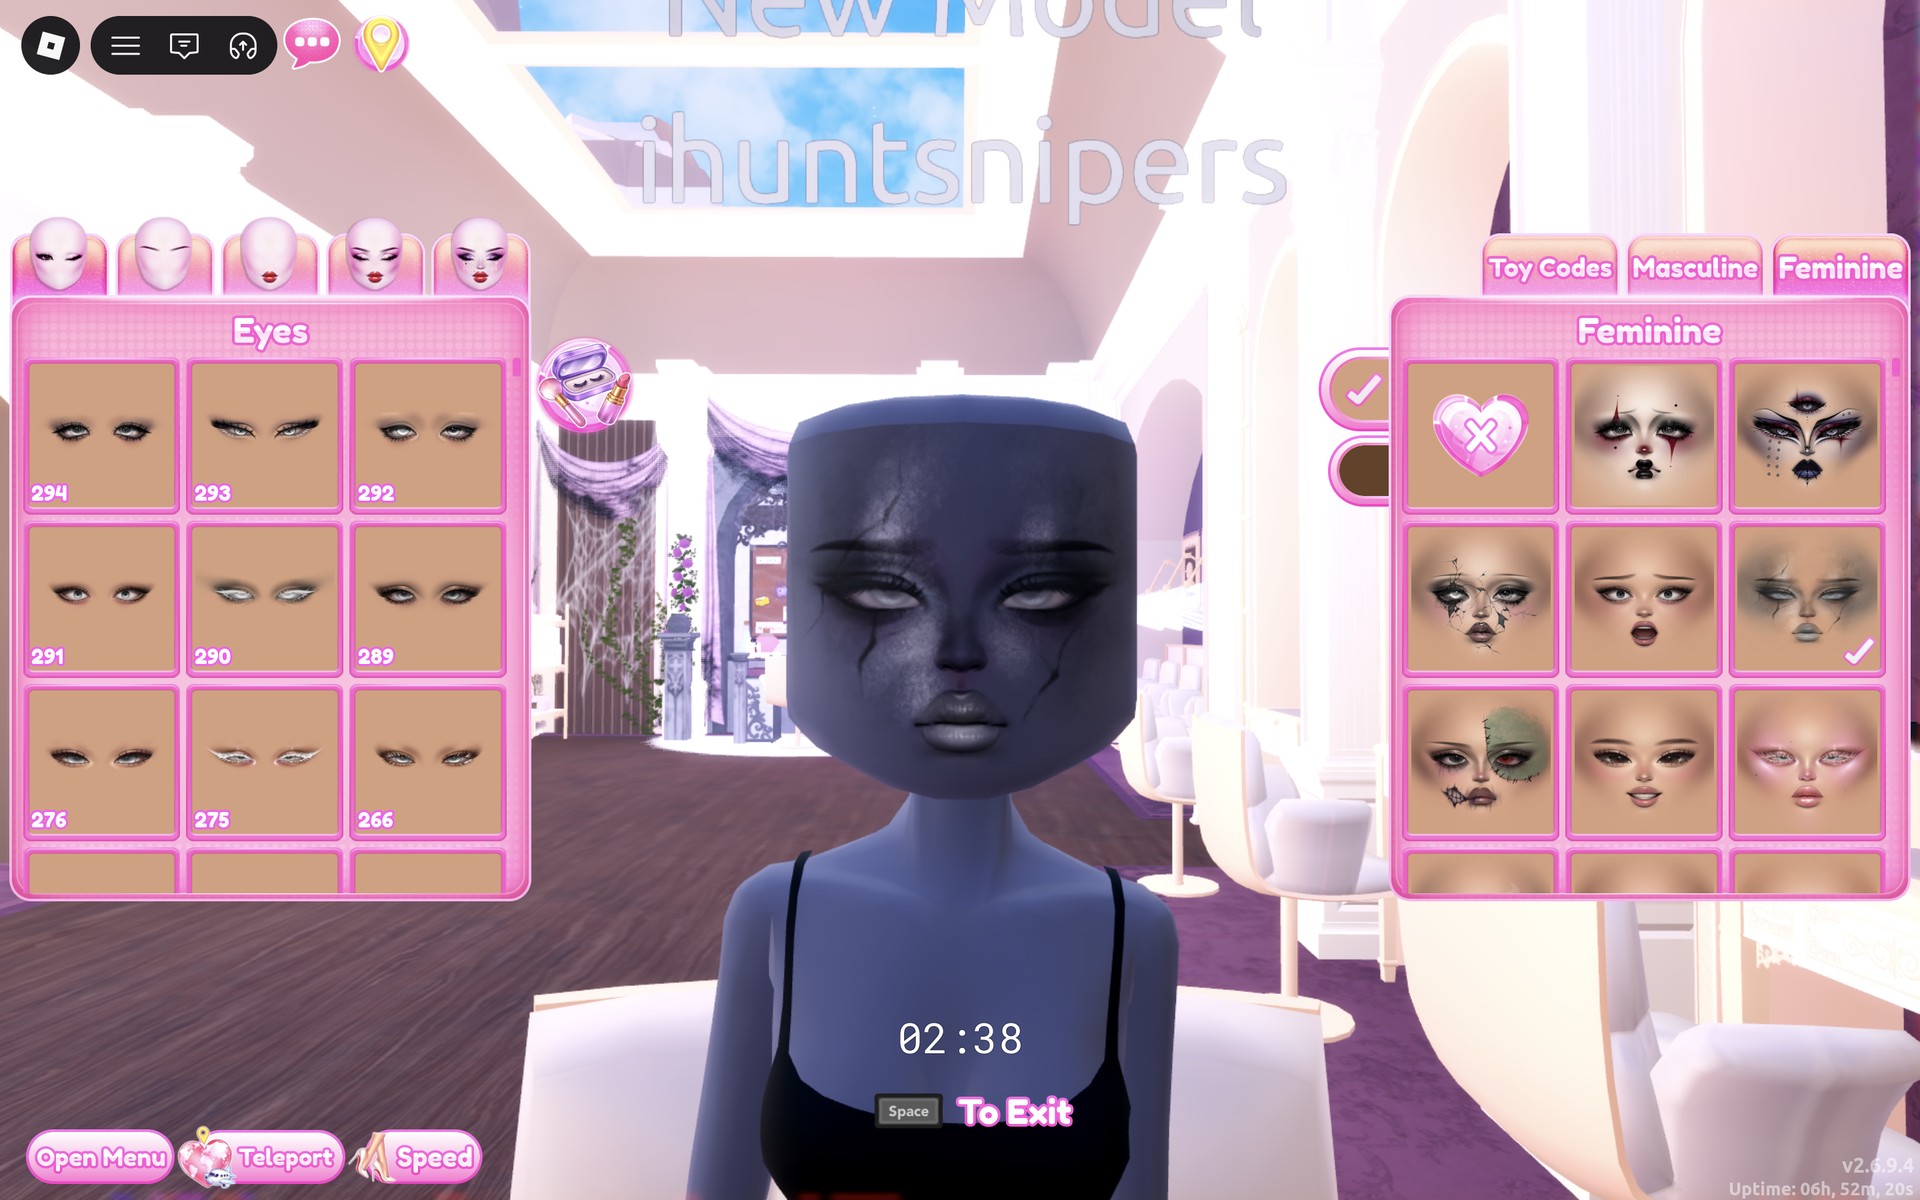
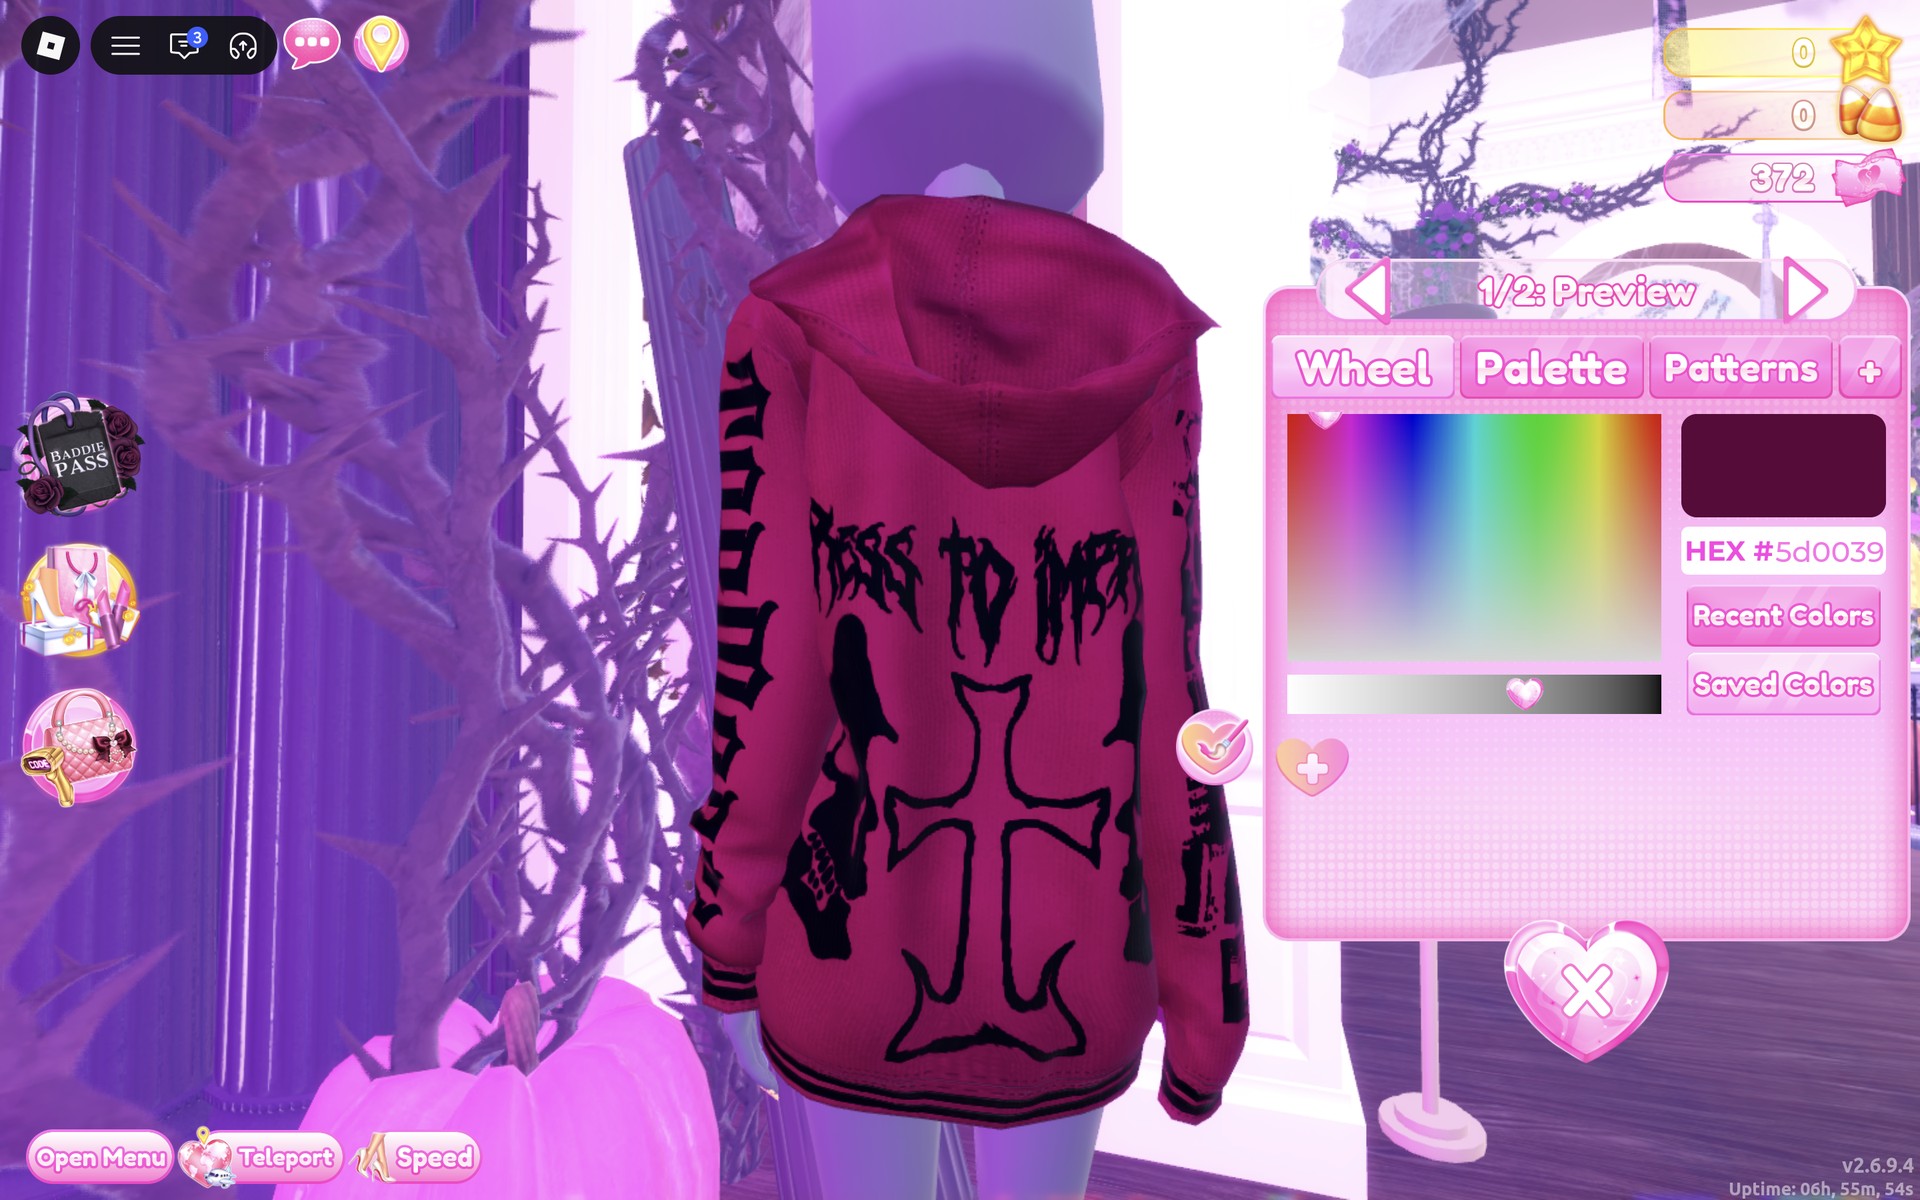
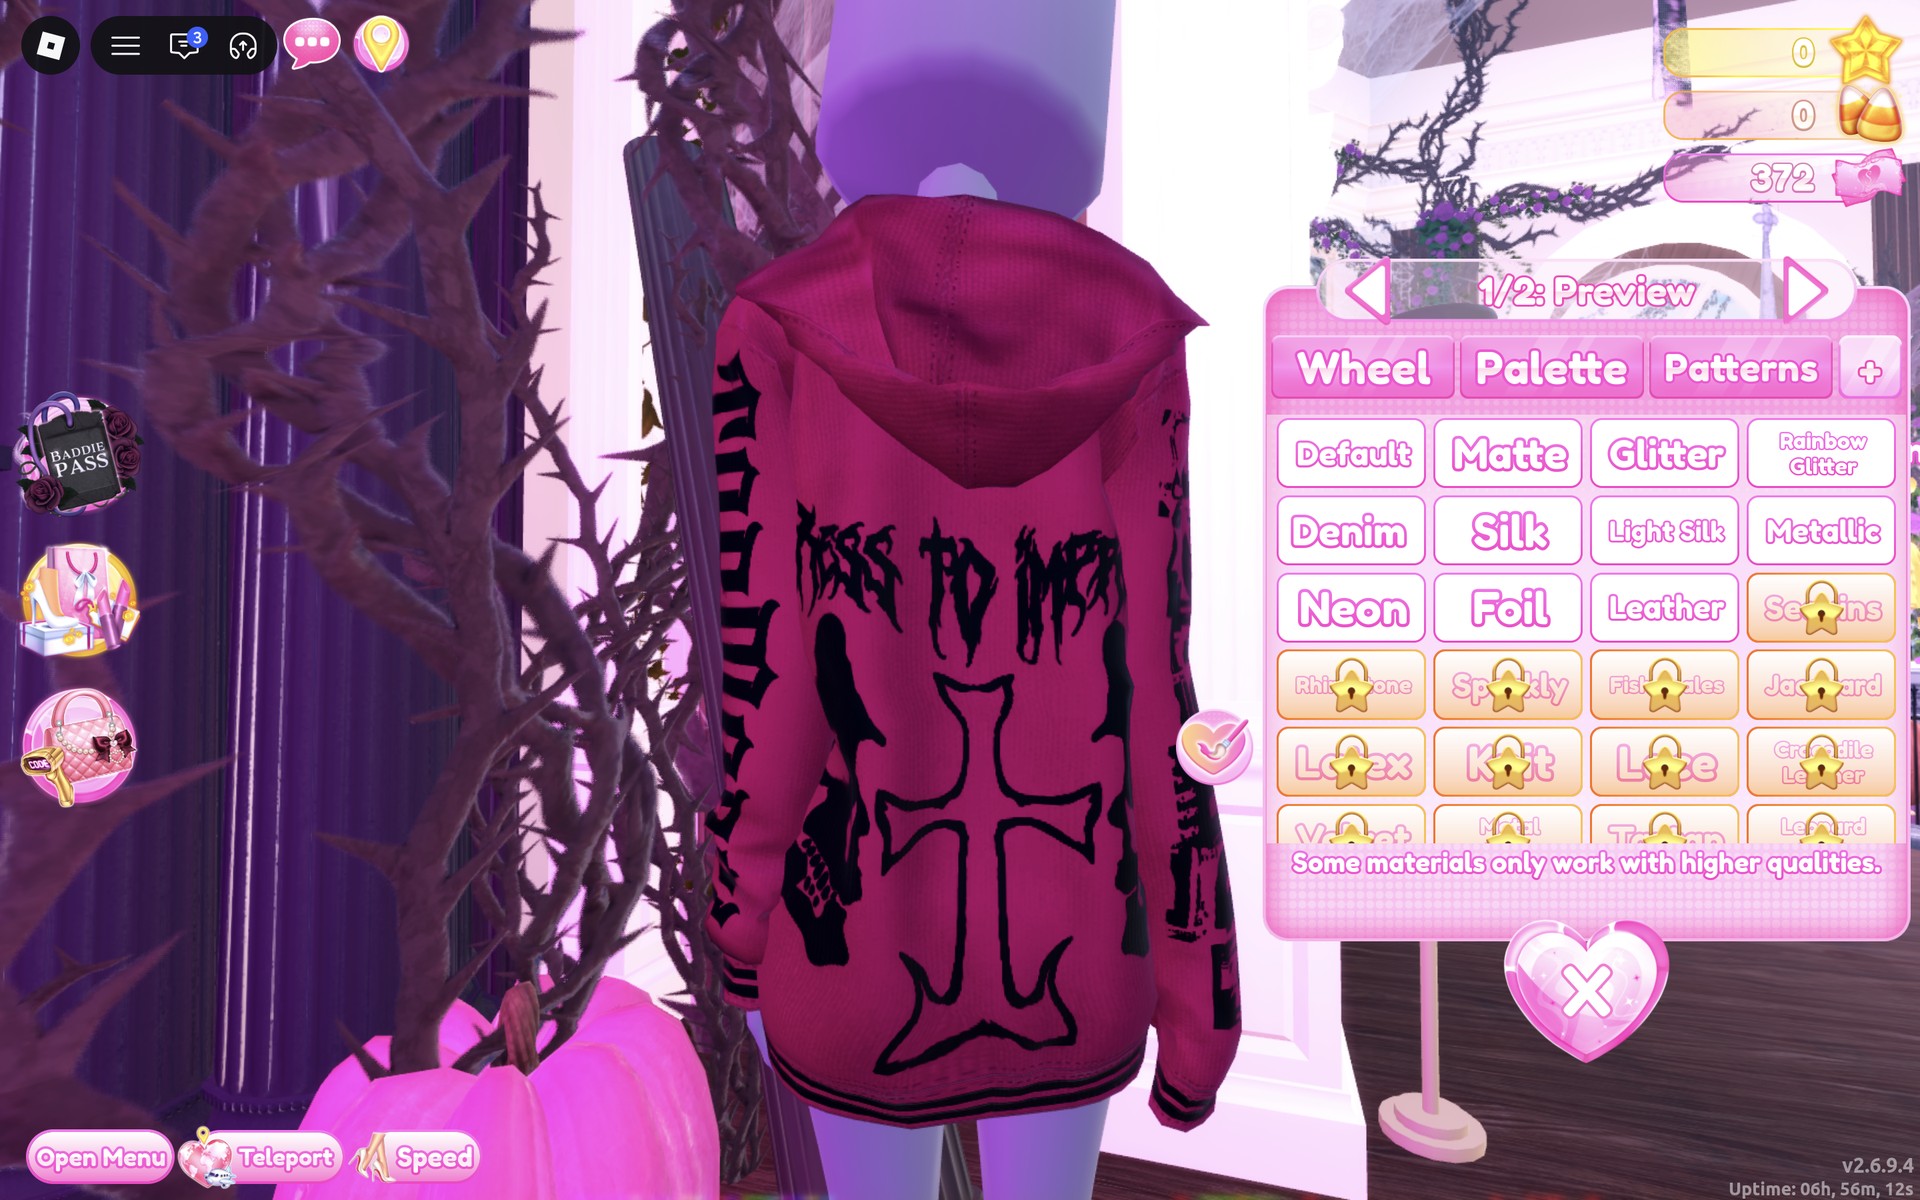
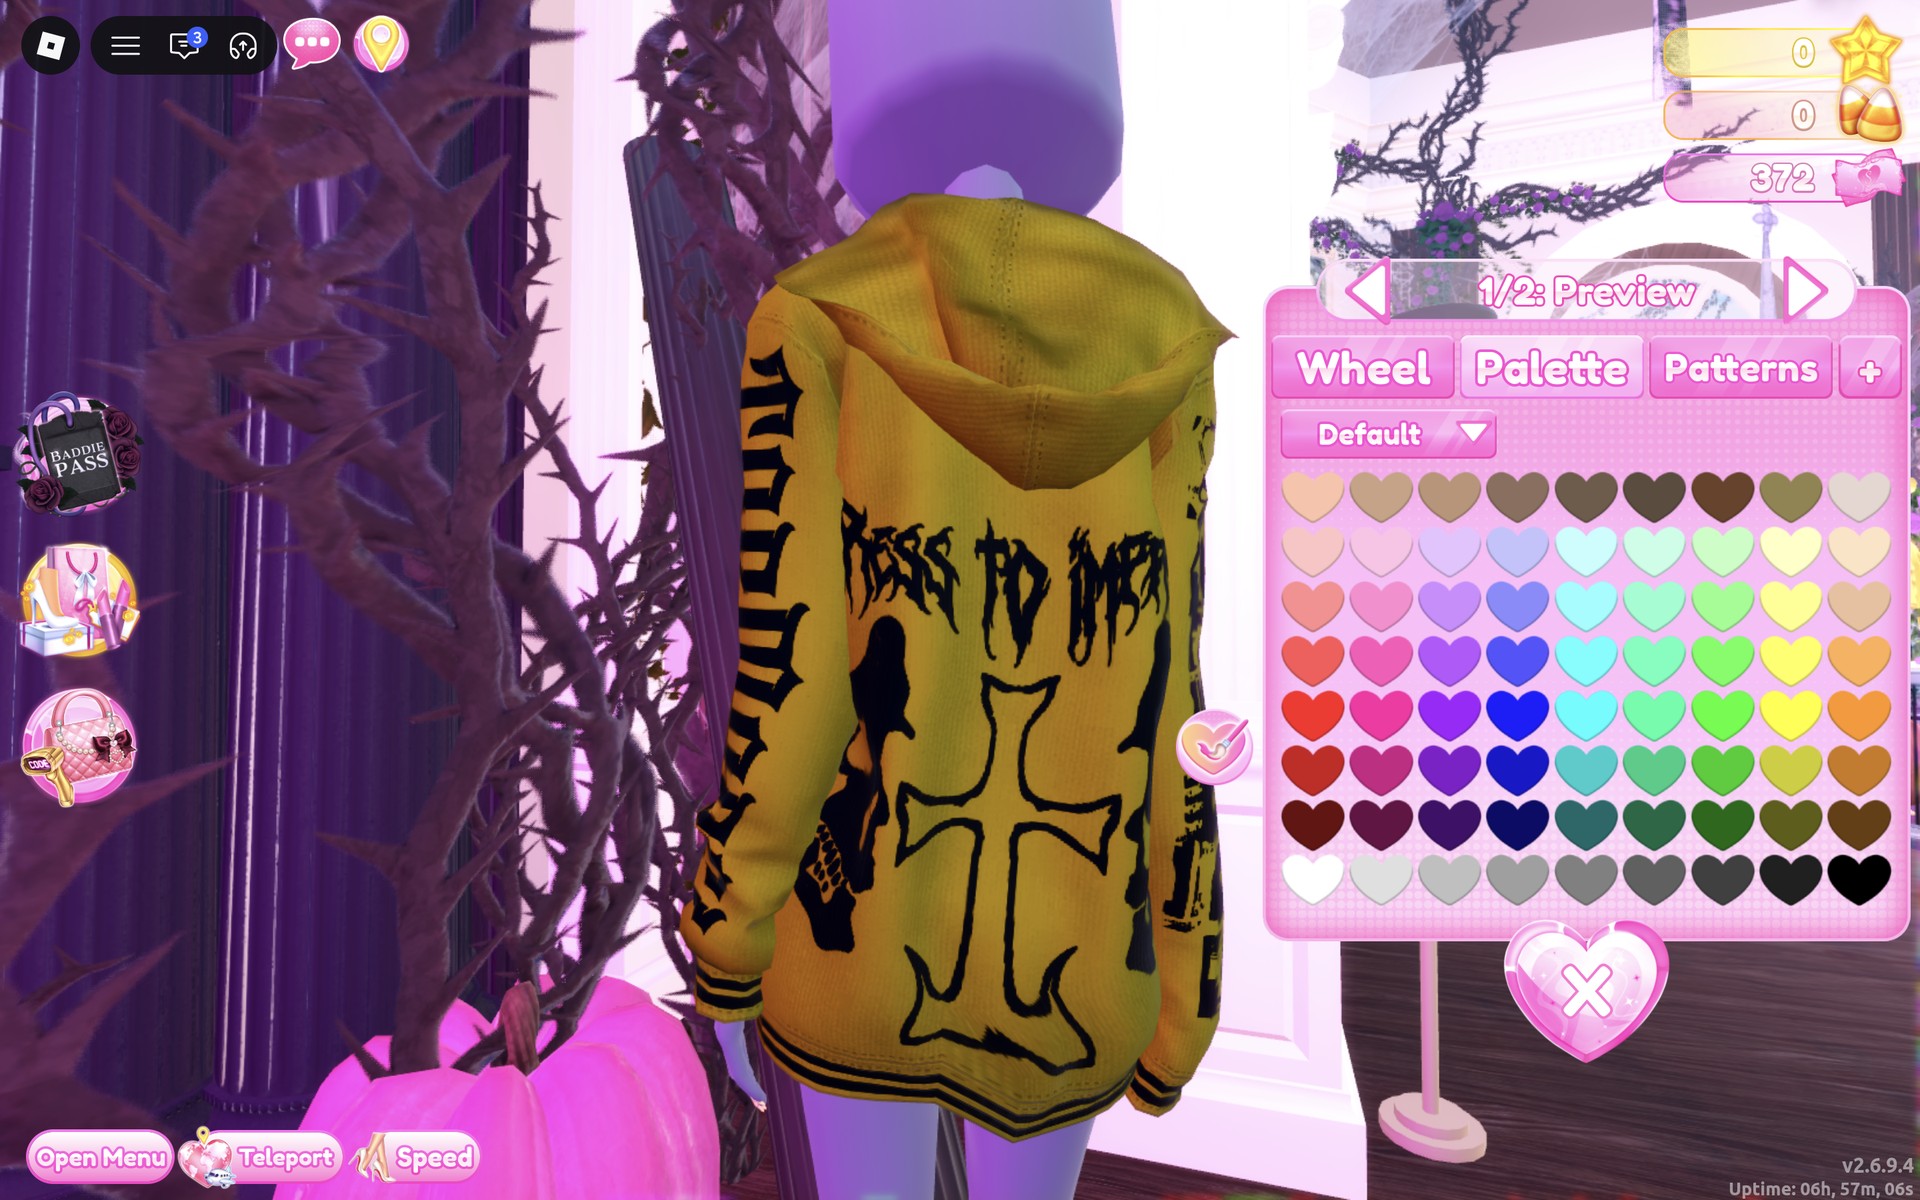
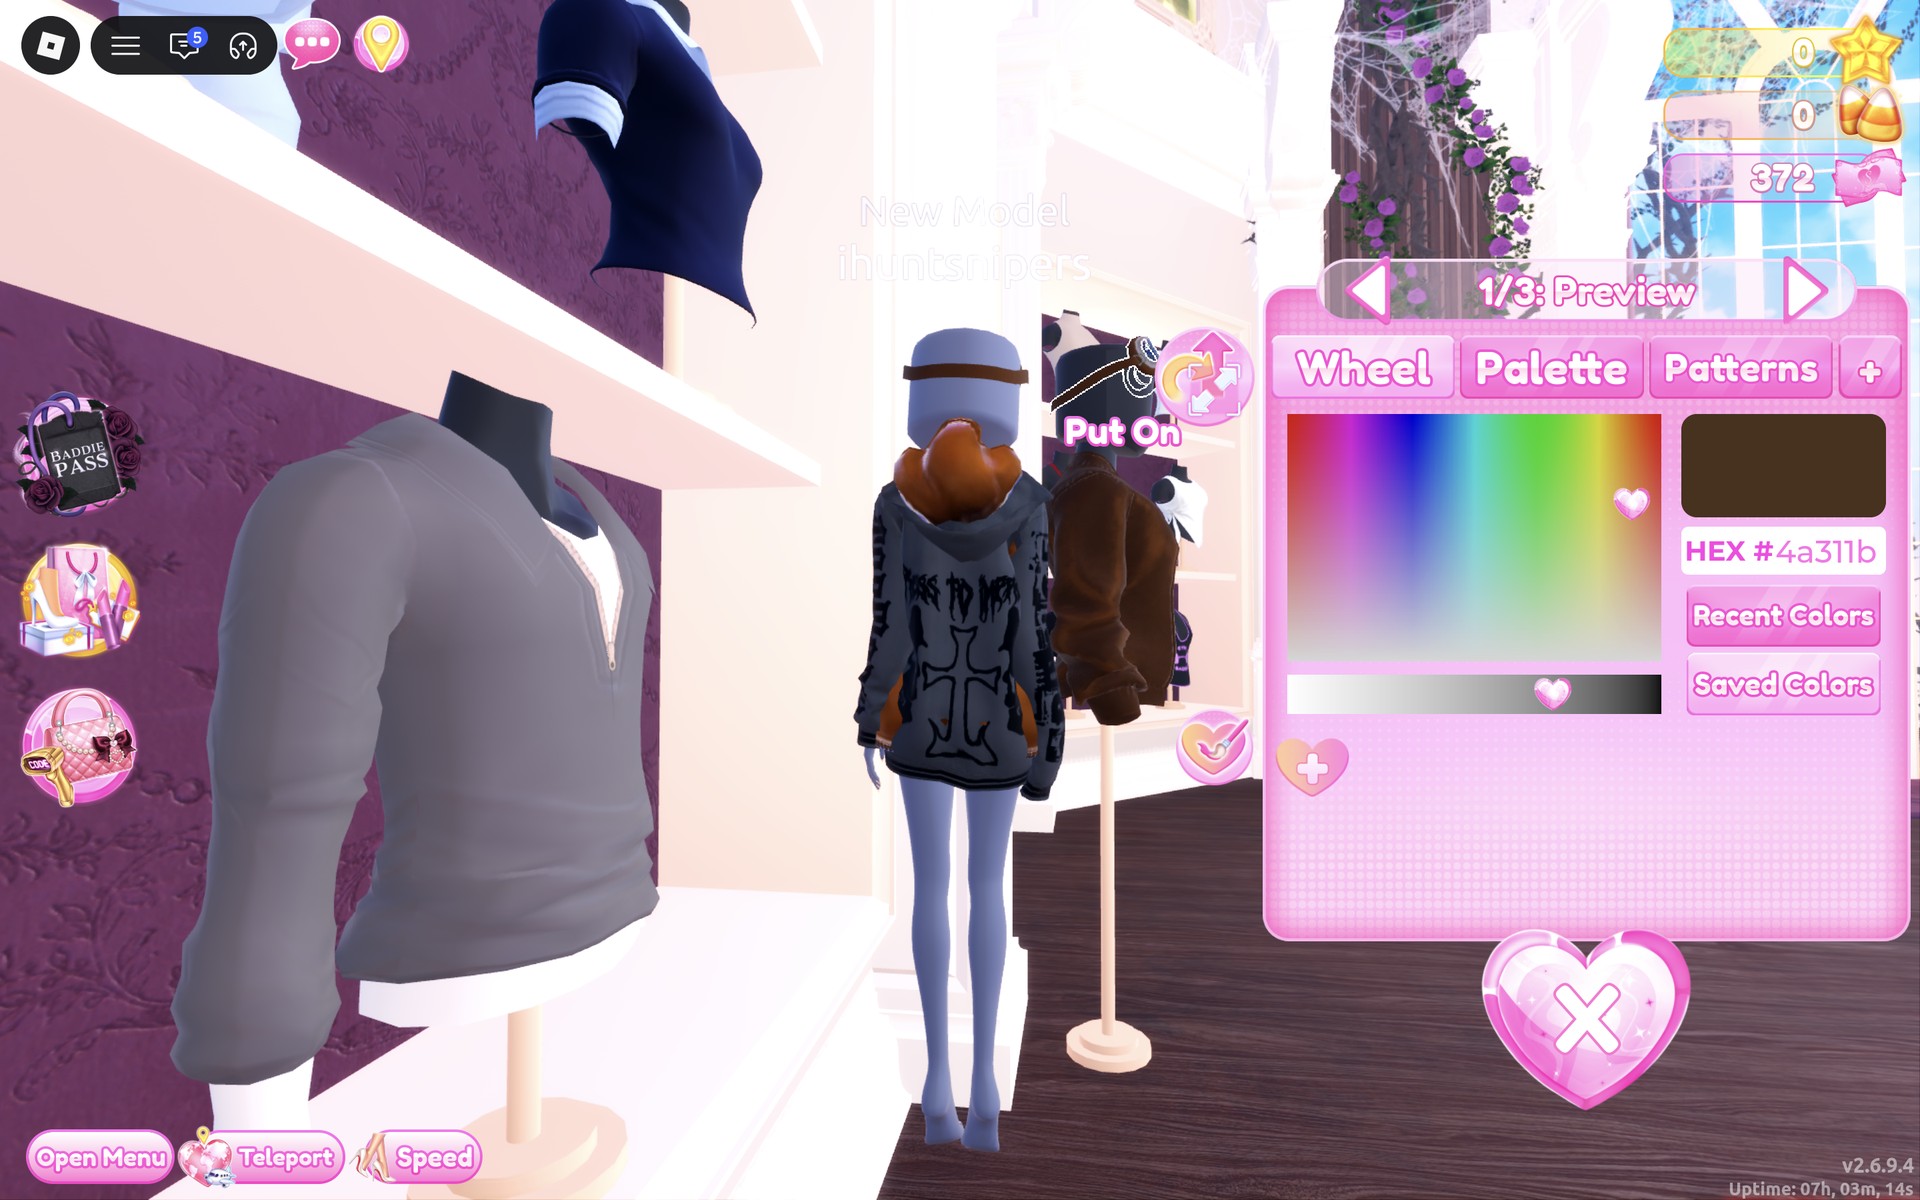
The hoodie went on in that mustard yellow, so we fixed the colour after putting it on.
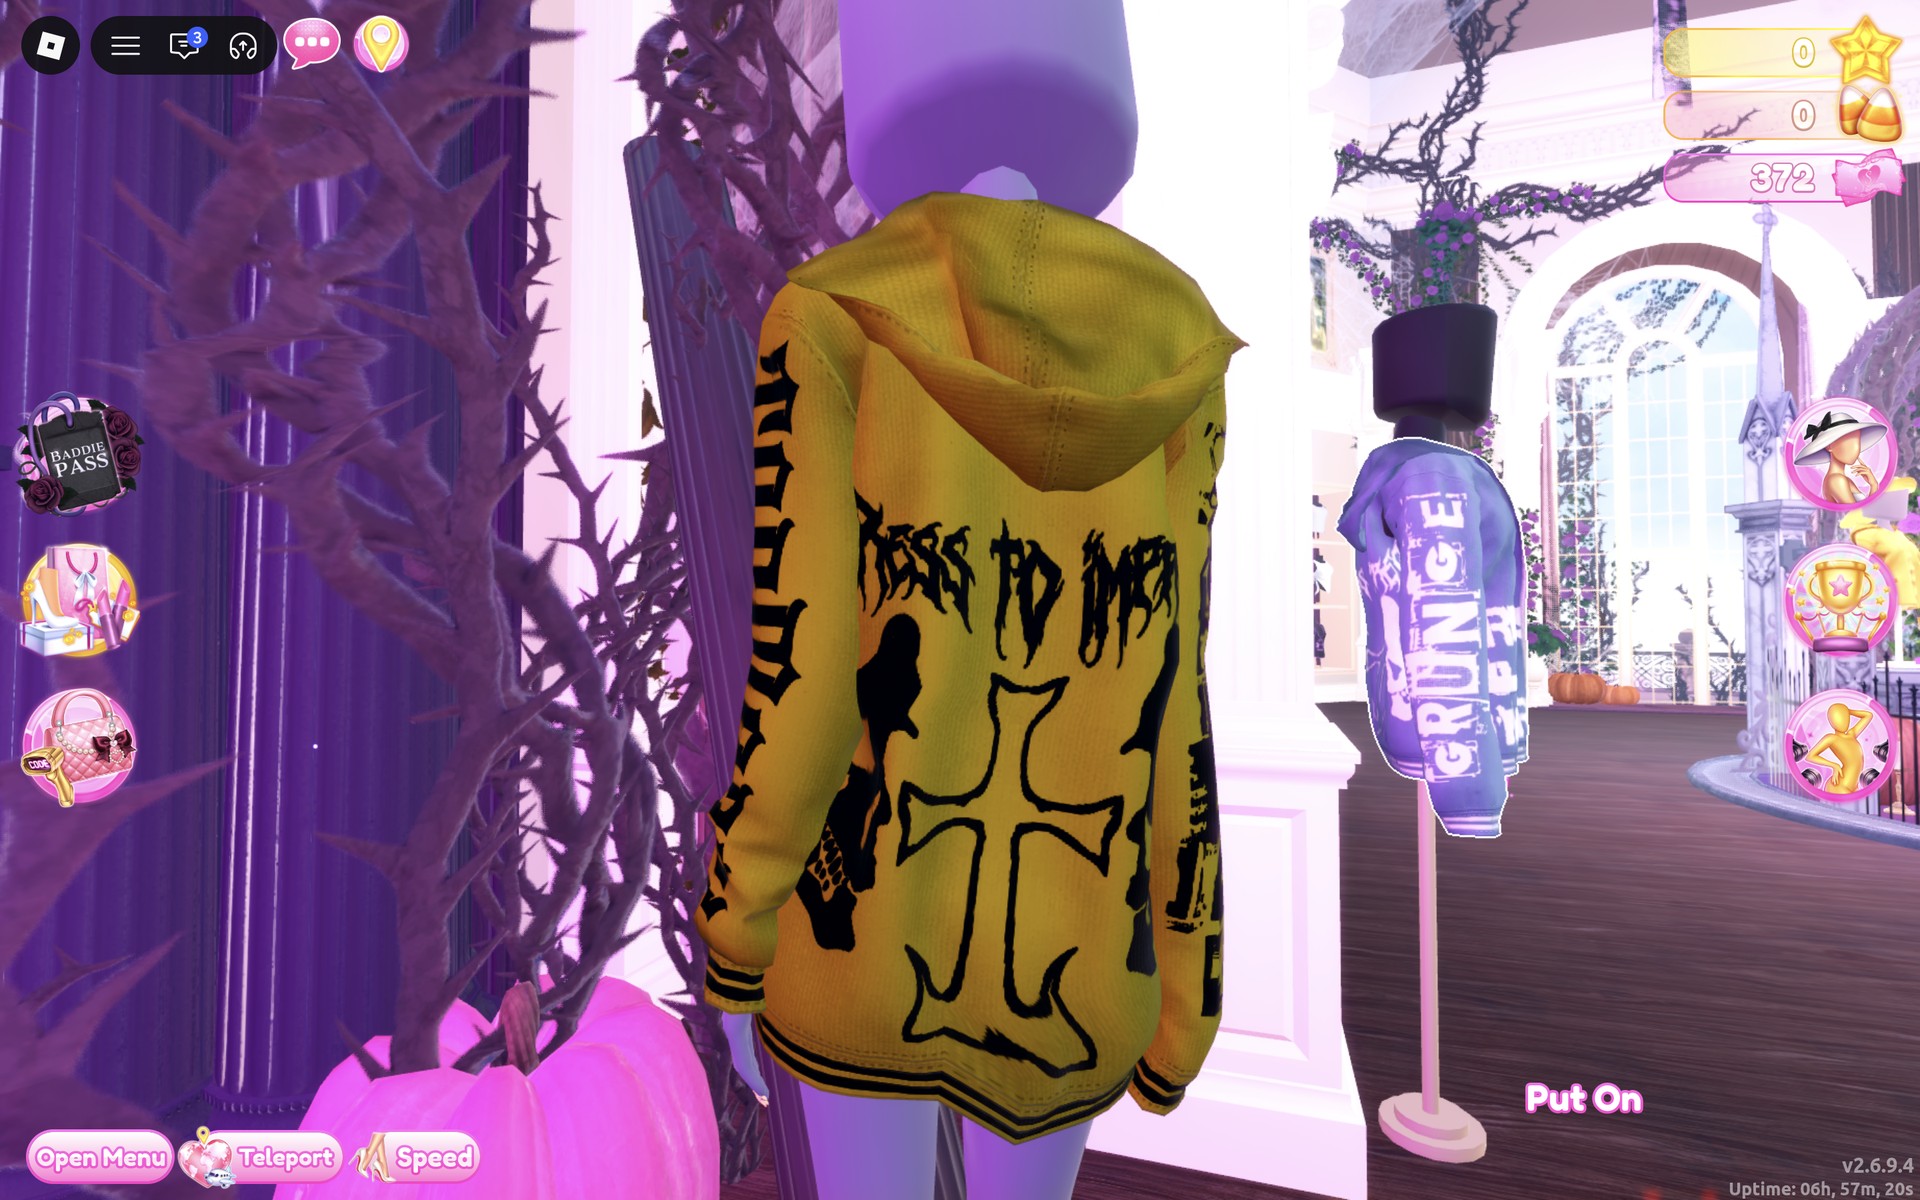
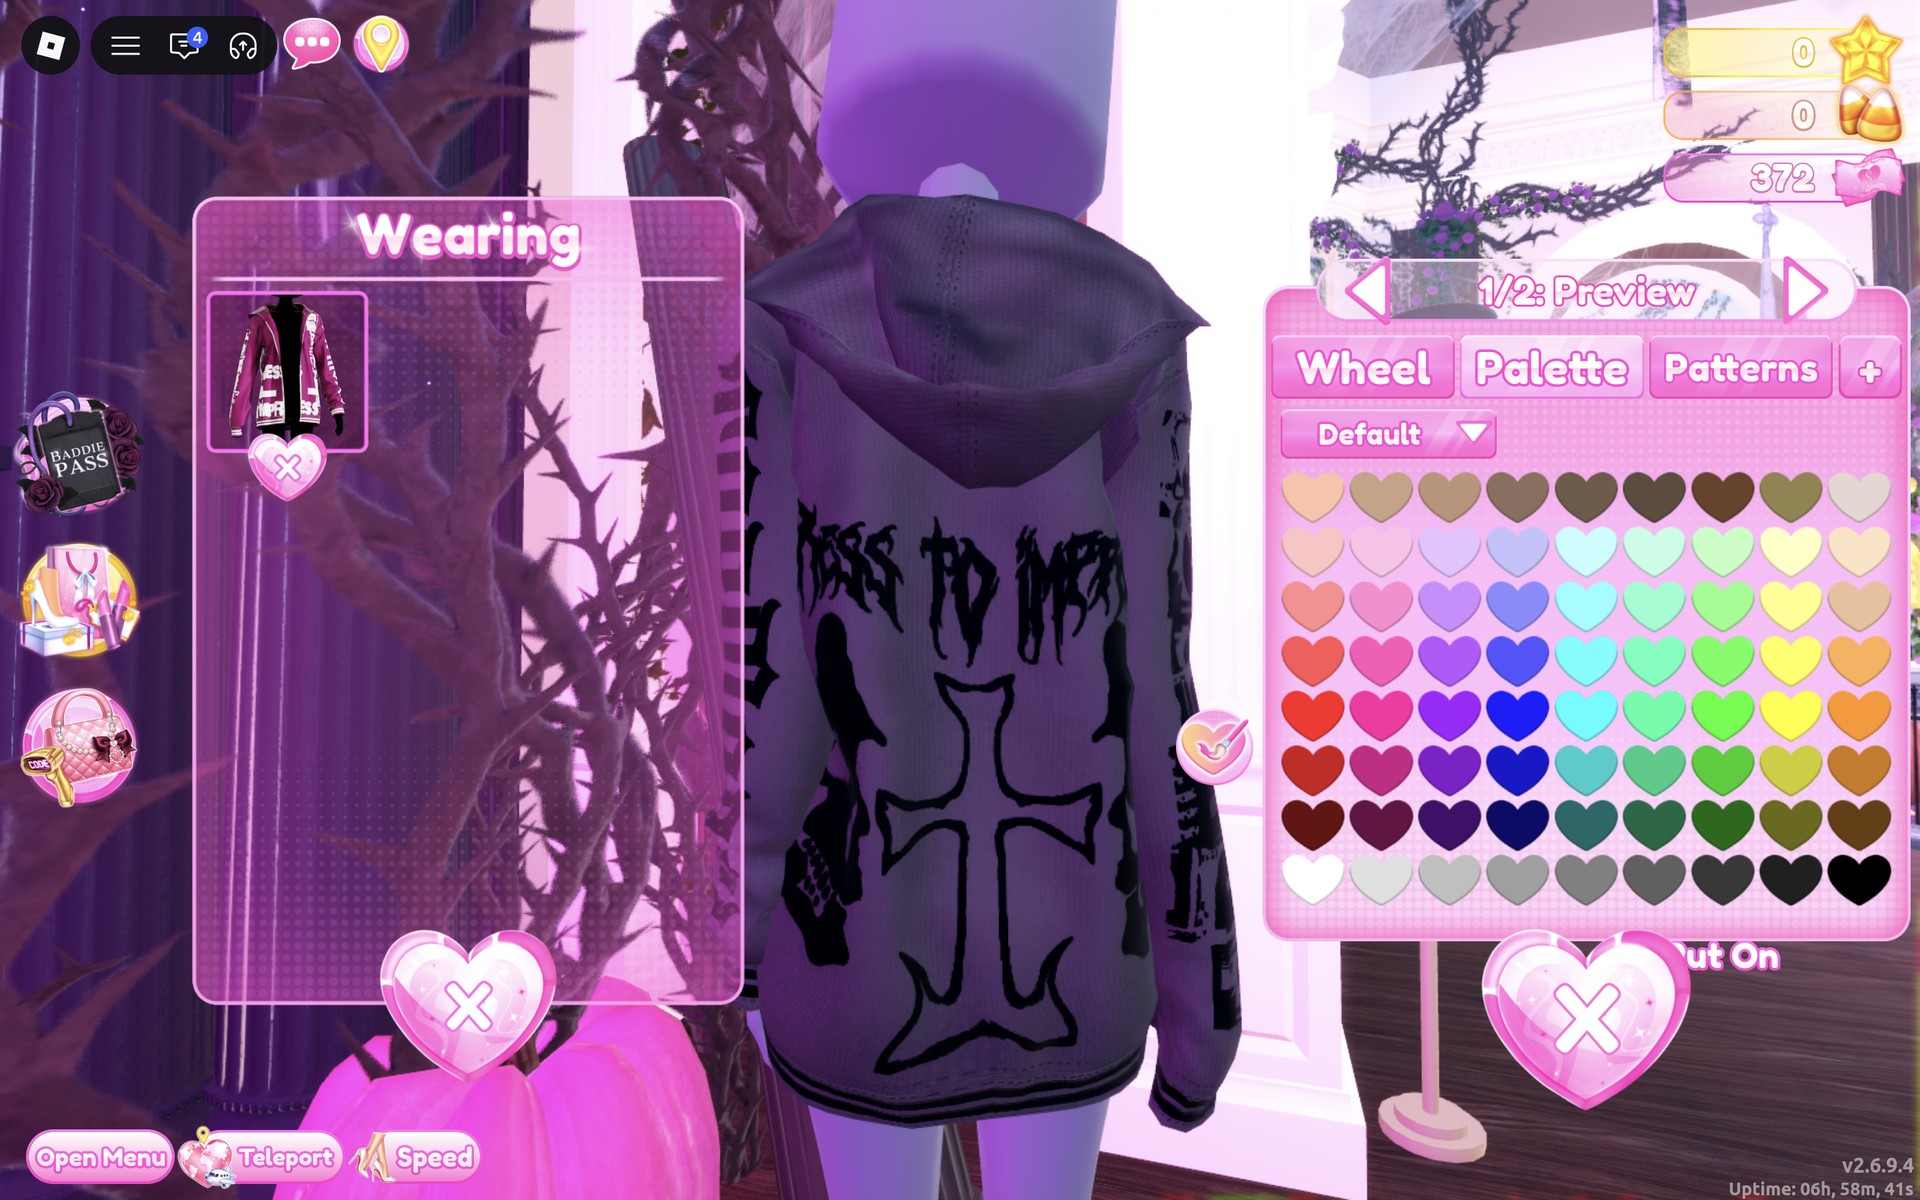
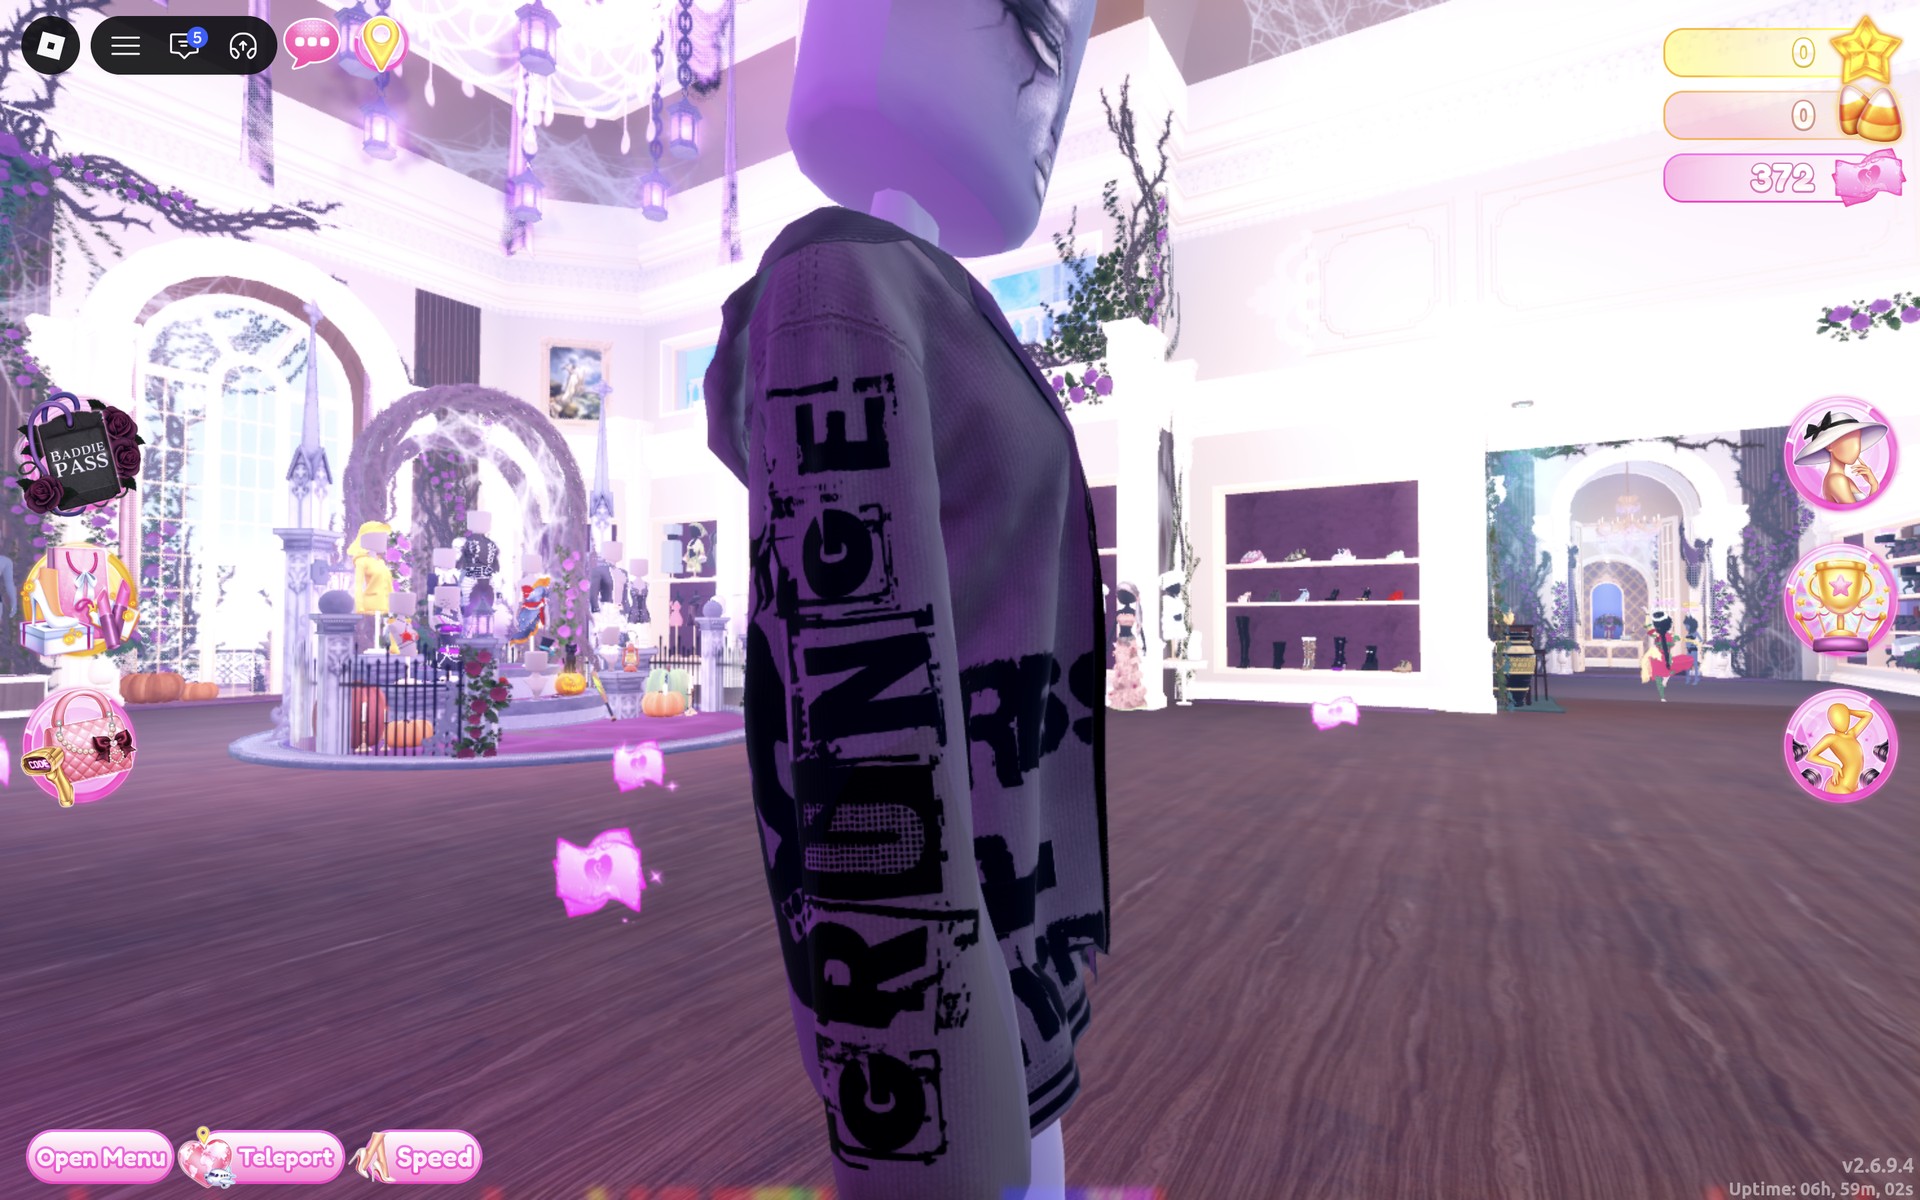
On you it reads slate grey with the black print, not near-black. The sleeve lettering shows clearly from the side.
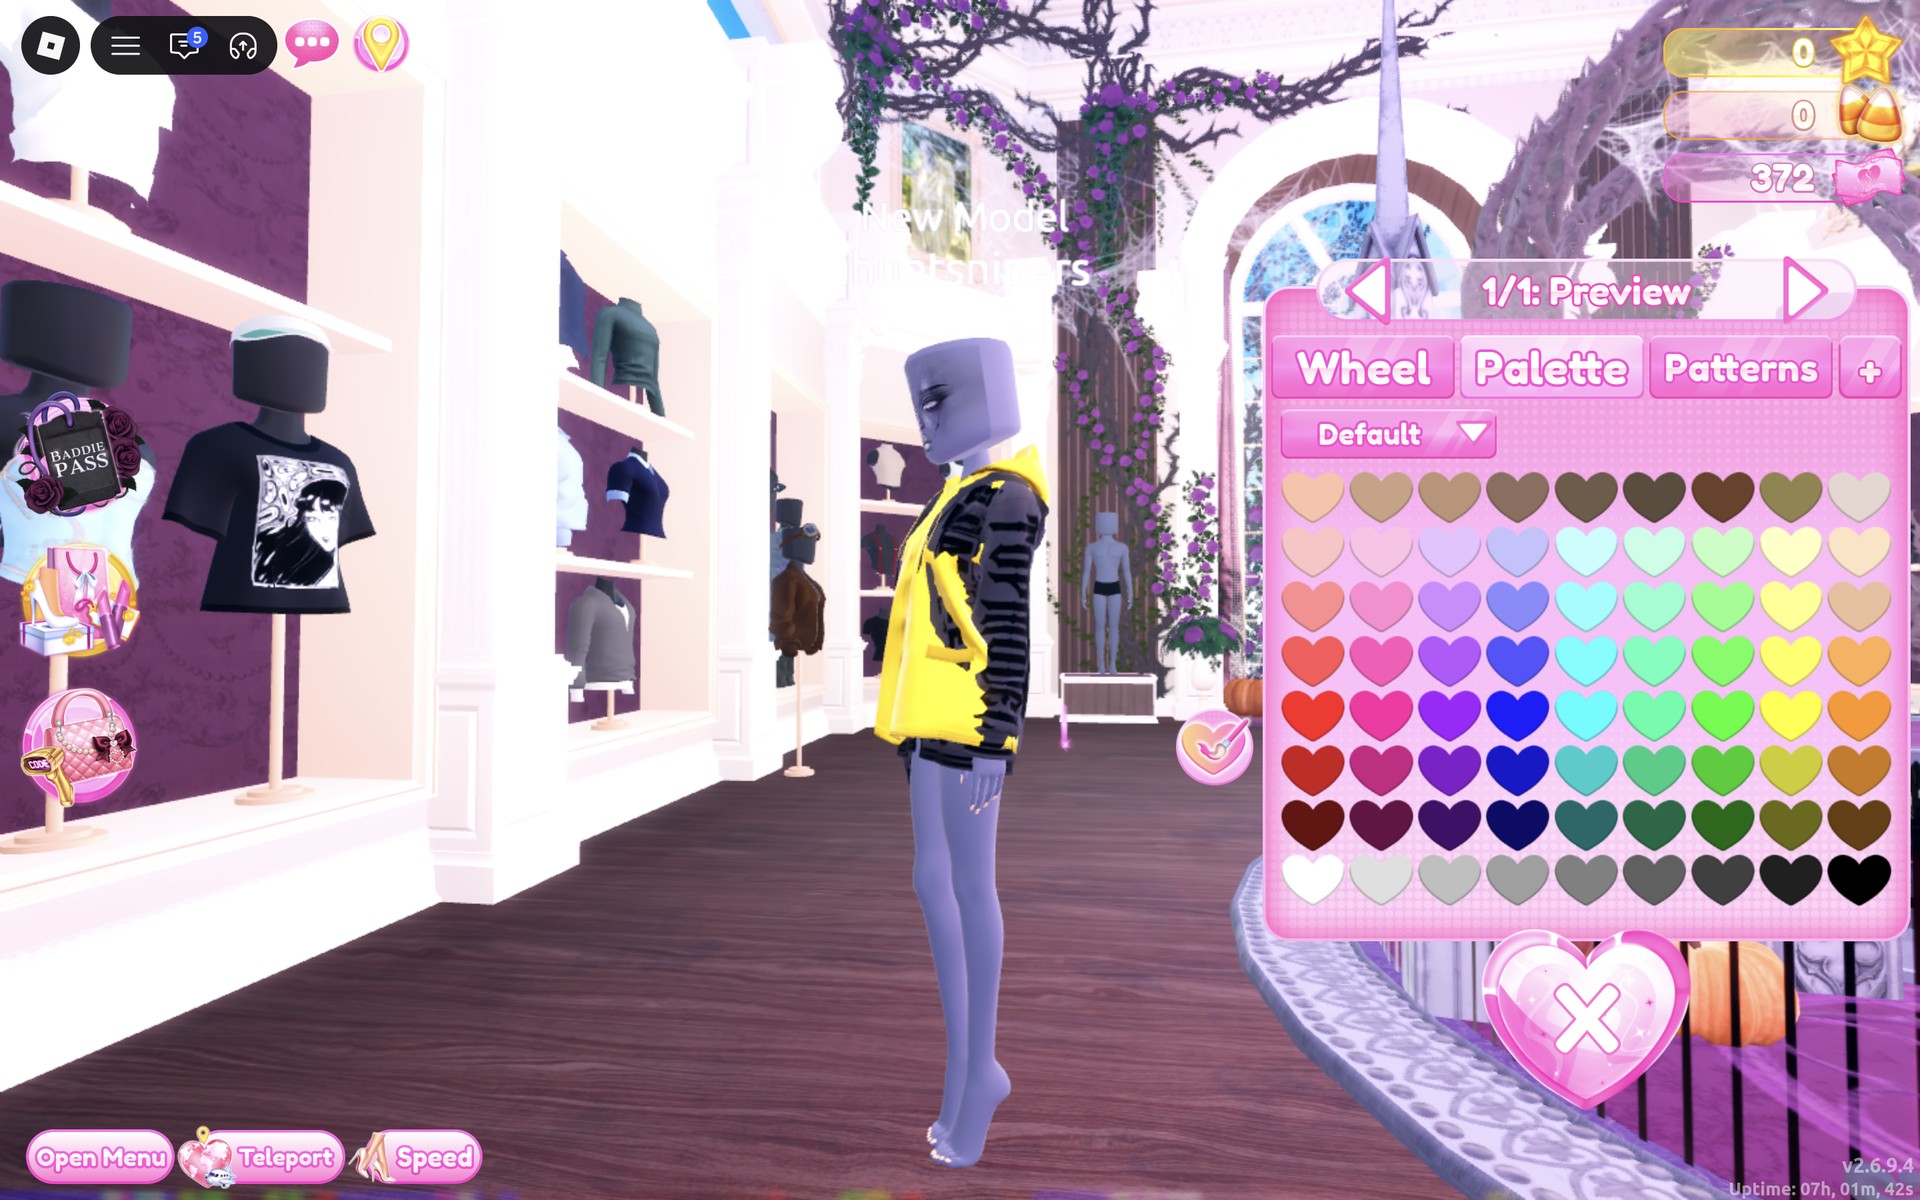
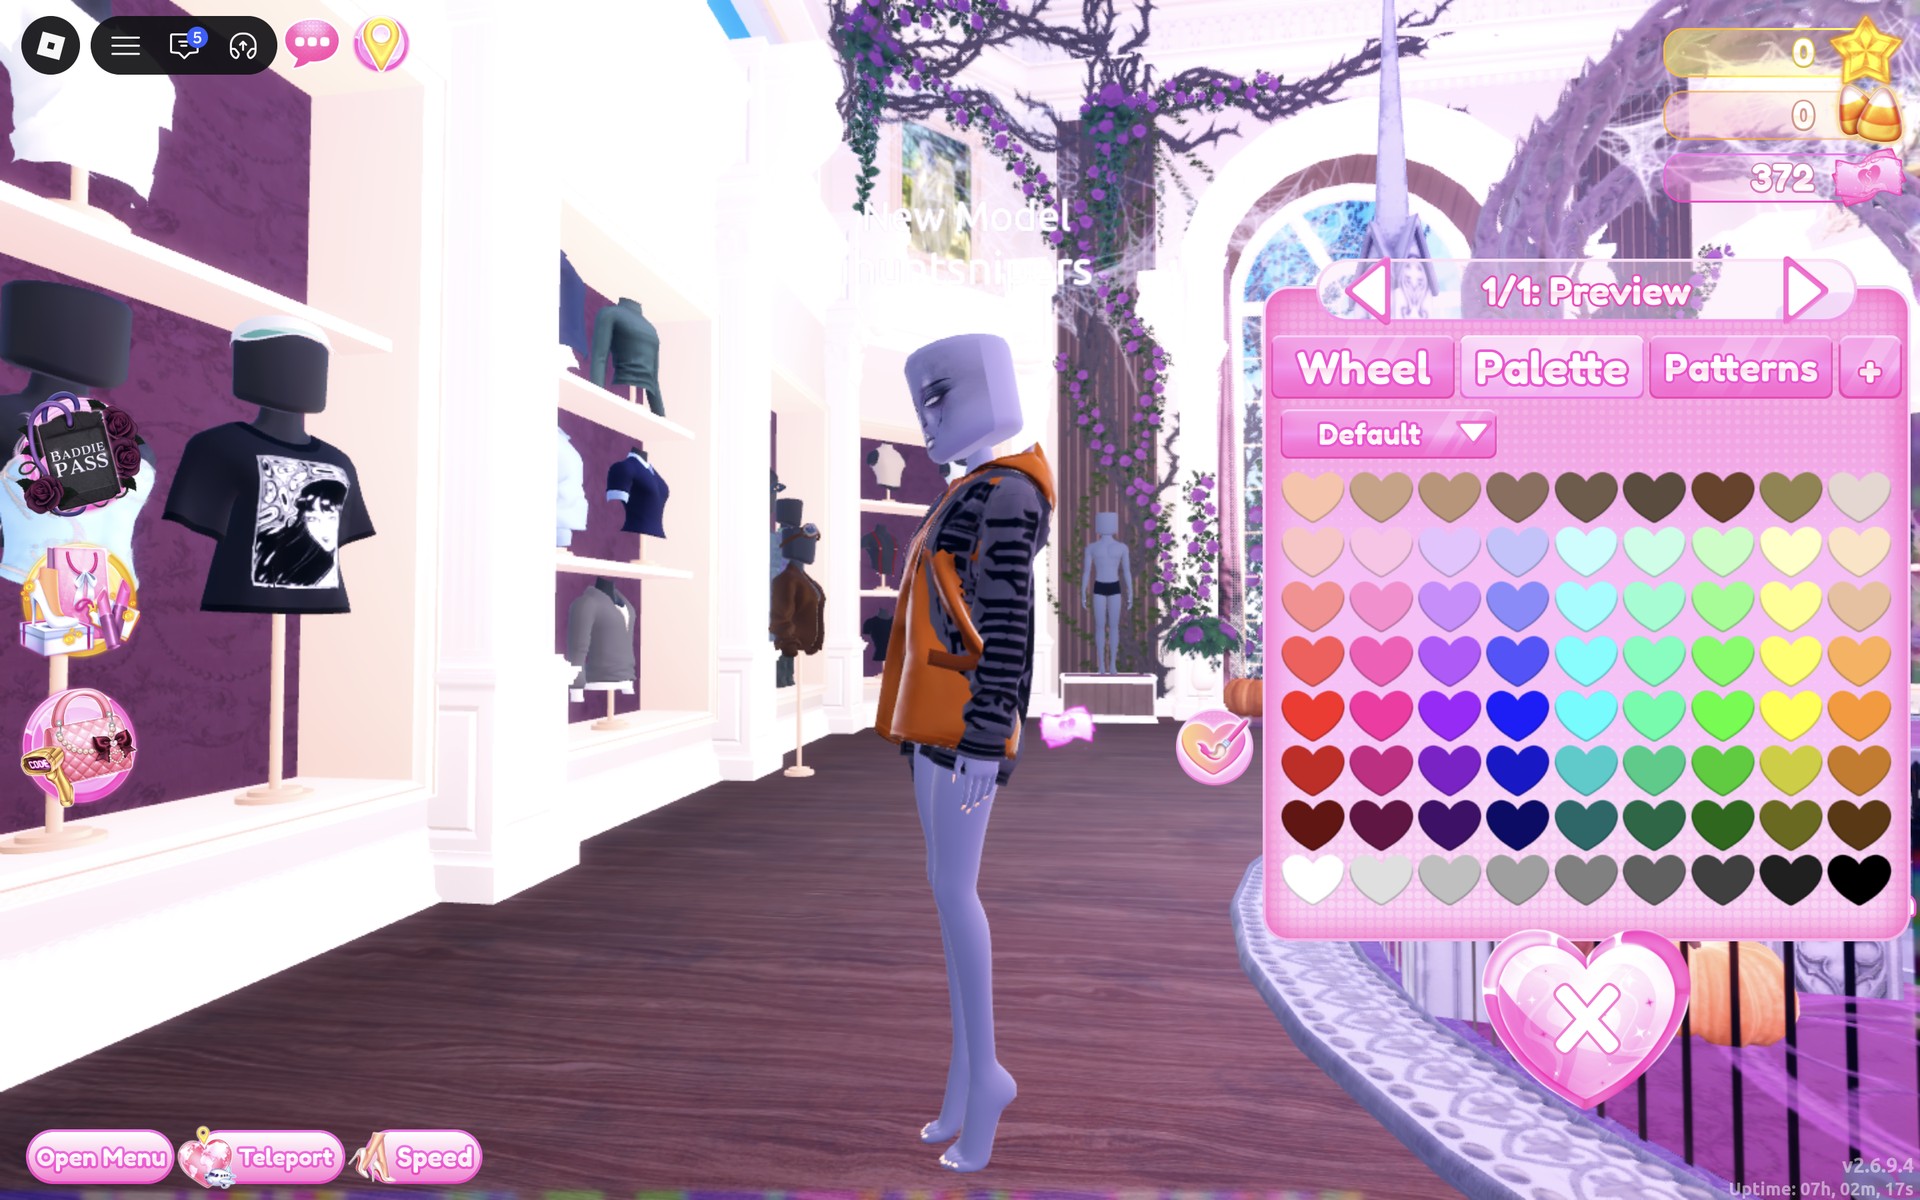
The Wheel tab shows the colour you picked as HEX #693d0c.
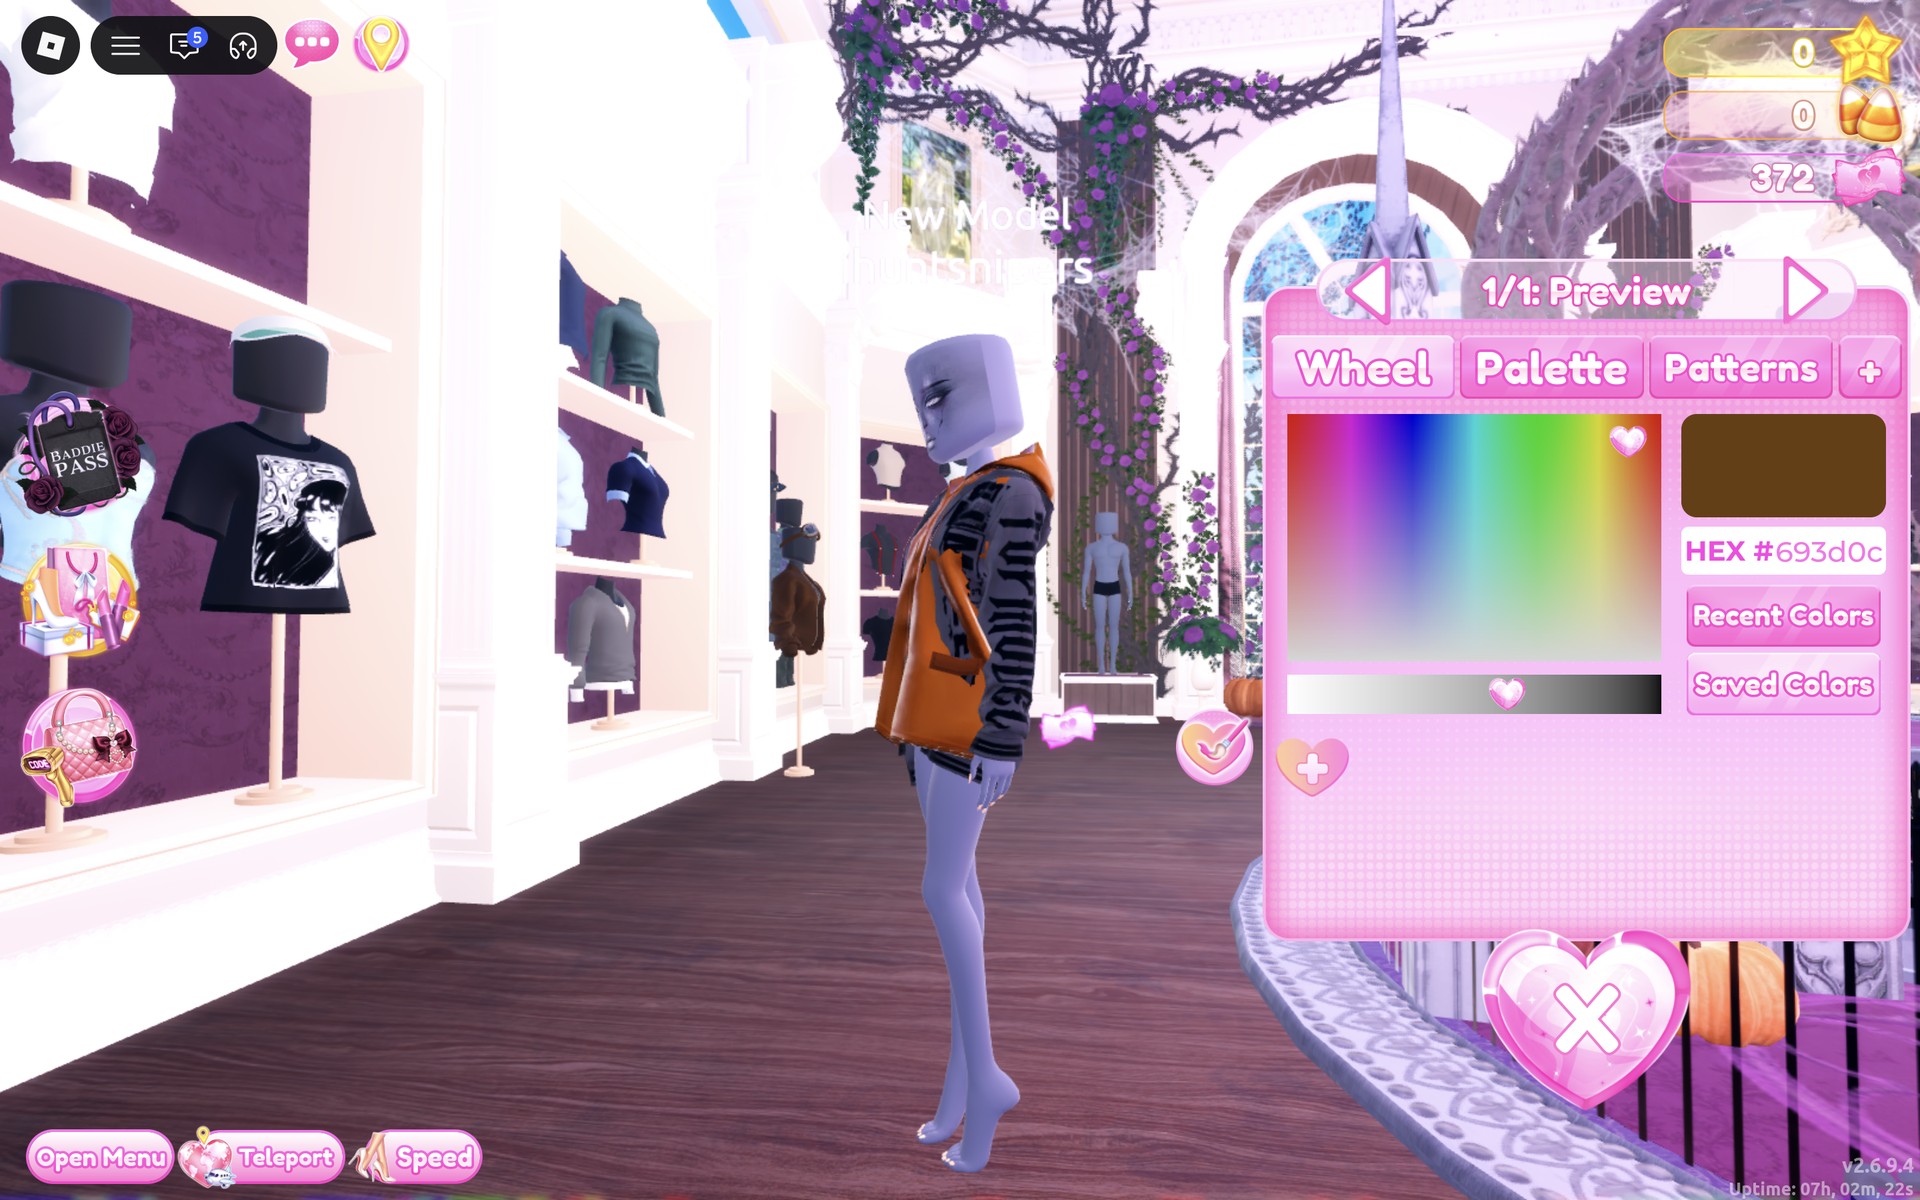
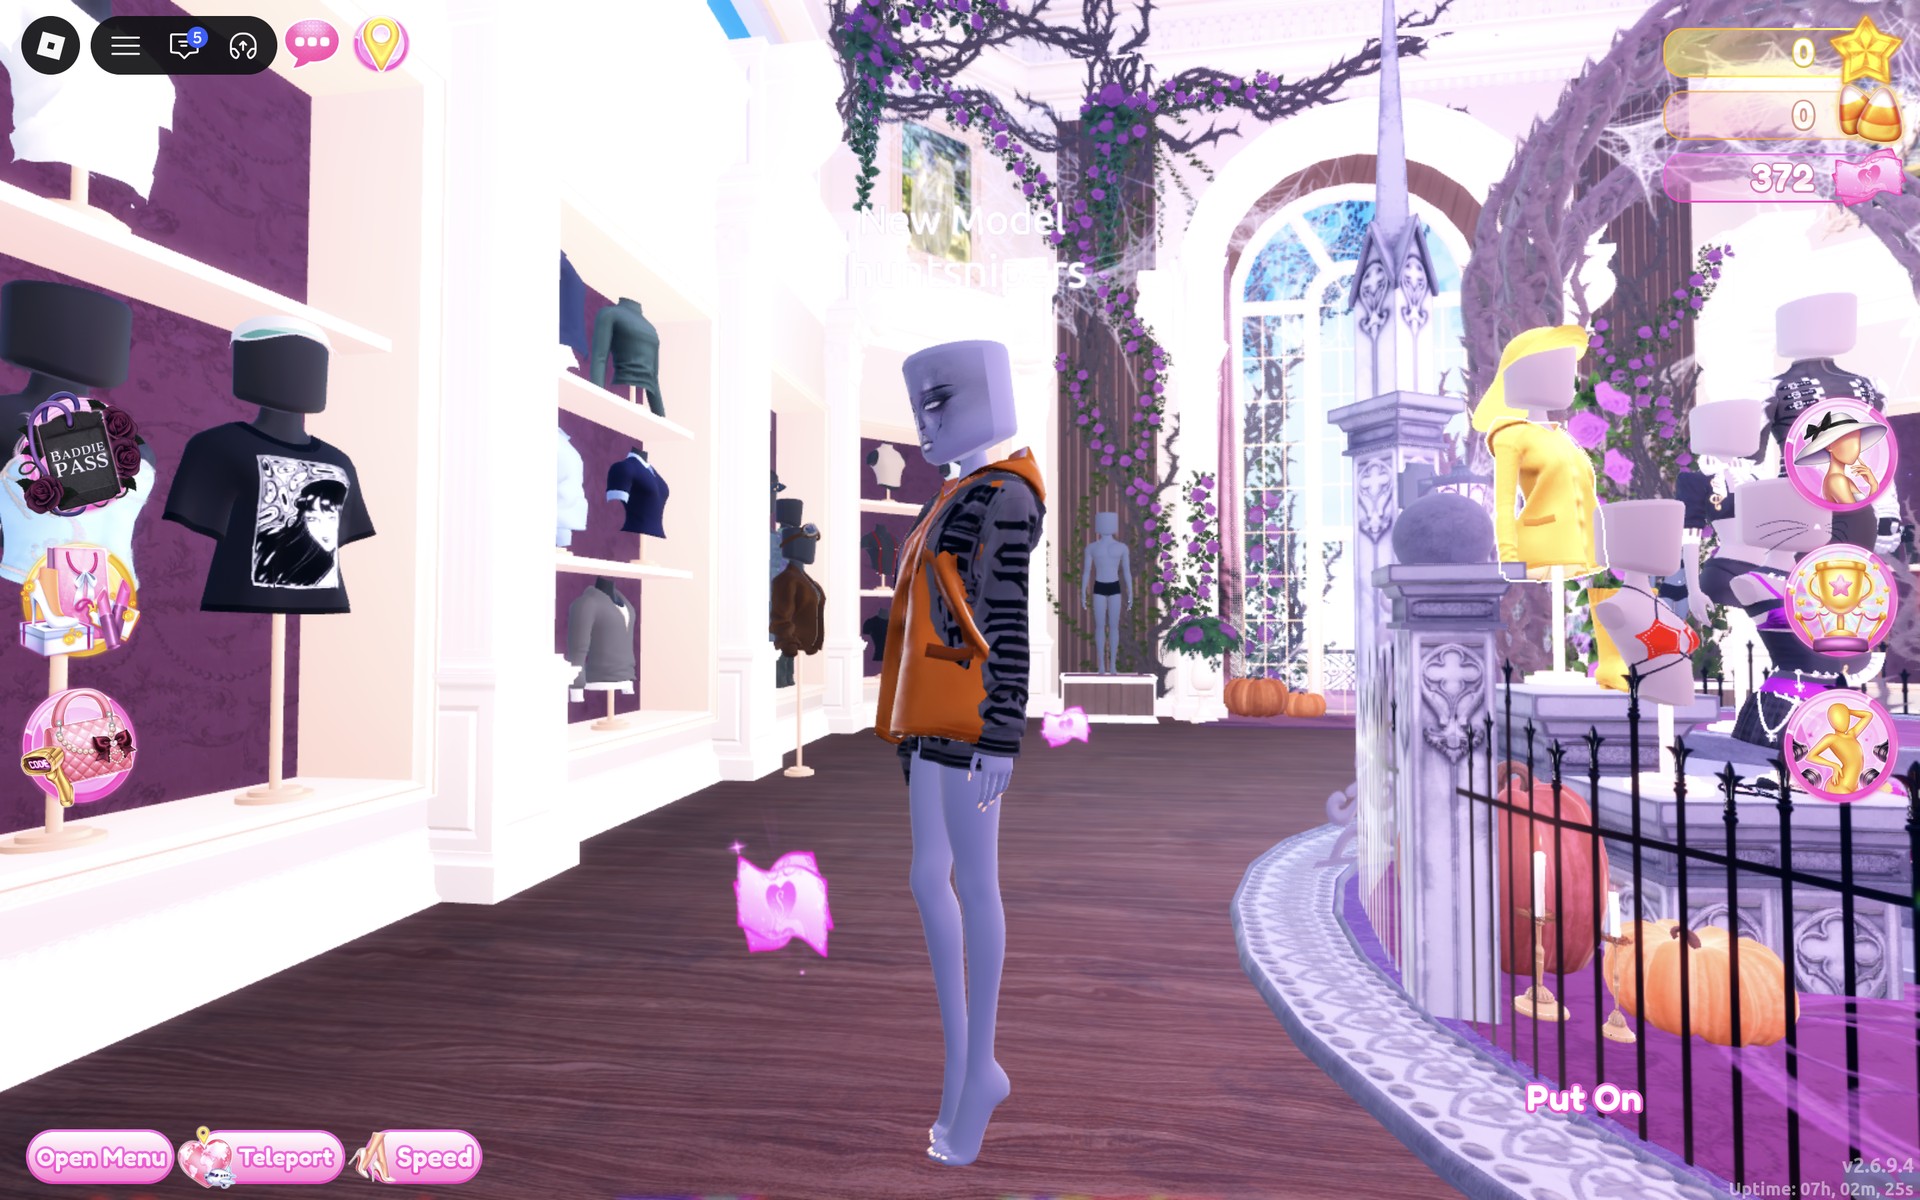
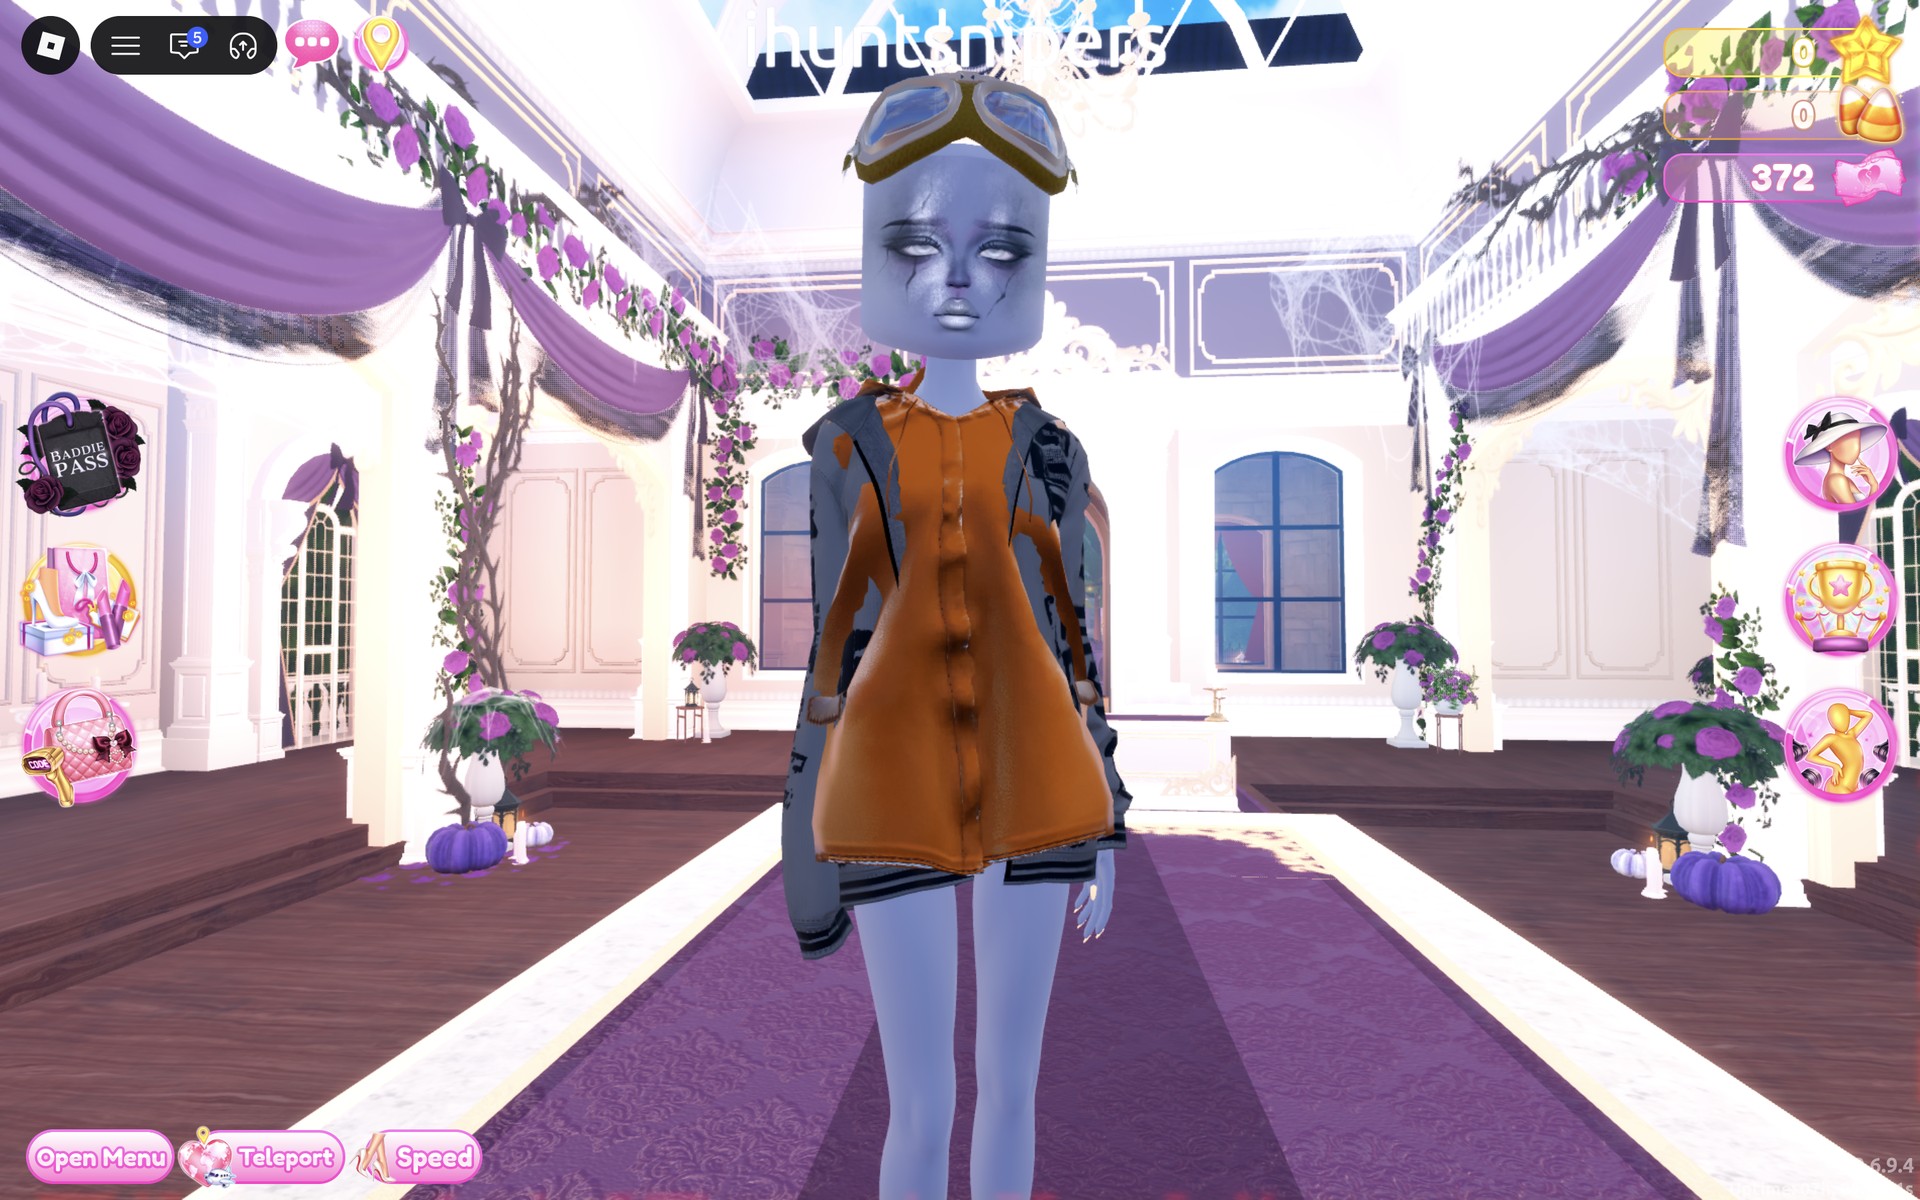
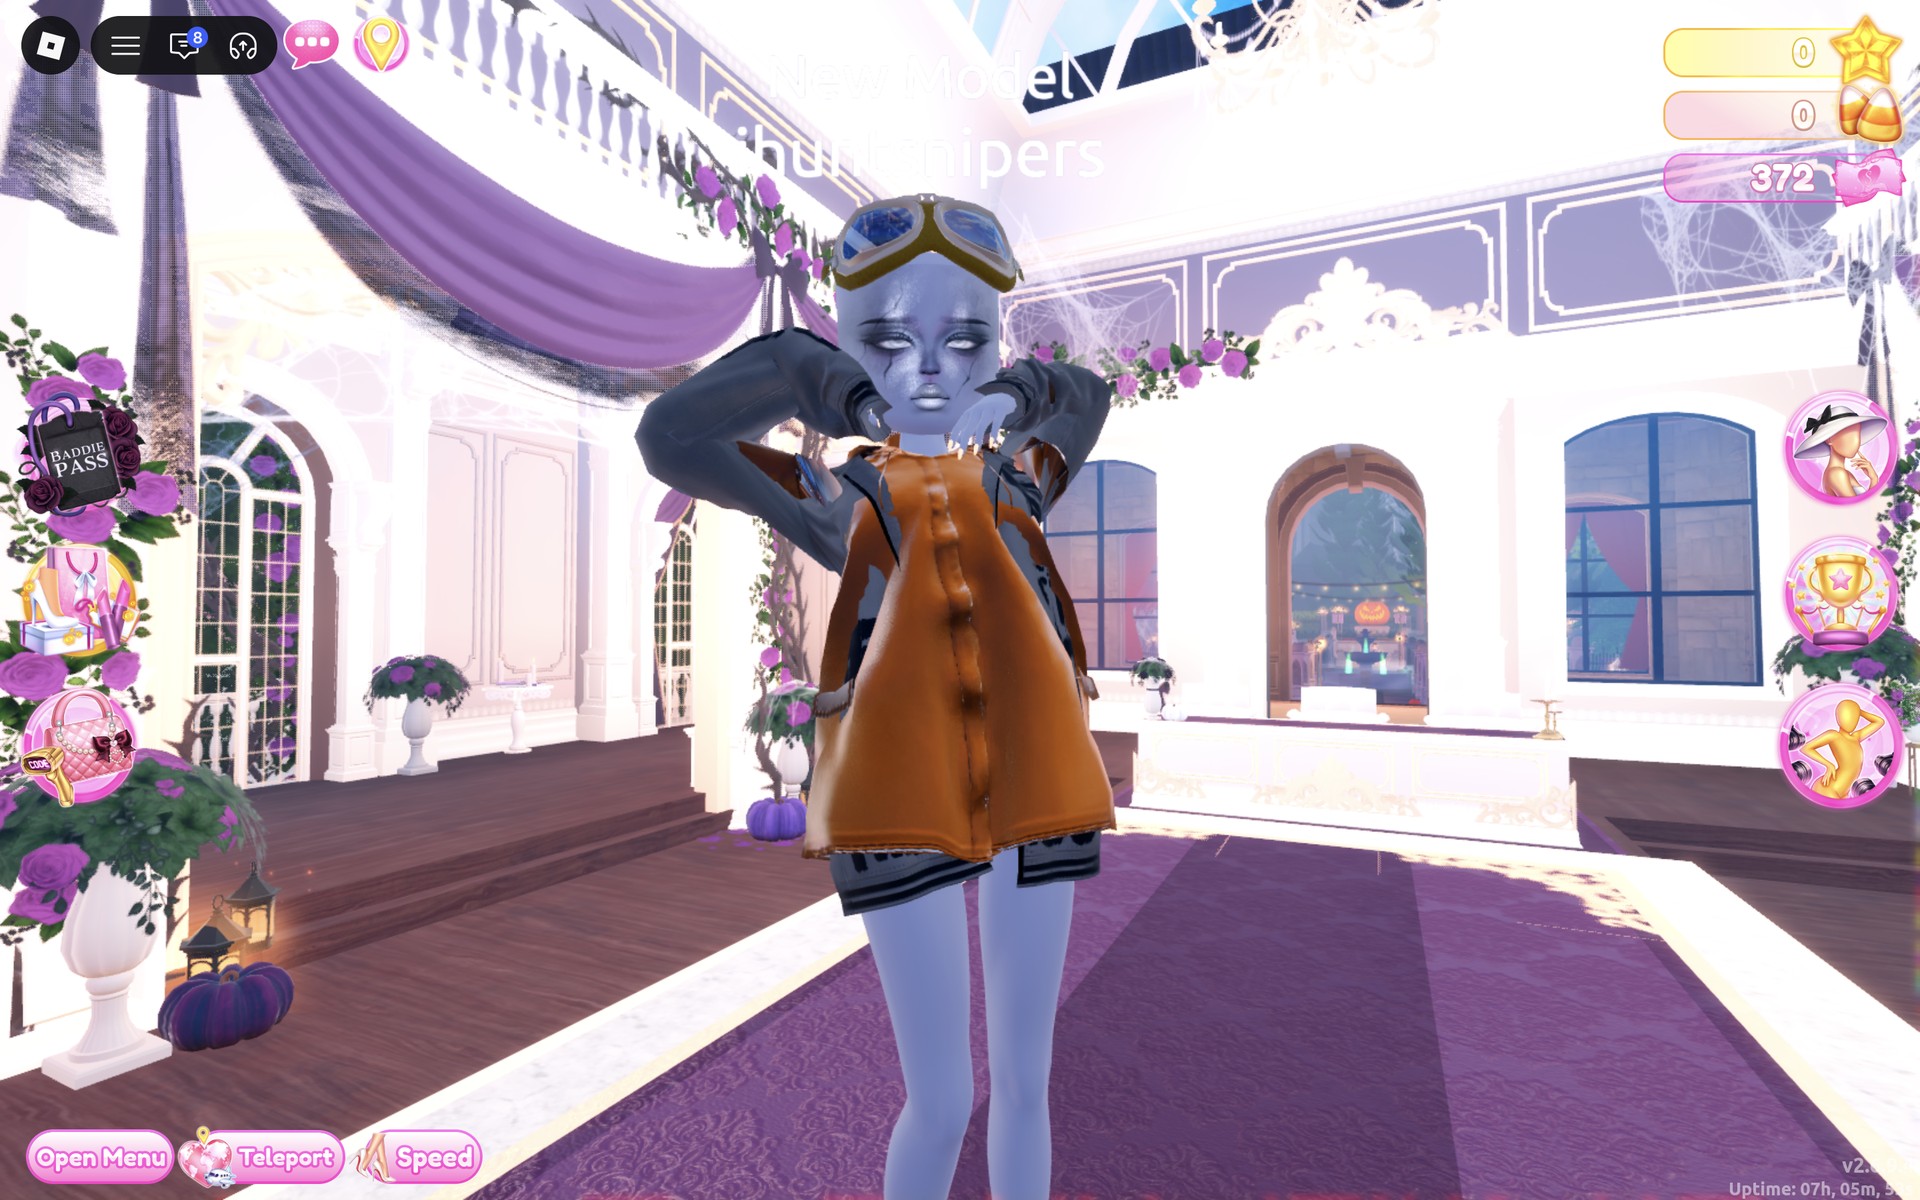
The finished look is a long rust-orange leather raincoat, open over the slate grey hoodie, with the hoodie’s printed sleeves and striped hem showing past it. The gold-brown goggles with blue lenses sit on the forehead of the bald head, above the cracked grey face. The hoodie’s hem covers the base shorts from the front, and the legs and feet are bare.
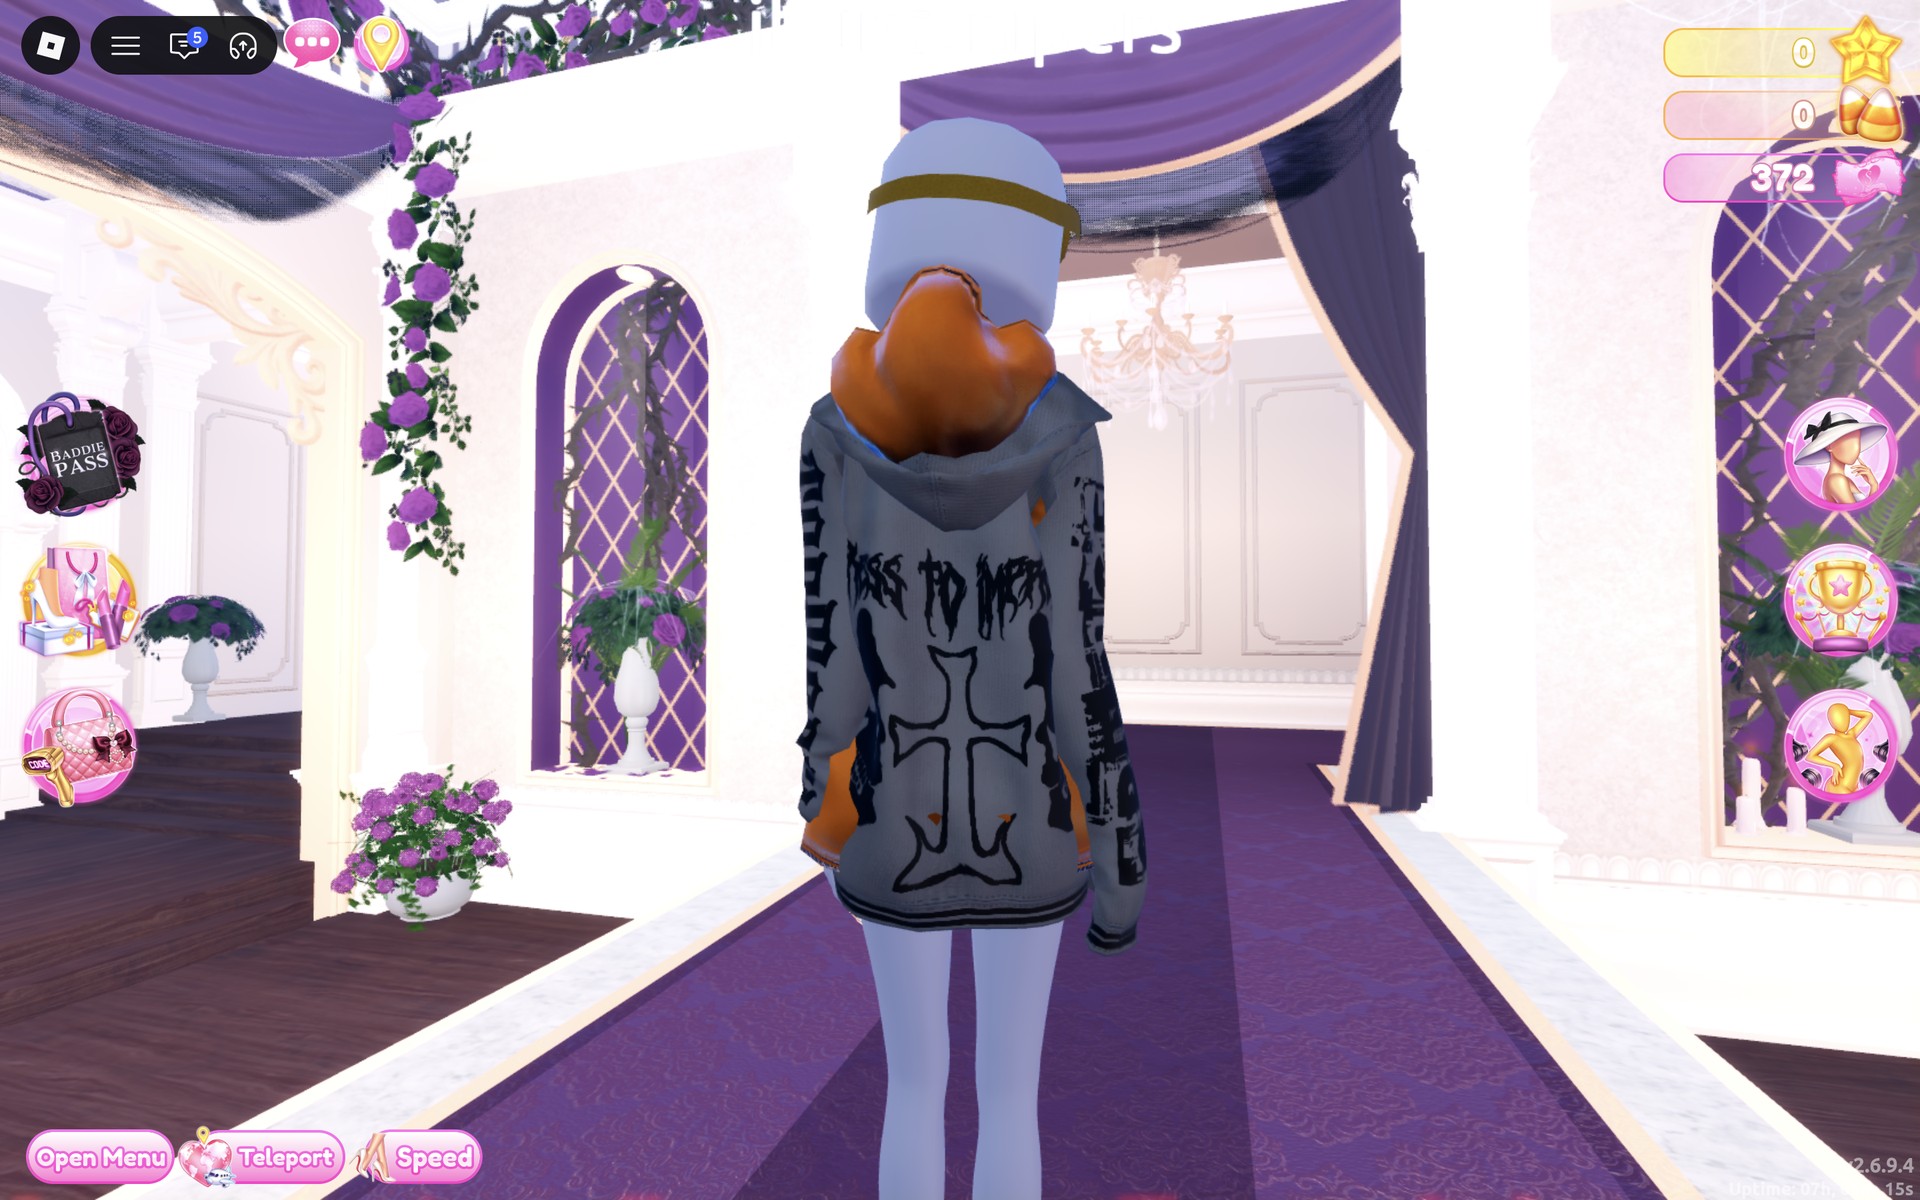
From the back, the hoodie’s print shows in full: the “DRESS TO IMPRESS” lettering, a large cross and the printed sleeves. The raincoat shows only as its rust-orange hood, bunched at the neck.
Crystal puts both hands up behind the head, which spreads the raincoat open and shows off the goggles and the face.
Look 3 (quick variation): Regime grey
Our idea: the other side of a dystopia, a plain grey uniform with one red band. It takes two pieces and a few minutes, so treat it as a fast swap rather than a full look.
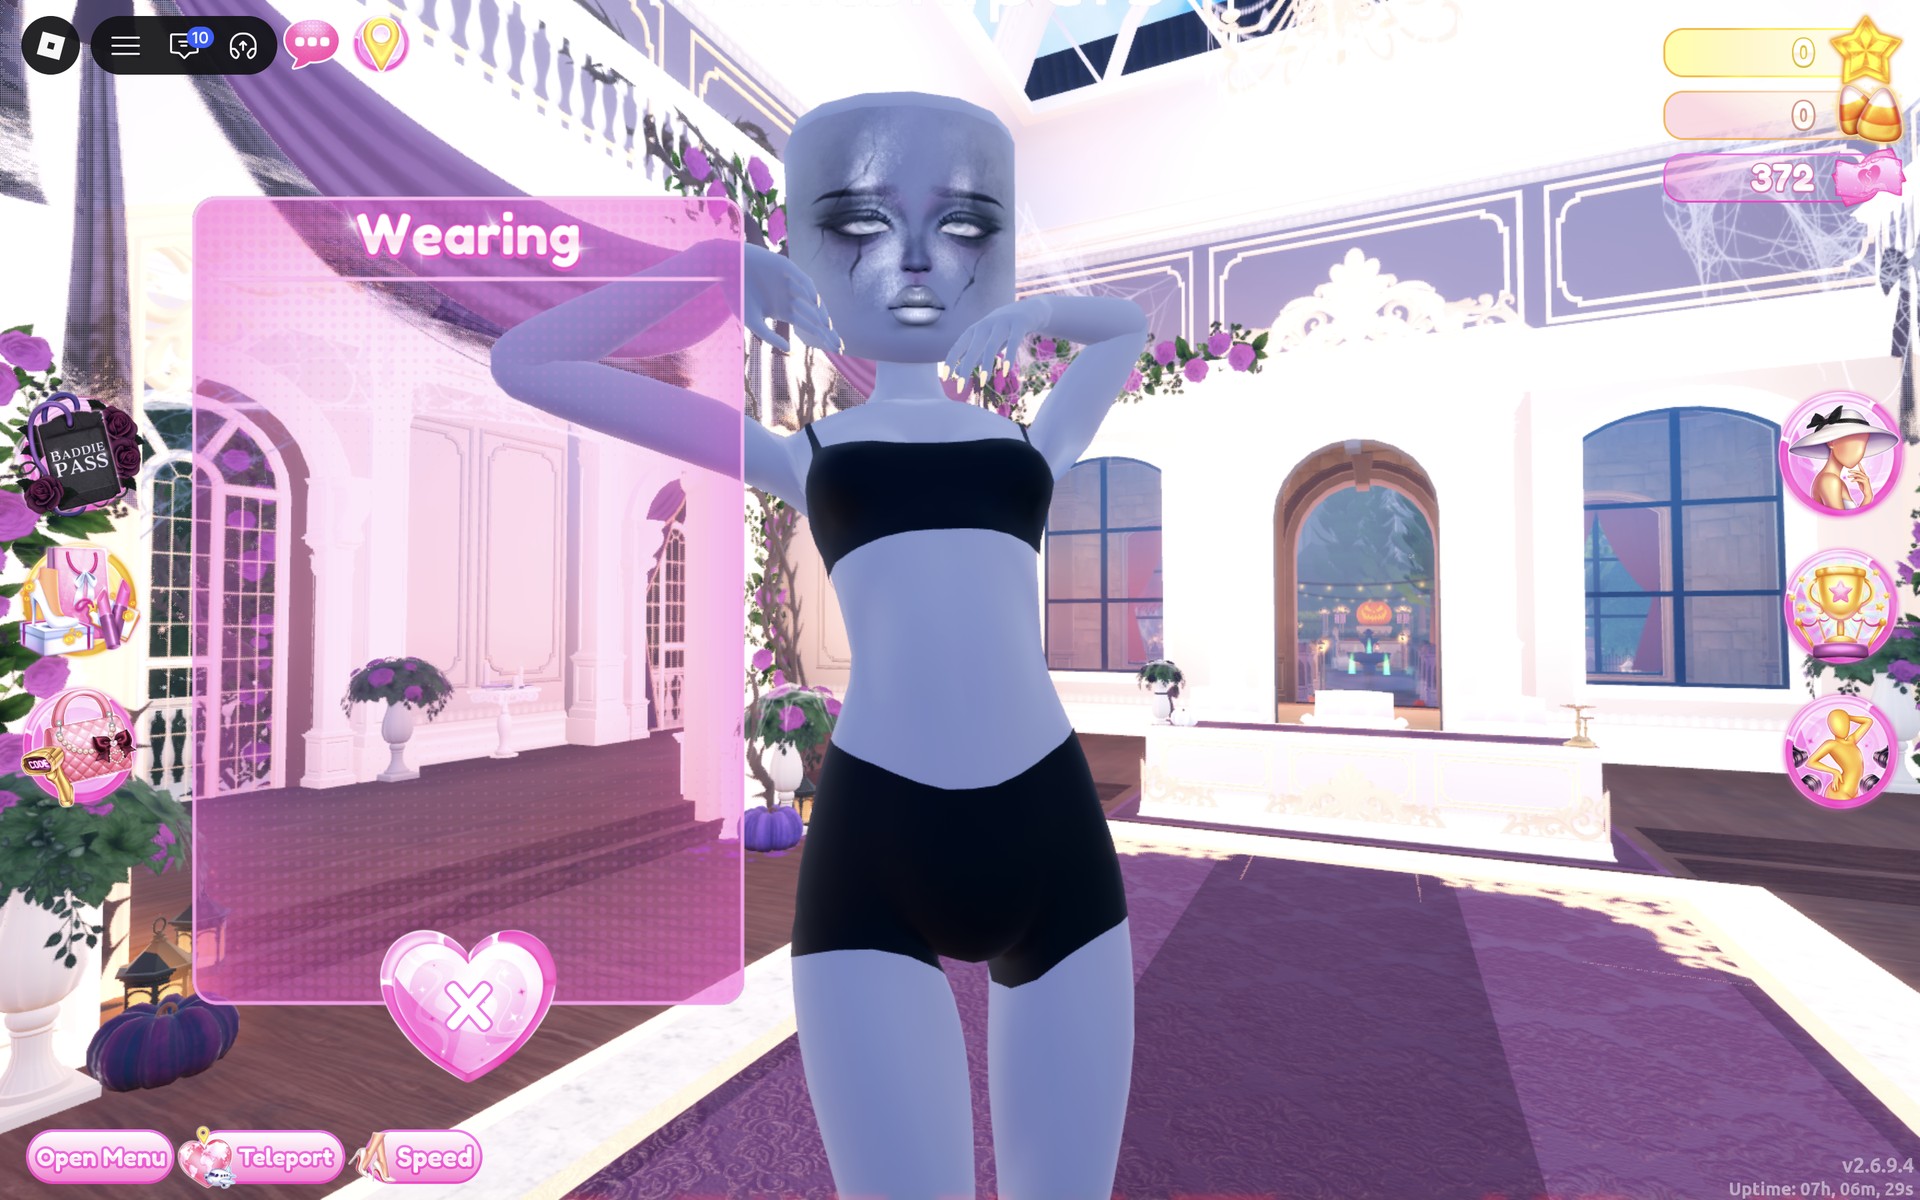
A disconnect (Error Code: 277) sent us back to the Freeplay spawn after this step, and the face preset was gone, so Look 3 is shown with the plain face. Sit at the vanity again if you want the cracked face on this look too.
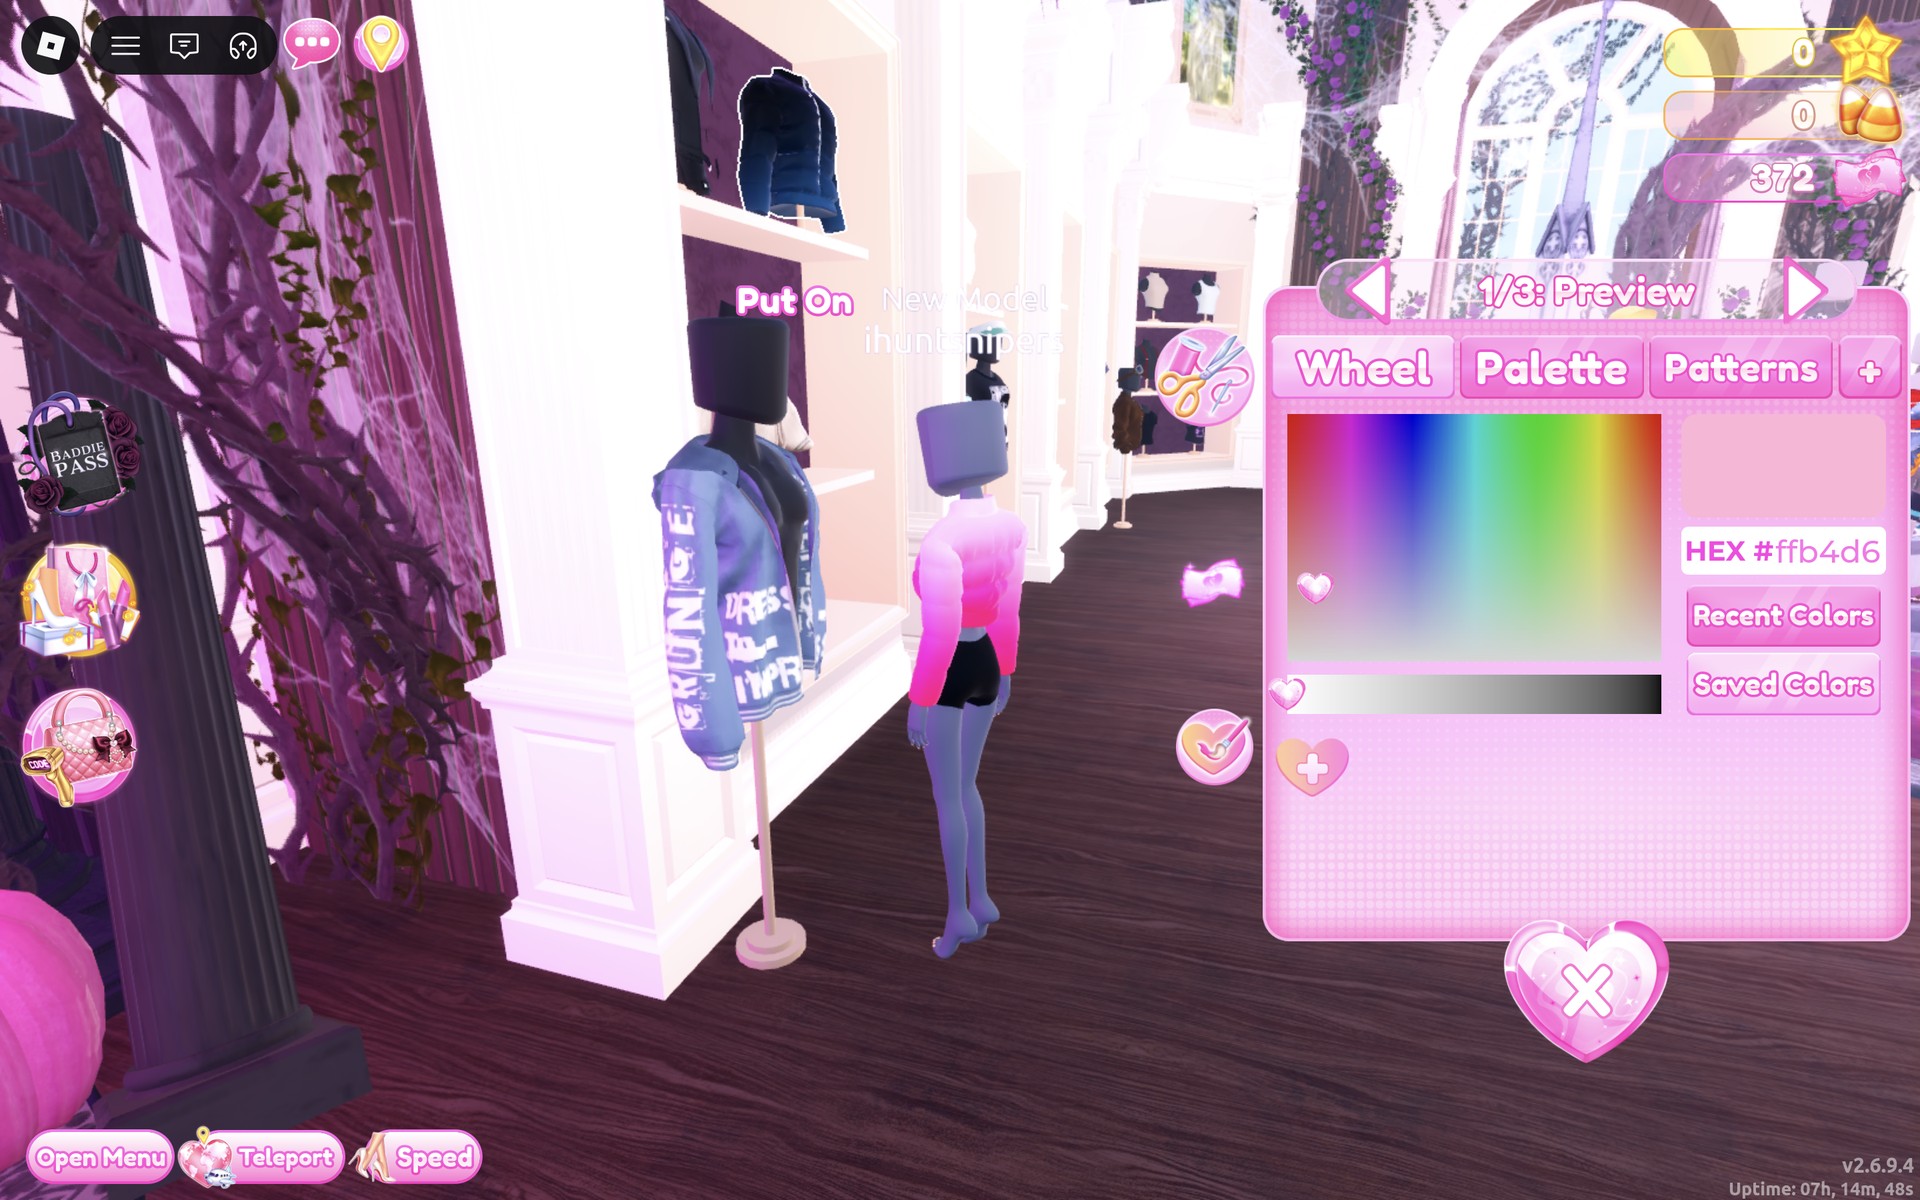
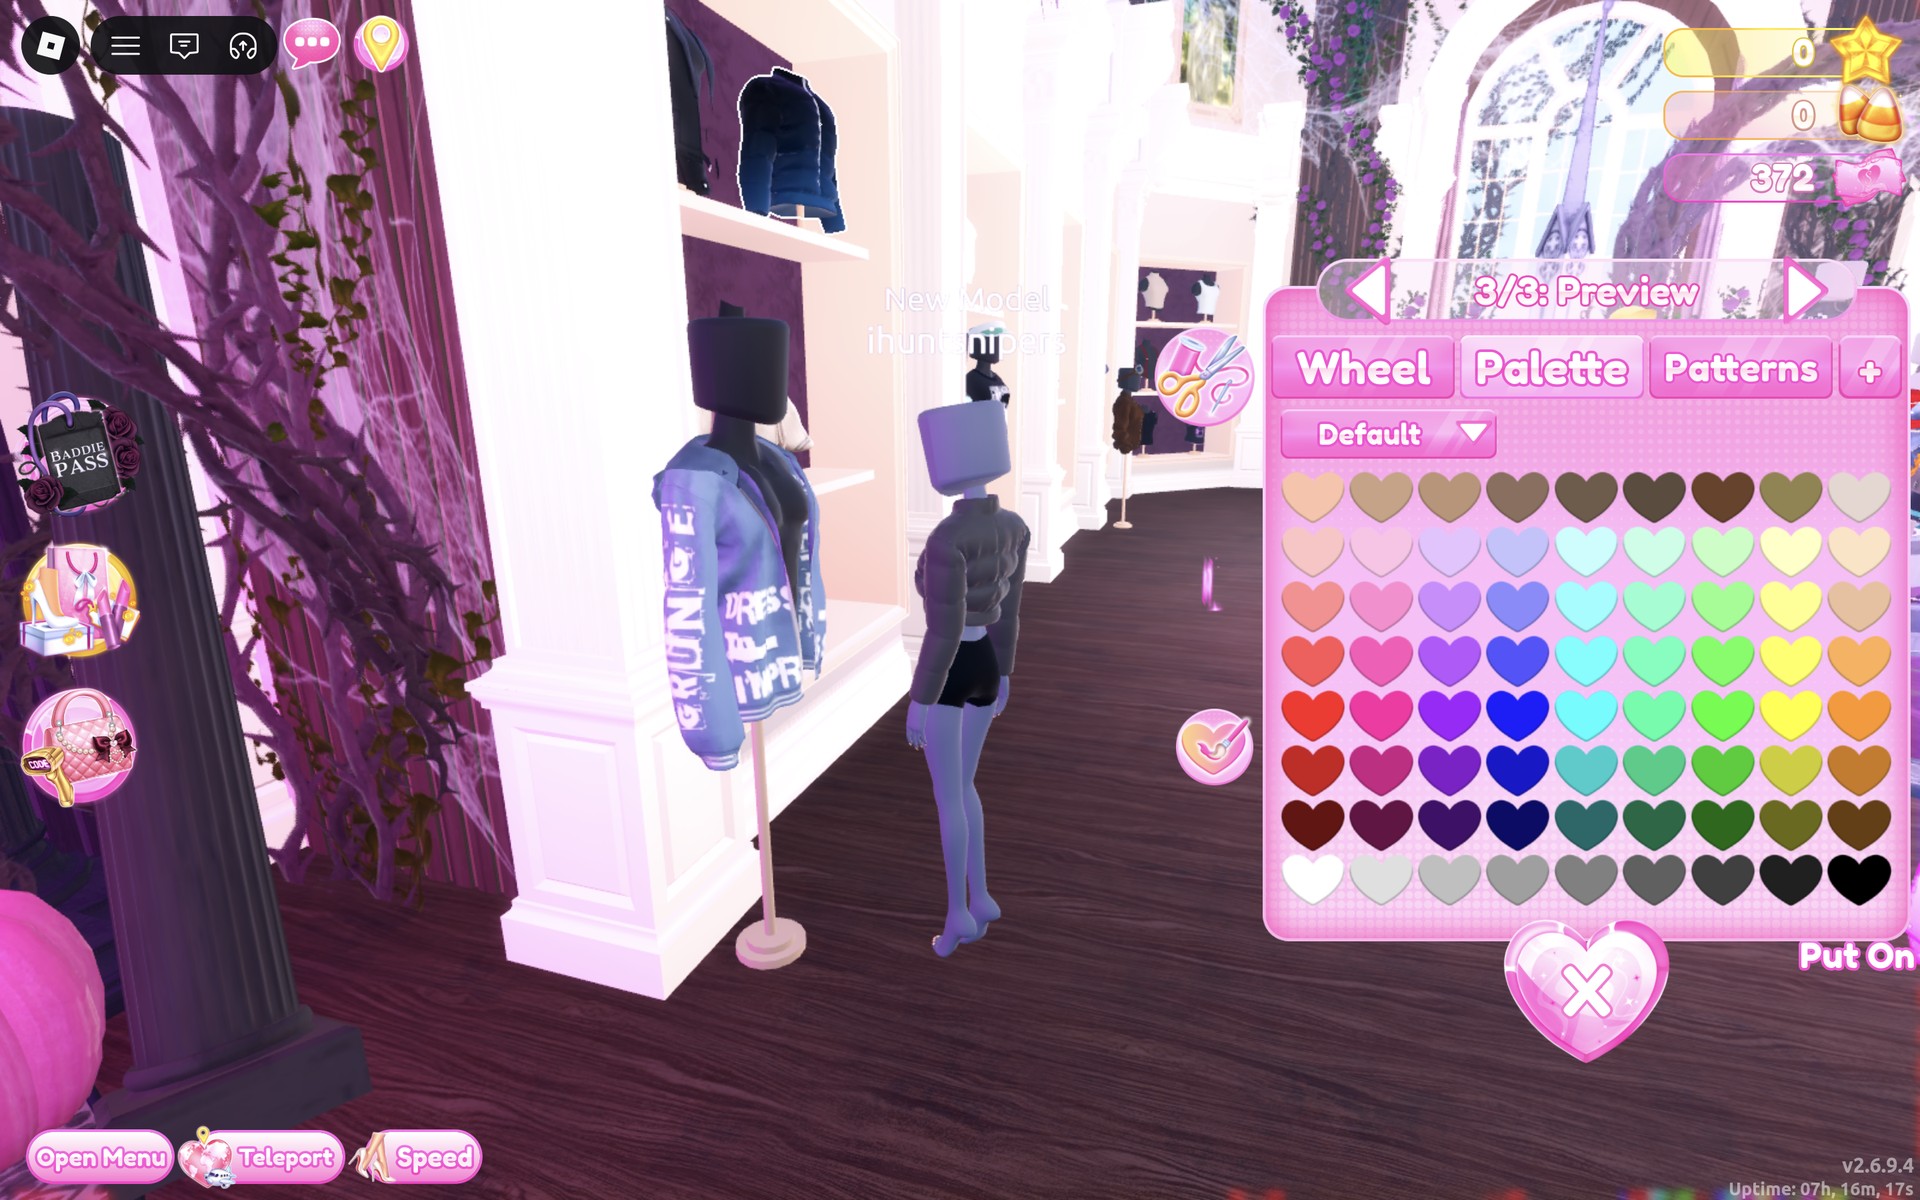
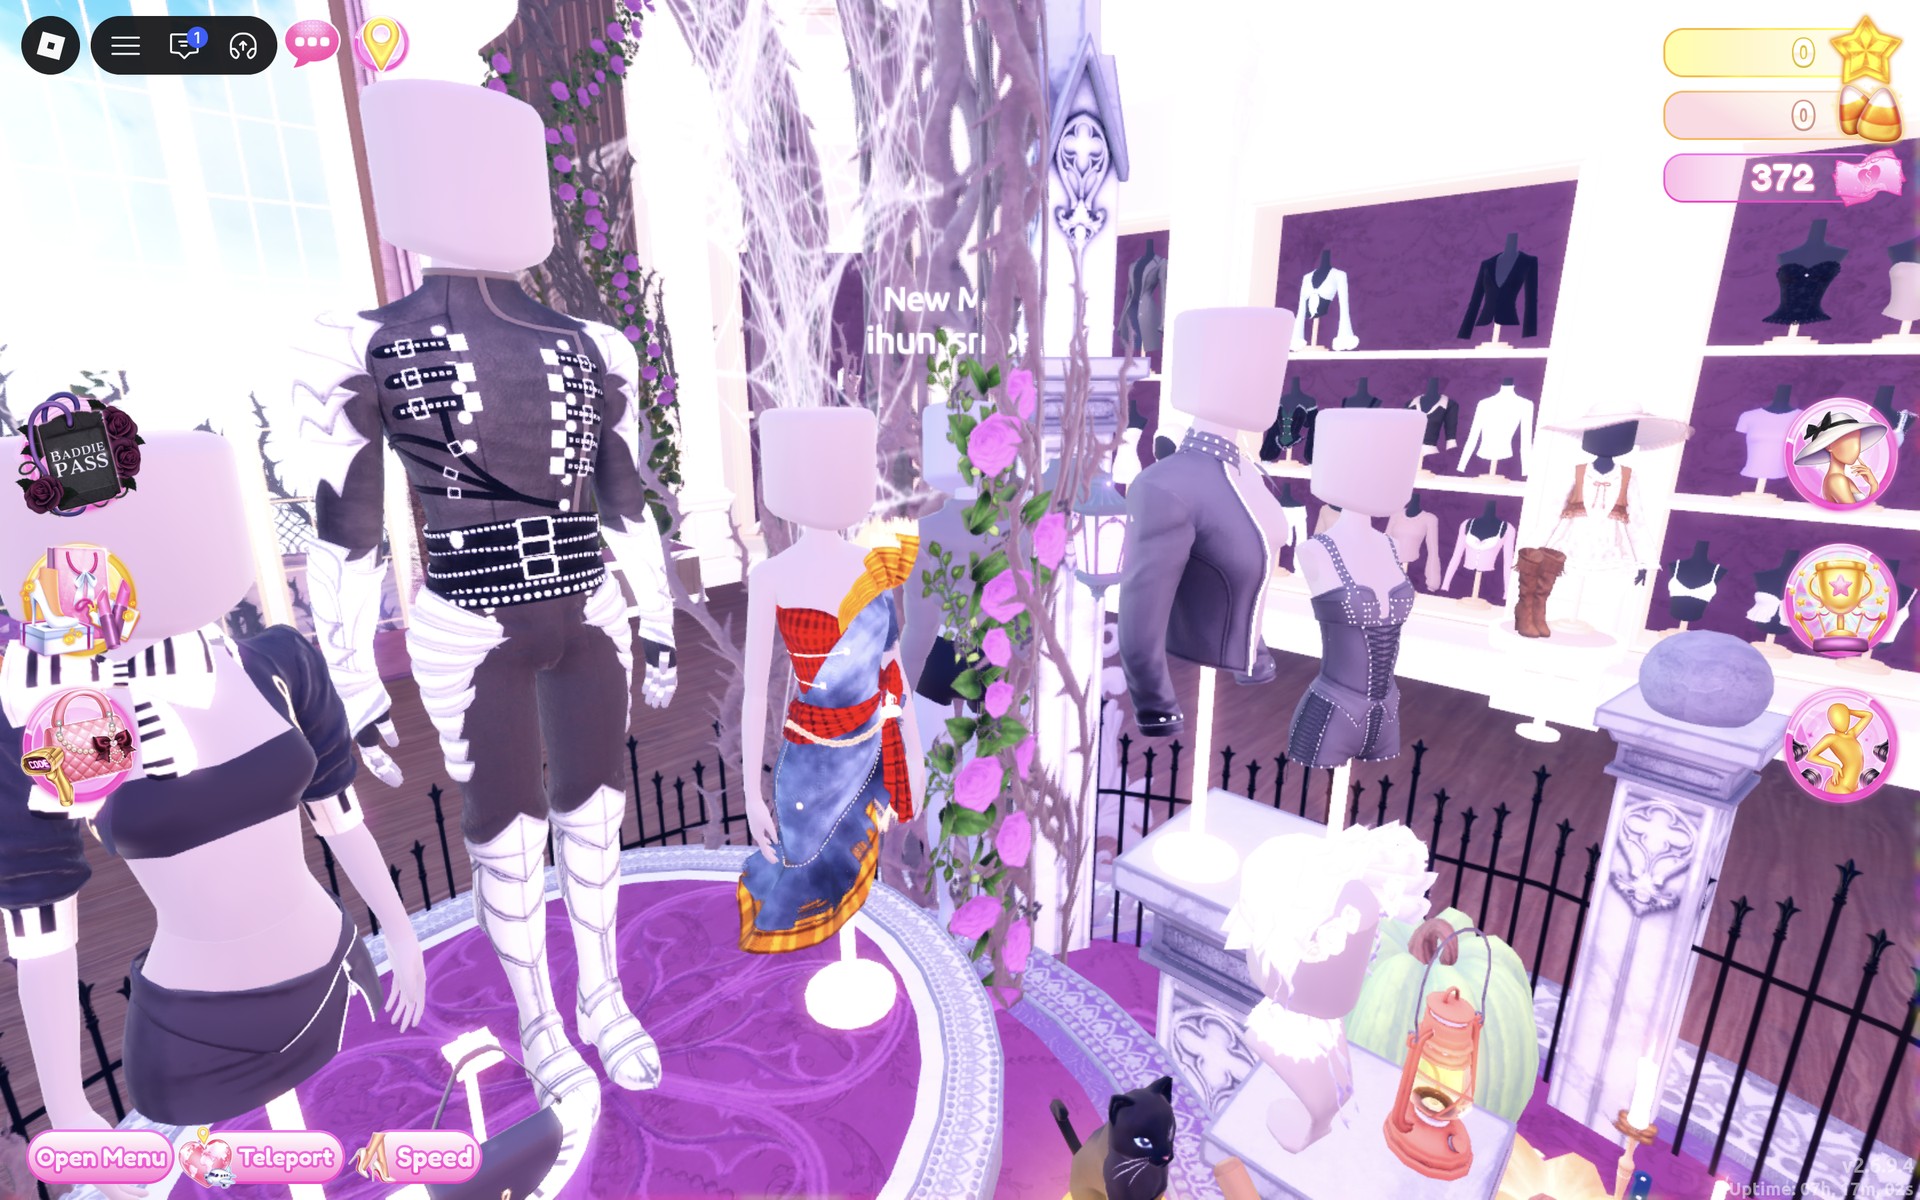
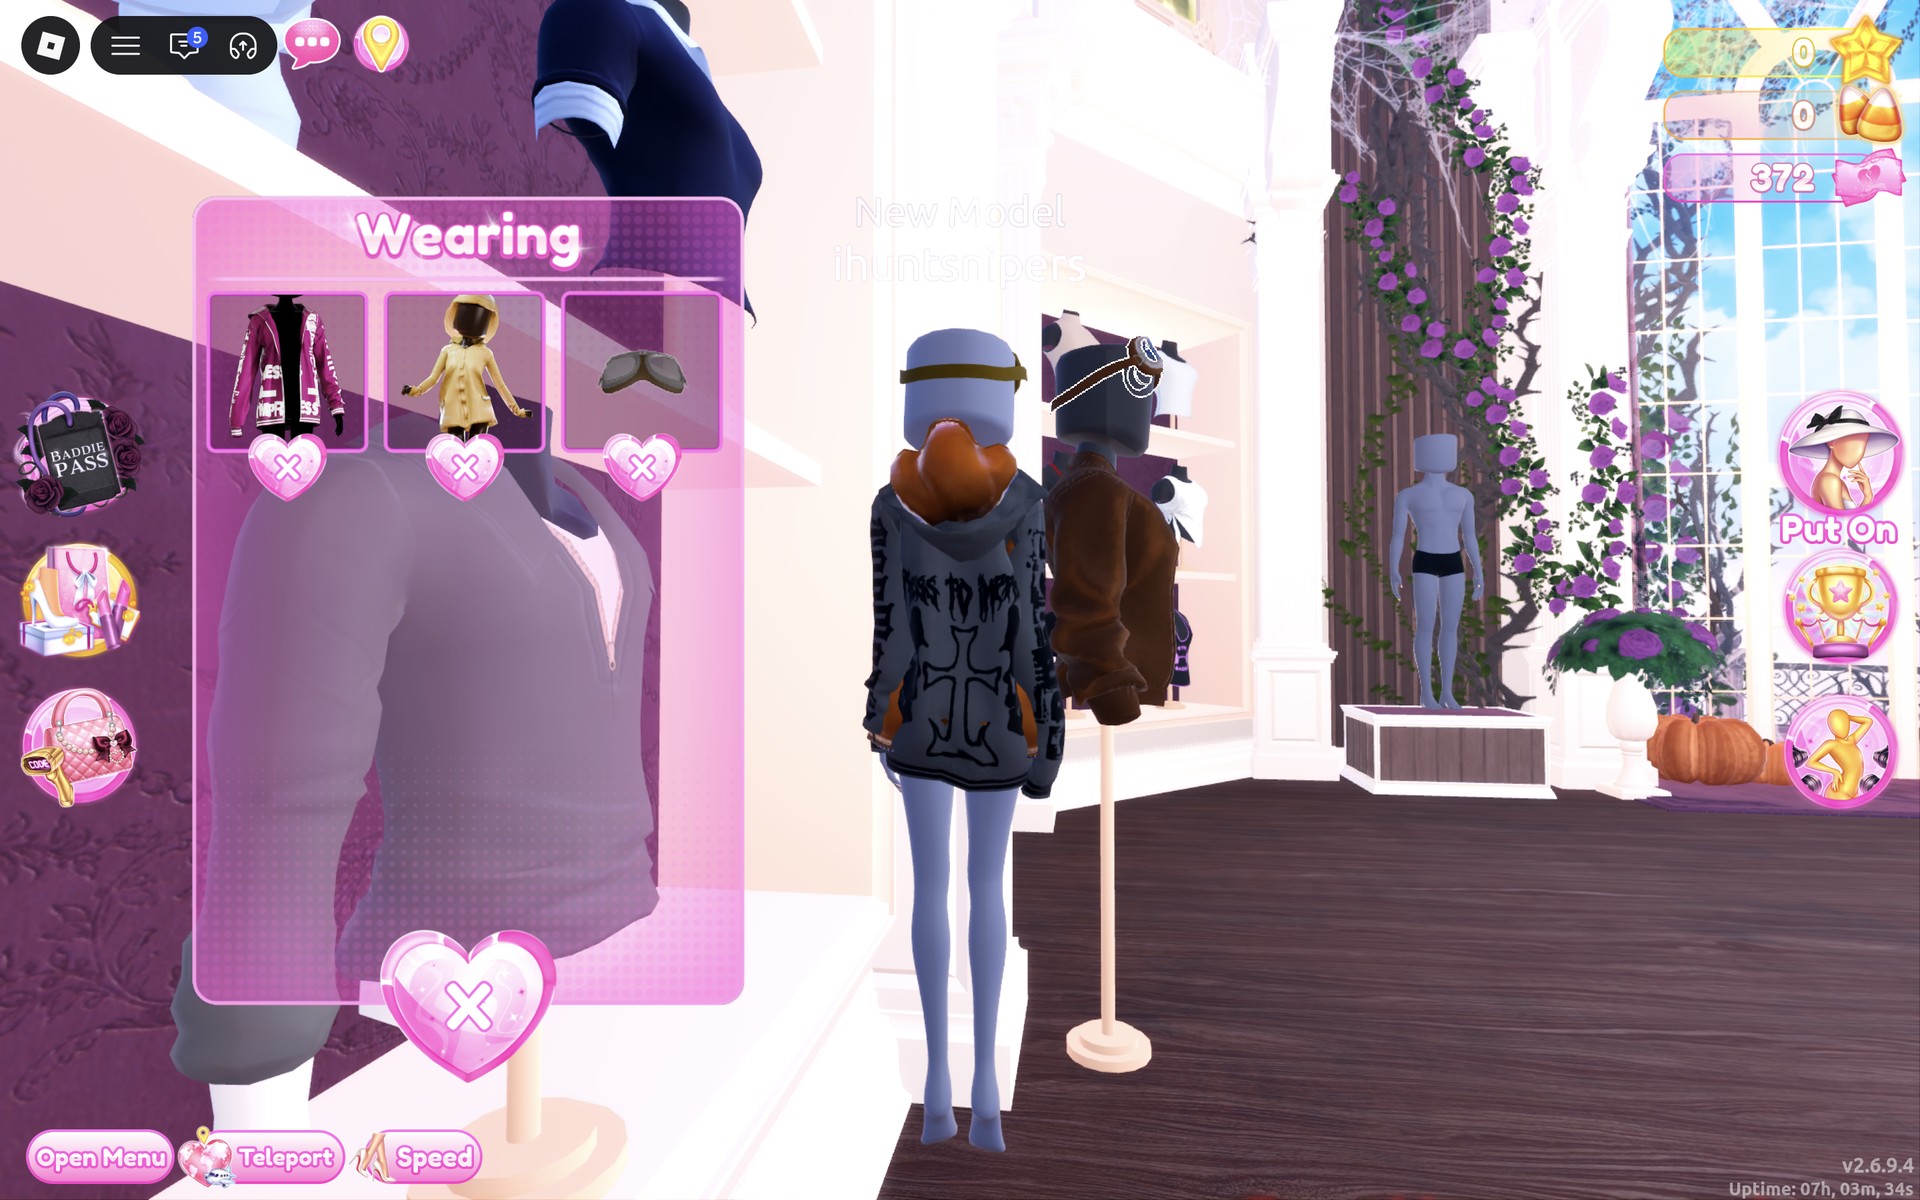
Watch your clicks here: one extra click also put on a brown laced leather jacket from the shelf nearby, which showed up as a third picture in the Wearing panel. We took it off with its heart X.
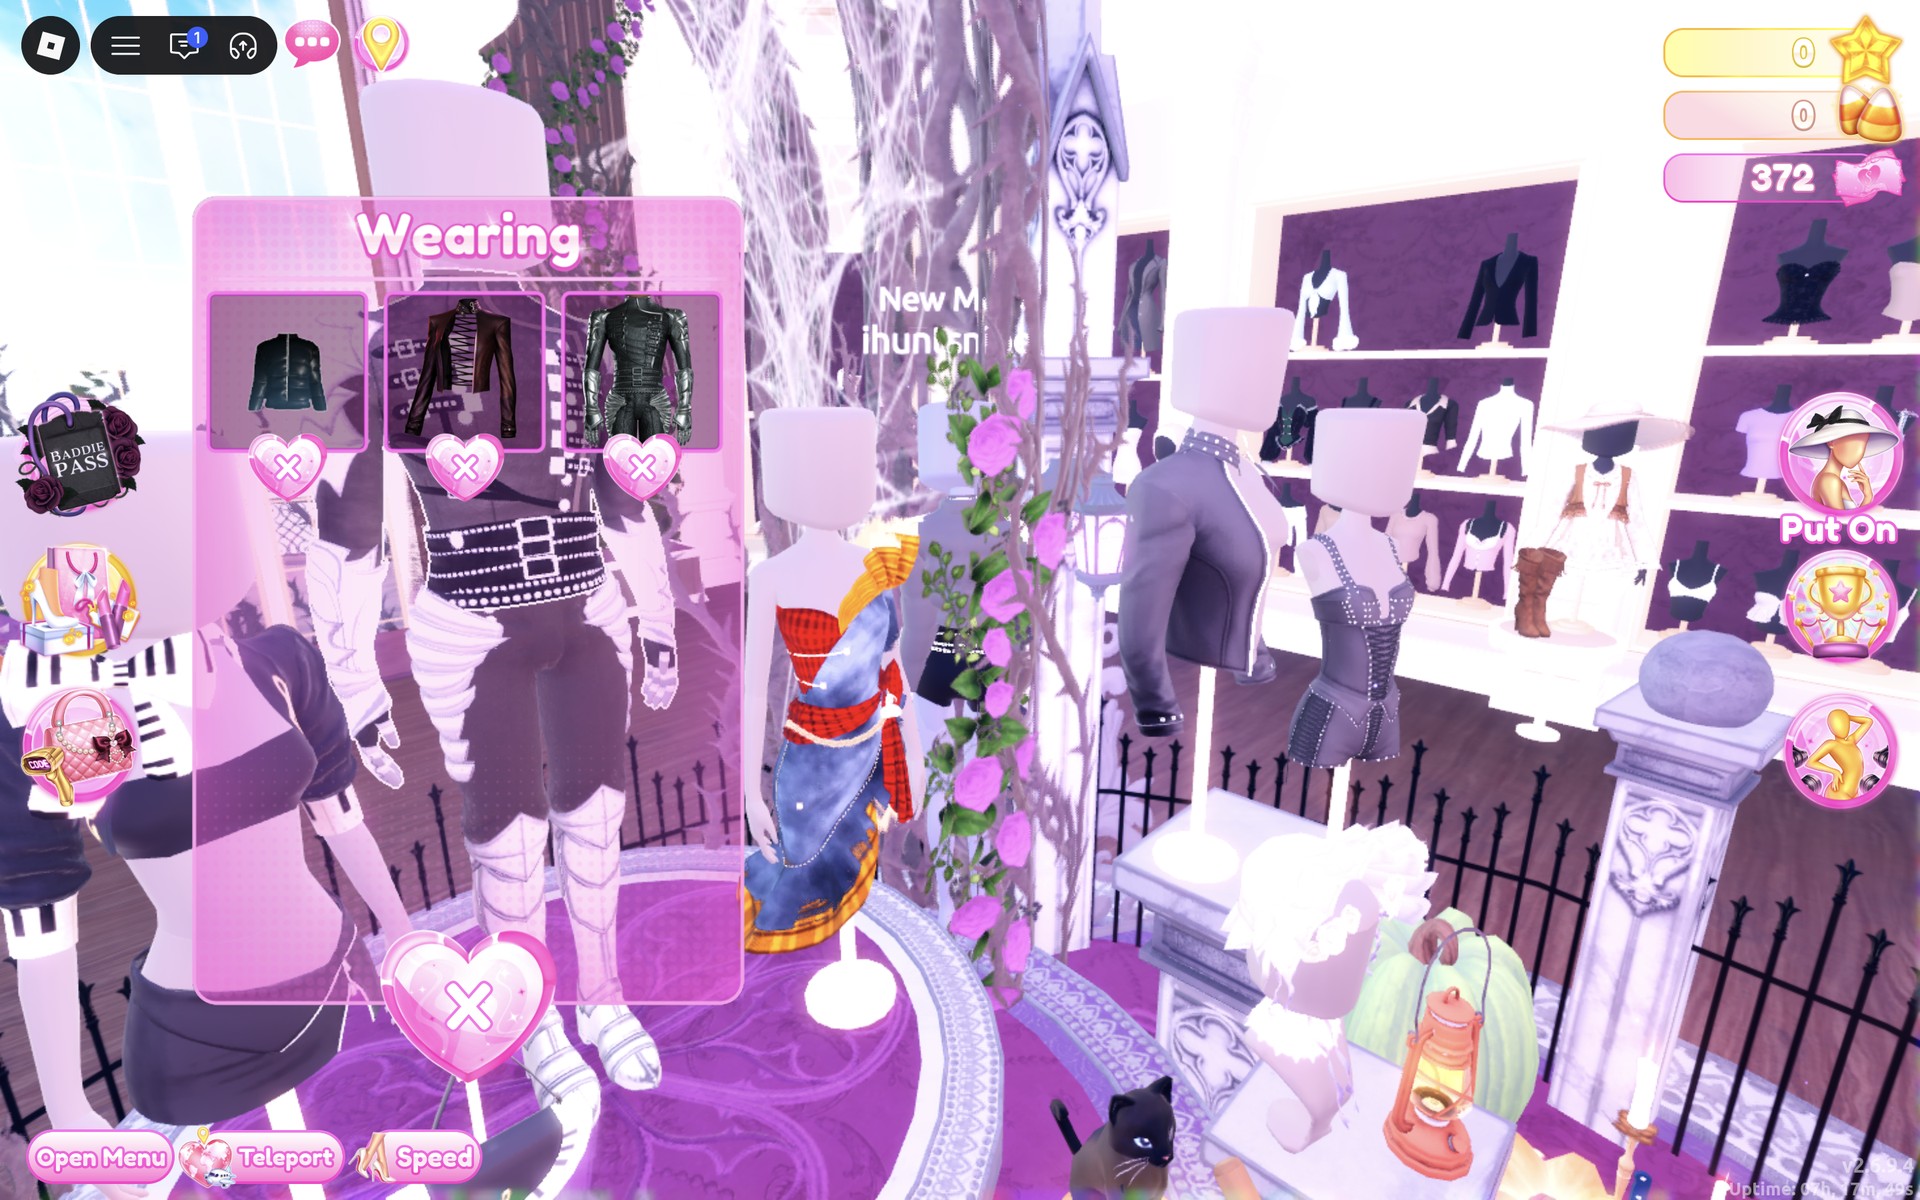
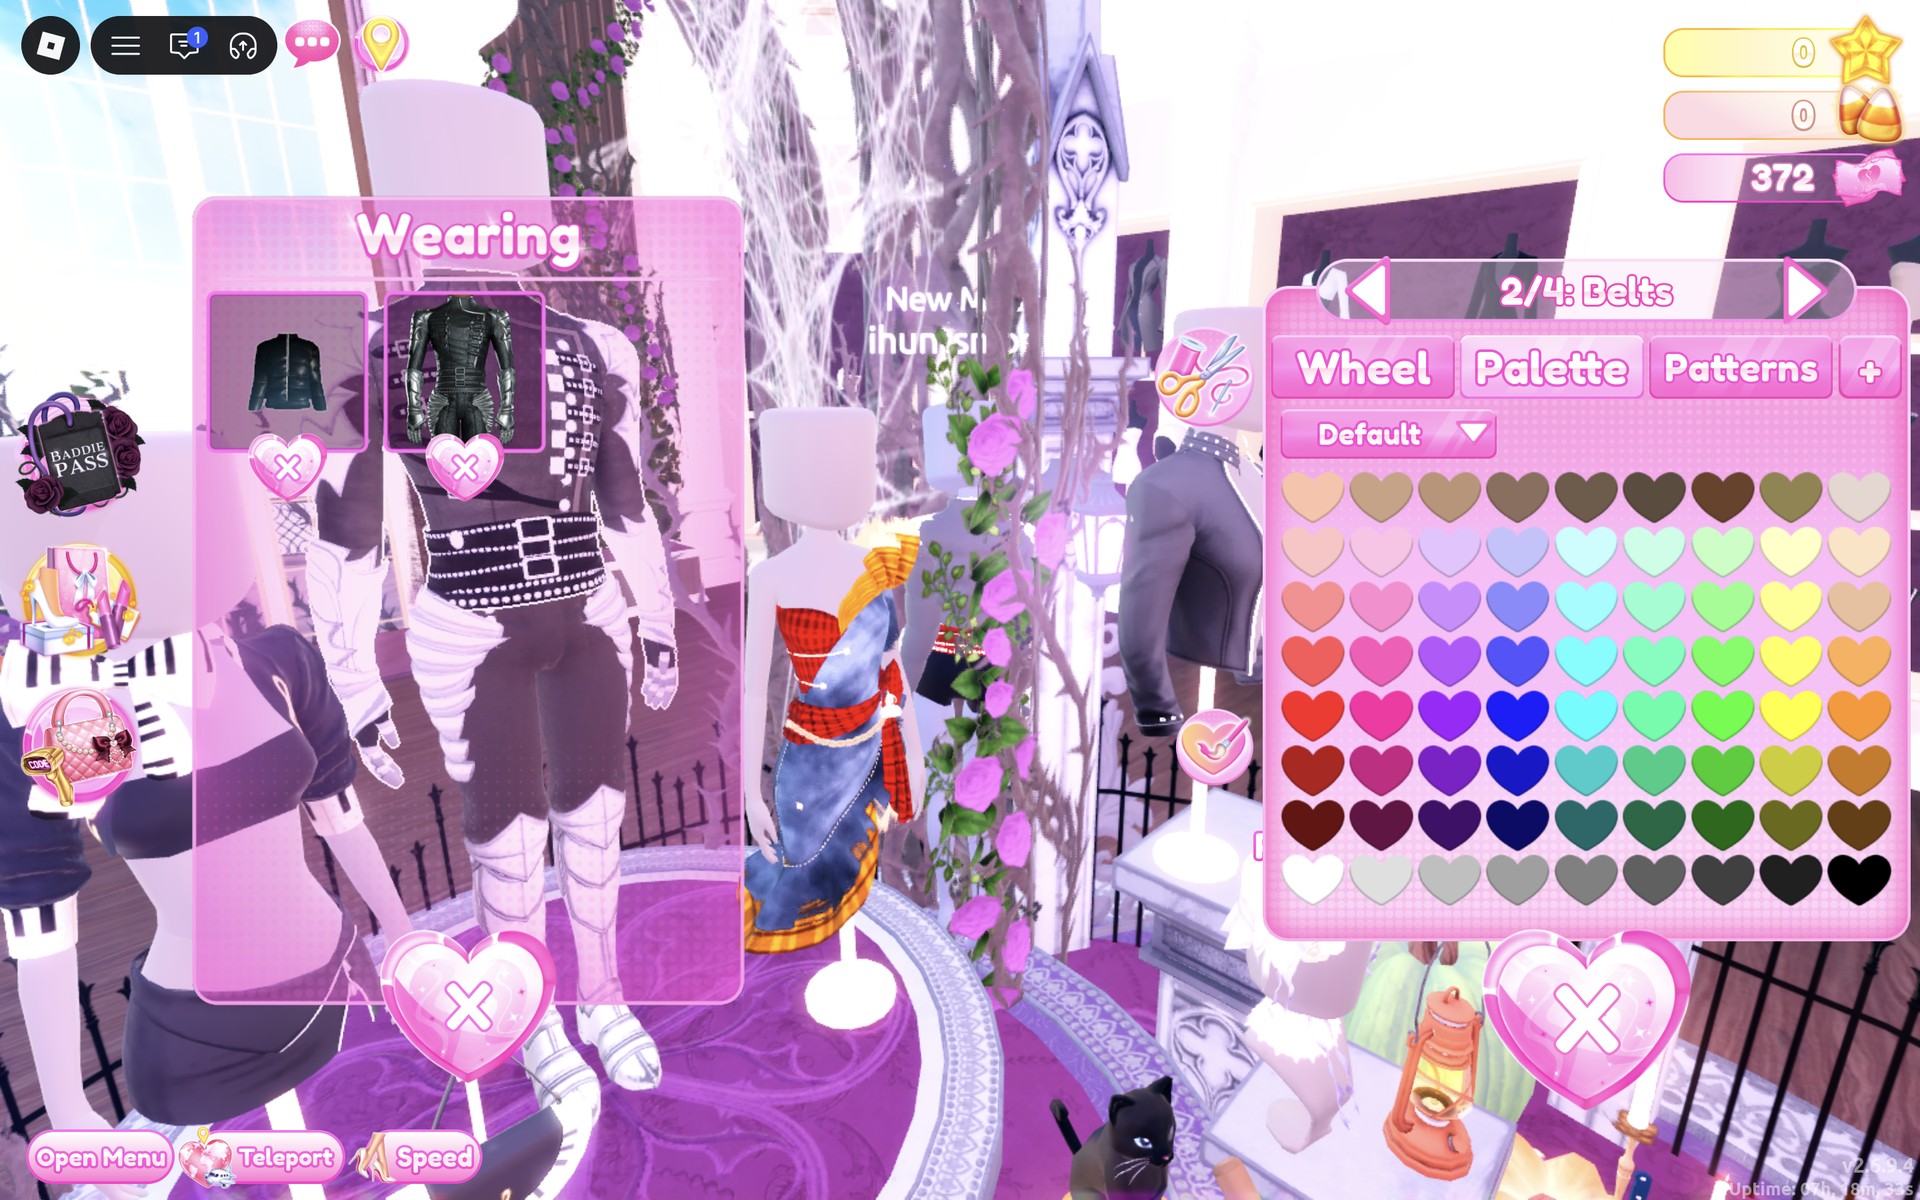
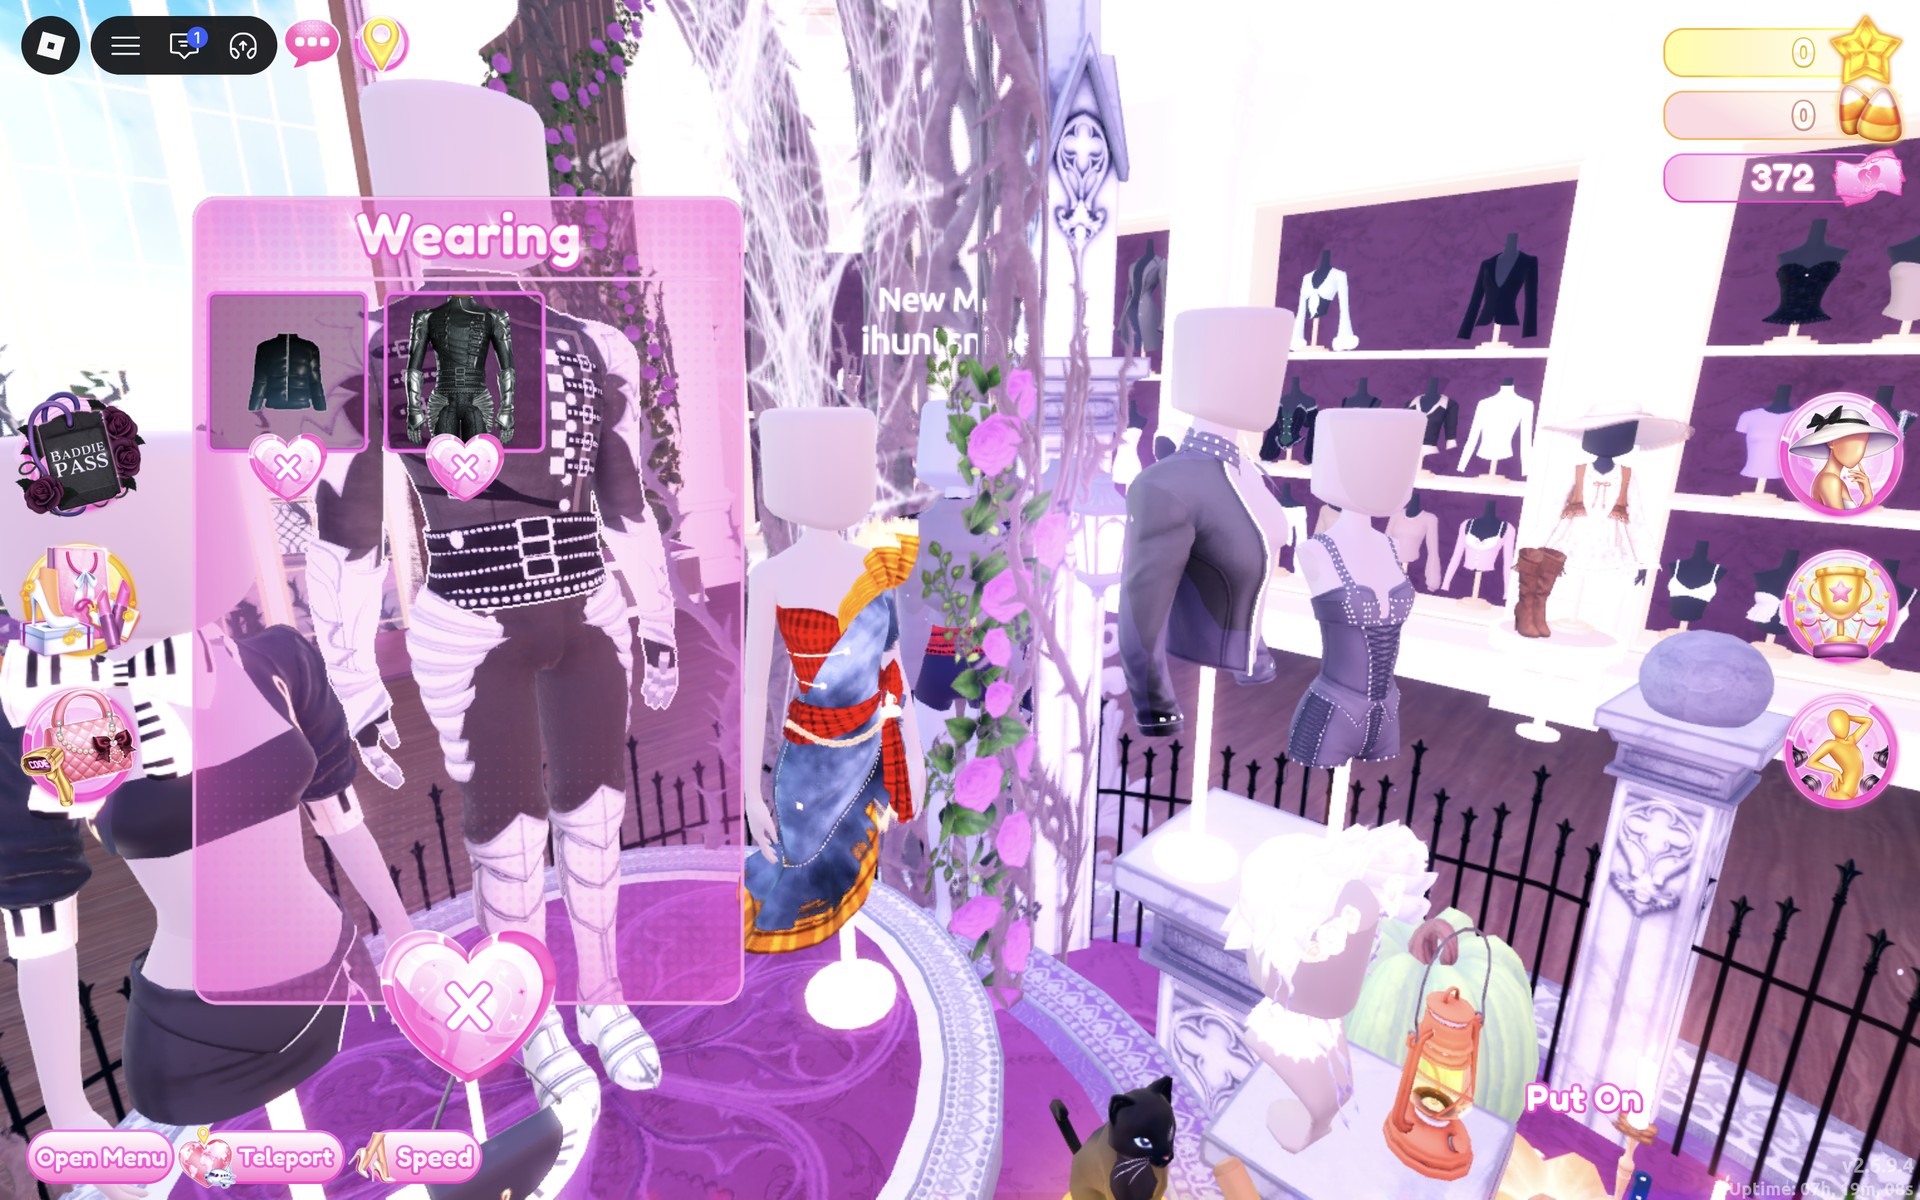
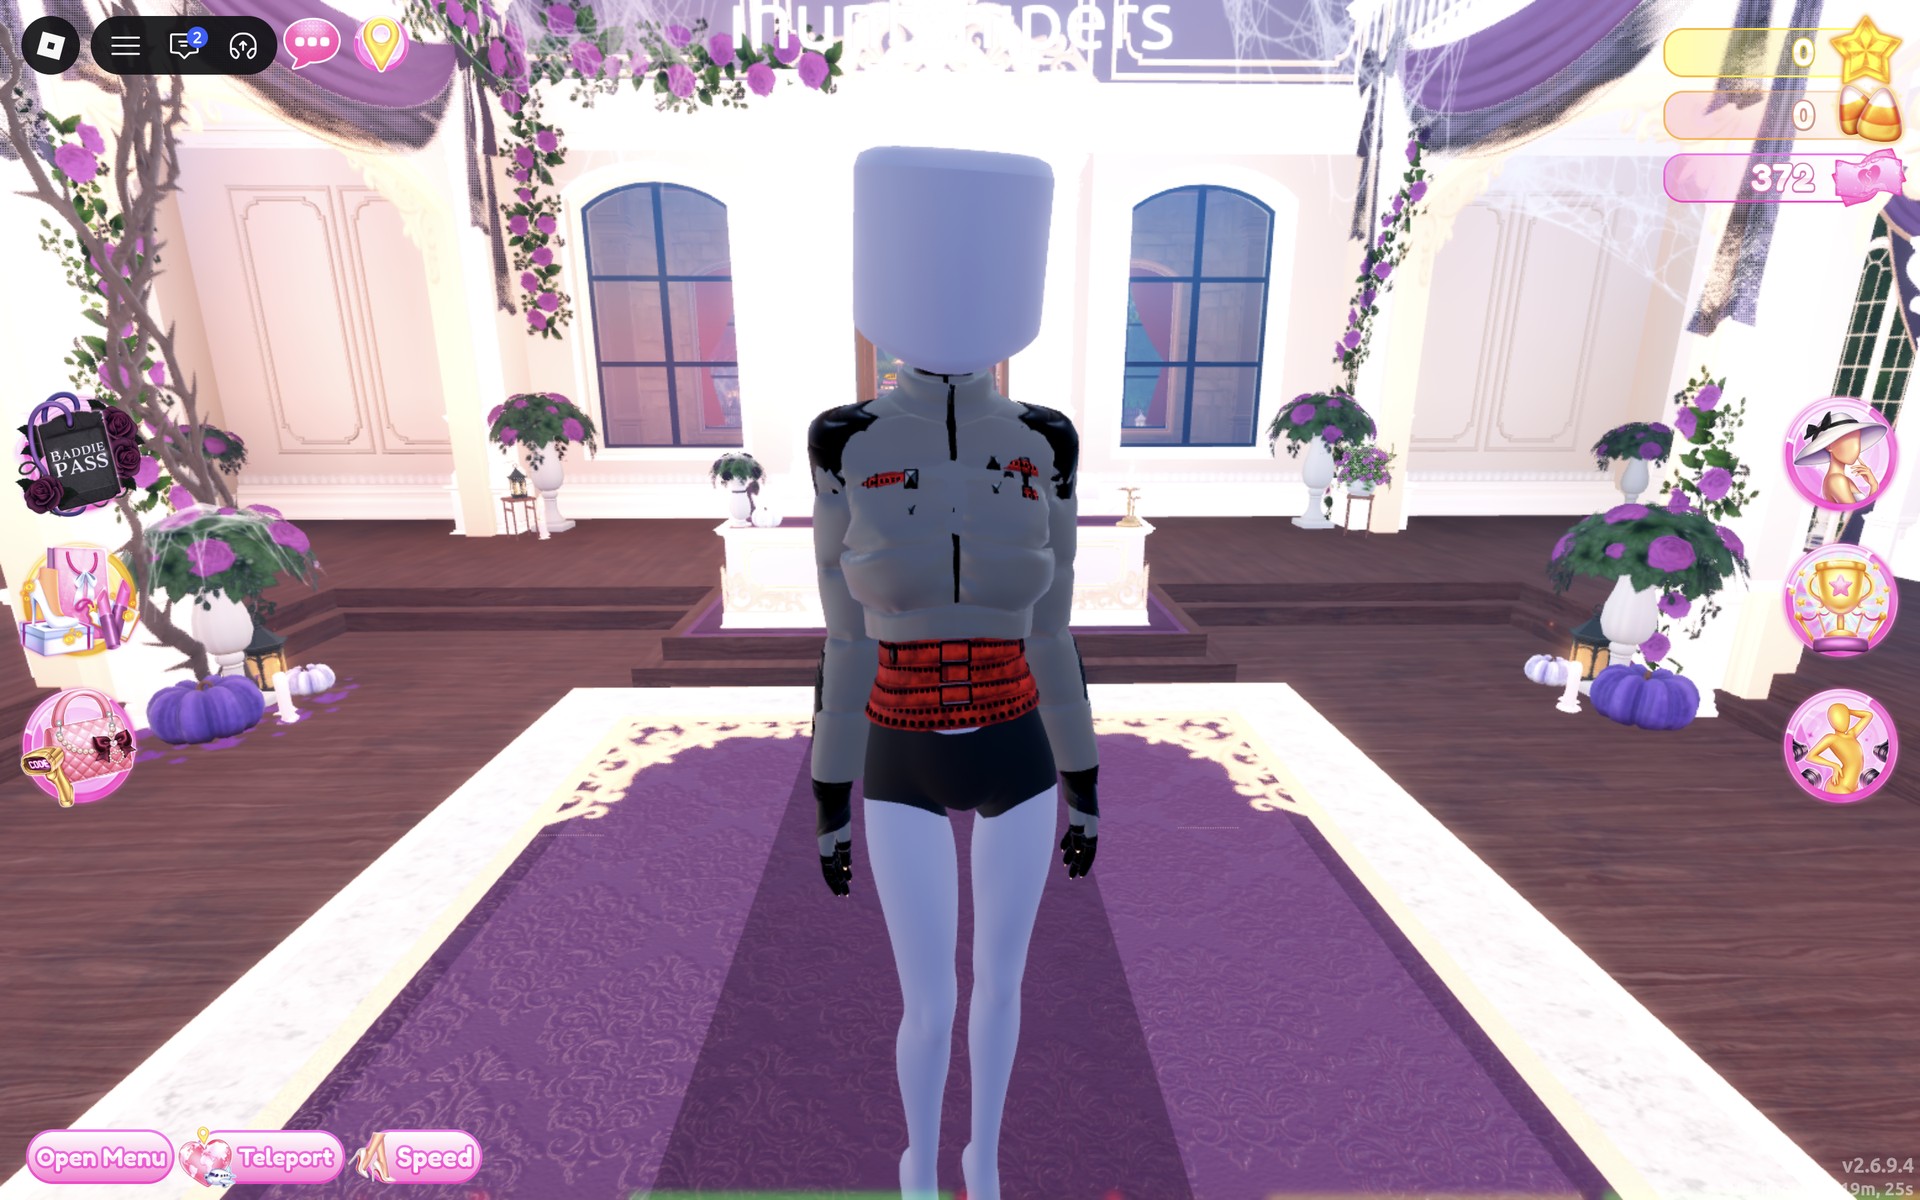
The finished variation is a light grey cropped puffer, quilted, with black on the shoulders, over a red belted band with buckles at the waist and black gloves. Column 7, row 8 is a dark grey heart, but on this puffer it reads light grey. Only the top half of the strapped outfit shows on you: its wrapped boots and trousers did not appear, so the black base shorts show below the band. Bald and barefoot, like Look 2.
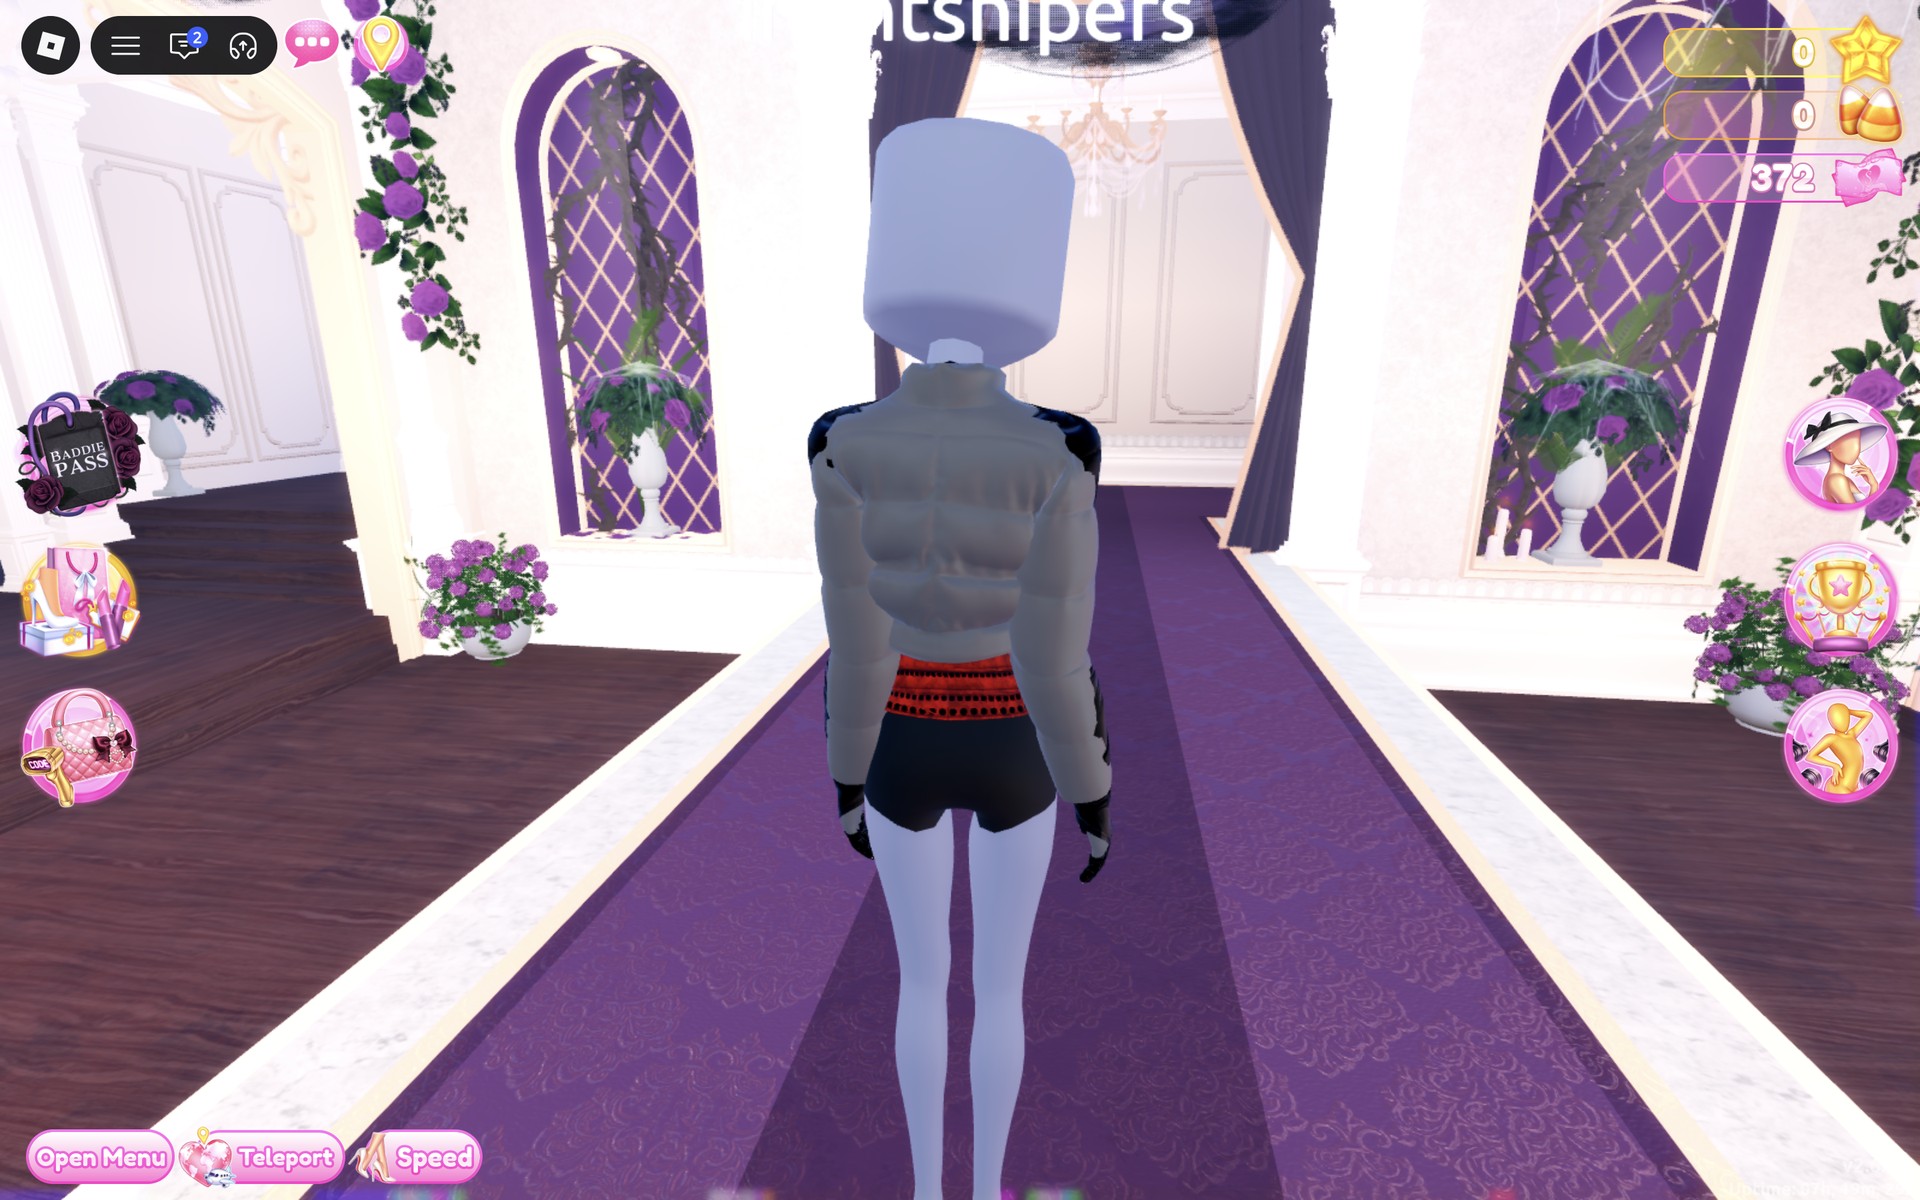
From the back, the grey puffer, the red band and the black gloves read the same, with the base shorts below.
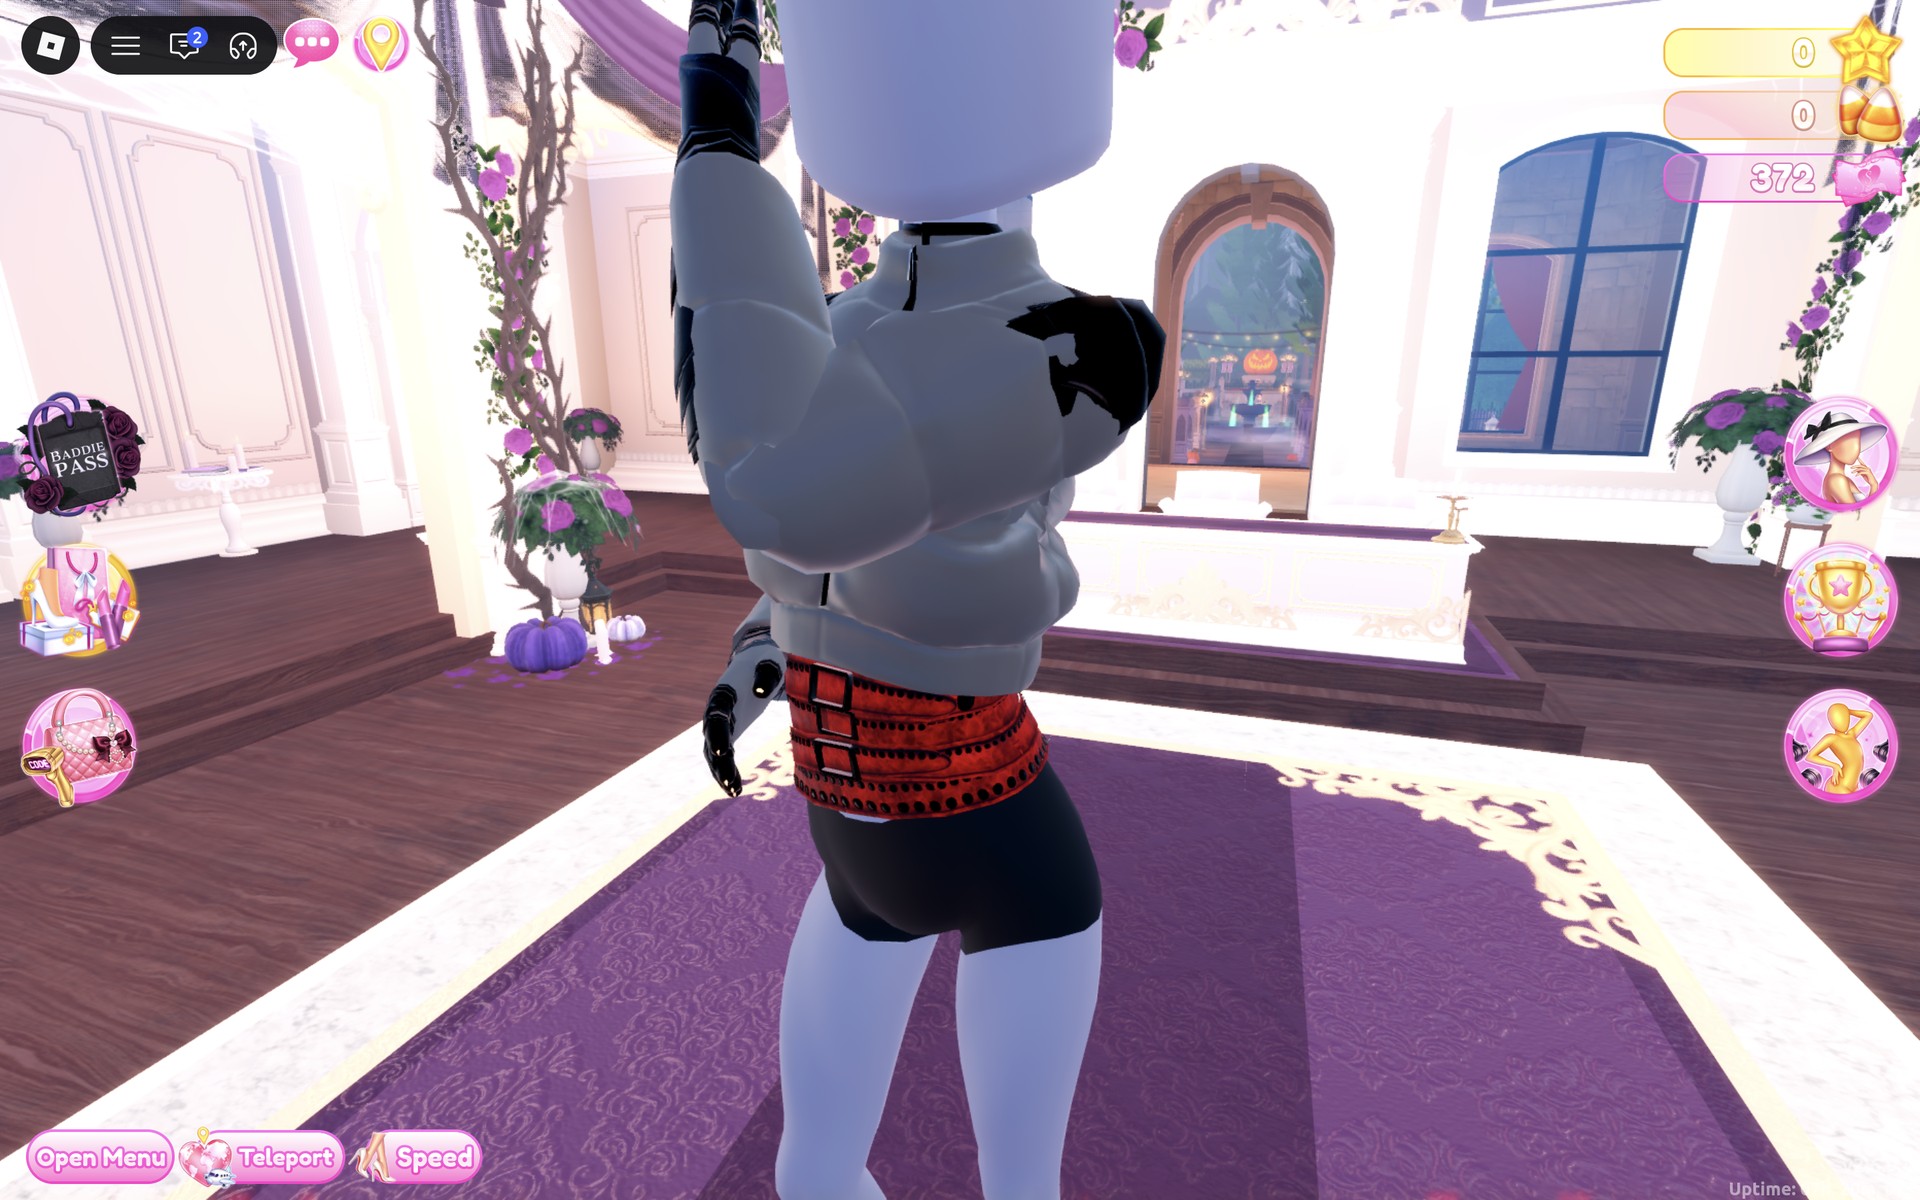
Satin raises one arm, which shows the black glove and the red band from behind.
Why these looks read as Dystopia
A dystopia is a future gone wrong, so all three looks stay in tired, dusty colours: rust, grey and black, with no shiny pieces and only two bright accents, the mustard lacing and one red band. The studded rebel is the resistance: hard black pieces, studs and lacing. The survivor look is about salvage: layers, a weatherproof coat, goggles for the dust and a face that has seen too much. The regime-grey variation is the opposite idea: everyone dressed alike, in one dull uniform colour with a single strict accent. This is plain styling advice; we have not seen how any of these looks scores in a real round.
Our Cyberpunk outfit ideas use the same goggles from the bomber mannequin, there in glowing cyan Neon over the eyes, and a strap jacket from the same Halloween display, all in black with neon. Dystopia skips the neon and the glow on purpose: if your Dystopia look starts to glow, it is drifting into Cyberpunk. The cracked face here is a vanity preset, as in our Possessed outfit ideas.
How to recolour a piece and set its material
- Click the piece in the Dressing Room so it shows on you as a preview and its colour panel opens.
- Pick the part with the arrows beside the part name (“1/2: Preview”, “2/2: Preview” and so on). Each part takes its own colour and material.
- Set the material on the “+” tab: Matte for a flat finish, Leather for the raincoat. The studded rebel keeps Default on every piece.
- Choose the colour on the Palette tab (the Default palette: columns are hues, rows run light to dark, and row 8 runs from white to black).
- Repeat for every part, then press “Put On”. To change a piece you already wear, click its picture in the Wearing panel and set the part again.
To take a piece off, click the heart X under its picture in the Wearing panel. A colour can read quite differently on a piece than its heart suggests, so look at the piece on you before moving on.
Dystopia colours on the Default palette
Rows count from the top of the palette, columns from the left. Six colours cover all three looks; the goggles keep their own colours.
| Colour | Column | Row | Material | Used for |
|---|---|---|---|---|
| Black | 9 | 8 | Default, Matte | Studded rebel: hair “1/2”, corset “1/4” and “3/4”, jacket “2/3”, boots “1/3”. Wasteland survivor: hoodie print “2/2: Preview”. Regime grey: puffer “3/3: Preview”, strap outfit “3/4: Belts Details” and “4/4: Metals” |
| Near-black | 8 | 8 | Default | Studded rebel: hair “2/2: Preview” |
| Dark grey | 7 | 8 | Default, Matte | Studded rebel: jacket “1/3” (reads charcoal), boots “2/3”, corset “4/4”. Wasteland survivor: hoodie “1/2: Preview” (reads slate grey). Regime grey: puffer “1/3” and “2/3: Preview” (reads light grey), strap outfit “1/4: Base” |
| Olive (HEX #69690c) | 8 | 7 | Default | Studded rebel: corset “2/4: Preview”, reads mustard yellow on the lacing and hem trim |
| Dark orange-brown (HEX #693d0c) | 9 | 7 | Default, Leather | Studded rebel: jacket “3/3” (orange zip trim and studs), boots “3/3” (rust-orange fringe). Wasteland survivor: raincoat “1/1: Preview” in Leather, reads rust orange |
| Red | 1 | 6 | Matte | Regime grey: strap outfit “2/4: Belts” (the red band at the waist) |
Dystopia pieces to look for
None of these pieces has a name in the game, so look for them by place and shape. All of them are free and worked on our account with no VIP and 0 stars.
| Piece | Where | Colours and materials we used |
|---|---|---|
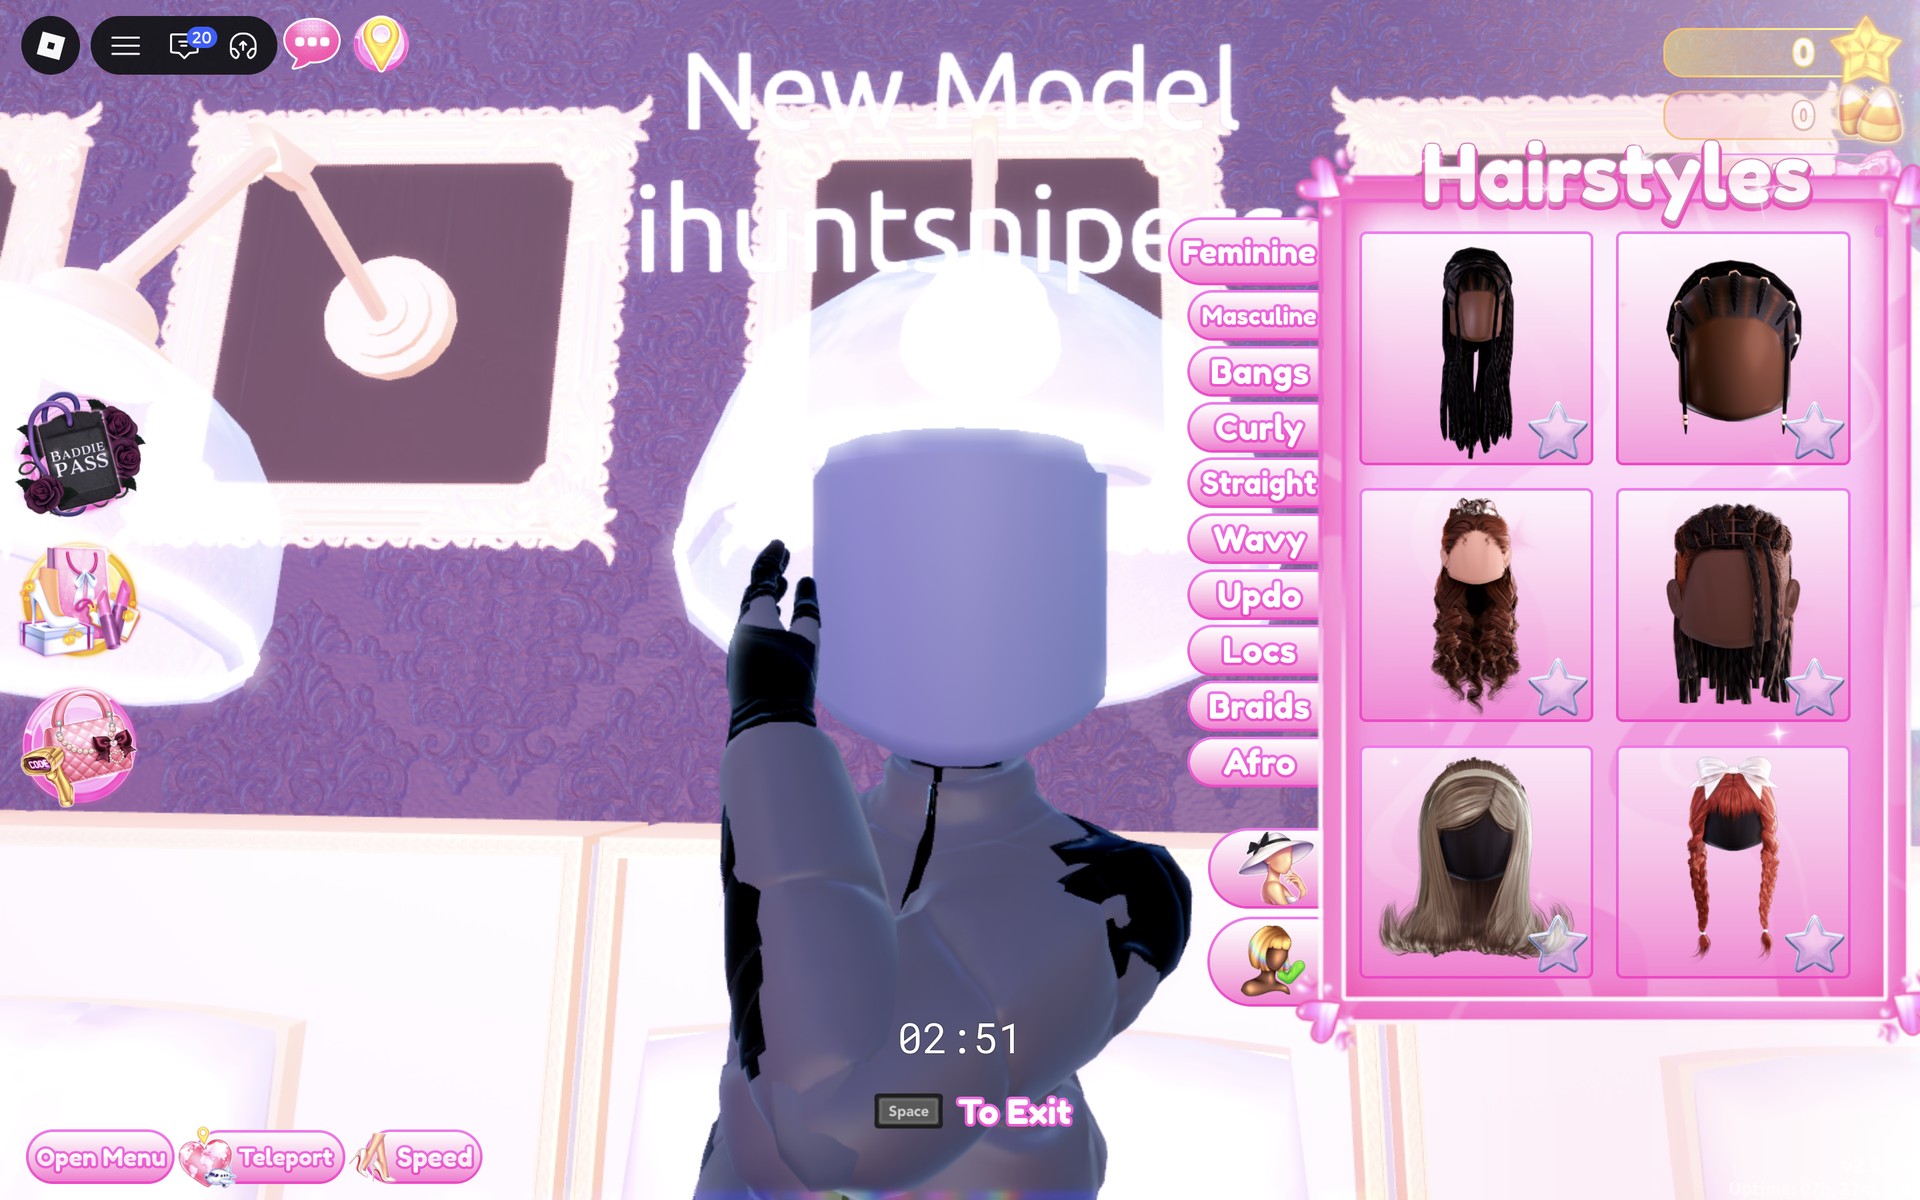
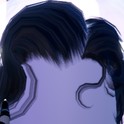 Short messy hair with a side part and loose strands (two parts), dark brown by default | Hairstyles panel at the Lana’s Salon dryer chairs, “Masculine” tab, 2nd row, left card | “1/2: Preview” black (column 9, row 8), “2/2: Preview” column 8, row 8, Default |
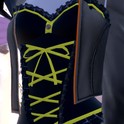 Black corset top with front lacing and a black lace frill at the hem (four parts) | Tops wall to the right of the round Halloween display, top shelf of the middle section, first top | “1/4” and “3/4: Preview” black (column 9, row 8), “2/4: Preview” column 8, row 7 (reads mustard on the lacing and hem trim), “4/4: Preview” column 7, row 8, Default |
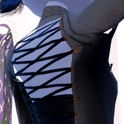 Cropped zip jacket with a studded collar and a laced-up back (three parts), grey on its mannequin | The grey studded-collar jacket mannequin in the round Halloween display, on the side facing the tops wall | “1/3: Preview” column 7, row 8, “2/3: Preview” black (column 9, row 8), “3/3: Preview” column 9, row 7 (thin orange trim and studs), Default |
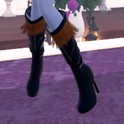 Heeled knee boots with a fringed cuff (three parts), brown on the shelf | The shelf behind the round Halloween display | “1/3: Preview” black (column 9, row 8), “2/3: Preview” column 7, row 8, “3/3: Preview” column 9, row 7 (rust-orange fringe), Default |
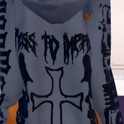 Oversized hooded sweatshirt with black print (two parts): lettering down the sleeves, “DRESS TO IMPRESS” lettering and a cross on the back | On a stand next to the jacket shelf, by the purple gothic arch with the thorny branches | “1/2: Preview” column 7, row 8 + Matte (reads slate grey), “2/2: Preview” black (column 9, row 8) + Matte |
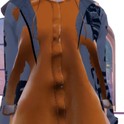 Hooded raincoat (one part), yellow on its mannequin | The yellow-raincoat mannequin (raincoat and hat) in the round Halloween display | “1/1: Preview” column 9, row 7 + Leather (HEX #693d0c, reads rust orange) |
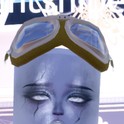 Aviator goggles with a gold-brown frame and blue lenses (three parts) | On the head of the mannequin in a brown bomber jacket, by the men’s-wear wall | Kept in their own colours (strap HEX #4a311b by default) |
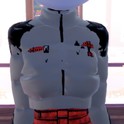 Cropped quilted puffer jacket (three parts), navy on the shelf | Jacket shelf by the purple gothic arch, top row, 2nd | “1/3” and “2/3: Preview” column 7, row 8 + Matte (reads light grey), “3/3: Preview” black (column 9, row 8) + Matte |
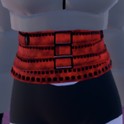 Strapped outfit with studded belts, gloves and wrapped boots (four parts); only the belted band at the waist and the gloves show on us under the puffer | The mannequin in a dark grey strapped jacket and white wrapped boots in the round Halloween display | “1/4: Base” column 7, row 8, “2/4: Belts” red (column 1, row 6), “3/4: Belts Details” and “4/4: Metals” black (column 9, row 8), all Matte |
Poses for Dystopia
We used Crystal for the wasteland survivor and Satin for the regime-grey variation, both free under Solo in the Poses menu. For the studded rebel we used a Solo pose with one hand raised to the forehead; we did not note its name. For the full list with a picture of each, see every free pose in Dress To Impress.
Building it in Freeplay Mode first
Freeplay Mode has no timer, so it is the place to find the pieces and test colours without a round running out. That matters here: two of the hearts we tried first (the olive on the hoodie, the lighter orange on the raincoat) read nothing like their swatch on the piece, and fixing them took a few tries. Once a look works, you know which mannequin, which palette spots and which materials to go to when Dystopia comes up in a real round. For more themes built the same way, see our Boho, Robot Takeover, Album Cover, Potion Maker, Monochrome Mood, Divine Beings, Drag, Sweet 16, Camouflage, Deserted Island, Summer Cruise, Favorite Show, Fairytale, Cotton Candy Couture, Cyberpunk, Birth Stones, Y2K Popstar, Video Game Character, Top Model, Fast Food Mascot, DJ, Award Show, Drama Queen, Instagram Model, Day of the Dead, Malibu Dream, Stained Glass, Summer Camp, Modern Royalty, Trad Goth, Wonderland, Trip To London, Pop Art Princess, Sugar And Spice, Paranormal Investigator, Cursed Lagoon, Complementary Colors, Galactic Glam, Dancer, Midnight Circus, Jellyfish, Garden Tea Party, Enchanted Curse, Harvest Festival, Thrifted, Lazy But Cute, Possessed, Night At The Orchard, Bioluminescent Depths, Coronation, Your Country, Reality Television, Subway Rush, Candlelit Library and Decora outfit ideas.
How a theme round works
We have not had Dystopia as a round yet; this is from ordinary server rounds on other themes. On the main lobby, the theme shows in a banner at the top with a timer under it. After dressing, each player walks the runway in turn, about 7 seconds each, while the others vote with five stars along the bottom of the screen, with a “Voting complete!” banner between players. A “Results” card then ranks the players, followed by an “Intermission” countdown.
The “Pick Theme” button next to the intermission timer lets you choose the theme, but only with Theme Props. The panel reads “You have: 0 Theme Props” and offers a “Buy More” button priced at 75 Robux. We bought none and saw no free ones, so without Robux you wait for Dystopia to roll.
What we have not checked
No round we joined rolled Dystopia, so these looks have not walked a real round: there is no score, star count or vote for them. The studded rebel has a hairstyle and boots but no face preset, and we found no trousers that would go on, so the base shorts show. The wasteland survivor and the regime-grey variation have no hairstyle or shoes: we did not get to the salon hair chairs while building them, and clicks on the shoe shelf did nothing from where we stood. Trousers on the trousers wall at the Freeplay spawn said “Can’t be put on.” on three tries, and we did not find out why, so the regime-grey variation shows the base shorts too. We did not recolour the goggles or try them over the eyes for this theme. All three looks were built with 0 stars, and nothing was bought.
FAQ
What is Dystopia in Dress To Impress?
The game gives only the theme’s name. We read it as a broken future world: black studded pieces with one sharp mustard accent, salvaged layers in rust and grey with goggles and a grimy face, or a dull grey uniform with one red accent.
Can I do Dystopia without VIP?
Yes. All three looks were built on an account with no VIP and 0 stars, and every piece, colour, material, face, hairstyle and pose used here worked on it, with no lock or price on any of them.
Where are the goggles for Dystopia?
On the head of the mannequin in a brown bomber jacket, by the men’s-wear wall in the Dressing Room. Click the goggles rather than the jacket, then press “Put On”. They sit on the forehead.
Do the Dystopia looks have hair?
The studded rebel does: short, messy hair from the “Masculine” tab at the Lana’s Salon dryer chairs (2nd row, left card), set to black. The wasteland survivor and the regime-grey variation are bald, because we did not reach the hair chairs while building them.
How do I get the cracked face?
Sit at a chair at the makeup vanity in the Lana’s Salon arch, open the “Feminine” tab and click the 3rd card in the 2nd row. It gives pale white eyes, grey lips and dark cracks down the face.
Why does my colour look different on the piece?
Some hearts read very differently on a piece. On the hoodie, the olive at column 8, row 7 came out mustard yellow, and on the puffer the dark grey at column 7, row 8 reads light grey. The same olive heart is what gives the studded rebel’s corset its mustard lacing. Check the piece on you and step one row darker or lighter if it is off.
Which pose fits Dystopia?
We used two free Solo poses: Crystal, with both hands behind the head, for the wasteland survivor, and Satin, with one arm raised, for the regime-grey variation. For the studded rebel we used a Solo pose with one hand raised to the forehead.